16. Moulding and casting
Group Assignment
3D mould design
For this part of my project I make a 3d model of my mug first.
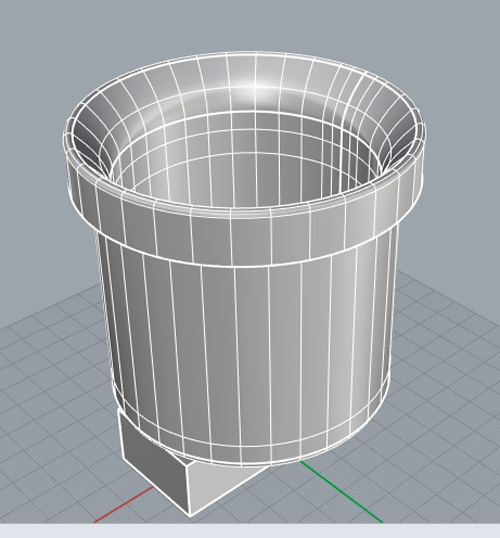
Then I designed the mold to be milled. Due to the complexity of making a cup in one piece, my tutor told me to make two half cups and stick them together.
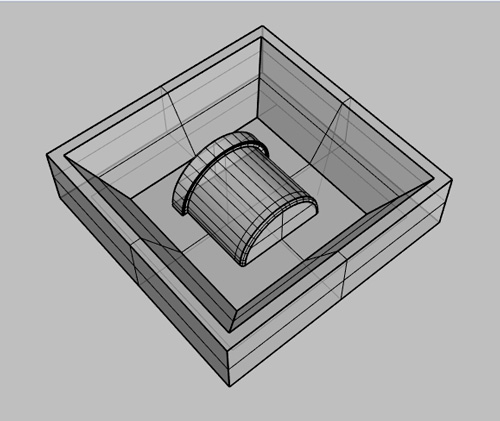
I cut 4 MDF squares of a 3cm thickness and I sticked them together to have 2 blocks of 6cm width.
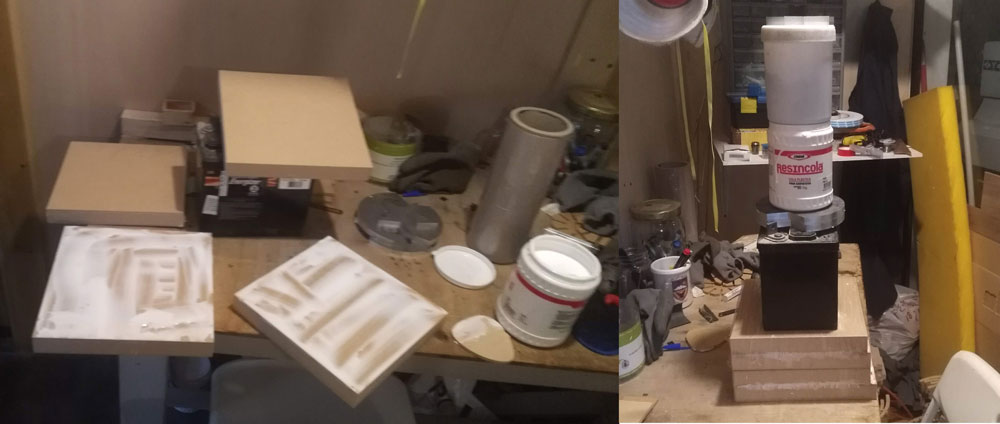
Those blocks took one entire day to dry, so at the next day I proceed to prepare the GCodes for the milling.
Creating rough and finish toolpaths
I used Artcam, a computer controlled machining software.
First of all I setted the work board, in the software, with the extact dimentions of the material I was going to use.
Then I imported the .stl file downloadable here

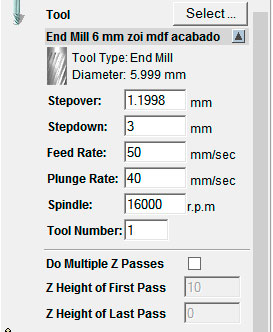
Maked the following settings
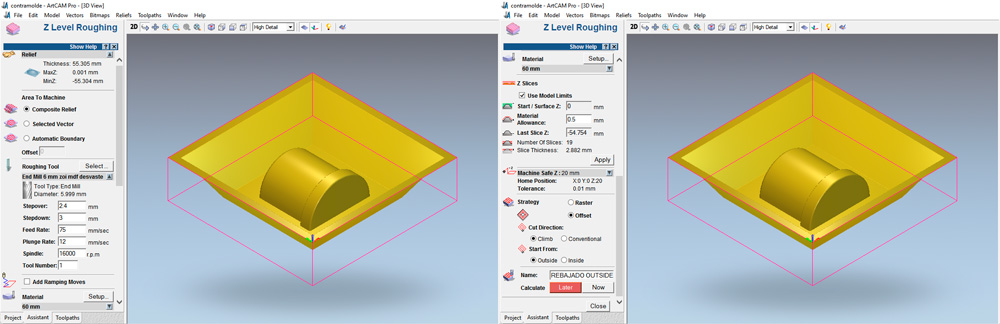
And created the toolpath with the NOW button.
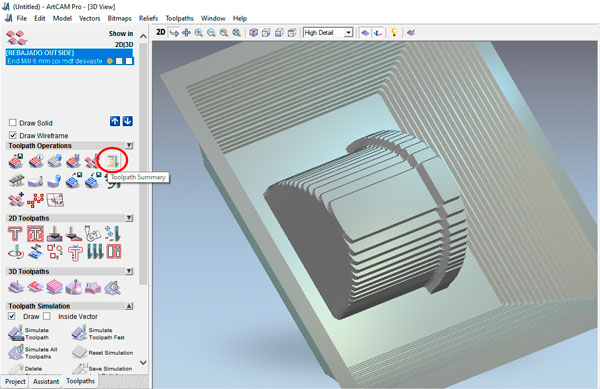
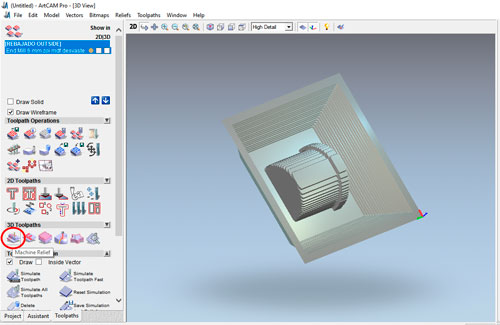
Looked at the milling result with the simulator
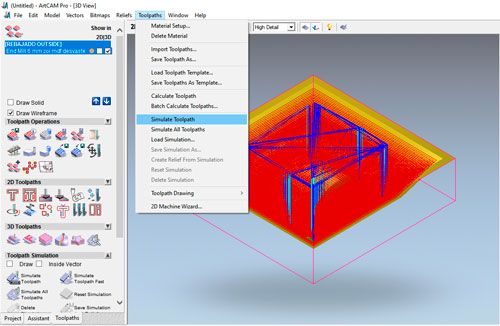
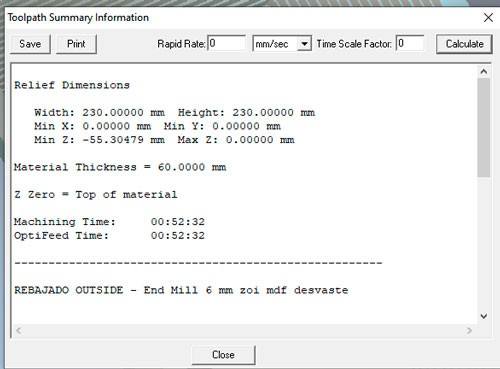
See the approximative milling time with the toolpath summary button
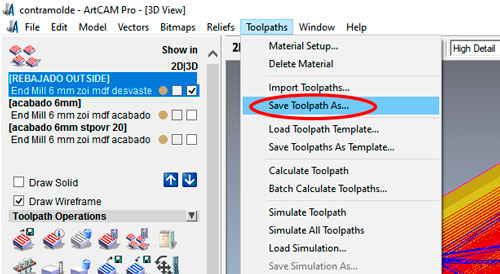
Once I was agree with the result I was going to have, I saved the toolpath.
Next was to prepare the finish toolpath. For that I choose the Machine relief button.
And make the following settings
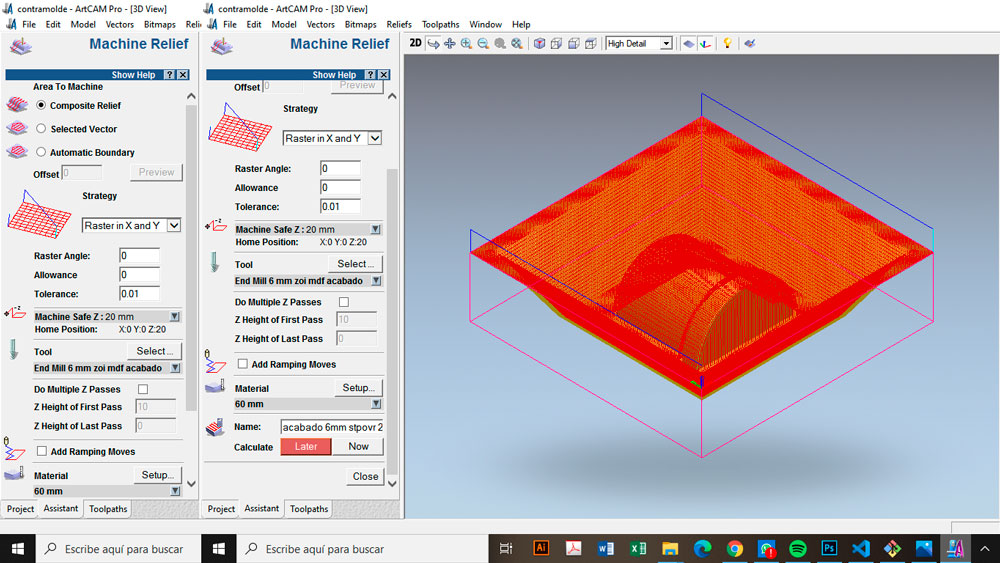
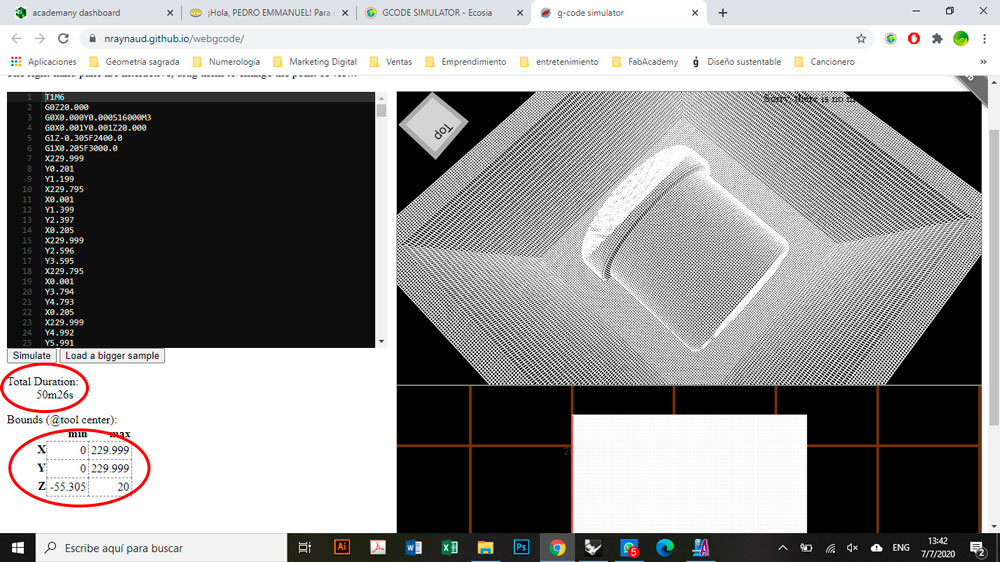
Then I create de toolpath ant I visualized it in this site. This webpage allows us to have an aproximation of the milling time and gives us the maximum and minimum x, y and z coordinates.
Then I passed to the machining process.
Machining the mould
First the MDF block was fixed.
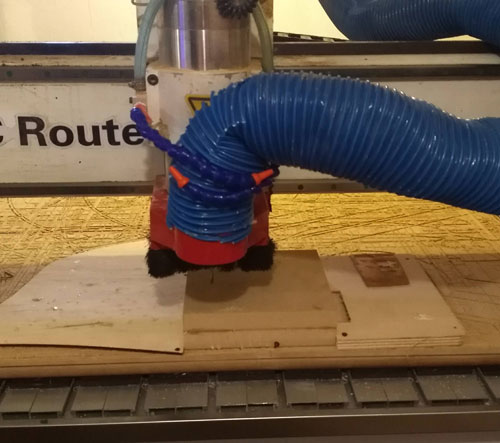
After I run the GCode
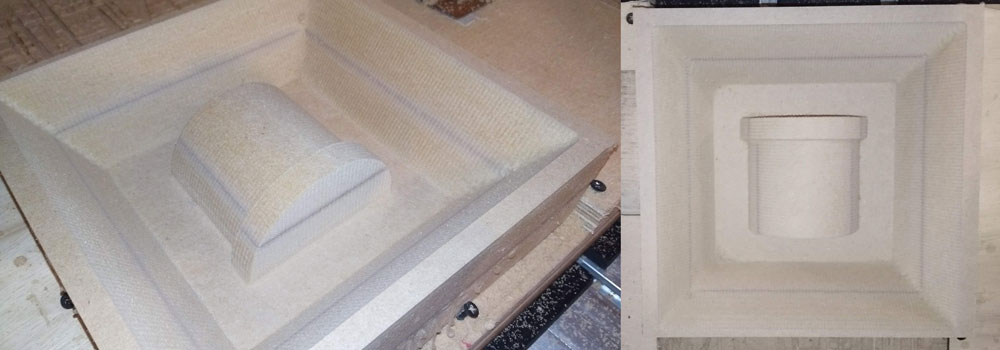
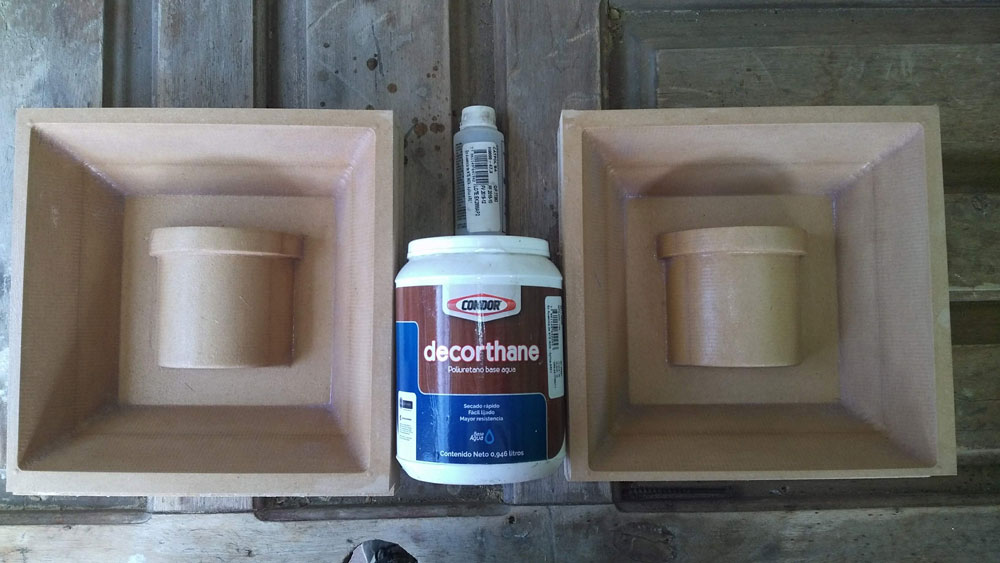
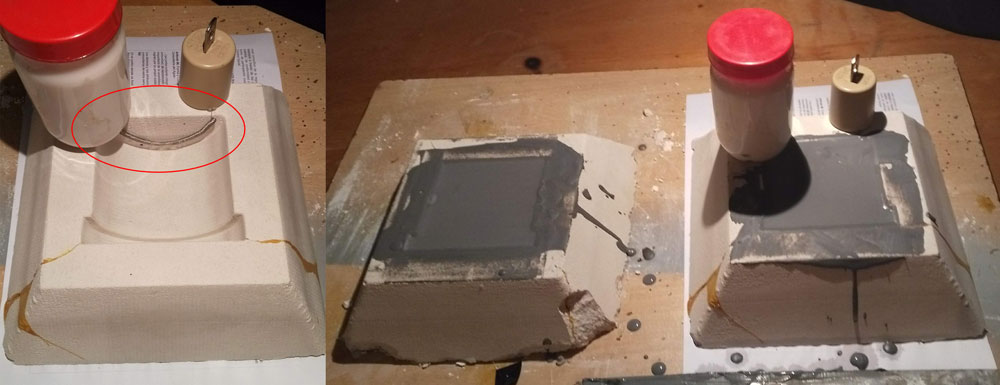
After that I sand the molds and I applied 2 hands of wood sealer to avoid the wood to absorbe the plaster humidity.
Casting the mould
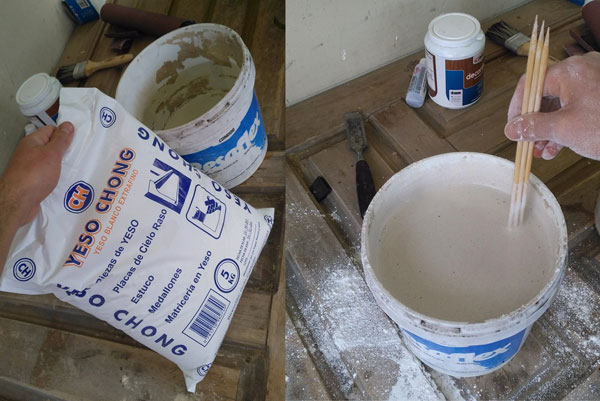
The wood moulds were filled with plaster to the top.
Once the plaster was dry I removed the molds. The adhesion was strong so I was forced to hit hard and the molds broke, so I glued them together with contact cement.
Casting the parts
Then I poured the clay into the molds placing the resistance in the base of the cup.
I waited for the hardened clay wall to completely cover the coil, then emptied the excess. I let it dry.
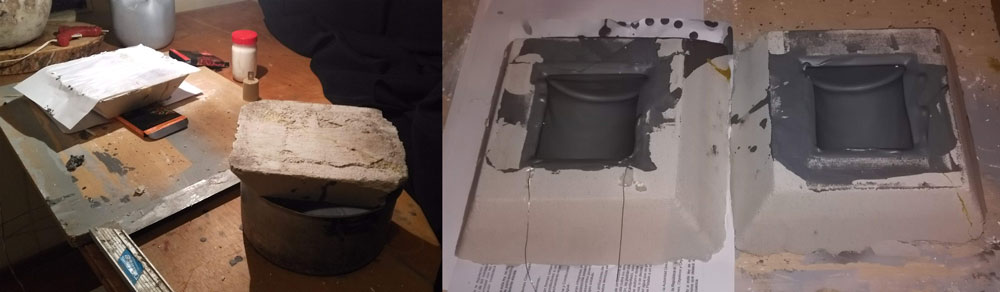
The day after that, I unmolded the pieces and stick them in one piece.
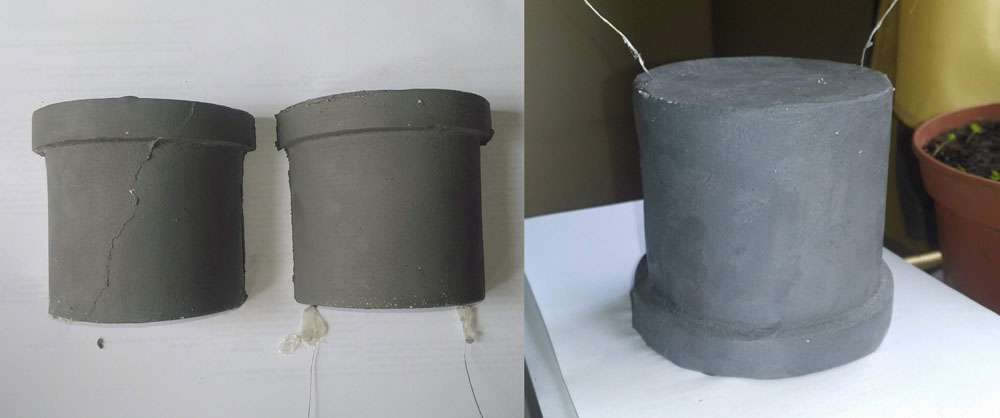
Finally I went to a potery studio to oven cook my piece.
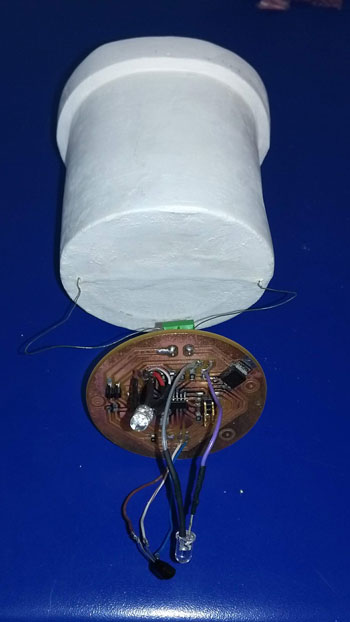
HERO SHOT
Safety data sheets
Learning outcomes
- [x] Design appropriate objects within the limitations of 3 axis machining
- [x] Demonstrate workflows used in mould design, construction and casting
Have you?
- [x] Explained how you designed your 3D mould and created your rough and finish toolpaths for machining
- [x] Shown how you made your mould and cast the parts
- [x] Described problems and how you fixed them
- [x] Included your design files and ‘hero shot’ photos of the mould and the final object
- [x] Reviewed the safety data sheets for each of your molding and casting materials, then made and compared test casts with each of them