10. Molding and casting
This week I worked on molding and casting.
- Group assignment: Review the safety data sheets for each of your molding and casting materials, then make and compare test casts with each of them
- Individual assignment: Design a mold around the stock and tooling that you’ll be using, mill it (rough cut + (at least) three-axis finish cut), and use it to cast parts.
RESEARCH - DATA SHEET - Group Assignment
In The FabLab UCAL we are going to use the following molding/casting materials:
MATERIALS FOR MOLDING AND CASTING
MACHINABLE WAX BLOCK
Machinable blue wax block Data Sheet
The use of will not represent any serous damage to our health by manipulating it carefully without taking it as food. We use it in a ventilated area, just to avoid certain dust by the milling process.
SILICONE RTV
Silicone RTV for molding - Data Sheet
According to the information gathered, these are the personal protective equipment that should be used for the manufacture of molds of this material. We work in a fume hood at the Chemistry Lab from Colegio Villa Caritas.
RESIN
| ITEMS / MATERIALS | MACHINABLE WAX BLOCK | RESIN | SILICON RTV |
|---|---|---|---|
| LINK | MSDS | MSDS | MSDS |
| HAZARD ID | None | May cause damage to organs through prolonged or repeated exposure: respiratory system, inhalation** | Contains gas under pressure; ay explode if heated. Causes serious eye irritation. Causes skin irritation. |
We both (my partner Luis and me) worked with the same materials but Luis did a different model.
DESIGN A POSITIVE MOLD - TRIAL 1: Dice
Software used: Fusion 360
I design a dice to mold it.
Molding using a dice from Manuel Corrales Arana on Vimeo.
After i realised that the design doesn’t fit the requirements because it is difficult quiet impossible to print the dice even seems easy to introduce the resine inside to mold the dice.
I decide to do a different design.
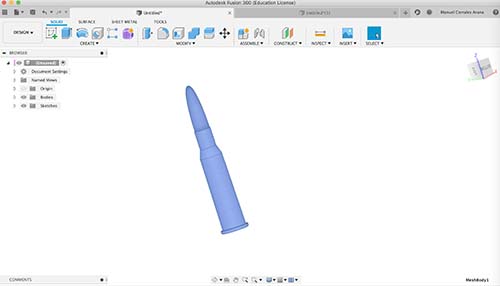
DESIGN A POSITIVE MOLD - TRIAL 2: BULLET
This time i decide to work on a bullet.
I use Fusion 360 to design it.
Molding using a bullet from Manuel Corrales Arana on Vimeo.
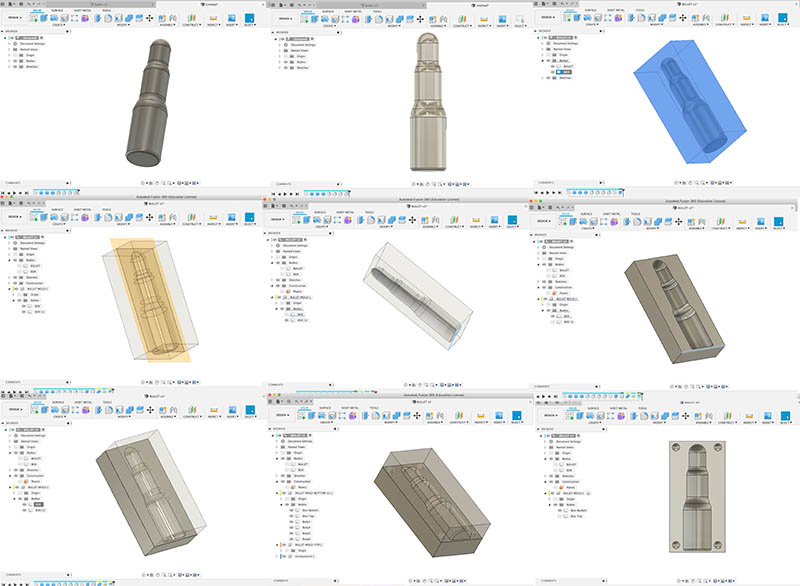
The work done before miss some joints to attach the boxes so i decide to make another one that i am sure will work.
Molding a box for a bullet from Manuel Corrales Arana on Vimeo.
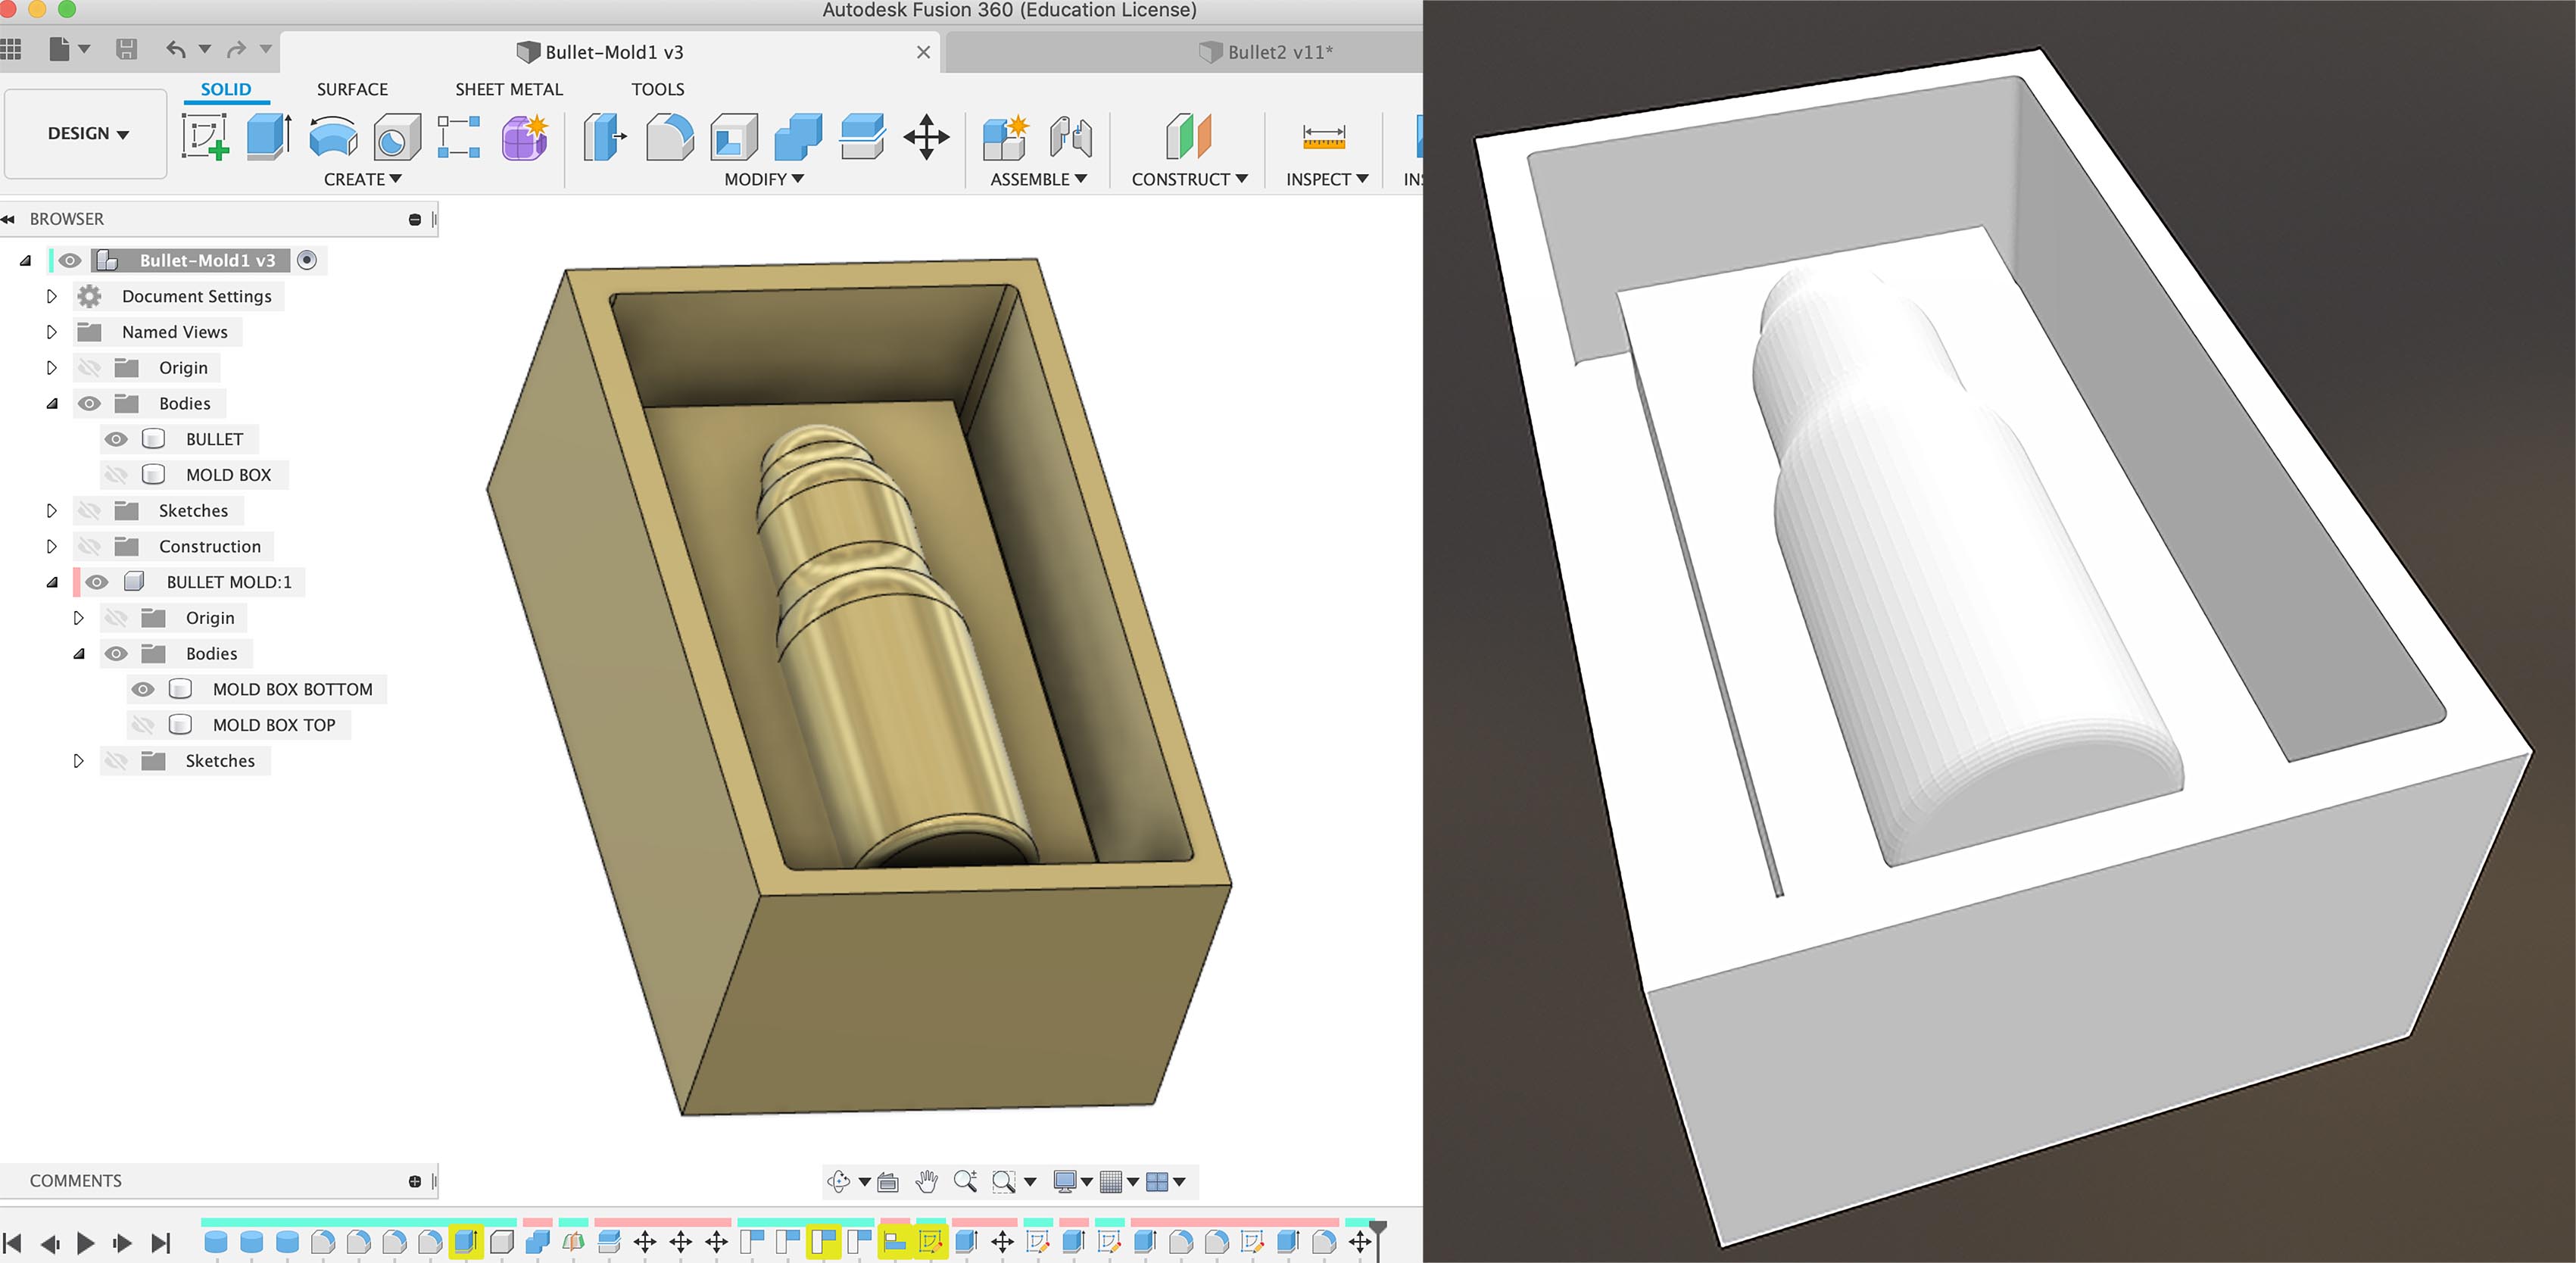
Here a modification to the design: Changing the position of the hole and adding round corners due to the way the endmill due its job.
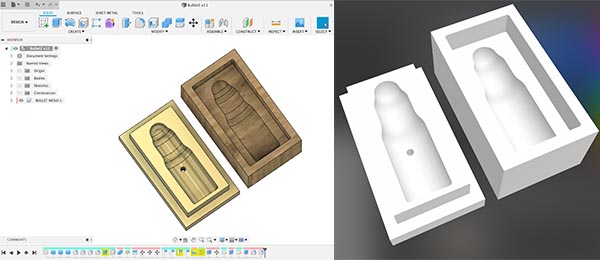
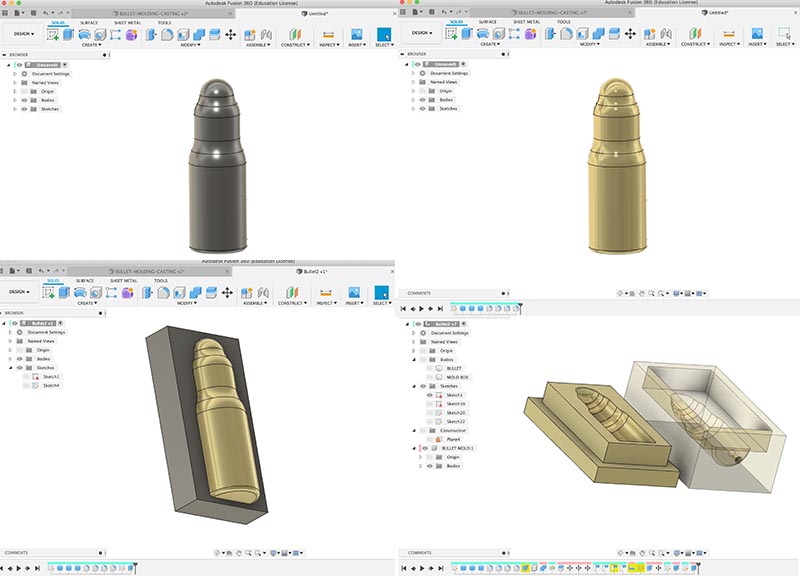
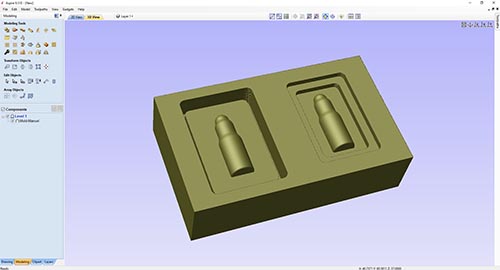
The Matrix for the mold finished in Fusion 360.
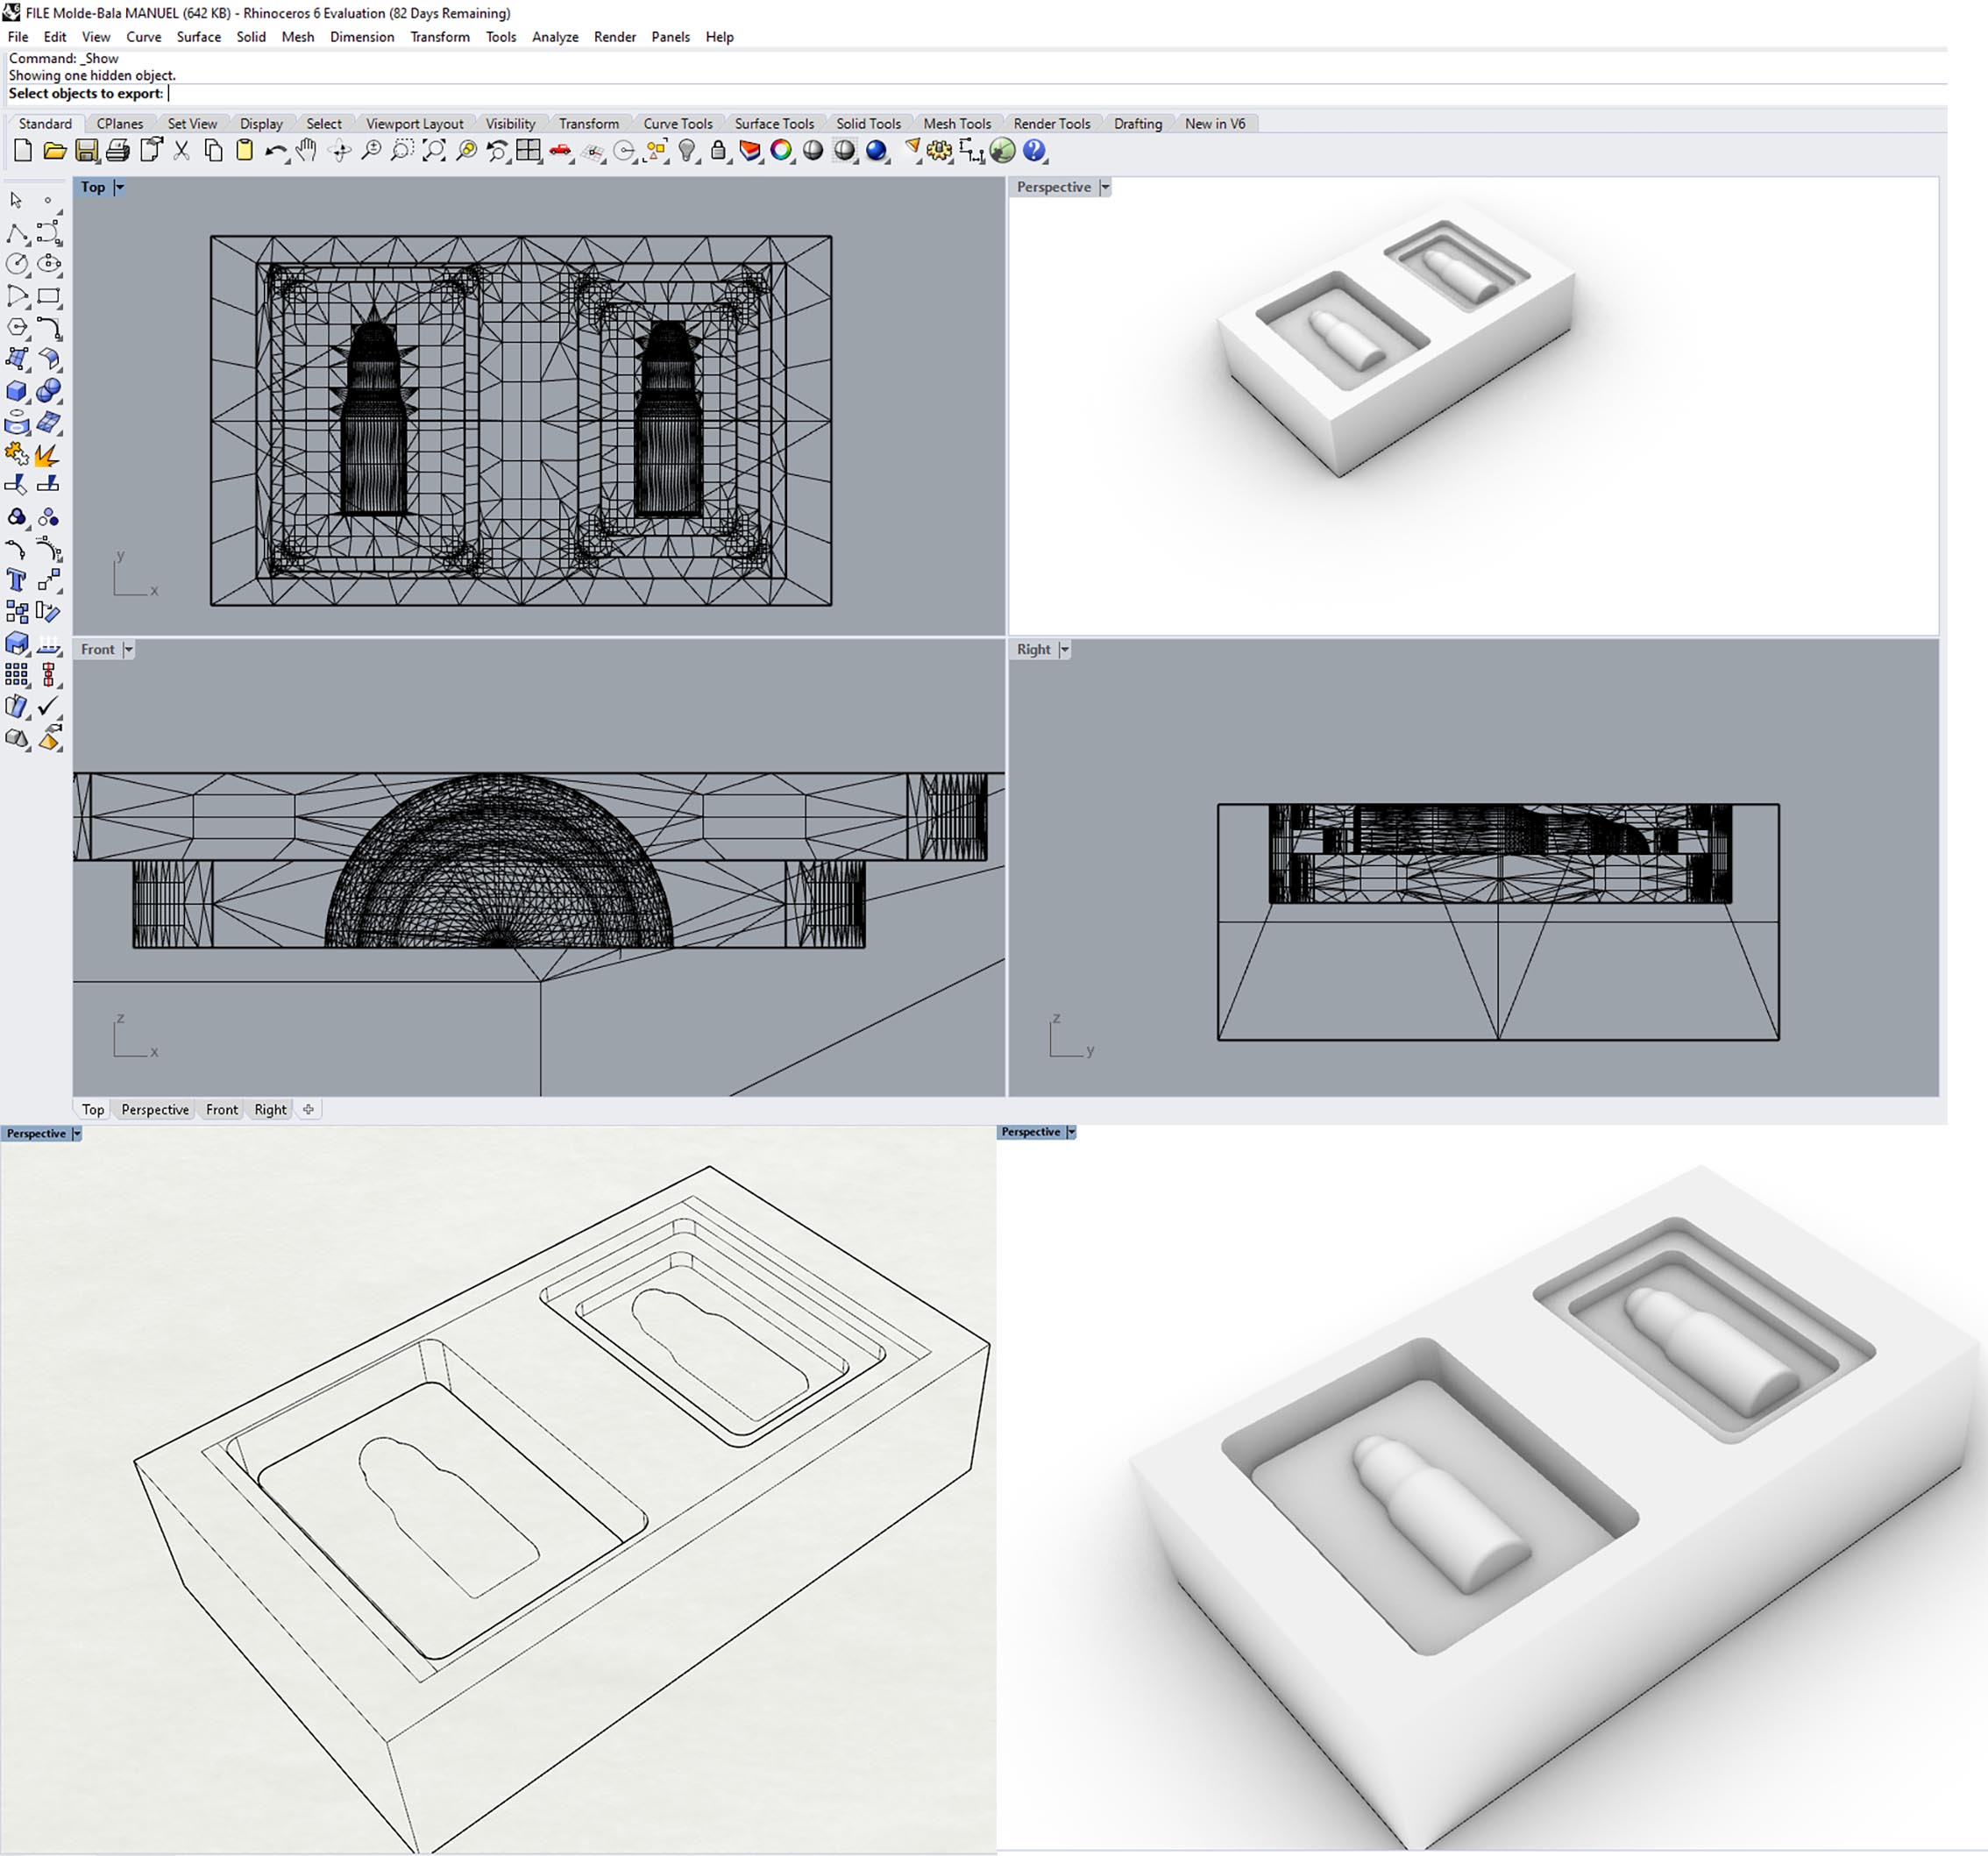
After some modifications in the design, here the final one finished in Rhino.
The Wax that is going to be used to create the matrix for the mold.
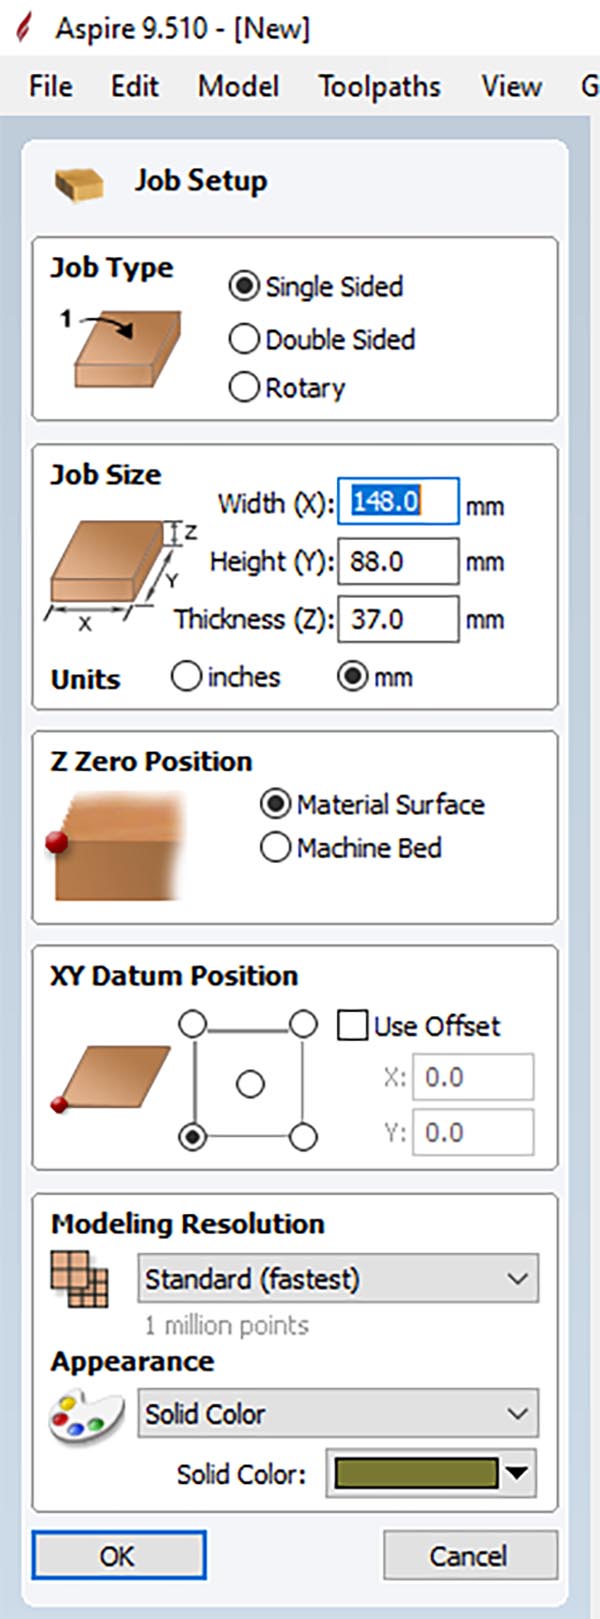
Measurements: 148mm height x 88mm width x 37mm height
MACHINABLE WAX
CHARACTERISTICS
Appearance: Solid blue
Melting point: 240°F
Softening point: 157°F
Flash point: from 465°F to 575°F
Hardness: 53 (Shore “D” Scale)
Dimensions: 148mm x 88mm x 37mm height
FEATURES
Non-abrasive
User-friendly
Self-releasing/self-sealing
Able to be glued
Self-lubricating
Wide variety of sizes

SETTING PARAMETERS
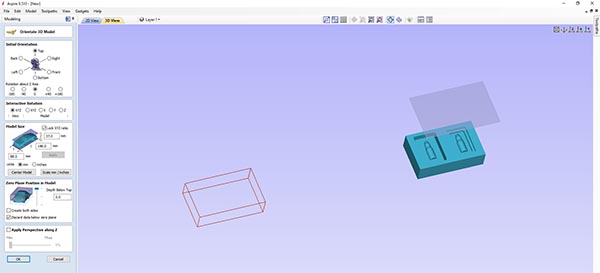
For the configuration of the parameters to mill the wax we use Aspire software.
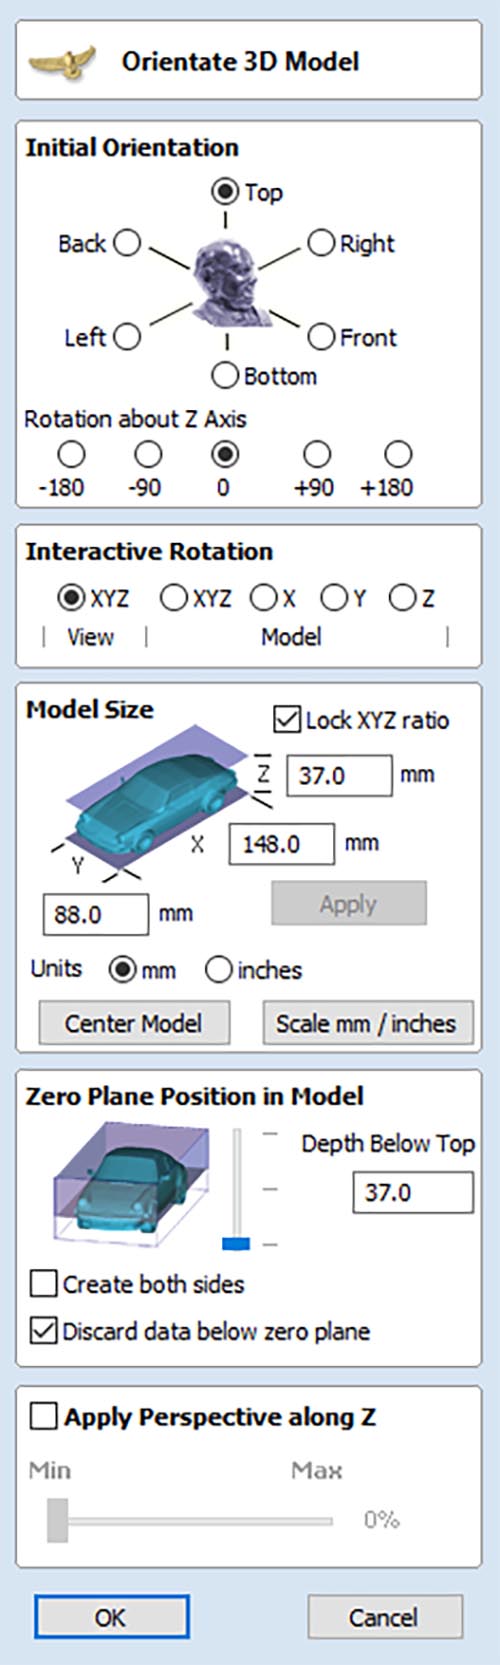
Adding the dimensions of the wax
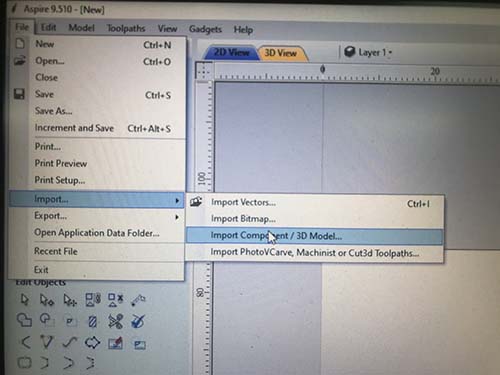
Then we open the STL file of the Bullet design.
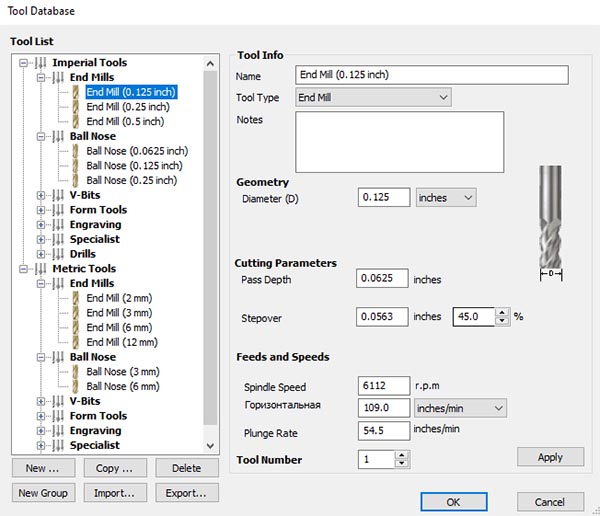
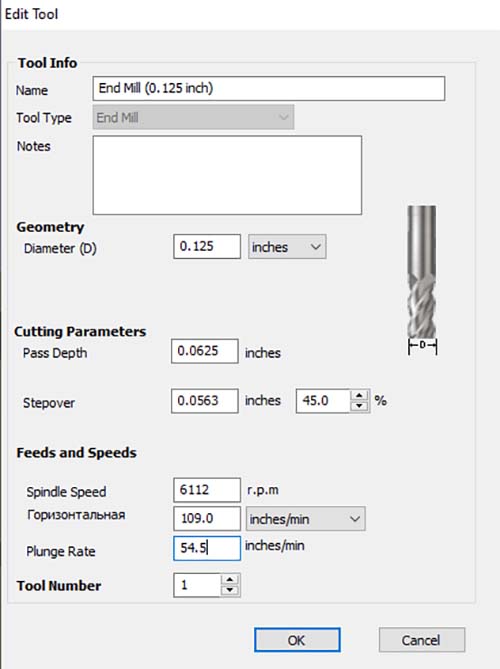
We choose the First mill for roughing and the corresponding parameters after finding the parameters using the web:
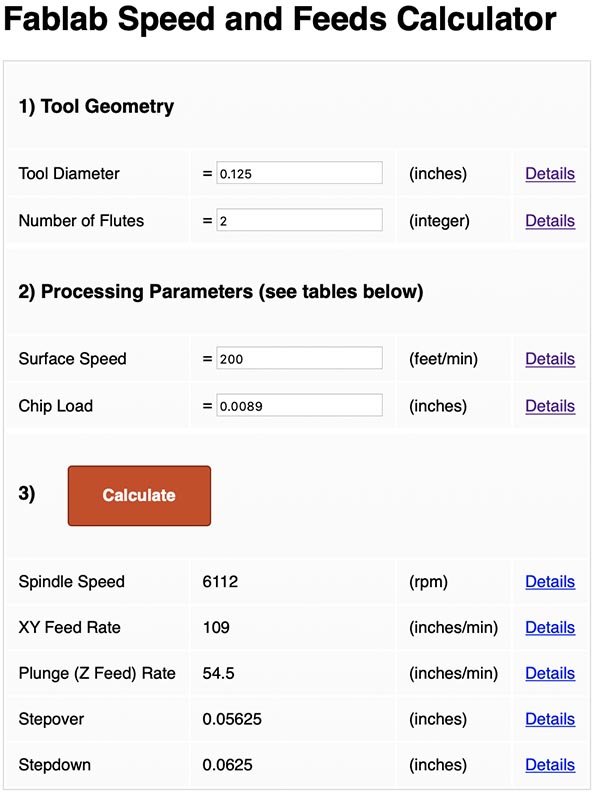
After having the milling parameters for wax, i used it in the Aspire software.
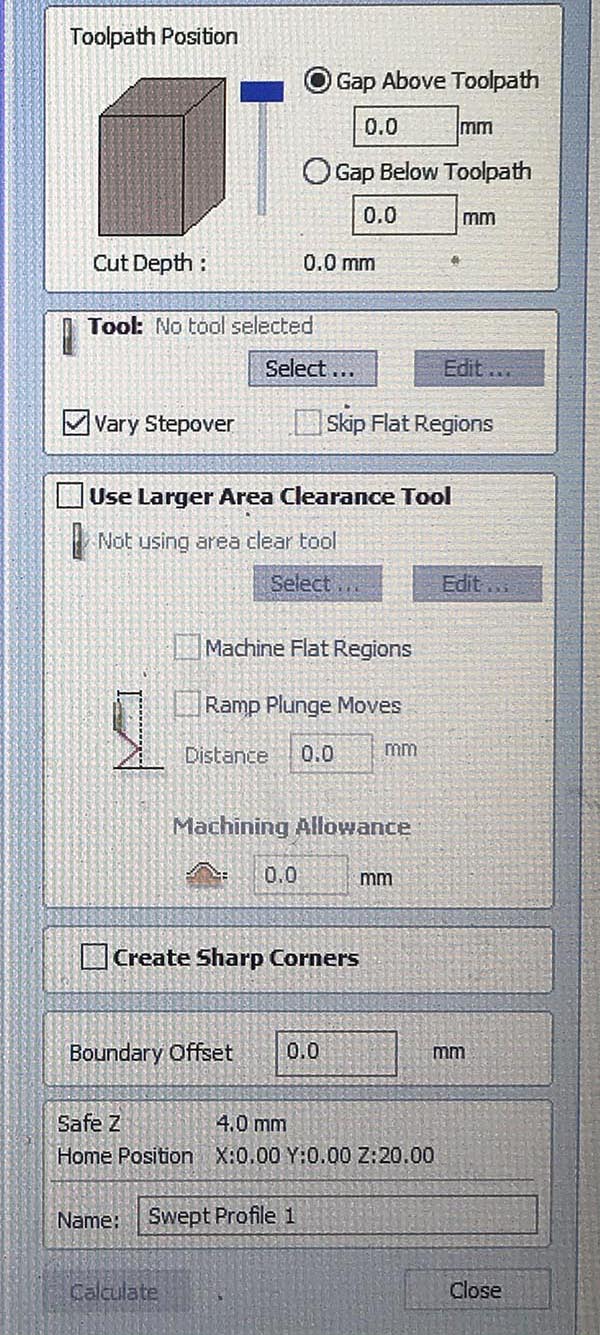
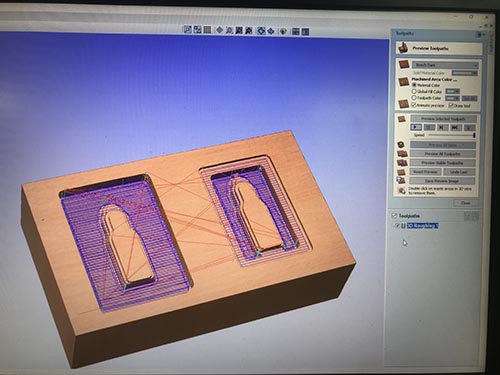
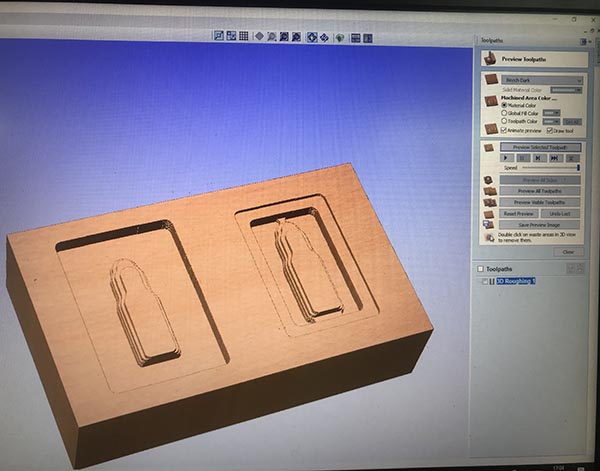
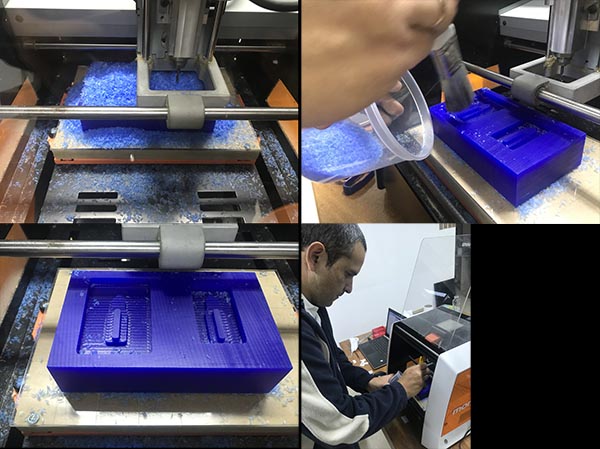
MILLING THE POSITIVE MOLD DONE IN WAX WITH A ROLAND MILLING MACHINE SRM 20
Then the process of milling using the 1/8 flat mill for rouhging and the second step using the 1/8 round mill for finishing the molding.
Molding a box for a bullet in the milling machine from Manuel Corrales Arana on Vimeo.
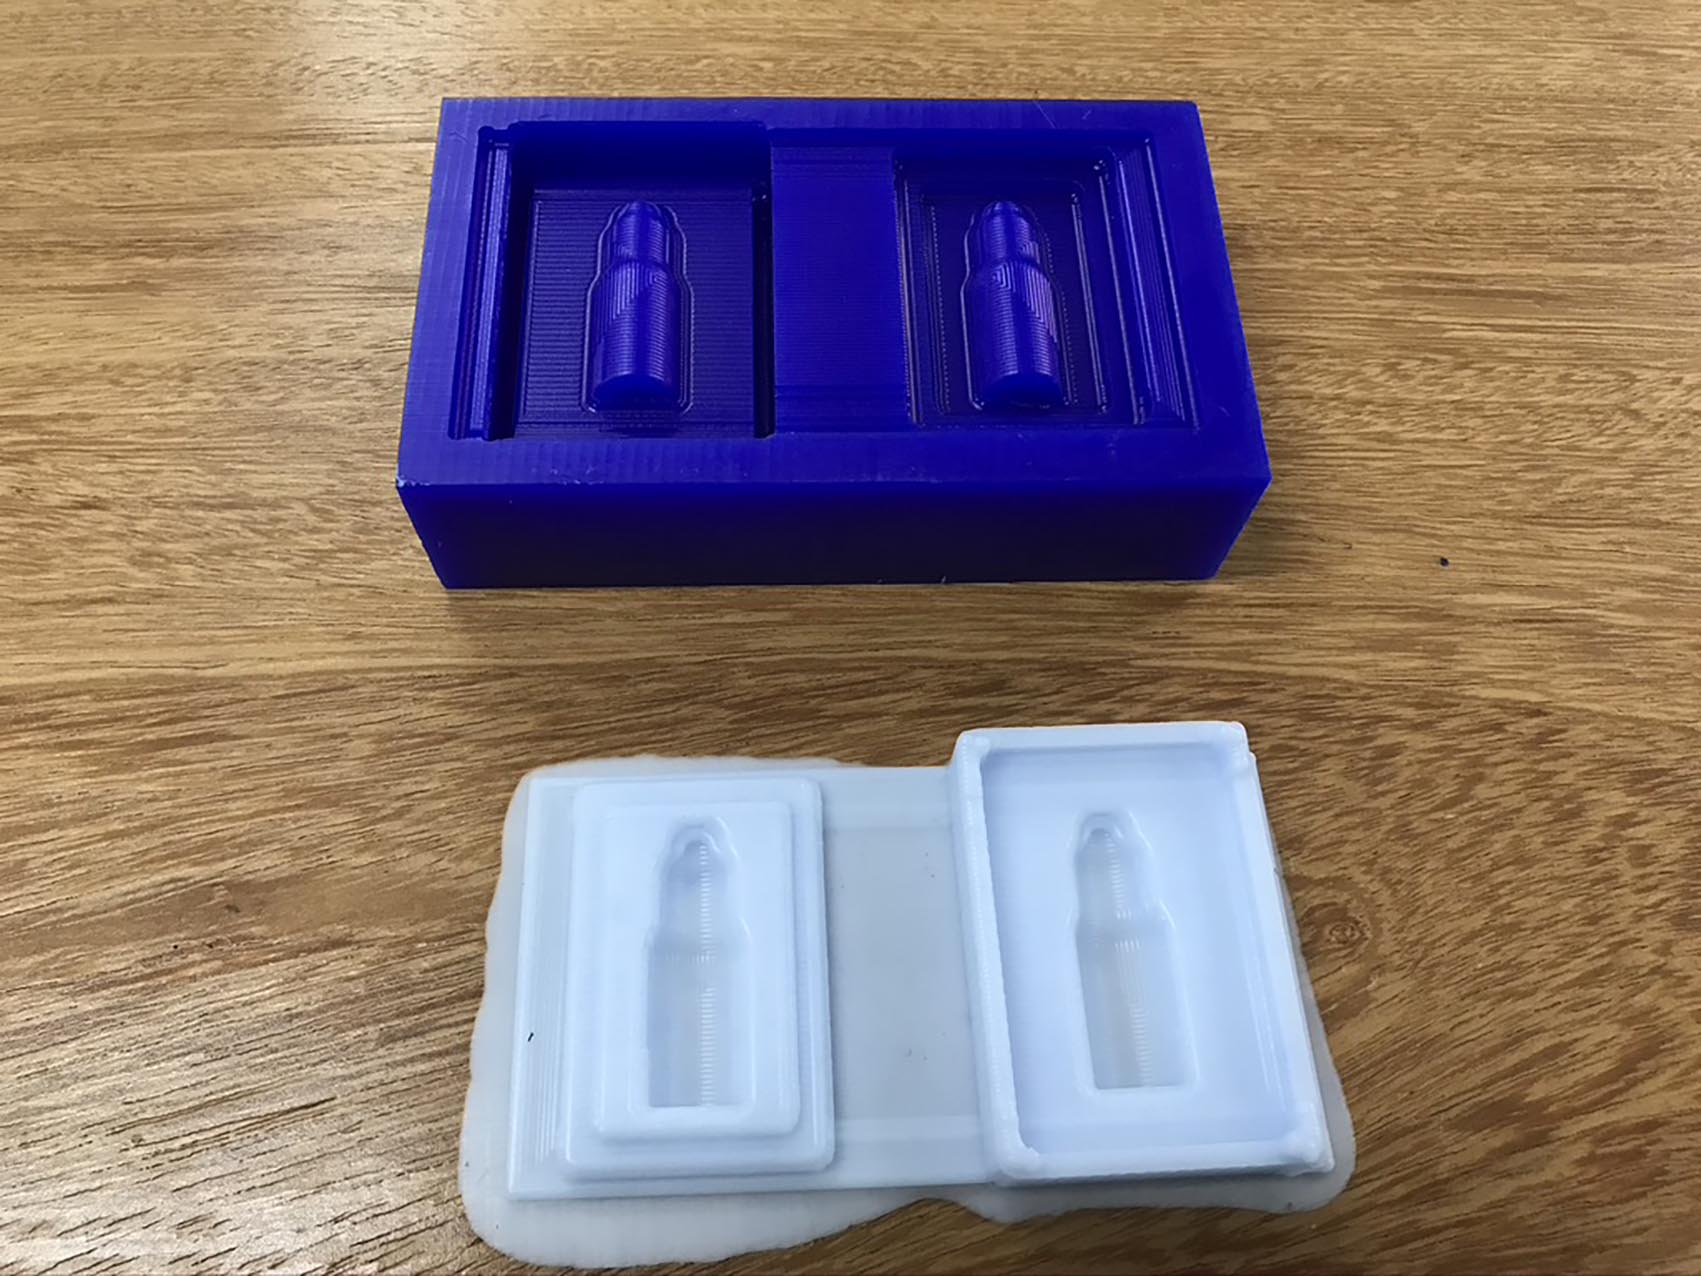
Here the Matrix finished to obtain the mold.
MAKING A MOLD FROM THE WAX
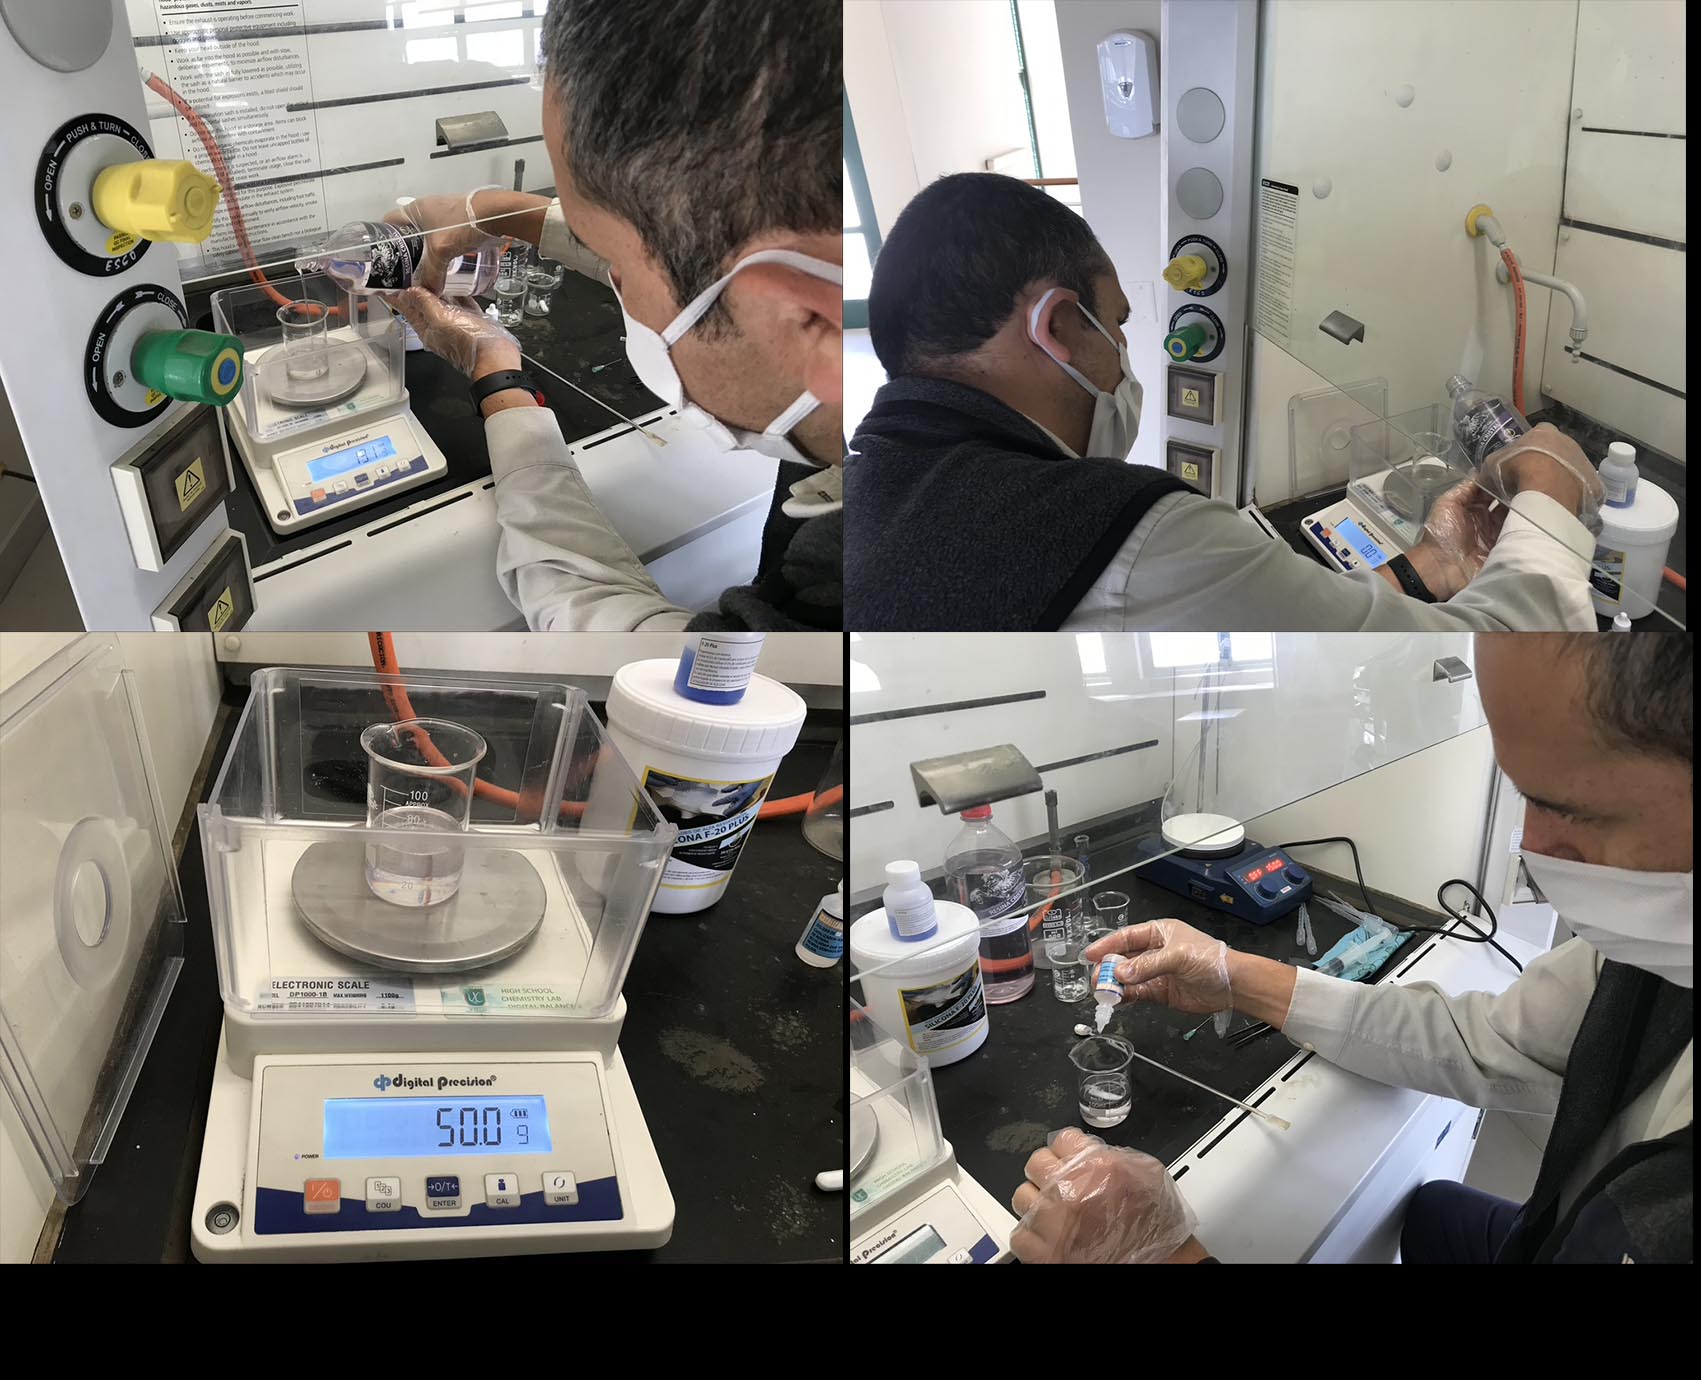
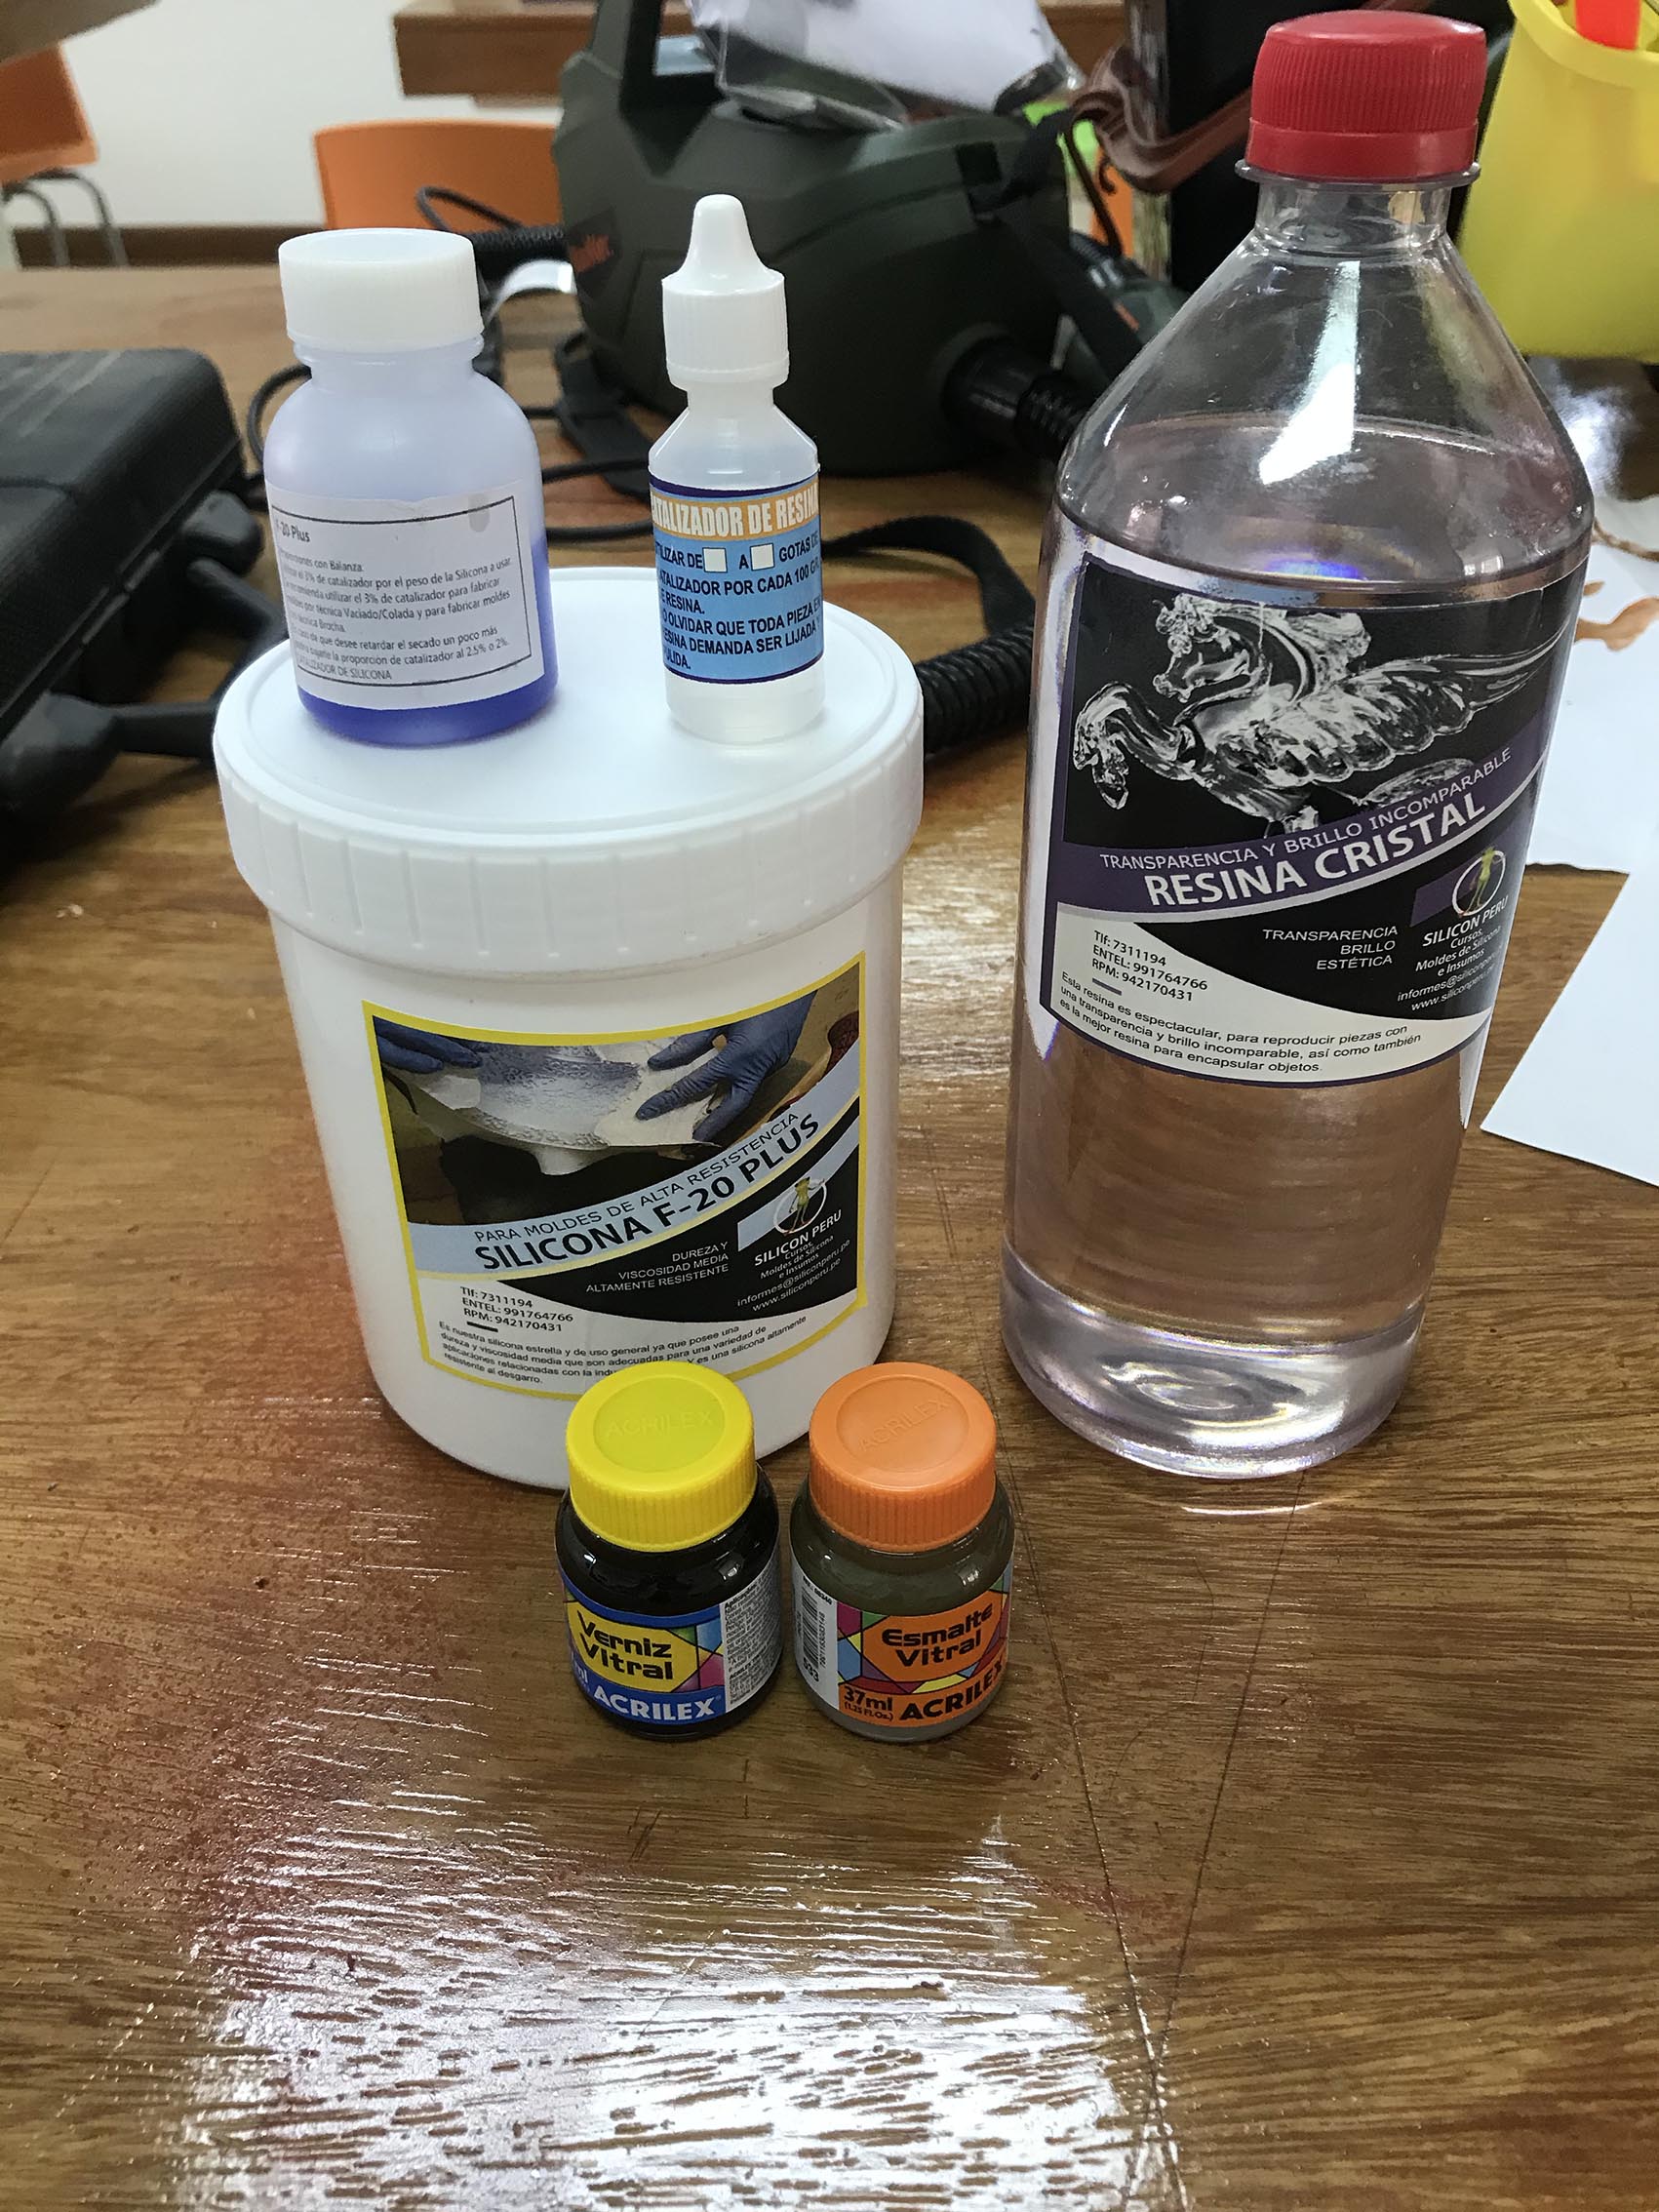 I used 100g or Silicon F-20 and pour 2g of the catalizer.
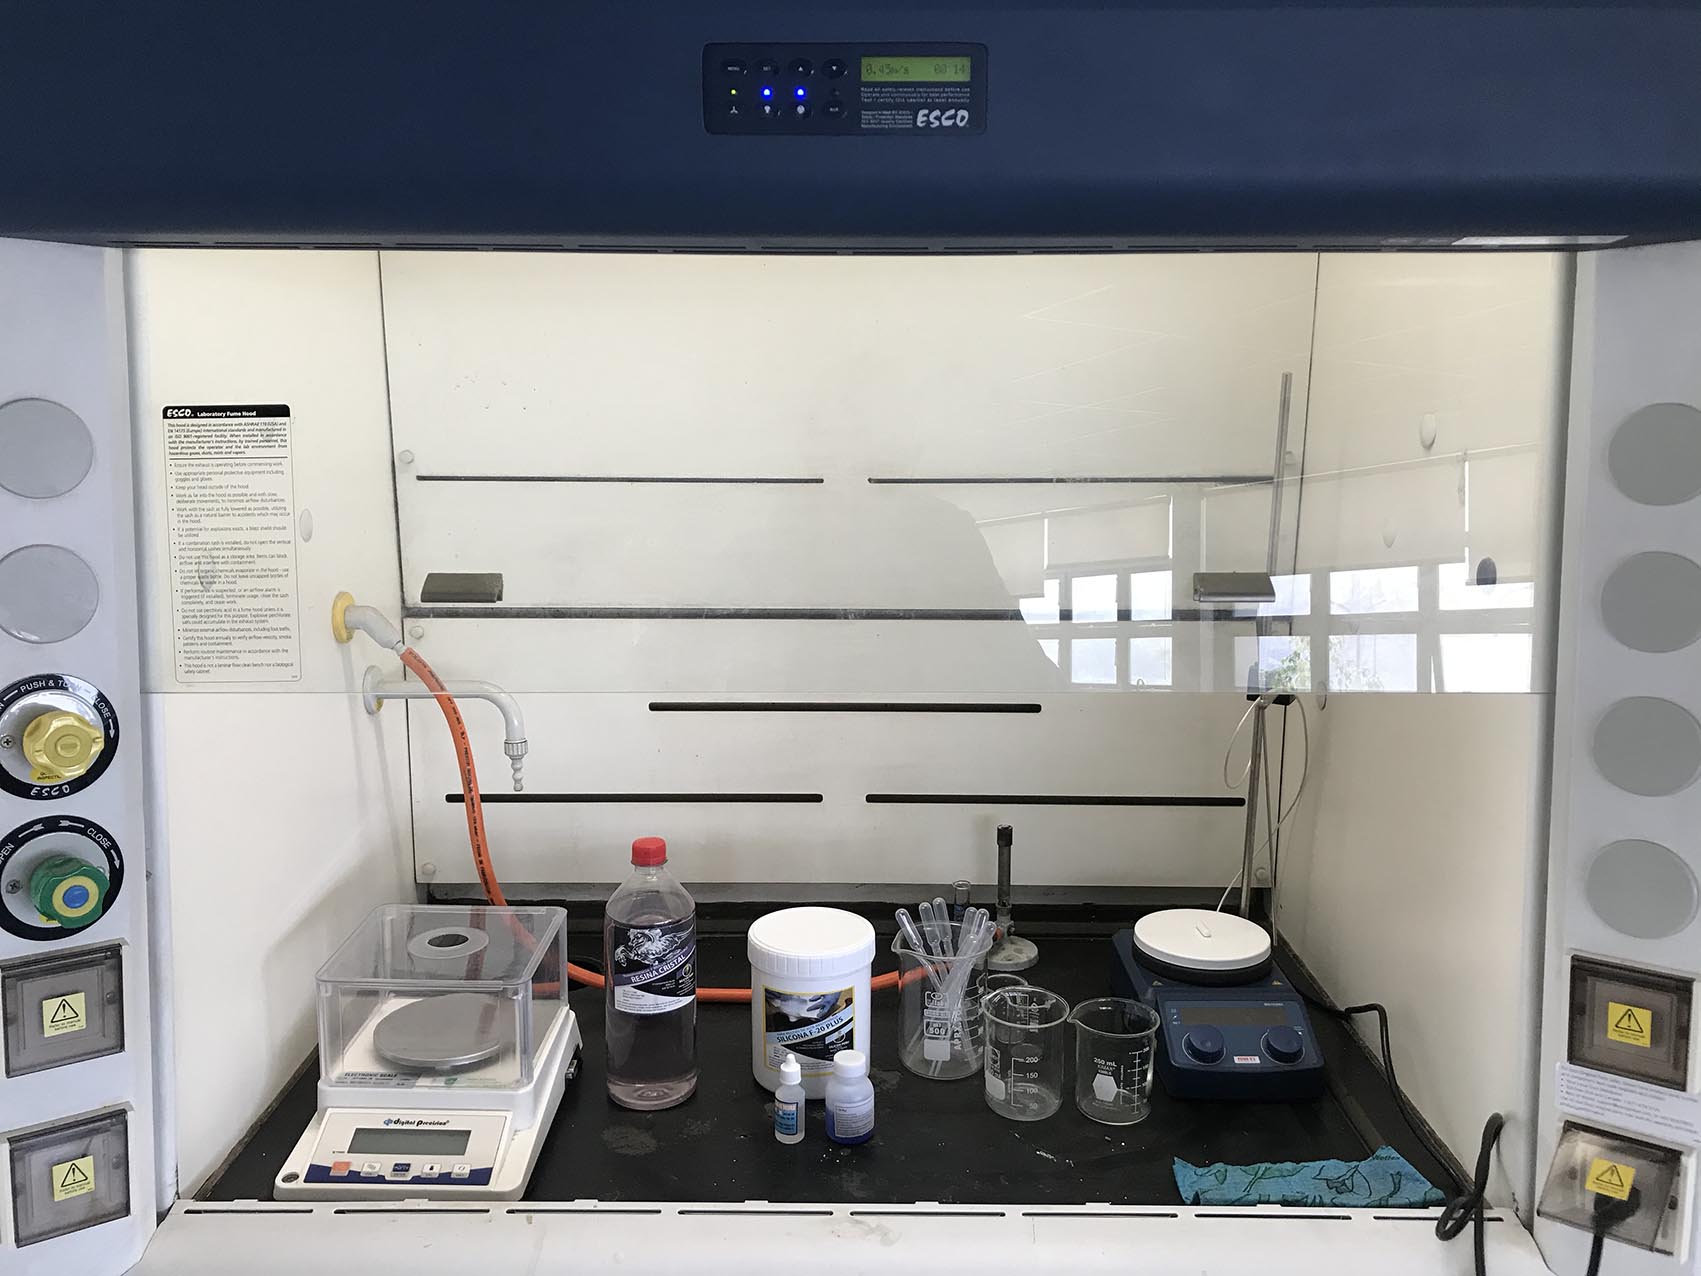 I worked in the Fume hood in the Chemistry Lab of my School.
 I stir the mixture.
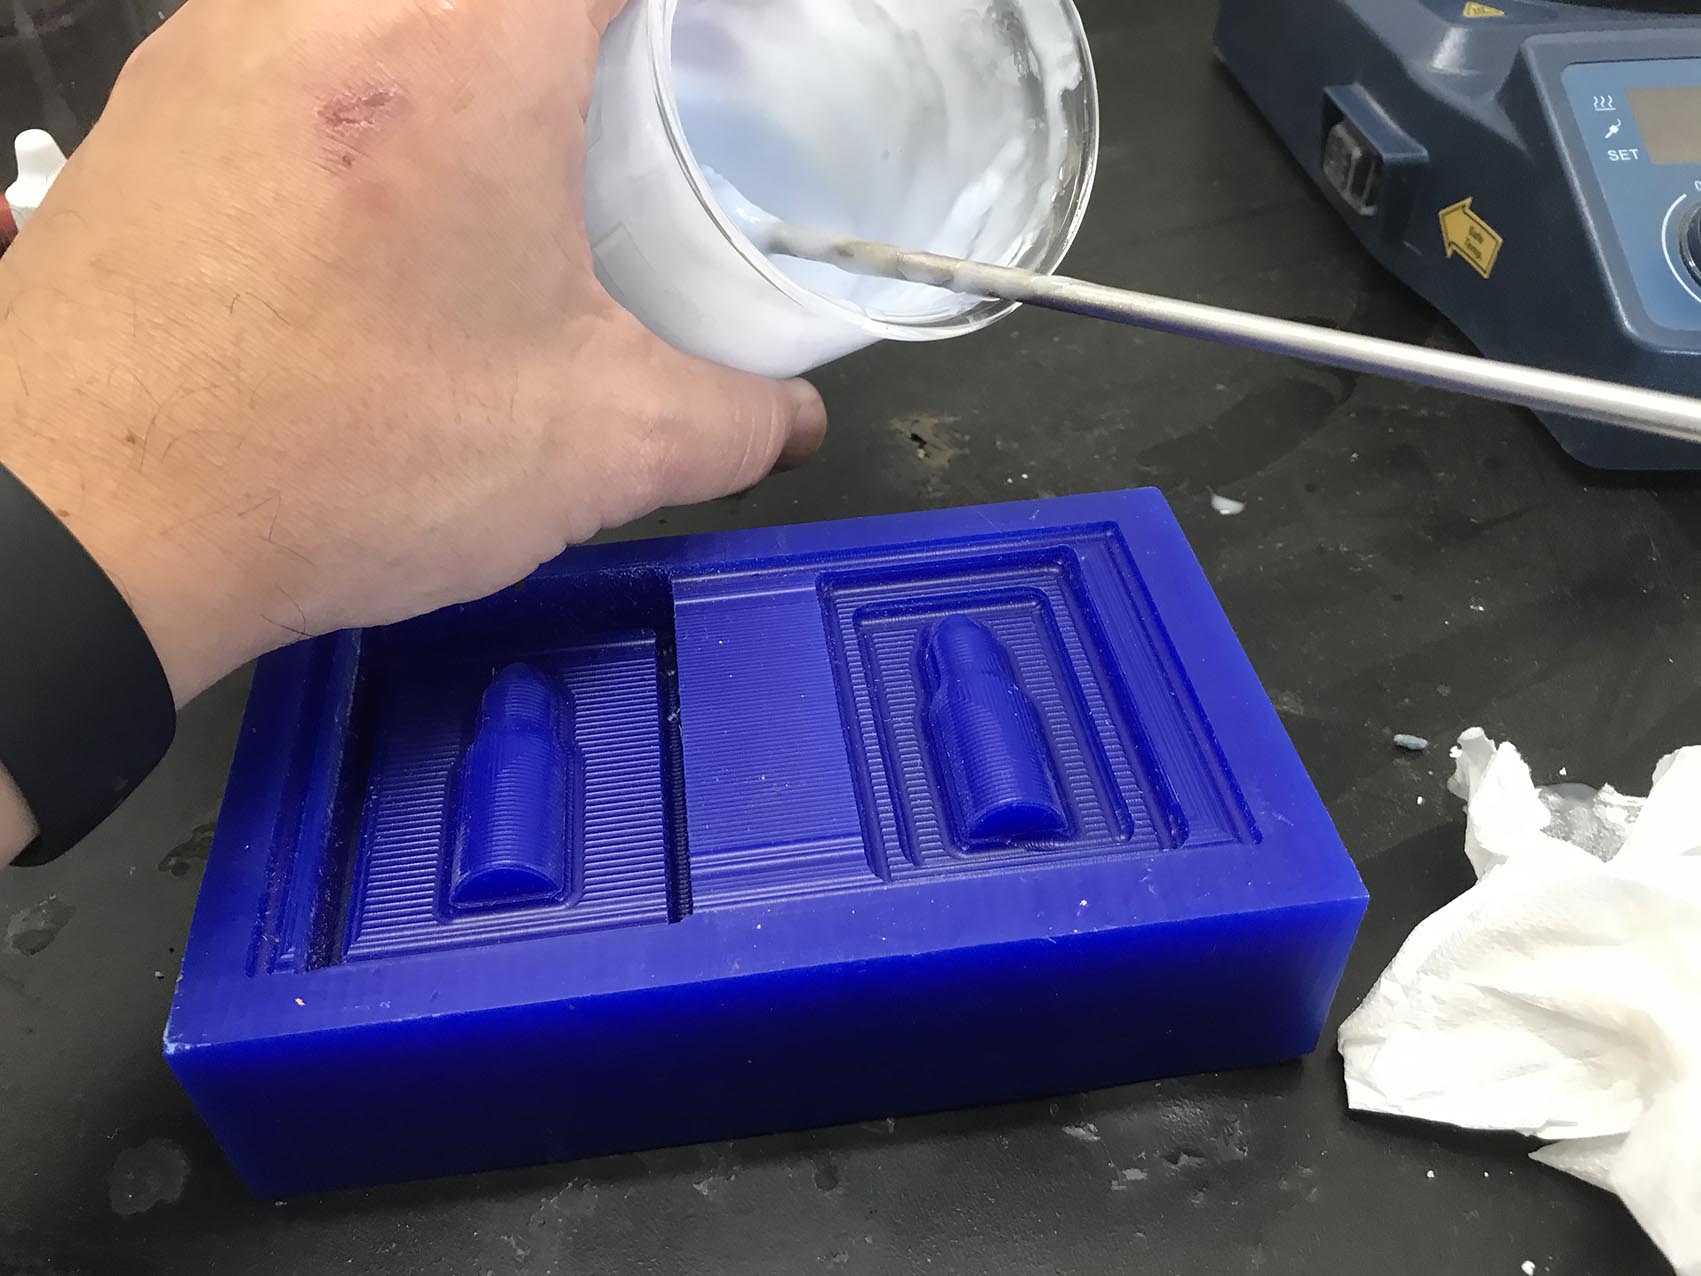 I pour it into the wax
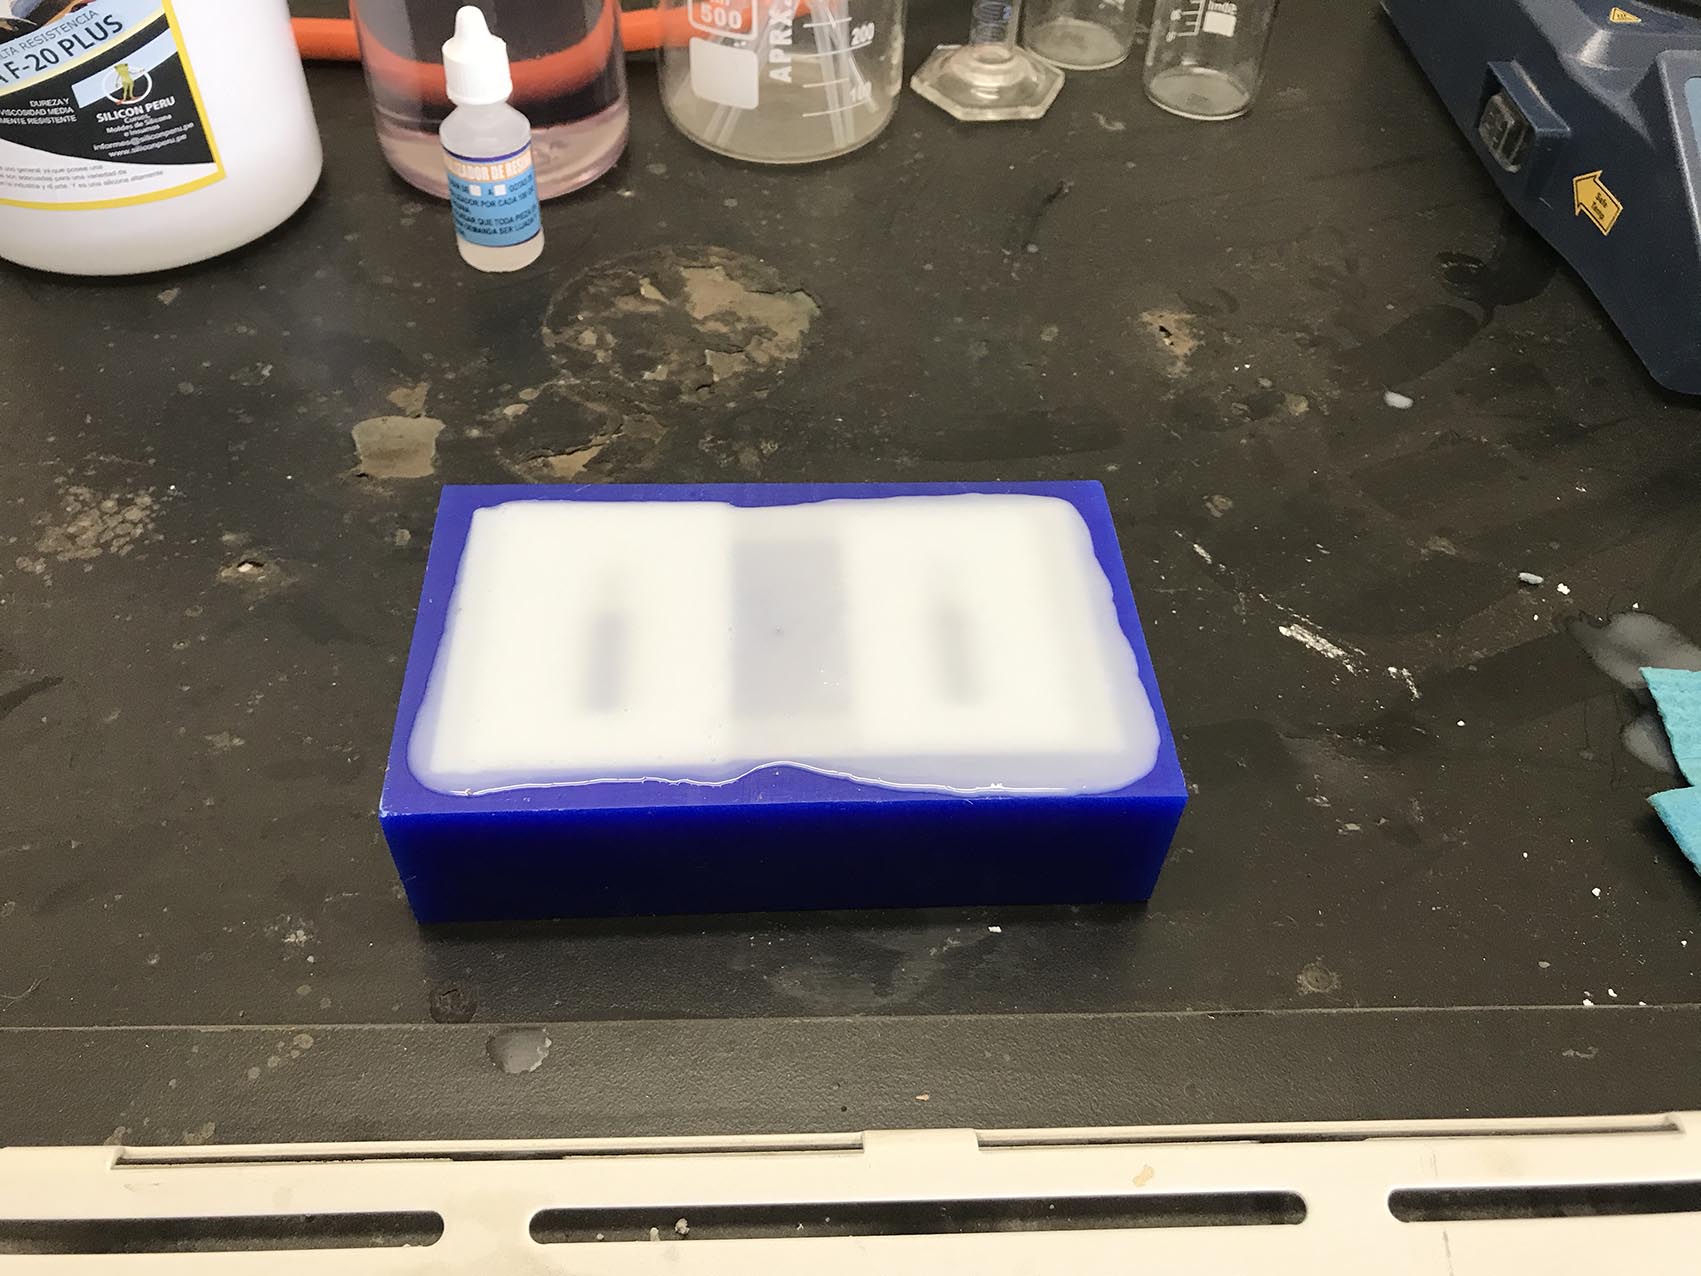 Finally i have to wait for arpoximately 6 hours until it dryies completely.
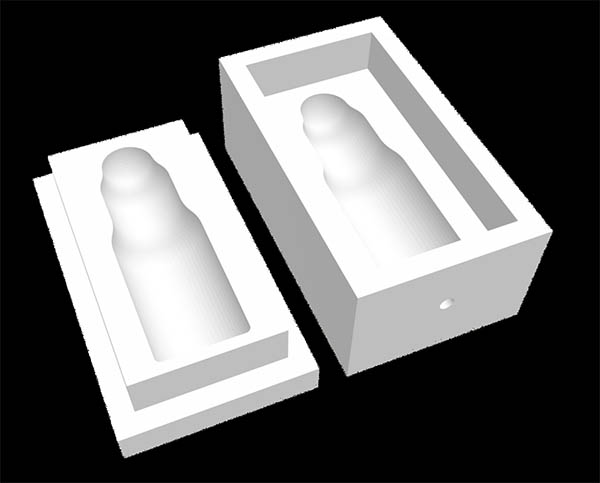
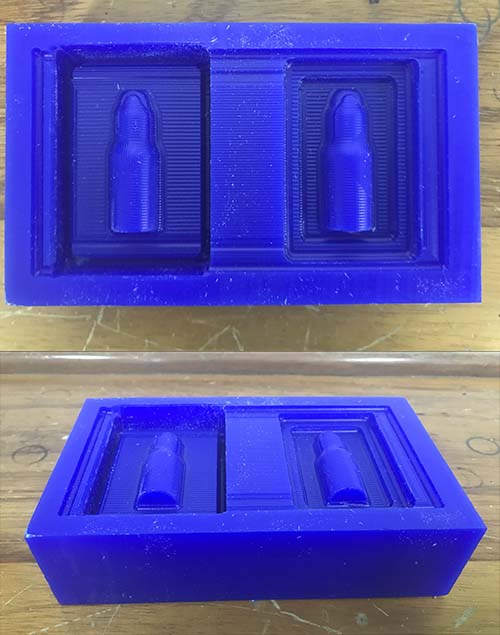
Here how the mold appears.
Finally i have to wait for arpoximately 6 hours until it dryies completely.
Here how the mold appears.
CASTING
| CHEMICALS | QUANTITY |
|---|---|
| RTV SILICONE | 100g |
| Catalyzer | 2g |
| ---------------- | |
| EPOXY RESIN | 20g |
| Colorant - gray | 20 drops |
| Catalyzer | 20 drops |
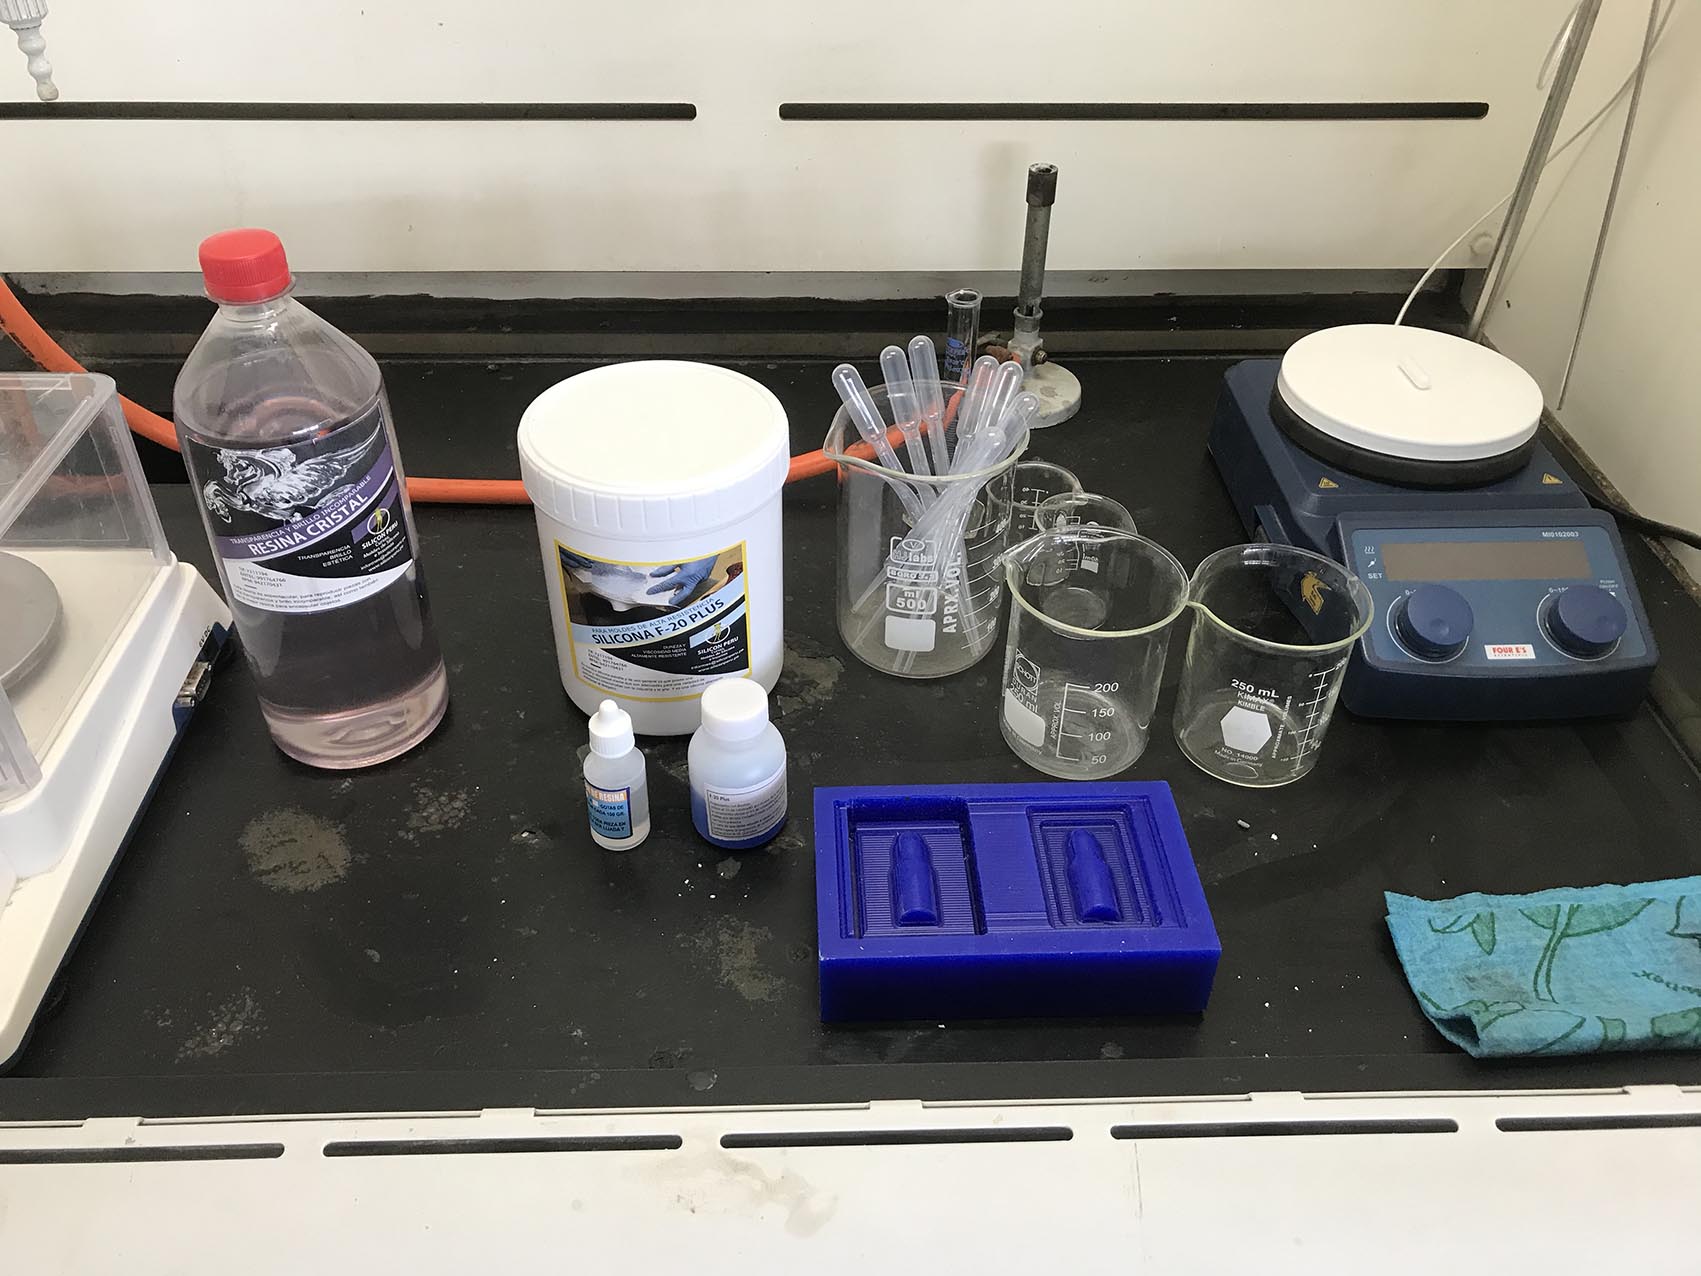
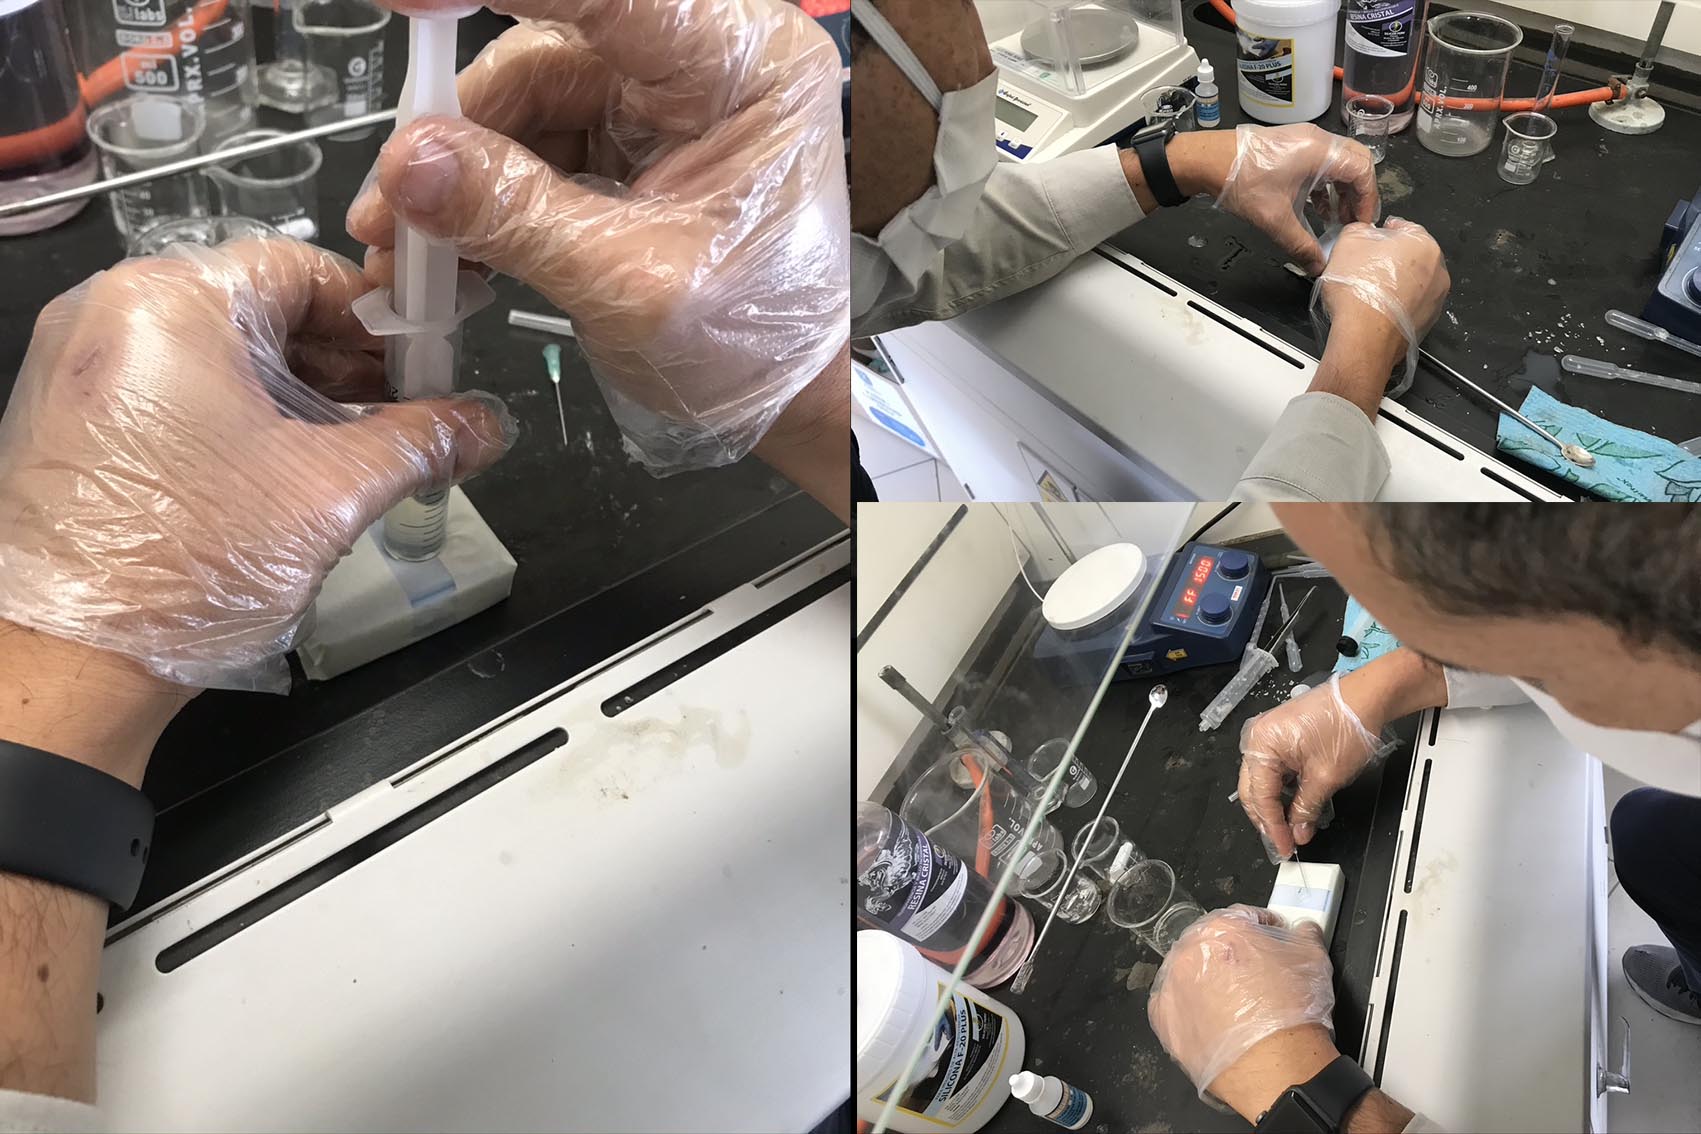
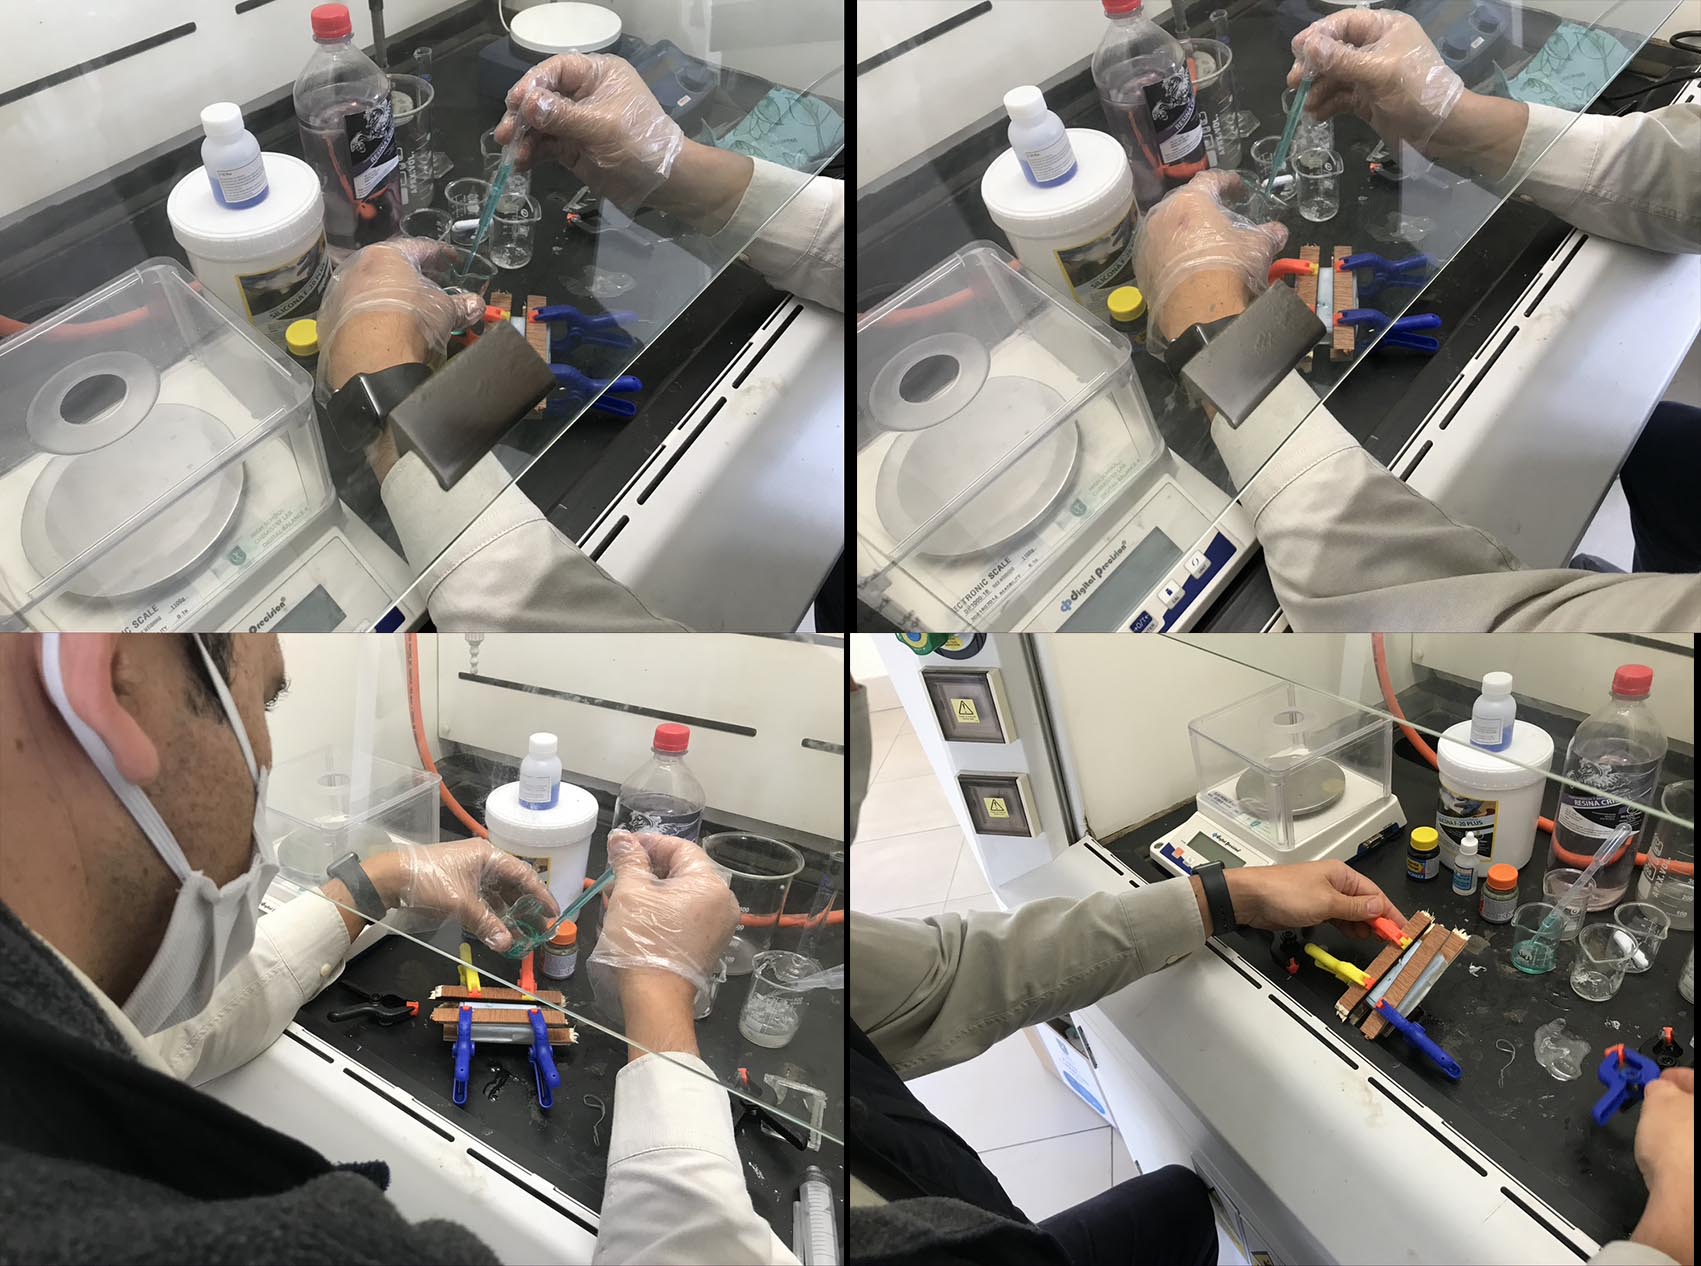
I prepare the silicones mixture according to the chart above. I did it the fume hood of the Chemistry Lab in my school due to safety concerns.
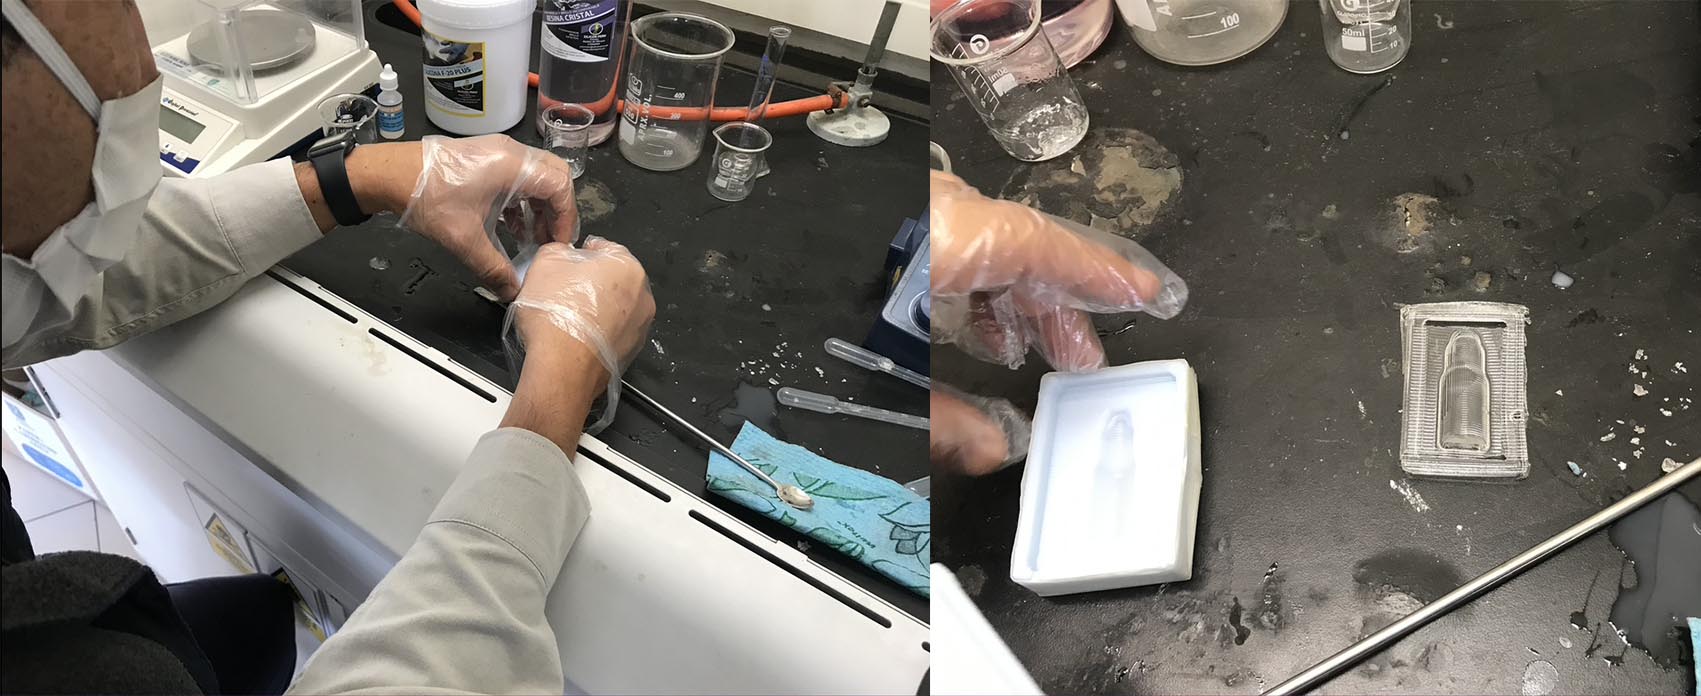
I use a magnetic stirrer to mix the silicone with the catalyzer but at a speed of 1500 rpm doesn’t work well due to the high densisty of the mixture, so i continue with a metal spoon.
Mixing with a magnetic stirrer from Manuel Corrales Arana on Vimeo.
I use maskingtape to cover both molds to secure them. I used a 20ml syringe to introduce the resin into the mould because the hole is very thin. At the beginning is seems to work but not at all due to some part without resin covering.
 I wait for three hours to check my casting. First trial without the colorant, looks good but not enough because one side was missing and is due to the lack of fixation.
I tight it by using some plastic clamps to avoid loss of resin.
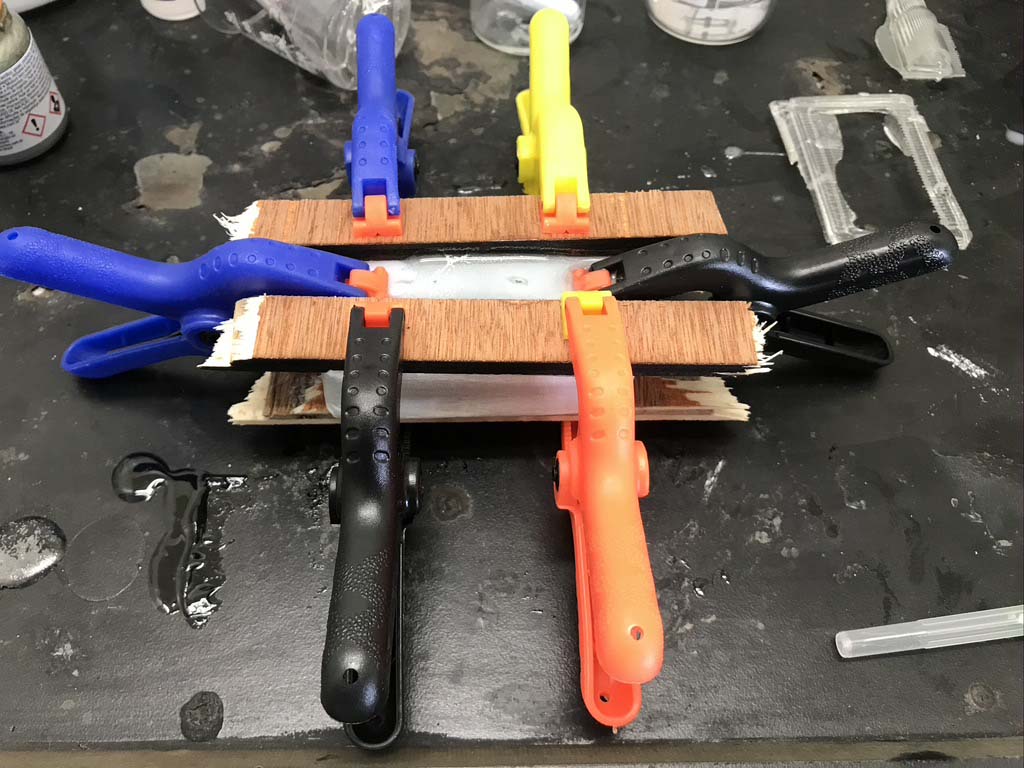
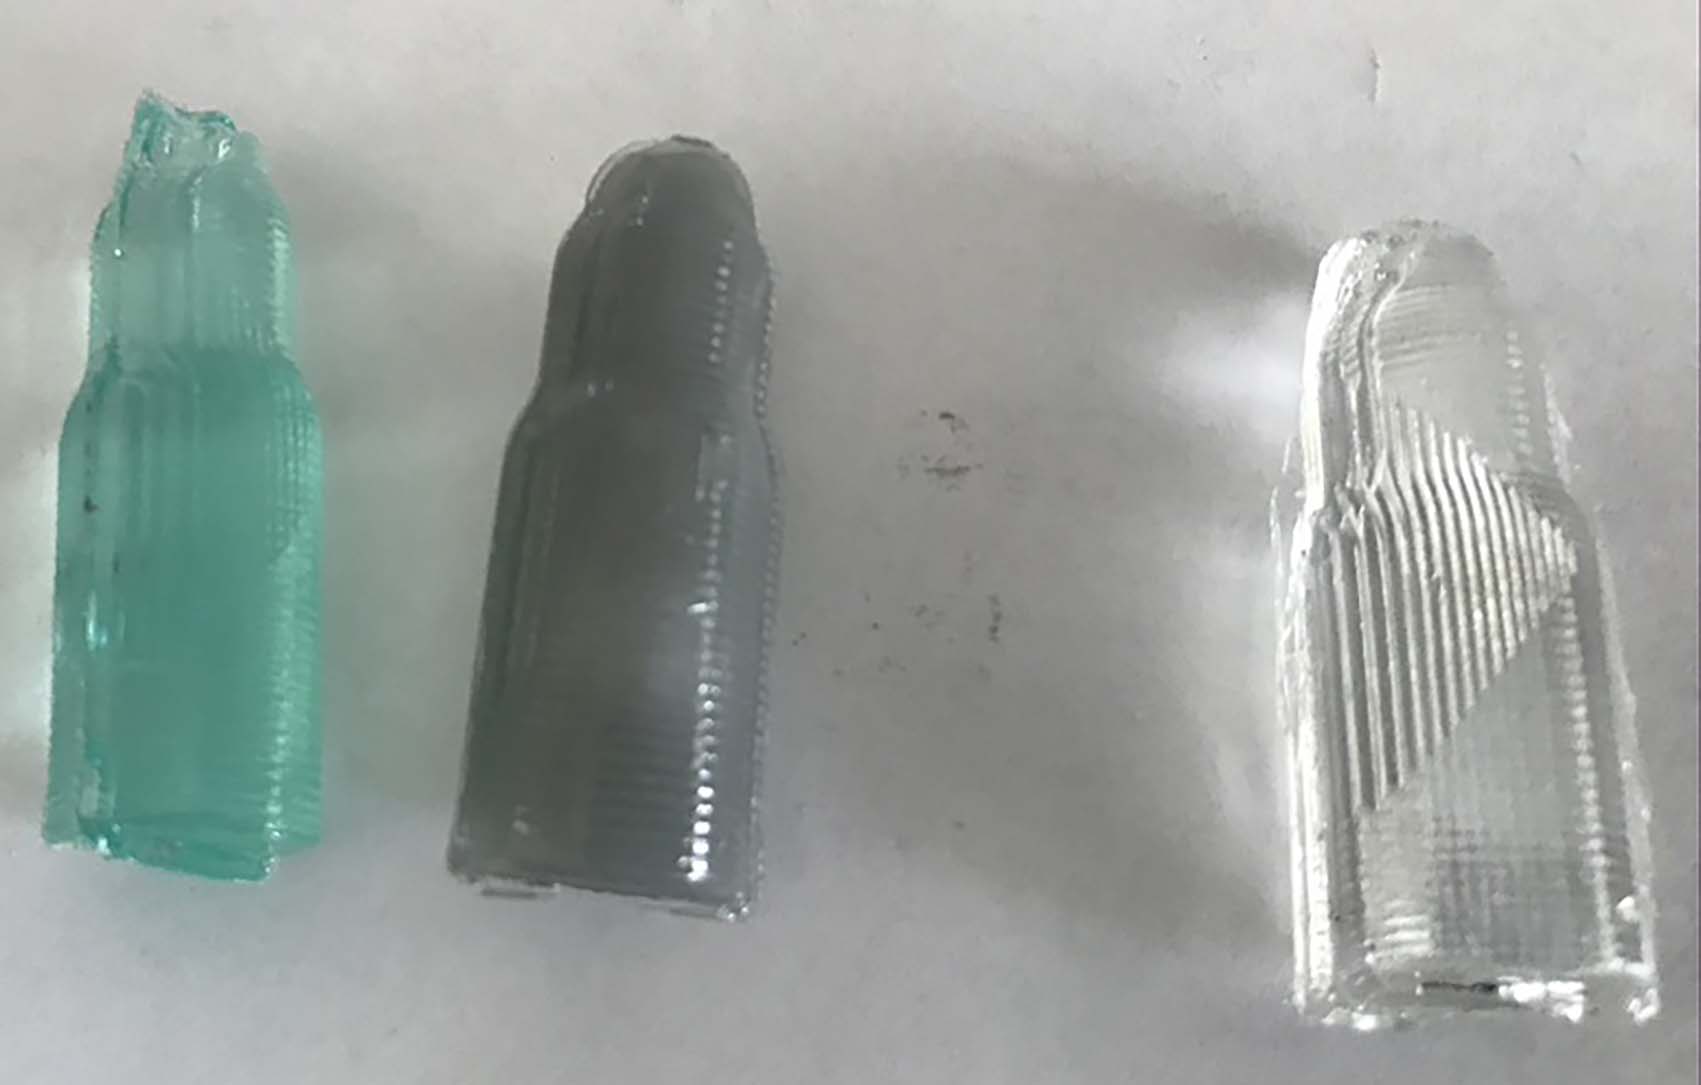
Finally i notice a change and now is complete. I decide to try again with a different color, a blue bullet.
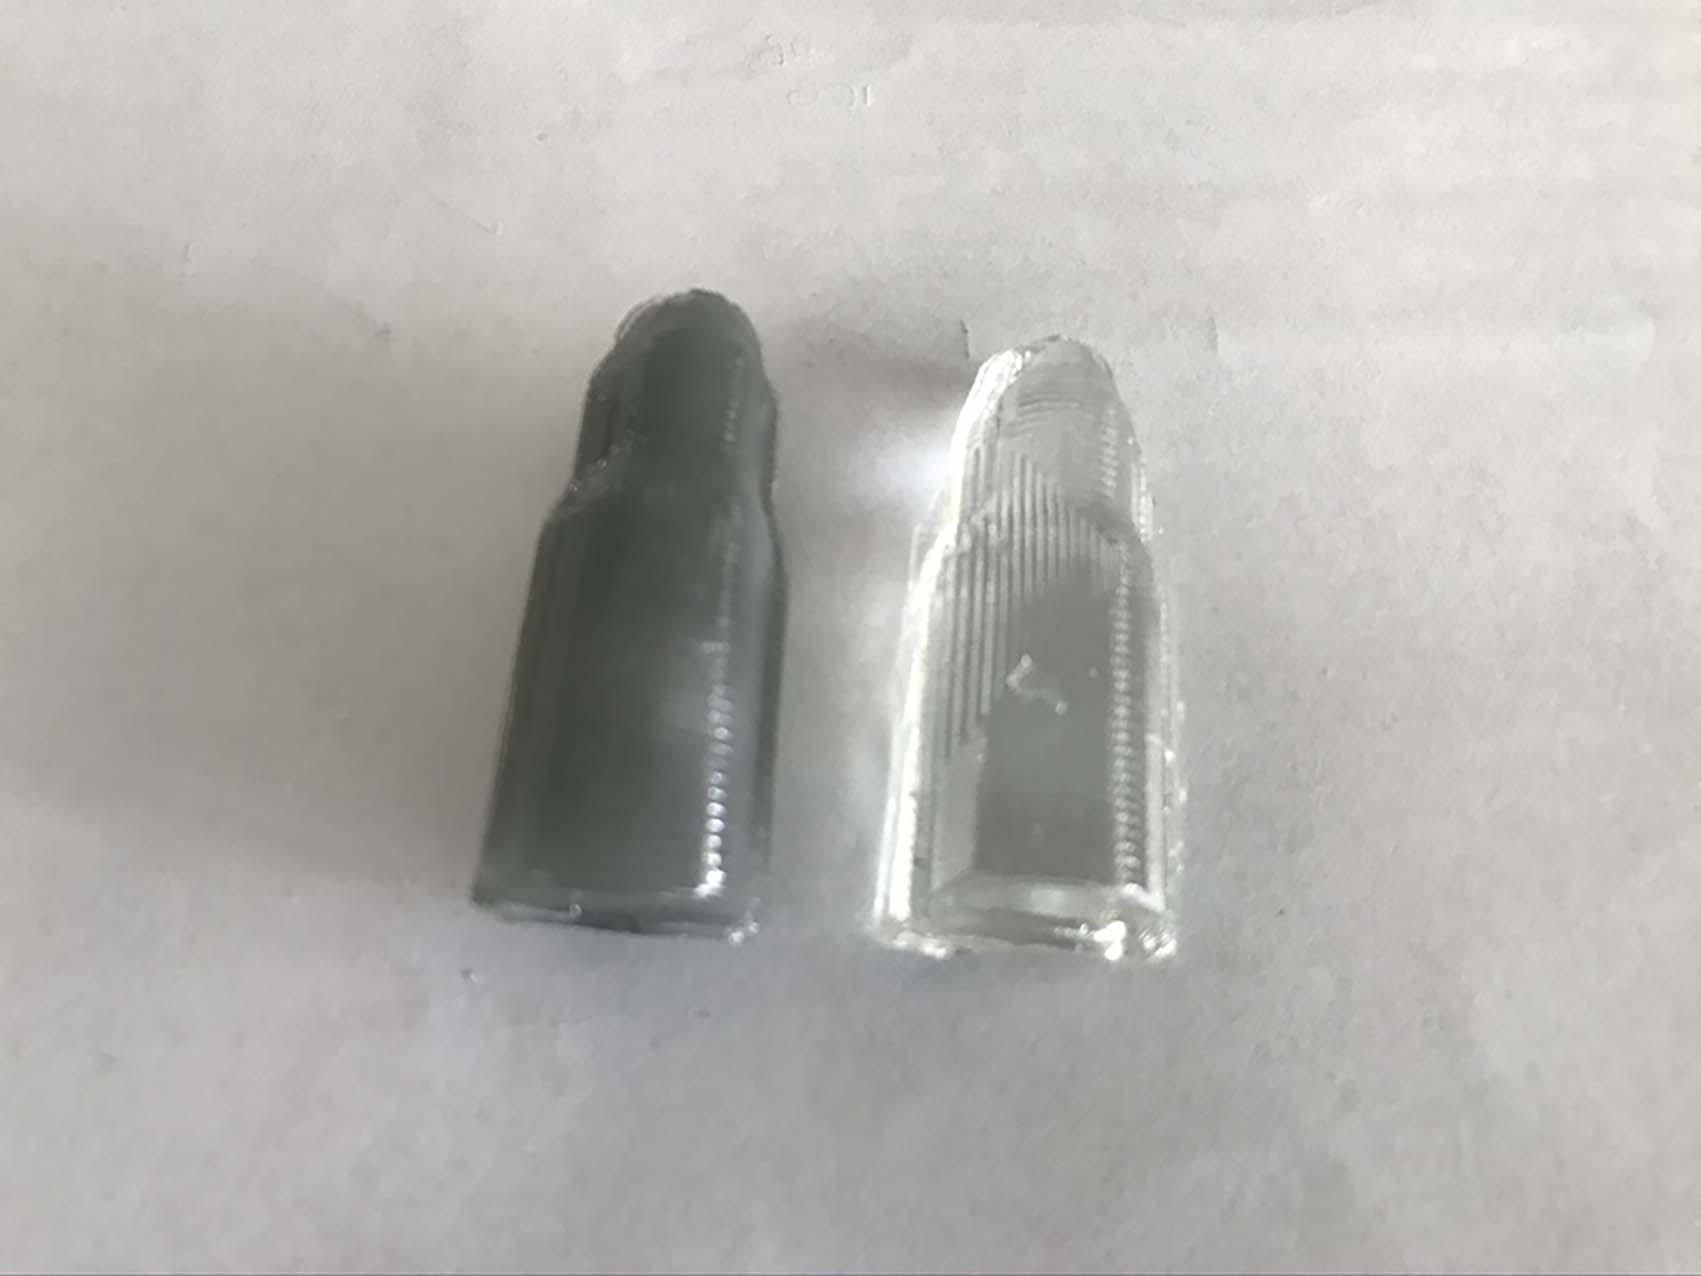
In this case i change a syring for a Pasteur pippete, becasue it is more flexible and i have to use inmediately before the resin solidifies. It broguth better results.
Final result, Blueish bullet, grayish bullet and the transparent one (first trial)
This assignment was very interesting since i find how to cast little animal as insects in resin. Other application is about education where i can teach my students about this way to produce something in series.
File Link BULLET-2 STL