6. 3D Scanning and printing
This week I worked on printing and scanning.
Task 1: Test the design rules for your 3D printer, (Group work)
We are going to use two of the models explained in class.
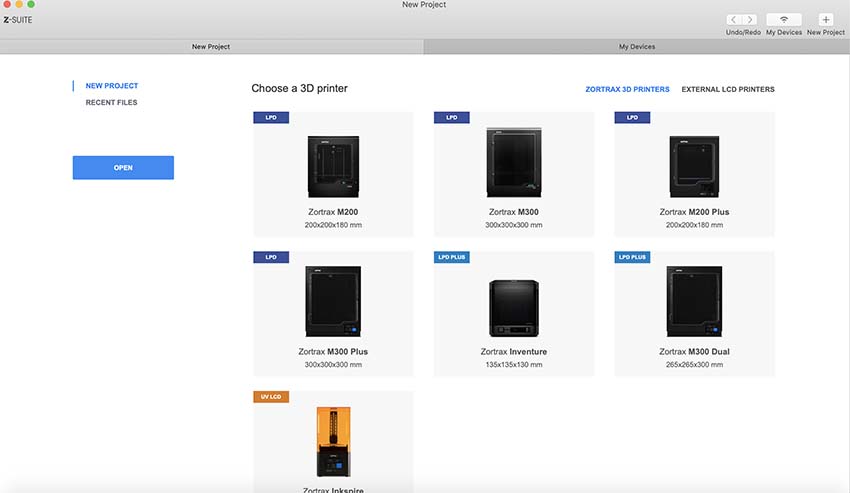
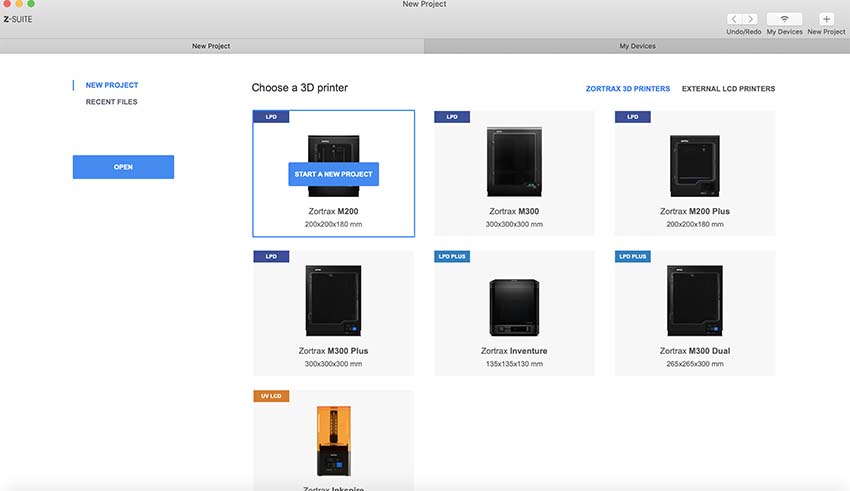
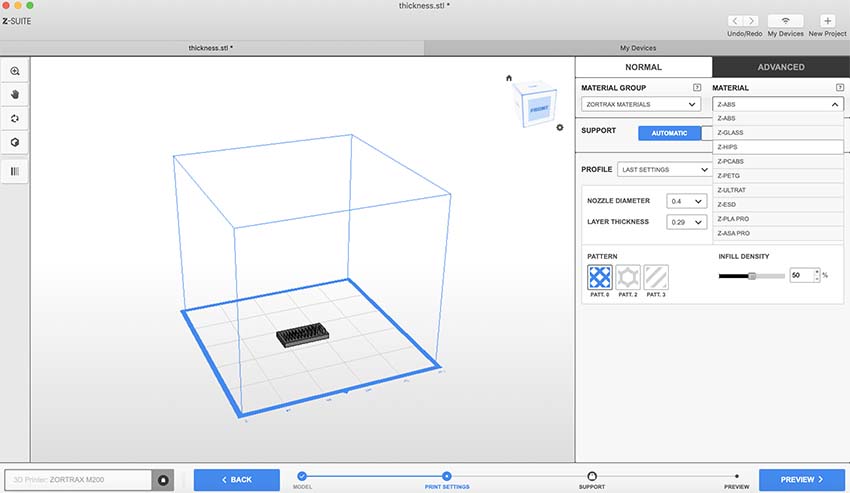
We use the Zortrac M200 3D printing machine for our work. Here how to setup the machine.
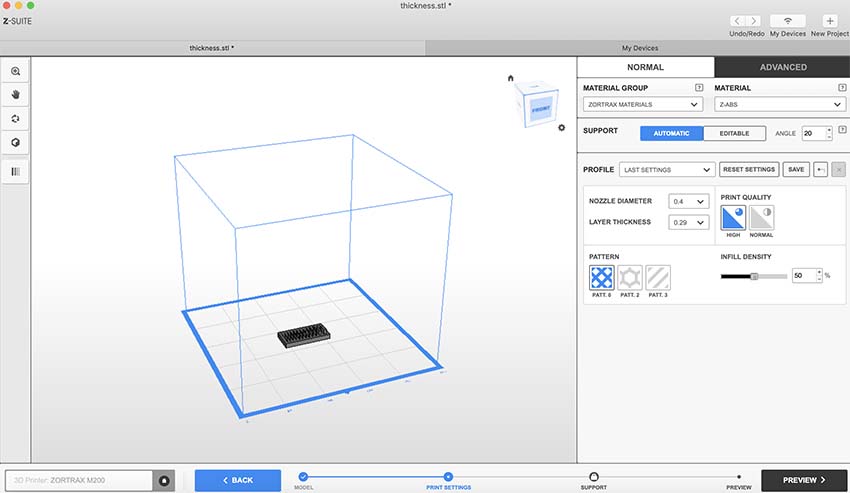
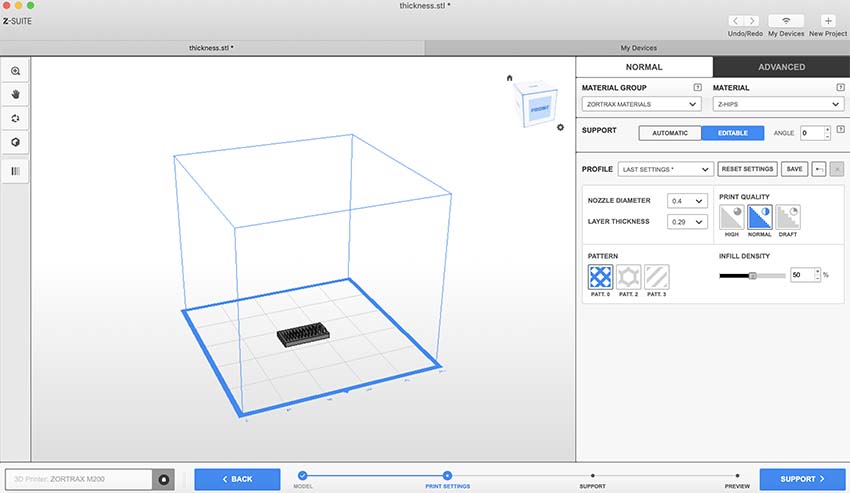
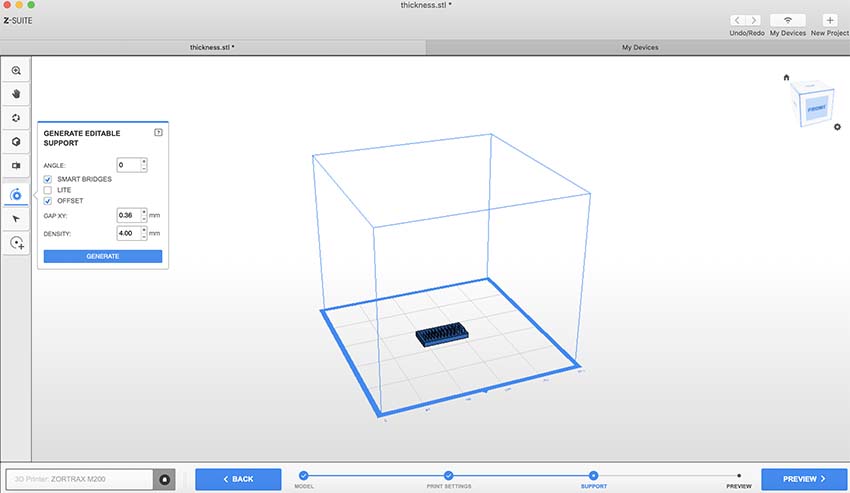
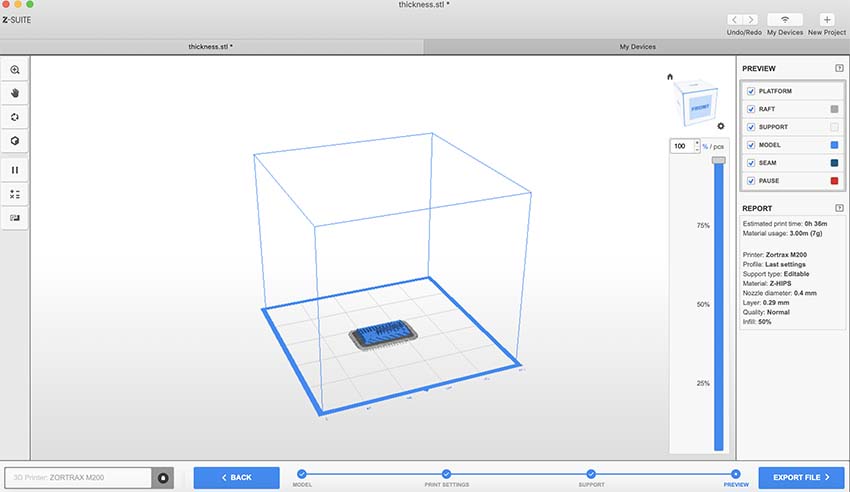
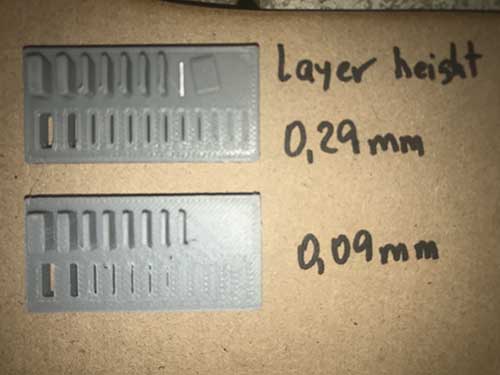
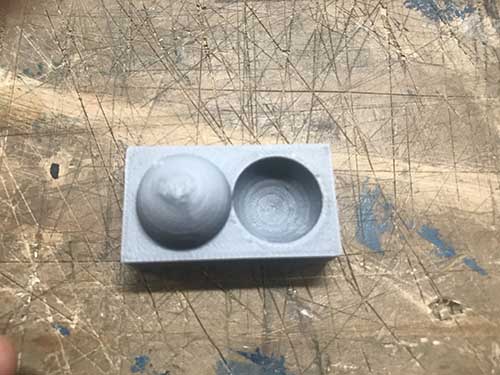
One interesting issue here is that we use two layer heights and we notice the quality in both cases. Both were printed without support material. The one with a 0.29mm layer print almost all the holes in it but the one that uses a layer of 0.09mm printed less holes. The numbers are more clear in the object that uses 0.09mm of layer height as expected.
Task 2: Design and 3D print an object that could not be made subtractively.
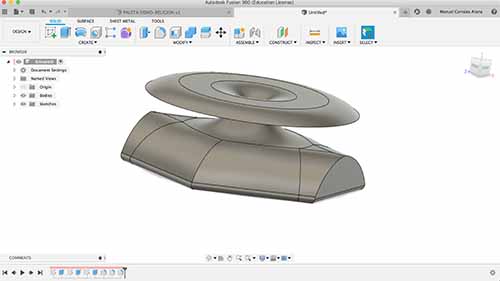
I try to make an object similar to a lamp.
I start using a hexagon polygon with a extrusion of 40mm.
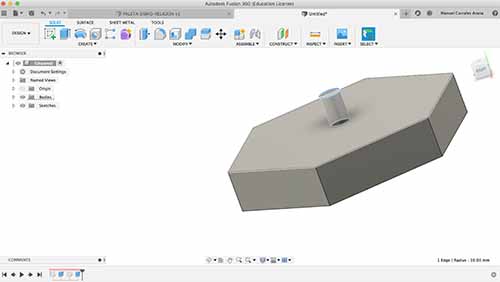
Then i made a tube that holds the cap of the lamp.
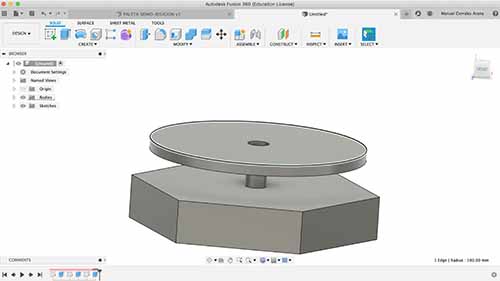
After i use fillet to change the shape of the head of the lamp.
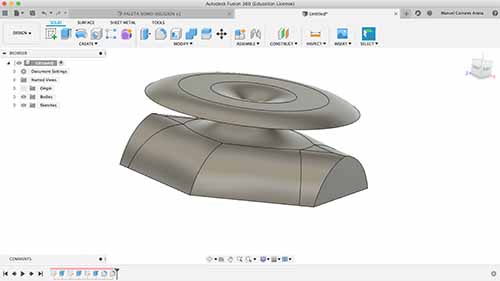
Finally i finish with some fillets.
Here the link of the object in stl and obj formats.
Analysis:
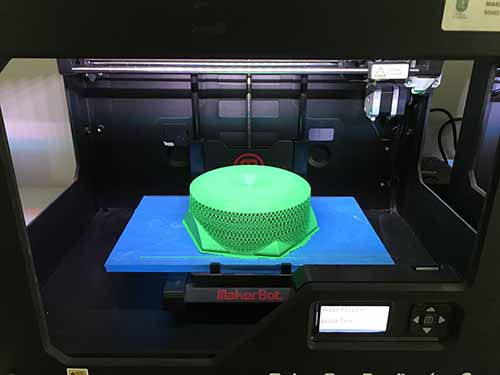
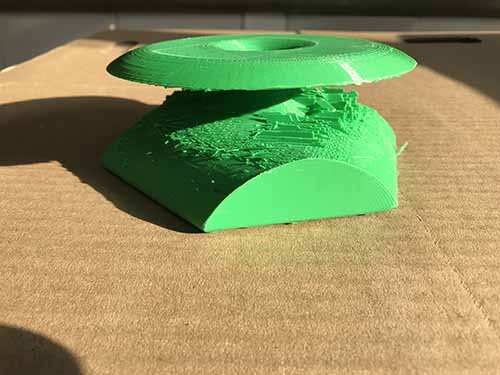
This object or 3D Lamp as a one piece will not be done subtractively because the section between the base and the head has an empty region where there is no drill or endmill that can substract in case it will be fill. In this case instead of usiing a Shopbot which works moving in one angle, i use a 3D printer which add the PLA according to the previous design and the PLA added as support is then taken away.
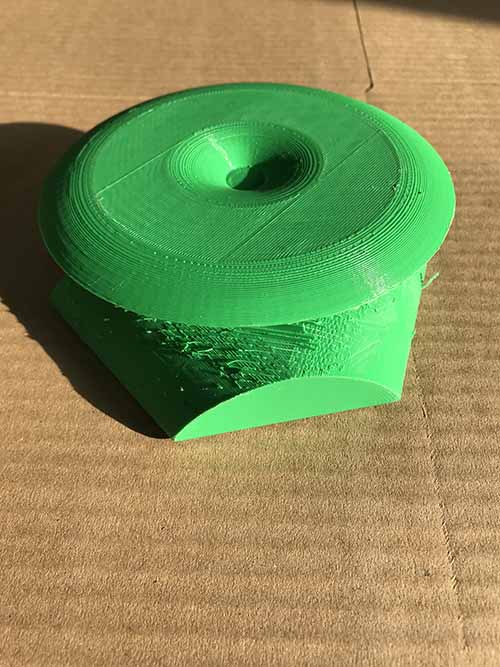
After i took all the supports, i have the lamp.
Task 3: 3D Scan an object and optionally print it.
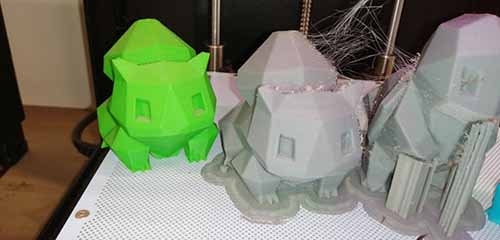
For this task i use one pokemon 3D figure for scanning and print it after.
First i have to calibrate the 3D Scanner Einscan SP with Turntable
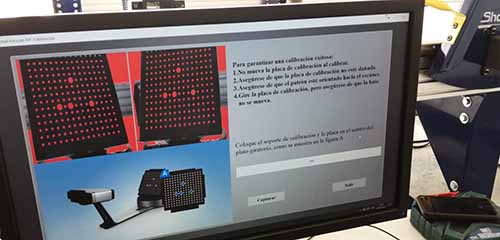
Calibrating the Turntable of a 3D Scanner from Manuel Corrales (UCAL FabLab) on Vimeo.
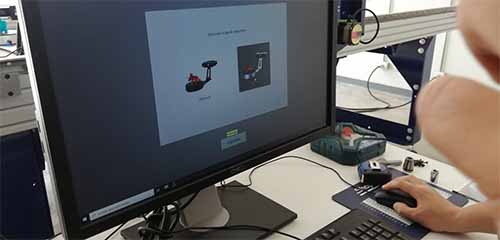
After the calibration we start scanning the object.
3D Scanning a Pokemon from Manuel Corrales (UCAL FabLab) on Vimeo.
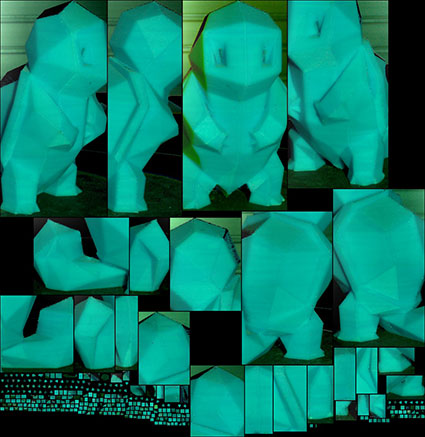
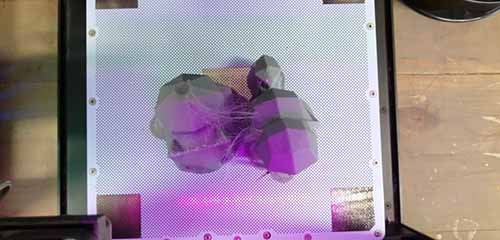
Finally here how is being seing before printing.
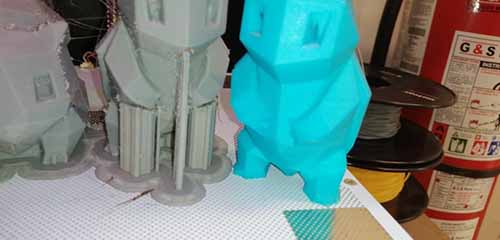
Processing the 3D Object first in blue from Manuel Corrales (UCAL FabLab) on Vimeo.
Here the process of scanning a model done in 3D Printing.
Processing the 3D Object finally in green from Manuel Corrales (UCAL FabLab) on Vimeo.
Finally the object scanned by us.
Find here the scanned format.
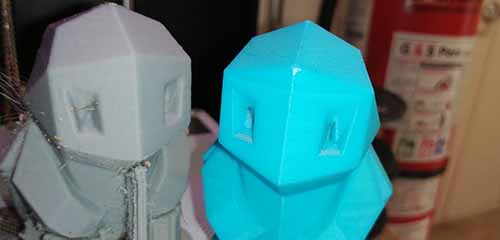
It seems a real good image quiet identical as the 3D version.
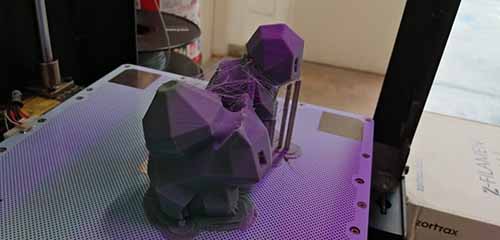
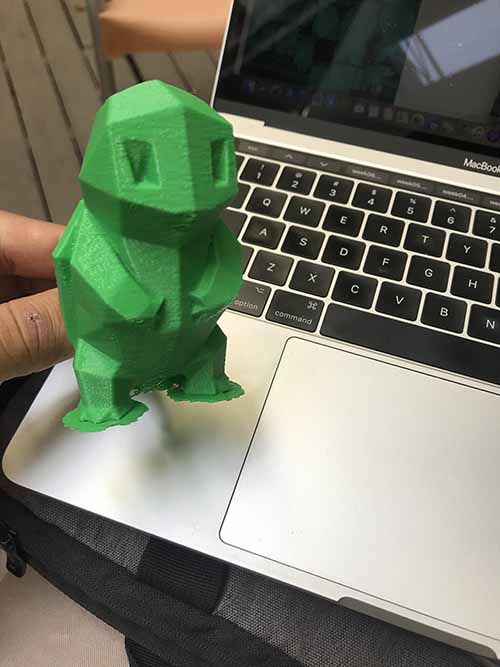
Here the pokemon printed in a Zortrax 3D Printer

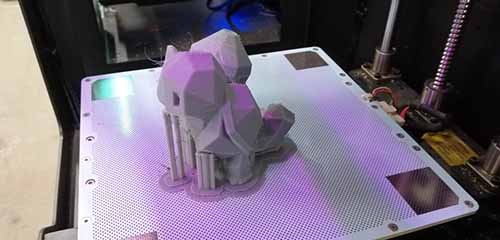
 Someone draw a line in the eye of the model and the scanner read that info and that´s why if you get closer, you may notice a line like in the eye.
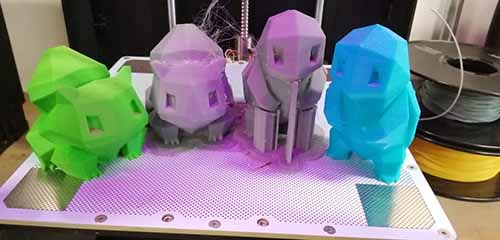
Here the object printed with a Makerbot 3D printer.
ADVANTAGES AND LIMITATIONS OF 3D PRINTING:
| ADVANTAGES | LIMITATIONS |
|---|---|
| Rapid prototyping | Ambient light will interfere |
| Cheaper cost | Not for mass production |
| Safe | High energy consumption |
| Sustainability | Limited materials |
ADVANTAGES AND LIMITATIONS OF 3D SCANNING:
| ADVANTAGES | LIMITATIONS |
|---|---|
| Fast data recording | Quality, not so high |
| No contact with object | nitial cost too high production |
| Safe | Line of sight when out, difficult to measure |
In this assingment i learnt about how to use a 3D printer, how to design an object to 3d print it, when to use it, the eco friendly materials and finally the use of a 3D scanner.