3. Computer aided design
This week I worked on defining my final project idea and started to getting used to the documentation process by working in the modelling using different 2D and 3D softwares.
Research - 2D Design
First understand the difference between the term “Raster” and the term “Vector”. Here a table with main differences.
TYPE OF GRAPHS
| ITEM | RASTER | VECTOR |
|---|---|---|
| GRAPHICS | Pixels | Paths |
| SCALABILITY | Blurry images | Doesnt lose clarity |
| SIZE | Large files | Short files |
| FILE ext | BMP, TIFF, JPG, GIF | SVG, EPS, PDF, DXF |
Here a comparison between the same image done in both type of graphs.
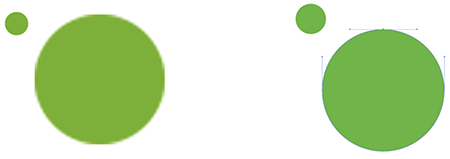
RASTER IMAGE VECTOR IMAGE
I model one of the animals i want to use in my project.
Raster Graphics
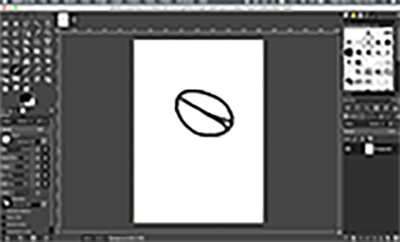
Drawing with GIMP-2.10
A. First i download the software
B. I Watch a tutorial
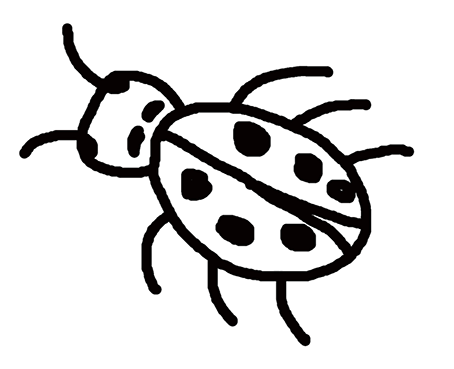
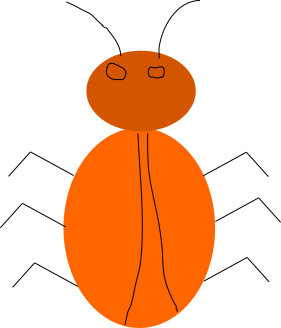
C. I Started drawing a beetle as an example of one of the animals of my project.
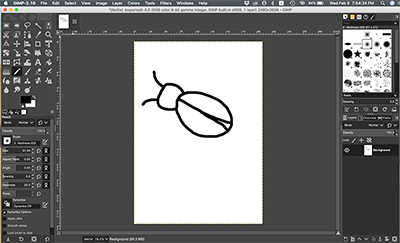
First creating the layer Second, drawing a quiete oval image.
Then, continuing givint its proper shape.
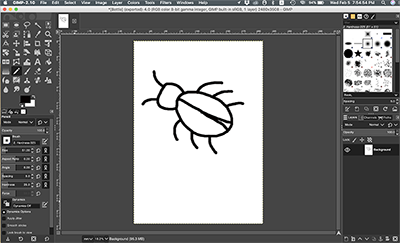
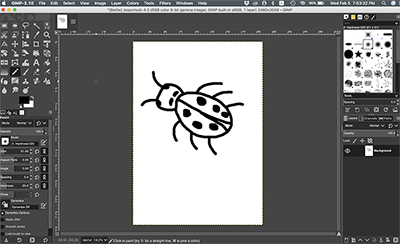
And the final product after sketching on GIMP. It is quiete pretty simple to use.
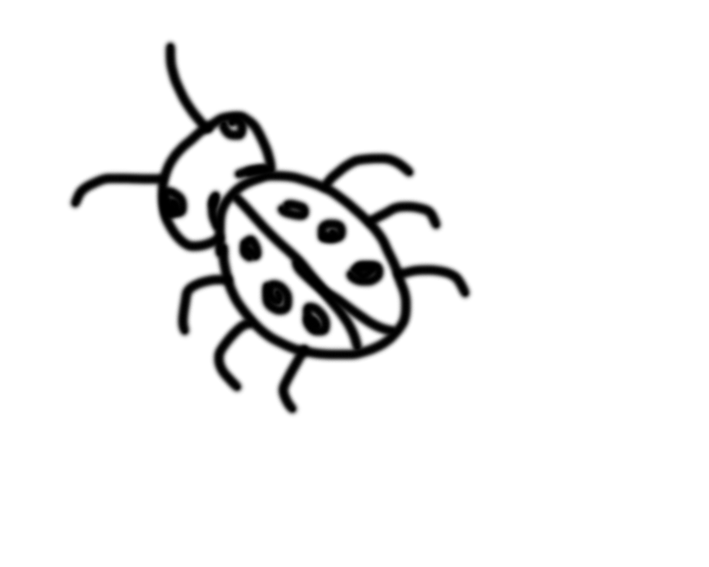
Modelling with Photoshop
The way to create the beetle is very similar as the one done in GIMP. Some format issues are a little different but nothing complicated.
Vector Graphics
2D Design Drawing in INKSCAPE
A. First i download the software
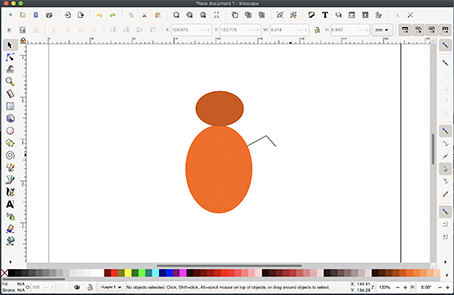
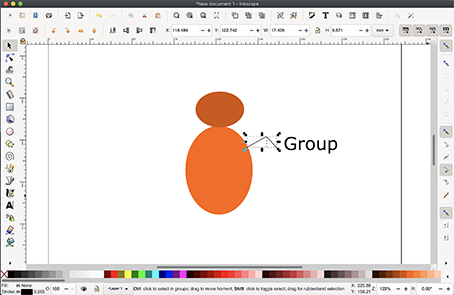
B. I started drawing the bettle by using circles.
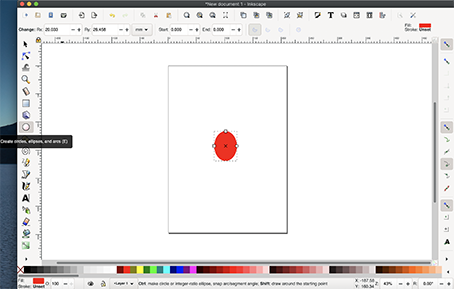
C. Then i realised that for making the legs i have to use lines and to group both lines for a leg in order to copy the other five legs for a bug.
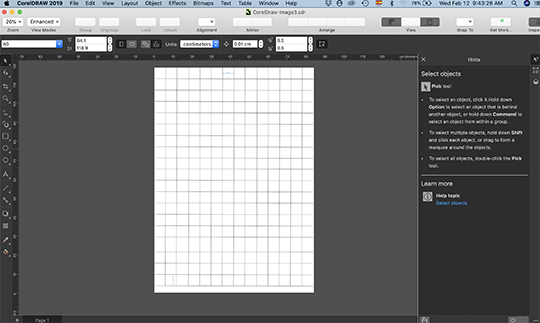
2D Design Drawing in COREL DRAW
A. I Open Corel Draw
B. Then start a new project.


I started drawing the base of the environment with squares 6cm x 6cm each.
Research - 3D Design
I started working with Fusion 360, Rhinoceros and tinkercad
Using Fusion 360
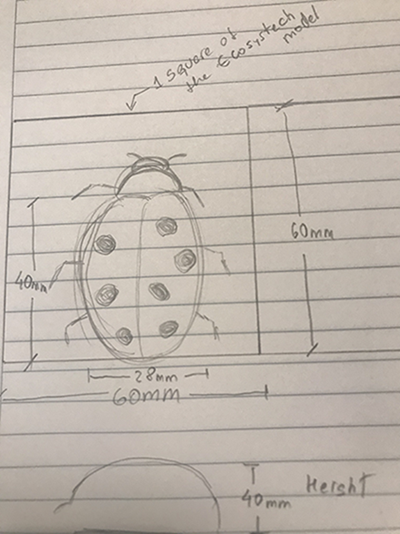
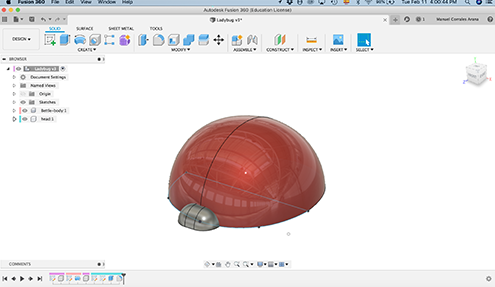
First i have done the model of the ladybug as one of the animals for my project. I sketch it in a paper.
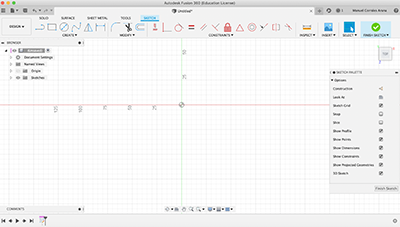
I started to use Fusion 360, the Education version which is Free.
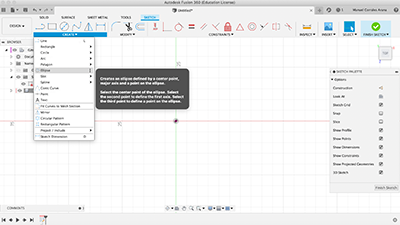
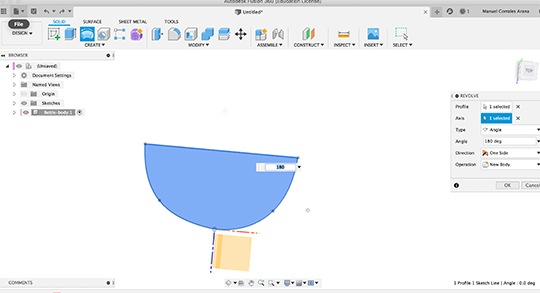
I chose an elipse to sketch my ladybug because is the closest figure for the body.
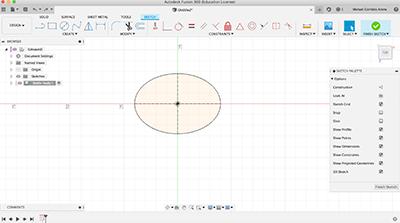
I draw to sides with a height of 20mm and a leght of 40mm.

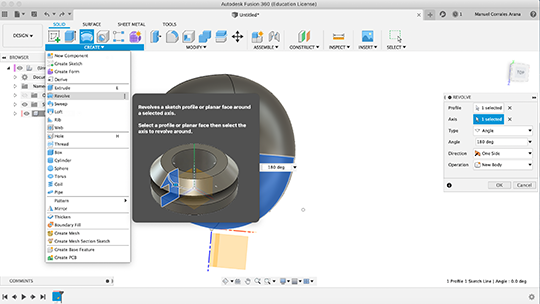
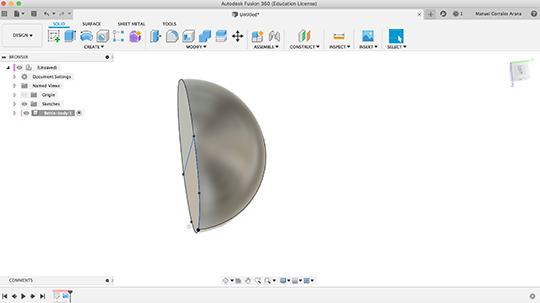
After drawing the sketch line, I use the “revolve” tool.
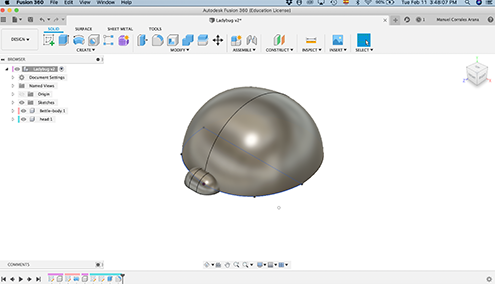
And finally i start working on the head using a different “component” and attached to the body.
Then i add some color for better visualization of my object. Remember that this is just for a visual presentation becasue the object is going to be printed in one color according to the filament to be used.
Using Rhinoceros
It took more time for me to work on rhino because i used to work with the parametric software, but i try.
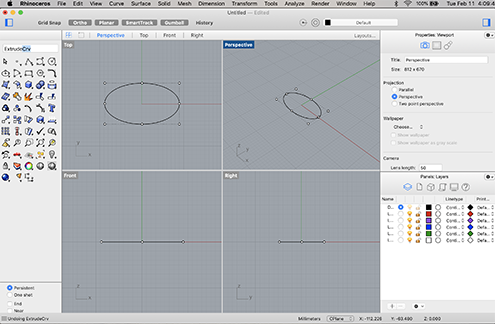
One difference is that in this software to modify a complete objetc is necessary to do it by parts, where in Fusion 360 if you modify a line or a part of an object, then all the following actions are rearranged.
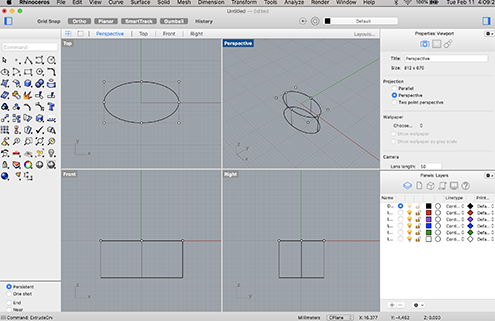
I attached what i did for my project:
DESIGNING THE INSECT-BOT IN 3D
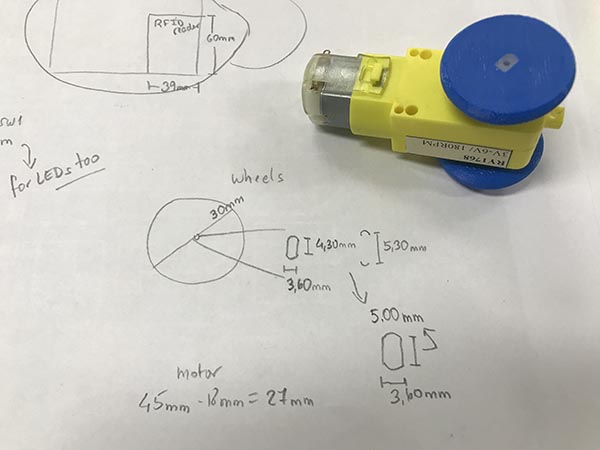
Sketching of the model
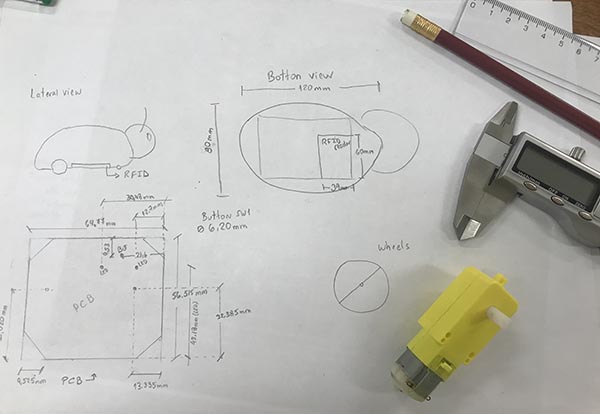
I start to 3D print the two wheels that will be attached to the motor.
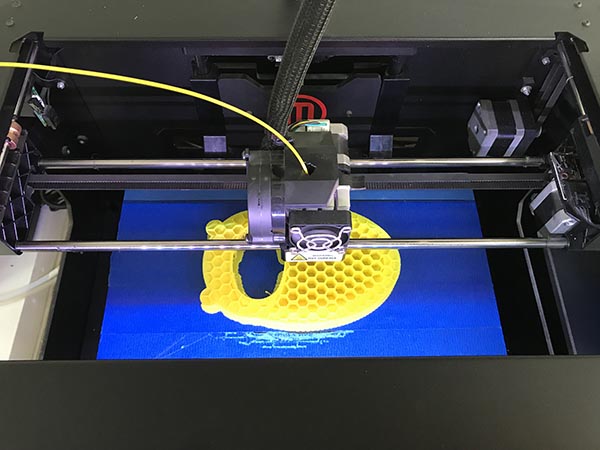
I use Fusion 360 to model the animal bot.

I print the first model to find if the different measurements are well done by assembling the different components.

I noticed that I have to resketch some measurements like the witdh of the hole to fix the wheels.
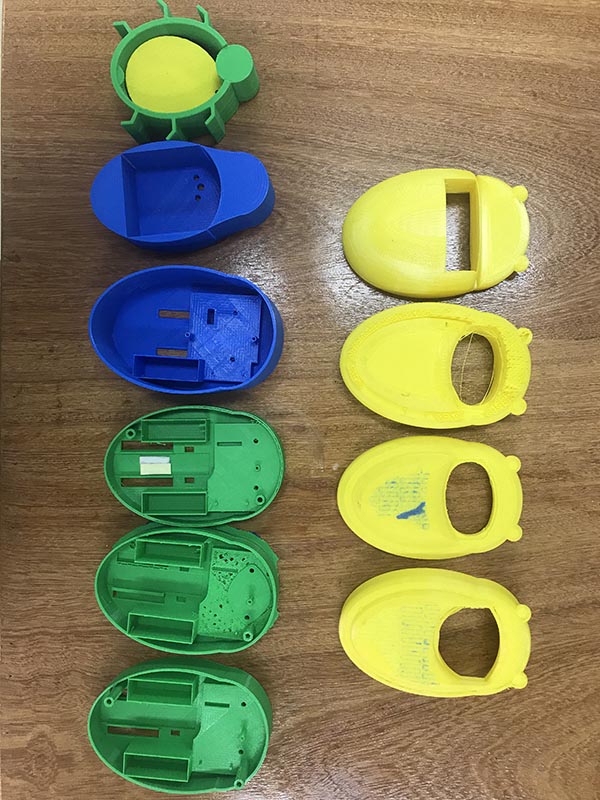
Then i started printing the lid of the animal bot in yellow color.
But due to several tests i printed a lot of models and correct different issues in all of them until i finally obtained the structure that will hold the electronics inside with the battery.
For me it is less complicated to work on Fusion 360 due to its parametric design. I learnt how to pass a 2D graph into a 3D image and how to modify it. Perhaps i need to go deeper in the use of Rhino. Very nice starting. I understood the difference between the two types of images and how are they used and which one is best for my project.