8. Computer controlled machining
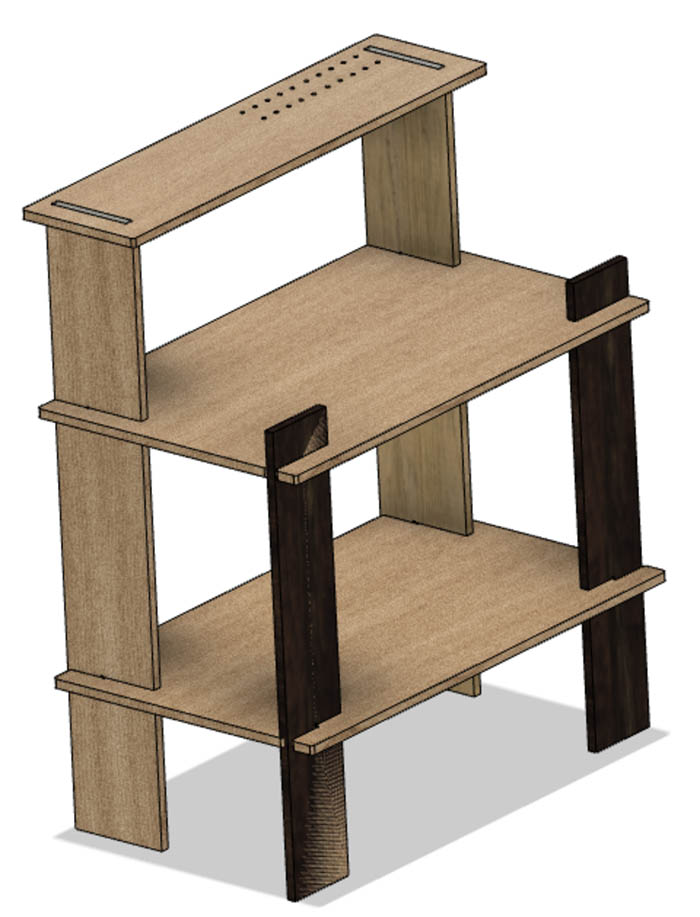
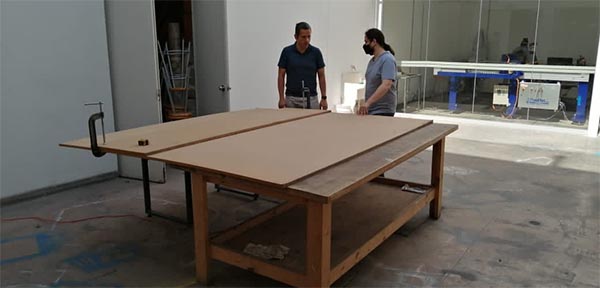
This week I worked on a movable table for tools.
Design
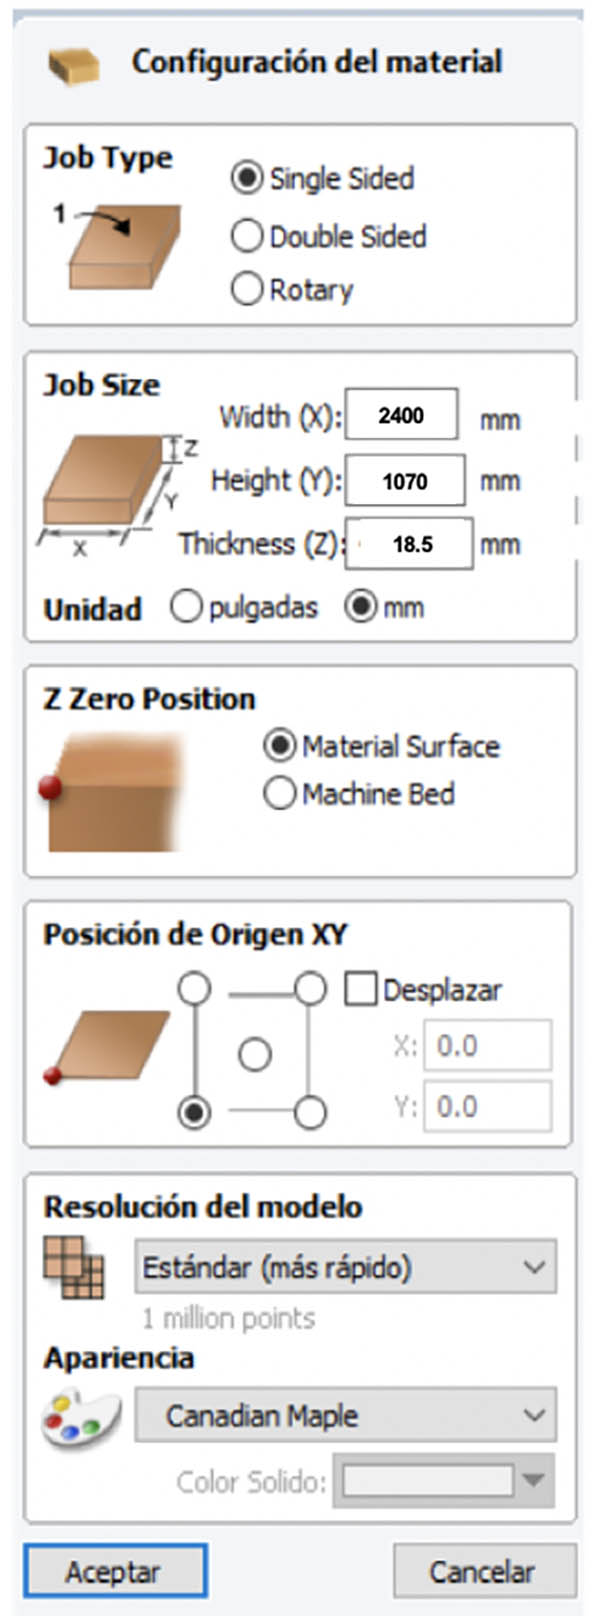
I design the workbench tool table in Fusion 360. First we have to take in account the height of the MDF board which is 18mm to be considered in the design of the tool table. AFter we measure the height of the MDF, we find that it increases to 18.4mm in some parts and 18.5mm in others, so we consider this to add a tolerance.
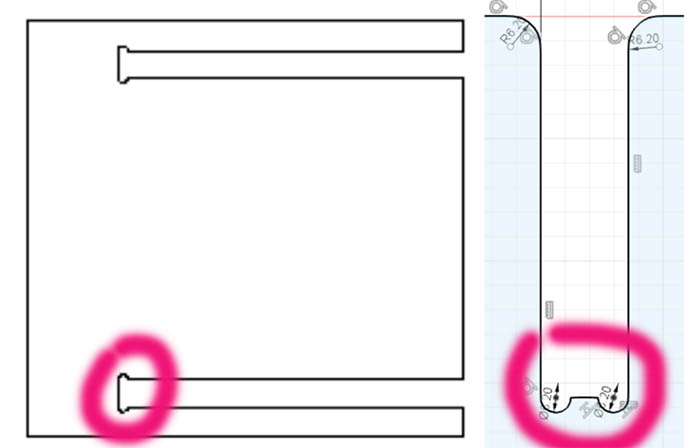
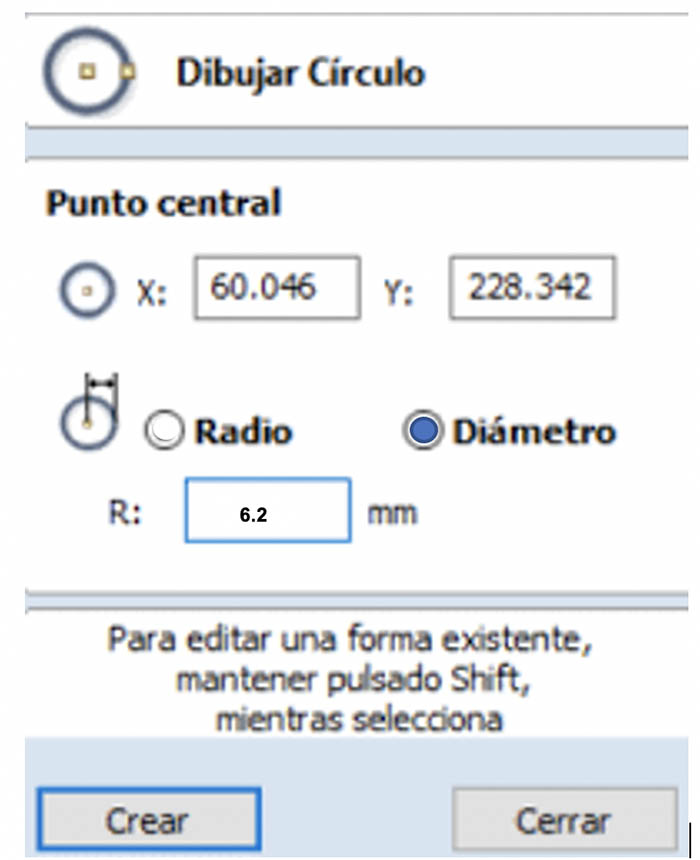
Second important issue to be considered is how the endmill works. As it is round shaped tool, it does not cut in a 90 degree angle to make a perfect square as example, so we need to make a circle of the endmill diameter like it is shown in the image below.
Summary of Fusion design of the workbench table from Manuel Corrales Arana on Vimeo.
After the design in Fusion 360, i need to save my work using the step extension
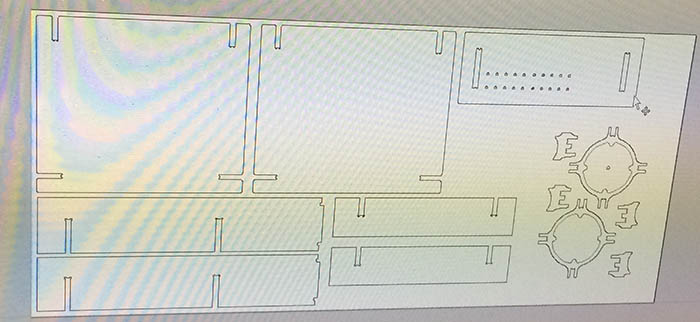
Then we have to put all the parts in 2D in order to be cut. In this case we place both works (my partner and mine) in the same document to maximize the use of the material.
Group Work
As part of the group work, my partner and i, we revise all the parameters needed to work on the shopbot since the use of the MIT Calculator for the endmill, use of the Aspire software and that of the Shopbot.
Steps to use the Shopbot
Step 1: Calculate some important values
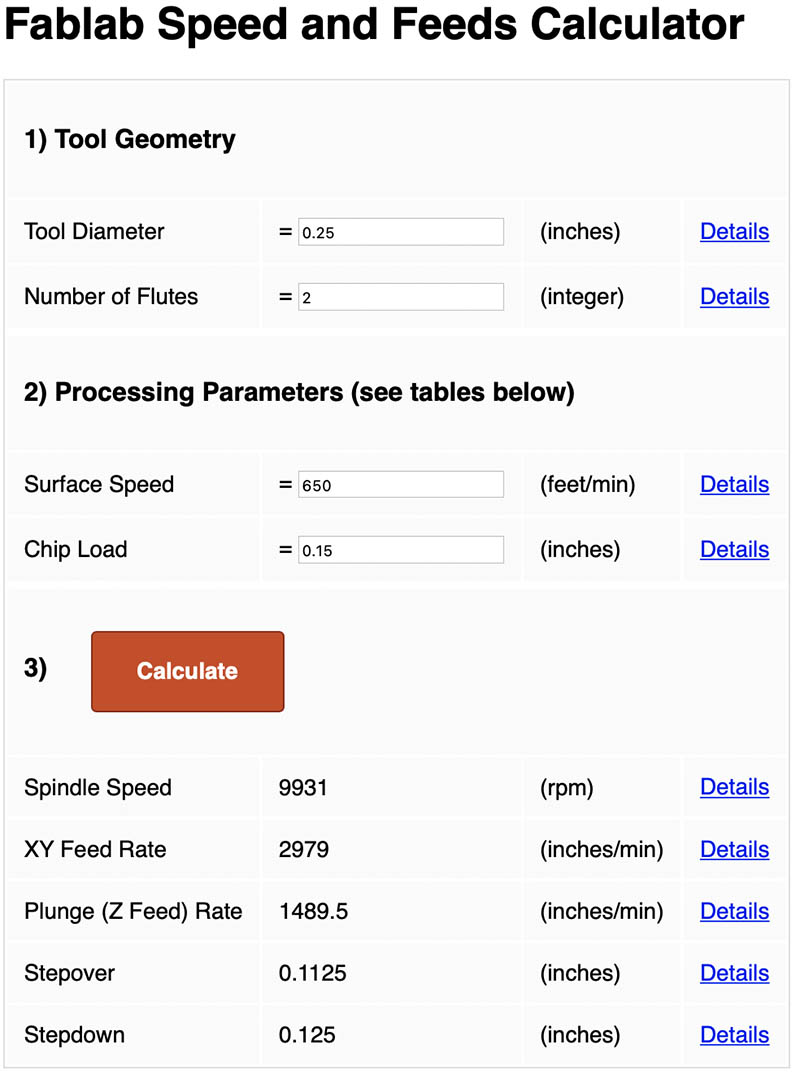
We need the Fablab speed and feeds calculator to run some parameters. FabLab Speed Calculator
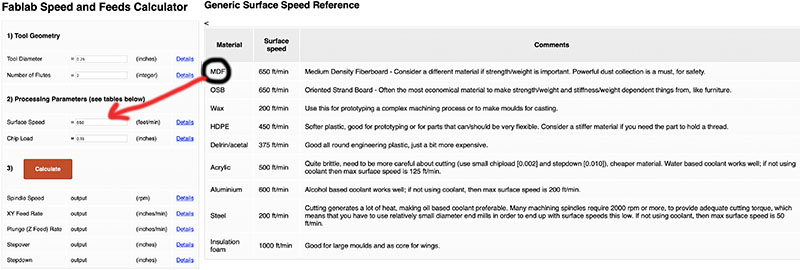
Then after i pressed the button “Calculate”, we have to use those parameters in the software VCarve before we send the information to the SHopbot.
In the VCarve software we have to add some measurements to calculate the surface area to be used.
We upload the file containing both designs.
Next step is to locate the circles to fix the MDF to the spoil board or sacrifice desk. The diameter of the endmill is 6.2mm.
I have to prepare the Sheet of MDF and cut it according to the size that is going to be used. For the two projects; mine and that of my partner we use the half of a MDF sheet.
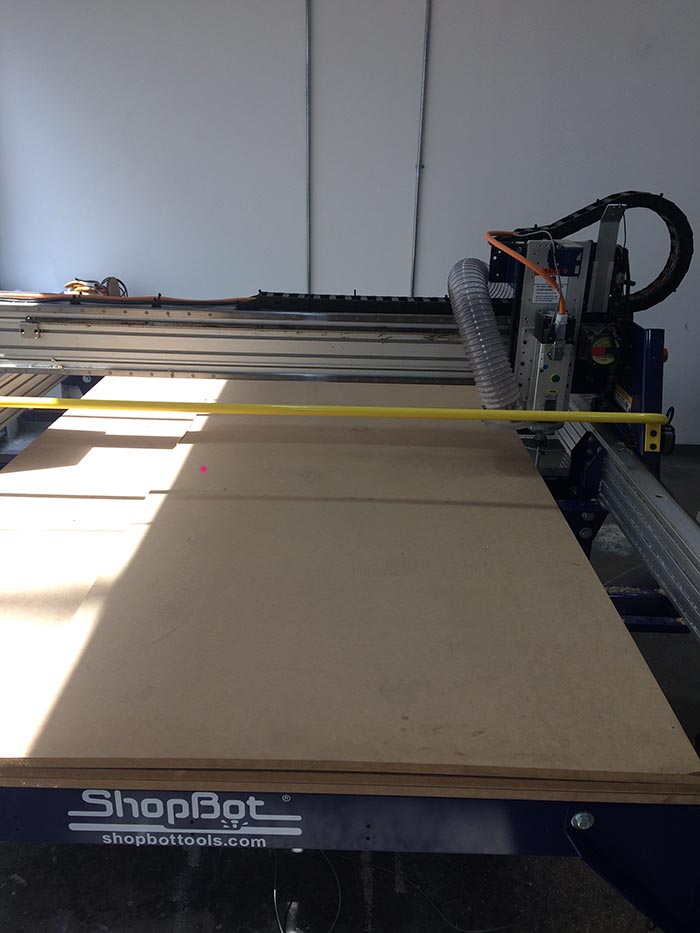
We place the MDF sheet to be cut.
According to the circles labeled i inserted the screws to fix the MDF.
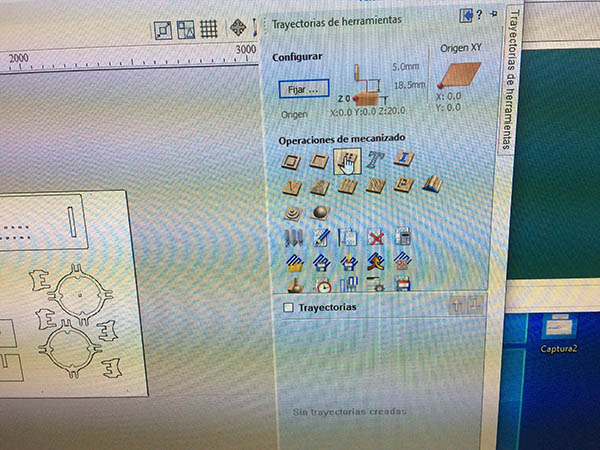
After that i configure the Shopbot software by locating the XY paramters that is done automaticaly and the Z parameter by hand.
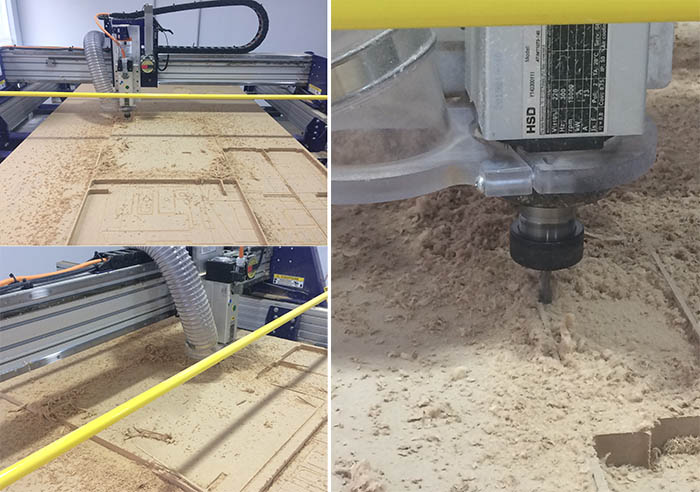
After the Shopbot started cutting by carving the material with 8 passes.
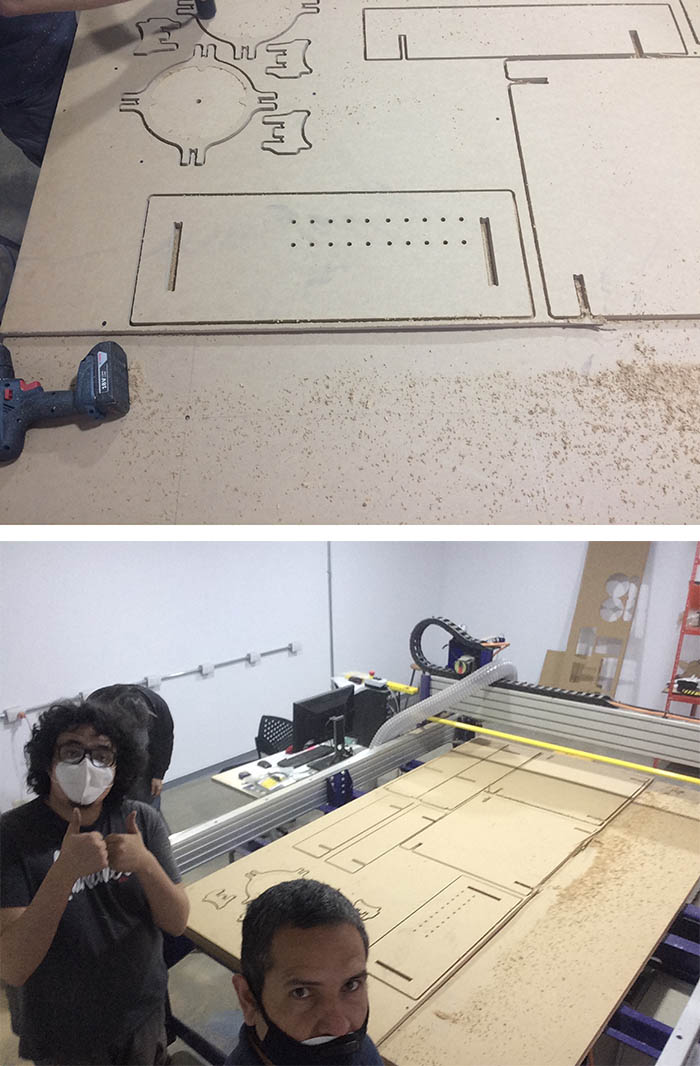
Finally after aproximately 5 hours the final product, all the parts being cutted and then we start assembling them.
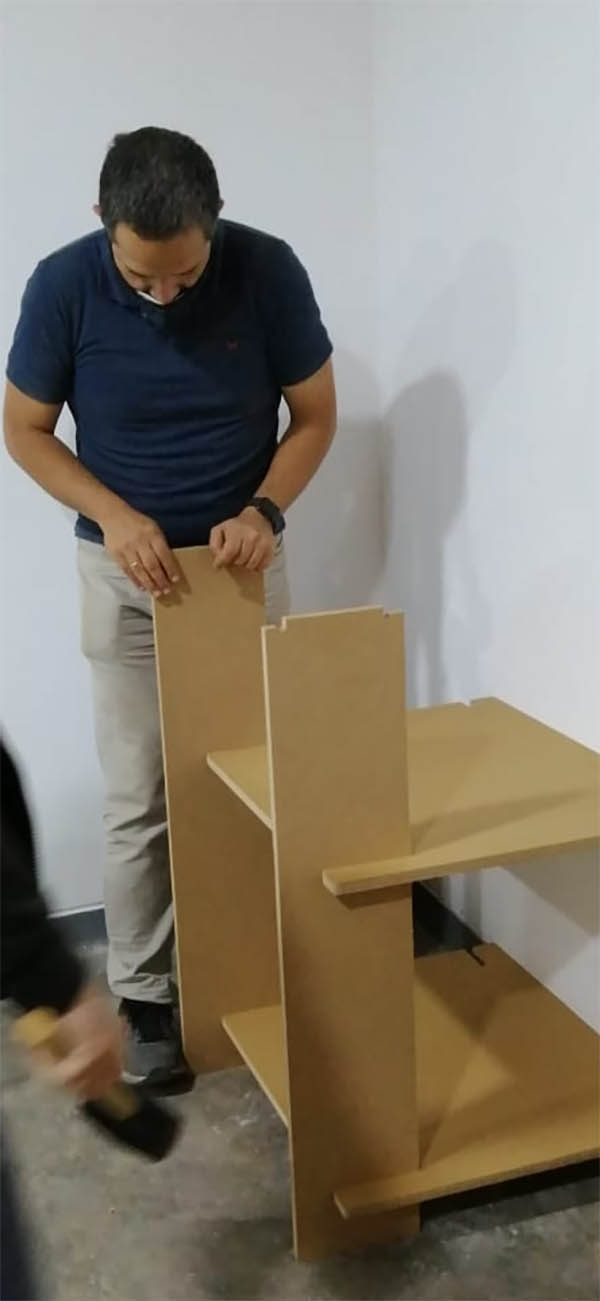
I am very proud of this assignment, becasue is the first time i built something really big and the most important issue is that it will be useful to my School.
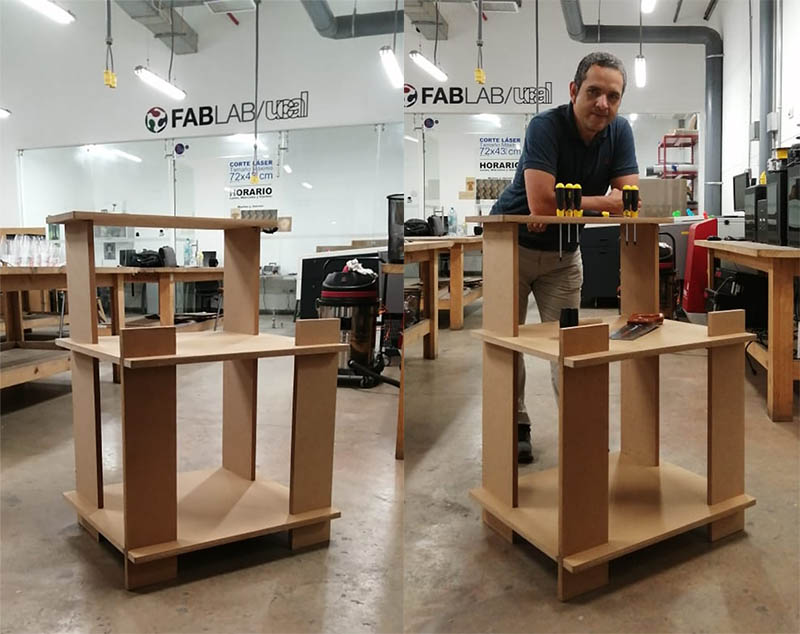
360 view of the workbench table from Manuel Corrales Arana on Vimeo.