6. 3D Scanning and printing
3D Printing Ultimaker 3 Extended
This week I learned about 3D printer ‘’Ultimaker 3 Extended’’ and its software ‘’Ultimaker Cura’’. This is where I downloaded the software. This section is separated to 2 parts software and practical. For the practical I learned how to change the filament and how to operate the machine and for the software I learned.
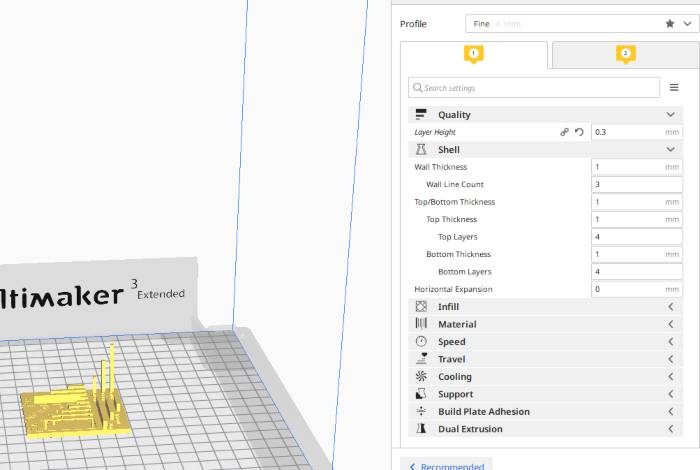
I opened the software the ‘’Ultimaker Cura’’ and I will explain the settings of the software.

The quality can affect the time needed to make a model the higher the quality the more time it takes and the lower the quality the lesser the time needed to finish the model.
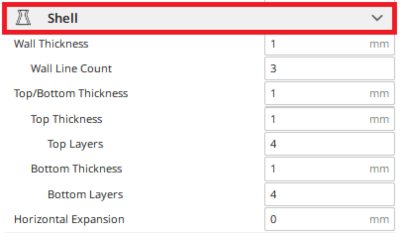
The shell can affect the thickness of the outer shell of the model.

The infill can make the model stable and strong.

The support can be used to make support beams that help the model stand up.
The Raft can be used to make a single layer of material to keep the model steady.
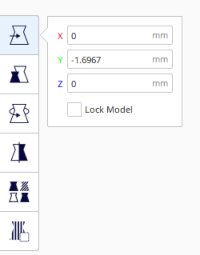
The first option can allow you to move the model in any direction you want on the surface.
The second option allows you to adjust the scaling size for the model.
The third option helps you rotate the model.
The fourth option will allow you to mirror the model.
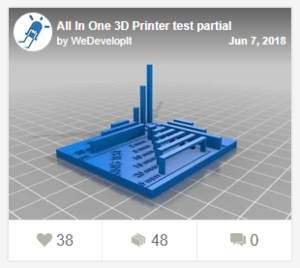
To try printing a model by the 3D printer I took a test model from this website and chose this model to print.
To start I changed the material of the 3D printer and I used PLA but there are other materials we can use in the printer. I learned the types of filaments we can use from this website.
The main menu for the printer shows the following:
1- Print
2- Material/Printcore
3- System
For changing the material go to ‘’Material’’ and now we have 2 nozzles for ‘’Material 1’’ and ‘’Material 2’’. I clicked on ‘’Material 1’’ and it showed me many options and I chose unload. When I chose unload the nozzle will get heated to remove the material. Now I took away the filament I chose from ‘’Material 1’’ ‘’Load’’. Now I inserted the material in the machine and now I chose Material Type and clicked on PLA. The machine took the material in to the nozzle and the Printcore started heating up.
Now I choose System, and chose ‘’Build Plate’’ and chose ‘’Manual Leveling’’ and follow the steps on the screen by using 1 mm paper to balance between the surface and the nozzle. I downloaded the test model I got from the website and now I opened it in the printer to start printing the model.
Gimbal model
To work on my next 3D project I took a sample from this website. and opened the saved file for the gimbal model to print it.
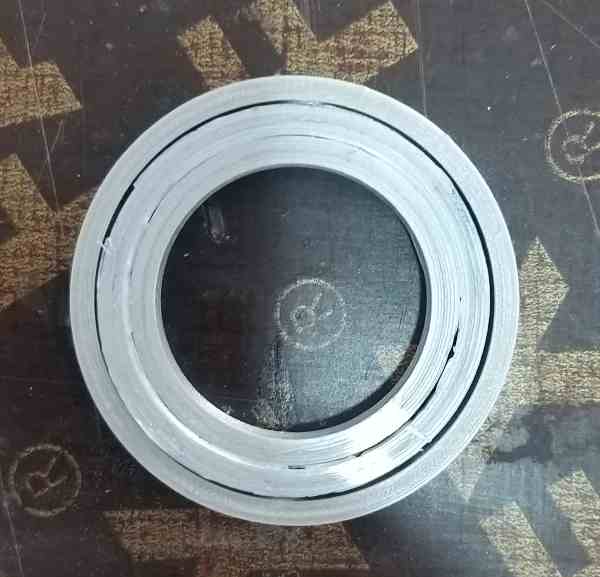
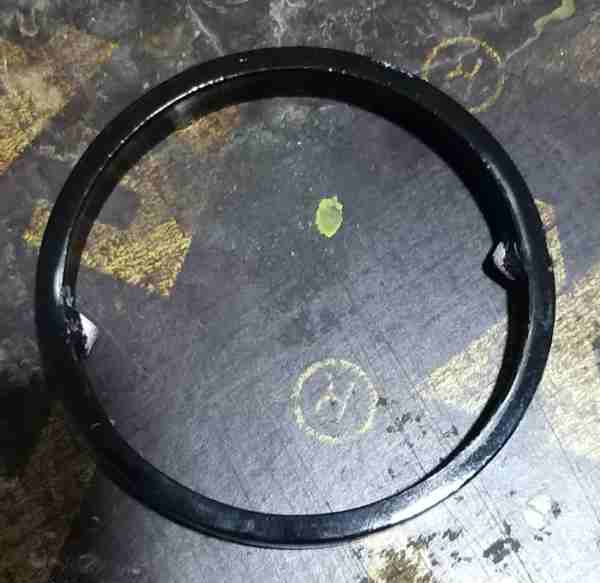
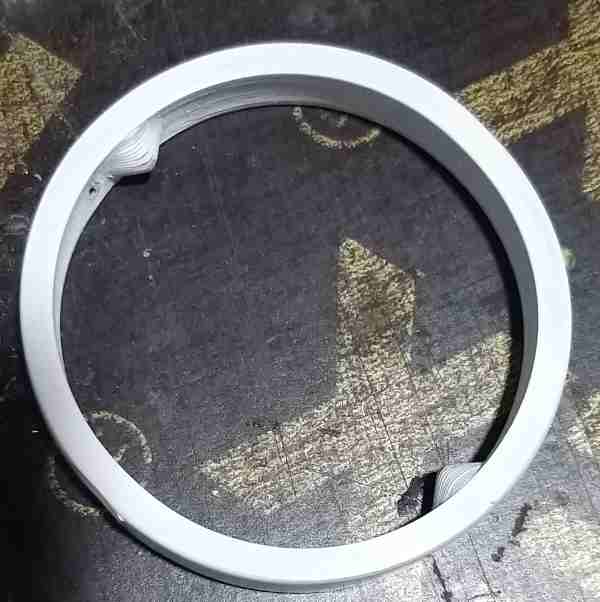
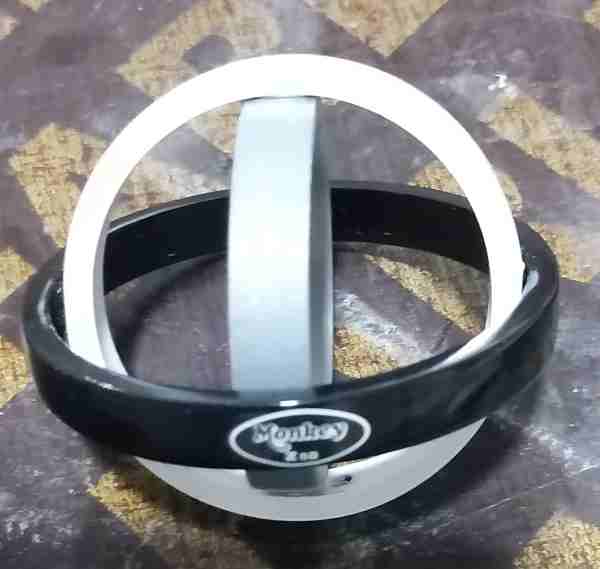
I printed three rings using the 3D printer and each one has a different size.
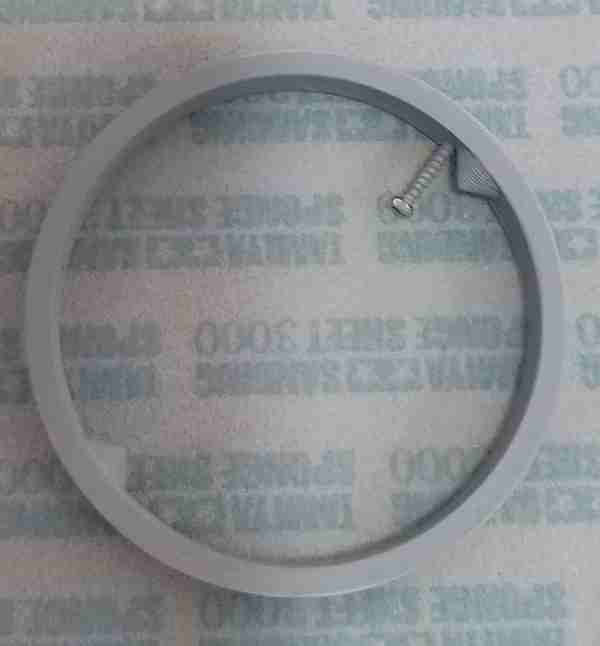
I used sanding paper ‘’Sponge Sheet 3000’’ to make the ring smooth and remove any rough edges.
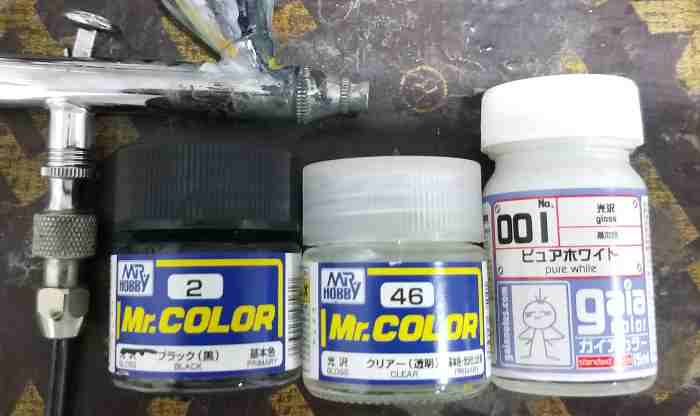
These are the paint that I will be using which are
Mr. Color C2 GLOSS BLACK. H-2 PRIMARY
Mr. Color C46 GLOSS CLEAR. H-30 PRIMARY
MR. FINISNING SURFACER 1500 GRAY
White Pure paint
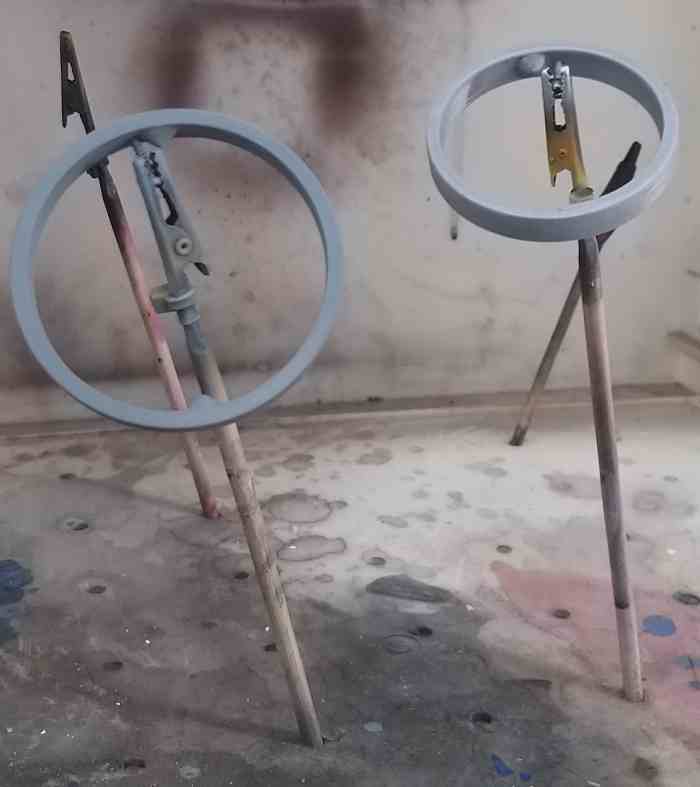
I took the medium and large ring and applied a coat of primer to make a base over the rings and allowed it to dry on sticks.
After the primer dried I used the sandpaper again with water to smooth the edges of the medium and large rings.
I applied 2 coats of white paint on the medium ring and applied 2 coats of black paint on the large ring.
I also painted a clear coat on the large black ring.
I tried using different paints and coats to see which way is better for to use when I paint the 3D models.
This is the final product I made after sanding and painting the gimbal.
Ultimaker 3 Extended filament change:
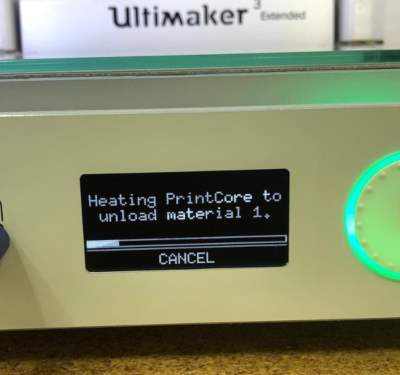
How to change the filament of Ultimaker3 first use the wheel to select (material / printcore) then select (materal 1 ) then select (change) It show in the screen the massage (heating printcore to unload material 1. Wait for print core to heat it take some time.
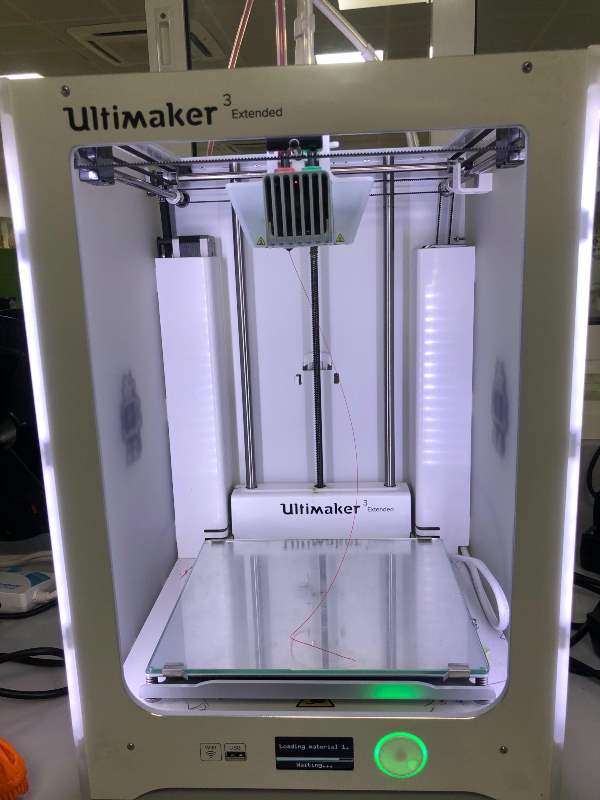
Now remove the filament from the 3d printer and select (confirm) now add the new filament and insert in feeder select ( continue) then select material type I select (PLA) in the massege showe ‘’ PLA material is selected. Insert in feeder 1and confirm.’’ Now select (confirm) now is loading material, from the front check the filament is flowing and wait until you see the new filament color, click confirm when amterial is being extruded from printcore1.
3D Design
To create my next project I decided to 3D print I named it boll spring it while using Fusion 360 to create this model which cannot be made using CNC and laser cut machines.
I opened the software ‘’Fusion 360 ‘’ to work on creating and printing a 3D model.
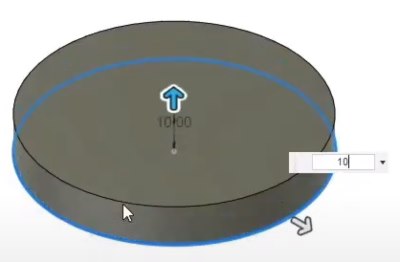
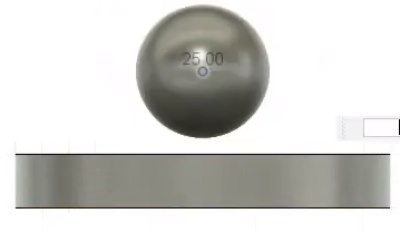
For the first step I made a foundation of the model after it I made a sphere that does not touch the foundation.
I made a spring that is connected to the foundation and does not touch the ball. I then changed the spring’s tip into a cone so the ball does not fall after I make it.

I converted it into a STL file and saved it on my desktop.
I opened Cura and imported the model file.
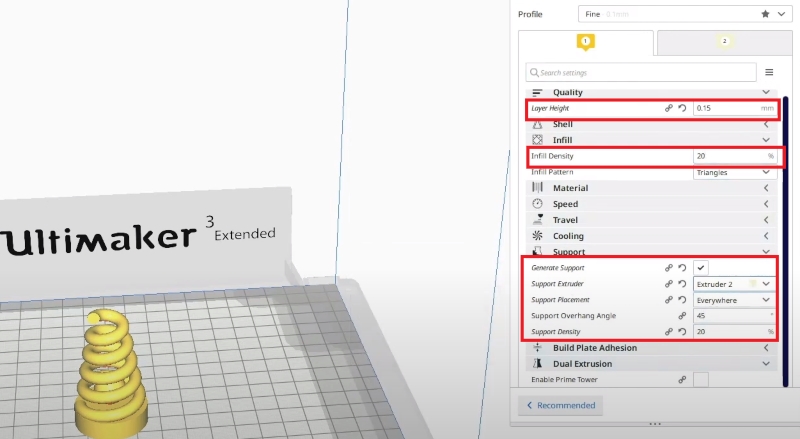
Setting for the Ultimaker:
Layer Height: 0.15
Infill Density: 20%
Nozzle 1:
Material: PLA
Nozzle 2:
Material: Natural PVA
The material from Nozzle 2 Natural PVA is used as a support for the spring to help us print the model. The time needed to make it is 3 hours and 52 minutes.
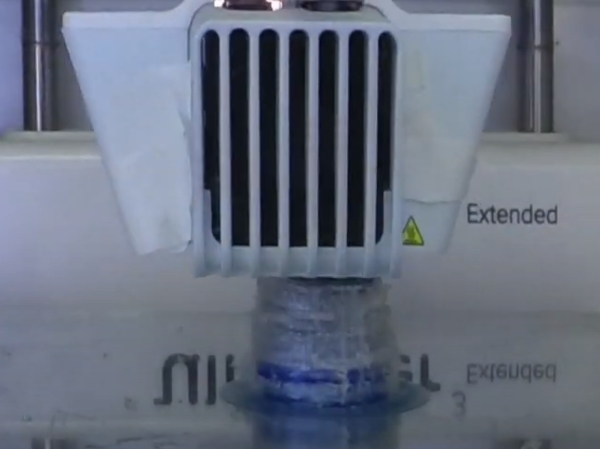
Before I printed the model I took my STL file using a USB and imported the file their and I just the material PLA and PVA are fixed in the machine before printing.
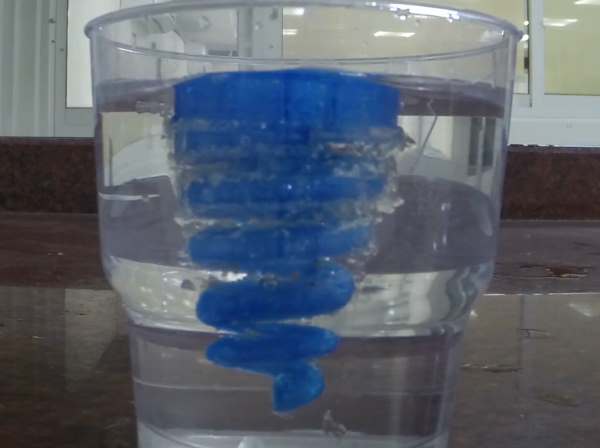
I gave it the command to print the model, and after I finished printing the model I placed it in a cup of water to make the PVA material dissolve.
We used the 3D printer to make this model since the shape of it requires you to build it using nozzles to build around the model and making the spring and sphere separated from each other. This model is impossible to be made using a CNC and laser cutting machine since the shapes of the model cannot be made in the same way as in 3D printing.
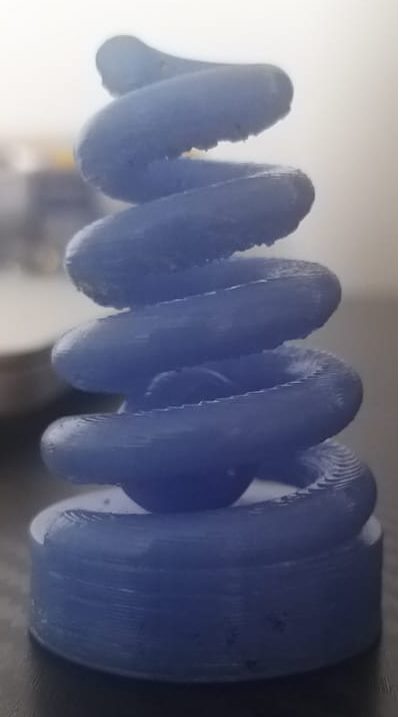
The final product .
All the details can be shown in this video below:
3D scanning
For the 3D scanning I used an app called Qlone, that needs an AR mat to be placed under the models to be scanned. The mat with the black and white pattern acts as a marker for the software Shown in the picture below. I learned this app Qlone from my fellow classmate Maha and she told me it is very easy to use and functional. I downloaded it from the app store on my iPad.
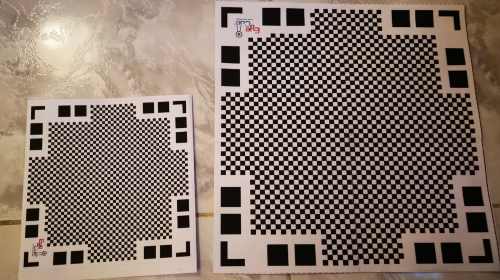
Using the AR mats, we can display models on it and show using Qlone. Using the app we can see how the process of how the model is being made. Here we are showing the small model I made in the smaller mat and it’s shows very clear. For a bigger model to be displayed we need a bigger mat.
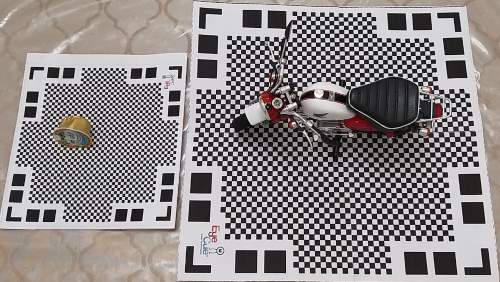
I placed my bike model on the smaller mat to see if the size is good for it but it was too big for the mat. I printed a bigger mat that matched the size of the motorcycle and I decided to use it as a model for my AR scan project.
When I used the small AR mat to show my model, I successfully showed it with ease. When it was my turn to show the bigger model on the bigger AR mat the design did not come out good. I had to adjust it many times to make it show properly on the mat.
I saw the small can of milk on the table and it’s small size is good to be used for the AR small mat. So I made a model of the small can of milk on Qlone and scanned the mat and the model showed very clear.
My experience using Qlone is an excellent experience because it is an easy software and you can get great results in a small model.
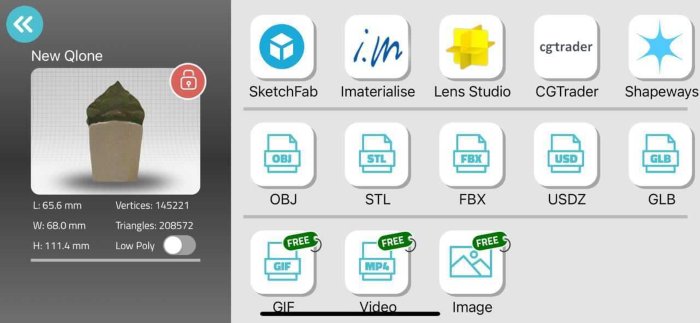
In the app I used for scanning, I only have the option t export images, videos or gifts. The other files types need the payed version of the app to be exported.
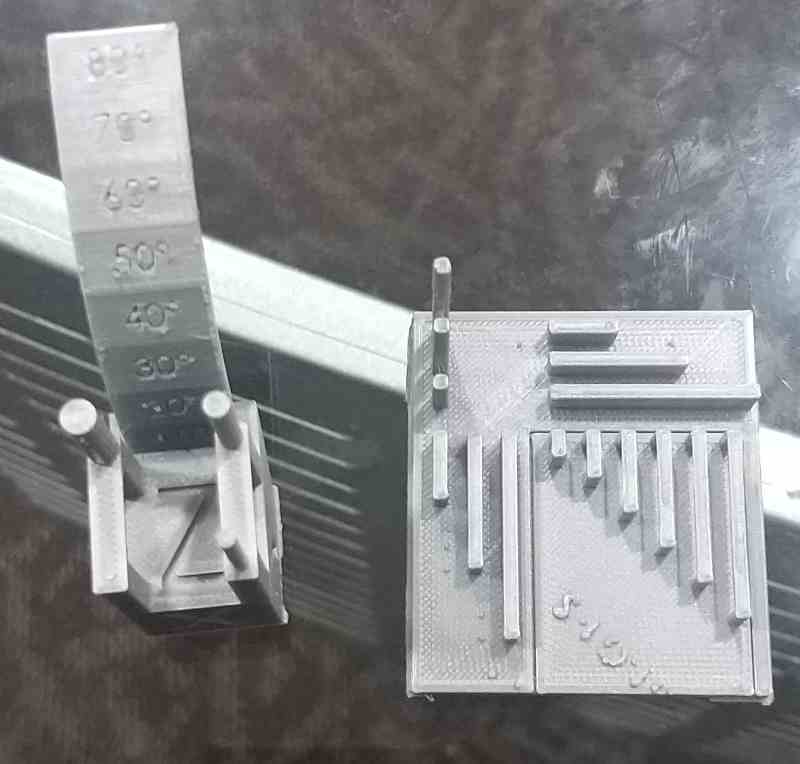
group assignments angle test Ali salem

This work is licensed under a Creative Commons Attribution 4.0 International License.