3. Computer Aided design
In the second week of FabLab, after Prof. Neil’s explanation of the Computer Design and detailing to us about the programs, I decided to download ‘’Ink scape’’ from this website and for the 3-dimensional program I will use Fusion 360 which I already had from before. I also used Coreldraw which is available on the machines I use in Fablab and I already have Final Cut Pro downloaded on my MAC computer and I use it to edit my personal videos. I also have Gear 360 Action Director on my laptop which I use to make 360 videos.
At first I will learn to draw on the 2D through YouTube and this is the education I will design my project on Fusion 360.
The first step I will use a standard measurement for the case and start building up the correct measurement as I continue.
Fusion 360
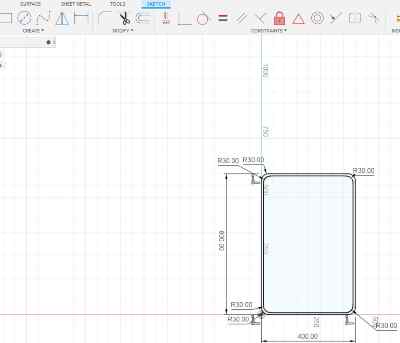
1- Bag size is 600mm length and 400mm width
2- The length of the tube is 400mm and the diameter 5mm
3- Camera foundation
4- Inner and outer tube Foundation diameter 30mm and 40mm
 )
)
I opened a new file, clicked on ‘’Create’’ and clicked on ‘’Create Sketch’’ and drew a rectangle.
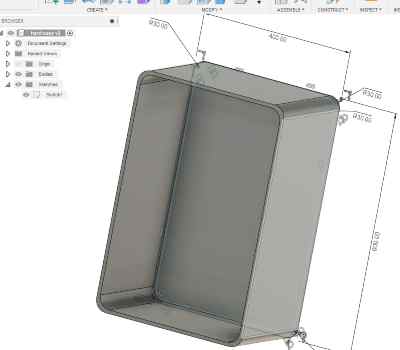
I clicked on ‘’Extrude’’ and made this box shown above.
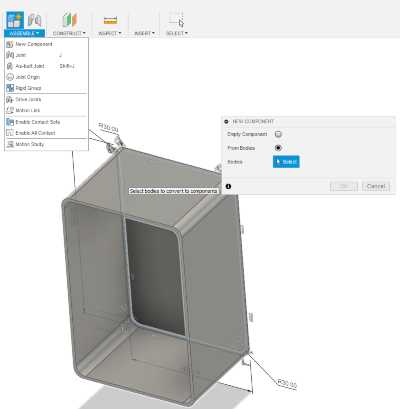
I clicked on ‘’Assemble’’ and clicked on ‘’New Component’’ and clicked on ‘’From Bodies’’ and clicked on ‘’OK’’. Then I clicked on ‘’Create Sketch’’ and I drew the component. I kept on repeating the same action until I completed the box. I learned how to use the program from this YouTube
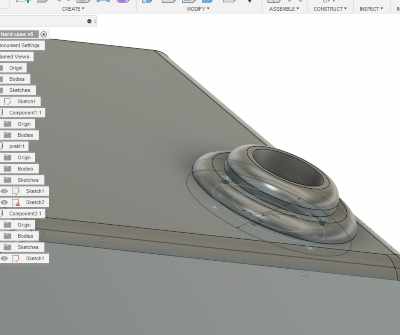
In here I made an opening on top of the hard case for putting the tube in the case.
Here is shown the front bracket of the case to hold the camera onto the tube.
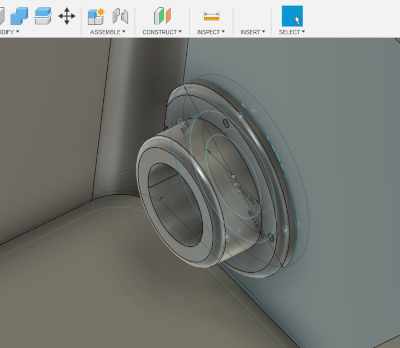
Here is shown the inner bracket which is inside the case.
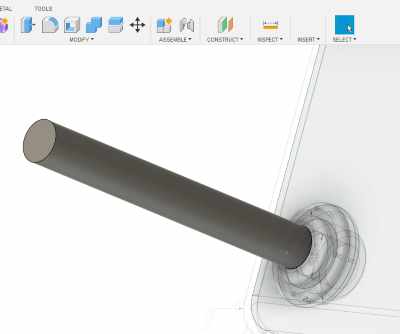
This is the tube that is fitted onto the hard case.
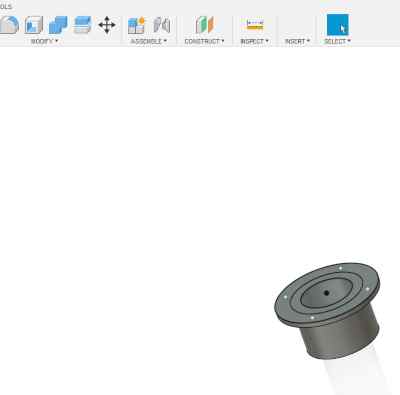
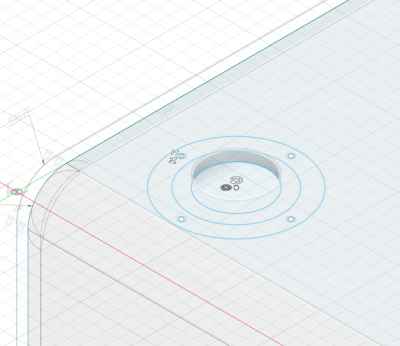
This is the Camera Foundation that will allow the camera to sit on it.
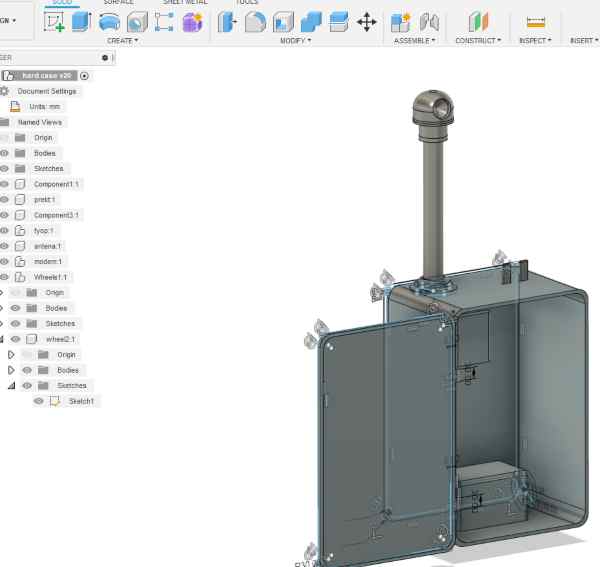
This is the final product of the hard case that I made on Fusion 360.
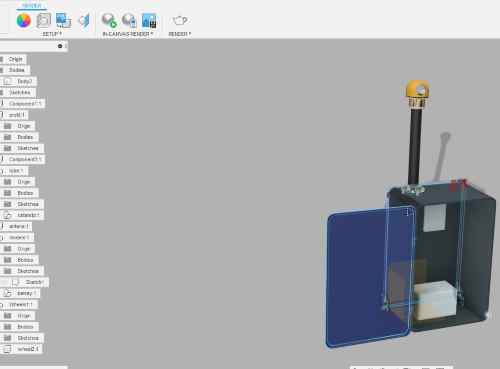
I opened the final product onto the Fusion Render and I changed the material to match the material I wanted to use.
Inkscape
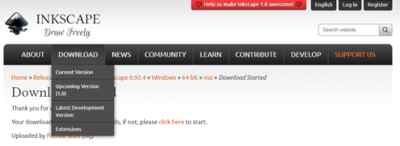
The Inkscape has been downloaded and installed
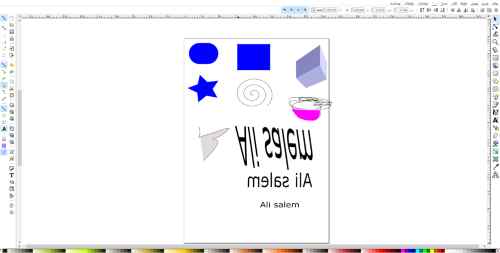
I opened Inkscape and tried on many tools to learn new skills by practicing onto the sketch above. At the same time then I used the YouTube as a tutorial to learn and try almost all the different tools
Tools Explaination
Rectangle Tool
Click on the Rectangle button to make you draw a rectangle on the canvas. You can control the size of the rectangle by clicking on the corners of the shape and move around to resize it. You can also make the corners round by clicking on the white circles to smooth the corners.
Circle Tool
Click on the Circle button to make you draw a circle on the canvas. You can resize the circle by clicking on the edges on the shape and resize it. You can double click the shape and control the shape of the circle by making it a half circle or pie sizes.
Star and Polygon Tool
Click on the Star and Polygon Tool to make you create polygons like triangles and rectangles and stars. You can control how many corners you want by clicking on the option on the corners box and increase the corners to make more shapes. You can click and drag the white dot on the shape to drag in to make a star like shape.
Spiral Tool
Click on the Spiral Tool to create a spiral and you can resize it by clicking and dragging the corners and resizing it. You can control the number of spirals that shape has by clicking the inner dot and controlling the spiral.
Text Box Tool
Click on the Text Box Tool to allow you to enter text onto the canvas. You can change the color of the text by clicking on the color box below the canvas. You can change the position of the text by clicking on the corners and flip the text either horizontally or vertically.
Eraser Tool
Click on the Eraser Tool to erase shapes or text by free hand by clicking and dragging the mouse to erase the shapes.
Drawing Tool
Click on the Drawing Tool to draw lines by free hand but clicking and dragging the mouse to draw shapes and they can be resized after you finish drawing them
We can use it for drawing 2D designs and we can type words and sentences. It gives accurate measurements and it’s easy to use. You can draw your project design nicely.
I brought my sketch onto this program and saved it as a practice.
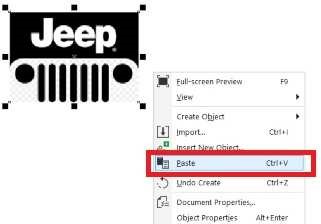
I learned about CorelDraw from Fablab and learned more about it from this link: as we use Coreldraw in making our stickers and on laser cutting machines and I tried it onto these pictures below.
FreeCAD
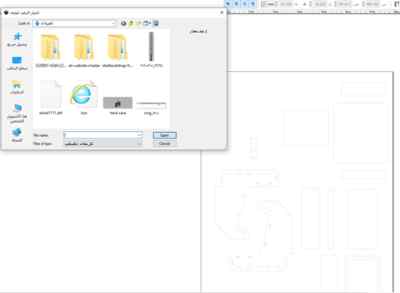
I opened and downloaded FreeCAD from the official website
I learned the basics of FreeCAD from this video on YouTube .
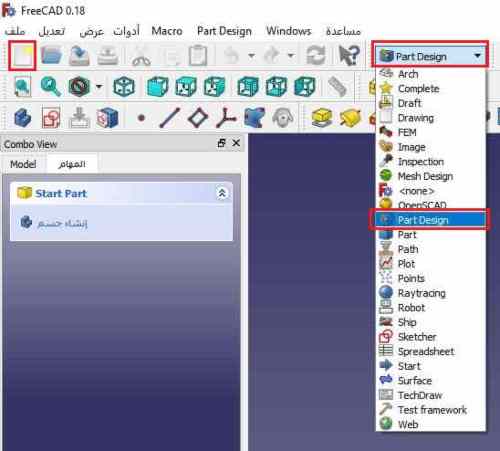
I opened the software and clicked on ‘’New File’’ and then I clicked on the ‘’options’’ menu and clicked on ‘’Part Design’’.
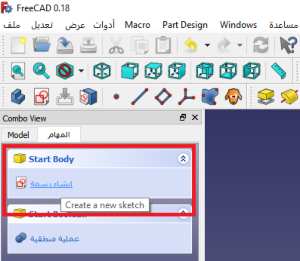
This window appears and I can start drawing a body in my sketch.
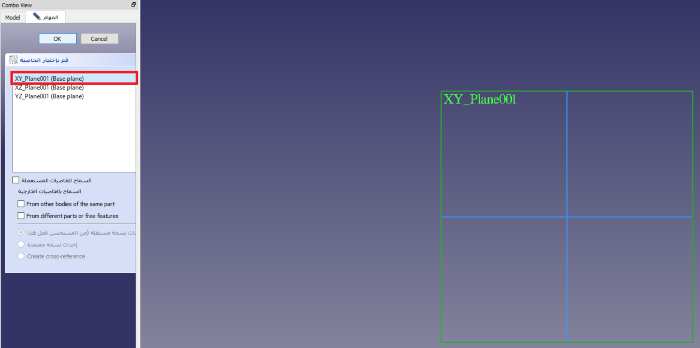
I clicked on the XY_Plane001 on my left to select a plane to draw on.
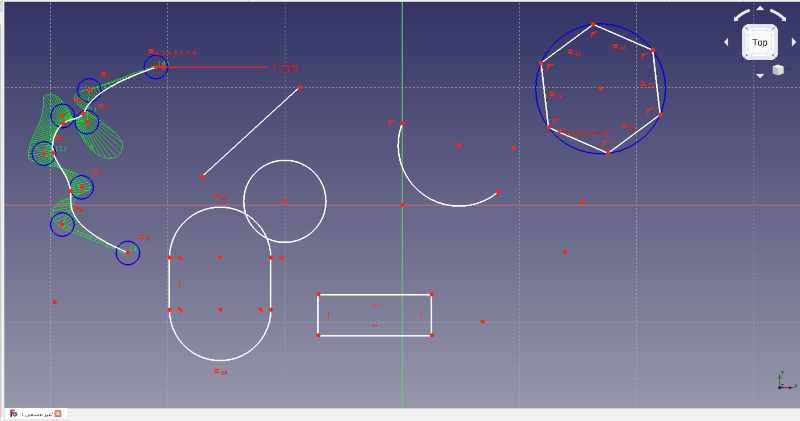
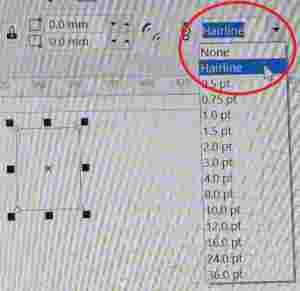
I tried using different tools on the sketch as shown above.
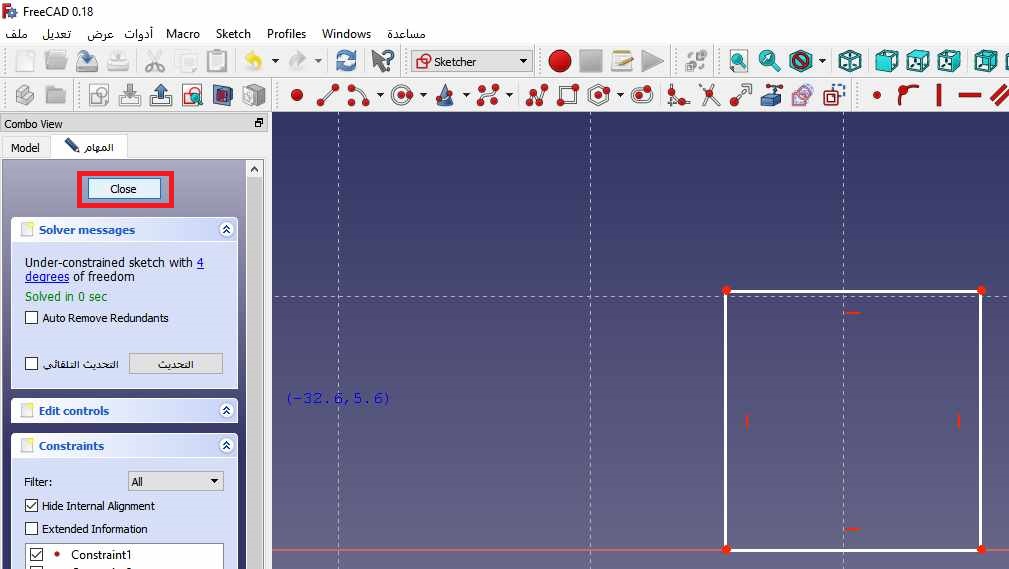
I drew this square and now I clicked on ‘’Close’’ on the left window.
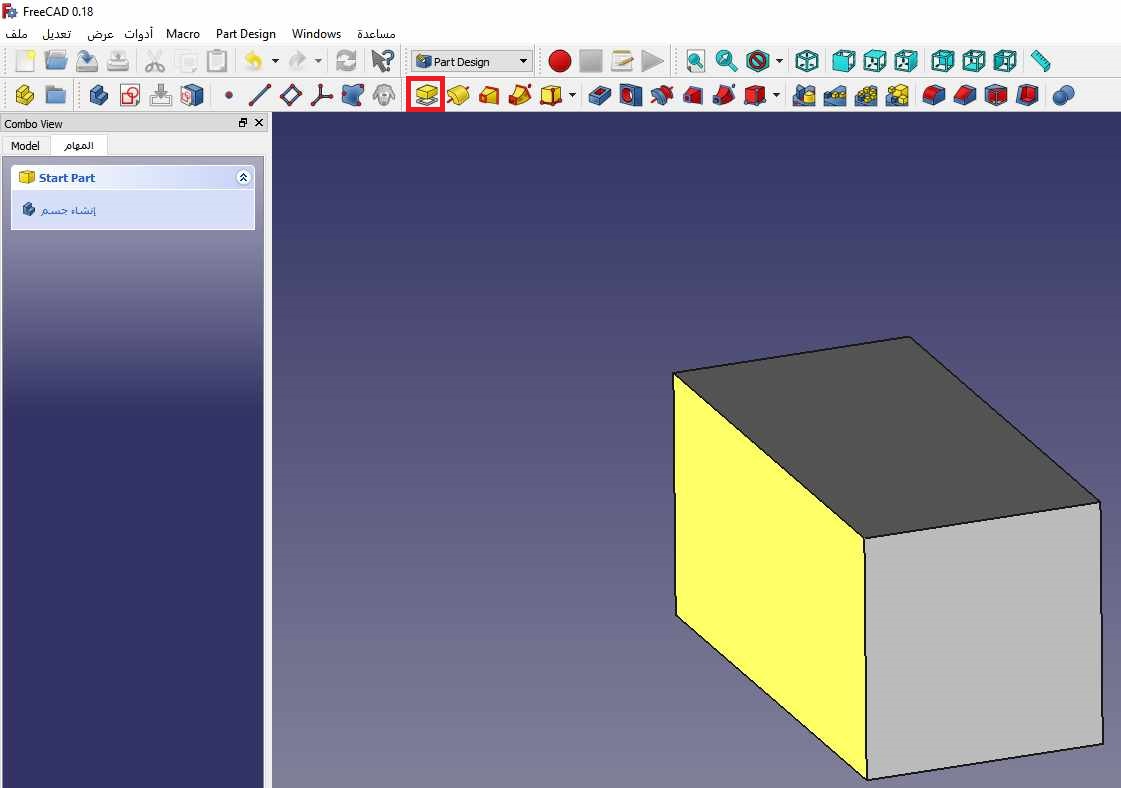
I clicked on Extrude and I made my 3D figure ready to use.
This software is similar to Fusion 360 and I will learn more through YouTube tutorial videos so I can get better.
Gear 360
For Gear 360 Action Director, I used this from before for 360 videos and this is the link for a 360 view of a museum in my youtube channel:
Files Fusion 360 Inkscape free FreeCAD

This work is licensed under a Creative Commons Attribution 4.0 International License.