18. Wildcard week
This week I worked on defining my final project idea and started to getting used to the documentation process.
Individual Assignment
Design and produce something with a digital fabrication process (incorporating computer-aided design and manufacturing) not covered in another assignment, documenting the requirements that your assignment meets, and including everything necessary to reproduce it. Possibilities include (but are not limited to):
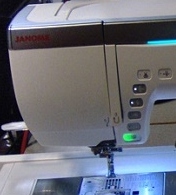
Working on Janome Memory Craft 15000
In the wildcard week I learned about Digital Fabrication using Janome Memory Craft 15000. First thing I needed to know is how to use the machine and from that I learned how to operate it from Salama.
Now I have to start by creating a file on the application Digitizer V5 Embroidery Software. This application is already available and downloaded onto the computers in FabLab.
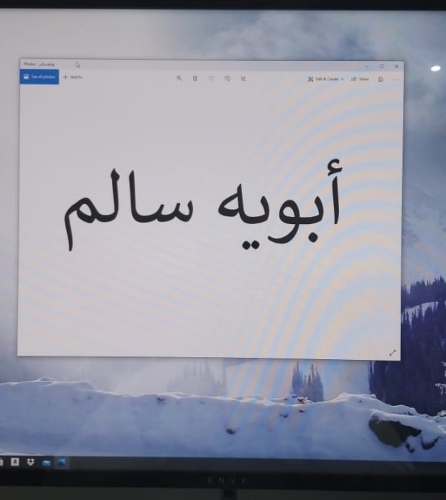
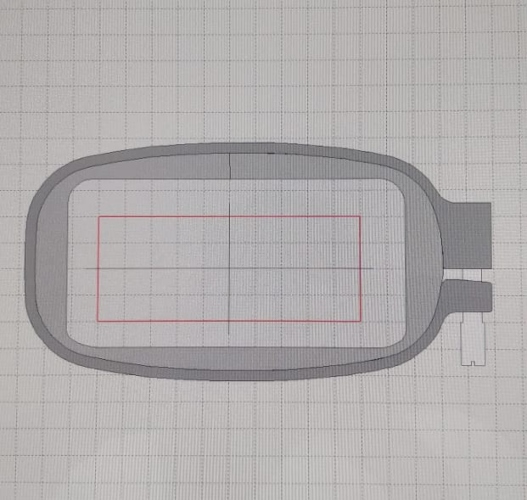
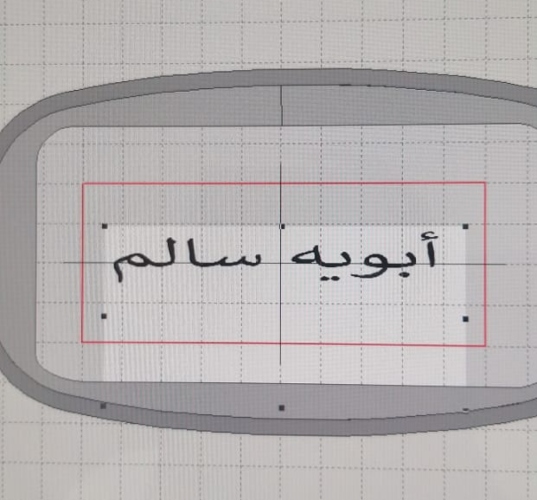
For my design I decided to use the Embroidery hoop FA10 and the design I used is in the picture below.
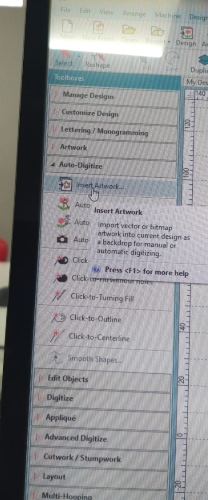
Now since I already made my design I now have to open Digitizer V5 Embroidery Software and click on “Toolboxes” then “Auto-Digitizer” and the “Insert Artwork”.
Making the Design
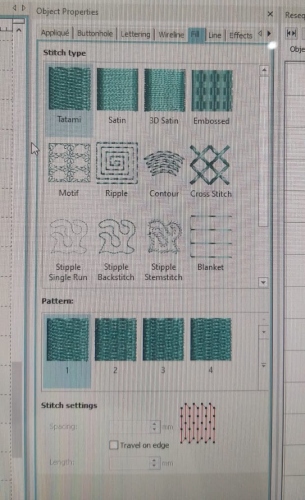
Now I need to select the image and click on “Click-to-fill” and after it I place the image of the fabric which is called a “Kandora”. I chose “Tatami stitch” because the Arabic letters are not available in the software.
The instructions I prepared for the Embroidery machine are shown below and I got these instructions from the PDF file available in this website.
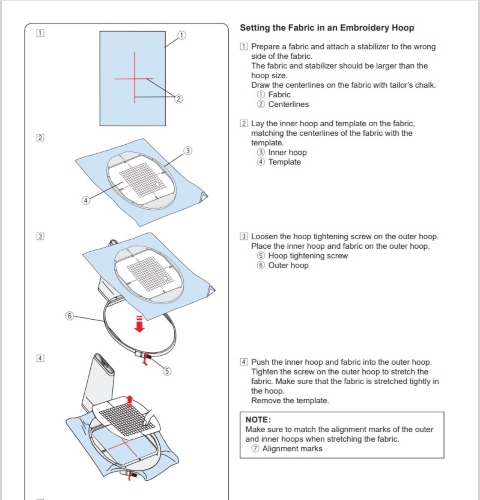
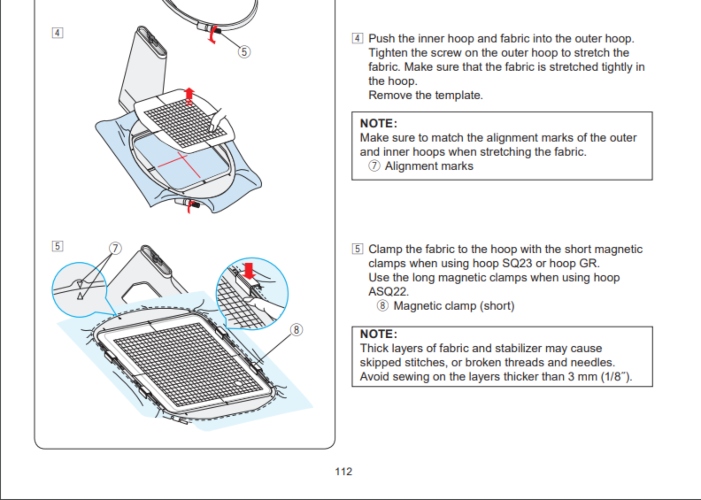
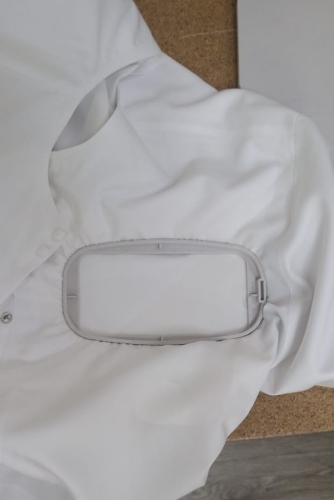
Preparing the Machine
Here I placed the Embroidery Hoop onto the Kandora to start stitching my design on it.
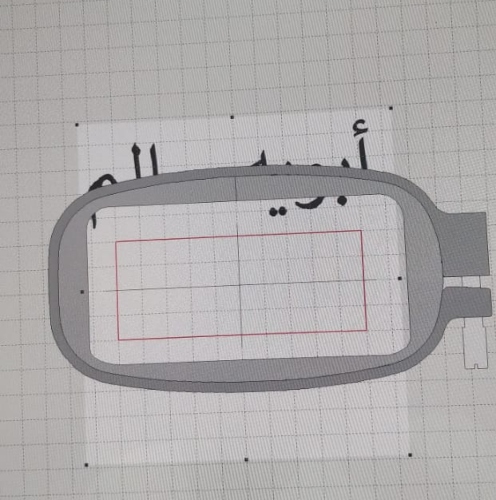
I opened the software and moved the design inside the red box .
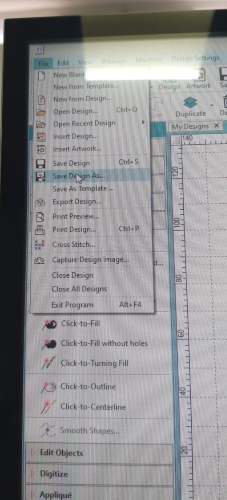
Now I have to click on “Save Design as”
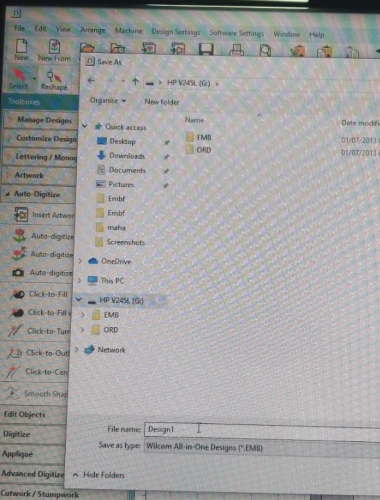
Now I have to save the file on a flash memory so I can start stitching my Kandora on the machine.
Stitching Process
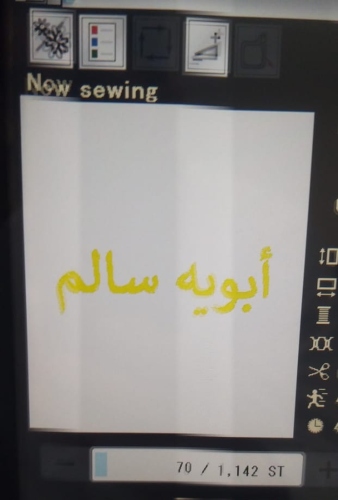
I opened the machine and clicked on my design which is called “Design1”.
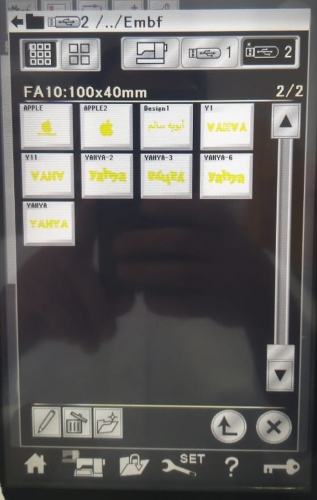
After choosing the design and embroidery hoop the machine showed me a notice to confirm the correct embroidery hoop “FA10” I will use and after that I clicked “Ok”.

The video showing how to put the thread in the machine. Also, I used the machine to automatically insert the thread in the needle hole
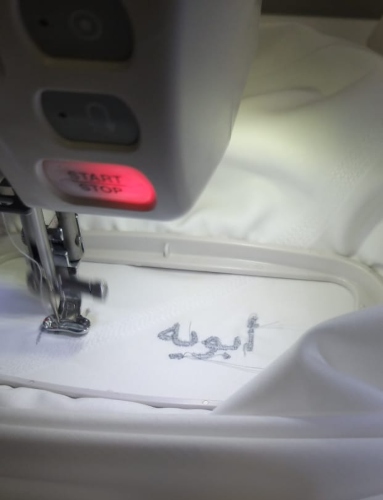
I entered the command on the machine to start stitching. I pressed on the Green button to start the stitching process.
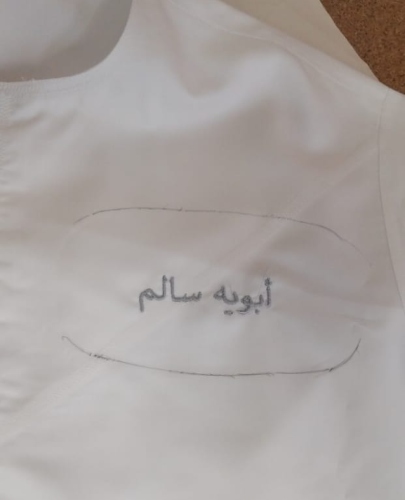
This is the result after stitching my design onto the Kandora as shown in the picture below.

This work is licensed under a Creative Commons Attribution 4.0 International License.