15. Molding and casting
During this week we worked on the Group Assignment
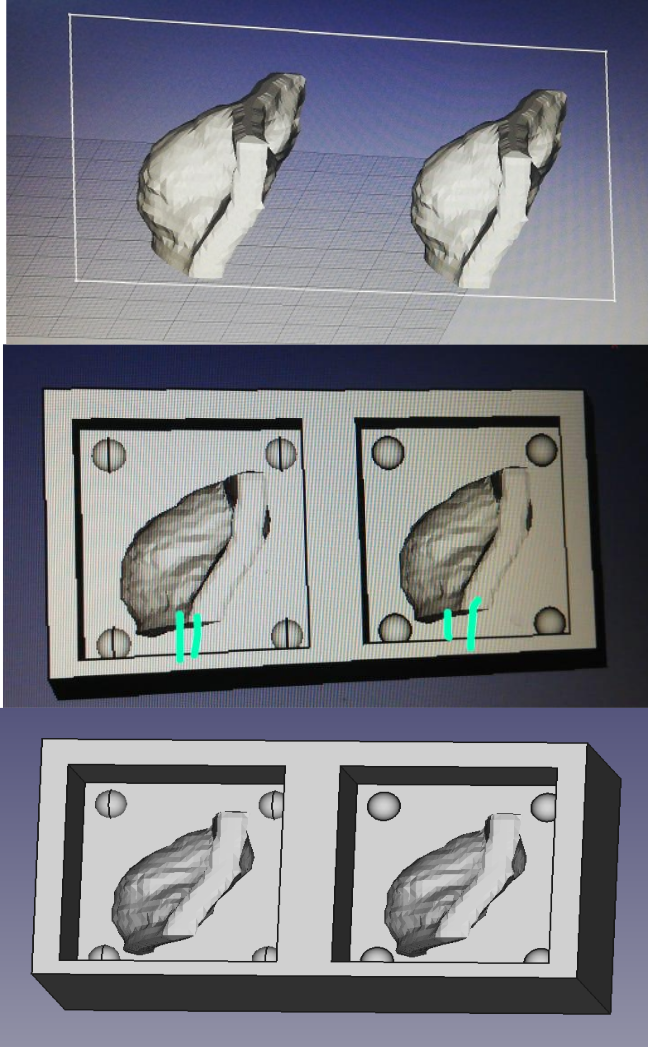
For this week’s assignment I made the first designing Attempt around a previous 3d Model that I had but this have a difficult form to work it using the proceses asked for the task.
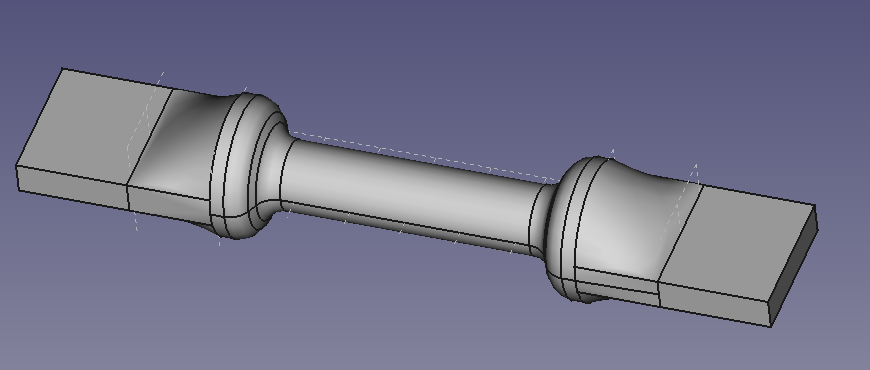
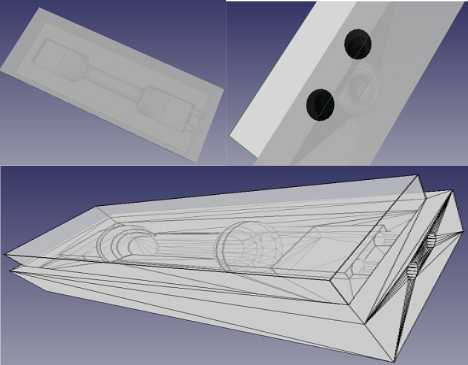
Then once I had access to the lab and the availability of the machine I designed the second attempt to fulfill this assignment. In that second essay I designed a model trying to replicate the shape of some samples used to measure materials features using an universal testing machine. Using Freecad was designed the box where the mold will be made, that include a kind of stair to let the molding be together once the silicone is injected in it to prepare the mold.


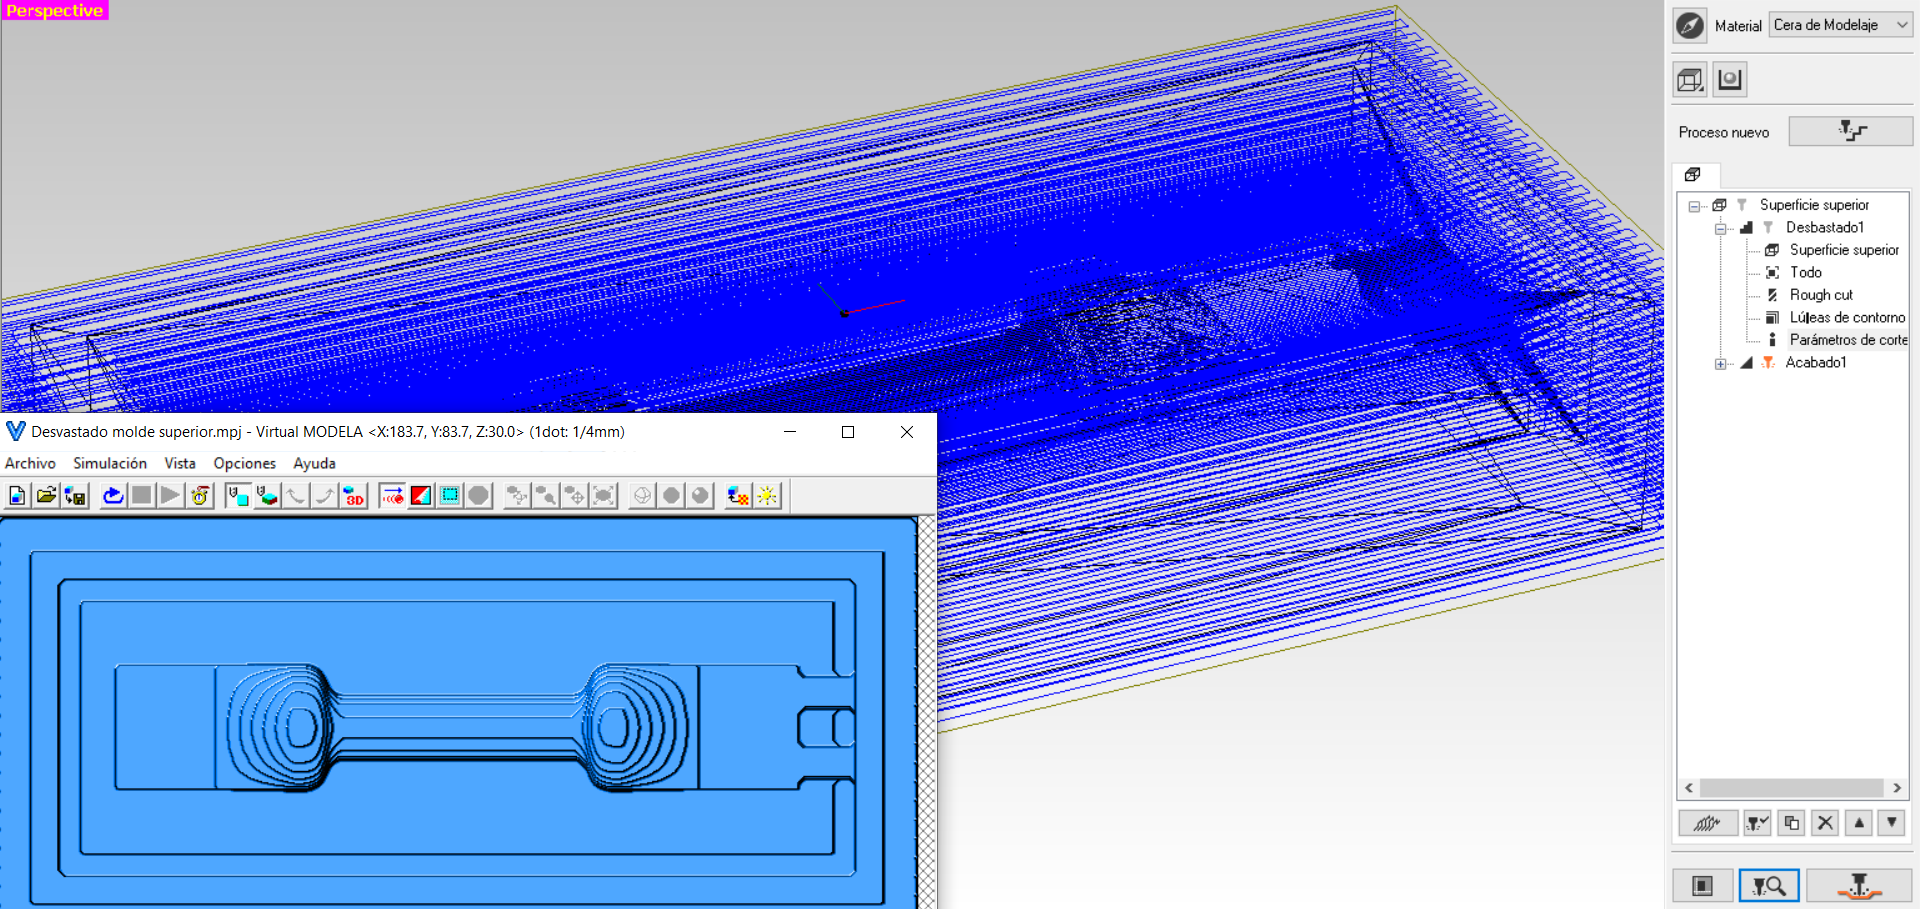
The design has been tested virtually to make sure that the two parts fit well, also the alignment of the pipes to inject the plastic and to let the air escape.
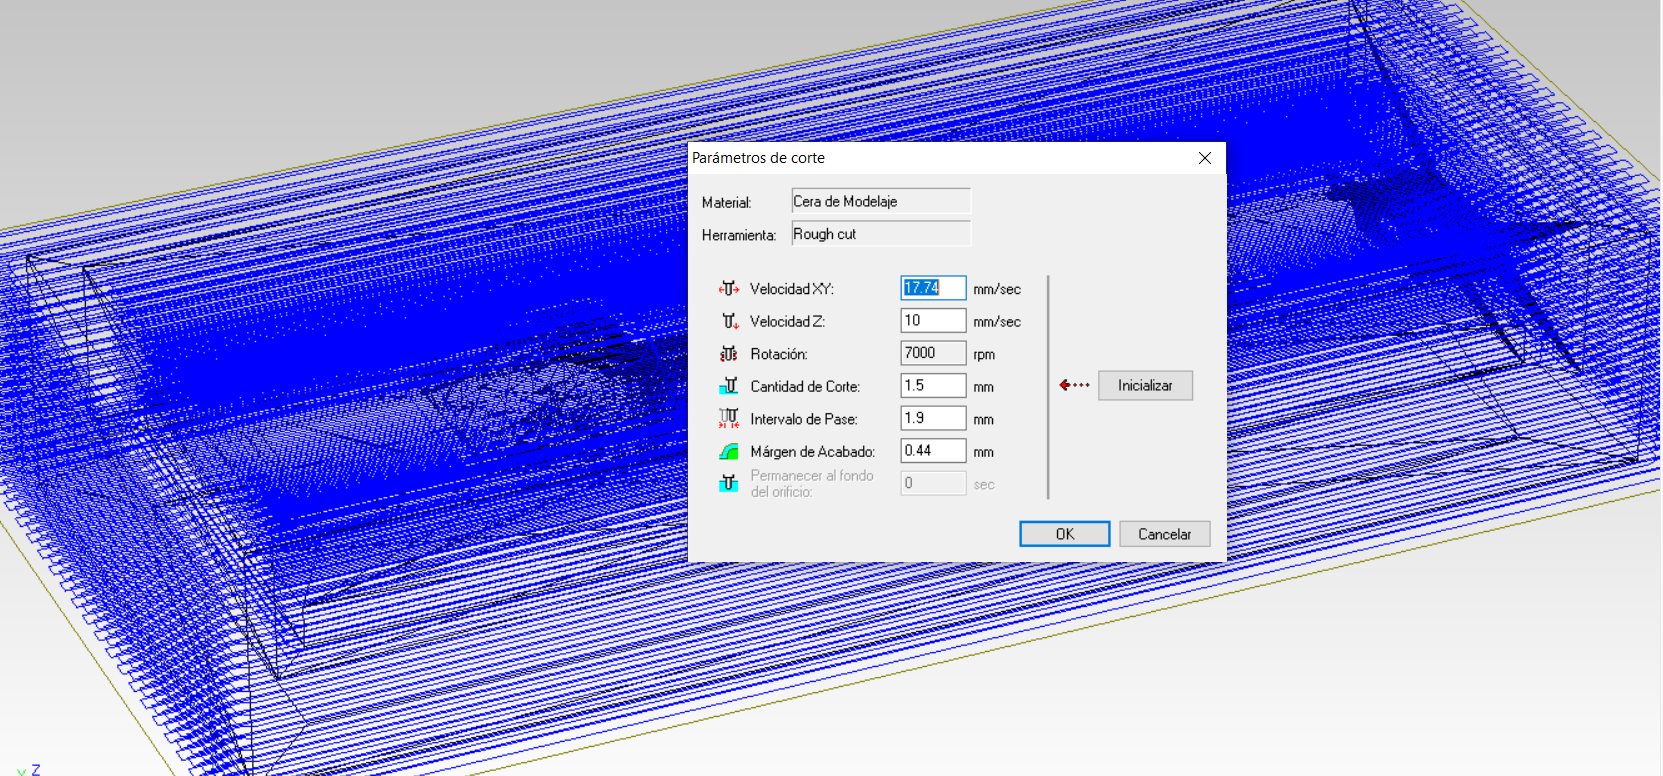
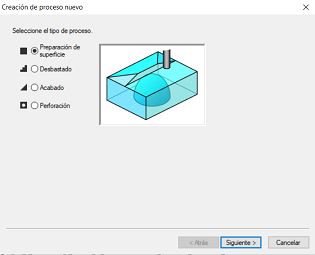
The software (Modela Player) included with the Monofab was used to prepared the toolpath.
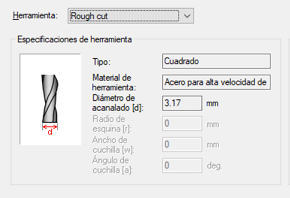
Two new tools were created for the rough cut and finish cut using the measured dimmensions of the available tools.
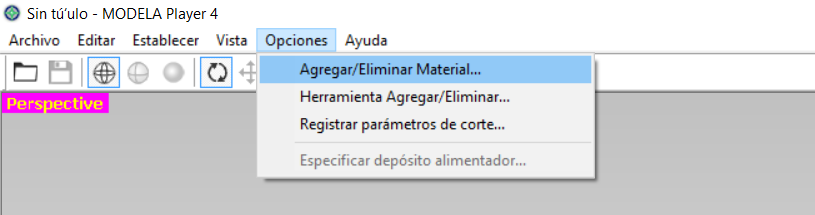
There were included two new tools for the rough cut and finish cut using the measured dimmensions of the available tools.
As I didn´t have access to the molding wax prepared for this practice yet I printed the models and used alternative materials for the injection process. I made a first attempt using jelly considering that this was a cheap and non risky and healthy material to make the test, the molds worked well but the jelly wasn’t as consistent as I thought and It was impossible to take it out of the molds in one piece.
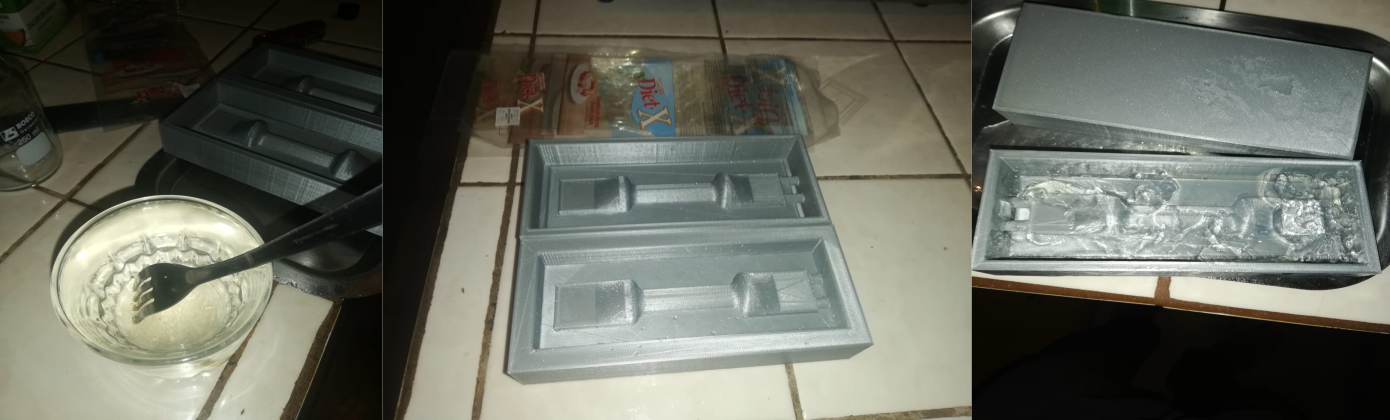
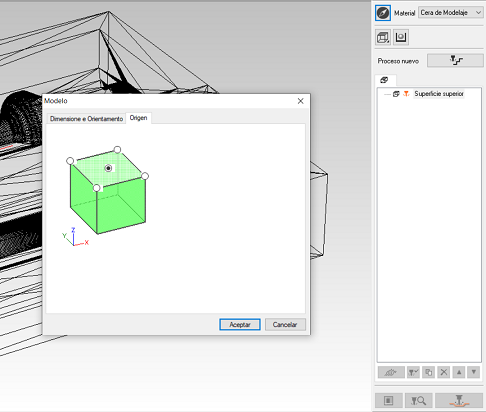
Then I received the wax prepared for this assignment in Fab Lab Veritas for us, because this alternative wax was made using paraffin and plastic bags melted, its shape changed when it solidified, so I was necessary to prepare at least one of the faces to attach the material to the machine. Using Modela software of the Monofab, the preparing surface process was created using a 3mm square tool (make sure to define the origin for the tool in this software and in the same place set the zeros using Vpanel, that will let you avoid that the machine interpreting the commands in a wrong way).
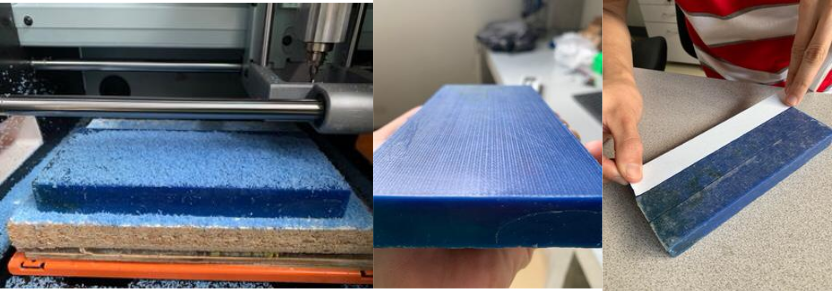
Then for the roughing and the finishing process, the parameters for two new tools were entered: 3,17 mm and 1,58 mm diameter. This material demonstrated to be good enough for this process because the size of the shavings removed was small and uniform.

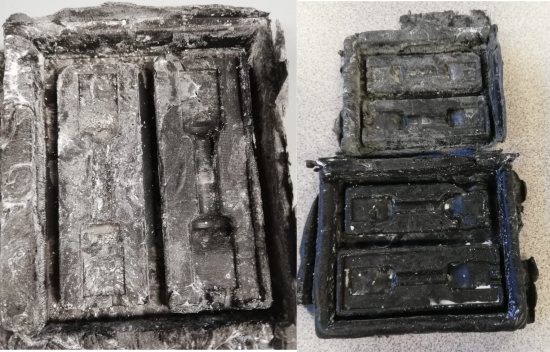
After the finishing process, there are white spots in the mold that were probably bubbles in the mix but it didn’t affect the shape of the piece.

Files
For the fabrication process of the flexible mold, I tested a low-cost alternative with more daily and accessible materials, the materials to preparing it includes. All-purpose silicone, cornstarch, mineral spirits, dish soap. some volatile substances emitted by these components could be harmful, so it is important to prepare the mix inside a very well ventilated area.

The silicone from the tube is verted in a recipient, then it is added a little aliquot of solvent to diluting it a little bit, once you have a uniform paste start adding cornstarch and mix (until it is homogenous) the mix must be enough saturated with starch, once you can form a ball with your hands wash it with soap water until can be manipulated and then extend it pressing it above the mold.
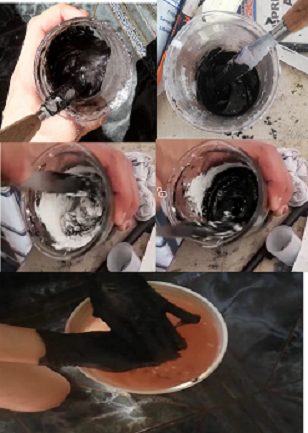
Here are some results I got from different essays. It can´t be transformed into a completely liquid mix and that could affect the uniformity of the final product this is the main dissadvantage that I noted.