2. Project Management
Building a personal site
To get started with Markdown I used the Markdown Guide, cheat sheet and Basic Syntax were very useful references to felt confident using it.
a pair of examples of use to start documenting could be:
- how to insert images with the following structure;
! [] (../folder containing the image/ name of the file. extension)
or
-
how to insert a link
[text you want to appear at your documentation to redirect] (copy-paste link you want to include)
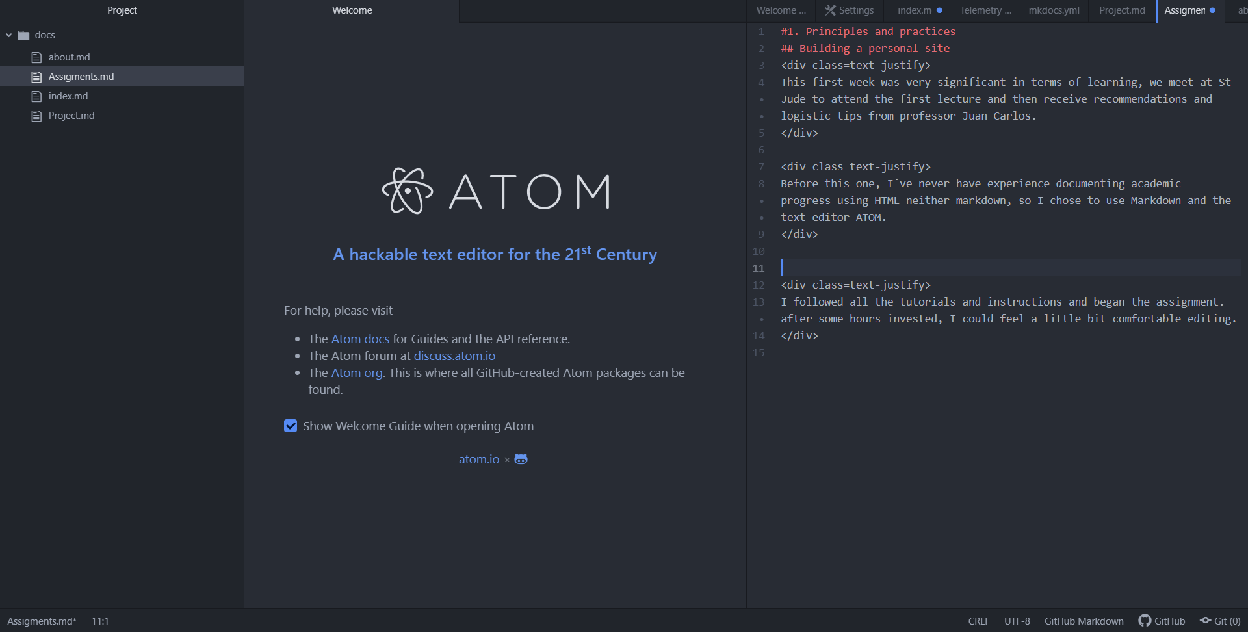
To edit documentation I chose Atom
Working through a Git tutorial!
This was another completely new task for me, I first registered in fab labs environment and then log in to Gitlab Fab, after that, I downloaded and installed Git_for_windows
Git set up on Windows OS
After installing Git for Windows, open a terminal and write the command
$ git config
Configure git with gitlab account (replace user and email with the ones you use for registration)
git config –global user.name”your-git-user” git config –global user.email “your git email”
Generating ssh key
An ssh key is an identifier for the computer, to grant permissions to connect to a server, for uploading files to the git account. This key must be generated in the user’s system This could be useful
Generate ssh key (Filename: default | passphrase: empty)
ssh-keygen -t rsa -b 4096 -C “your git email”
Start ssh agent
eval “$(ssh-agent -s)
Add ssh key
ssh-add ~/.ssh/id_rsa
Display ssh key
cat~/.ssh/id_rsa.pub
Select and copy (CTRL+SHIFT+C to copy)
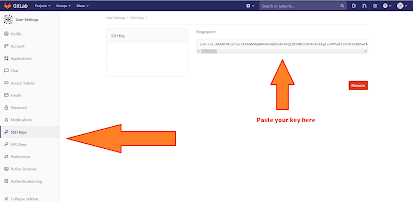
Sign in to Fab Cloud
Go to SSH keys option on the left and paste the key on the text area (CTRL+V to paste the key)
Upload to Gitlab
Create an empty folder to clone the git repository to
Open a terminal window ( use a cd command “change directory” or from the new folder “rigth click” and slect “Git bash here”) that folder must be empty.
Clone git repository to that new empty folder (when finished, this folder will contain a copy of the git repository).
git clone git@gitlab.fabcloud.org:academany/fabacademy/“your year”/labs/“your lab”/students/“your user”
Navigate to your folder (identified by a number) inside the cloned repository
cd “your fablab folder”/students/”your number”/
Use a file manager to empty your folder (the folder with your number), and then copy all your site files to this folder.
Go back to the terminal.
git add .
git commit -m “< message >”
git push origin master
After this, go to a browser and check your webpage.
For the next commits:
Use “cd” command to go to the repository folder on your computer, and to the folder with your number.
Update the files in your folder with the latest files of your site.
git add .
git commit -m “< message >”
git fetch origin
git rebase origin/master
git push origin master
Finally, I have already read the student agreement and I am agree