15. Mechanical and Machine Design
Design
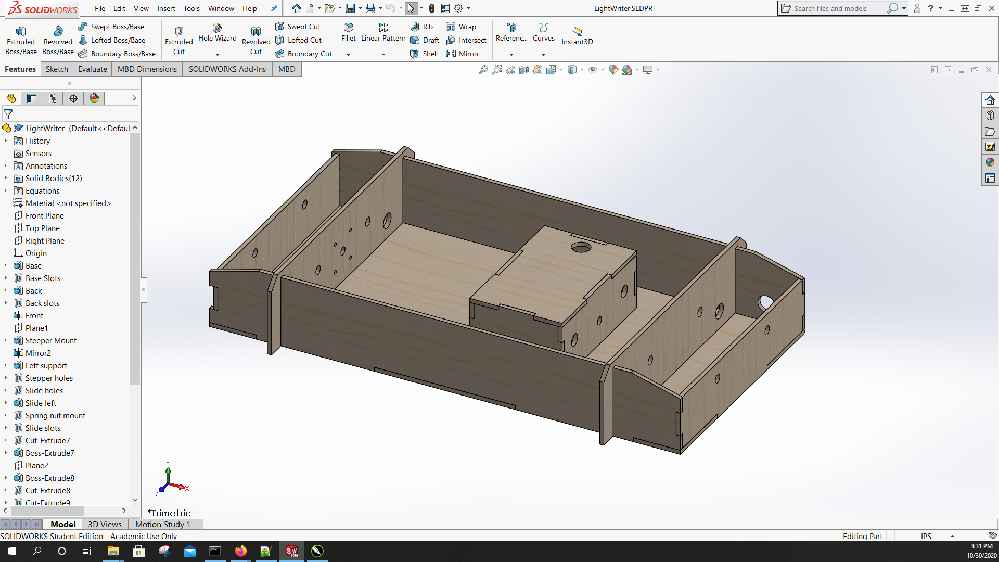
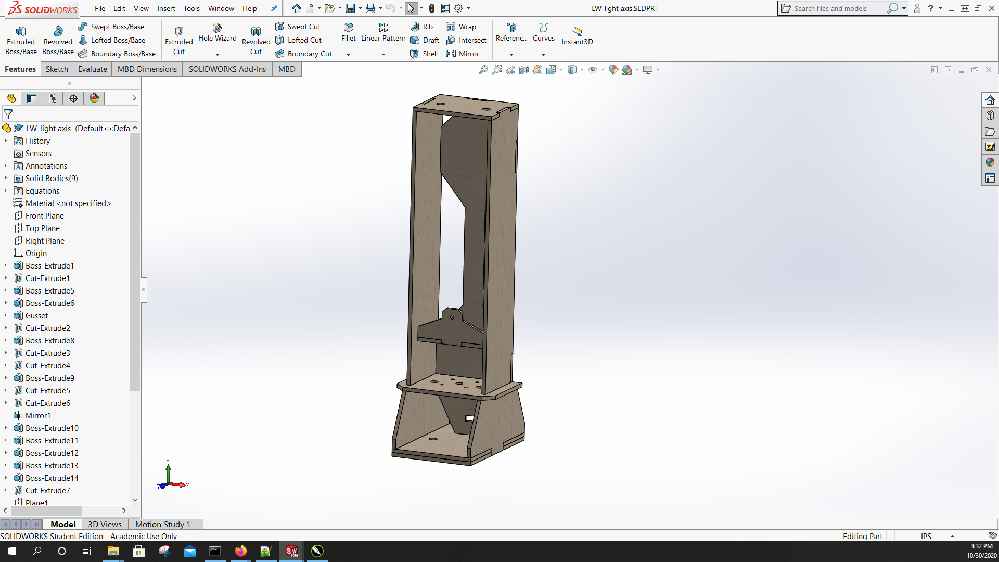
My contribution was to design and build the machine, as well as get the mechanical parts functioning. I used Solidworks for the design process. This allowed me to make it parametric to account for different material thicknesses.
I’ve documented the Solidworks workflow here:
The design was inspired by the Cardboard stages design by Nadya Peek
The basic idea was to make a machine that could write with light, using an LED and a long exposure picture. I decided to turn one of the axes upright to make long exposure capturing easier. The main goal of the design was ease of assembly. As this was a group project, I wanted something that was easily put together with simple directions. What I came up with was stepper motor assemblies that could be slid into place, yet were strong enough to not move when under load. The structural components were designed with slots and tabs to allow for press fitting. These dimensions were also parametric and could be adjusted.
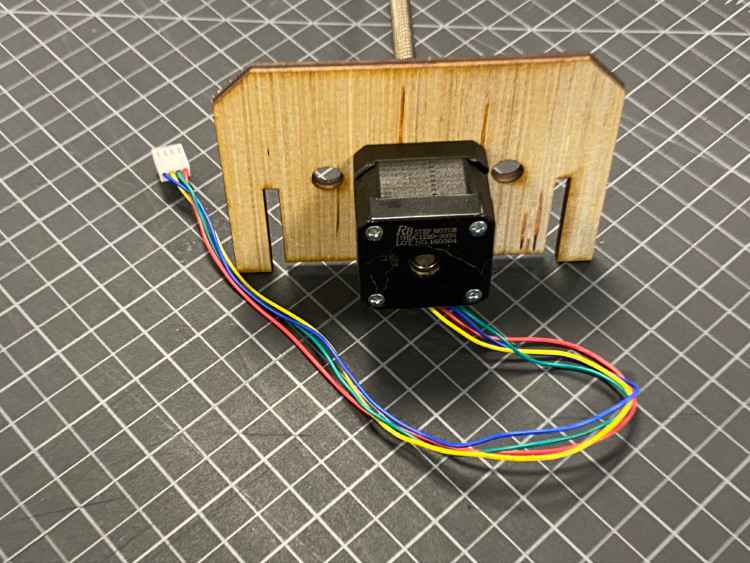
The slots on either side of the stepper motor mount slide into corresponding slots on the main assemblies. This made the building process much easier.
The light axis stepper being installed
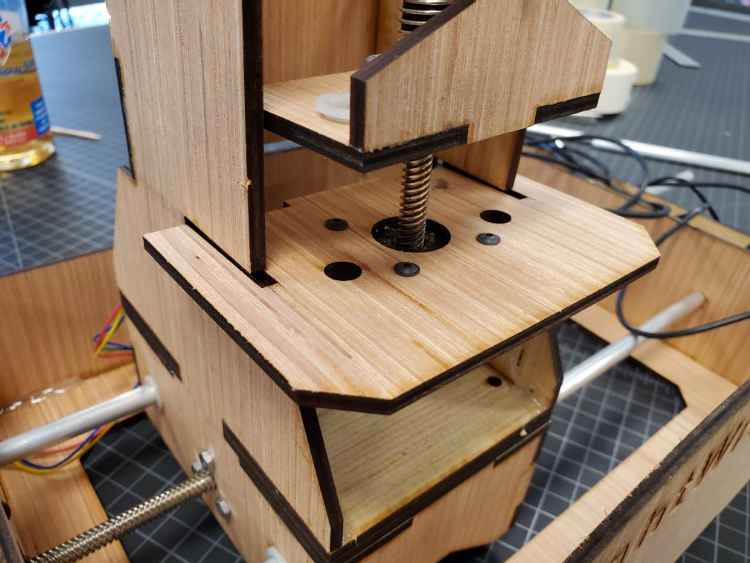
The light axis stepper installed and slide rods inserted
Base axis assembly
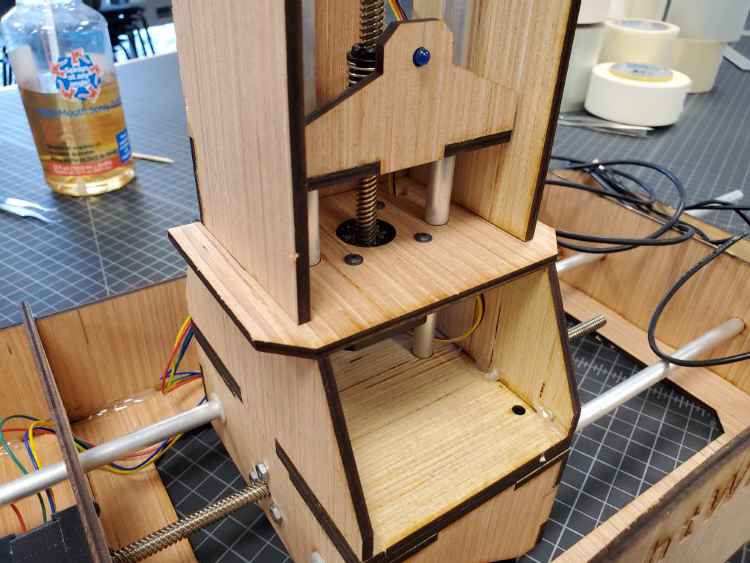
Upright LED axis assembly

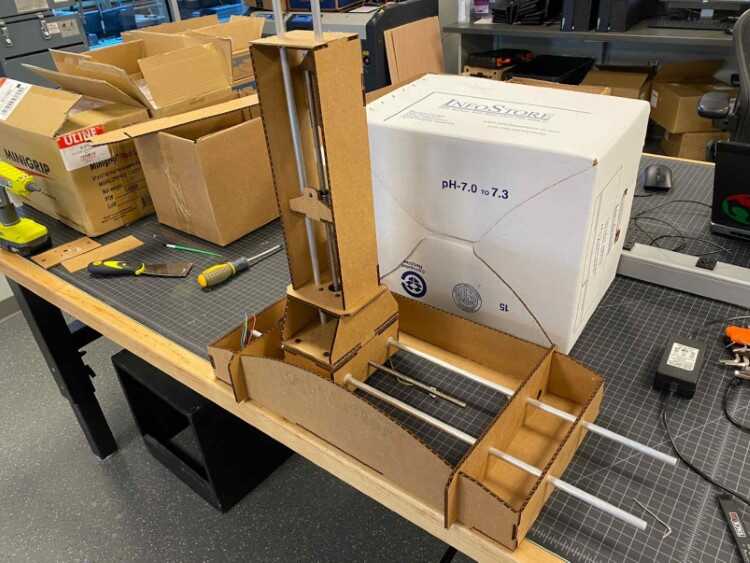
Assembled
Prototype
Cardboard was used for the prototype build, mostly because it’s inexpensive and easy to laser cut. To laser cut the design, I followed the workflow that I learned during the computer controlled cutting week:
I cut all of the parts from cardboard for the two axes and assembled them
Hardware
This had to be a quick and dirty build, so I used off the shelf parts for the mechanicals. I reused the NEMA 17 steppers from the Cardboard stages, an Arduino Uno for a controller, a CNC shield, and DRV8825 drivers for power.
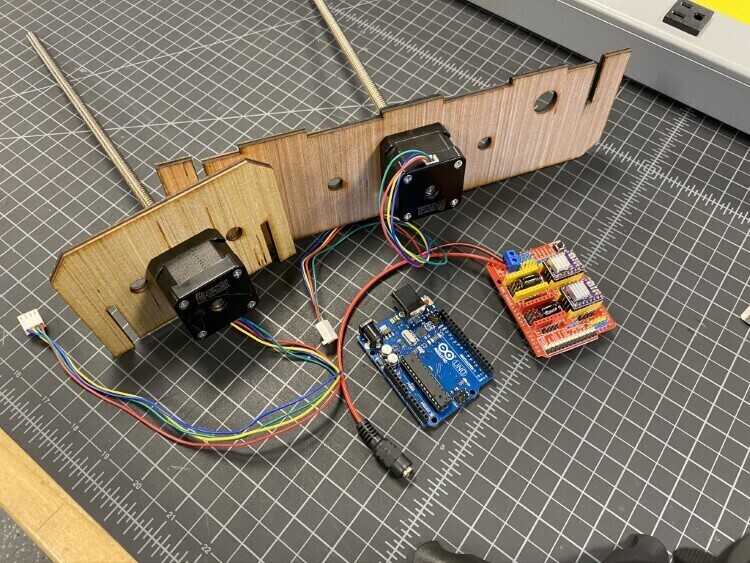

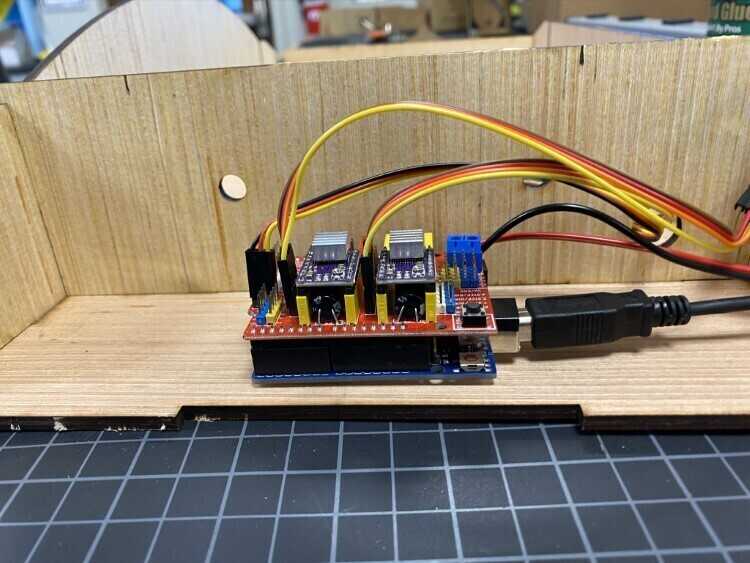
Wiring was quite simple. Just plug in the steppers to the proper axis pins on the CNC shield. The LED was hooked up to the tool spindle pin. So when using gcode, the standard start spindle command would activate it.
Manually testing the mechanical
I wanted to manually operate the machine to test and made sure nothing was binding
Smooth as butter
Next steps
The next thing to to was to setup the control software, install the CNC sketch into the Arduino, and calibrate the steppers. That was handled by another member of our group.

This work is licensed under a Creative Commons Attribution-NonCommercial-ShareAlike 4.0 International License.