2. Project management
Project management is arguably the most important part of any project. Keeping tasks organized and on schedule can quickly get out of control if one isn’t careful. There are a number of different programs and principals that can be used to accomplish successful task management. For more complex tasks, you can use programs like these:
Simpler tasks might not need such involved software, however, there are task management principals that can and should be used to make a project run smoothly. One of the main principals I use is called the “A,B,C/1,2,3” method. Basically, I look at the task as a whole, determine my goal, and break that down into the largest tasks based on priority (A,B,C), then break those tasks down into smaller parts needed to accomplish those goals (1,2,3). Once broken down into basic parts, I can see which tasks could be done at the same time (a kind of parallel development.) I can then determine how much time would be needed for the whole project and its smaller parts, and block off time needed for each task, similar to supply-side time management.
For our project here, I had to start by installing and configuring Git, which is something I’ve never used before. I found a very good paper detailing various version control concepts and best practices:
This paper detailed the pros and cons of both centralized version control, such as Subversion, and distributed version control, like Git and Mercurial. As part of Fab Academy we’re using Git, and reading that paper gave me some insight as to why and the benefits of using it. Not only that, it has some very good best practices for using any version control software.
That being said, let’s get started.
Installing Git
To start, I watched a git tutorial on youtube.
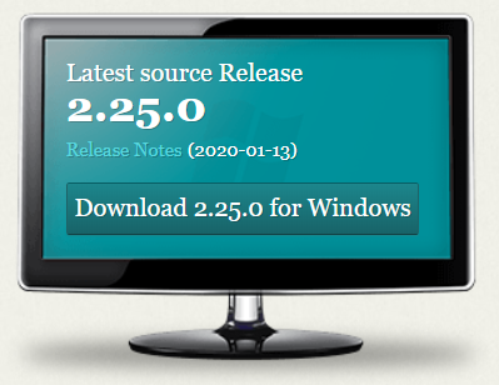
It was very helpful and informative, especially for somebody who has never used git or any version control software. From there, I started the install and set up process for git. Firstly, we have to install the software. I got it from the git website:
In my case, I’m using Windows 10, so I downloaded the proper version:
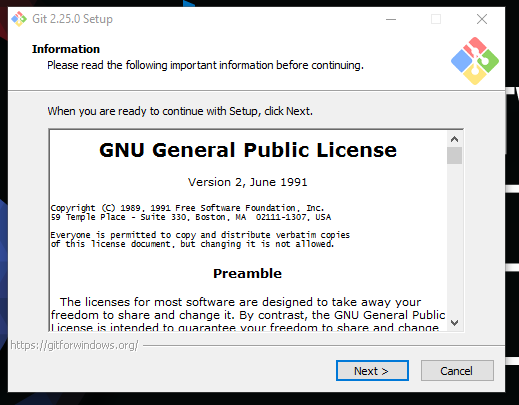
From there, it was just a matter of following the install prompts:
Make sure you have the “Get Bash Here” and “Get GUI Here” selected:

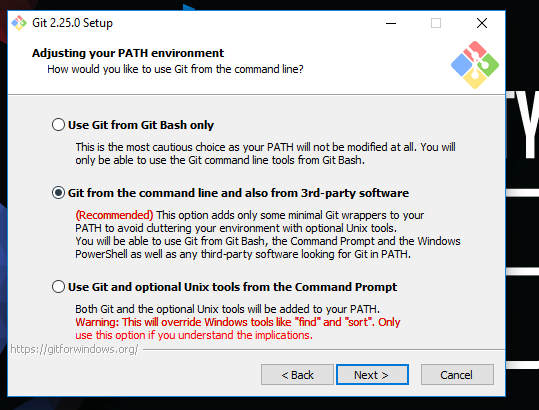
I would stick with the recommended option of using Git from the command line:
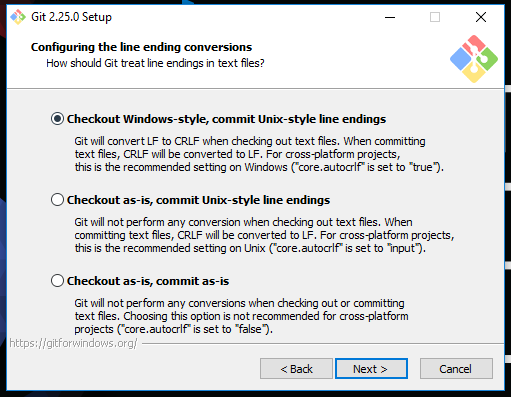
I left the the Checkout Windows-style, commit Unix-style line endings selected:
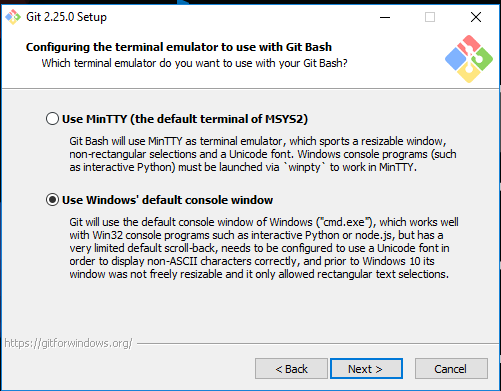
Then opted to use the Window’s default console window:
From there, just let it run it’s install process:
We now have Git installed, time to set it up and get the repository.
Configuring Git and getting an ssh key
I started by creating a folder on my desktop. This will help make things easier, as I won’t have to dig through multiple levels of folders. Once that is created, I opened that folder, right-clicked, and selected “Git Bash Here”
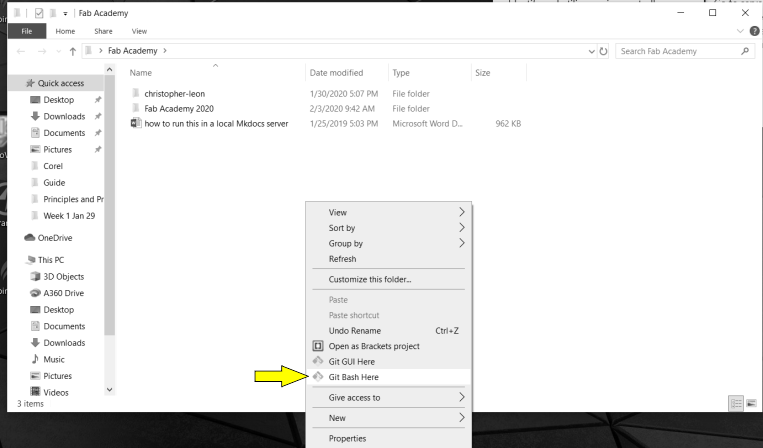
This opens the command console with the proper folder already selected.
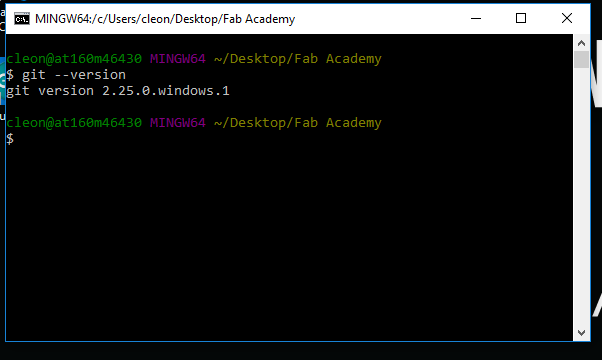
Check the version of Git to ensure it’s the latest build:
”$ git –version
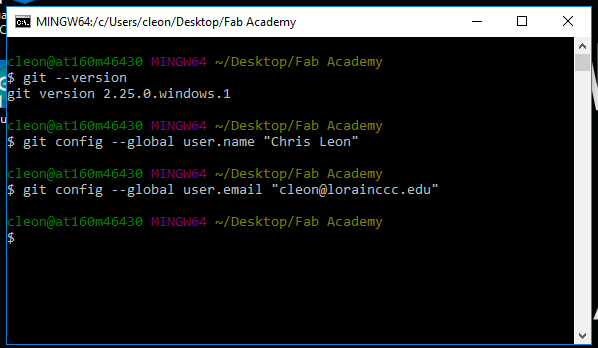
Next, setup a user name and email:
”$ git config –global user.name “YOUR NAME””
”$ git config –global user.email “YOUR EMAIL”“:
A handy feature of Bash is using the up arrow on the keyboard. It cycles through previously used commands, saving a lot of time.
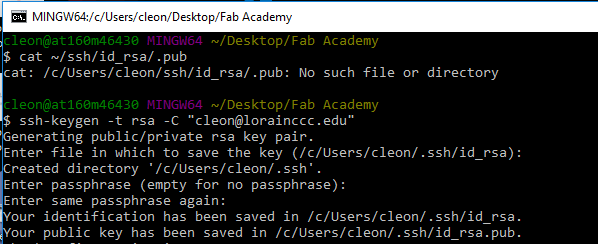
You can check to see if you have an ssh key by using
$ cat ~/ssh/id_rsa.pub
If not, you’ll have to generate a key:
$ ssh-keygen -t rsa -C “$YOUR EMAIL”
At this time, you’ll be prompted to enter a file location and generate a passphrase:
Accessing and cloning the repository
Now we have the ssh key, we need to add it to the GitLab web page. First thing is to copy the ssh key:
clip <~.ssh/id_rsa.pub
Login to the gitlab website:
Once logged in, select the Clone dropdown menu and copy the ssh link:
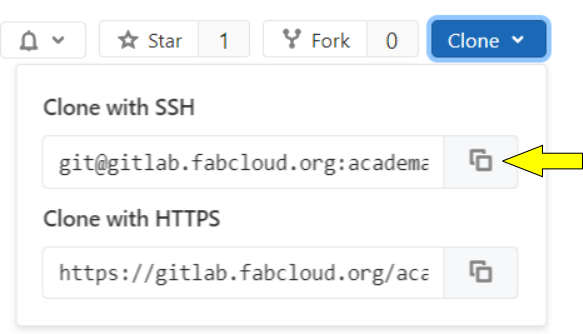
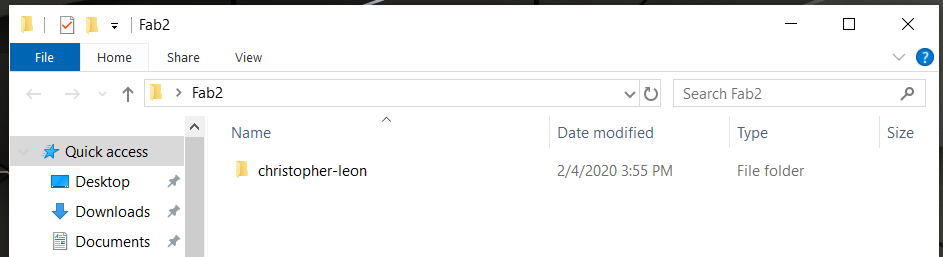
Return to the command console in which Git is running. Use the clone command and the copied link to get the repository into the folder:
git clone git@git.fabacademy.org:fabacademy2020/yourlabname/yourstudentnumber.git

The repository has been cloned into the selected folder:
Editing, committing, and pushing to the Archive
Now that the repository has been cloned, it’s time to start building the website. I started with the main page index in the cloned repository folder. I used Notepad++ to do the editing of the index.md file. I made my changes and edits using the Markdown language and saved the document (more on that later). Those changes now need to be pushed to the repository. Back at the command line, check for any changes using:
$ git status
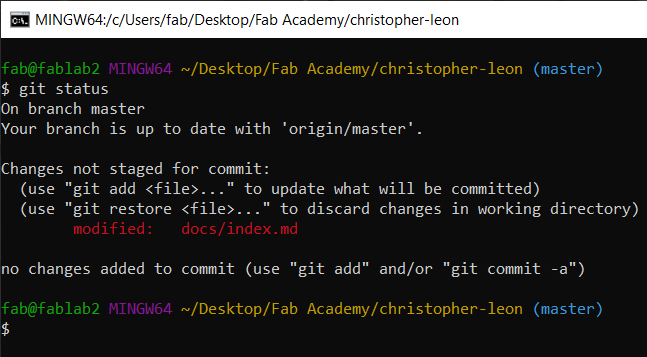
The red text lets me know that there was a file changed and needs to be added to the next push. To do that we use:
$ git add (file path)

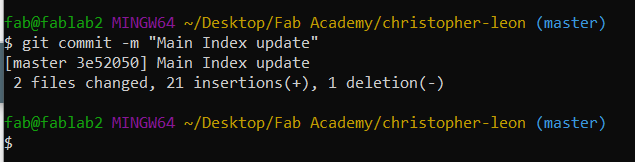
It never hurts to double check the status again. After that, the files need to be committed:
$ git commit -m “description”
Best practice: Be specific when using the description, it’ll make looking through past commits much easier.
Everything is ready to be pushed, don’t forget your passphrase:
$ git push
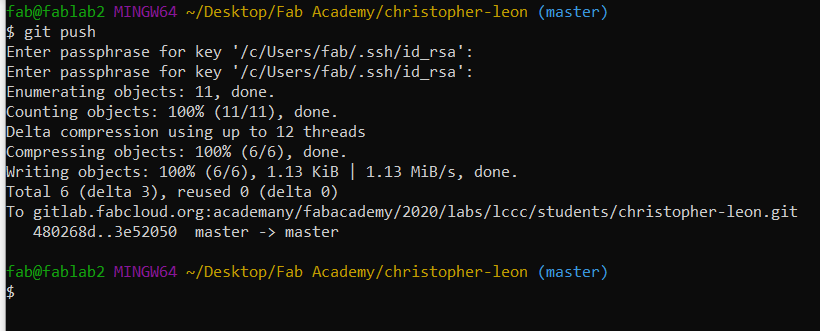
And done. To check the status of the commit, go back to the GitLab website and look at the commits link. This is where being specific with the description is useful. To the right, the green check means it has gone through:
Description of the commit

Green check. Good
Web development
There are a few different means in which the website could be built. One option was already shown by editing a .md file using the Markdown language in a text editor and pushing to the repository. The second would be directly from the web interface. To do that, navigate to the file that needs to be edited and select it. A new window will open and the “Edit” button can be selected. There I was presented with an in-browser text editor that also used the Markdown language:

Edit button at top of screen
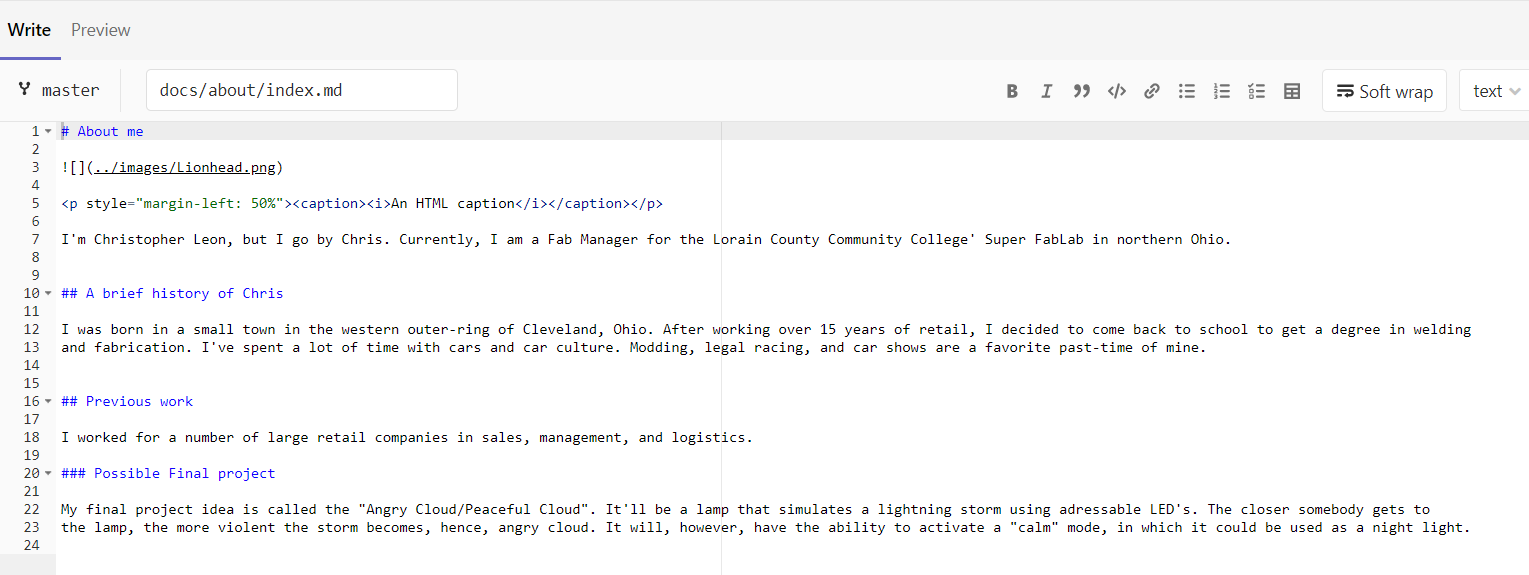
In-browser text editor
HTML can also be used for more specific needs that Markdown doesn’t allow, such as captions. Luckily, HTML can be used in conjunction with Markdown, so I was able to include an indented, italicized caption on the “About me” page. This was just a simple line of HTML code:
<p style="margin-left: 50%"><caption><i>An HTML caption</i></caption></p>
Which, in practice, looks like this:
Installing Mkdocs
As mentioned before, Markdown can be edited in any text editor or directly from the web interface in GitLab. While both of these options are perfectly fine, not being able to preview changes and additions isn’t always ideal. Ensuring that the correct information is pushed is always important, especially when using repositories. Mkdocs allows a local server to be setup that can be accessed through any web browser to see and interact with a preview of websites built using the Markdown language. Mkdocs allows for easy web page creation, testing, and previewing. The are even a number of themes available than can be installed that allows for even further customization.
Installing Mkdocs on Windows 10 only requires a few steps. First, Python needs to be installed:
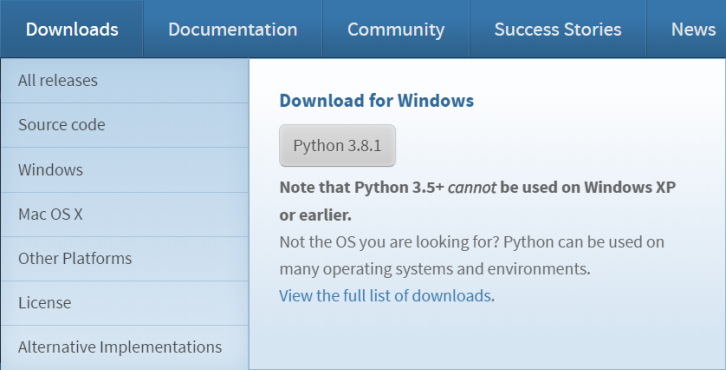
Download the latest version of Python for Windows:
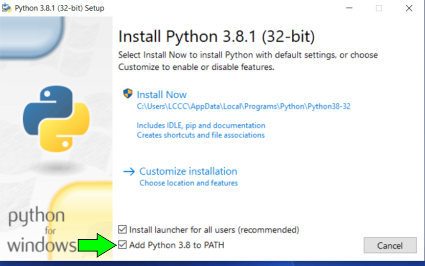
Select the “Add Python 3.8 to PATH” option:
This will setup everything needed to install Mkdocs. There is an option to disable the path length limit, but I didn’t do so. Now that Python is installed, it’s time to move on to installing Mkdocs.
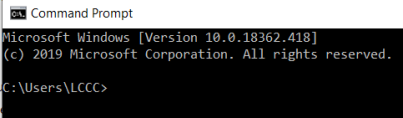
Python is accessed through the command prompt, so that is open first:
The latest version of pip (the Python installer) is needed. Check the current version of pip:
pip –version

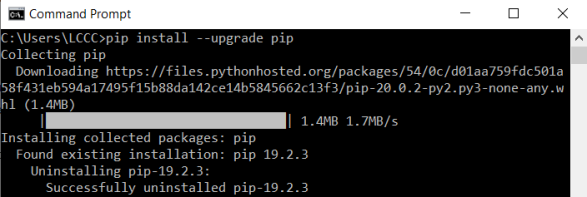
The latest version can be installed via the command line:
pip install –upgrade pip
Check the pip version once again:

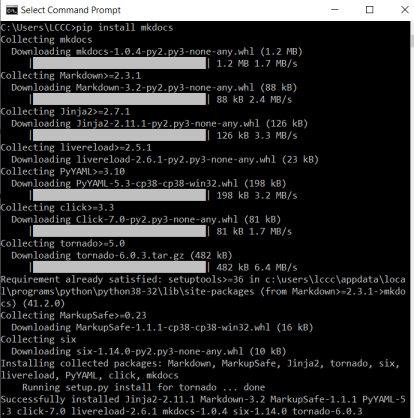
Now that the latest version of pip is installed, Mkdocs can be installed in the same way:
pip install mkdocs
Using Mkdocs with the Git repository
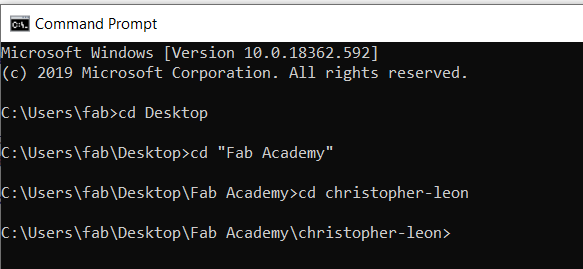
Because the Git repository provided is written in the Markdown language, using Mkdocs is pretty simple. Setting up the local server is done via the command prompt. With the command prompt open, navigate to the folder the cloned repository resides:
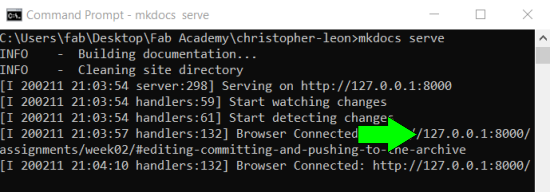
Once in the correct folder, setup the Mkdocs server:
mkdocs serve
Mkdocs will then setup a local server referencing the folder of the cloned repository. It will provide an IP adress that can be opened within any web browser:
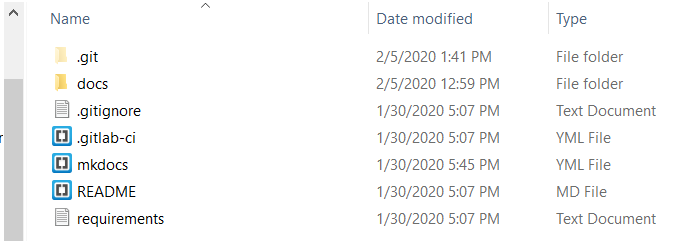
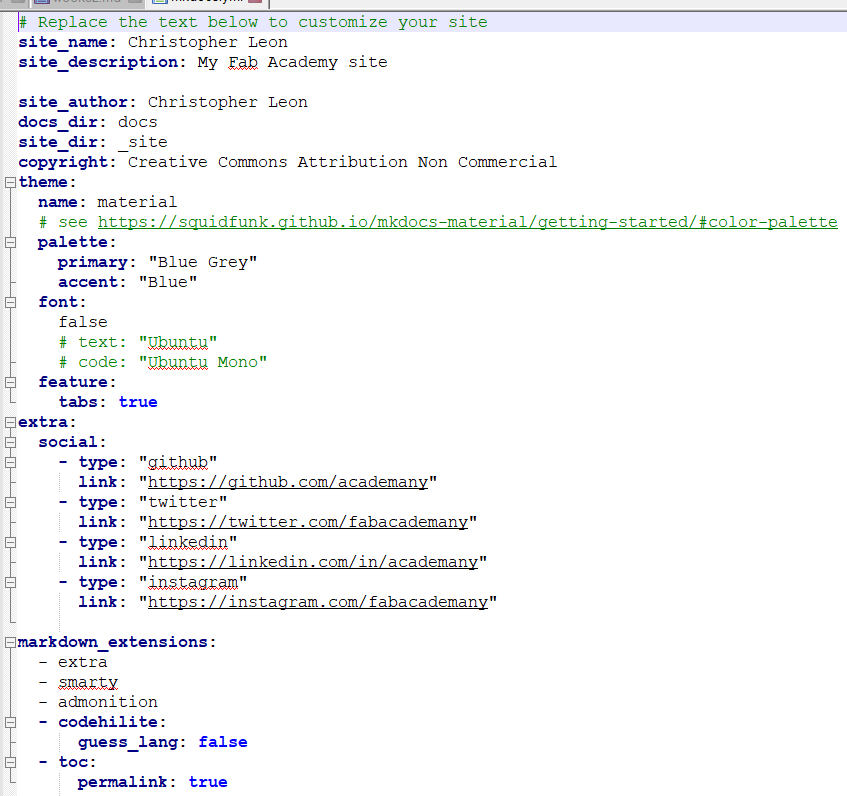
It’s important that the folder Mkdocs is referencing contains a properly formated .YML file. The provided repository has a file named ‘mkdocs.yml’ for this purpose. This .yml file is used to setup everything from the basic layout to any themes.
As long as the Mkdocs server is running in the command prompt, an interactive preview of the entire website can be viewed using the IP address provided:
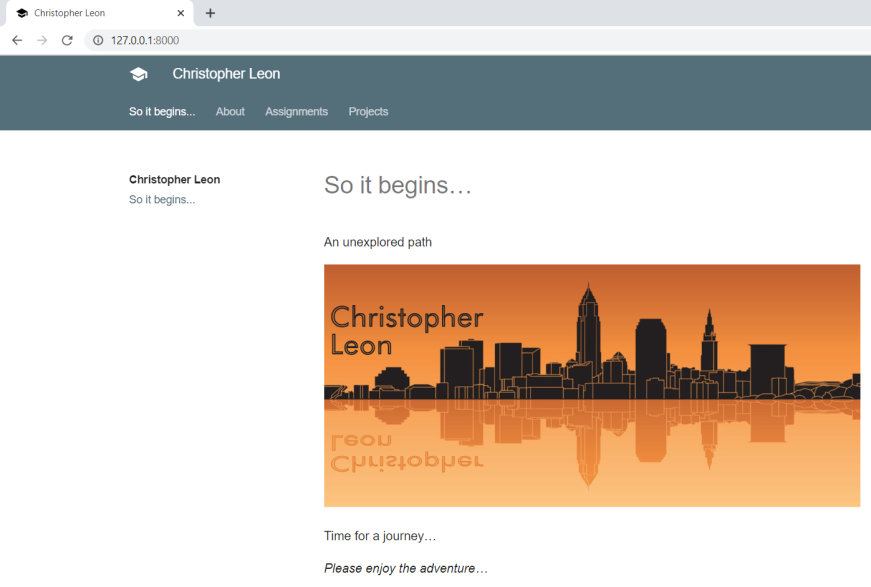
Now, when any of the .md files are edited in a text editor, the changes are reflected in the browser in real-time once the file is saved. The advantage to this cannot be understated. With the given memory constrains, Mkdocs allows for not only previewing basic changes, but for experimentation with themes, layouts, picture sizes, and alignments. All without having to push anything to Git.
Markdown basics
The Markdown language is basic, but powerful. This entire site is built on it. Using some as simple as a # symbol allows for a header with a quick-link to be added. Here’s a cheatsheet that shows the basics of the language. To insert a link, the code used is:
-[Markdown](https://www.markdownguide.org/cheat-sheet/)
That looks like this:
For example, on this page, starting with:
’# 2. Project Management’
which resulted in a first-level heading and the name for the table of contents on the left column:

Next, using:
’## Installing Git’
set up a second level heading as well as a quick-link in the table of contents:

The layout of the table of contents, menu bars, and color scheme is defined by the theme that is selected. This can be changed and edited in the mkdocs.yml file:
Markdown allows for easy access to various formatting tools. Everything from bold and italicized text, block quotes, ordered lists, inserting images, and so on. And, as previously mentioned, HTML code can also be used to fill in the gaps for any limitations of the Markdown language.

This work is licensed under a Creative Commons Attribution-NonCommercial-ShareAlike 4.0 International License.