02. Computer Aided design - CAD
As I already have experience in 2D design, I wanted to focus on diving into 3D making softwares & Parametric Design.
What is parametric design?
In simple words for a non-architect, parametric design allows a designer to change a parameter, be it a curve, a distance, a shape, without changing the overall functioning of the model created. nddga.com/es/soporte/products/cutting/camm-1-gx-24-24-vinyl-cutter)
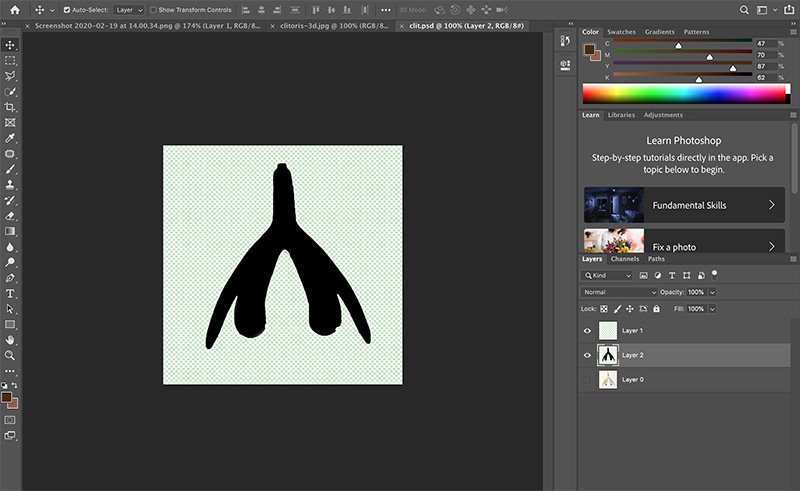
I first created a silhouette of my subject in photoshop, and saved in .psd.
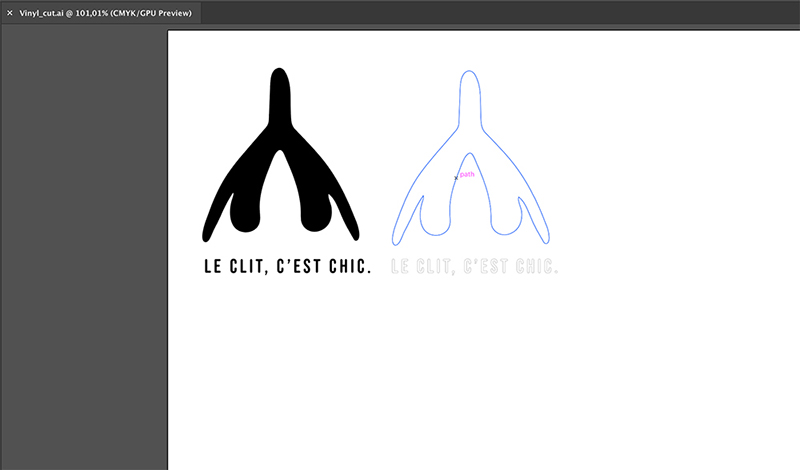
I after opened it in illustrator, image trace, Expand in order to turn it into a vector.
After having the vector, it had some edges.
I softened the extra anchor points using the edge softener pen
Playing with basics on Fusion 360
I started by using Fusion 360 as it seemed to be the most sincere and straightforward in terms of creating 3d models for someone with no previous knowledge in that.
Coming from 2D and Web design, I decided to understand how to create a 3d object from 2d material - cardboard of material.
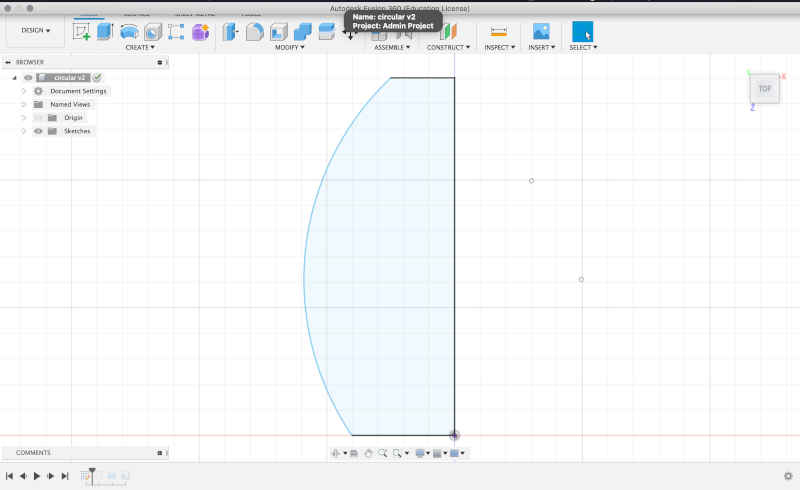
So I decided to create a simple lamp.
- I started by creating a sketch of one plane of the ultimate shape. It allows to create (or disable) interdependencies between lines, shapes & curves in a way that allows to create several prototypes &/or versions of a project without having to rework the whole model.
2D on Illustrator
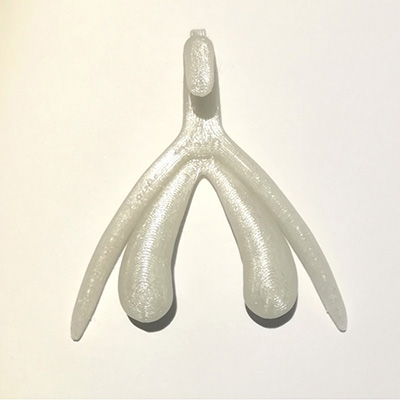
This part was super fun as I was familiar with vinyl cutting. I decided to do a vinyl from female sexual pleasure encouragement.
I used the [Roland CAMM-1 GX-24 24 Vinyl cutter](https://www.rola
- I defined it by using the shape used below. I did this shape by using lines & arcs.
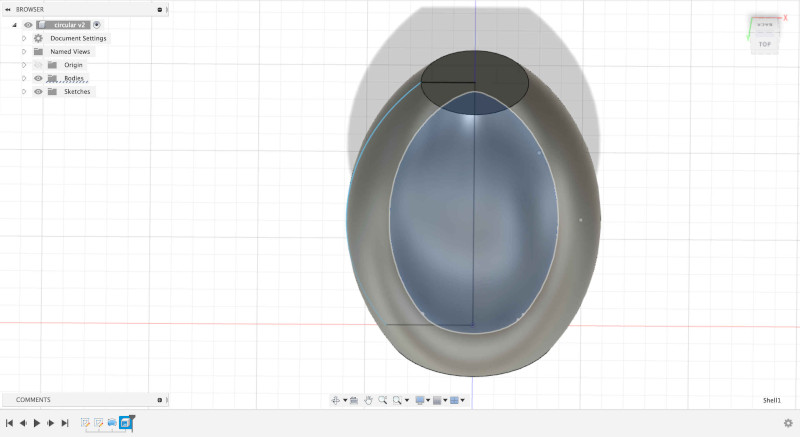
- After that, I had to move from 2D to 3D. I finished sketch I used the revolve option to create

- In order to be able to insert the light bulb and cable, I used the Shell option to create a hole in the centre from both top and bottom of the lamp.
- Afterwards, I opened the add-in
slicerso that I canmakethe lamp into slices to be printed on cardboard.
For some reason, slicer changes the original size of the object when changing measurement units (from inch to mm). I had to re-adjust it.
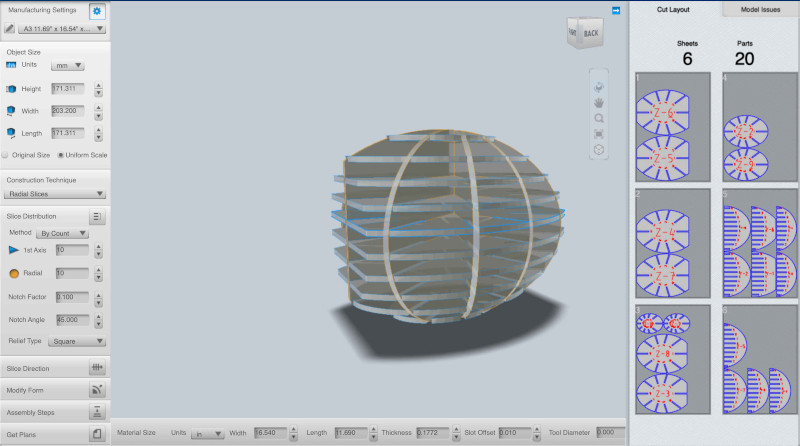
When one of the pieces does not fit into the size of paper used, the piece is marked in red. So I had to re-arrange the size of the paper to A3.
You can check out the working file here
Missing earphone pieces
You can find the files that I worked on for 3D printing day in here
Unfinished work: creating a laptop stand on
I followed an online tutorial in order to help me explore what it means to use a 3D software.
I chose Fusion 360 because it seemed simpler to use for me, since I came from a design background.
- Create a
componentcalled “leg” - Choose a
planeto start drawing - Use the
sketch toolin order to draw the first “leg” -
Follow the
constraintsin order to make sure the relation between different lines are well-specified to make the sketch behaves cohesively. -
After finishing up the sketch, i hit
finish sketch - I set up user parameters to make the design
parametricin order to be make specific measures change relatively. That is quite useful for changes in material thickness for examples 7. - Set a T for thickness depending on how thick the material will be.
- Depending on the laptop size, the leg width as well changes. So this should be parametric.
take-aways: Constraints such as parallel lines, measure constraints, angle measures are helpful. Sketches are marked in black when they are constrained