Assignment 05 Make your own ISP
Electronics Production
I am quite familiar with producing my own PCB's since I have done it for many small projects. But the ISP we had
to fabricate for this assignment was by far the most complex one. Usually I only make simple circuits for sensors or voltage dividers.
There was also a task we had to solve as a Group, which involved exploring the PCB Production Specifications of or milling machine. For our findings check our group page.
Tools used
- Soldering Iron
- Solder
- Third Hand
- Flux-Pen
- Solder Wick
- Smd-Pliers
- Solder Wick
- Multimeter
- Sandpaper
- Dremel
- Mantis Compact
Making the ISP-Schematic
To build my ISP i chose to follow Brians tutorial. First I altered his design a little bit: I removed the jumper so my isp will be always powered when plugged in. This should be ok because I do not plan to program circuits which need that more power than the ISP can provide. To design the circuit plan and the board I used eagle since i am familiar with this program.The main circuit consists of an an ATtiny45 an a pinheader. The pinheader is used to connect a microcontroller to the ATtiny, so you can program the other microcontroller or the ATtiny itself. The capacitor protects the circuit from voltage spikes. The led nearby is connected to VCC and GND so it lights up when Circuit is powered. The other led is powered when the MOSI-pins are powered, so it lights up when something happens on the serial-bus. The resistors ensure that current is low enough, so the other components wont take damage.
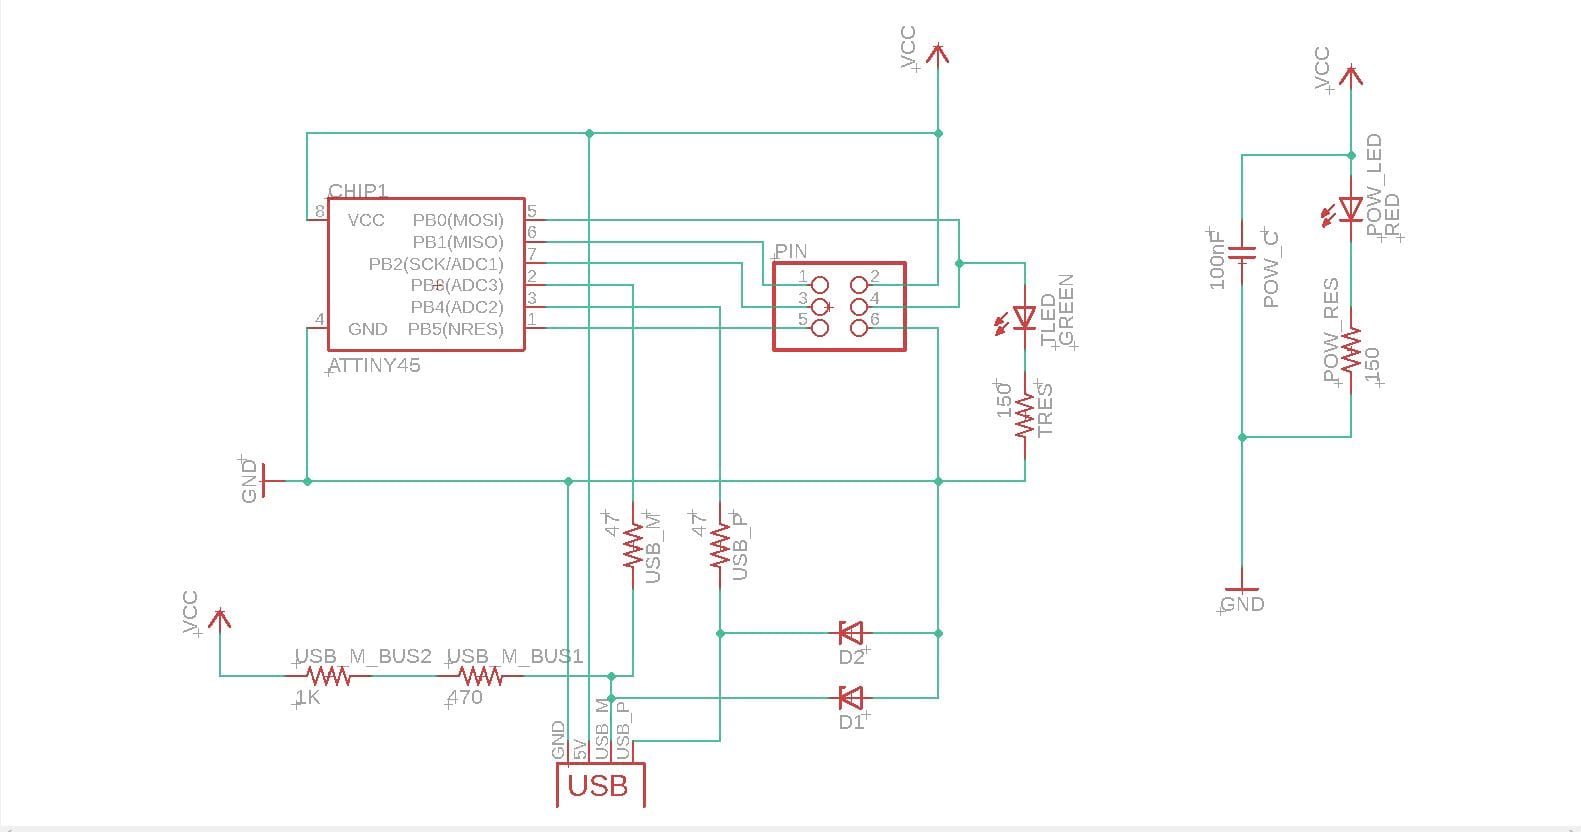
I came up with this circuit schematic. To make the design of the board in the next step easier I gave names to
all subcircuits and wrote down the details (capacity etc.) for each part. In the soldering part I had to to
swap out one of the leds since we where out of red smd-leds.(I just used a blue one).
For the sizes of the resistors I used Brians schematic as an orientation. For the two led resistors I found a comment on Sparkfun while searching for the led data sheet. The commenter suggested a 150 ohm resistor when working with 5V. I calculated the the current (0.033A), which was slightly above the maximum forward current of the led. Since the ISP wont stay powered for extreme long periods of time this should be ok otherwise I will replace the resistors with slightly bigger ones.
For the sizes of the resistors I used Brians schematic as an orientation. For the two led resistors I found a comment on Sparkfun while searching for the led data sheet. The commenter suggested a 150 ohm resistor when working with 5V. I calculated the the current (0.033A), which was slightly above the maximum forward current of the led. Since the ISP wont stay powered for extreme long periods of time this should be ok otherwise I will replace the resistors with slightly bigger ones.

In the next step I designed the "real" circuit board. The naming of the components helped here a lot since it
is easy to lose orientation while trying to fit everything together. I chose a line-thickness that big enough that is sturdy
enough to withstand accidental scratches and thin enough to not produce shortcuts when its placed between two connections of the pinheader.
It felt like a weird kind of puzzle game to connect all the lines in a way so they do not intersect, because intersection would result in unwanted connection
or even shortcuts. It happened a few times that I produced a deadlock-situation, so that a
connection line had to cross other lines since it was surrounded. But after a few rearrangements I
produced this intersection free layout.
For more Design rules like what wire thickness should be used refer to our Grouppage.
For more Design rules like what wire thickness should be used refer to our Grouppage.
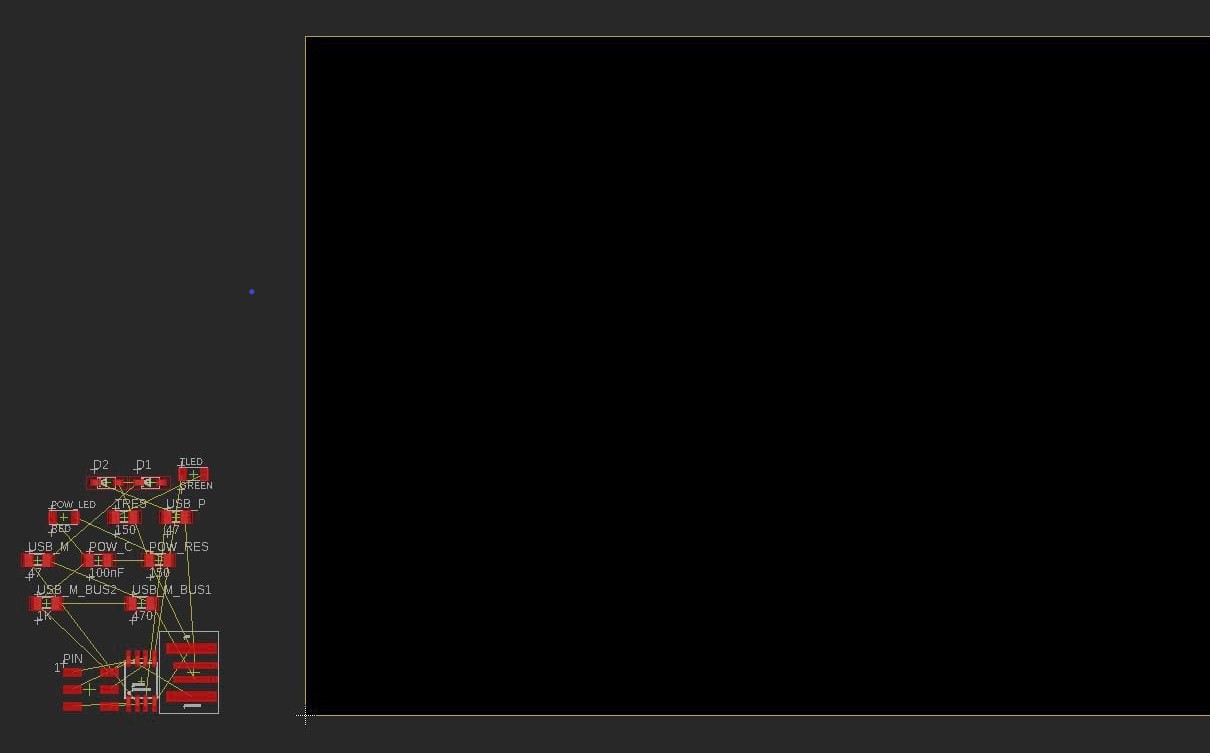 When generating the board it looks like this. From here on I connected everything manually.
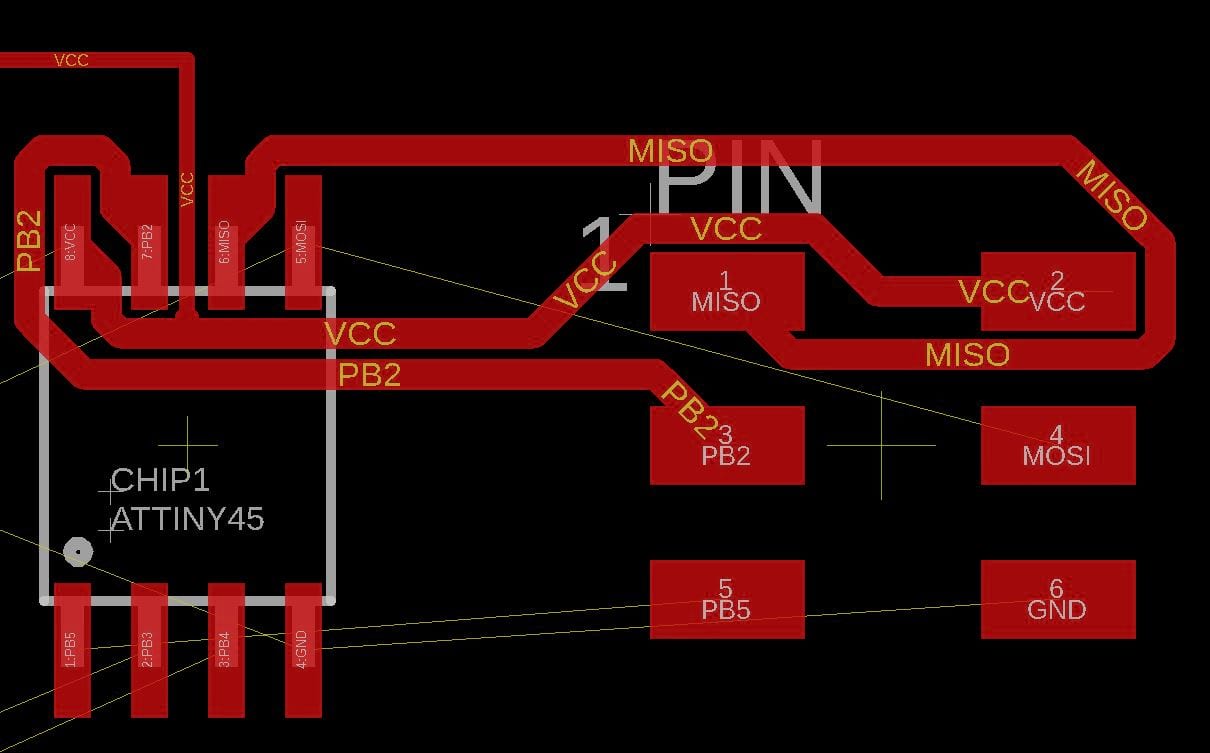 This an example of the deadlock mentioned above there is now way here to connect the two MOSI-pins since every way ist blocked.
Milling the board
Using our PCB Mill ist fairly easy when you follow the tutorial on our website.You can not simply change the milling bit diameter, feeds and speeds manually to you liking because the LPKF is professional mill which chooses these parameters automatically changing them can result in damaging the machine, the board or the milling bit. Here is a short wrap-up how you use it:
PCB-Mill Instructions
- Launch the Virtual-Windows-machine on the MAC
- Turn on the Mill
- Make sure the vacuum in the back is connected
- Launch BoardMaster(via the shortcut)
- Park head(P button in the toolbar) and check camera (hold a finger inside the camera and check if the image changes)
- Load PCB material
- Minimize BoardMaster
- Copy your files into a separate folder
- Process the files via eagle Datei -> CAM-processor -> Datei -> zuletzt geöffnet -> LPKF_2Layer.CAM -> Job ausführen
- .BOA (board outline) .BOT (bottom) .DRD (drill data) .TOP (top) should be generated
- Close eagle
- Launch CircuitCAM
- Importing your files
- Deselect TopLayer, BottomLayer, DrillPlated
- Press the Konturgenerator button
- Click on Starten
- Reselect TopLayer, BottomLayer, DrillPlated
- Marking places for rubout (all copper except fo the circuit will be removed in this sections at least rubout the space where the USB-plug is located to avoid severe shortcuts)
- Press the Isolieren aller Layer Button
- Now press Exportieren LMD Datei
- Switch to BoardMaster
- Click Verfahre nach -> Kamera -> Kopf
- Move the head via the arrow buttons
- When you found a place where want the PCB to be milled click Verfahre nach -> Kopf -> Kamera
- Click the yellow pseudo 3D block in the toolbar
- Drag your PCB to the desired location use the drill position as orientation(circle)
- IMPORTANT: When ask if you want to change a Tool press no
- Select Konfiguration -> Phasen
- Press the Laden button
- Use the dropdown menu at the top left
- Milling Phase 2: DrillingPlated - click All+, then Start
- Milling Phase 7: MillingTop - click All+, then Start
- Milling Phase 10: CuttingOutside - click All+, then Start
- Now you can remove your board
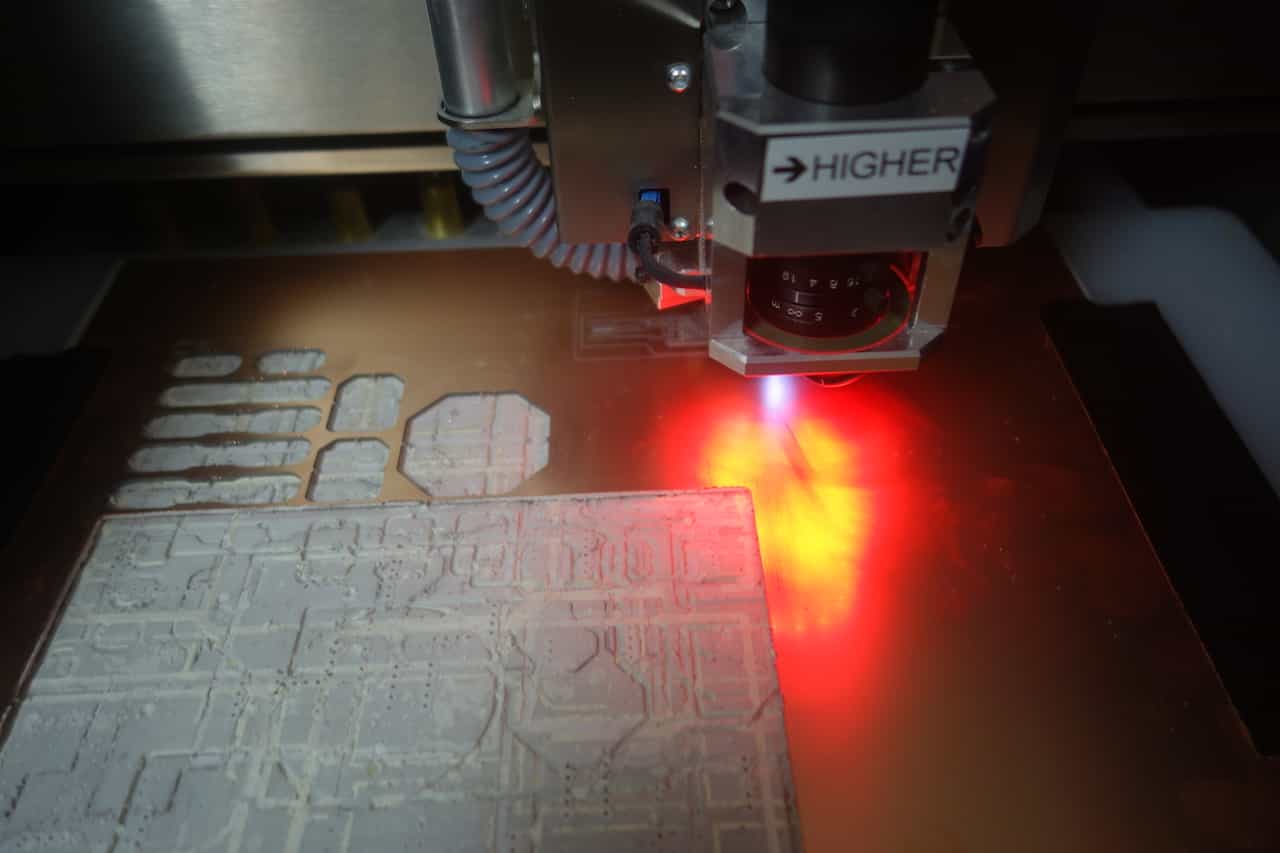 Drillhead while selecting the area to place the PCB.
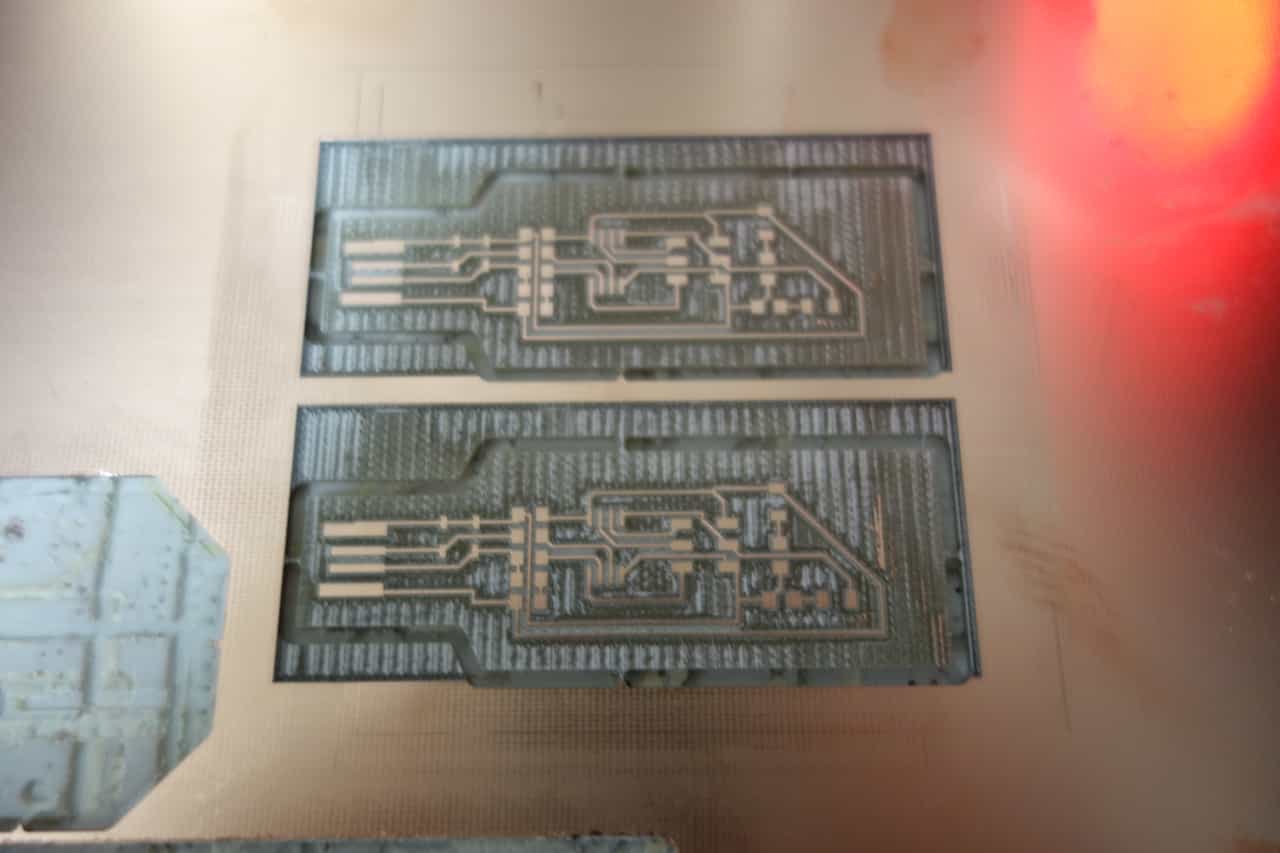 Two freshly milled PCB.
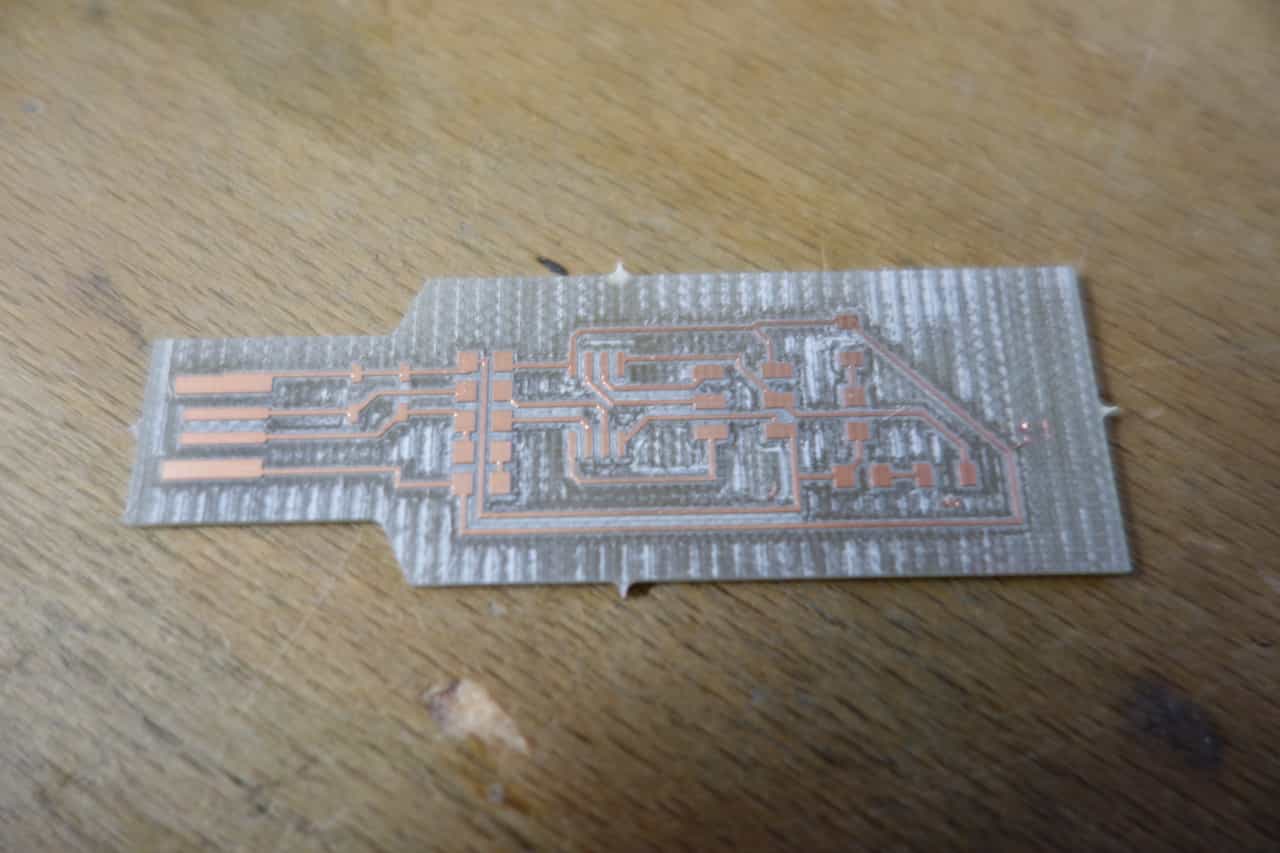 PCB when removed from the mill. I used sandpaper to remove the bridges on the sides.
Soldering the board
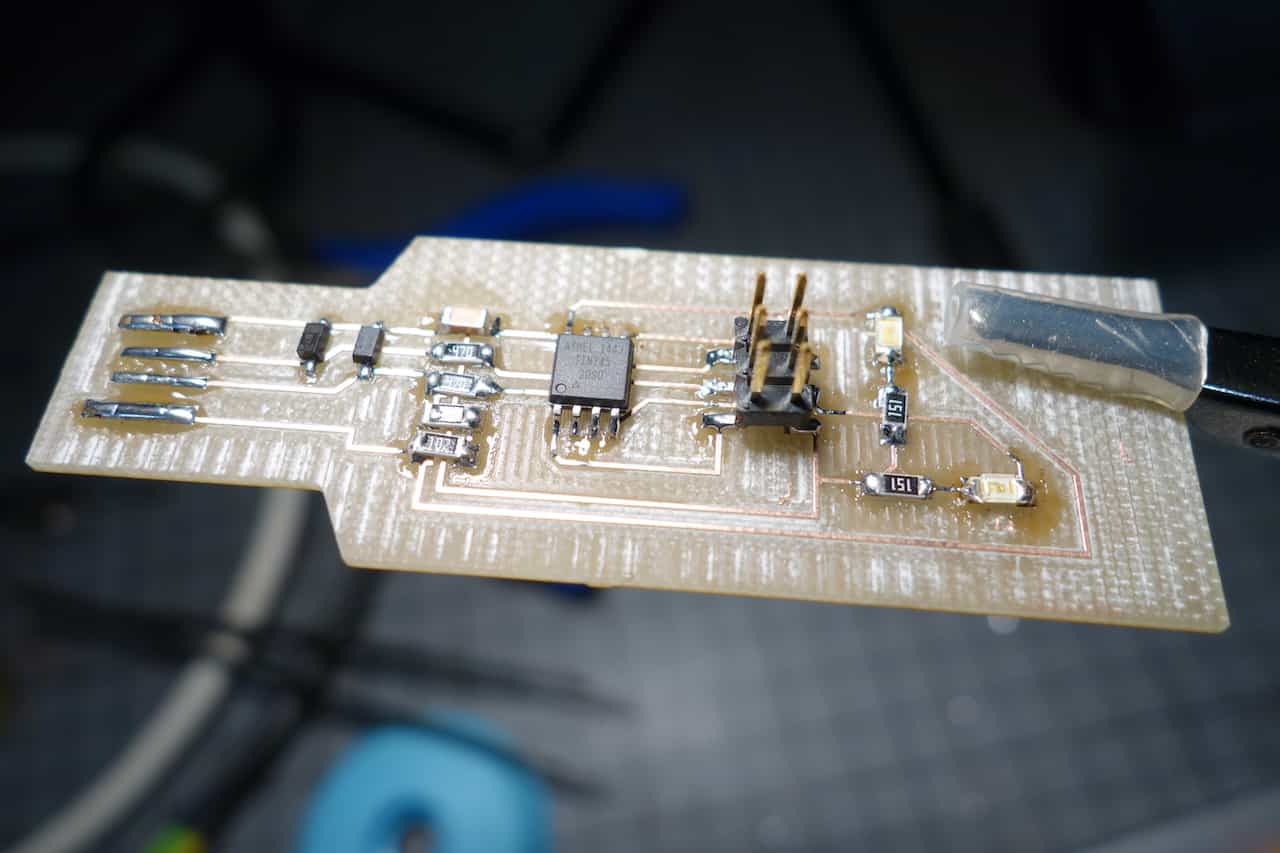
This part was some kind of finicky and this was also the first time I really worked with smd-components. This components are very small so I had to use pliers to grab them. Here our four armed soldering holder came in handy, since I always needed some additional hands.To ensure good soldering joints: First clean the tip of the iron with the sponge and the metal-wool inside soldering stand. Now heat up the the pad and the pin of the part you want to solder. Then add enough solder to cover the pad and the pin of the part. Wait a second then remove the soldering iron.
For smd-components first only heat up the pad and add solder like described above. Then put some flux onto the joint. Now take the smd-component and heat up both the joint and the connection of the component. Wait a second then remove the soldering iron.
If you are using solder with lead then you know a joint is good when its shiny.
Components used
- 1x ATtiny45
- 1x 100nF SMD Capacitor
- 1x 2x3 SMD Pinheader
- 1x red (blue) SMD LED
- 1x green SMD LED
- 2x 3.3v Zener Diodes
- 1x 100nF SMD Capacitor
- 1x 1kΩ SMD Resistor
- 3x 470Ω SMD Resistor
- 2x 150Ω SMD Resistor
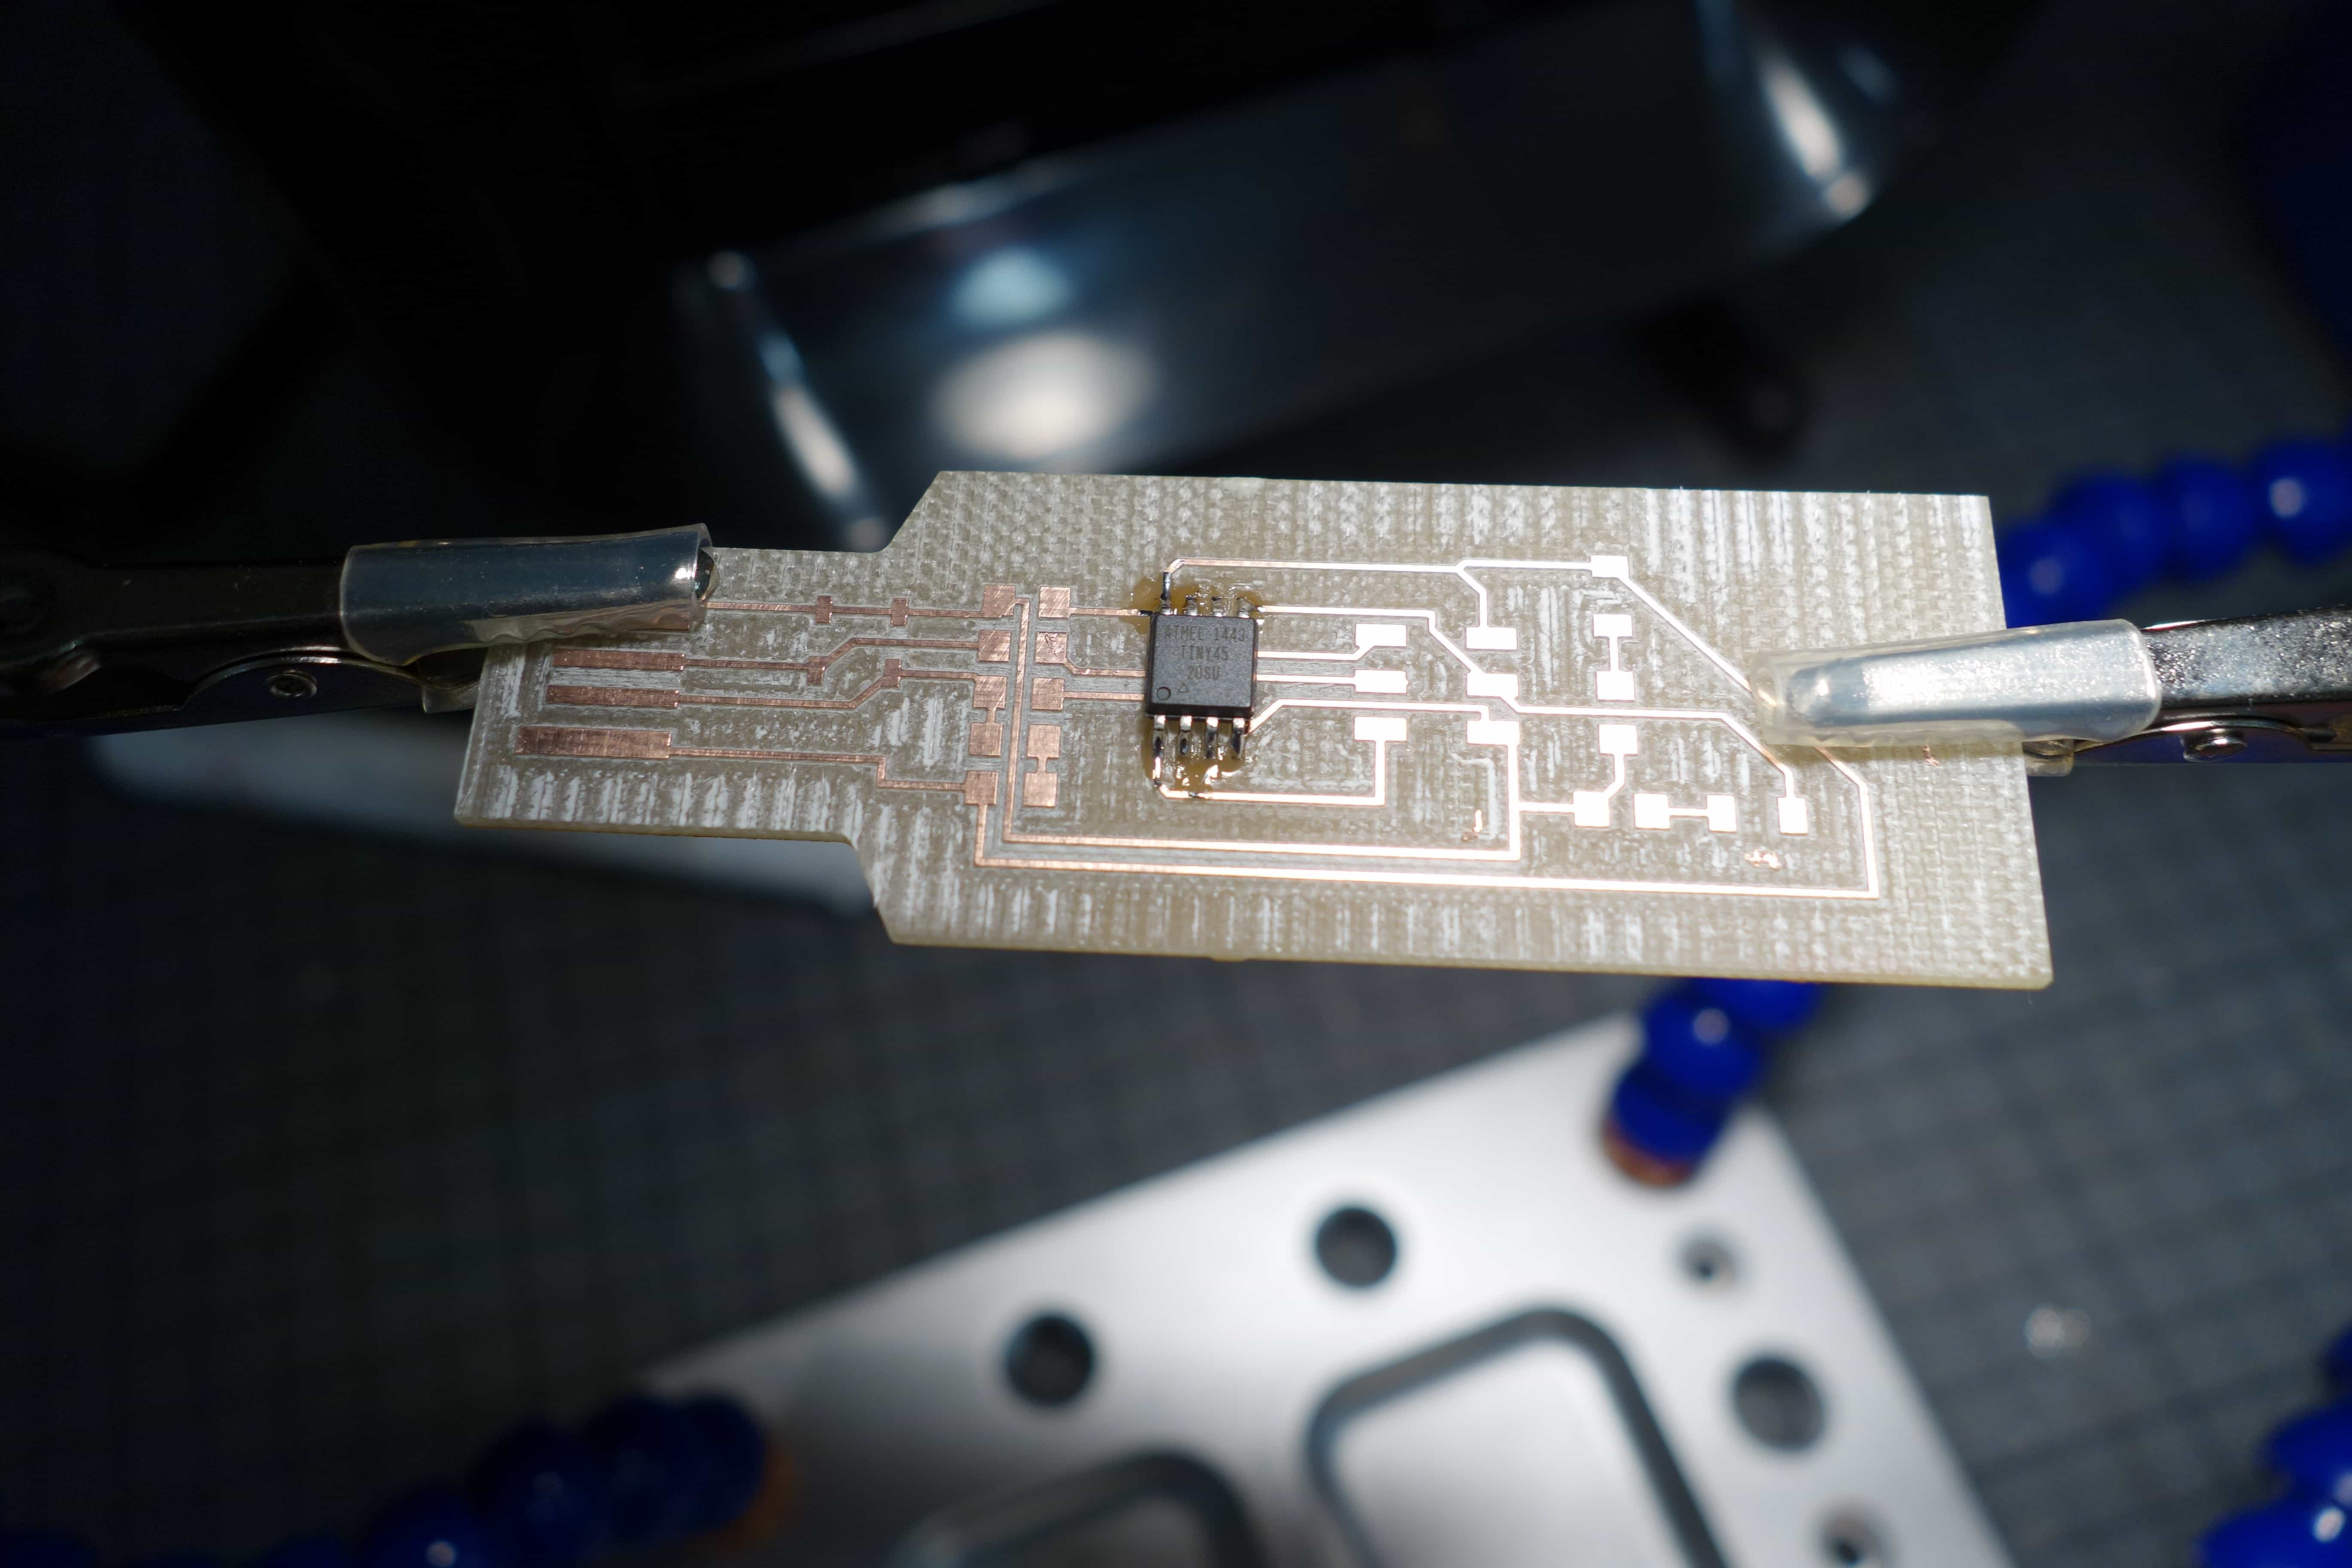
The first part I soldered onto the pcb was the ATtiny since it was the most difficult component due to its many small pins.
So when I screwed up the soldering of this part, I could easily start over with a new PCB with no need to redo other joints.
You have to pay attention to the orientation of the ATtiny use the indent on the lower left as an orientation point.
I soldered the top left and the bottom right pins first, so the ATtiny will stay in its place. After this step I soldered the rest of its pins.
You have to pay attention to the orientation of the ATtiny use the indent on the lower left as an orientation point.
I soldered the top left and the bottom right pins first, so the ATtiny will stay in its place. After this step I soldered the rest of its pins.
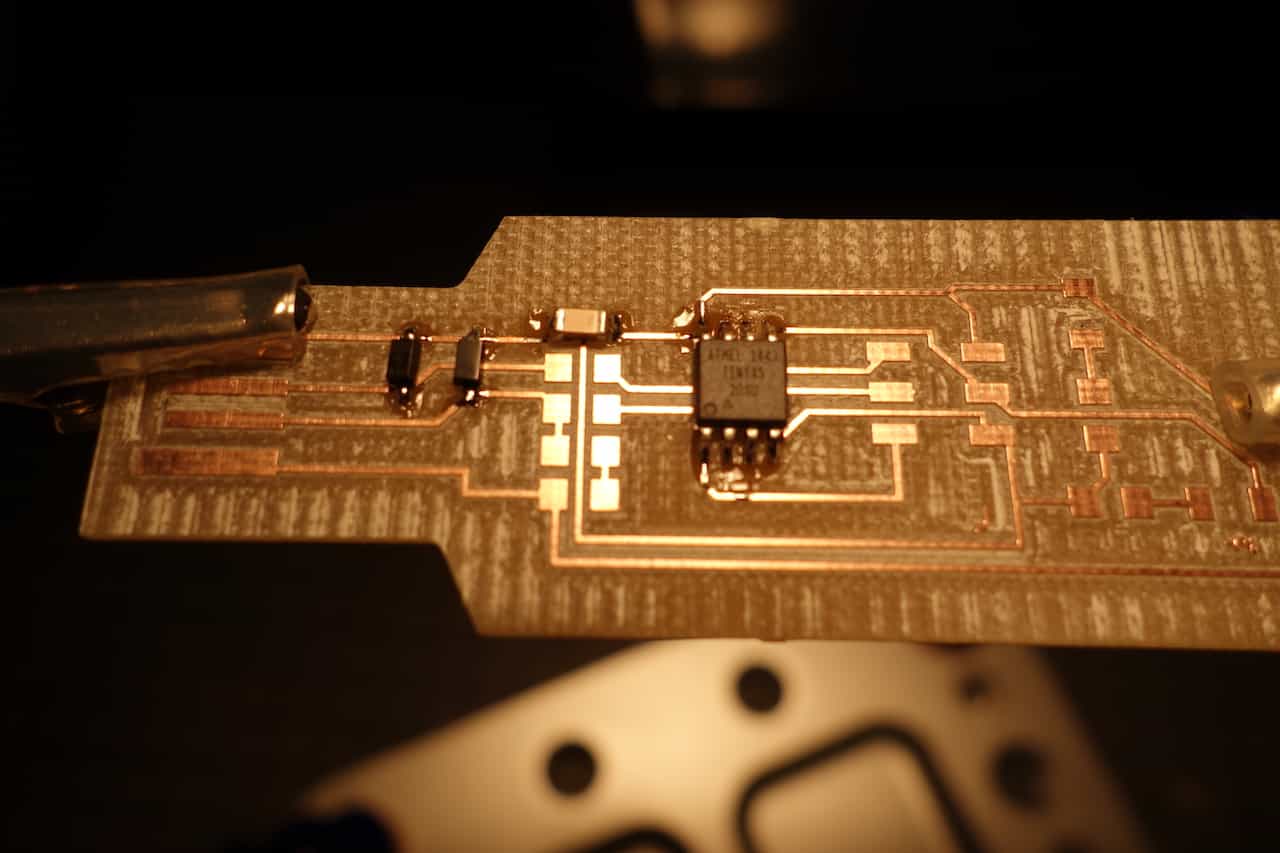
Next I soldered the capacitor and the to diodes to the board. Keep attention to the orientation of the diodes.
I used the multimeter to ensure that the orientation was right here the top connection is the connection to GND.
for the capacitor the orientation does not matter.
I used the multimeter to ensure that the orientation was right here the top connection is the connection to GND.
for the capacitor the orientation does not matter.
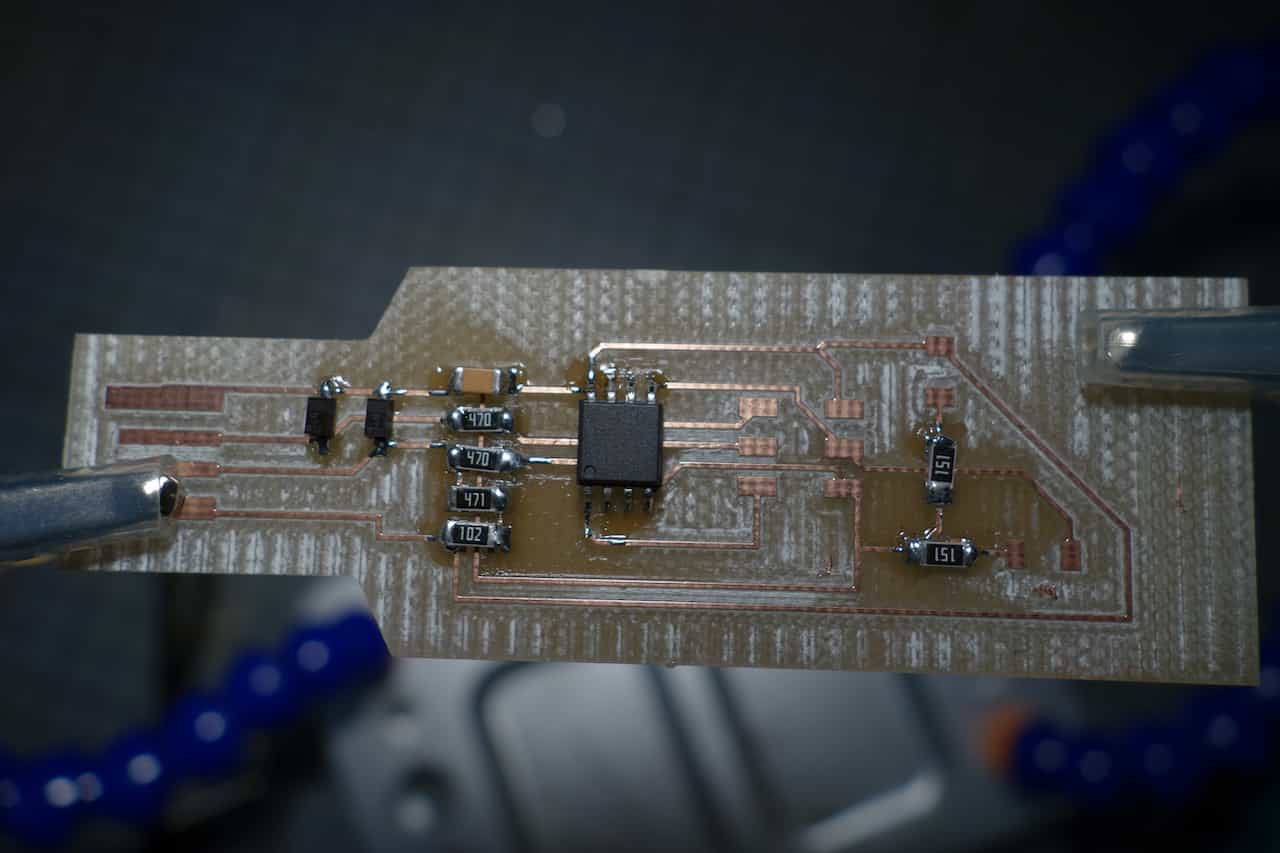
Now I soldered the resistors. Nothing special to mention here except that you have to solder the right capacitor to the right place.
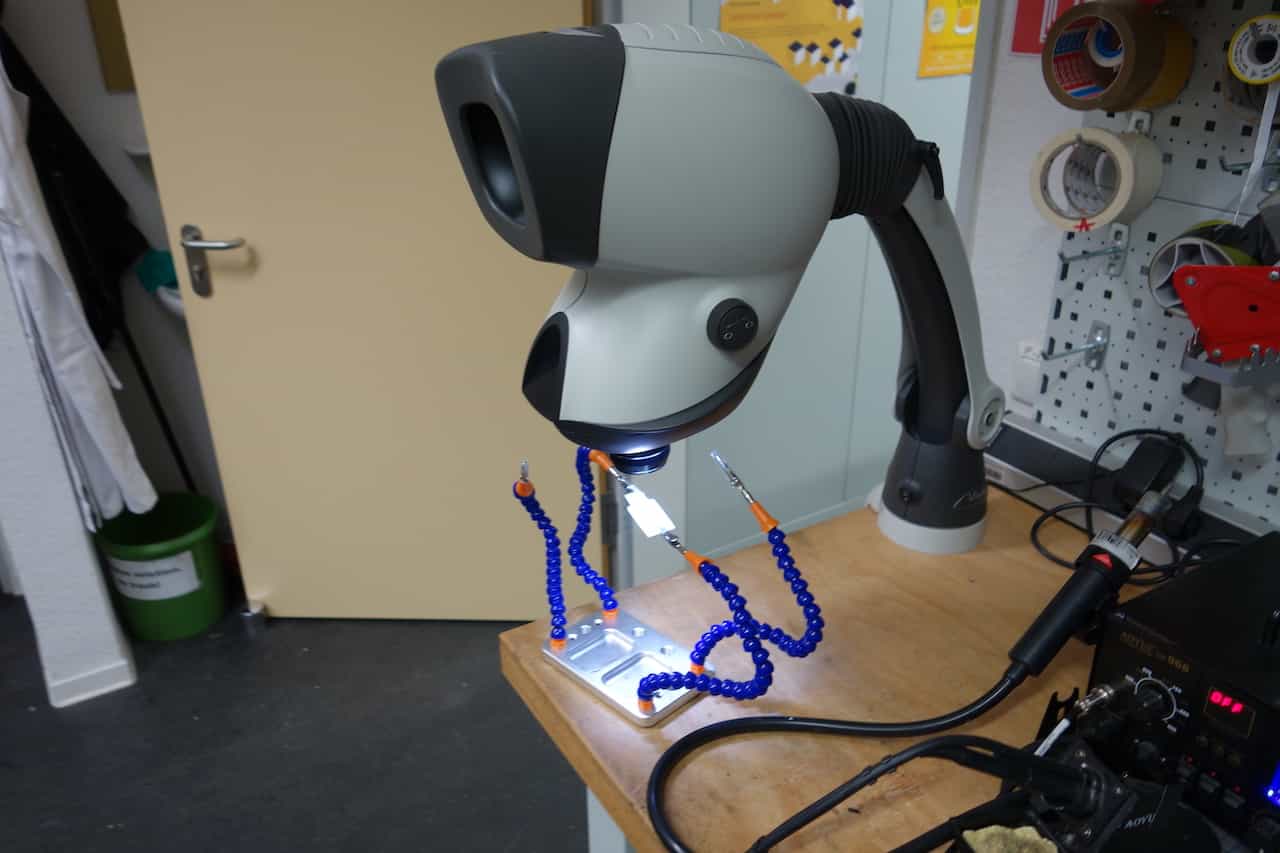
To ensure that I produce no shortcuts and that my solder-joints are good ones I used the mantis to get a closer look.
I addition to that I frequently used the multimeter to test for shortcuts.
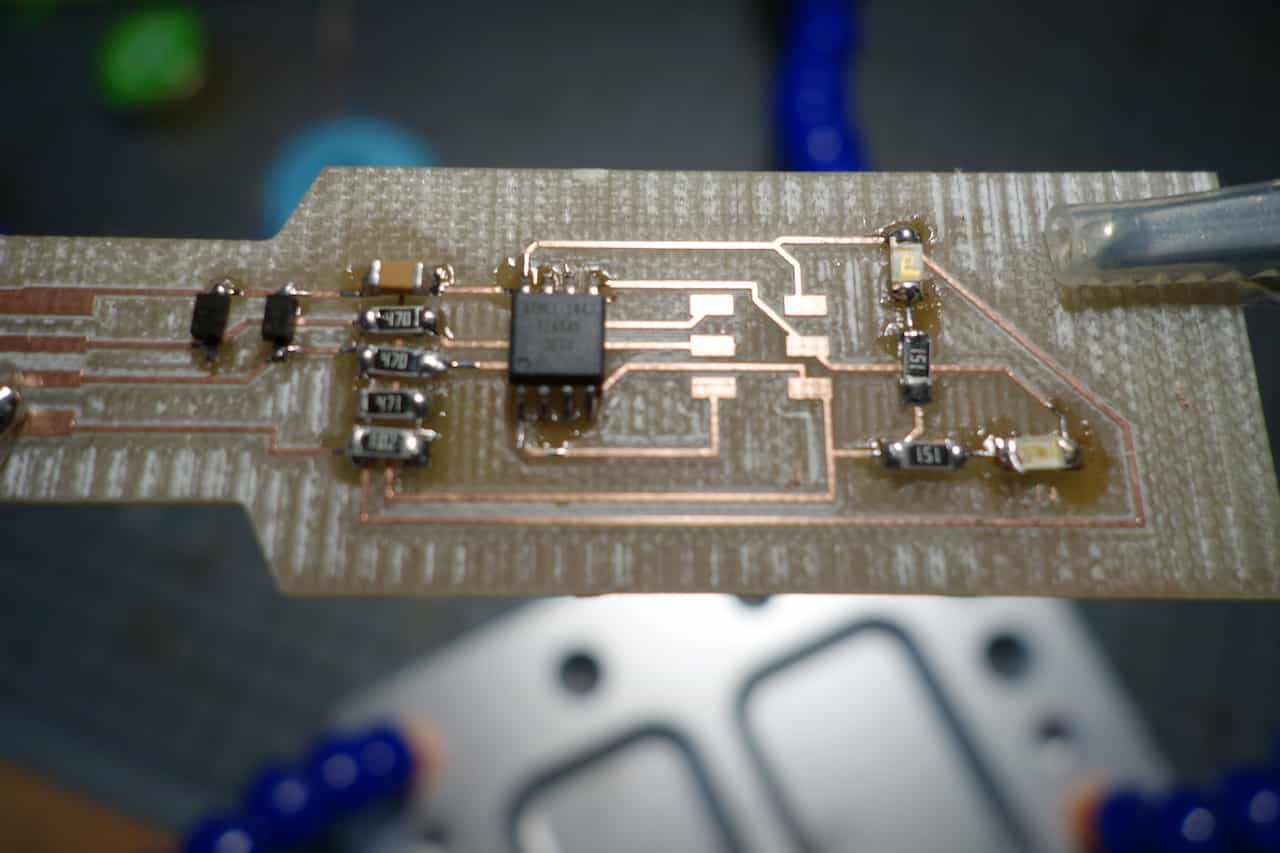
When soldering the to leds again keep the orientation in mind. Here the connection next to the resistors is the GND connection.
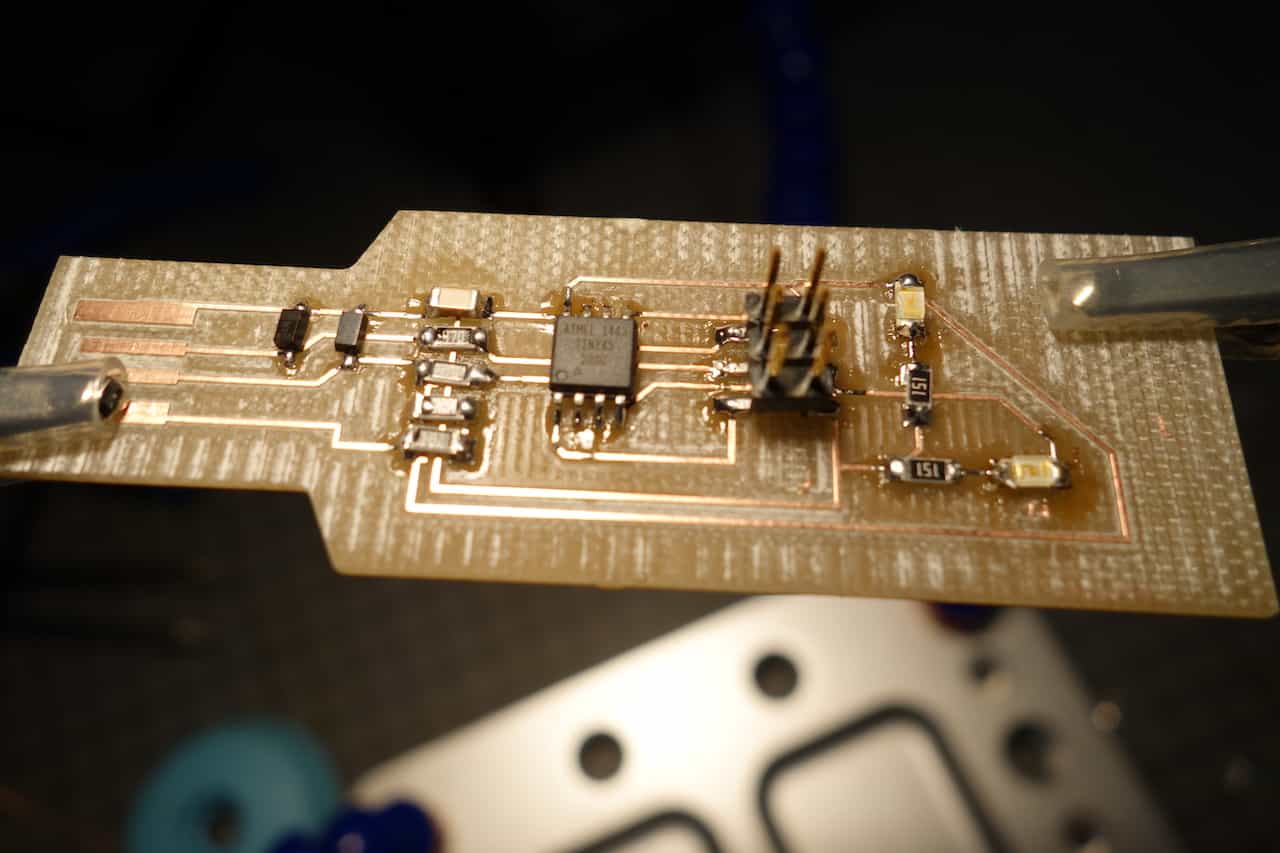
The last part I soldered was the pin header. Since it is a high component it could block good access to the other soldering joints.
I soldered this like the ATtiny first the top left and the bottom right pin and then the rest.
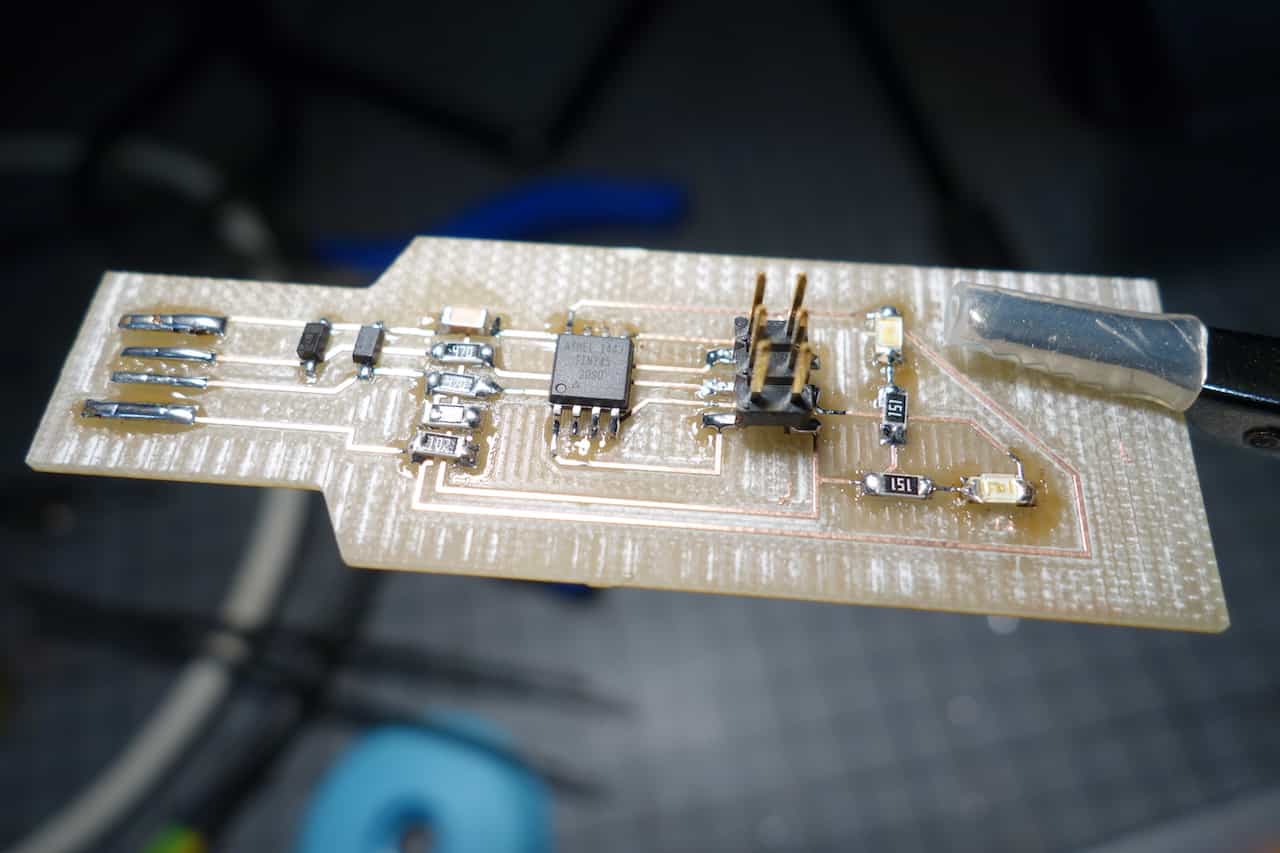
To finish this of off I added some solder to the USB-connector to get a better connection when ist plugged in.
One small Problem
I made a small mistake while designing the board.The board does not fit into an USB-Port.
Since I did not want to solder the whole board again I just used our Dremel to remove some material and made it fit.
If you use a tool like this make sure that you use protective eye gear.
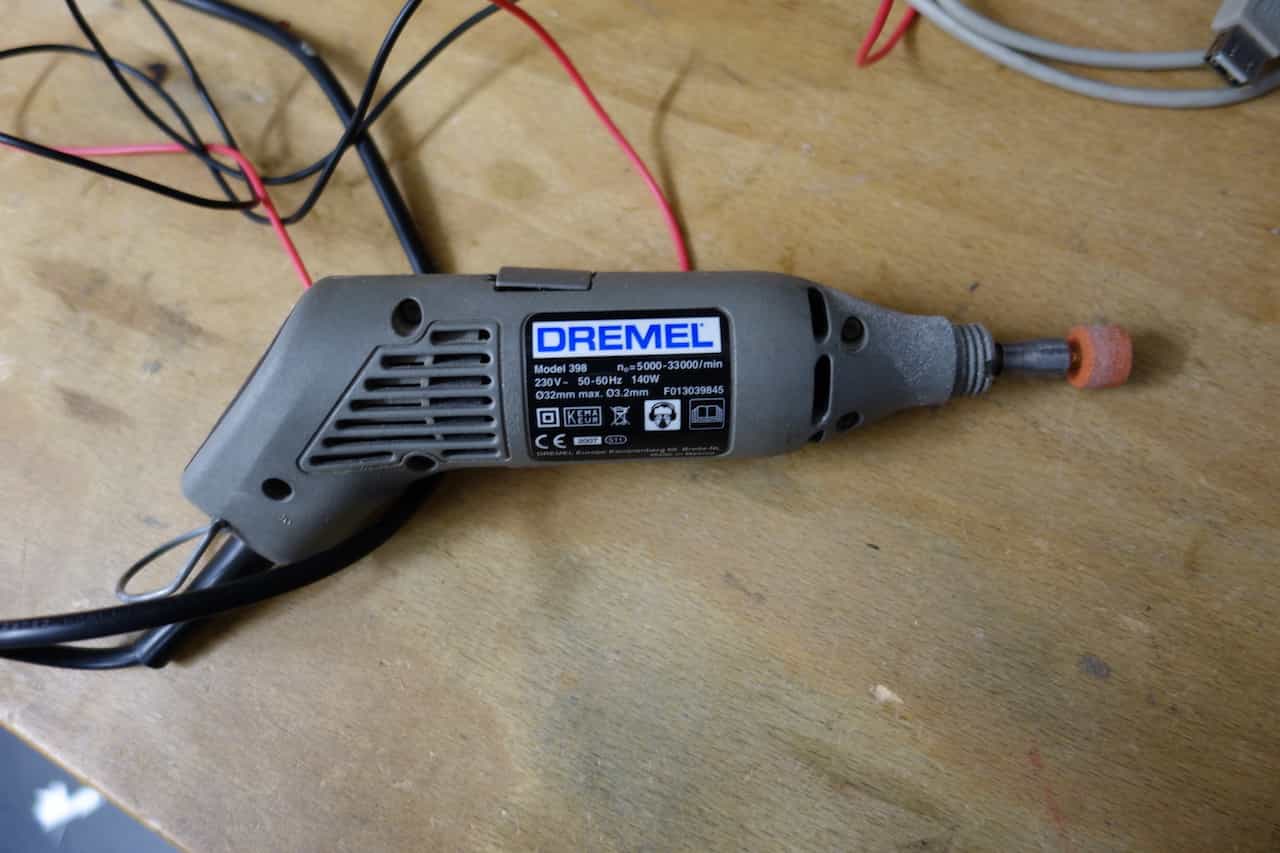 The Dremel
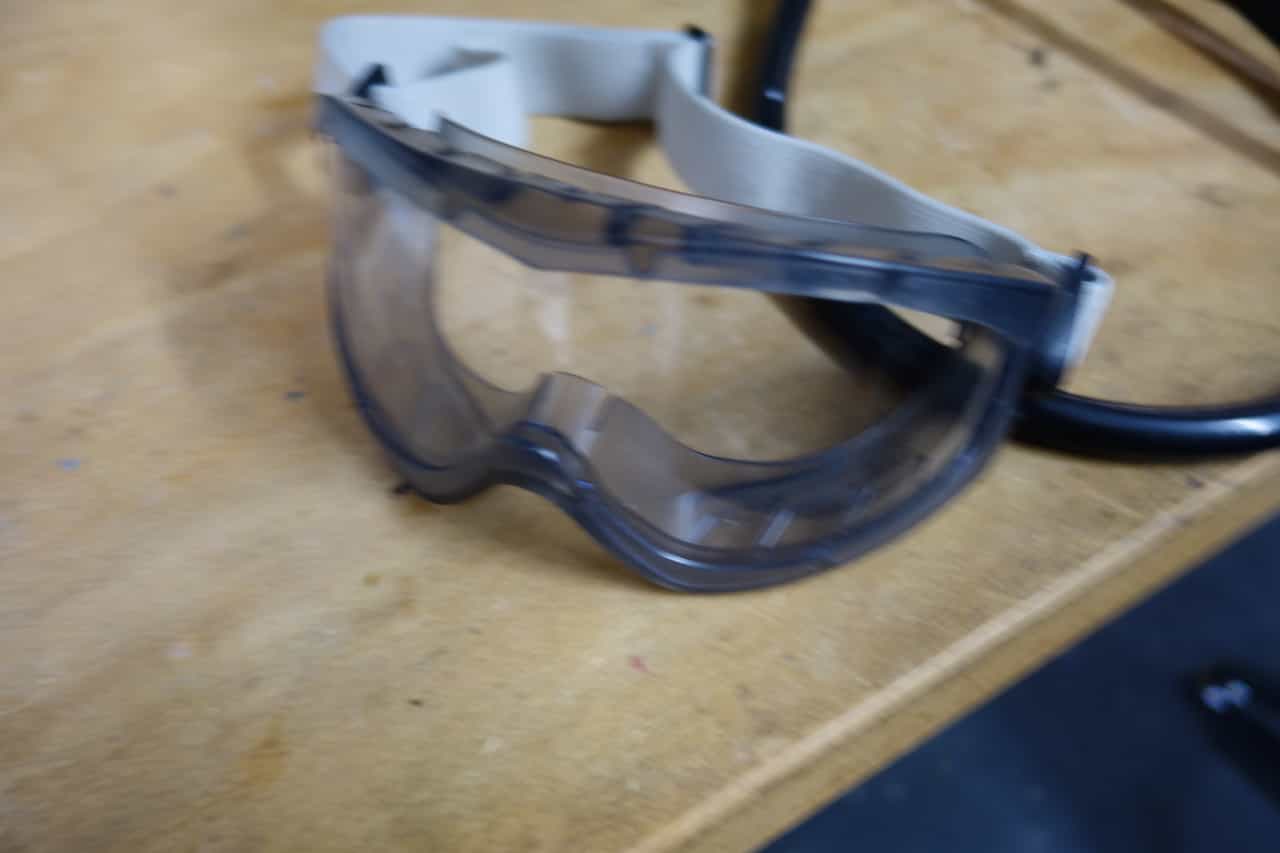 The goggles I used
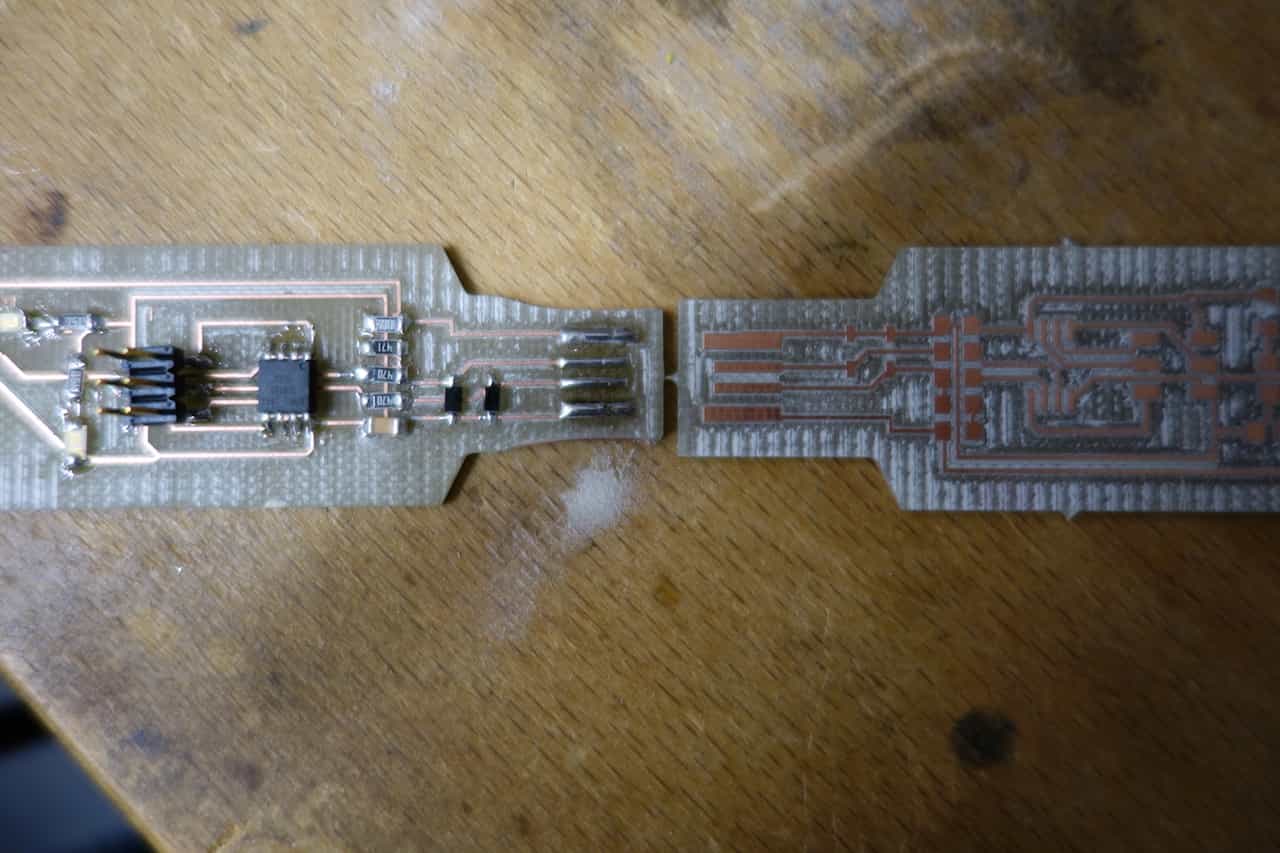 Before and after making the PCB fit into an USB-Port


Programming the ISP
I usually use arduino nanos for almost everything so I needed a little guidance. One of my advisers who took the Fab-Academy-course last year made a very good tutorial for MAC. I used this Tutorial als a guideline.Here are the steps I took:
- Install Crosspack
- Install homebrew
- Install libusb (command: brew install libusb-compat)
- Download avrdude
- run make and make install to install it
- Download the USb-driver and install it
- Connect the mySmartUSB MK2 ISP-Programmer- to your MAC and the self-made ISP
- Make sure every pin is connected correct
- Run "make" in your Terminal
- Then run "make flash"
- and run "make fuses"
- Connect your new ISP to an USB-port and check if it is recognized (Apple symbol -> About This Mac -> System Report -> Hardware- > USB)
- When it was recognized run the final command in your terminal : make rstdisbl
- If not make sure everything was connected right. If so search for shortcuts on your board. If there is no shortcut check if a part was fried especially th ATtiny and exchange them
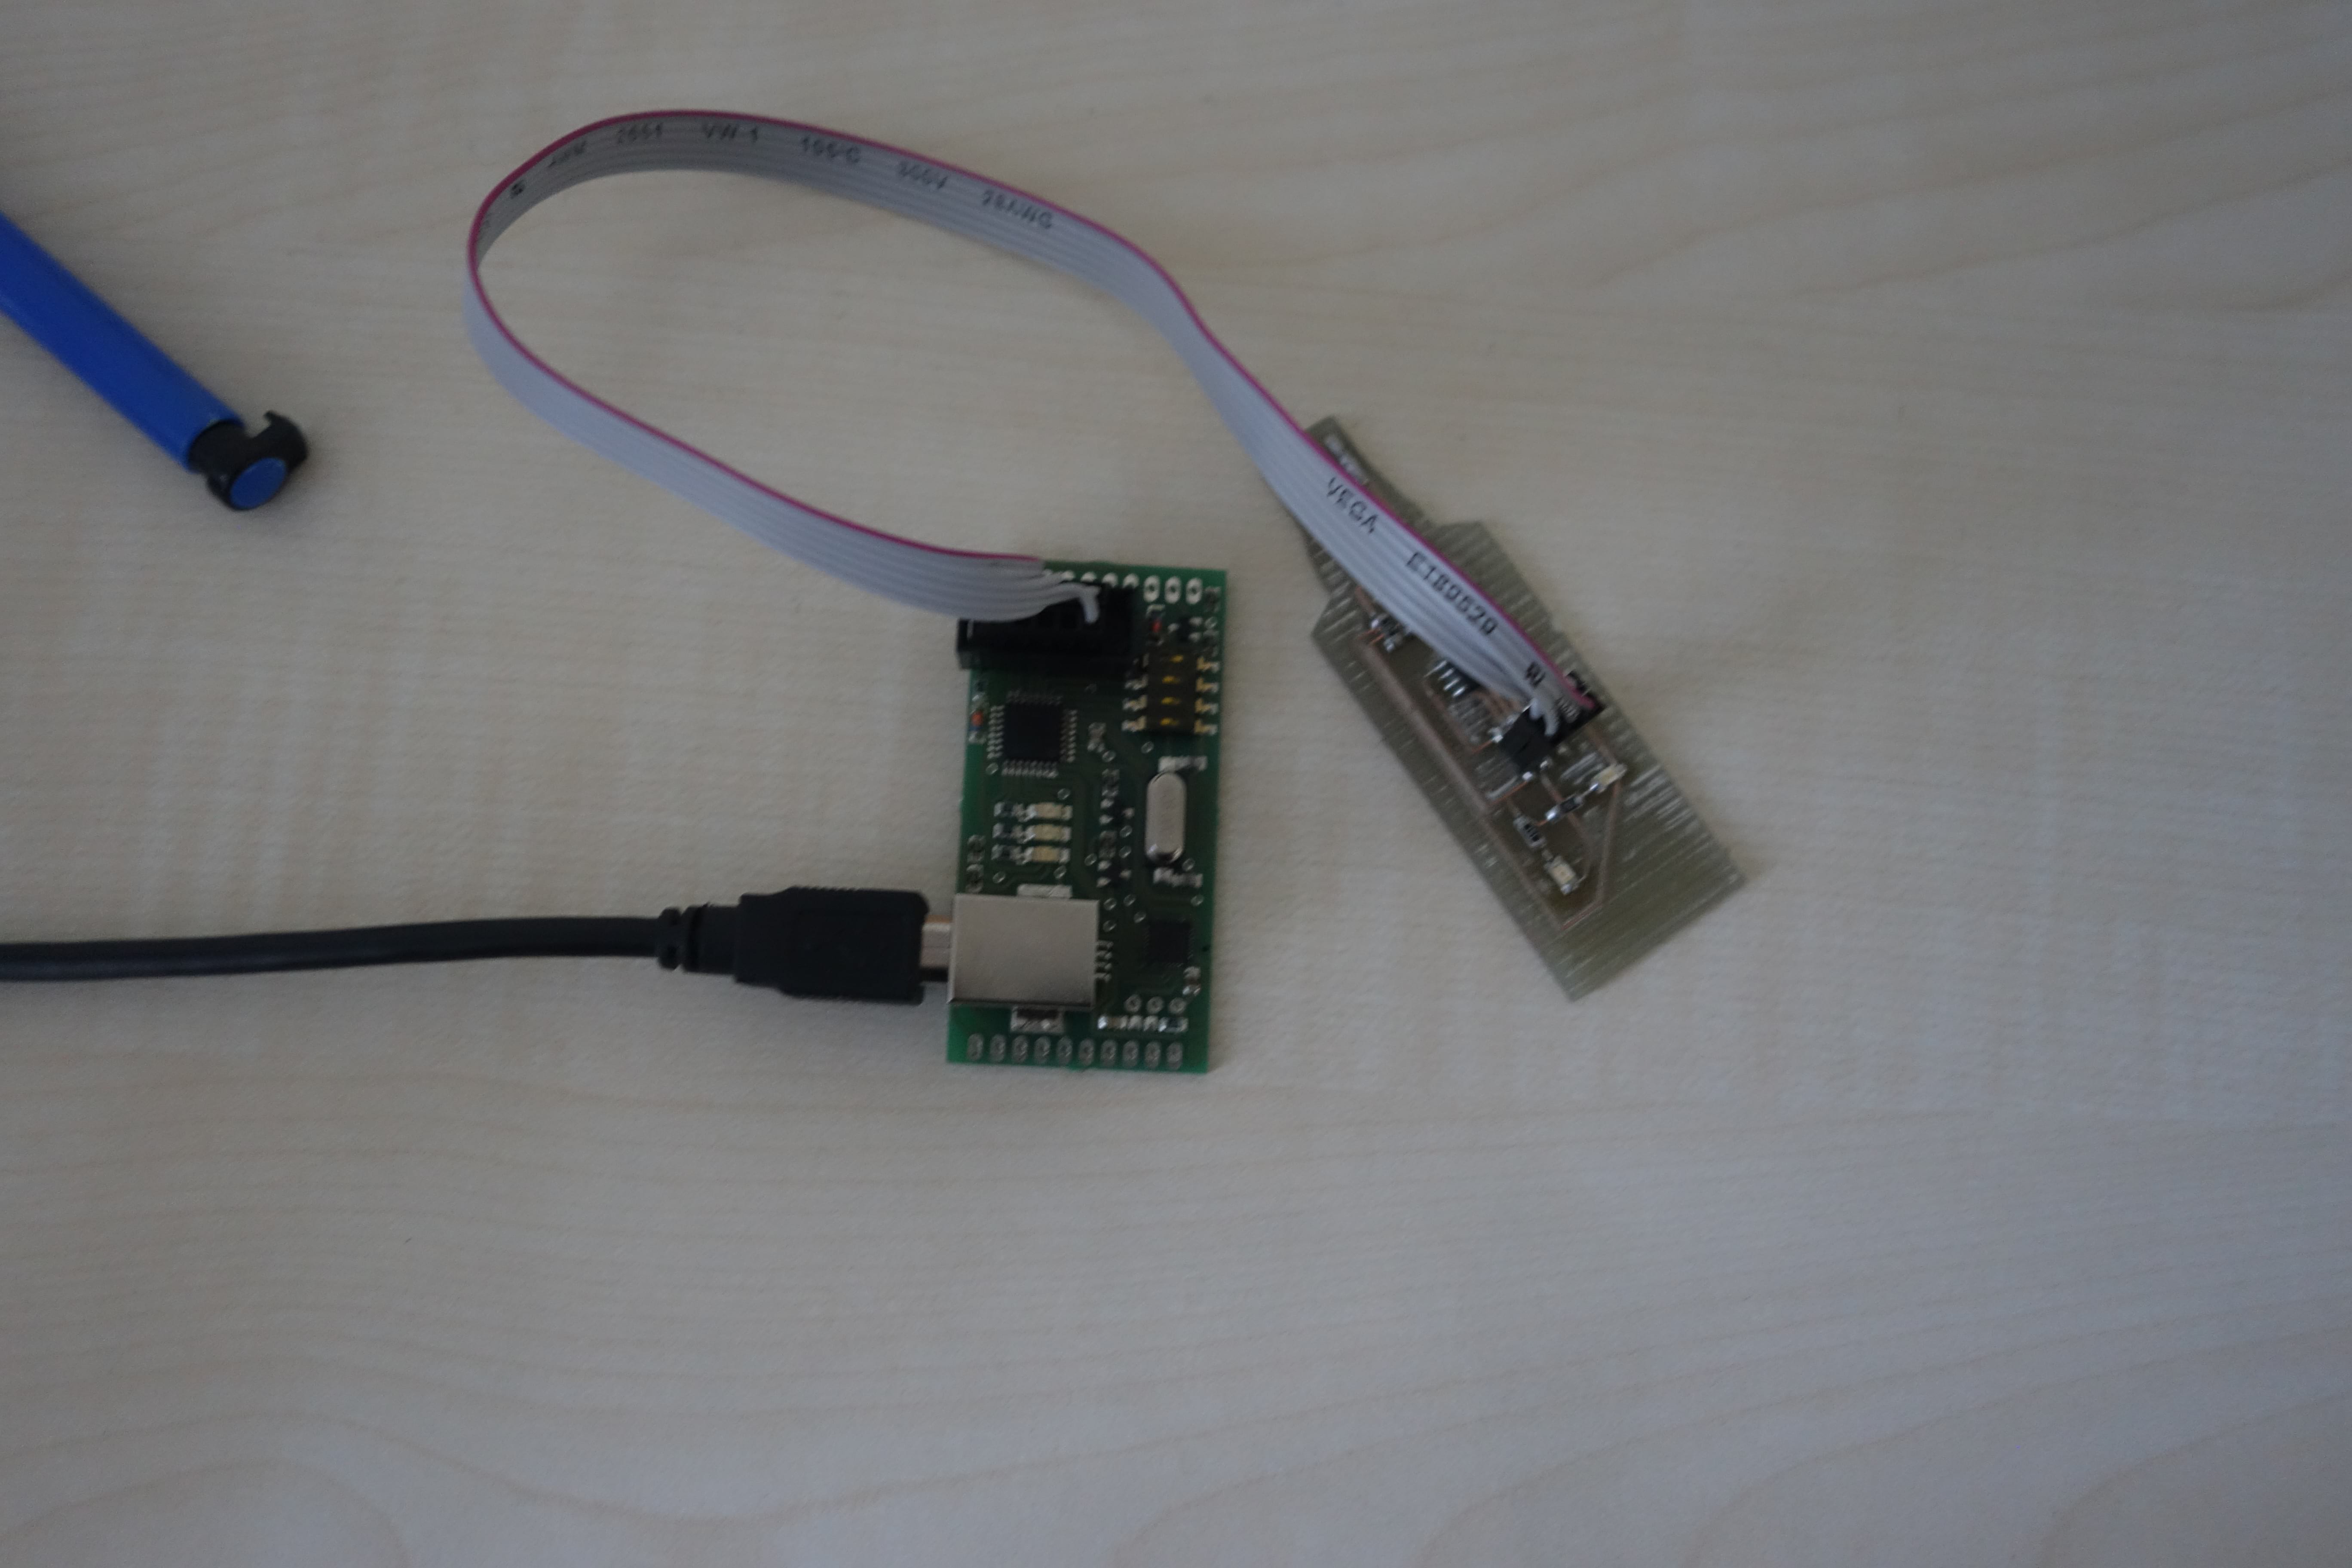
After that my programmer was recognized as an usb device, but I likely will not use this programmer for two reasons:
I am afraid to fry my parts of my macbook, even with an USB-cable there is always the possibility of shortcuts as mentioned in Brian's Tutorial in only reduces the risk of damaging something. The second reason is that I want to try other ISP especially the Arduino because I really love the Arduino IDE to program a microcontroller.
I am afraid to fry my parts of my macbook, even with an USB-cable there is always the possibility of shortcuts as mentioned in Brian's Tutorial in only reduces the risk of damaging something. The second reason is that I want to try other ISP especially the Arduino because I really love the Arduino IDE to program a microcontroller.
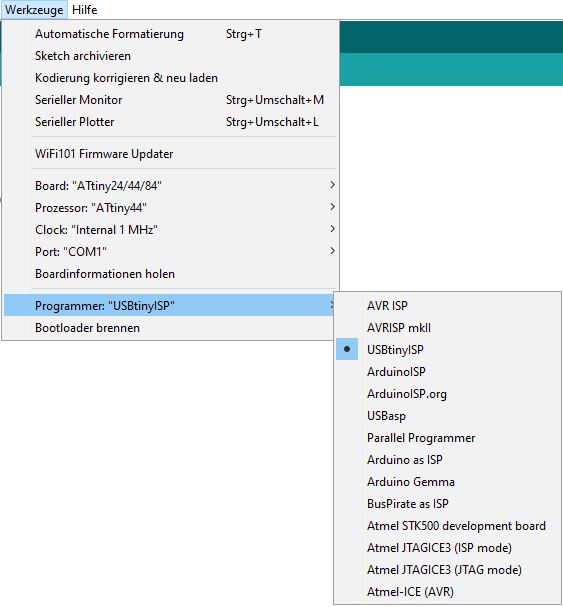
Apparently you can use the FabIsp with the Arduino IDE too. To do so choose ATtiny24/44/84 as board under tools.
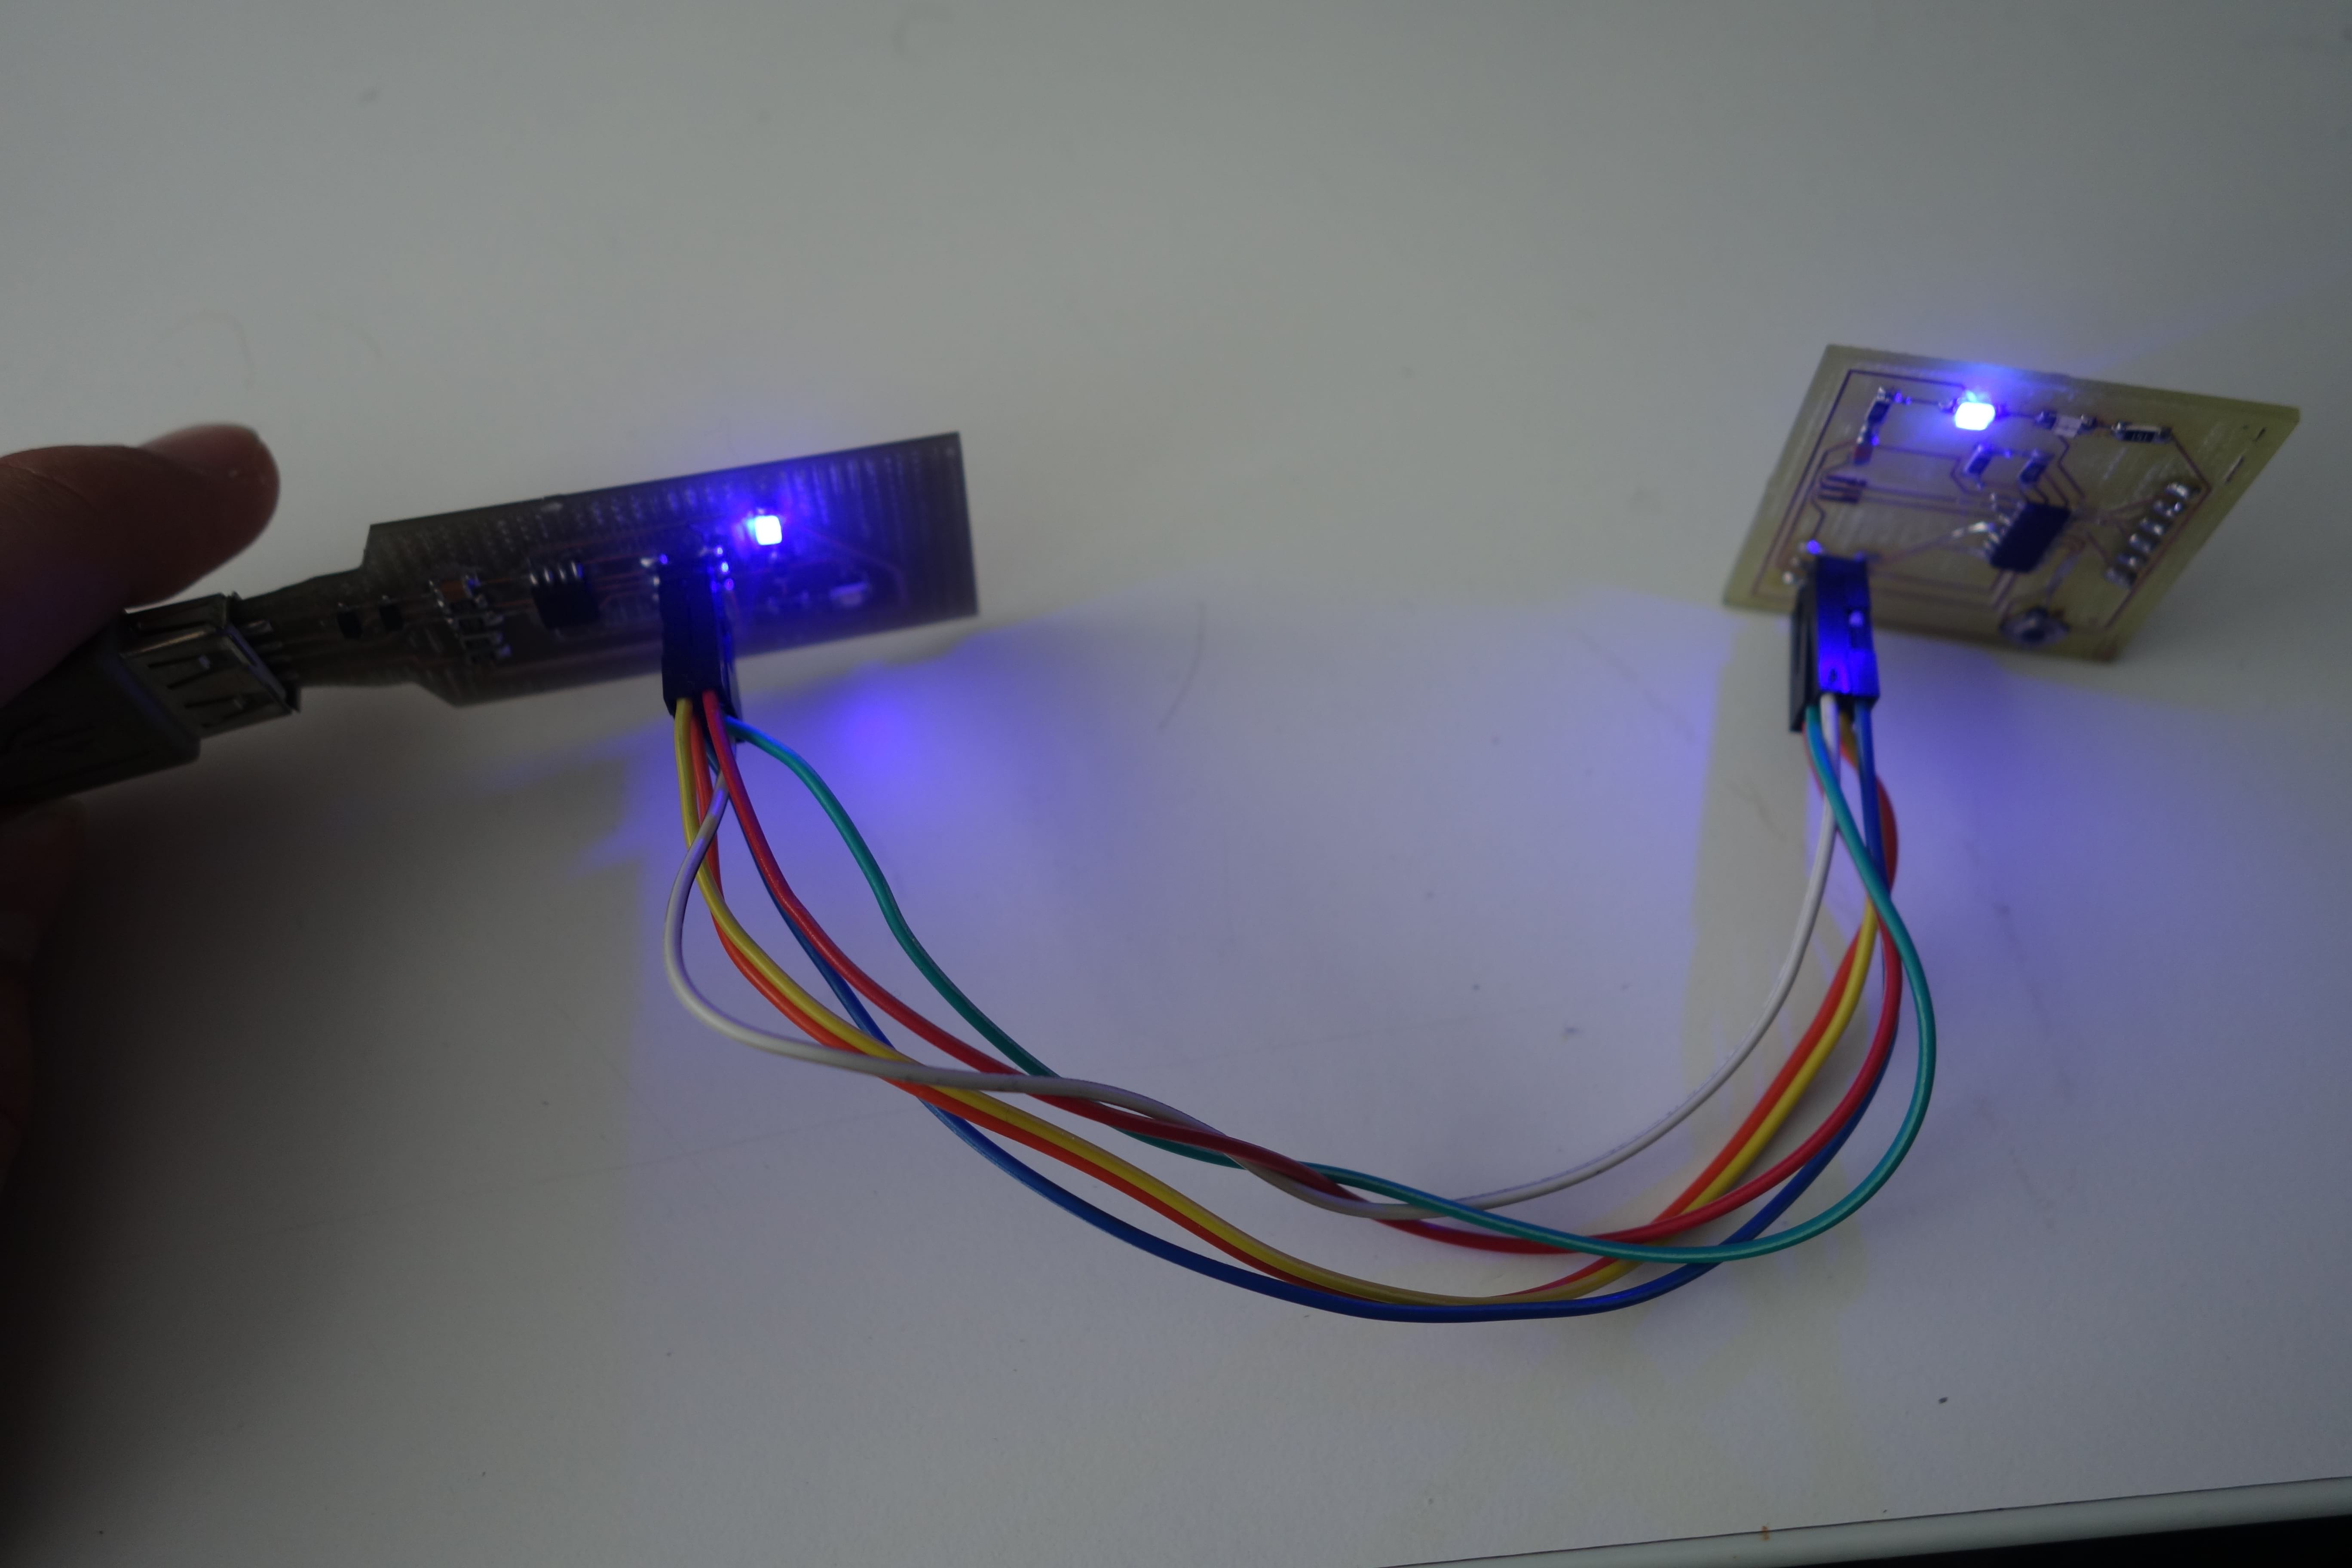
further choose the ATtiny 44 as processor and the USBtinyISP as programmer now everthing should work fine. I used the same program and board as in the
Embedded Programming Assignment. You have to connect the fabISP in the same way as the Arduino the only difference
is that the Layout of the board pins and the ISP pins are the same. For more information please refer to the layout pictures in the "Programming the Board"
section in the Embedded Programming Assignment.

Favourite beverage of the Assignment
Drinking tea from my Ruhr-Pott. I know a bad german pun.