Assignment 01 Webdevelopment and Version Control
Basic Web Design
The Task was to create a simple Website for our project documentations. To create such a Website one can follow these simple steps:
Details
- Get an IDE
- Get a Bootstrap-Template
- Remove unnecessary stuff
- Redirect the links
- Add personal text and pictures
How to make a Website
Get an IDE

I choose Webstorm for the development process, because someone recommended it to me. For previous project i usually used Notepad++ or Brackets. One advantage of Webstorm are the better spelling checks and the autocompletion. Brackets for example does not complete paths for including pictures. In addition to these points Webstorm provides a complete project overview with all files located in the project folder. When using the others you have to keep track manually. A disadvantage of Webstrom is that it is not a freeware if you are not student you have to pay for this software.
Get a Bootstrap-Template

To get a Template you can just download a preimplemented from the Bootstrap Website.
On this Website there are dozens of Design Templates to choose from, for example Templates for shops and blogs. Some of them even include some Java-Script
functionalities like guest books or contact forms.
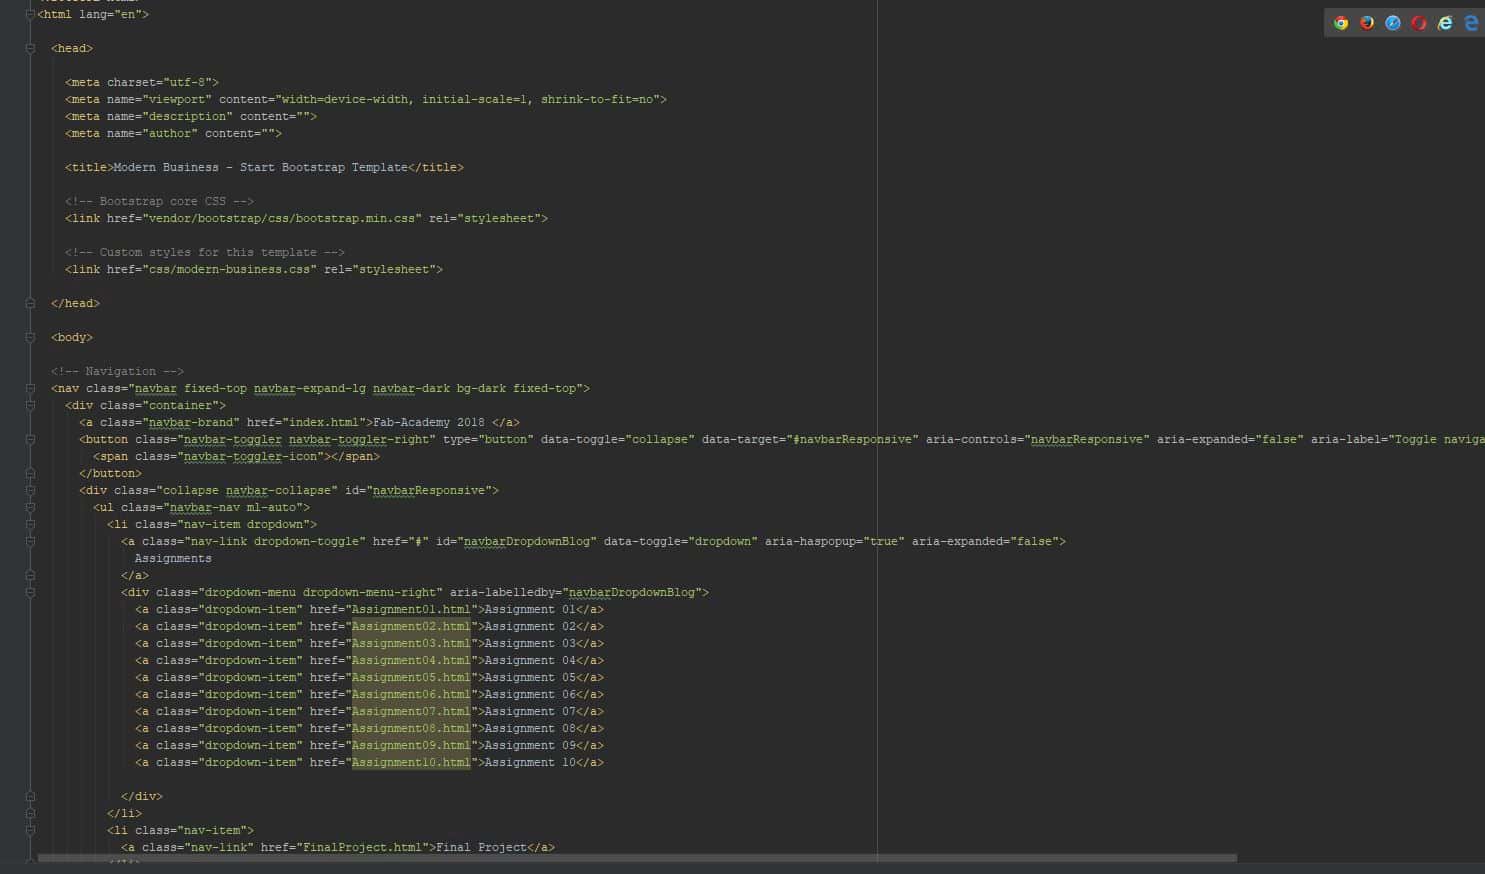
I chose the Modern Business Template which you can see in the picture on the right. This template provides a
dropdown menu in the navbar at the top and templates for webpages with text and pictures and can be easily customized.
After downloading and unzipping the Template it simply can be simply opened as project in Webstorm.
Remove unnecessary stuff

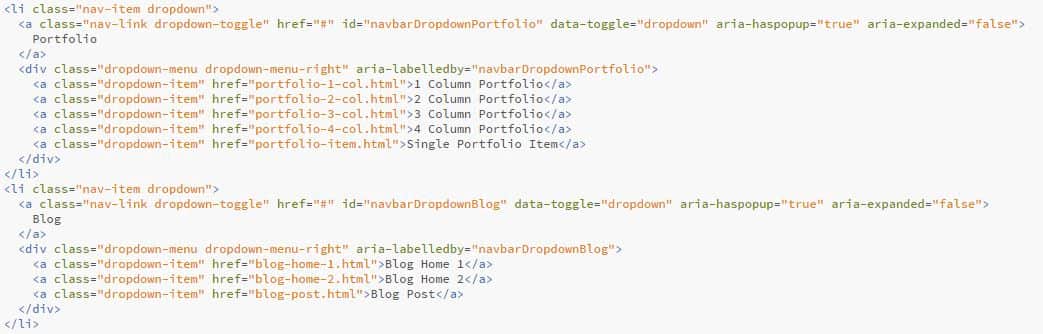
For my documentation Website the template had many unnecessary function and subsites. I just kept the Index, About and Blogpost pages. These pages had unnecessary parts too, for example there were 3 dropdown menues inside the navbar at the top. All you have to do to remove them is to delete the <li> areas in the HTML code that have the class nav-item dropdown. Same goes for all other items. Just make sure that you delete also the close tag (</li>). I did the same for the project cards on the Index page and for the cover photo carousel. It is little bit of trail and error, multiple times I deleted something and had to look at the rendered to see what was actually deleted, that is probably the best way for newcomers to learn what a tag does : just delete it and look at the website and observe whats changes. After I deleted everything unnecessary I added some additional Dropdown-Items for all 10 assignments and duplicated and renamed the blogpost page os i could use it as a template for the assignment pages and the final project page.
One word about the css code: For a more personal touch you can fiddle with the css code. But for now I just leave it as the template designer intended it.
Redirect the links

Since I removed most of the pages from the Template almost all links are dead at this point. To redirect a link change the href part to html file or the source you want to link to. The text the link will display is the text between the </a> tags.
Add personal text and pictures
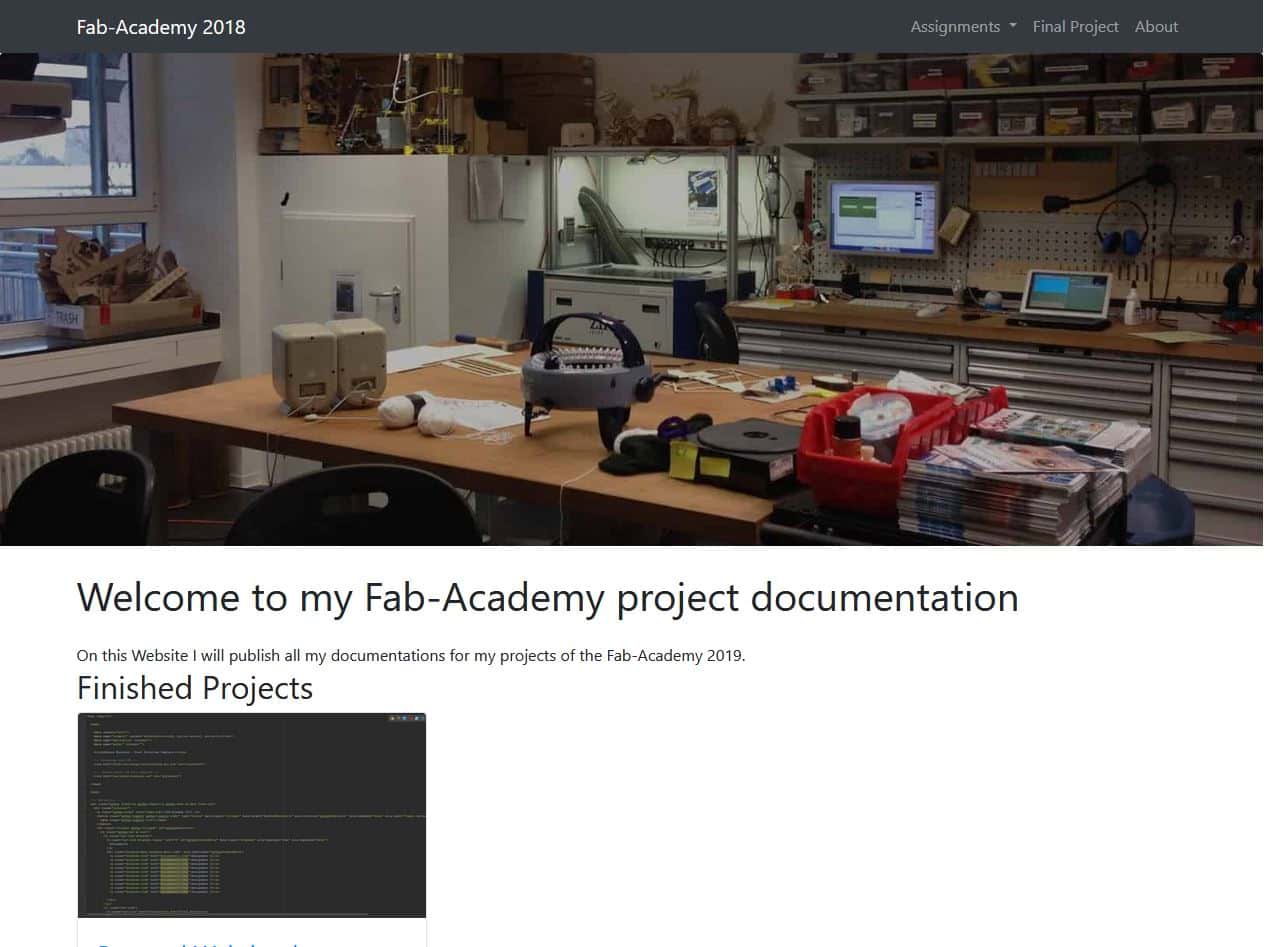
In the last step we will add the content of the page. Bootstrap provides classes to arrange things on page. Usually I use 12 "Boxes" per column, this means the vertical space of the page is divided into 12 parts. By adding for example class="col-md-8" to an html tag, the object will be displayed on 8 blocks. Using multiple of this classes the object can be arranged beside each other. For example using class="col-md-8" and on the next tag class="col-md-4". This combination will display both objects in the same column and the second Onject will be half as big as the first.
To add pictures the <img> tag is used. The picture that will be displayed is defined under src which contains either a local or an online path. Text can be added by using the <p> tag. To manually end a line the </br> tag is used. Headlines are added by the <h1> tag. The number specifies the size of the headline (1 is bigger than 2 and so on).
I had to keep in mind, since I did not use Node.js (an event driven JavaScript runtime), that i had to alter all header, footer and navbars on each page individually so that they all will look the same. Later this problem came back since I made just 10 navitems but there where where way more assignments to link to.
When the Content was done I tweaked some minor properties of the website elements to make sure everything is aligned properly. This step was tricky because I had an </div> at the wrong position which resulted in minor chaos, since the Bootstrap container were not displayed in the correct way.
Version Control
Version control helps you and your collaborators to keep track of the status of a project. You can see who made what change and a up-to date version of the project is provided for everyone. If something goes wrong you can always rollback to a previous version.When working with multiple persons on one project there can appear merge conflicts(for example two people altered the same files), In the most most cases the version control system can solve them by itself but sometimes you have to do it manually.
Here in the Fabacdemy we will use git, this comes in handy when working on multiple devices (The project is stored on a server) or for the group project when multiple people work on the same project.
GitKraken and how to initialize it
For my everyday version-control needs I usually use GitKraken. GitKranken is a simple to use Git client which provides a graphical Interface. For the most tasks this client is more than sufficient, but for some advanced tasks you may still need to switch to the console (Like deleting commits and those kind of stuff).
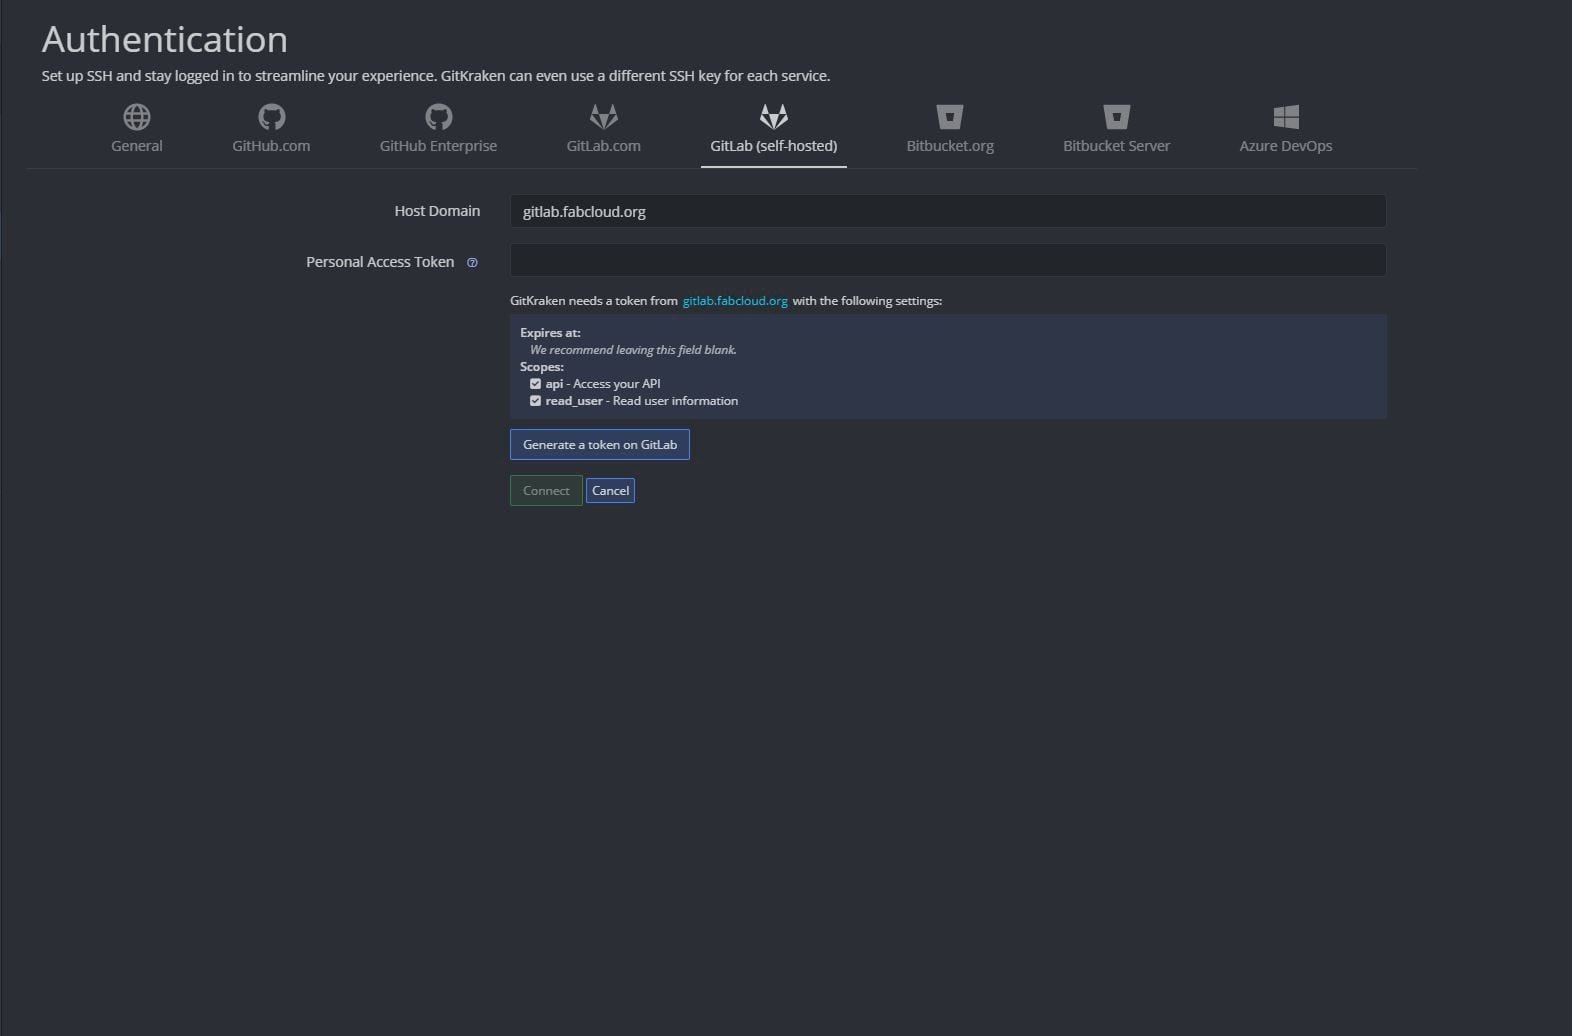
To access the repo via GitKraken go to preferences an to the authentication tab. Now click on
GitLab(selfhosted) and enter the Host-domain (gitlab.fabcloud.org).
To add the Gitlab-repo to GitKraken you first need to generate an access token via Gitlab. This can be done
via the Access-Token Menu in you GitLab User Settings. Or you click on the "Generate token on Gitlab"-Button, this will
automatically brig you to the right menu.
GitKraken needs the api and the read_user Scope to
function properly so make sure that you allow it while generating the key.
If something goes wrong this tutorial might help.
Clone the Repo
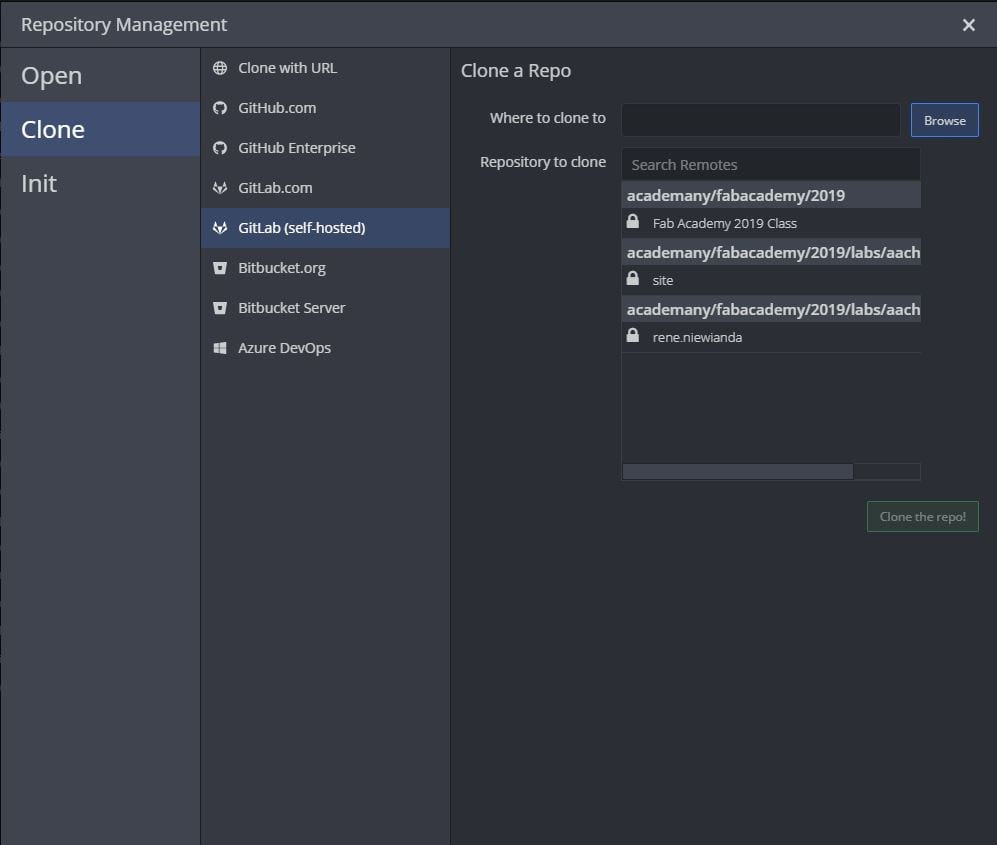
Just press on the folder-icon in the top left and select clone. This menu should open, here just select the GitLab(selfhosted)-tab. Now select a location on your hard drive and the repo you want to clone and hit "Clone the repo!" and you are ready to go.
Pull and Commit
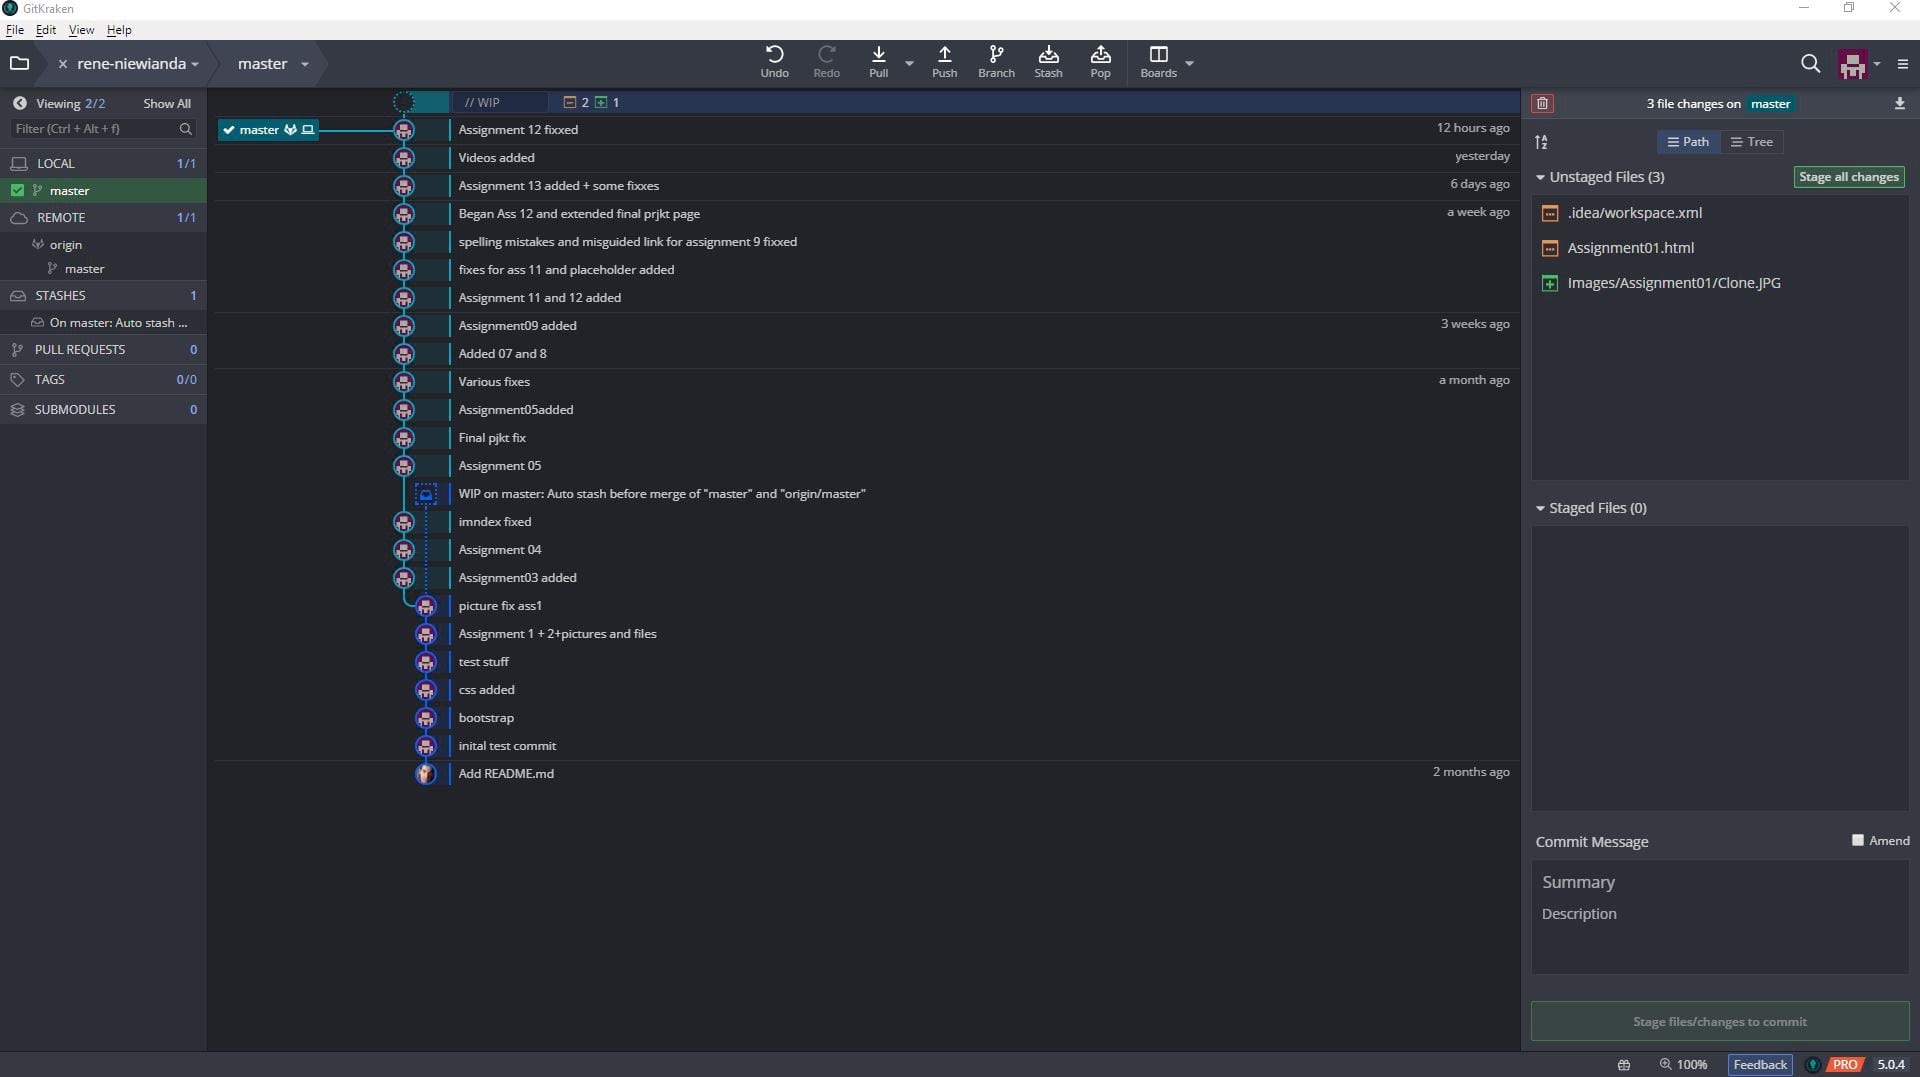
Now to the core activities: In the middle you can see all the recent commits.
To get your repo up to date hit pull on the top. If you now change or add a file in the repo
folder on your computer this change will be displayed in the top window on the right. If you want to upload
this changes to the online repo you have th stage them. You can individually stage each file by clicking on each
"stage file"-button individually or stage every change by clicking the green button. The file should now appear in the "Staged Files"-window.
Now you have to commit the the changes: Enter a meaningful
title and description to your commit in the textboxes on the bottom right and hit the big green button below.
To upload your files you now have to click on the "Push"-botton at the top.
There are several more button on the top to create individual working branches, but since you are working alone you can skip the from now and just commit directly to the master branch
To get an even deeper understanding how branching ,committing and pulling works I recommend to look an these tutorials.