Assignment 11 Input Devices

In this weeks Assignment we had to add an analog sensor to our boards and read it. We also had a group assignment
in which we had to measure analog and digital input signals the results can be found here.
I decided to make a circuit with an led that lights up when my tea has a drinkable temperature.
I decided to make a circuit with an led that lights up when my tea has a drinkable temperature.
Tools used
- 1x ATtiny44
- 1x 100nF SMD Capacitor
- 1x 2x3 SMD Pinheader
- 1x red SMD LED
- 1x white SMD LED
- 2x 150Ω Resistors
- 1x 10kΩ Resistors
- 1x 4.7kΩ Resistor
- 1x 4.7kΩ Thermistor
- 1x 1x6 Pinheader
- 1x Arduino Uno
- Jumper Wires
Testing the Sensor

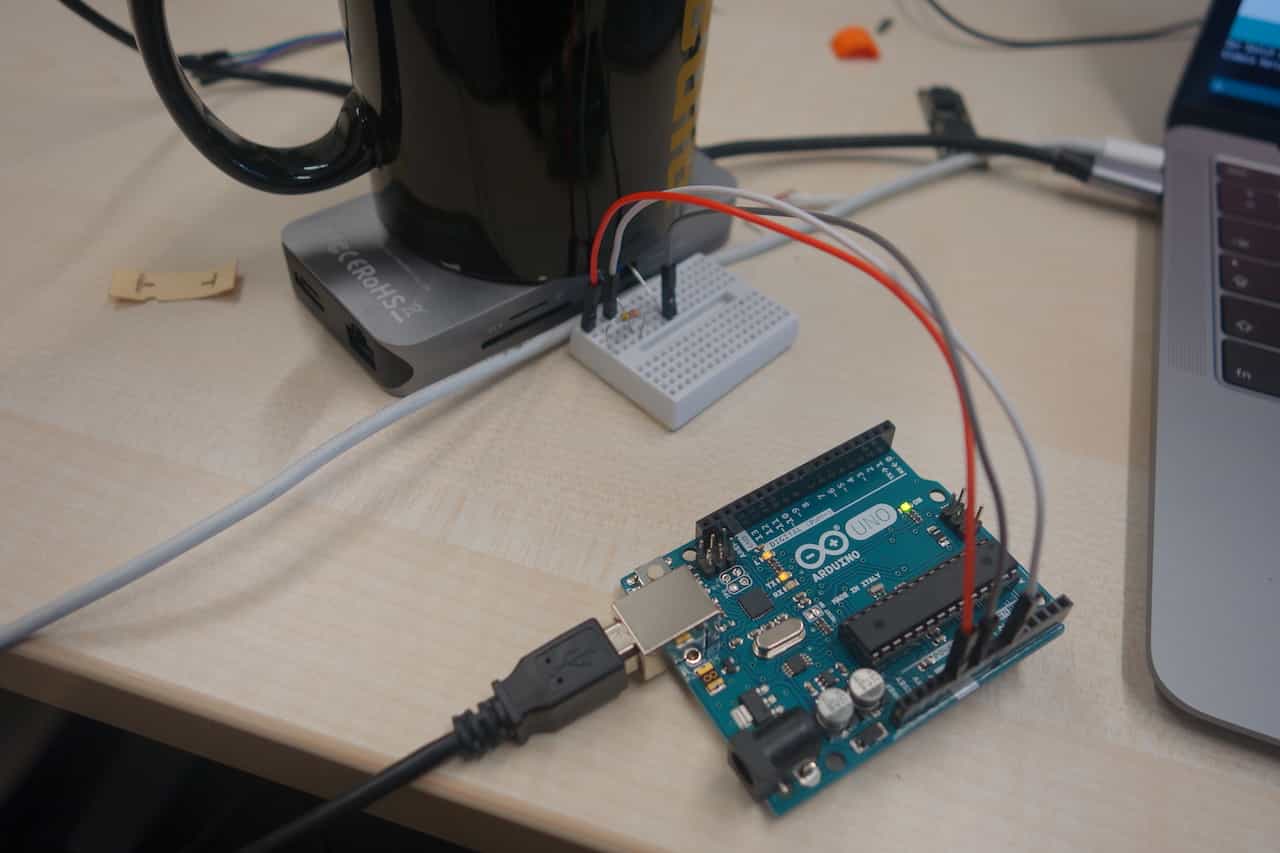
First I connected the sensor to my Arduino nano to get a feeling for the values the the sensor provides.
I tried different resistors and found out that the best values where achieved with a 4.7kΩ resistor for the 1x 4.7kΩ Thermistor.
To test the Thermistor I used a cup with boiling water and hairdryer.
To test the Thermistor I used a cup with boiling water and hairdryer.
Making the Board

Here I simply modified the eagle files for the hello-world-board and exchanged the button with the thermistor
circutery.

The board layout was also really easy to make because I just had to modify the hello-world-board.
I milled and soldered the board like the others detailed instructions can be found here.
I milled and soldered the board like the others detailed instructions can be found here.
Programming the Board

To program the board I used the same setup I used for the hello-world-board detailed instructions can be found here.
I tested a few values so the Light goes off when my tea has a drinkable temperature.

To check the temperature I am using the raw analogue data that i get from the sensor. Usually its a value from 1 to 1024.
When using the Arduino IDE you can simply read the data withe the analogRead command. For better results you can try to
filter the raw data because there can be a lot of noise, in my case that was not necessary.
Favourite beverage of the Assignment

Just black tea to stay awake and maybe to hunt some Wyvern