Week 17
Machine Design
The group assignment for this week was actuate and automate your machine made during the mechanical design week and to document the group project and the individual contribution. This page describes the individiual contribution and the page on the below link describes the entire process.
Complete Documentation of our Group Project
Designing an Arm for the Solenoid
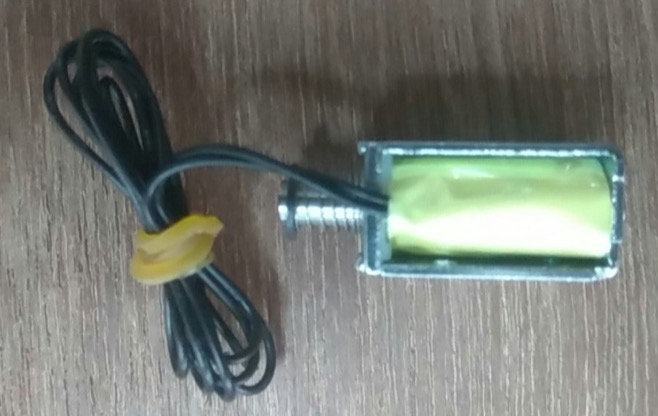
The solenoid we purchased online arrived to our dissapointment. The device was not having sufficient force to pierce a paper. Me, Abhilash and Aby tried alternate ways to make it work. I tried by using a lever by making it to act over the lever pivoted on a fulcrum. The below part was designed for the same.
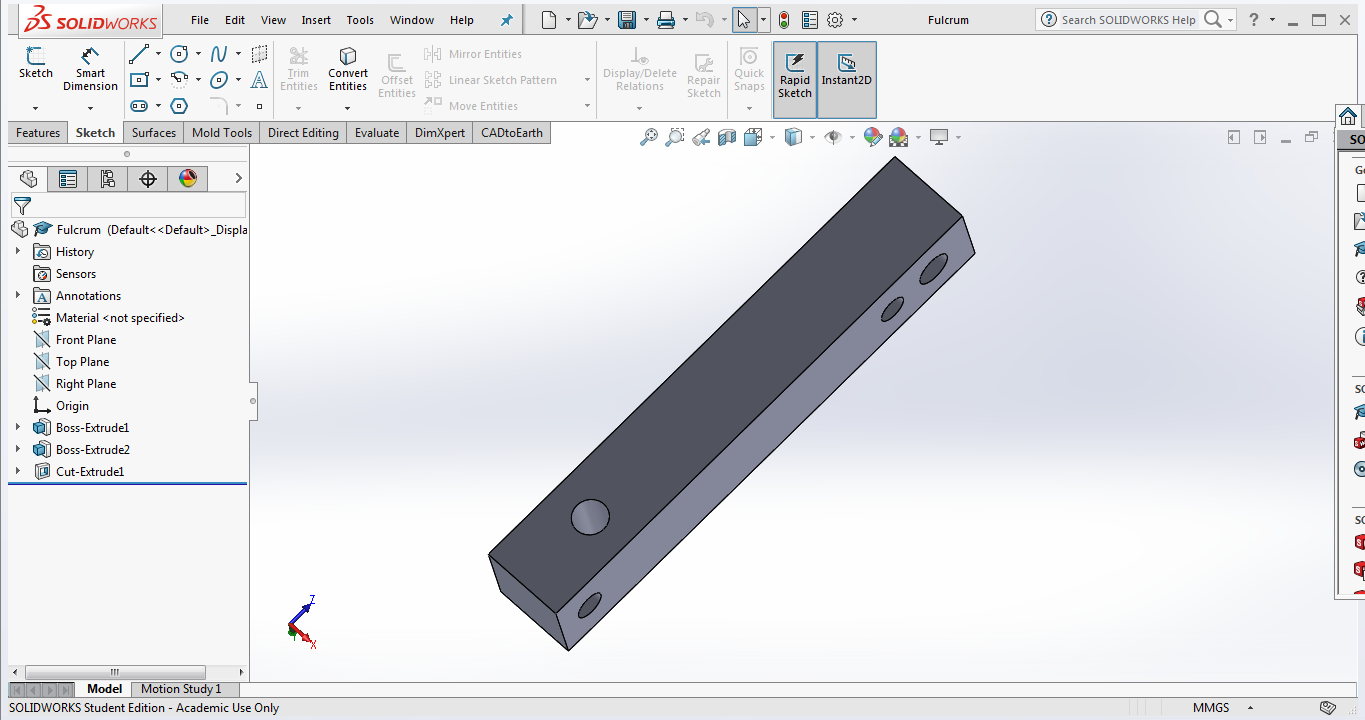
Download the Design Files
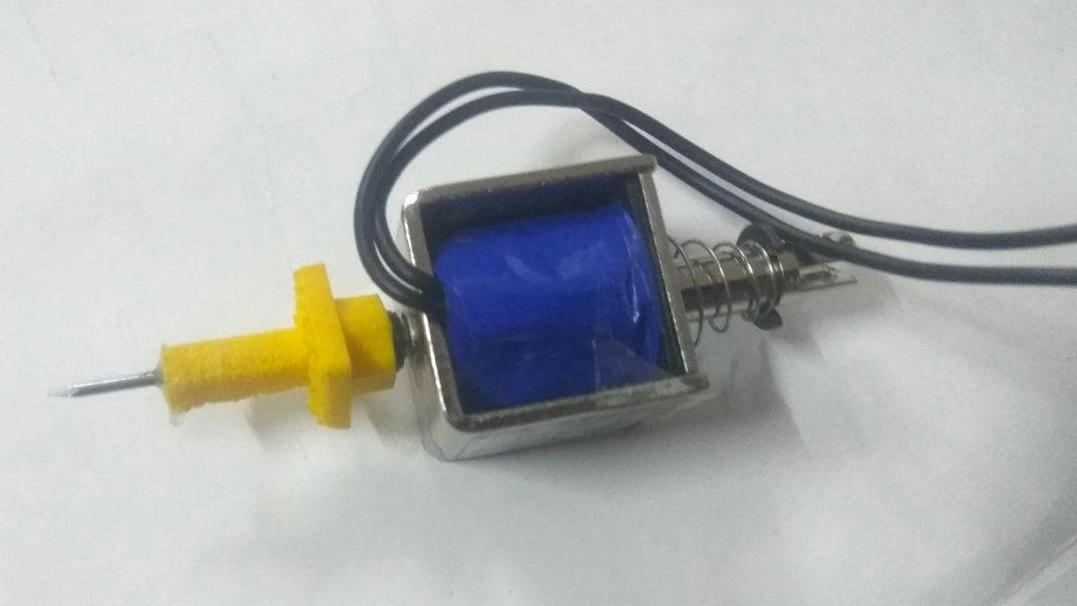
However, after i tested the arrangement with left over wooden pieces, the working was not satisfactory and we searched for other methods. Me and Aby tried to make a servo motor to act as the end effector and succeeded by attaching a needle to the end. But finally we used the much bigger solenoid which was purchased over the internet, after we realised the initial one wont suit our requirement. The below image shows the final end effector solenoid with a needle designed by vishnu with the piercing needle.
Actuation & Automation
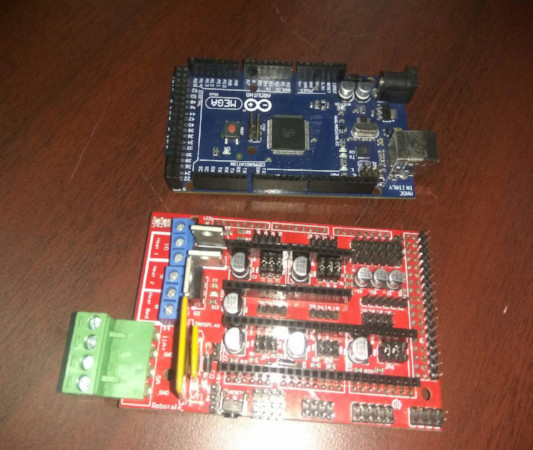
We used A4988 Stepper Driver, Ramps14 and Arduino Mega for actuating and automating the machine. Below image shows the Arduino Mega & the Ramps 14.
The stepper motor has to rotate the precise number of steps for feeding the paper and moving the solenoid to make the braile with standard measurements. The stepper motors rotate in steps and the steps per revolution can be configured. I helped out Amit in measuring the distances and giving feedbacks while he worked on the code to measure the operation of the stepper. Finally, we found out the total number of steps required for the head to move 1mm as 104 steps. To move the paper feed by 1mm, we needed 86 steps.
Firmware is the software flashed onto the MCU which will read from the G-Code and move the end effector to the desired place and actuates it. We used Marlin Firmware, the user guide of which can be found on Solid Utopia website.
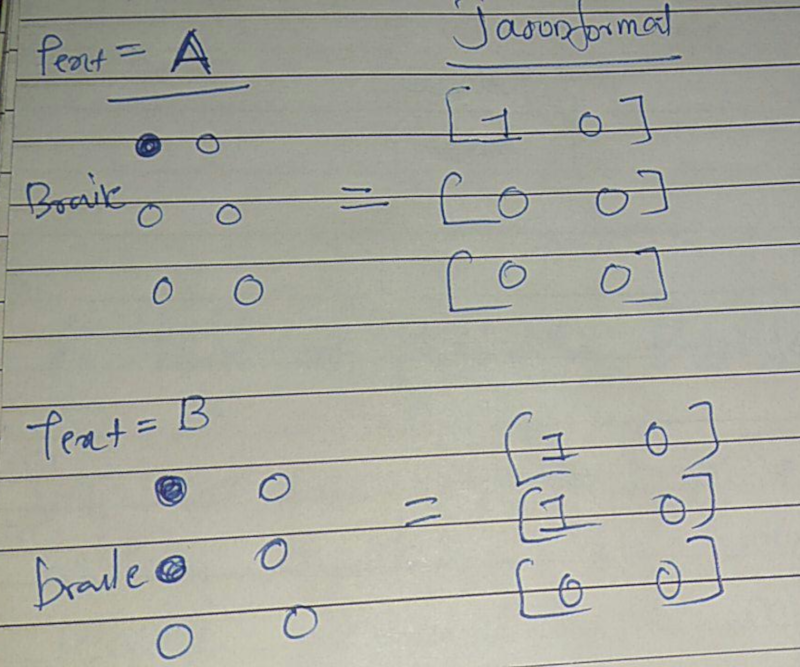
To generate the G-Code which will be send to the firmware, python and G-Code generator was used. Each alphabets of the braille was stored into a 3x2 matrix and saved in json format.
The GUI was made in python by Amith, in which the text to be printed can be entered. It saves the entered text into a text file which is then converted into G-Code and send to the firmware.
After several trail and error, the working video of our machine was shot by me with a smartphone camera.