Vinyl cutting
Eino also gave instructions how to cut with the vinyl cutter. To use the vinyl cutter, we need to send data with correct settings, and set the machine. We have vinyl cutter, Roland CAMM-1 GS-24, in Fab Lab Oulu.
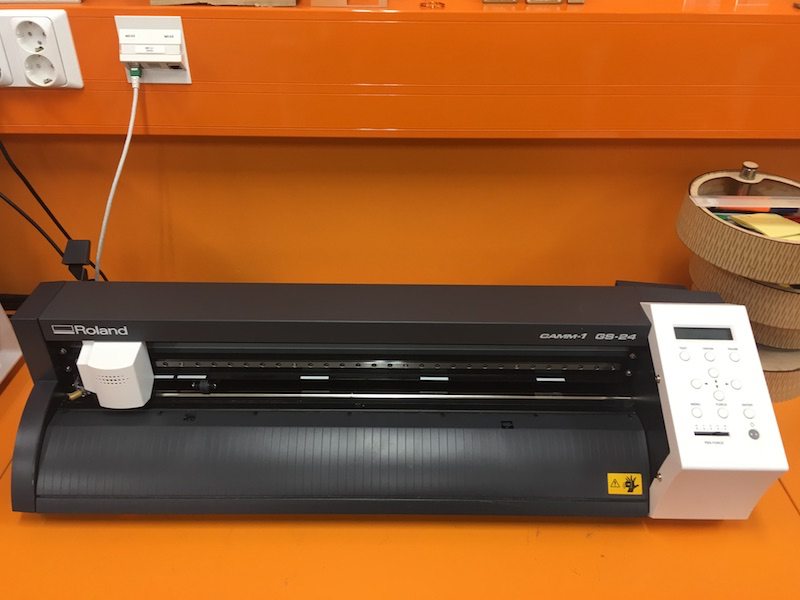
I tried two different vinyl cutting using different software and processes to create stickers from the vinyl sheet. We can design in different software, such as Inkscape, Illustrator, and CutStudio is software for Roland vinyl cutter. The vinyl cutter starts cutting from lower left corner, which is different from laser cutter, so we should place design in the lower left corner in the worksheet when we design. There are two ways to create stickers, positive and negative. Positive means we stick the design we draw and remove other parts, and negative means we remove the design we draw and stick the frame the other parts as a sticker.
Cutting a world map with Roland CutStudio
I need to make a globe for my project. I have several ideas to make it. One of them is to put the world map on a sphere. Making 3D globe from 2D world map is not easy but I wanted to try how it looks like. I searched world map on the internet. I chose a sinusoidal map from this website and saved the image. I measured the circumference of the ball I had, and calculated the diameter. The circumference was 185mm and the dimeter was 58.9mm. I imported the image in CutStudio. I traced the image outline and deleted the original image.
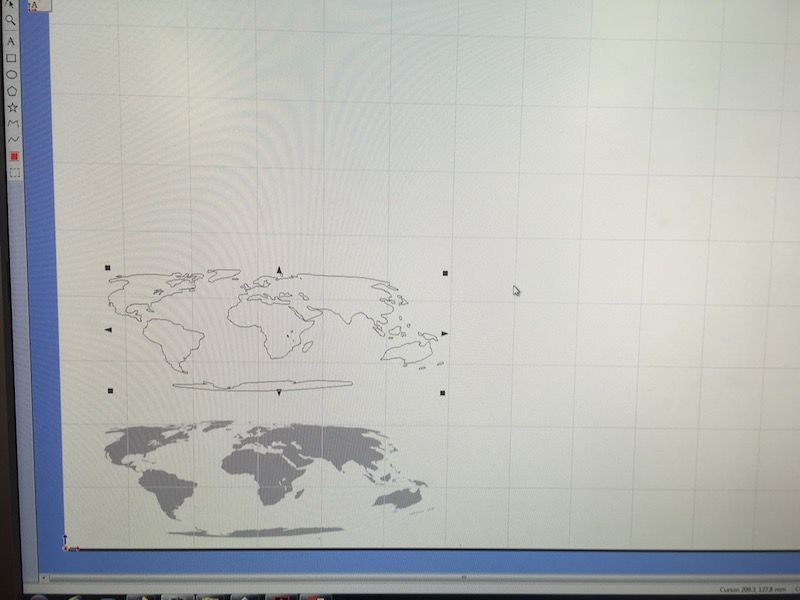
I changed the size as width 185mm and height 58.9mm and placed at the origin point, lower left corner. (* later I realised that I miscalculated.. its height should be 1/2 of the circumference, which means 185mm/2=92.5mm) Now the design is ready.
Operating vinyl cutter
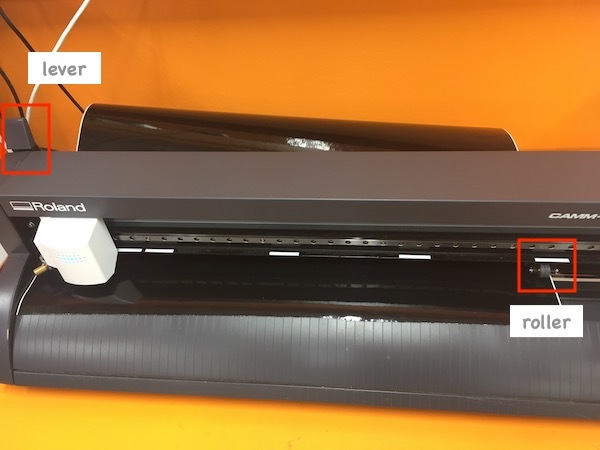
I set the machine, Roland CAMM-1 GS-24. First I set the sheet. I pushed down the lever in the left of the vinyl cutter and placed on the left edge of the cutter. I placed the sheet between two rollers.
I chose sheet type. There are three options for sheet type, ROLL and EDGE for the sheet is rolled, and PIECE for the sheet is not a roll but a piece. With PIECE and EDGE, the machine automatically finds the edge and starts cutting from the edge. I selected sheet type EDGE and pressed ENTER.
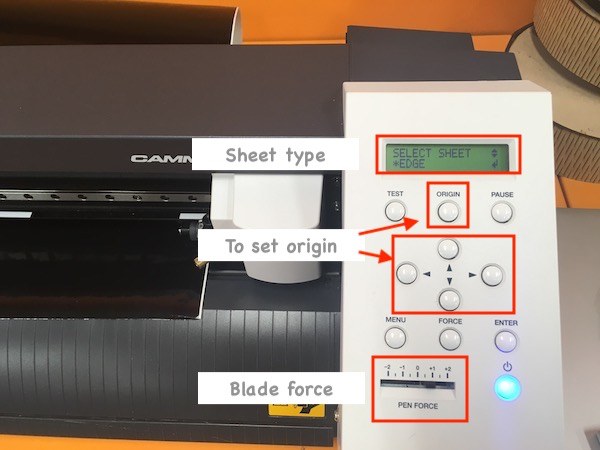
Next I used arrow buttons to move origin point where cutting is started. With EDGE setting, I don’t need to set origin of up down direction, so I only set horizontal position. When the blade is on the correct position, I kept pressing to set origin. I set the blade force as 0. Now the vinyl cutter is ready.
I selected Cut in Roland CutStudio and change Cut Setting. I set the cutting area by information from the machine and pressed OK.
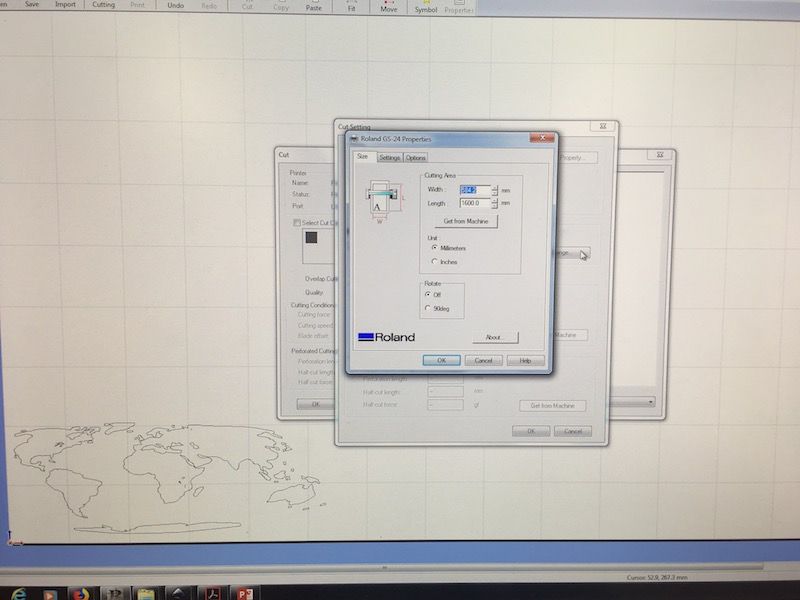
After finished cutting, I cleaned the sheet. The vinyl cutter cuts layers of sticker sheet and paper sheet and the glue between them. But after a while, the glue might stick together again, so we need to clean the sheet after cutting. I removed the extra parts from the paper sheet and put whole paper sheet on the transfer sheet and removed the paper sheet.
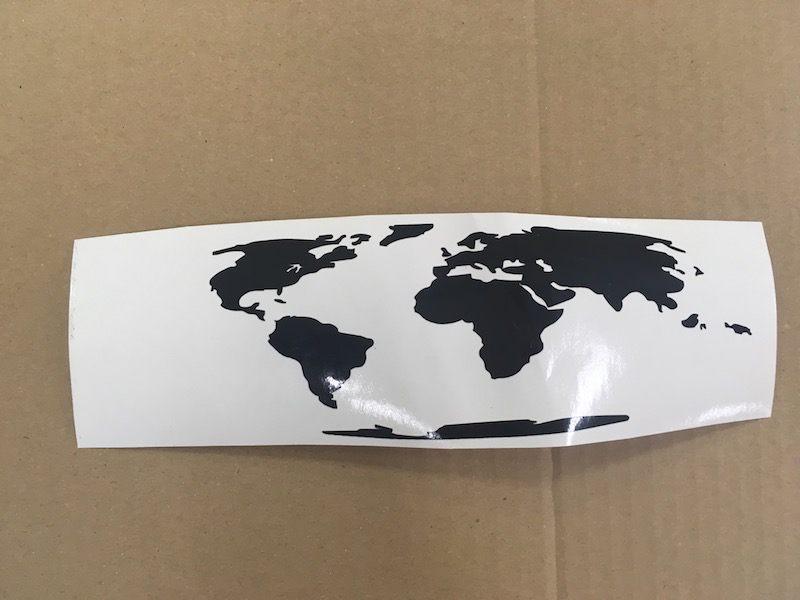
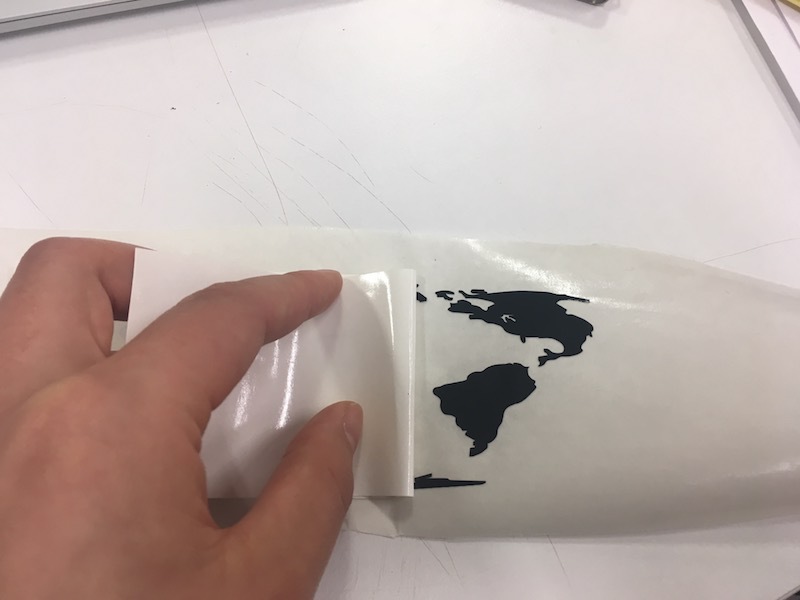
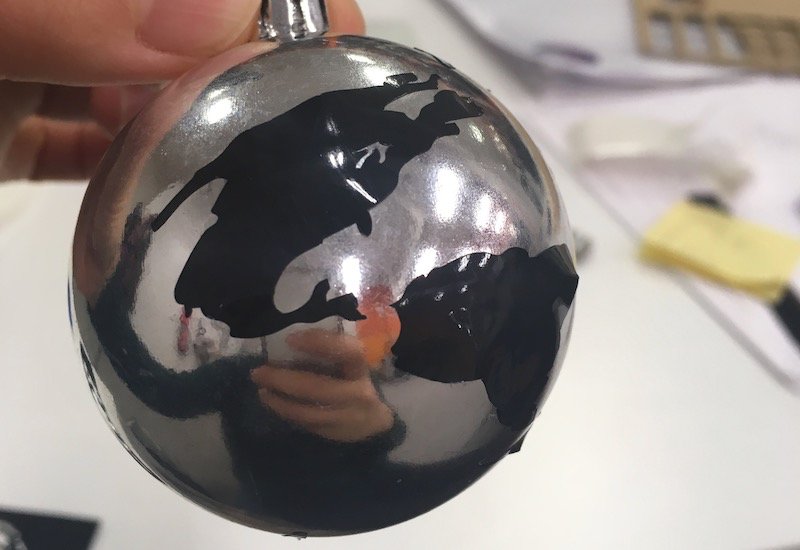
With transfer sheet, we can keep the places of individual parts. I put the parts with transfer sheet on the ball, and removed the transfer sheet. I lost some of the small parts while I was removing the paper sheet and transfer sheet.
Cutting a sticker with Inkscape
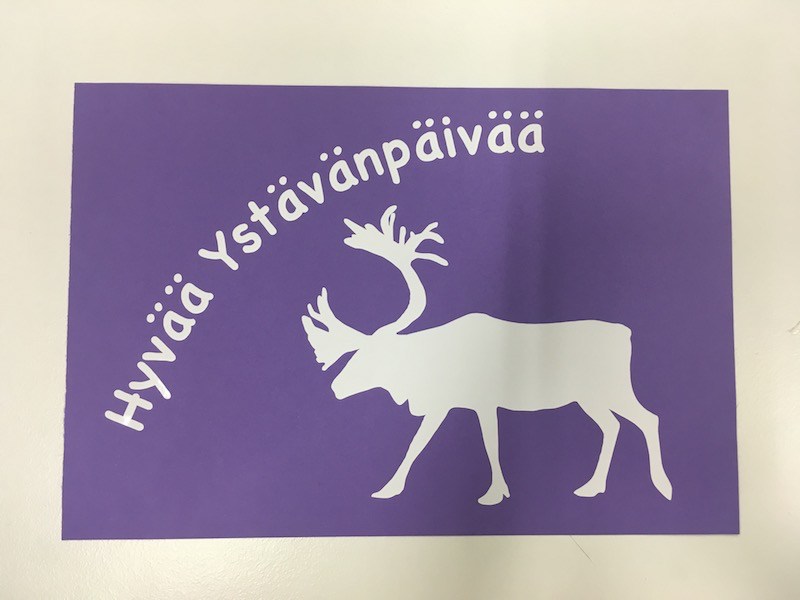
I also tried to design a sticker in Inkscape. I made a sticker to put on the card to my friend. In Finland, Valentine’s day is called “Ystävänpäivä” which means friend’s day. People send cards to friends. I made the sticker from the photo of a reindeer I took on the other day in Lapland. First I imported the photo in Inkscape. I started outlining the reindeer using Bezier Pen. I created nodes on the outline of the image. Then I modified the places of nodes using Edit Paths by Nodes for better natural curve lines.

After I drew outline of the reindeer, I used Clip to remove the background. I filled inside of the outline path I created with blue and reduced the opacity. I selected the original image and outline and applied Clip.
 (*Later I realised that this reindeer doesn’t have good contrast of brightness and shadow. If the photo had good contrast, I could also use the shadow for my sticker but at the end I used only this outline as a sticker.)
I changed the document size as a card size, width 148mm, height 105mm. Next I wrote the message. I wanted to make it curve. I drew a curve line using Bezier Pen.
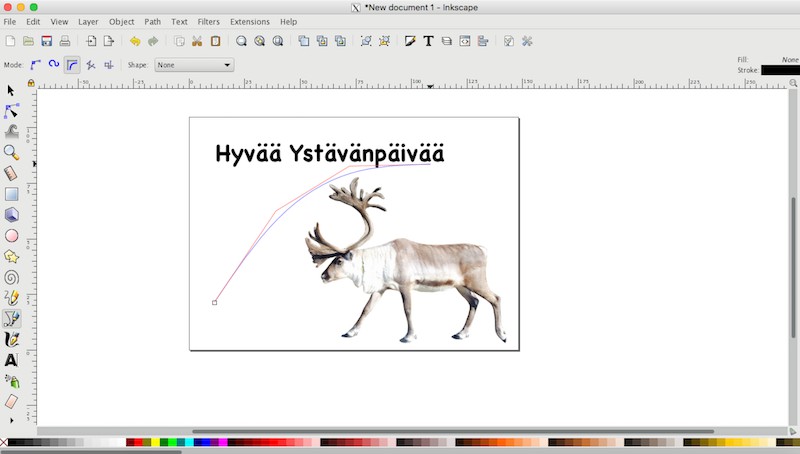
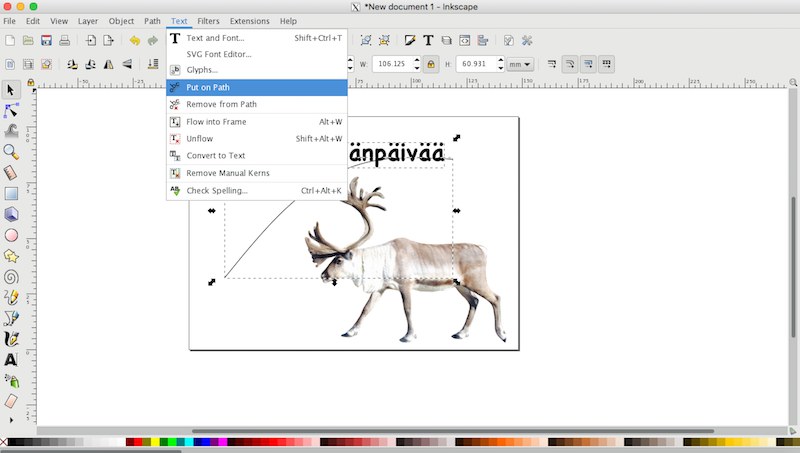
I selected both the curve line and the text and applied Put on Path (Text> Put on Path). I selected the text and make it as path (Path>Object to Path).
I deleted the curve line.
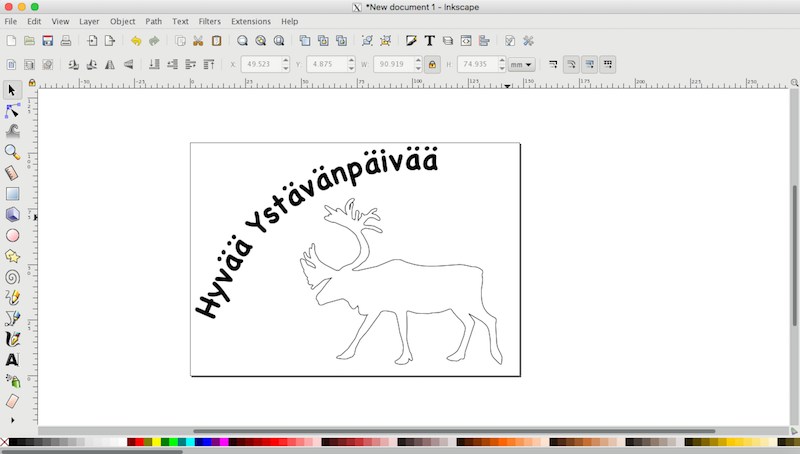
This time I cut the sticker directly from Inkscape. I set a piece of the sheet in vinyl cutter. I selected “PIECE” as sheet type. I followed the same sequence described above. In Inkscape I clicked Print and selected Roland CAMM-1 GS-24. I went to Preference> Cutting area> Get from machine to get information from vinyl cutter. The width of the sheet was set from the machine. I set the length as the same size as the worksheet in Inkscape and clicked OK. The vinyl cutter started cutting.
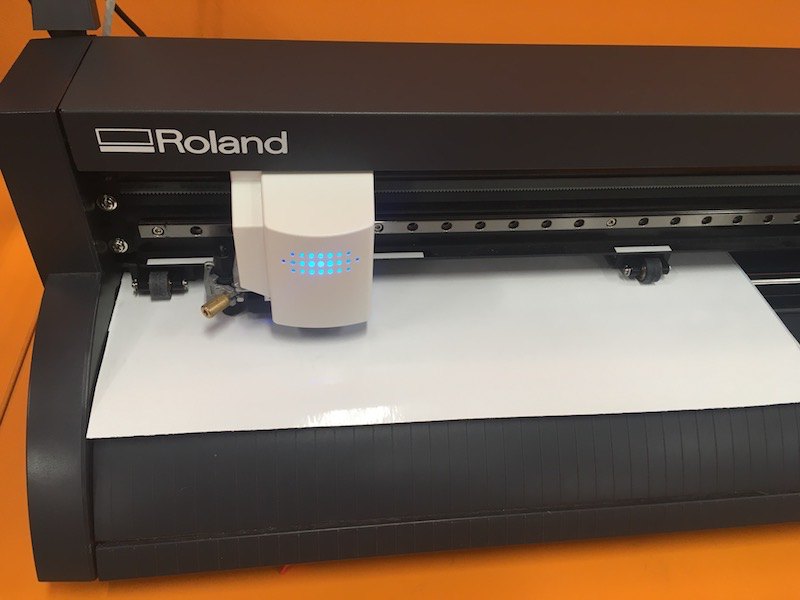
After it cut out, I removed unnecessary parts from the sheet with the tweezer.
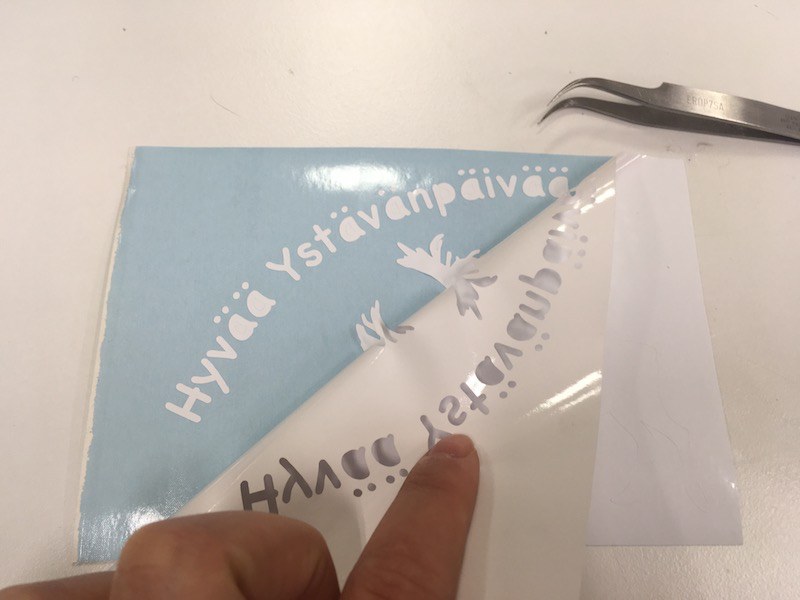
Then I put transfer sheet on the sticker, and removed the paper sheet.
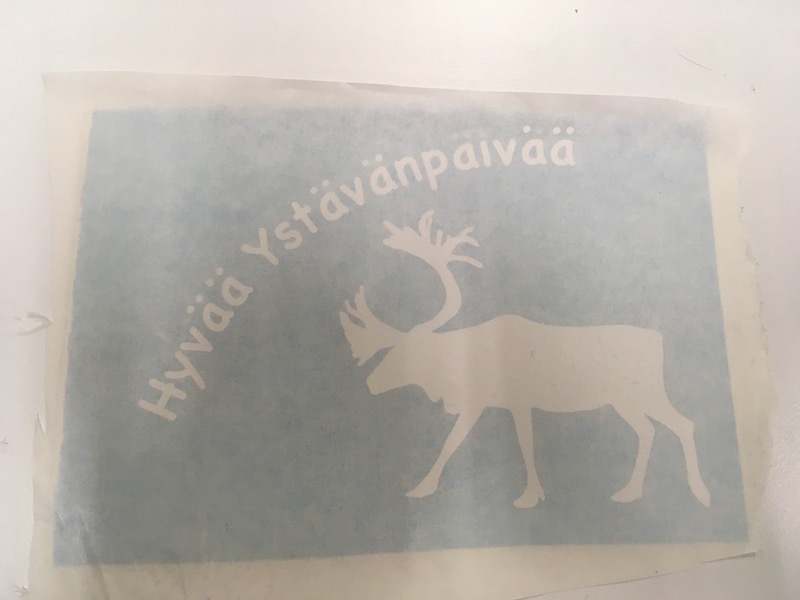
I placed the sticker with transfer sheet on the card and carefully removed the transfer sheet.
Comment
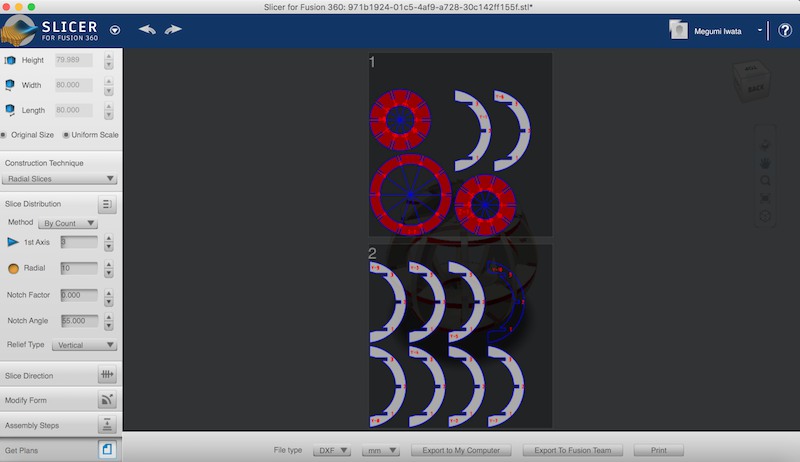
It was quite hard to put a sticker on the sphere surface. I carefully placed it but it was impossible to smooth all the wrinkles. I should have used a world map which is cut into vertical smaller parts, like this. So that I can place them on the surface of the sphere better. I cut sticker for the first time from Inkscape directly, it was easy and it went well. When I copied and pasted the design from Inkscape to CutStudio the lines were not clear. So when I use Inkscape to design stickers, it would be better to cut directly from Inkscape. I only need to make sure the sheet size and document size is correct. The object was cut 90 degrees rotated from the view in Inkscape. I suppose it was because of the document size. I set the document size for a card, width 148mm, height 105mm, but perhaps the vinyl cutter recognises height should be always longer than the width and it automatically rotated the deign.


 I chose sheet type. There are three options for sheet type, ROLL and EDGE for the sheet is rolled, and PIECE for the sheet is not a roll but a piece. With PIECE and EDGE, the machine automatically finds the edge and starts cutting from the edge. I selected sheet type EDGE and pressed ENTER.


 (*Later I realised that this reindeer doesn’t have good contrast of brightness and shadow. If the photo had good contrast, I could also use the shadow for my sticker but at the end I used only this outline as a sticker.)


