Designing 2D model
Vector graphics
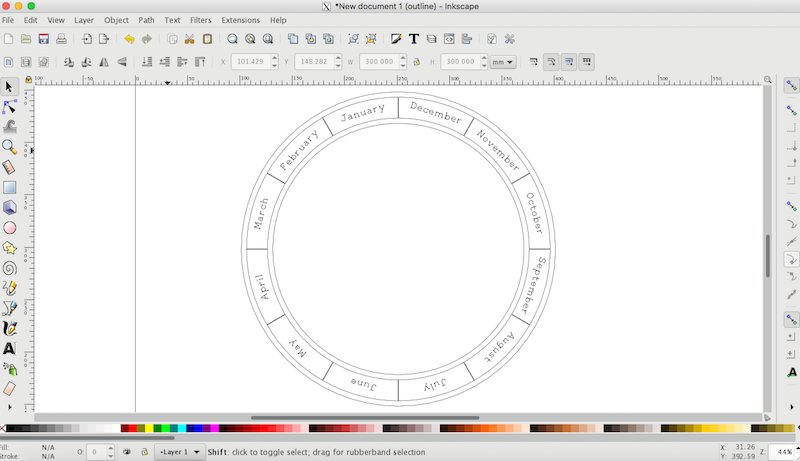
I made 2D model of a part of my final project, orrery night lamp. It is a flat ring which has the name of each month on it. I want to make this lamp around 300mm width. So I decided to make outline of the ring 300mm, and it has a 240mm hole in the middle. I am going to make it with plywood and designed in Inkscape. Inkscape is vector based program which uses mathmatical calculations to draw in the program. The files are saved as, for instance, SVG or PDF format.
Designing process
I drew circles in Inkscape. I drew four circles which diameters are 300mm, 290mm, 250mm and 240mm to create two different rings. The bigger ring made with 300mm and 240mm diameter circles will be the base of this model which will be cut out later, and another smaller ring which is made with 290mm and 250mm diameter circles will be engraved on the bigger ring with months’ names.
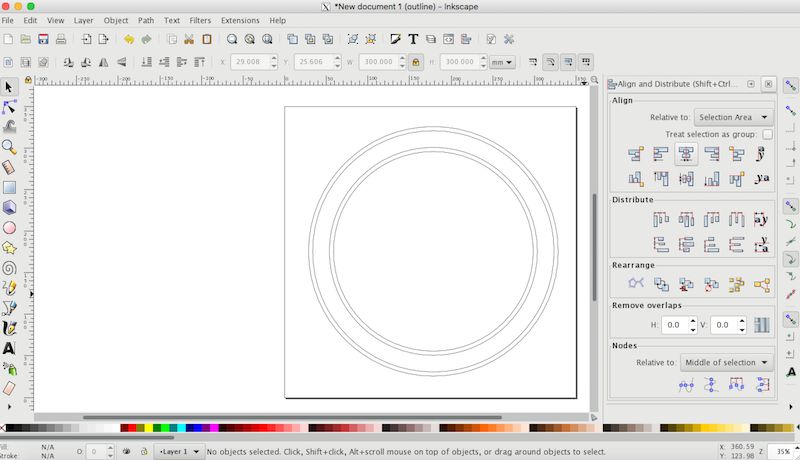
I designed the smaller ring first, which will be engraved later. The smaller ring will be divided into 12 sections and each section has a name of each month. To make the sections, first I drew a rectangle which width is 290mm and height is 0.5mm. At first I worked with lines to make sections, but I found out I cannot apply Union/ Difference functions on lines, they only works for shapes and areas. So I used thin rectangles instead of lines. I placed the rectangle in the middle of the 290mm diameter circle (Object> Align and Distribute). I duplicated the rectangle and rotated it 30 degrees. At first I cloned the rectangles but later I found out I cannot apply Union/ Difference functions to cloned objects because of the bug.
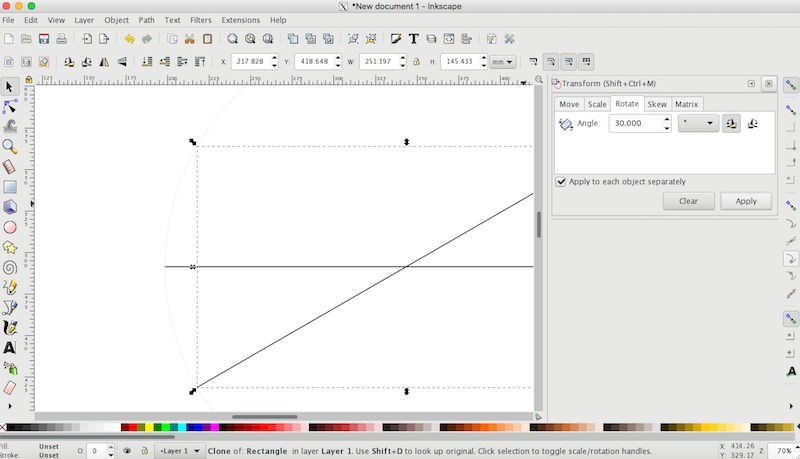
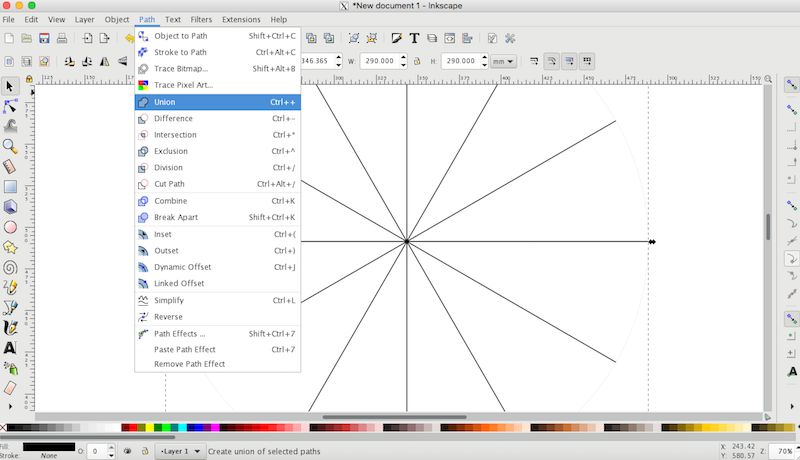
I repeated duplicating and rotating and got a circle and 6 rectangles distributed each 30 degrees. I selected all the rectangles and applied union (Path> Union). I applied union to 290mm diameter circle and merged rectangles.
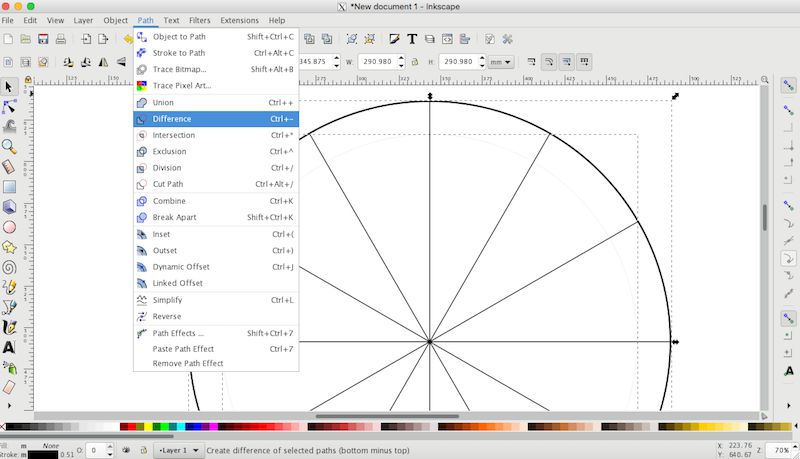
Then I placed the 250mm diameter circle in the middle of the 290mm diameter circle and applied differences (Path> Difference). I got a 290mm diameter circle with12 sections.
I wrote the names of each month and placed it in each section. I selected them and grouped. I placed the 290mm diameter circles which will be engraved, in the middle of the 300mm diameter circle which will be cut out.
Raster graphics
I tried GIMP to edit the image of world map to laser engrave on the sphere surface. It might be used for my final project. The difference between Inkscape and GIMP is the program is vector based or raster based. The lines of raster graphics is drawn as coloured pixels while the lines of vector graphics is machematically calculated and shown on the screen. So when a line drawn in GIMP is zoomed, many coloured pixels are seen. Raster graphic tools are suitable for photo editing or detailed images, while the results of vector graphic tools are more abstruct. The files of raster graphics are saved as, for instance, PNG or JPG format.
My plan for the final project is to laser engrave the world map on the sphere using rotary attachment. I read this instructions to understand the tips to engrave on the sphere surface. I downloaded the world map which looked suitable for engraving on the sphere. from this website To engrave the world map on the sphere, I needed to remove the background and change the image into grayscale. To remove the background I followed this instructions. To edit the image for laser engraving, this video explains very well.
I imported the image in GIMP.
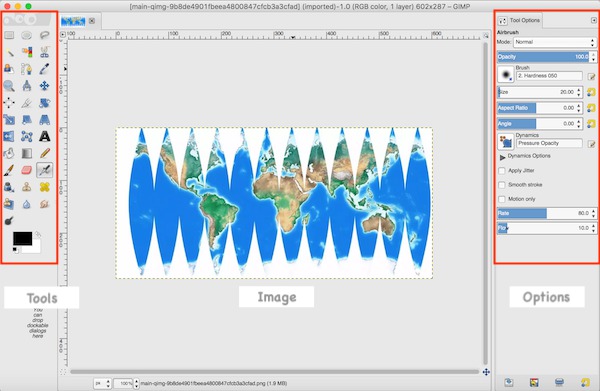
I chose select tool in the tool bar on the left and drew lines around the parts that should be remained. To select multiple parts, press Shift and start drawing the line.
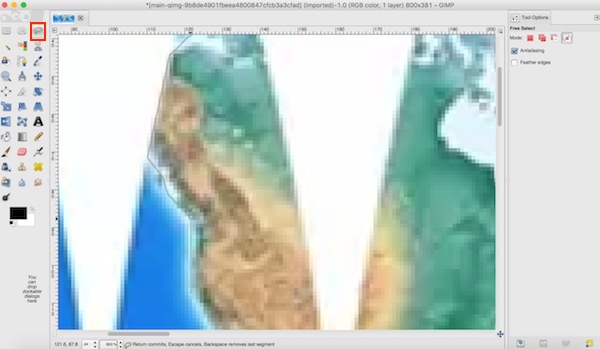
Zoomed in and drew lines
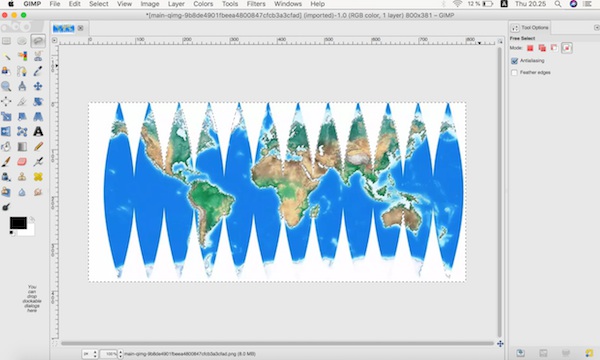
The dot lines appeared around the selected parts
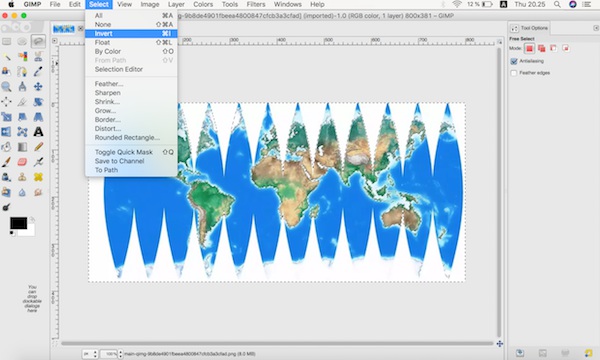
Now all the parts which should be remain are selected. I clicked Select> Invert to select the background.

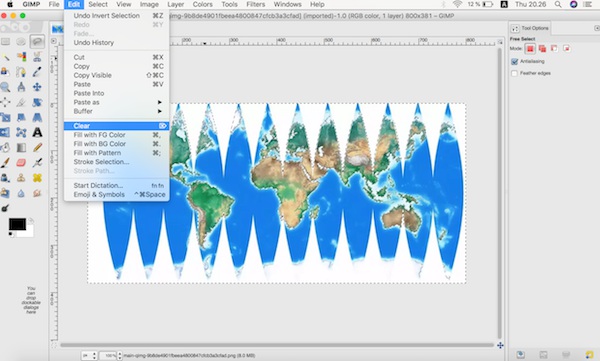
I clicked Edit> Clear to remove the background.

Edit> Clear

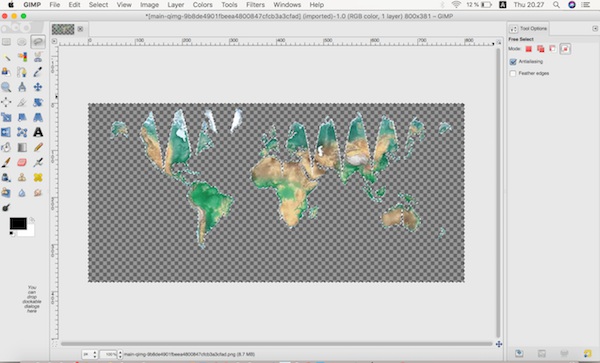
Background removed
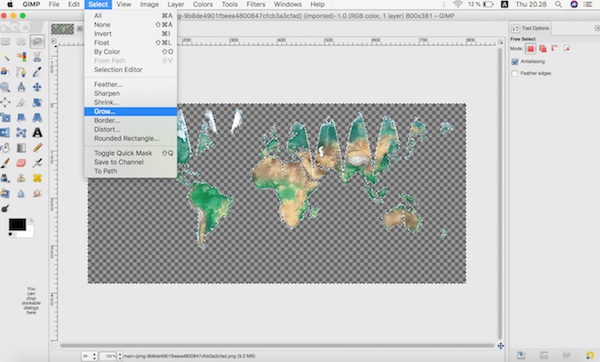
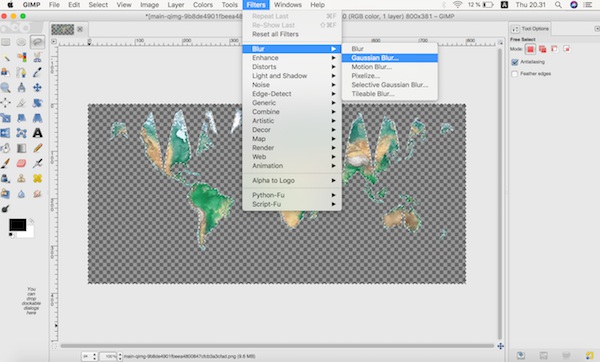
Next I edited the edges of the selected parts. I clicked Select> Glow and chose 2 pixels. Glow function moves the selection lines inside of the selected objects by selected pixels. It allows to edit edges of the selected parts with blur function to be more natural lines. * Later I realised that I forgot to invert the selection, so the selection lines which should have been moved 2 pixels inner of the world map were moved 2pixels outer of the actual edge of the map. I clicked Filters > Blur > Guassian Blur. The lines of the edges of selected parts were naturally blurred.

Glow

Blur
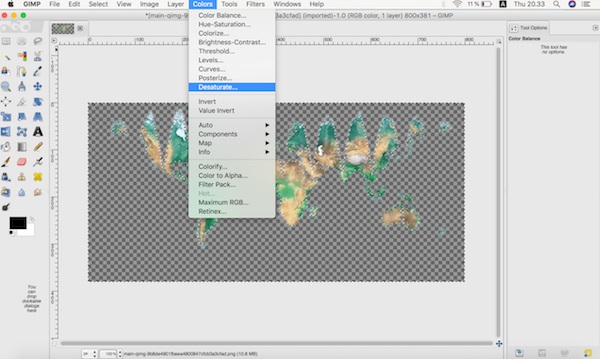
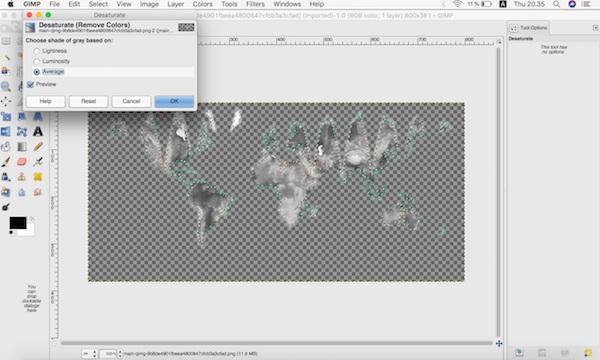
I changed the colour as grayscale. For laser engraving, it is possbile to engrave coloured images but the function of laser engraving is that laser removes the materials from the surface depending on the brightness of the image. Thus it is better to make the images as grayscale so that the results are closer to the prediction. I clicked Colors> Desaturate. There are three options of slightly different texture of grayscale. I selected Average since it has more contrast.

Glow

Blur
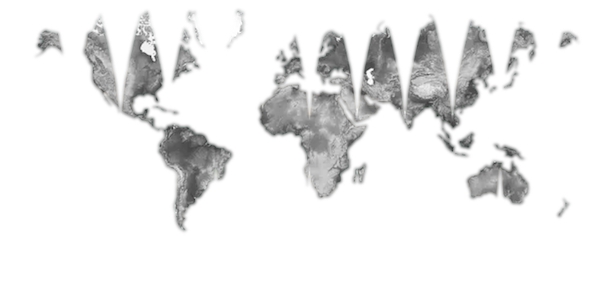
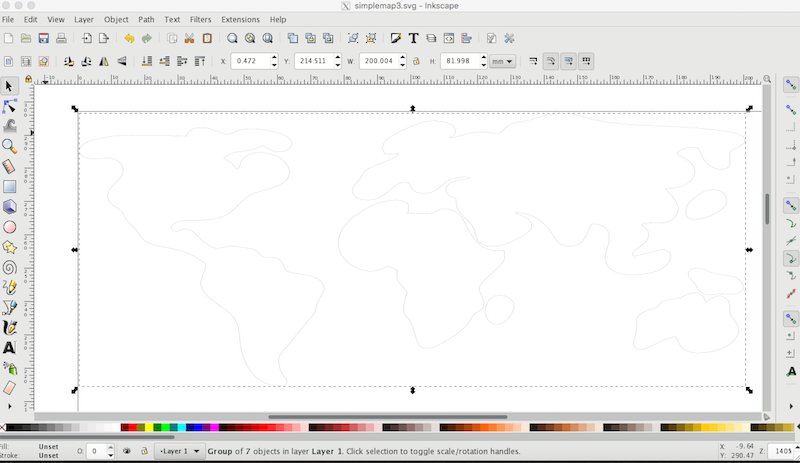
I exported the world map as PNG (File> Export As). The result came out as below.



 The dot lines appeared around the selected parts