Git for version control
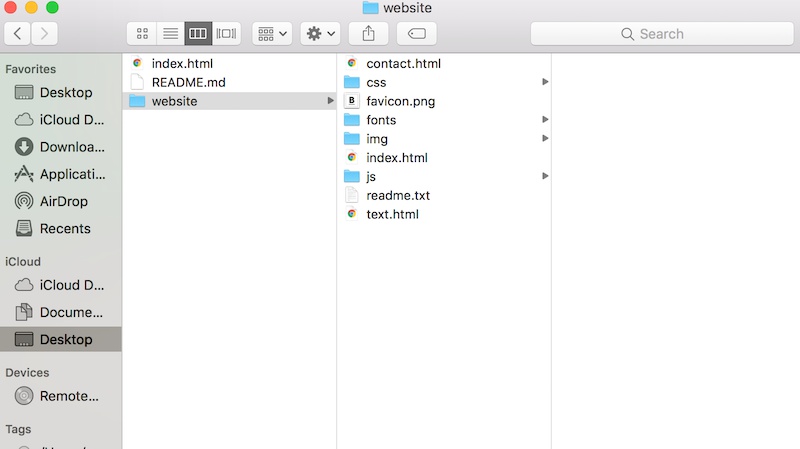
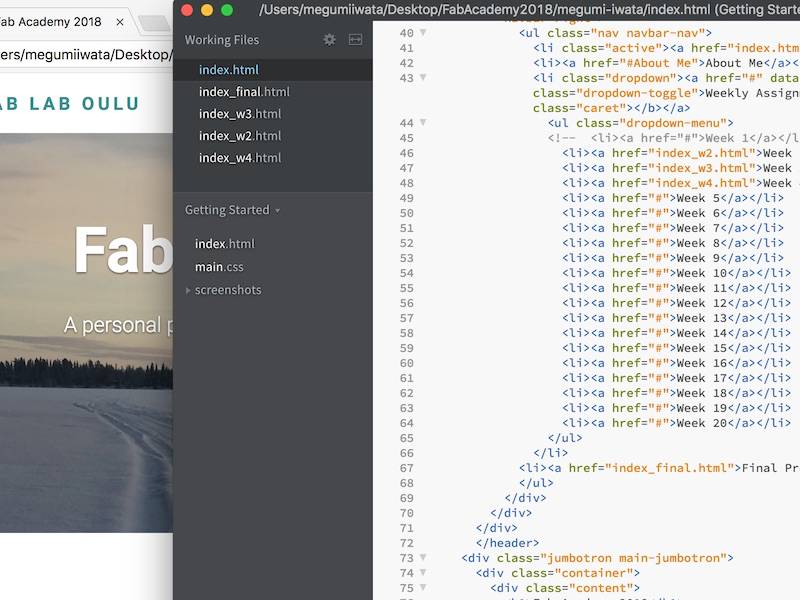
In Fab Academy we are going to document our work in own website and upload it to Fab Academy Gitlab. Here, I am going to write how I set up Git environment.
What is Git?
My week started from learning Git. I saw GitHub sometimes while I was working on my own projects, but I haven't really thought about what it is. Git is a distributed version control system originally developed in 2005 by Linus Torvalds, the creator of the Linux operating system. In distributed version control system, such as Git, there are three different types of storage areas. Workspace is the folder I am editing now. Local repository is the storage for different versions of the projects in my own computer. Remote repository is the storage for different versions of the projects in a remote server where I can share my projects with others. It is useful, for instance, when some issues are found in a version of the website, every developer can track the old version of the website and fix the issue. It is possible to track individuals' workflow in a collaborative project.
Installing Git
First I installed latest version of Git for Mac OS X from official webpage of Git to my MacBook. I am using Terminal to write a command in Git. Terminal is Apple's bash shell to access operating system's service. Following the Fab Academy's tutorial of Setup Git I identified myself in Git by writing the commands of my name and email address in Terminal.
git config –global user.name “Firstname Lastname”
git config –global user.email “emailadress@mail.com”
Creating SSH key from GitLab
Next I created SSH key pair. There are two keys I needed to create to identify myself in GitLab which provides Git repository hosting service. Public key can be shared and is stored in GItLab. Private key must not be shared and is kept in my computer. Following the instructionsin GitLab, first I wrote the command in Terminal .
ssh-keygen -t rsa -C "your.email@example.com" -b 4096
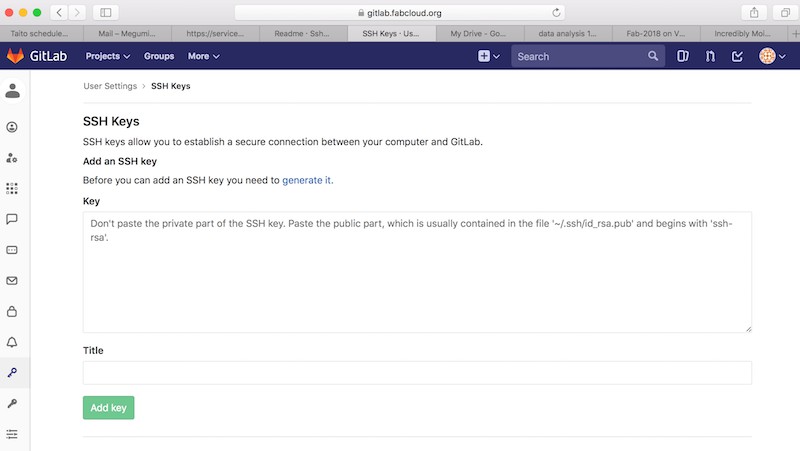
The SSH key pair was generated. I could not find the hidden folder where keys are stored in my MacBook, so I pressed enter to allow the public key shown in Terminal. Also there is an option to have password for SSH key pair, but I skipped this step at this moment. I copied the public key and pasted in GitLab> my page> Profile Setting> SSH Keys.
Later, I found the hidden folder by typing the following command in Terminal.
open -a Finder /usr/local/bin
Cloning Gitlab and creating local repository in my computer
Next I cloned repository from remote repo to my own computer to create local repo. I identified the folder, FabAcademy2018, which I am going to put local repository in my computer by typing the command, Change Directory.
cd /Users/megumiiwata/Desktop/FabAcademy2018
Then I typed the following command to clone public repository.
git clone git@gitlab.fabcloud.org:academany/fabacademy/2018/labs/fablaboulu/students/megumi-iwata.git
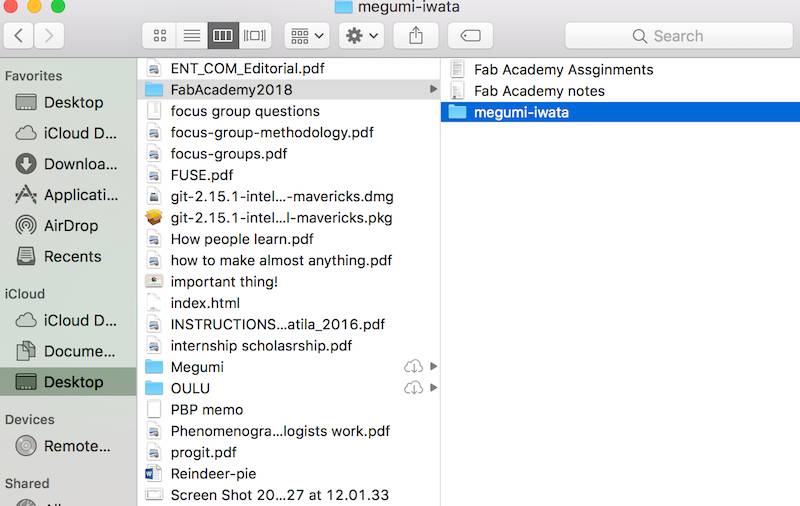
Now I have local repository, megumi-iwata, in FabAcademy2018 folder.
Testing to create and publish a website in remote repository
To try using GitLab, I created a test website and uploaded to the remote repository in GitLab. I used Bracket as a text editor.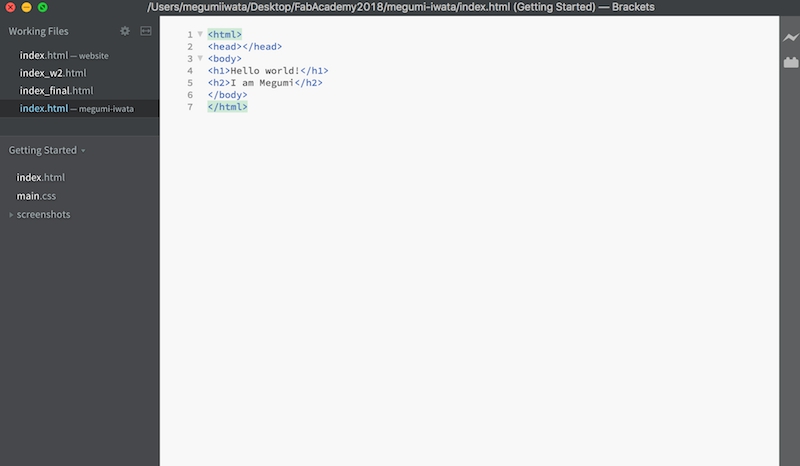
I wrote the commands and saved as index.html in the FabAcademy2018>megumi-iwata folder. I saved it in the local repository. To check the changes in local repository, I typed the following command.
git status
To upload this website, I followed several steps typing the following commands which are essential during Fab Academy.
First I synchronised my local repository with the remote repository. This command is to copy the contents of the remote repository to the local repository. The local repository was updated and it is now the same version with the remote repository.
git pull origin master
Then I added the file that I created to Git storage area.This command is to add all new files to the local repository.
git add .
If I want to add only one specific file to the local repository, I can use this command.
git add [file name].
Next I made the file record (snapshot) of this version to my local repository. This file snapshot will be stored in version history.
git commit -m “message”
Lastly, I synchronised my local repository with the remote depository.
git push origin master
Now the change in my local repository, the test website: index.html, was published in the remote repository.
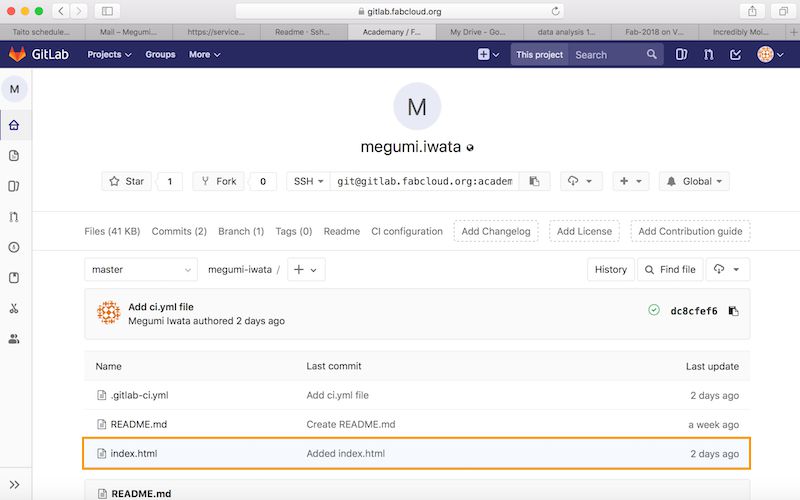
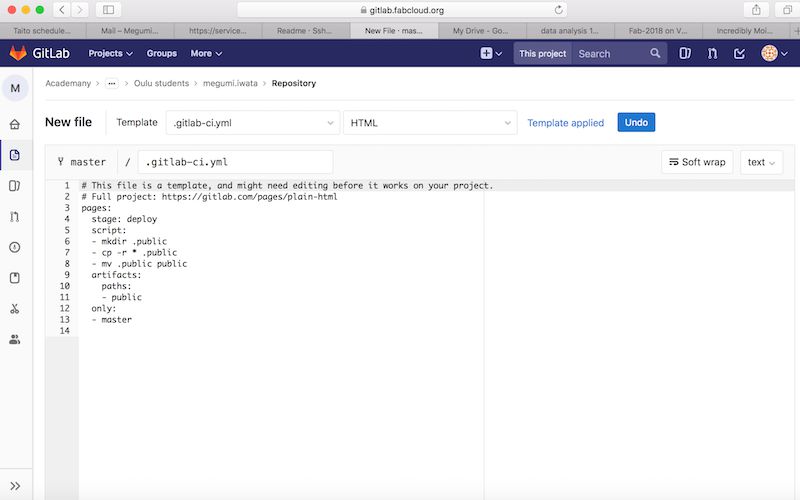
Then I needed to script to publish HTML as a website. I went to home of GitLab my page, selected new file, chose the following type and selected HTML.
.gitlab-ci.yml
This file is for
continuous integration in GitLab and placed in the root of my repository to define how my project should be built. Each time any push is done to my repository, GitLab looks for this file, and this file tells GitLab what to do.
I added message and pressed commit changes.
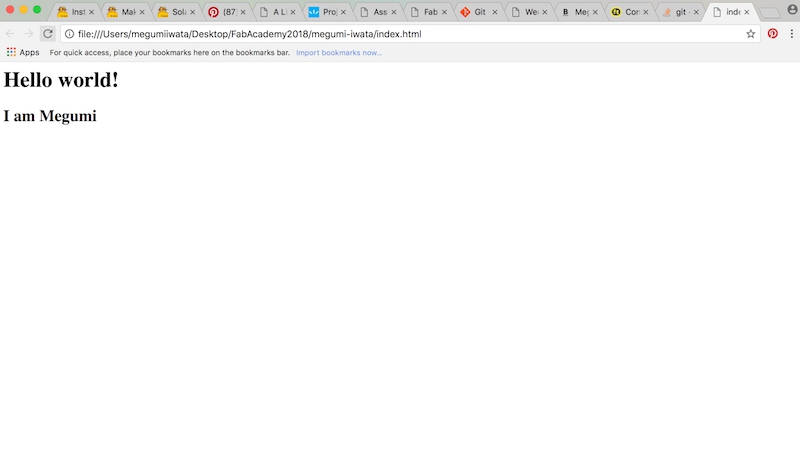
Now the test website is running.
I was having trouble to upload my actual website that I created for documentation. Later I figured out that when I close the Terminal and open it again, I need to make sure the directory is correct. I can identify the directory that I am working now by typing the following command, Print Working Directory.
pwd
If the directory is wrong, I need to change it by typing the following command which leads to the folder of local repository.
cd /Users/megumiiwata/Desktop/FabAcademy2018/megumi-iwata
One important thing that I should always keep in mind is that I shouldn’t upload big files because the storage is limited. Especially I have to double check to resize the photos before I upload them.
 Later, I found the hidden folder by typing the following command in Terminal.

 Then I needed to script to publish HTML as a website. I went to home of GitLab my page, selected new file, chose the following type and selected HTML.
  Now the test website is running.
 I was having trouble to upload my actual website that I created for documentation. Later I figured out that when I close the Terminal and open it again, I need to make sure the directory is correct. I can identify the directory that I am working now by typing the following command, Print Working Directory.