
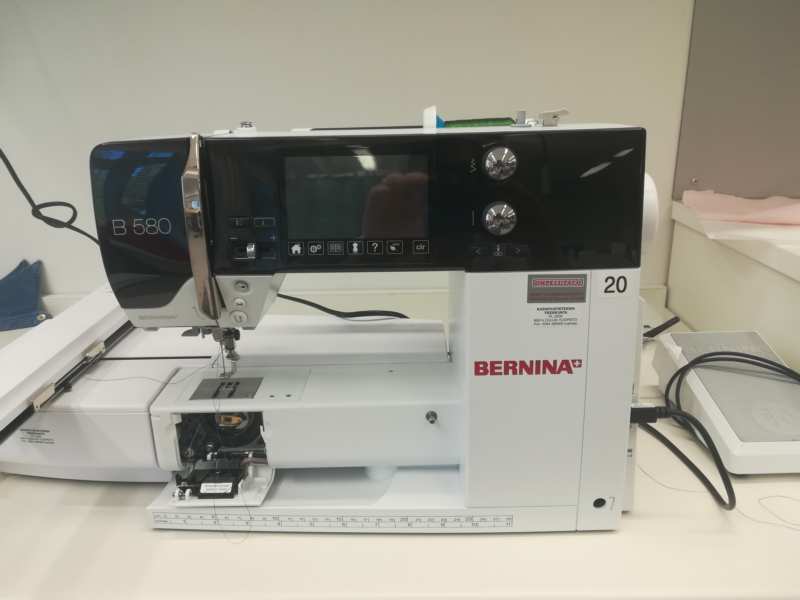
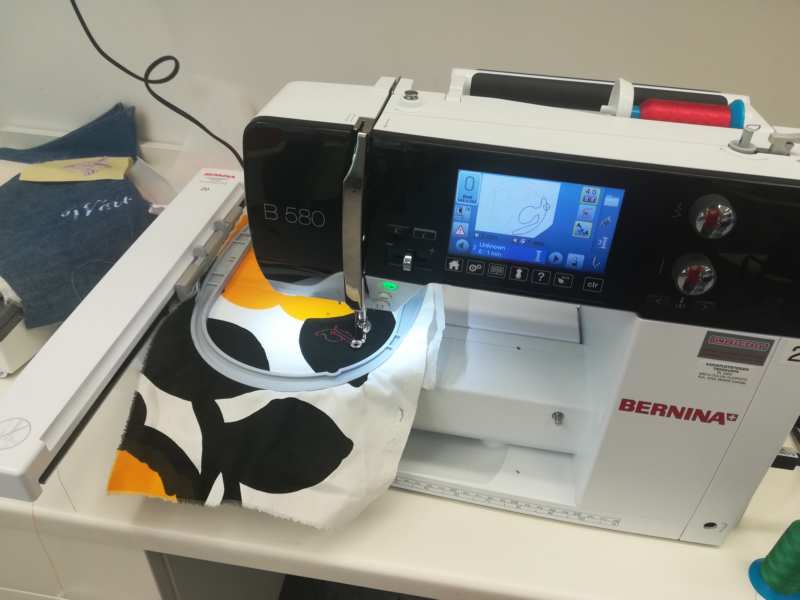
This week we have to learn a new process that was not done before. I wanted to do something related with my final project, and that was looking a bit difficult. Then Jani mentioned the embroidery, but that there was no machine in our FabLab. I asked if it would be OK if I found one, as I knew there are some workshops for future teachers at the university that had sewing machines. And yes, there is one digital embroidery we could use. A Bernina 580 B. It is my first time embroidering, and there is no guidance on this. The ladies from the sewing workshop (Kerttu and Minna) were very nice. But, for different reasons, they were not going to be able to give much support. But Minna showed me where the software for the embroidery machine was.
It is an expensive software, so I decided that I would like to look for a cheaper way of doing things. My steps:
To Do
- Some research on possibilities for designing
- Learn to prepare everything
- Test the machine with an inbuilt design
- Do my own design and play!!! (That is, test different settings)
- Try the conductive thread ( if it arrives! ...It just arrived now: Tuesday noon... lets see tomorrow!)
The "Doing"
Starting with the digital embroidery: software
Preparing the machine
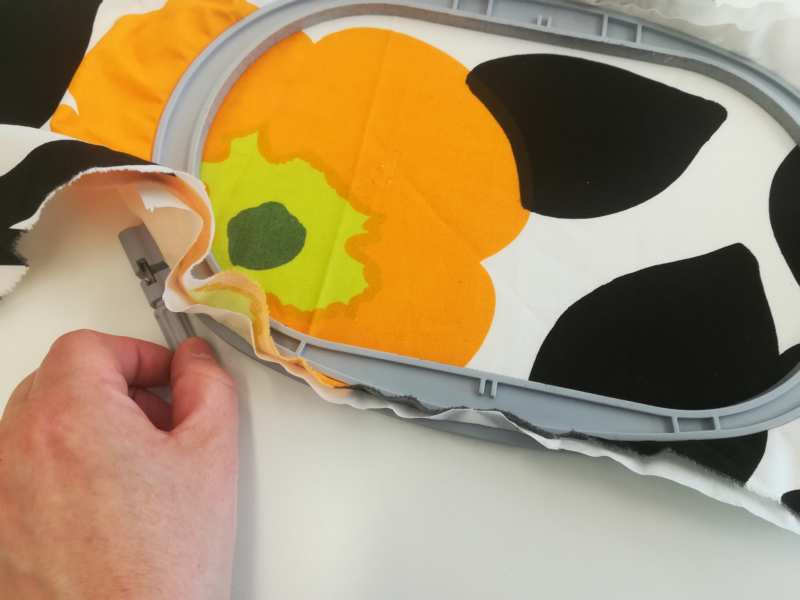
Preparing the fabric
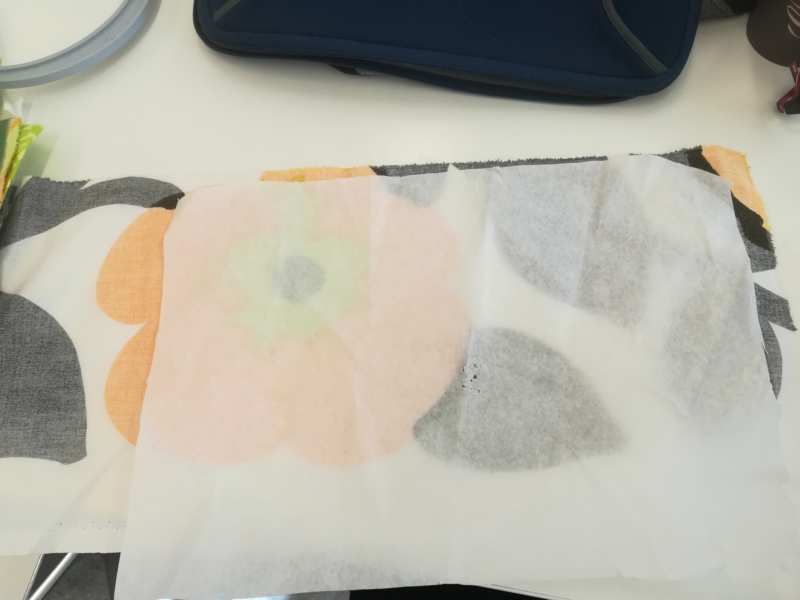
- Place stabilizer on the wrong side of the fabric
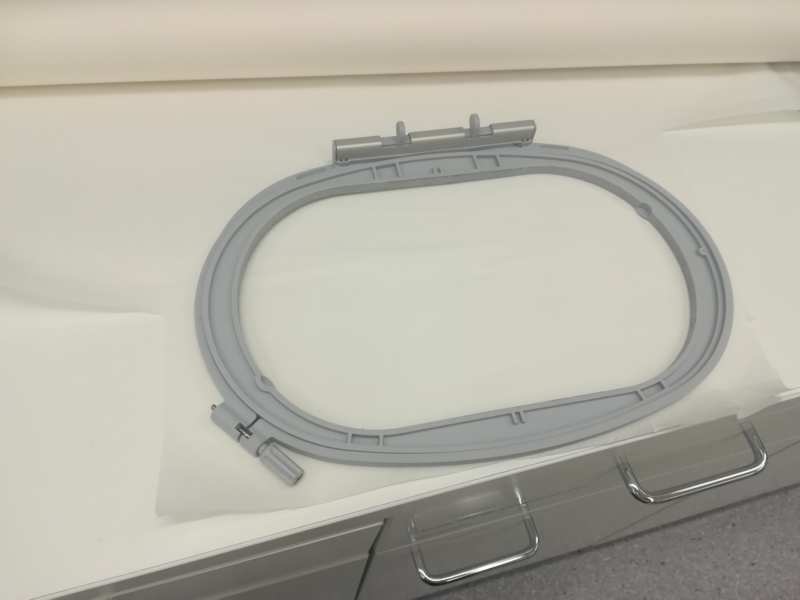
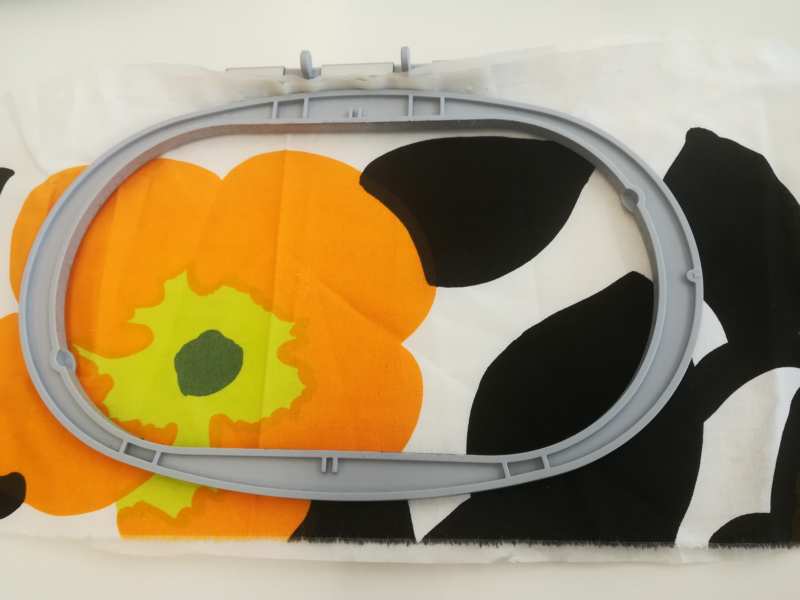
- Place the outer hoop on the table, then the fabric and stabilizer
- Then the inner hoop
- Tighten the screw. Be sure the fabric is firm

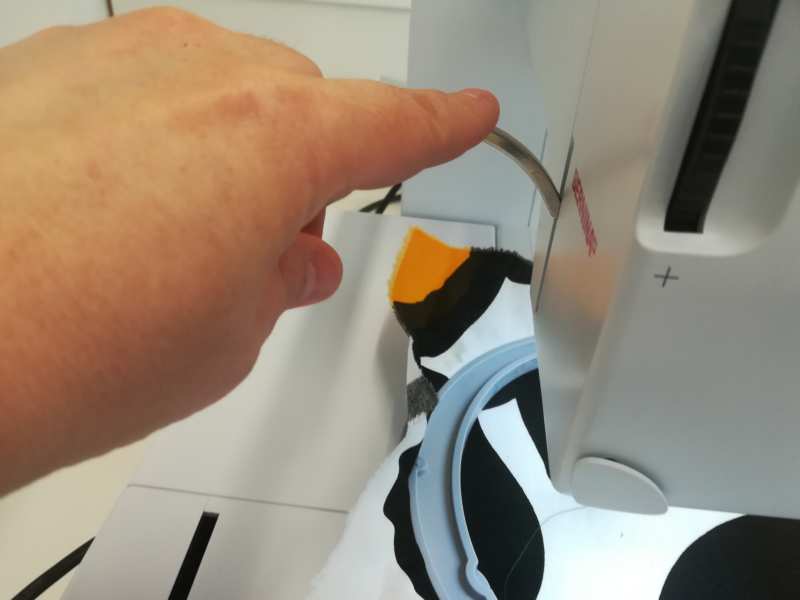
Preparing the machine
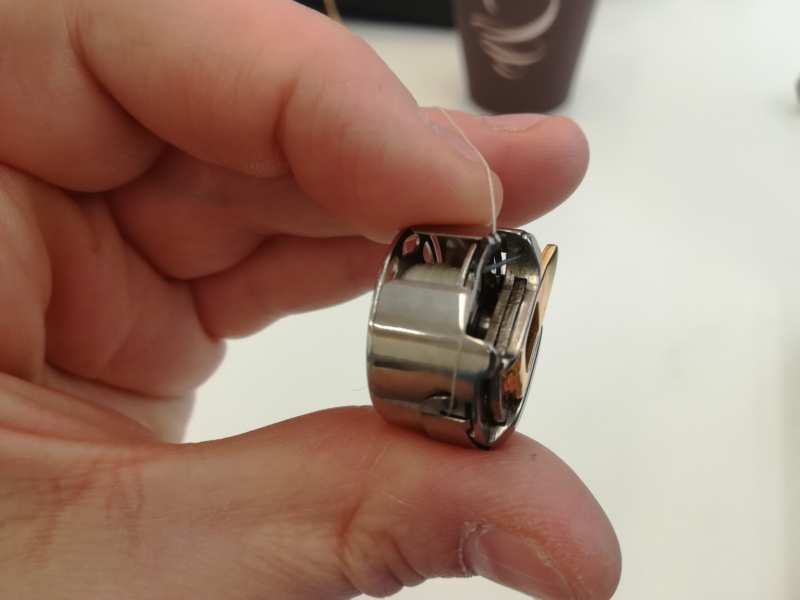
- Insert the bobbin in the embroidery bobbin case and thread the pigtail
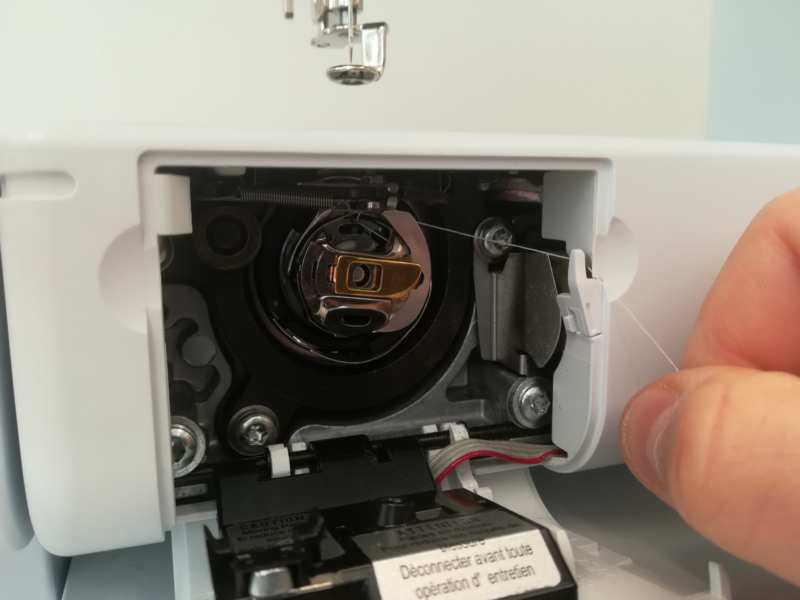
- Insert the bobbin case
- Drop the feed dog
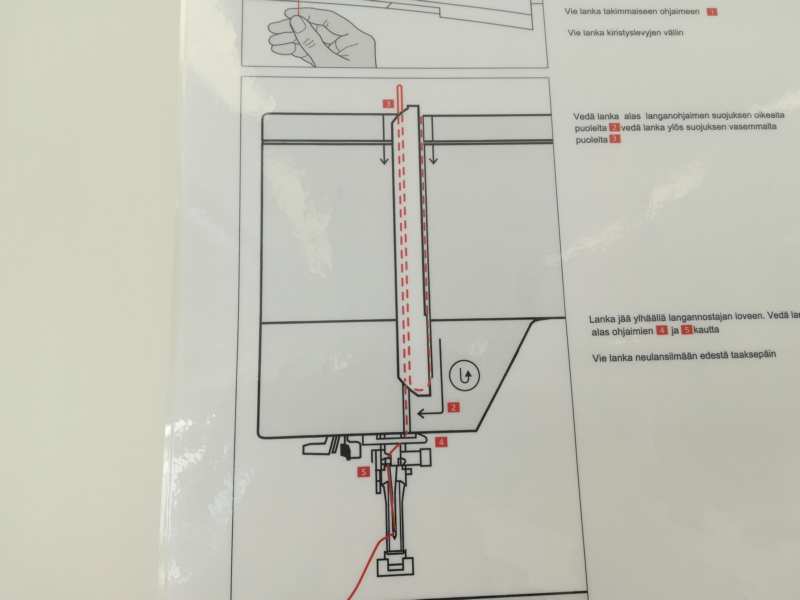
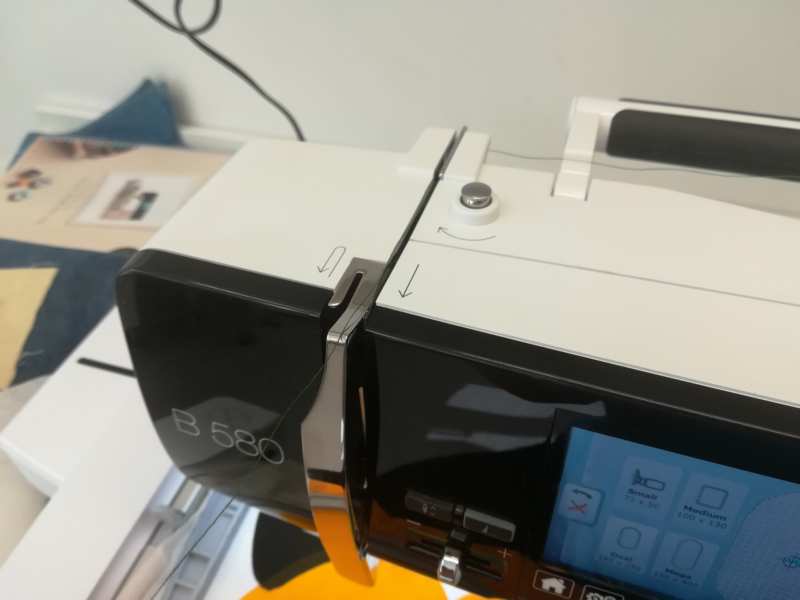
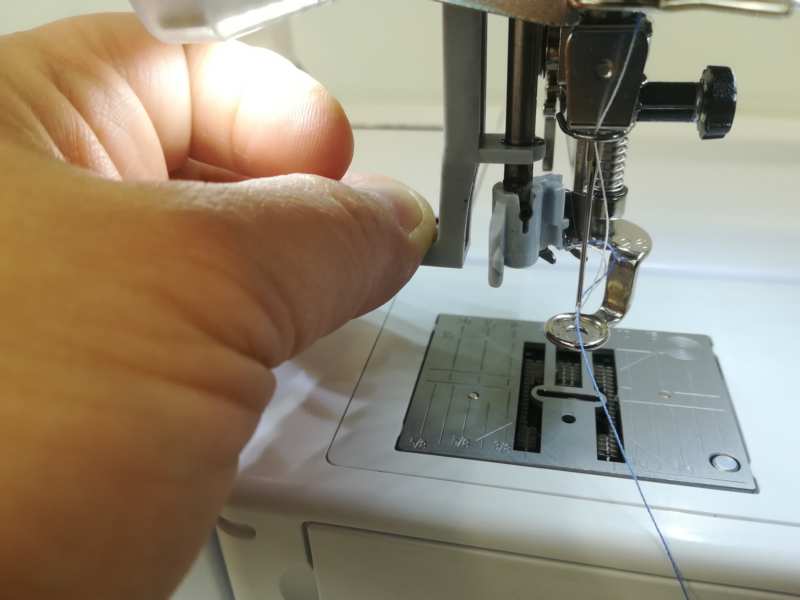
- thread the upper thread
- Place bobbin correct direction and hold it to place
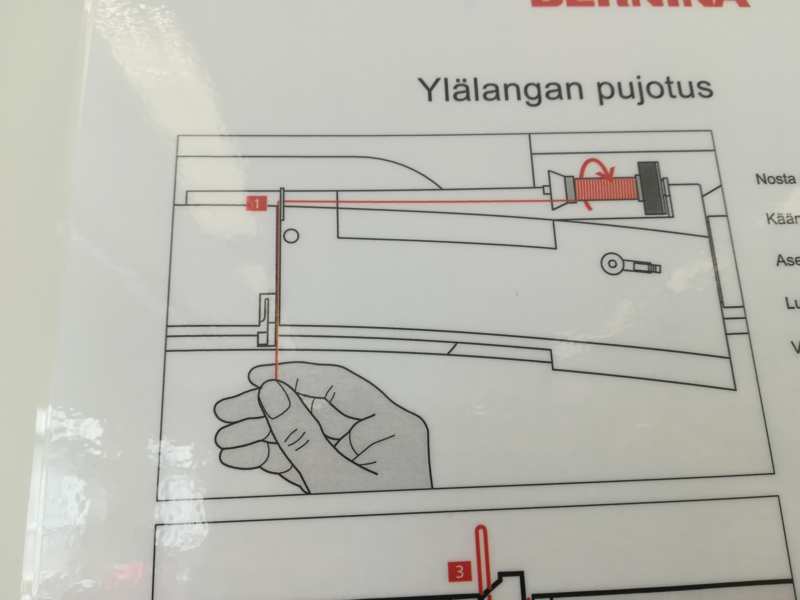
- put the thread as instructed following steps of the instructions and arrows from machine
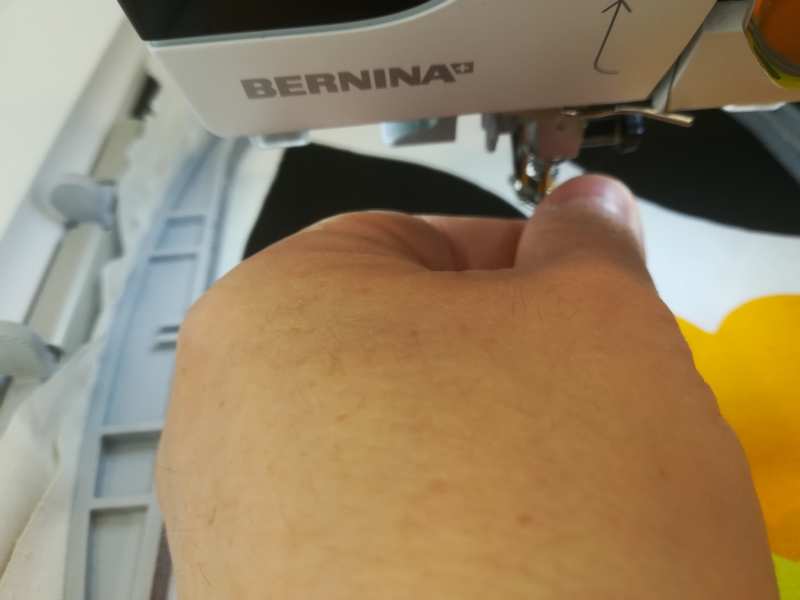
- thread the needle
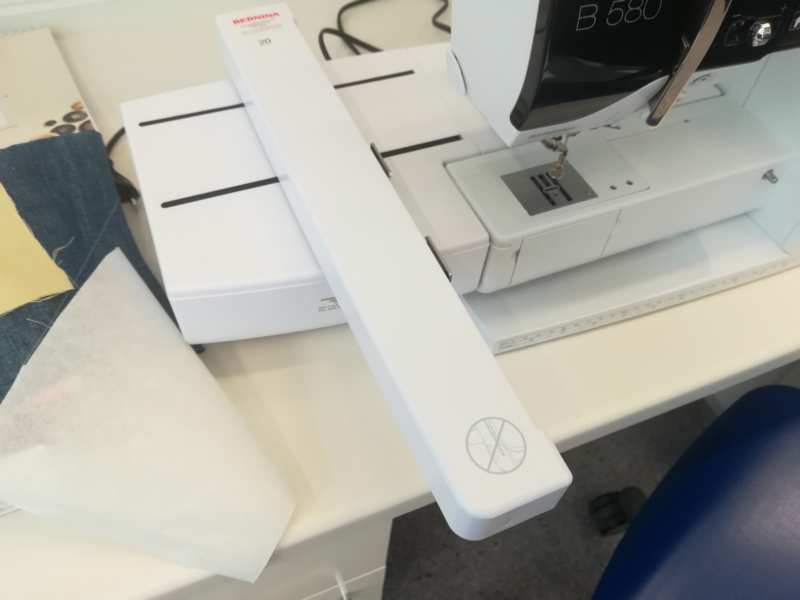
- Attach the embroidery module
- Remember presser foot to attach for embroidery is nr 26
- Switch on
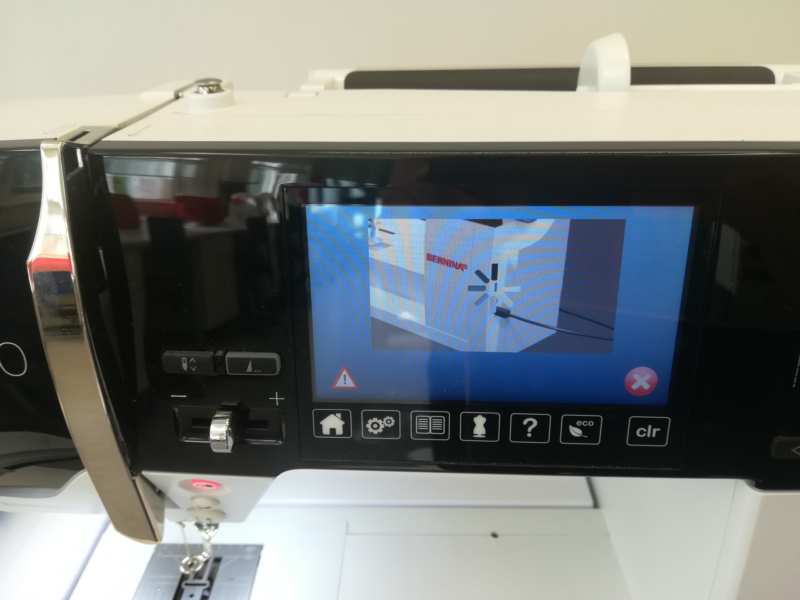
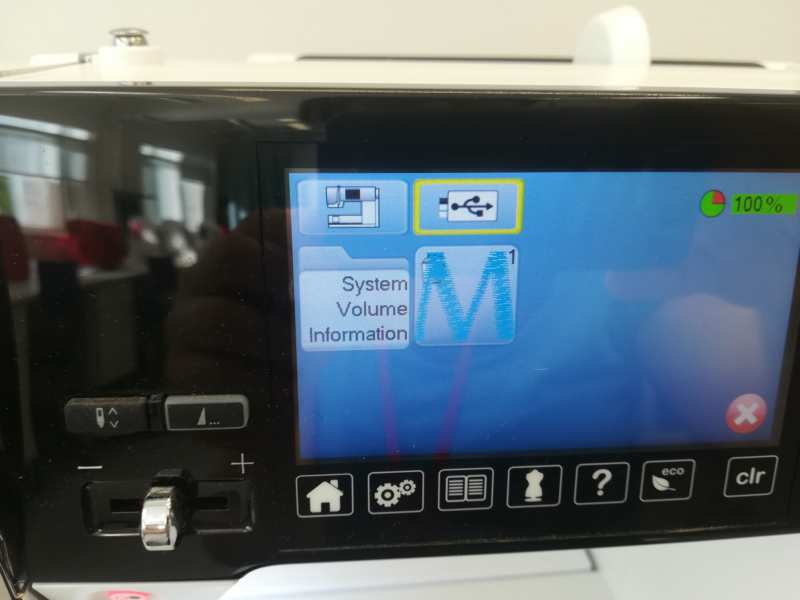
- It advices to put pen drive and then allows to choose between designs in machine or in pen drive
- Choose if your design is going to be loaded from machine or pen drive
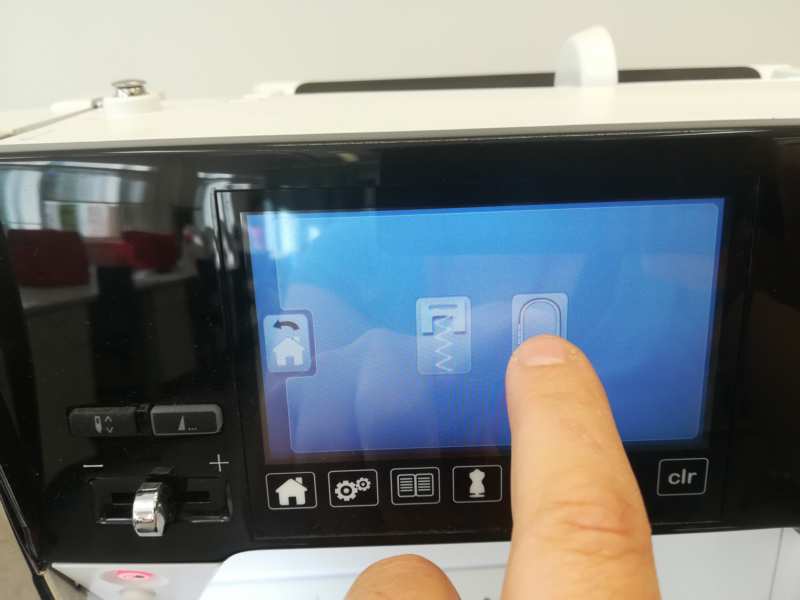
- In touching screen: Press
home > embroidery(image with the hoop) - Choose the design
- Choose the correct hoop (Oval is the one available in the workshop)
- Main screen
 Menu on the right hand
Folder: choose designPencil: Edit design like change position, scale, mirror...Thread: Information about the threadNeedle(Shown at Picture on the left): Change sewing options as thread tension (In the picture, Square showing 2.0), press foot (in the picture, square with the image of a press foot), if cutting thread after finishing (Square with the A to B path and scissors)... Information about time
Needle, it reminds you:- to attach the hoop (and checks its position)
- if feed dog not prepared, it informs to do so
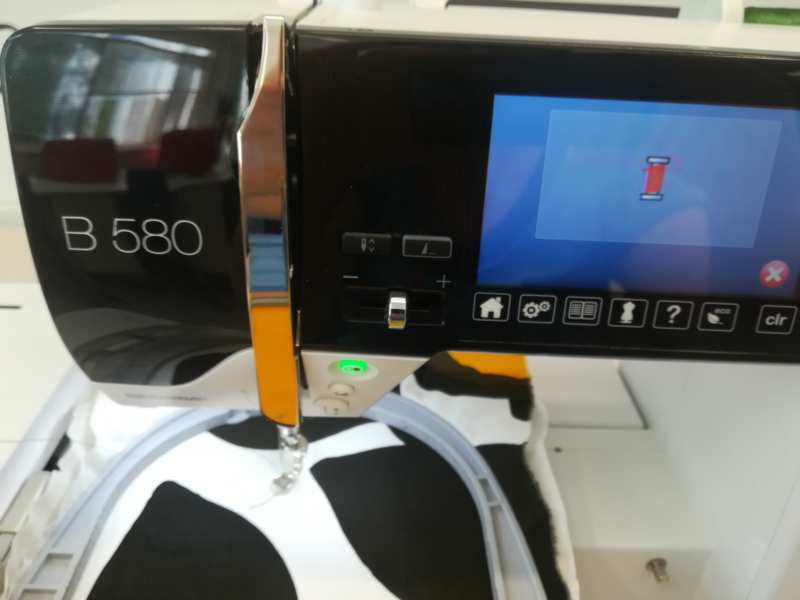
- Confirm when everything is ready: hoop goes to starting point
- Lower the press fit, the button is green: press it
- design with inkscape
- and then try some software for transforming to digital embroidery
- Open file. There are some options you can do: change colors, merge colors, mirror objects, resize...
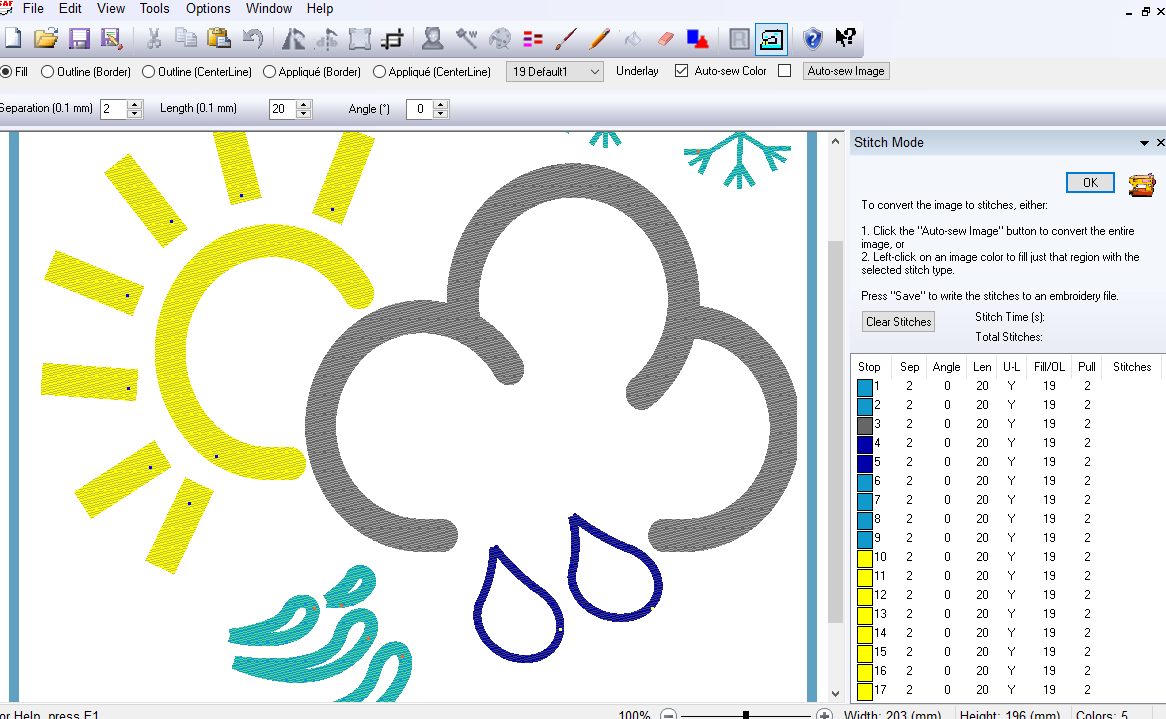
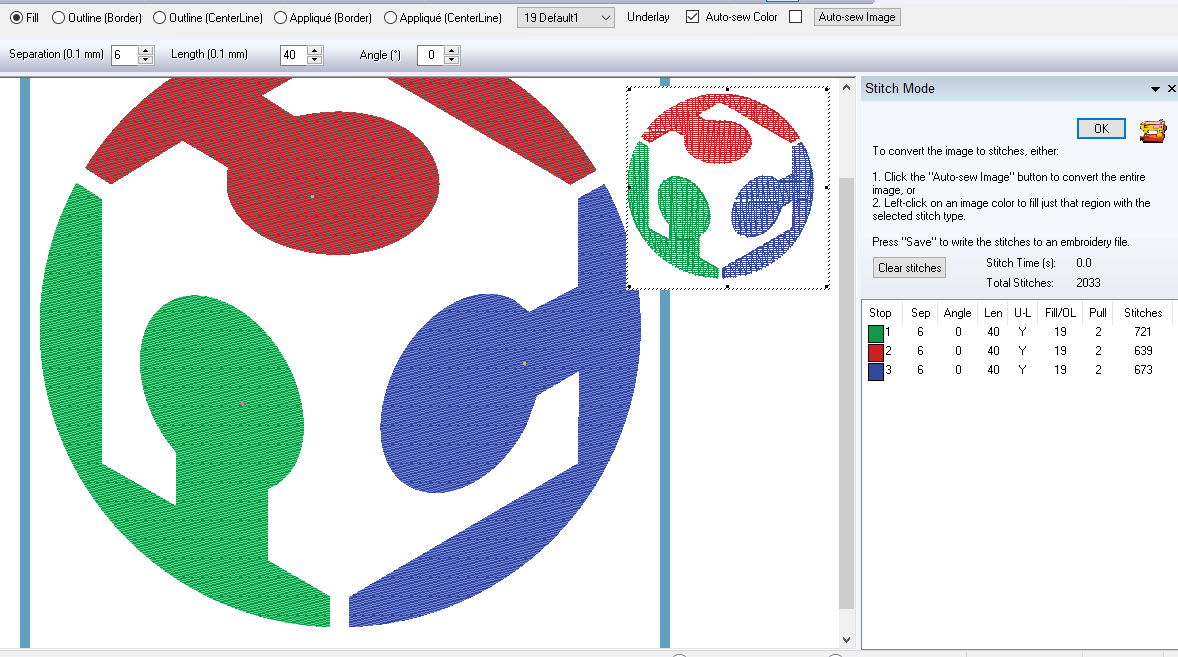
Tools > Convert to stitches- Fill
- Separation of rows of 0.2mm
- Length between stitch and stitch of 2mm
- save for bernina
-
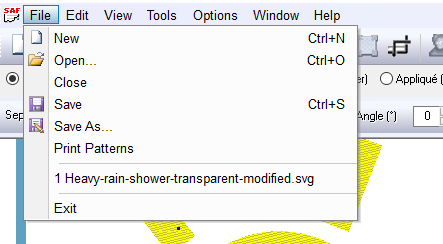
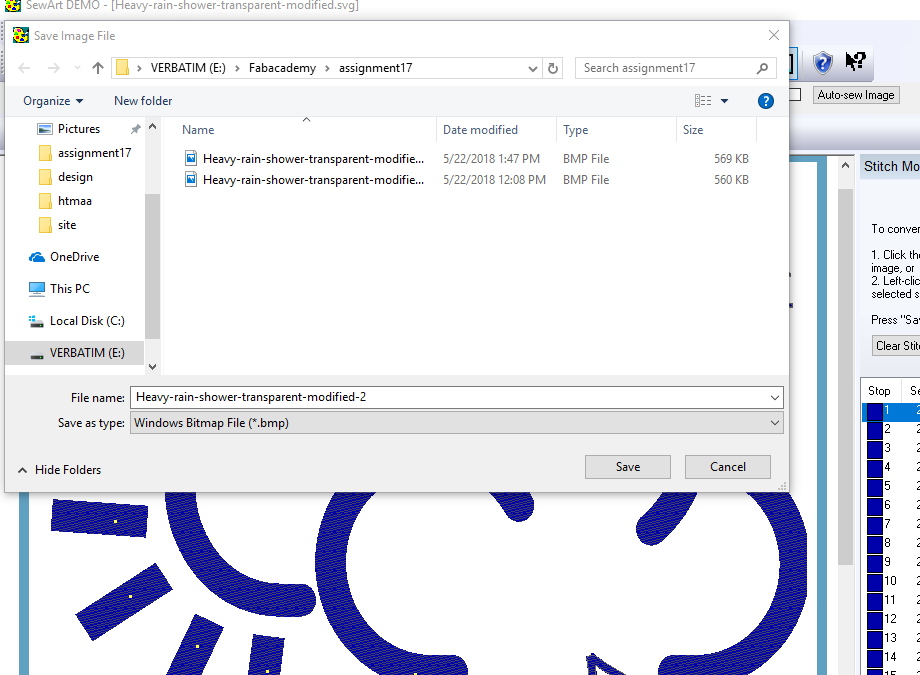
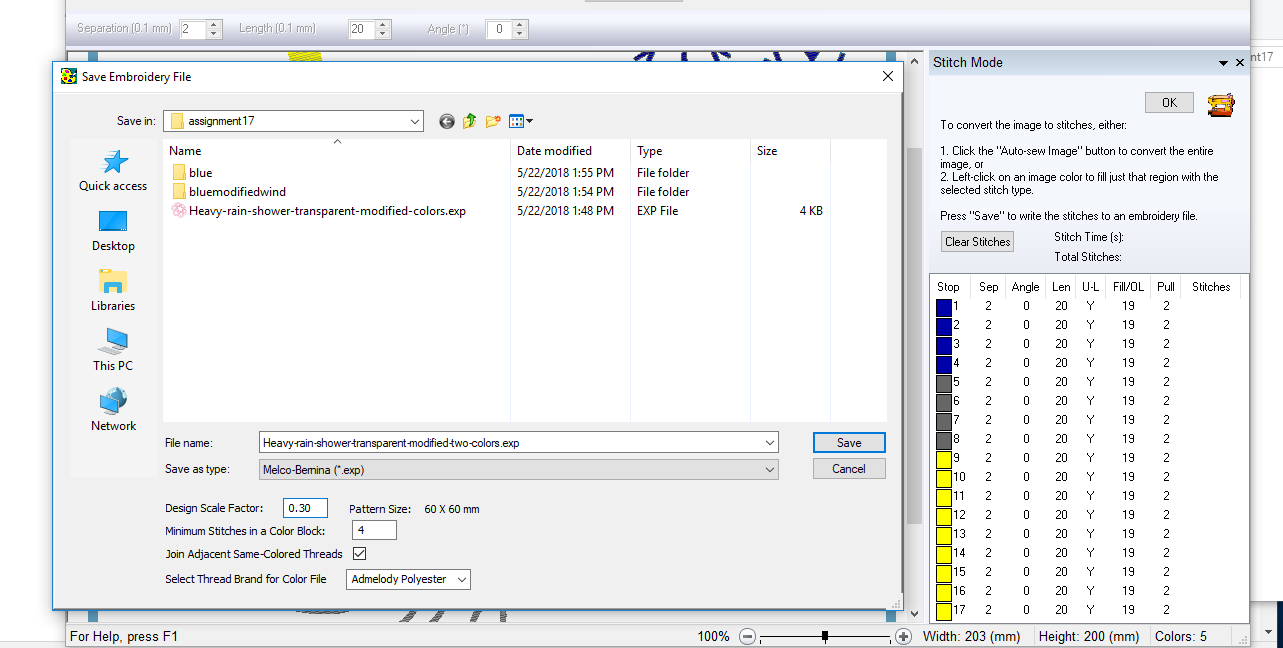
File > Save As Save image File: Generally optional, but Bernina needs .bmp fileSave embroidery FilewithSave as typeMelco-Bernina. This saves also a txt file saf file with the information of the stitches for the SewArt program
-
- After saving, the program visualizes the result
- plug pen drive to machine and select file from pen drive
- Choose hoop Oval
- In the
Needle ScreenselectNeedle > tensionand put it to at least 4.0 - The design recognizes three colors: machine will stop to allow you change the thread color
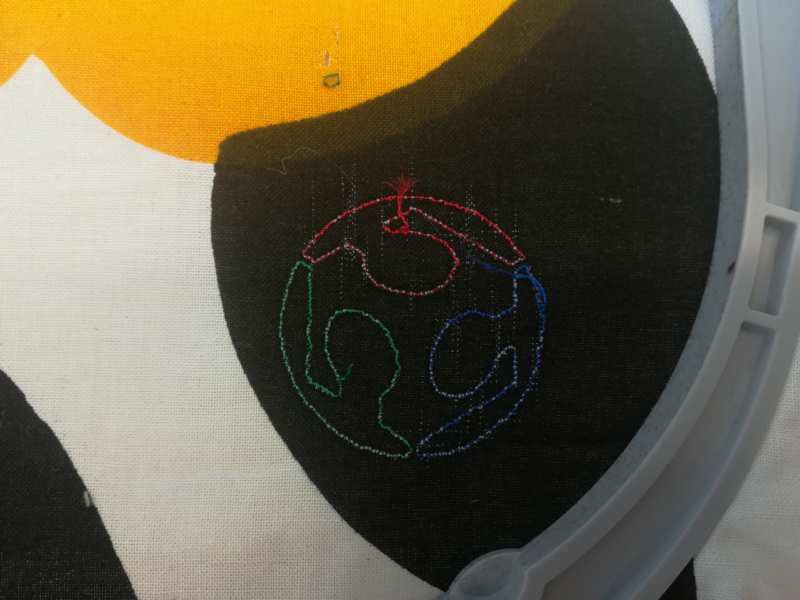
- Just outline
- Select
outline (border) - Select the objects to be embroider one by one
- Save as explained before
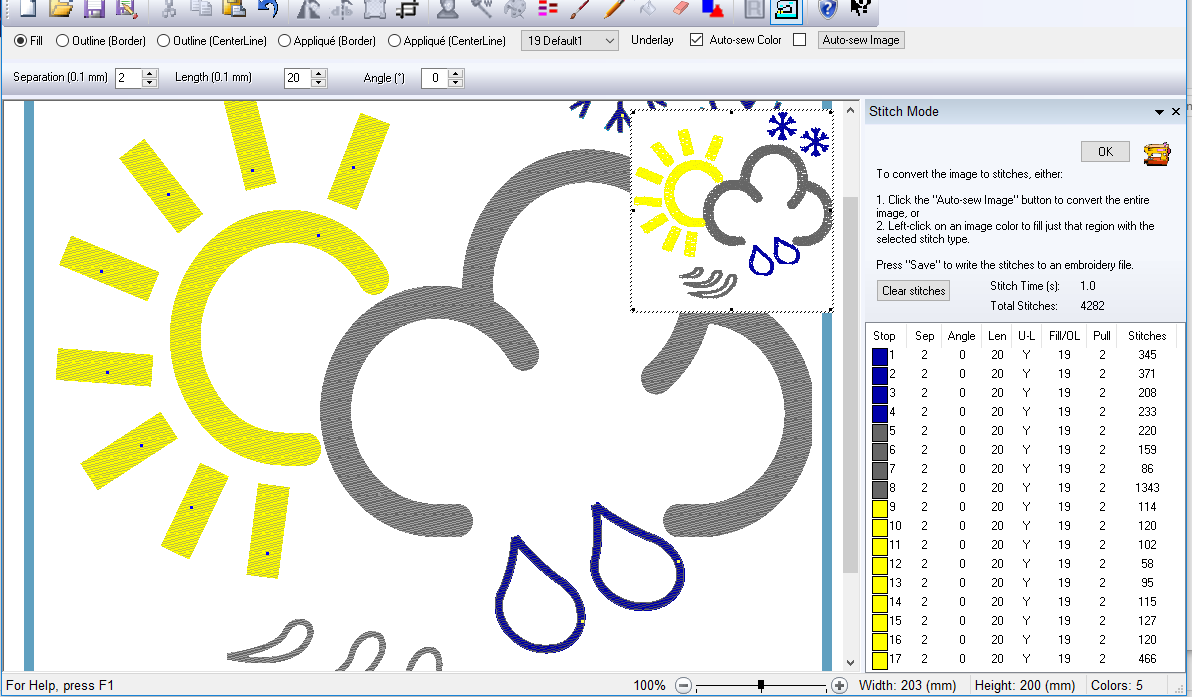
- Varying distance between stitches
- Select
fill - Make bigger
Separation(from 2 to 6) - Make bigger
Length(from 20 to 40) - Select the objects to be embroider one by one
- Save as explained before: in the schema, it is already visible the variation in the parameters
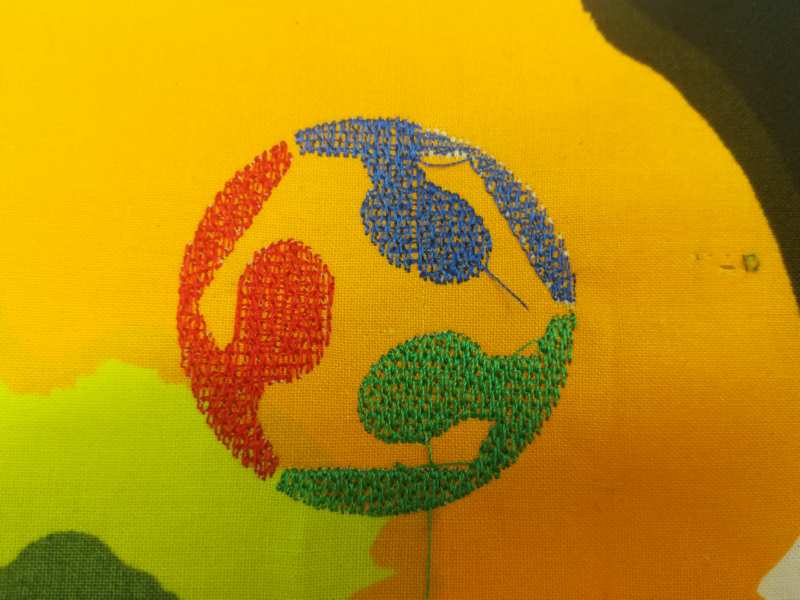
- Thread in the lower bobbin
- Embroider an outline as center line
- Embroider as fill
- Thread in the upper bobbin
- Create an outline (Centerline) embroidery with the conductive thread in the area needed (I decided the sun and the cloud, as two different pieces)
- Create a fill embroidery with normal thread that goes through all the design
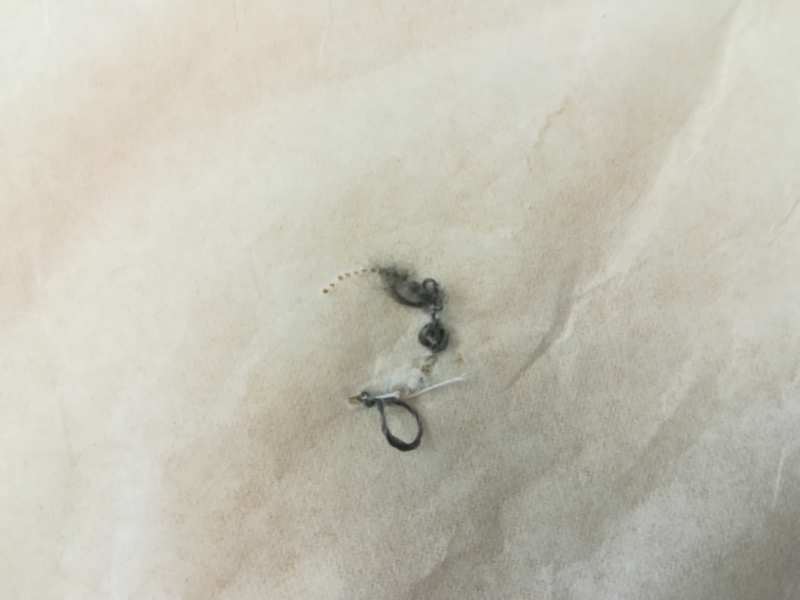
- The conductive thread is thick
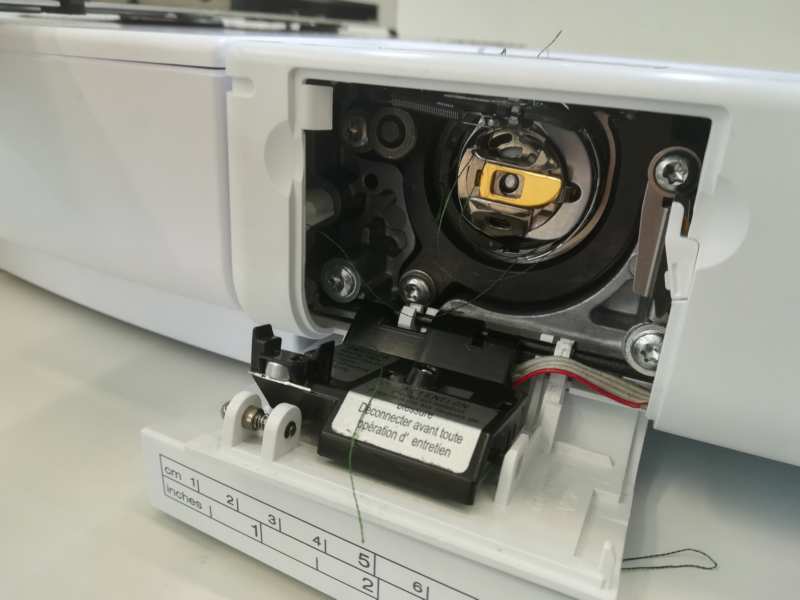
- The conductive thread slides in the bobbin, but gets stuck in the machine
- Normal thread stays tight in the bobbin, whereas conductive thread is loose
- Put the conductive thread bobbin and sew the first part (outline center)
- Remove the conductive thread and place normal thread bobbin and sew the rest
- inkscape
- SewArt Embroidery Digitizer
- Bernina b 580 Embroidery machine
- Bernina 580 User Manual
- Stainless Medium Conductive Thread - 3 ply
- Image from weather
- I have learnt to use the embroidery machine
- I have managed to do my own design in inkscape and embroider it without using bernina's proprietary software
- I have started to use sew art software to digitize embroidery designs
- I have done some tests with conductive thread
- Main difficulty has been to solve the difficulties without any help: Change the upper thread tension
- Sometimes you just need to dare to try, just be careful
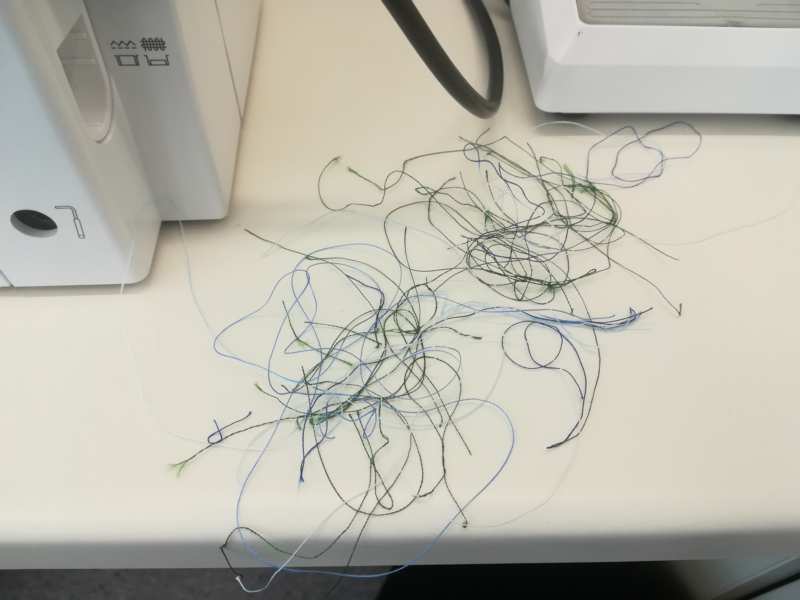
- When there is a mess beneath the fabric, that stops the machine and even cuts the upper thread, increase the upper thread tension!!

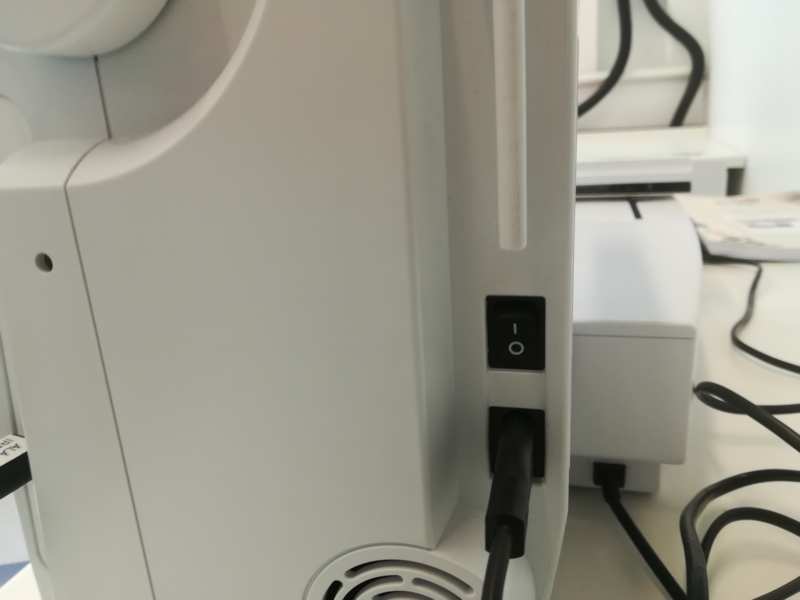
Starting the machine


The design and the sewing
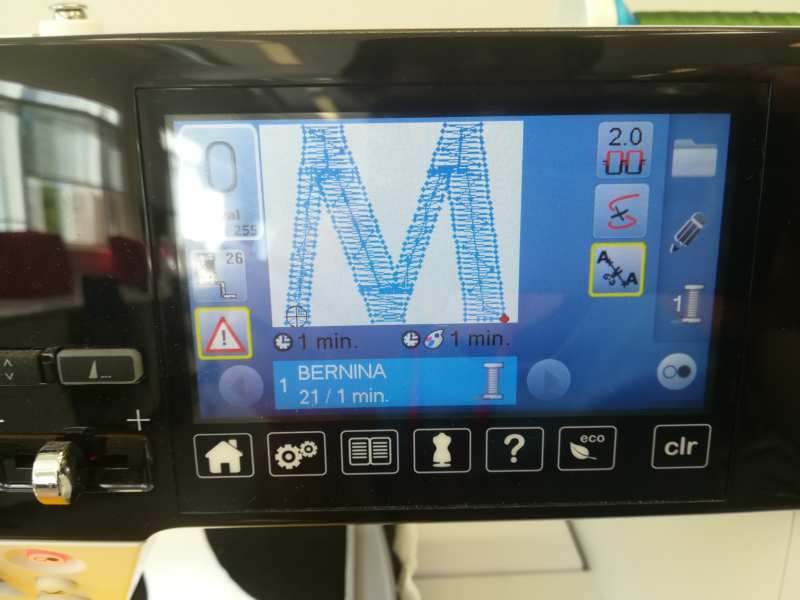
But first, I plan to test with a design stored in the machine, to learn how to do it.
Design from machine
I was first going to embroider an M as shown in the images above. But I spent a lot of time trying to make it work. The thread keep cutting, and getting stuck in the lower bobbin.
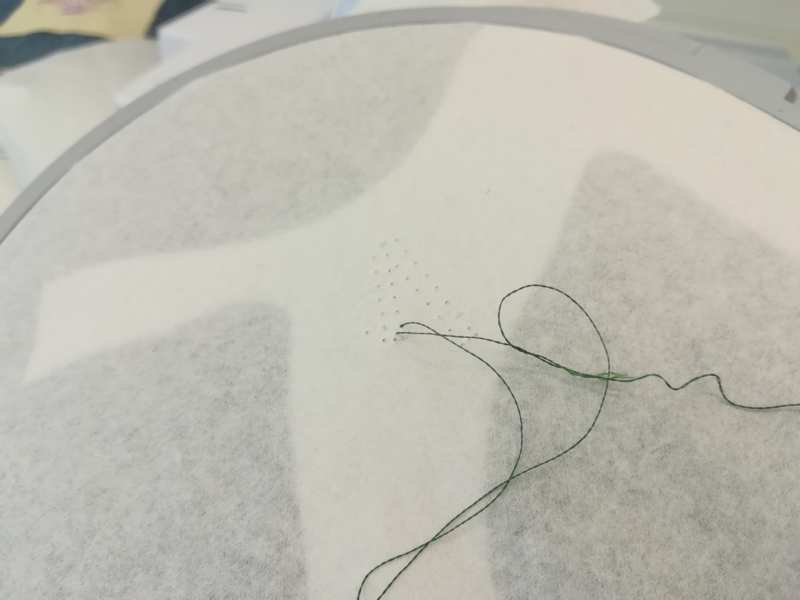
After visiting with Peetu the local supplier, we learnt how to change the tension: It is an option in the touchable
Needle screen as described above.
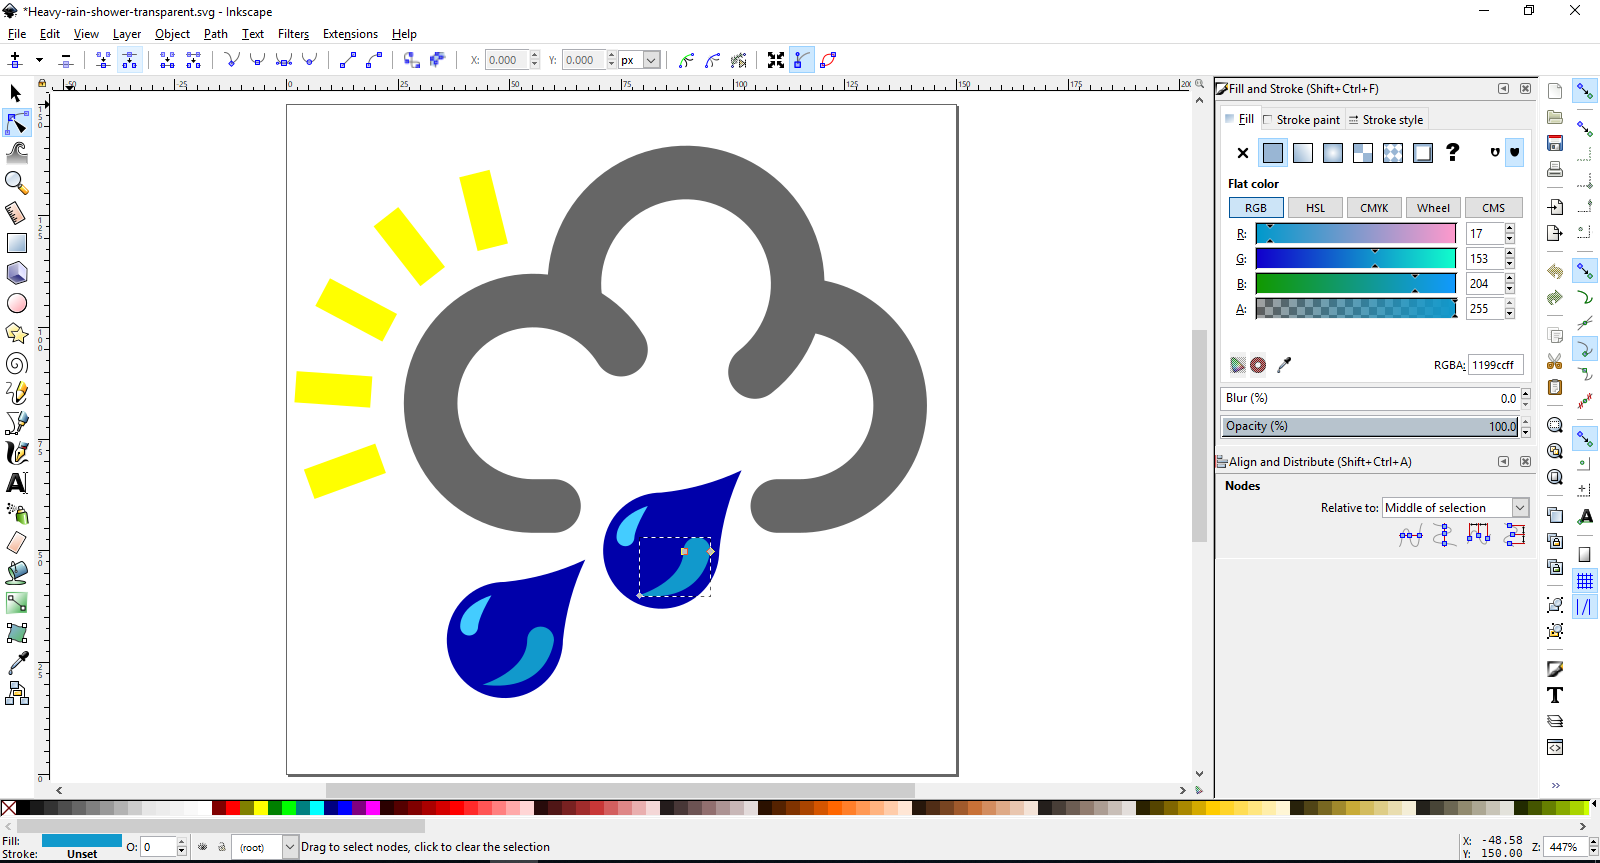
Design in inkscape:
I started looking from svg images about weather (topic of my final). I found one at wikipedia I could work with inkscape (below left). I simplified it even more and added some more objects (below right)

Use Sew Art
SewArt Embroidery Digitizer is "an embroidery digitizer for converting raster image files (*.jpg/*.png, etc), vector images (*.svg, *.emf), and clipart into embroidery file formats."
SewArt is not very expensive (75$ at the time of writing this). Although I still need to explore it more, I found it quite easy to use and definitely does the work.
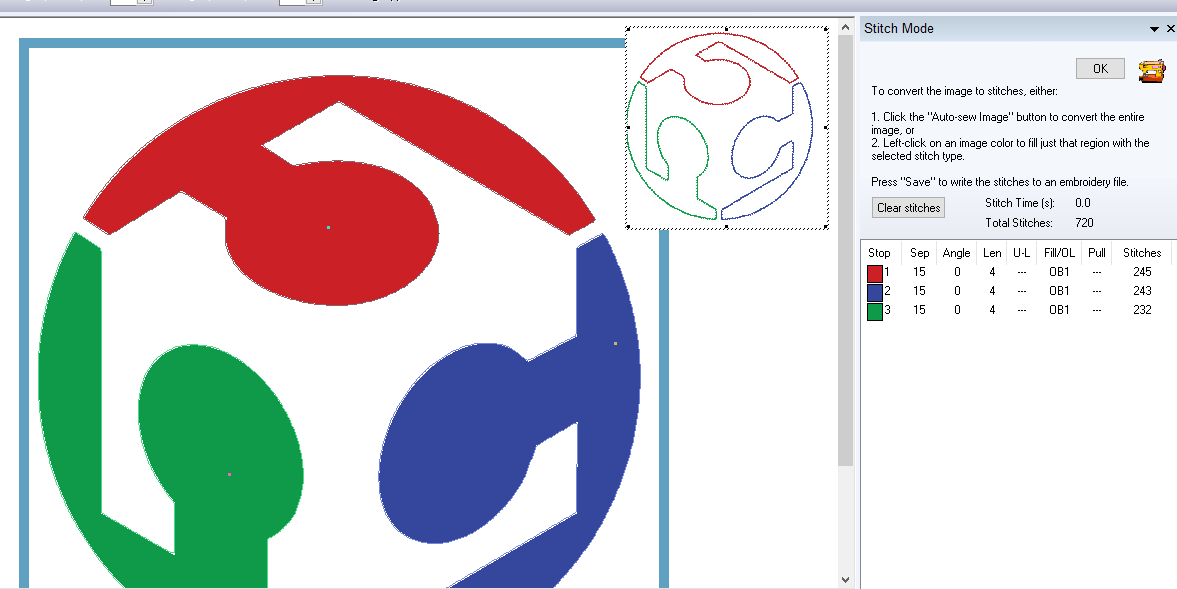
First design
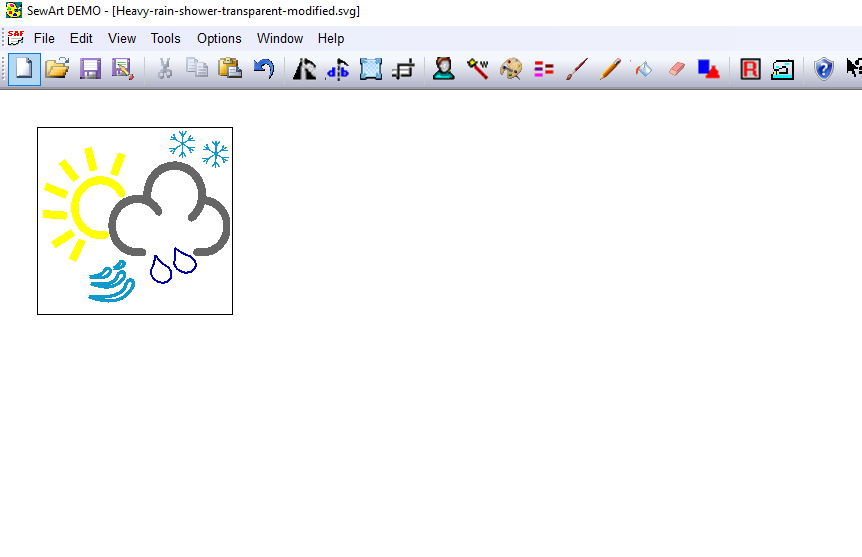

Note: One drawback of using a the trial version is that you cannot do more than 3 stops. So I went back to the design and reduced the colors to three.

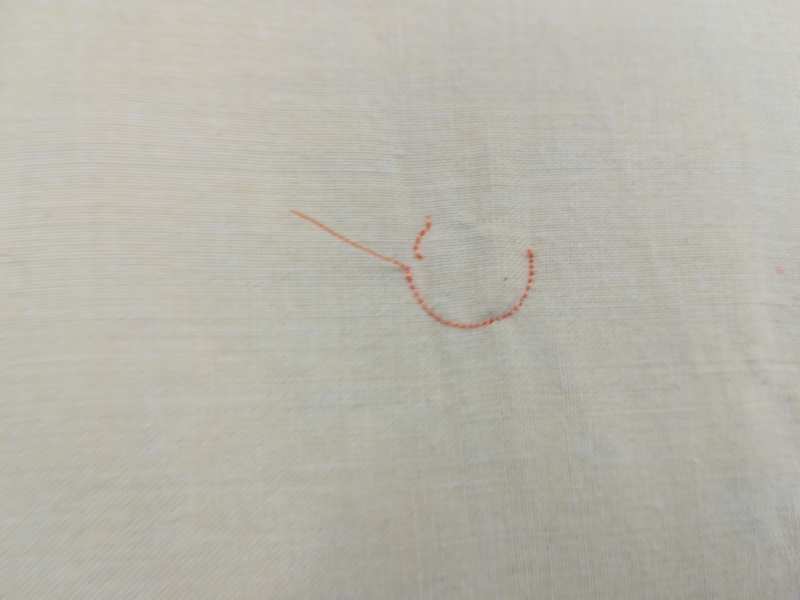
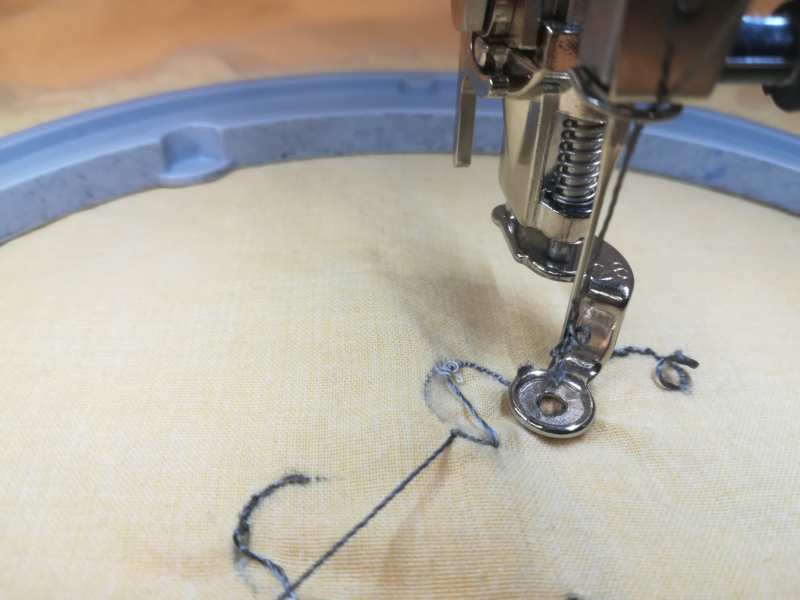
Testing with conductive thread
Thread in the lower bobbin
My plan:

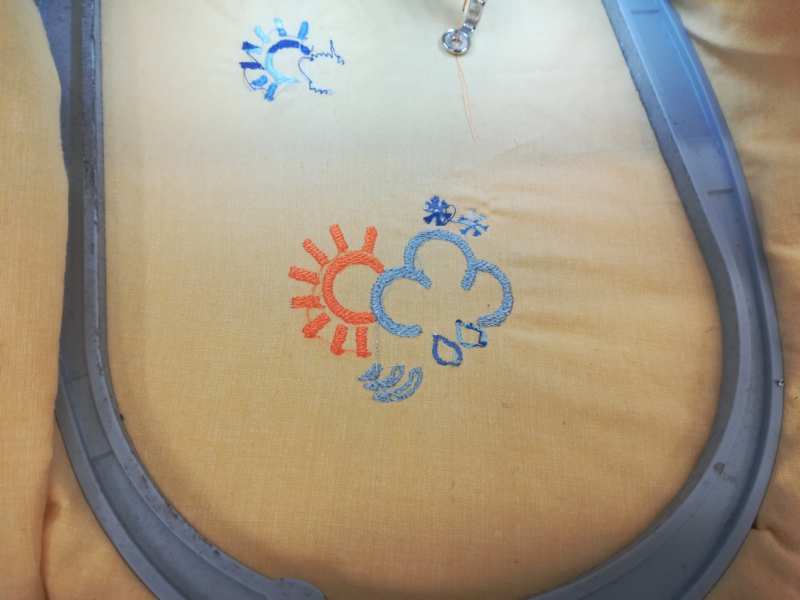
The result for the sun:
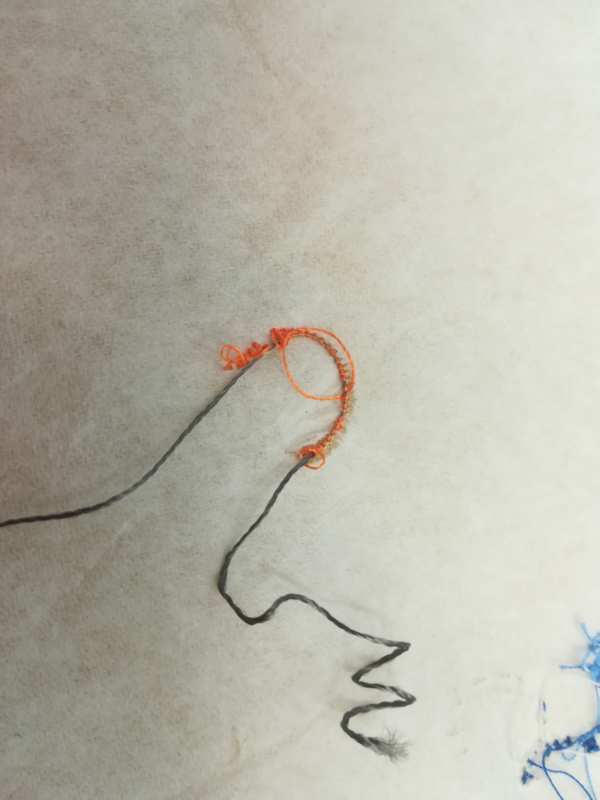
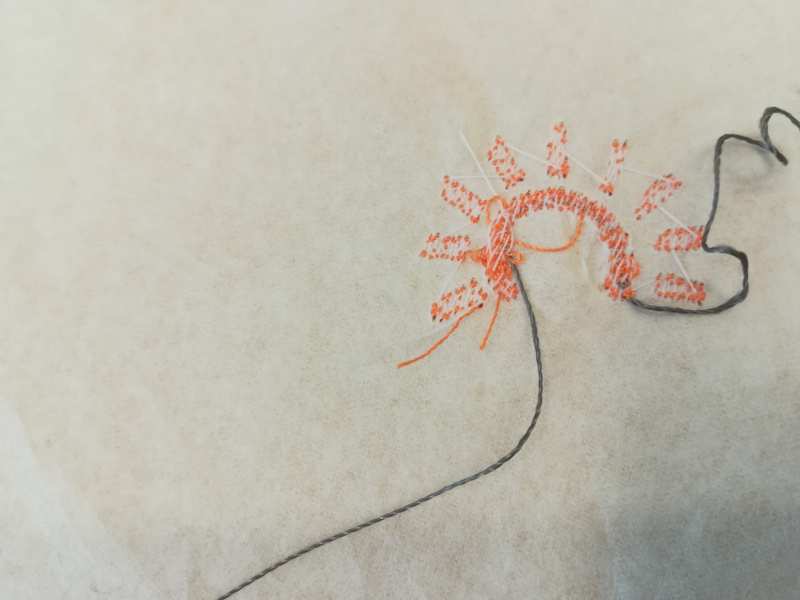


Thread in the upper bobbin
The idea is the same as before, but using the conductive thread in the upper bobbin, just for the outline (center line)
I was expecting this option to be more problematic, and it certainly was. With the time I had, I could not manage to sew the complete thing, but it was certainly improving, just by augmenting the upper thread tension