Computer Controlled Machining
Week 8
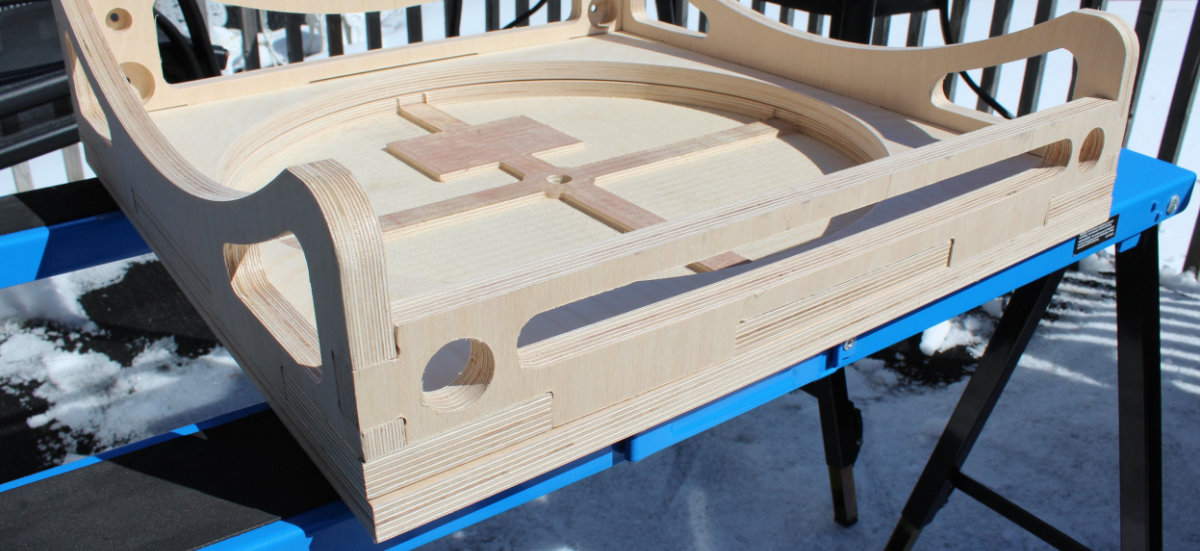
Make Something Big
It's been a few weeks now that I'm preparing for this moment. I manage to finnish my base in Fusion. If all go according to plan, I will have something nice that will be the end result of many hours of work.
Thst's the point: if all go according to plan. In this environment there so many issues that we don't understand, and so little time to apply appropriate measures, that I start to worry about respecting the timeline.
The Rocker Box
I started on this part almost from the beginning of this course. But it took me weeks to be at least comfortable with Fusion. Then I realized that I was hitting a wall with the original design. I was merely mimicking a design, not creating. It became evident to me that this first iteration of this box, which was redone at least three times, was completely wrong.
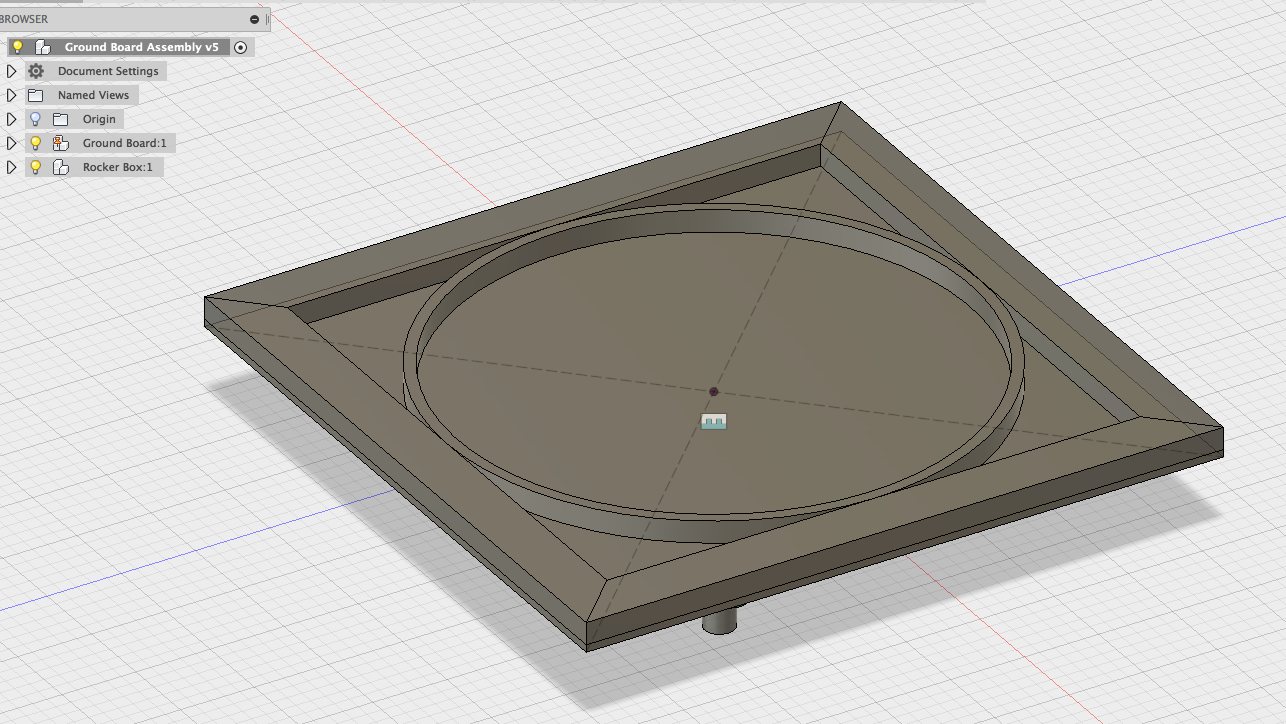
First design
I started out by following the plans provided by the book Engineering, Design and Construction of Portable Newtonian Telescopes. The author goes to great lenght helping the reader to make a telescope with traditionnal hand tools. But for me, in the context of a Fab Lab, with access to digital machines, I have can experiment with new techniques.
As suggested by the author, the base of the rocker box is a sandwich of two ¼" plywood with ¾" frame with a hoop in the middle. I think I can do better. I started again, this time from scratch. The rocker box was now built using two square of ¾" plywood milled out to keep as much strengh as possible while getting rid of dead weight. With this approach I was now using two parts instead of seven! I knew I founded my way. I also include in the design three reinforcing ribs and a base for the azimut motor.
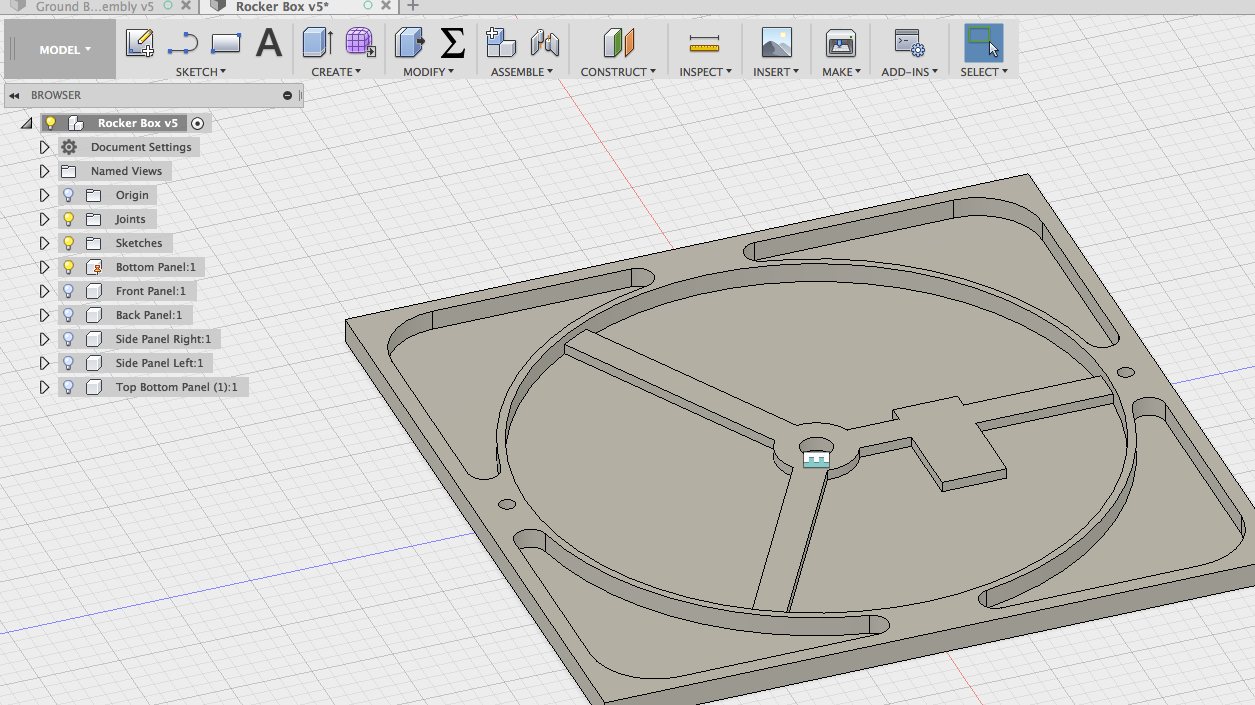
I made two mistakes: the exterior walls were too thin, putting the side panels of the top panel overlapping the empty pockets. I don't want this: I want solid surfaces to maximize the contact areas for the panels. Also, of the three reinforcing ribs, only one was in contact with the middle section, which is strongest. I and made the necessary modifications and was satisfied with this design that is a combination of strengh and lightness.
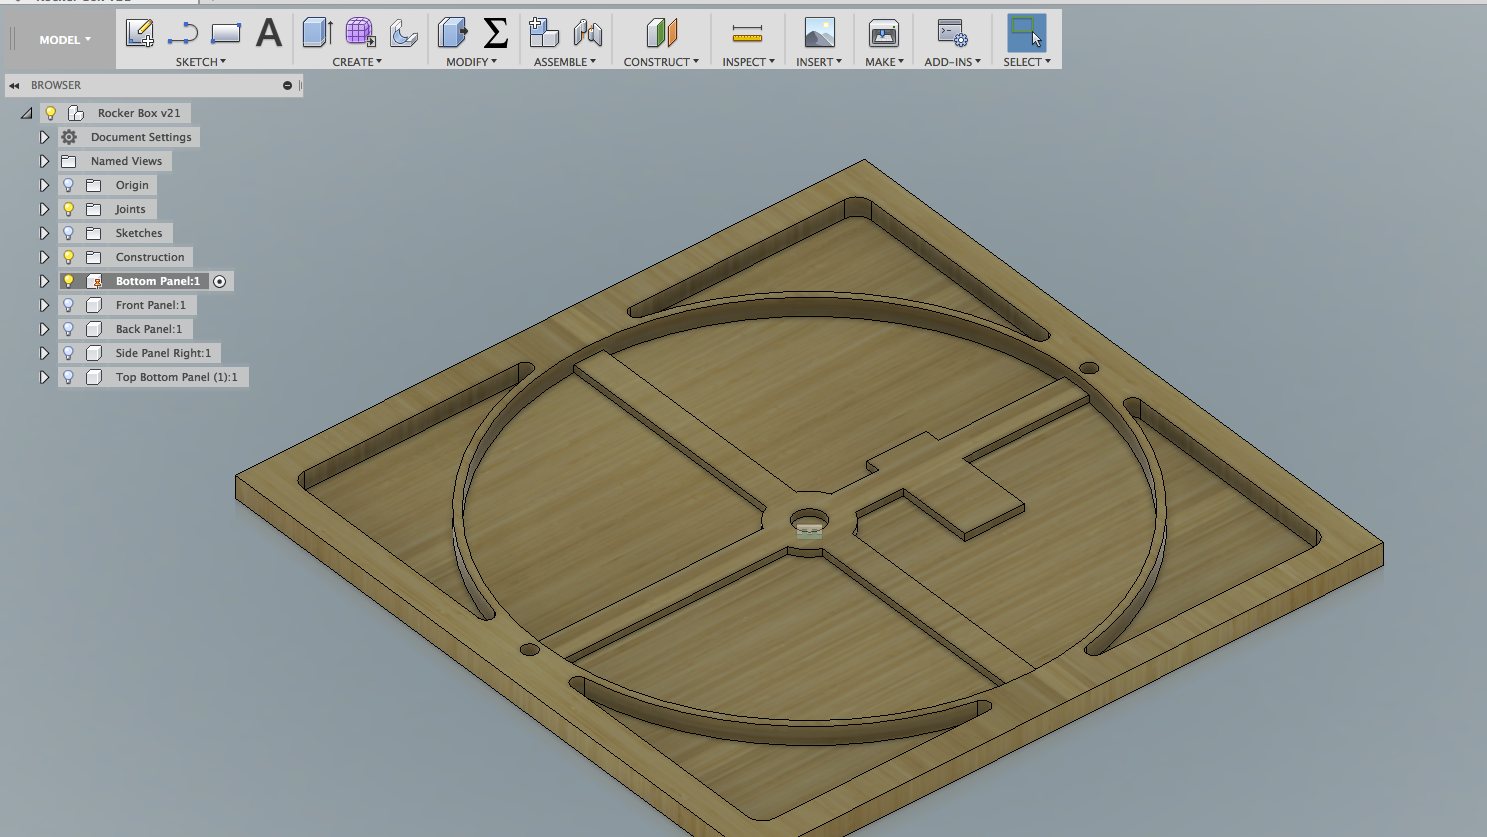
Where the ghost of the Mars Climate Orbiter mission came to haunt me.
Friday morning I was at the place where the big mill is located. Sunshine, trees and a taste of the coming Spring was in the air. Being prepared for the big event, I estimated that I would be out, at most, by late afternoon if I must apply some corrections to my plans.
Boy, was I so wrong!
Before going to the shop, I had to finish configuring the dogbones for my base. During this time, George went with François Auclair, our instructor for the day. He came back with the news that our nice russian plywood that we are using has not, contrary to what we were led to believe, a depth of ¾" but has in fact a depth of 18mm.
So our plywood is metric.And my design uses imperial units.
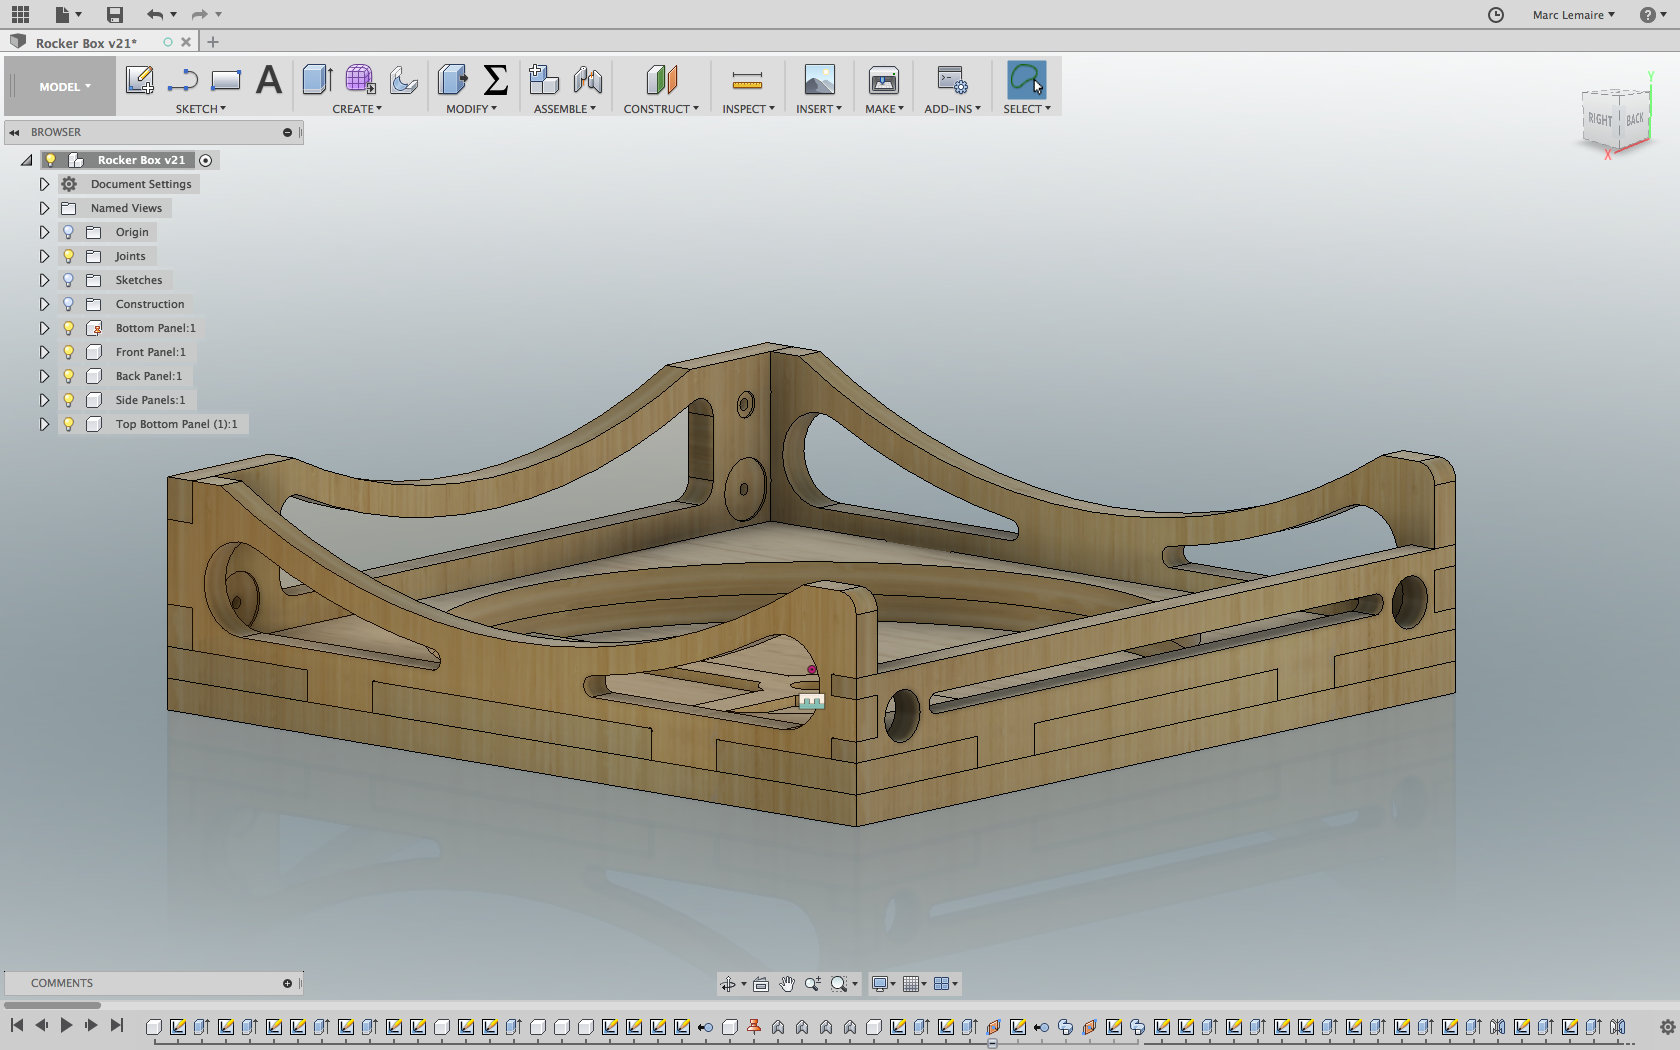
Technically, this is not a problem with parametric desing, if it's done correctly. But I knew that my file, even though it looked nice and perfect, had a history problem. For this first project, made mistakes and went back correcting them once I mastered a new concept. Also, back at school, I learn to make my drawing very clean, erasing my construction lines and all. Also, the old CAD systems that I worked on reproduced this paradigm and continued to do so under Fusion, erasing the construction lines and keeping a clean design. I got into trouble and force my way to get things done. And I forced my way too many times on this one. On the other hand, because of these mistakes, I started to grasp the concepts of designing with sketches under Fusion.
So my project is a nightmare of sketches and deleted lines (see the history line in Figure 4). And the metric plywood, like the Mars Climate Orbiter mission that was lost because of a metric/imperial system incompatibility, made a bad situation become even worse. I tried to correct some dimensions but fixing a problem on a part created other problems elsewhere. After talking with François, who was the first to notice the history, it was obvious to me that I must apply a radical solution: redo everything. The original file could best be described as a learning experience with Fusion. Redoing always seems extreme and we tend to not think about it, sometimes with good reasons. But by starting with a clean slate early in this project you get some advantages: a clean design with optimal parameters and no mistakes and a clean history. A big plus that you redo your steps more rapidly than the first time. You are much more efficient because you climbed some steps in the learning curve.
It was then that I started working at a feverish pace to redo everything. Once completed, I show my new file to François who approved them enthusiastically.
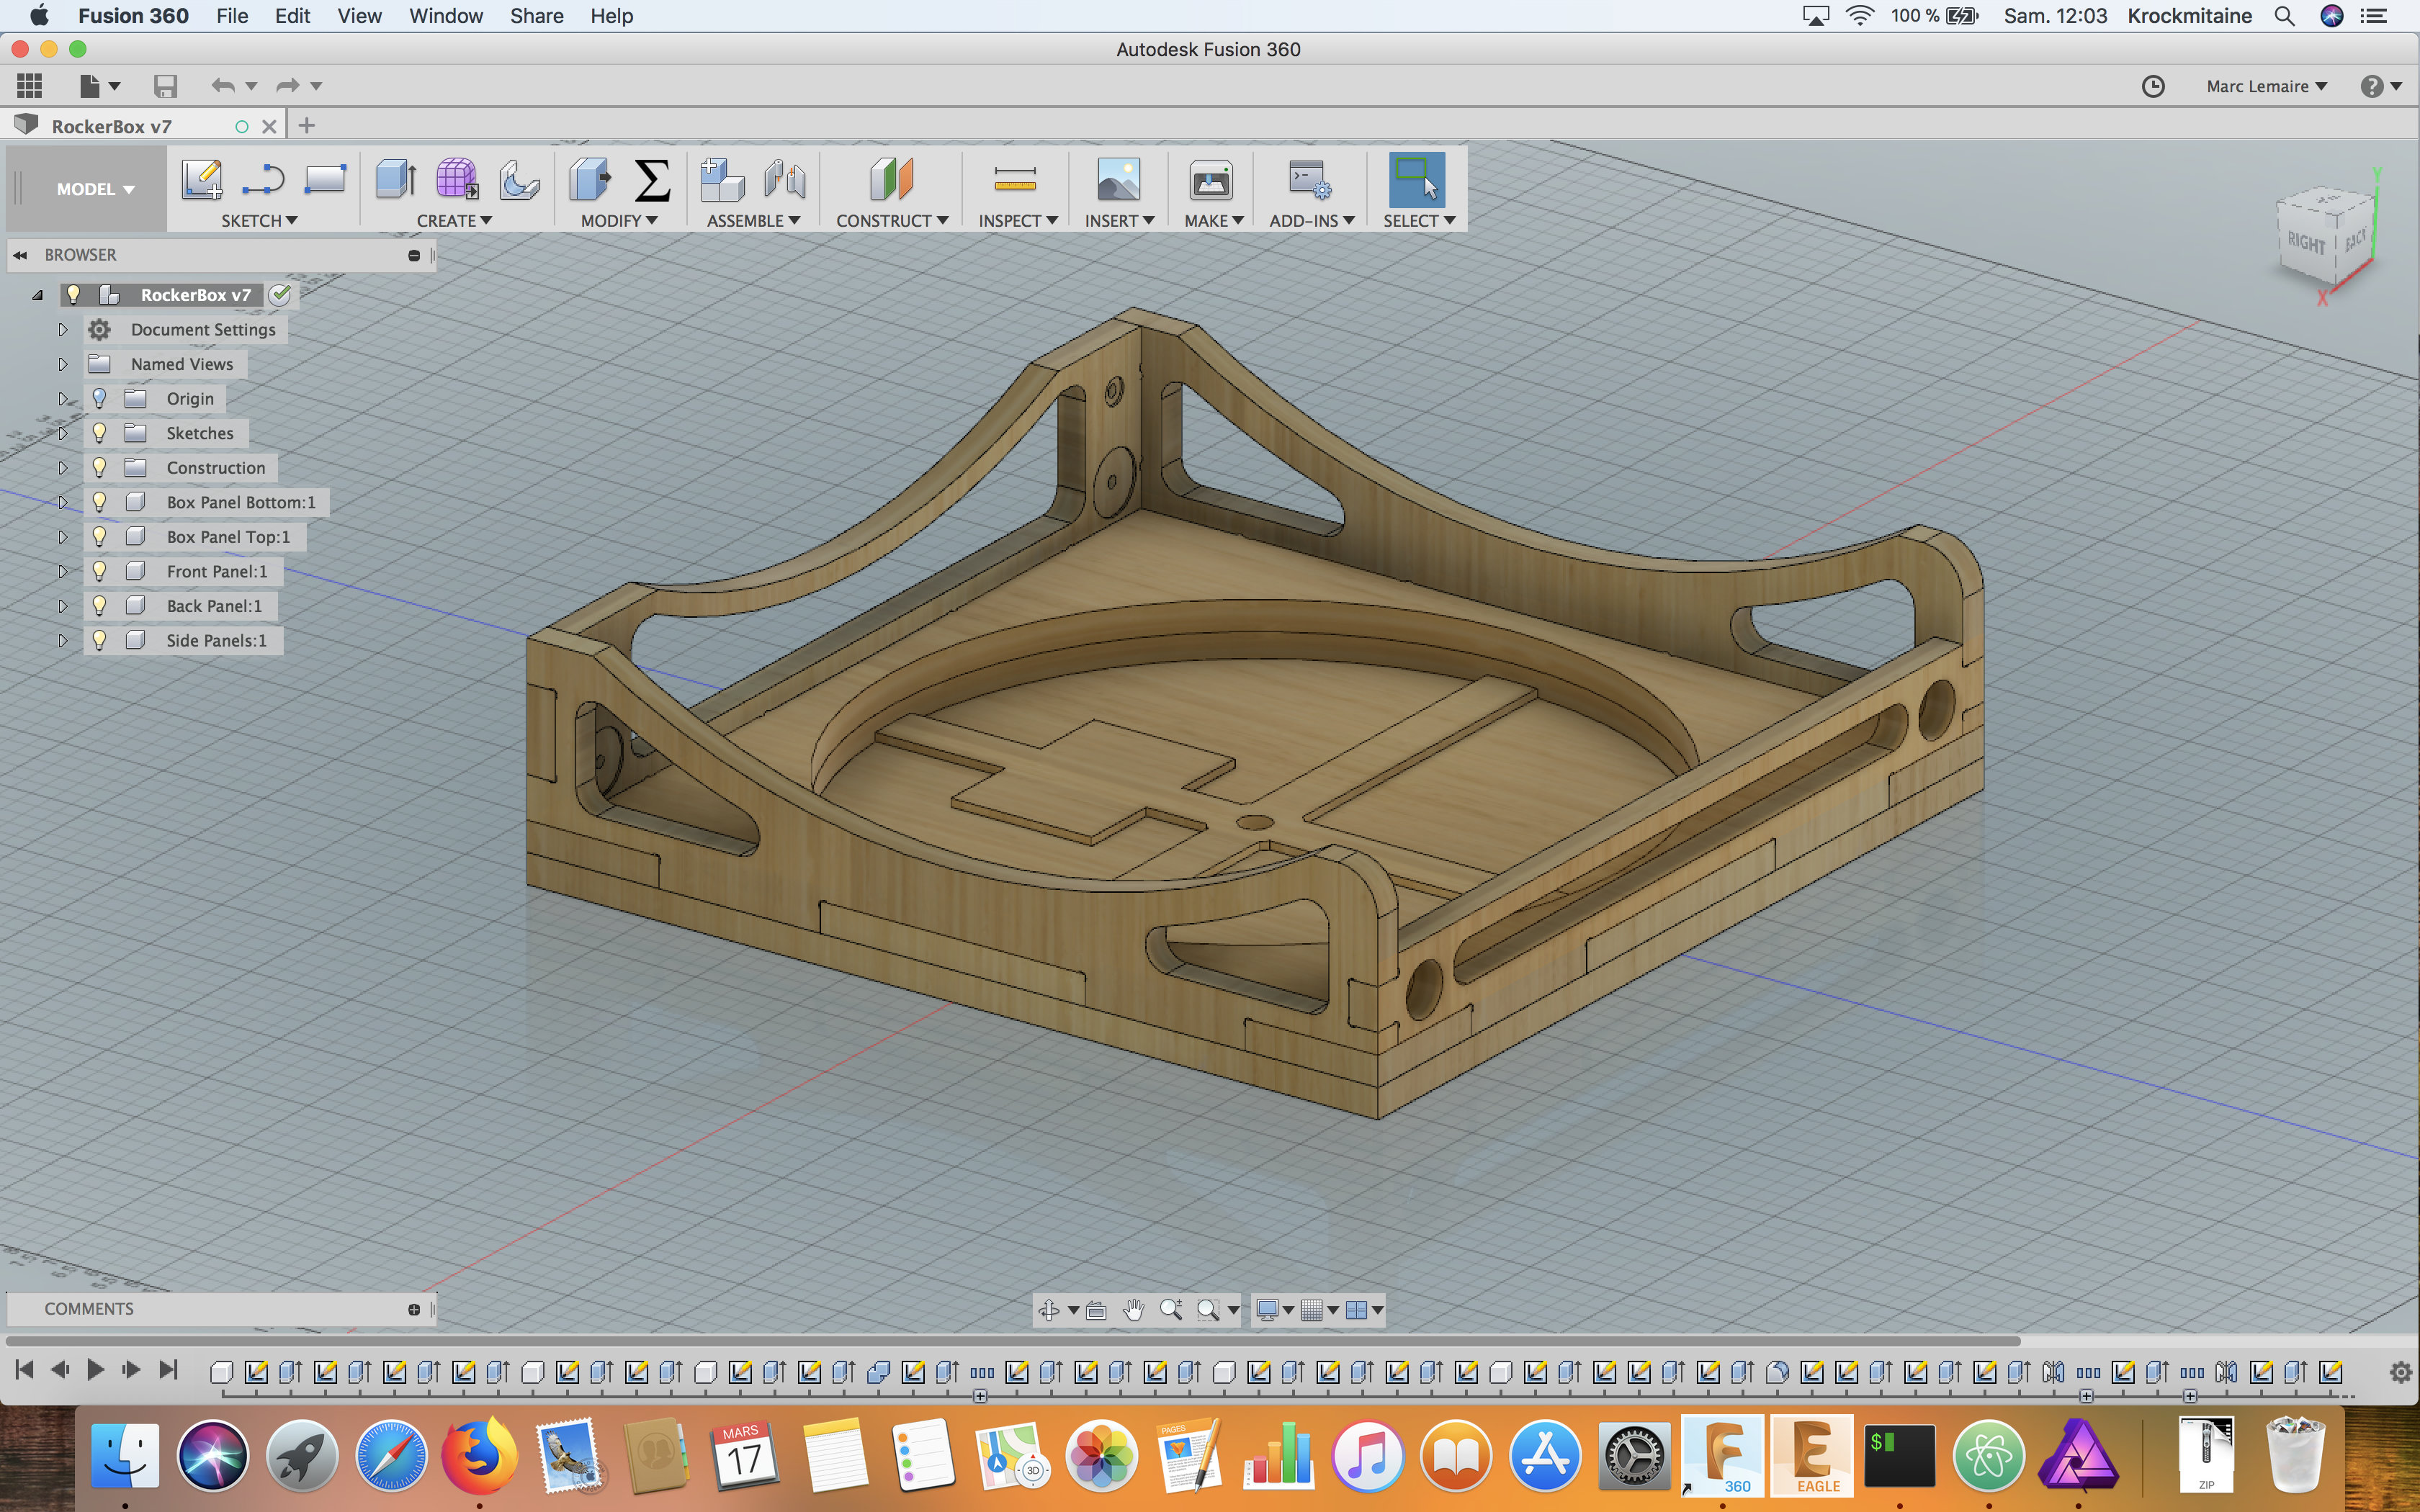
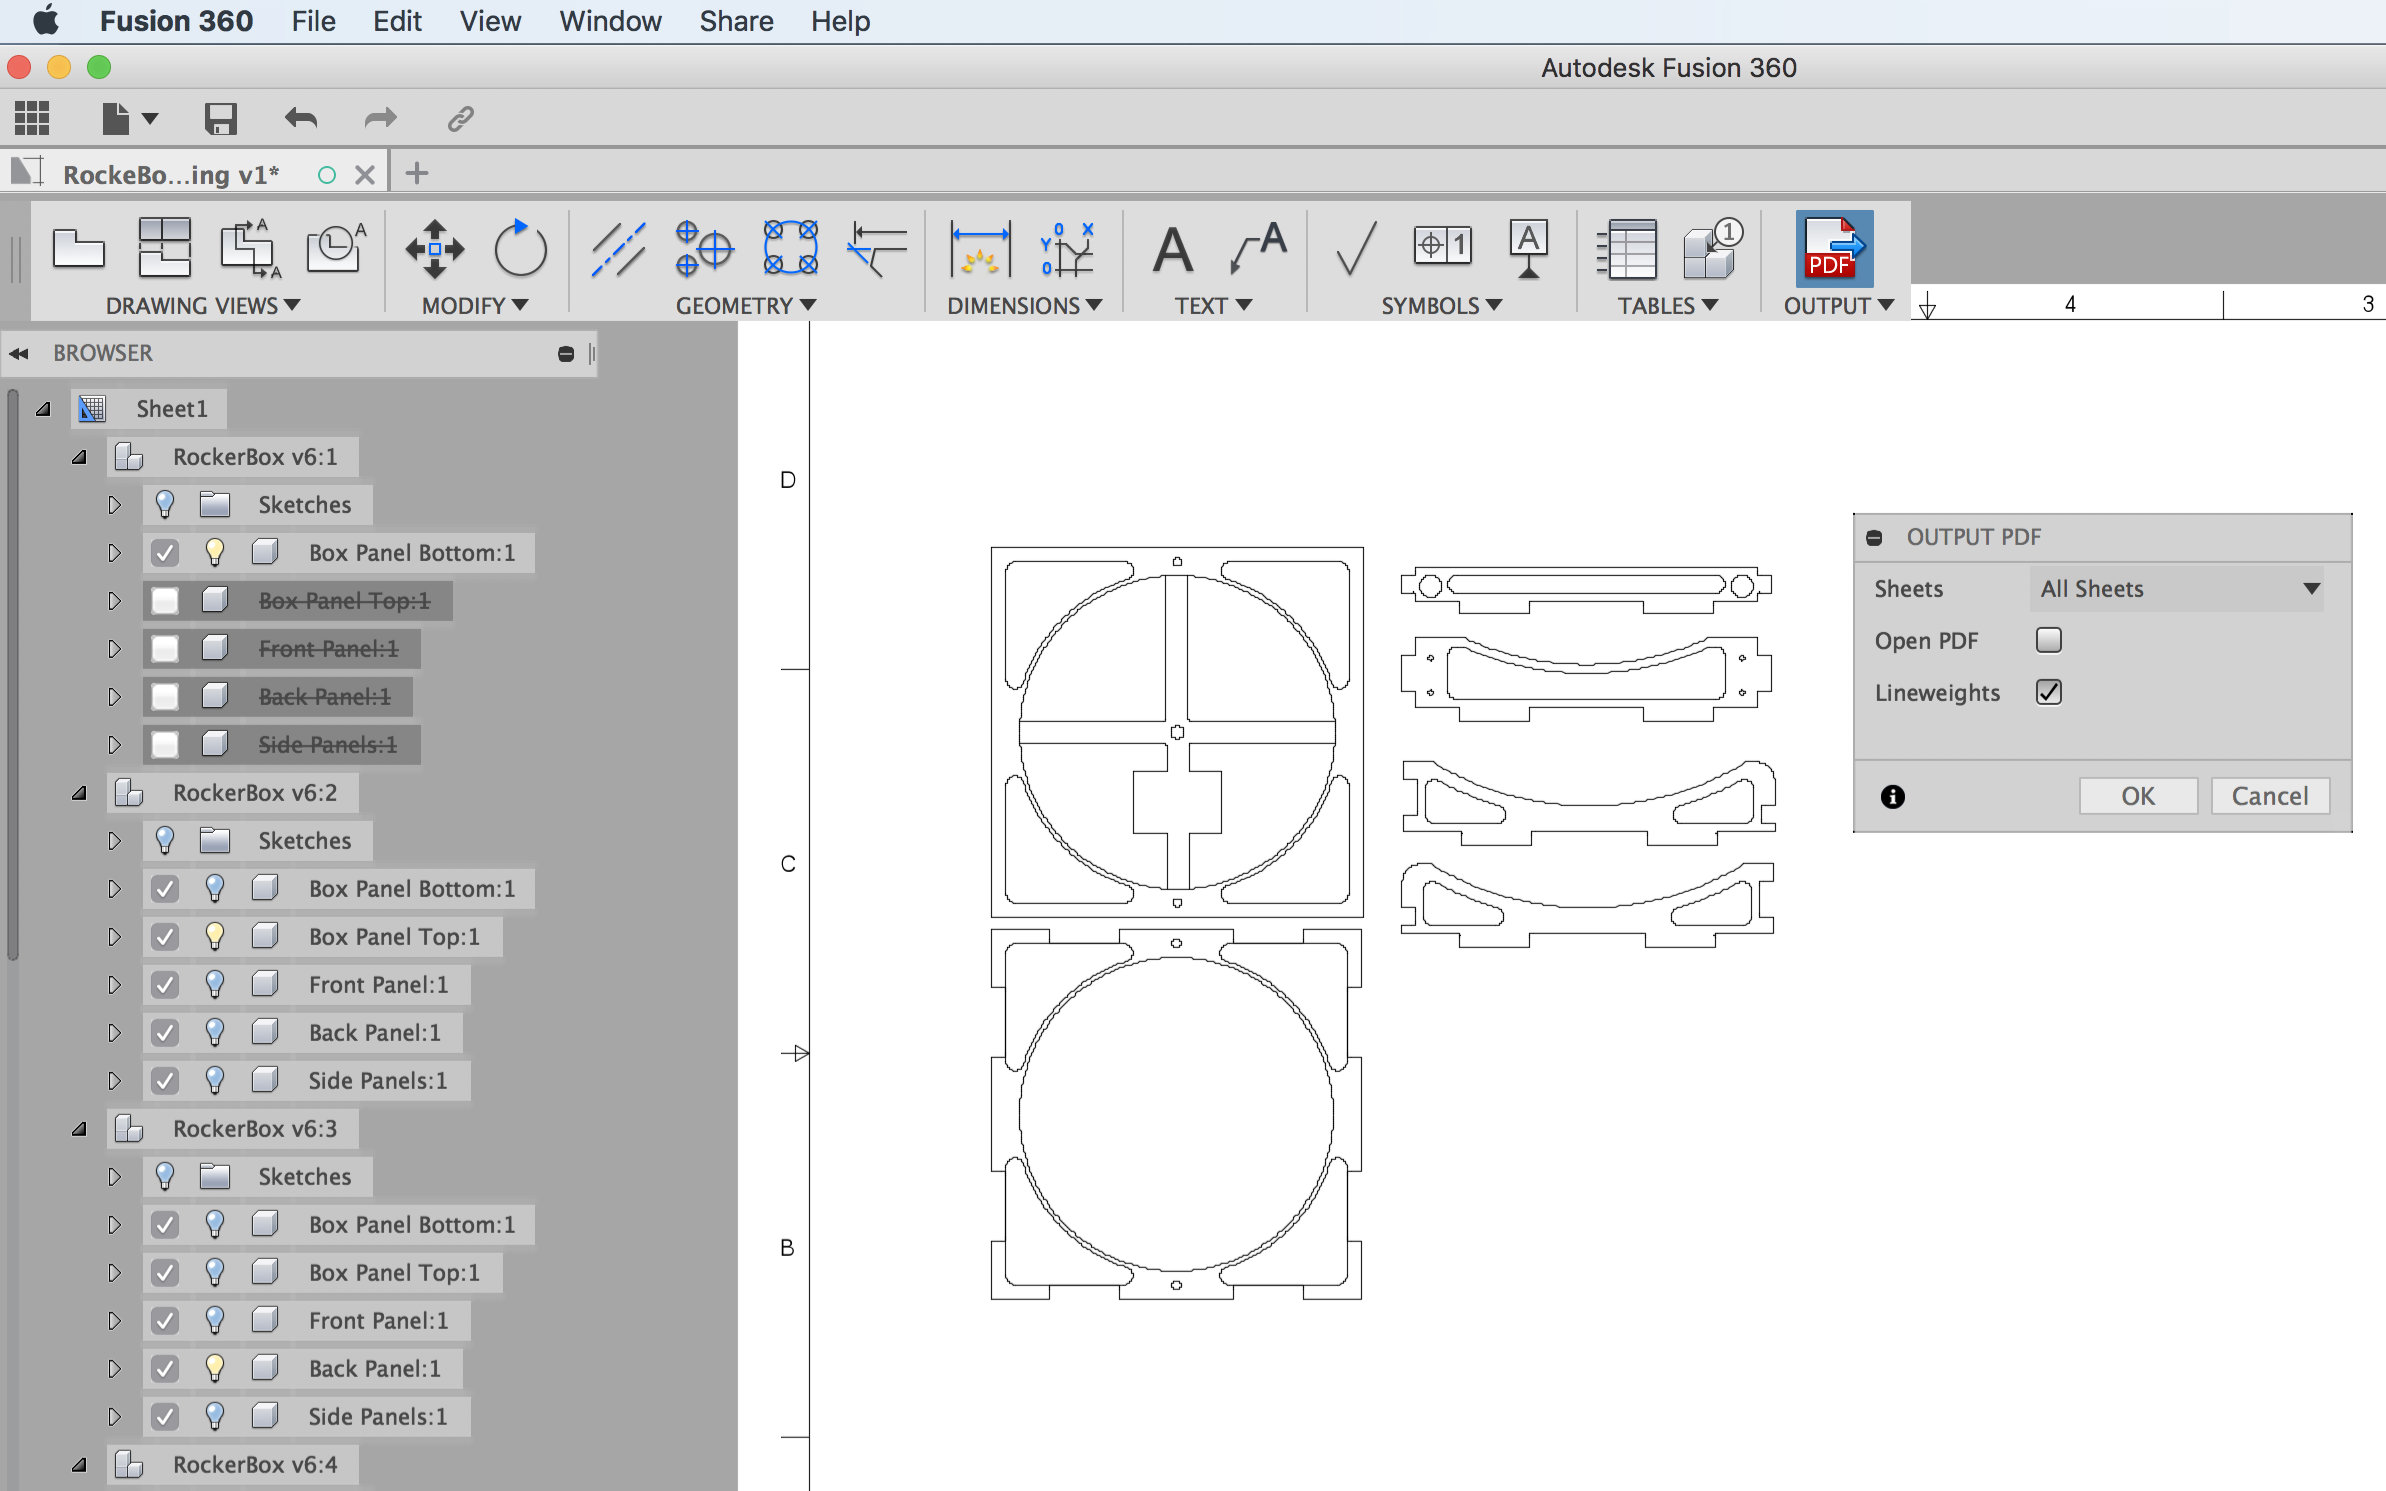
My new design was completely redone around 17h00. It was time to prepare the file for machining. I made a plan containing all front views of my parts to a scale of ¾ then export it as pdf.
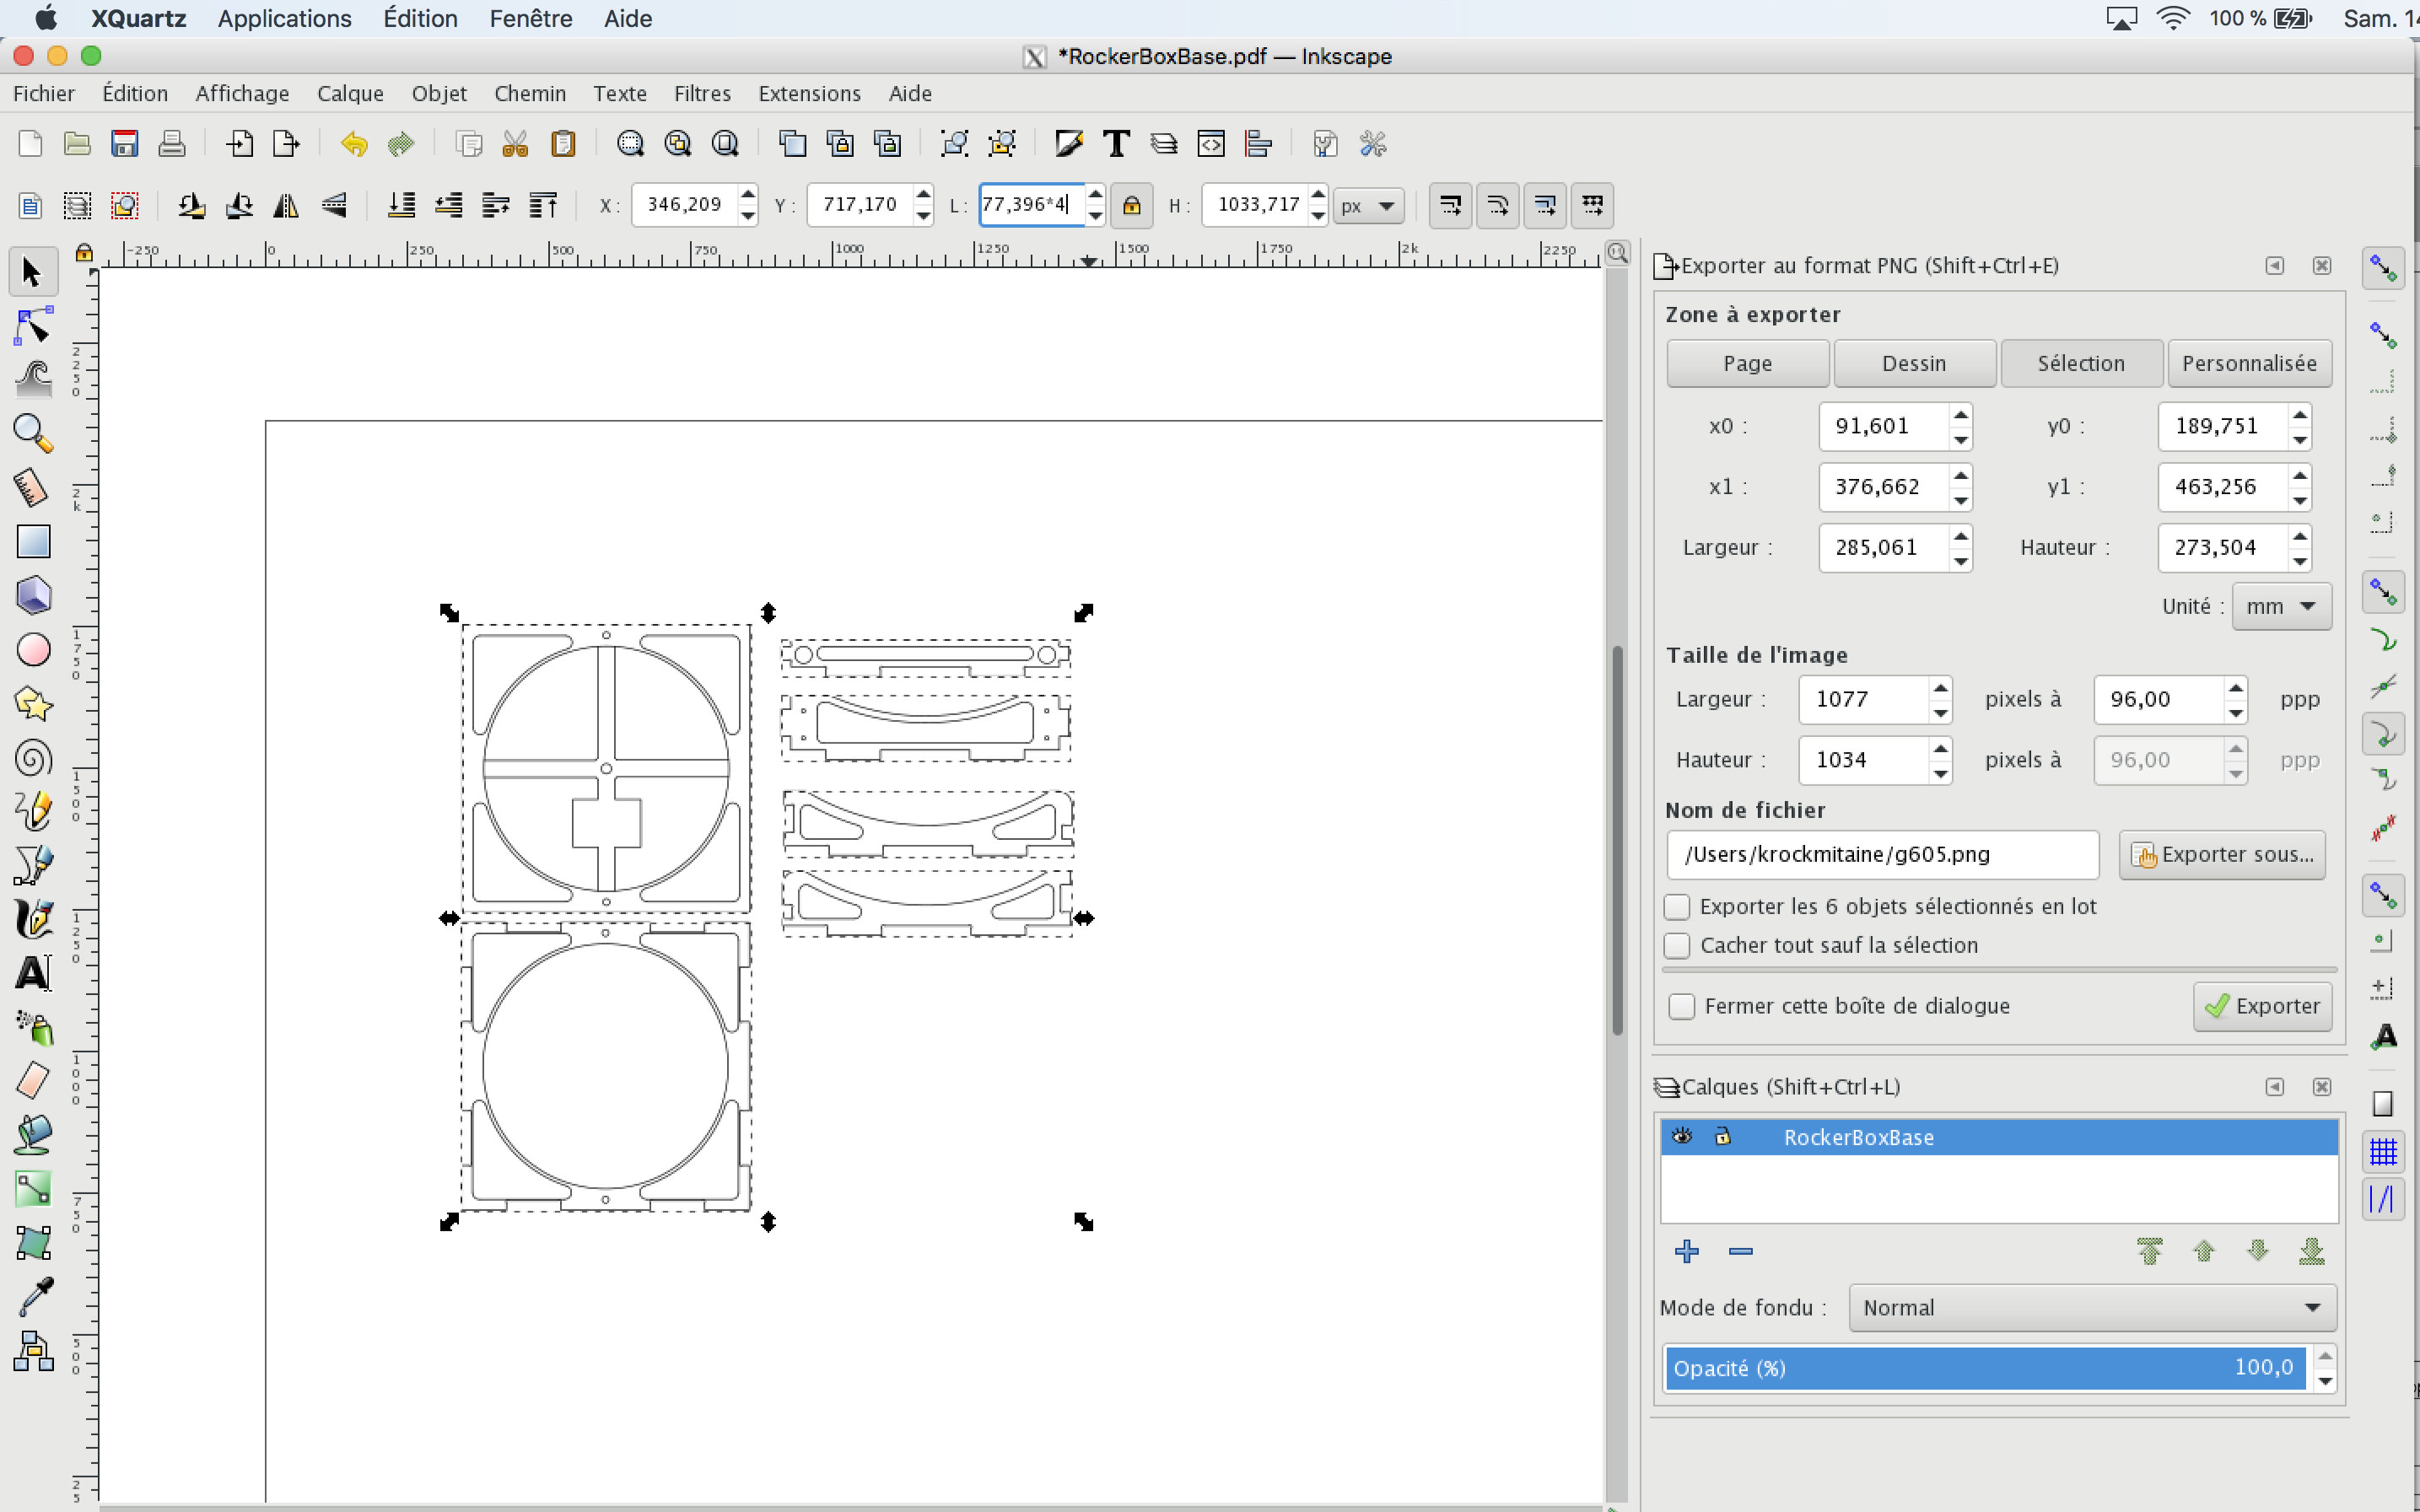
Under Inkscape, I selected the parts, made an inverse selection to erase everything except the parts that I've just created on the canvas. Next step is selecting the parts, and on the dimension box, adding a scale multiplier (in my case, 4) to get a 1:1 exact dimensions for the milling machine. Don't forget to click on the lock to preserve the proportions. Now our drawing is in real scale. One last step is to configure the initial page to represent the cutting table at 4' x 8' and export the file as an .svg. Then it was the time to prepare the toolpath from the file with the machine's own software.
Preparing the file for milling
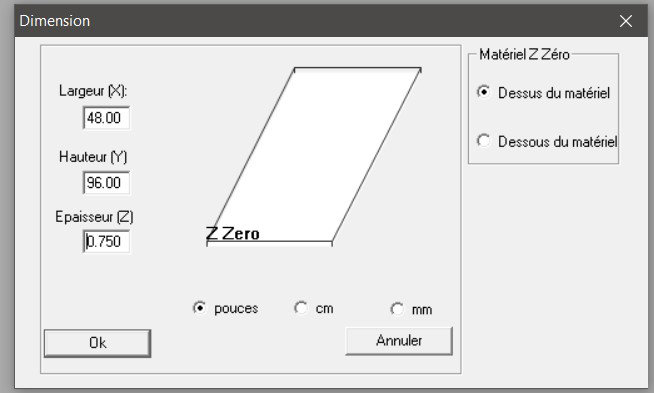
We first had to configure the machine for the milling operation by first telling it what's the dimensions of the plywood sheet we would be using. While being metric, we used the standard dimension in North America (48in. x 96in.)
After, we had to configure the end mill that we will be using, in our case, a ¼" compression, 2 flute end mill.
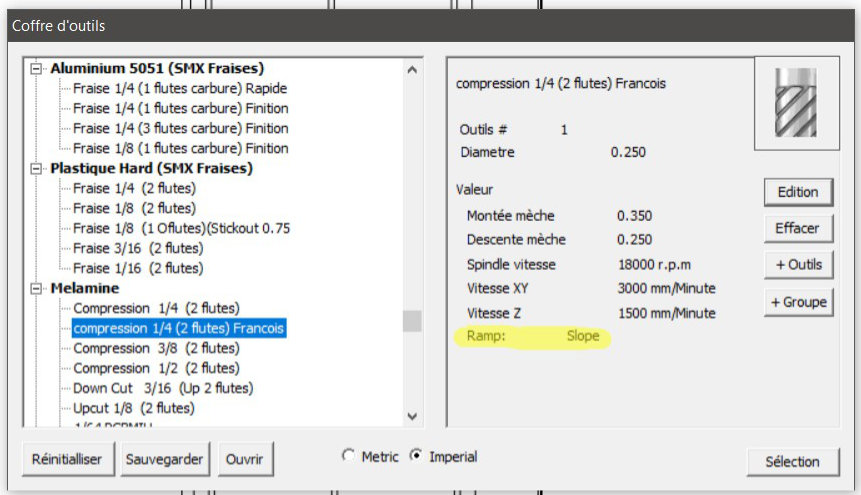
Next step was configuring the toolpath of the endmill.

We then finished by doing the configuration of the compression mill.
The shop
We went to the milling machine, which is located in another building. We started Alec's project because we had a problem with the toolpath in on the inside of the lower box panel. Alec fixed my file on Illustrator and the toolpath was now ok. I eventually fixed the problem on my Fusion file: there were two construction lines on top of each other on the reinforcing rib.
The machine is a big one able to mill standard plywood sheets. Although intimidating because of the size, it's still the same machine like the one we have at échoFab.
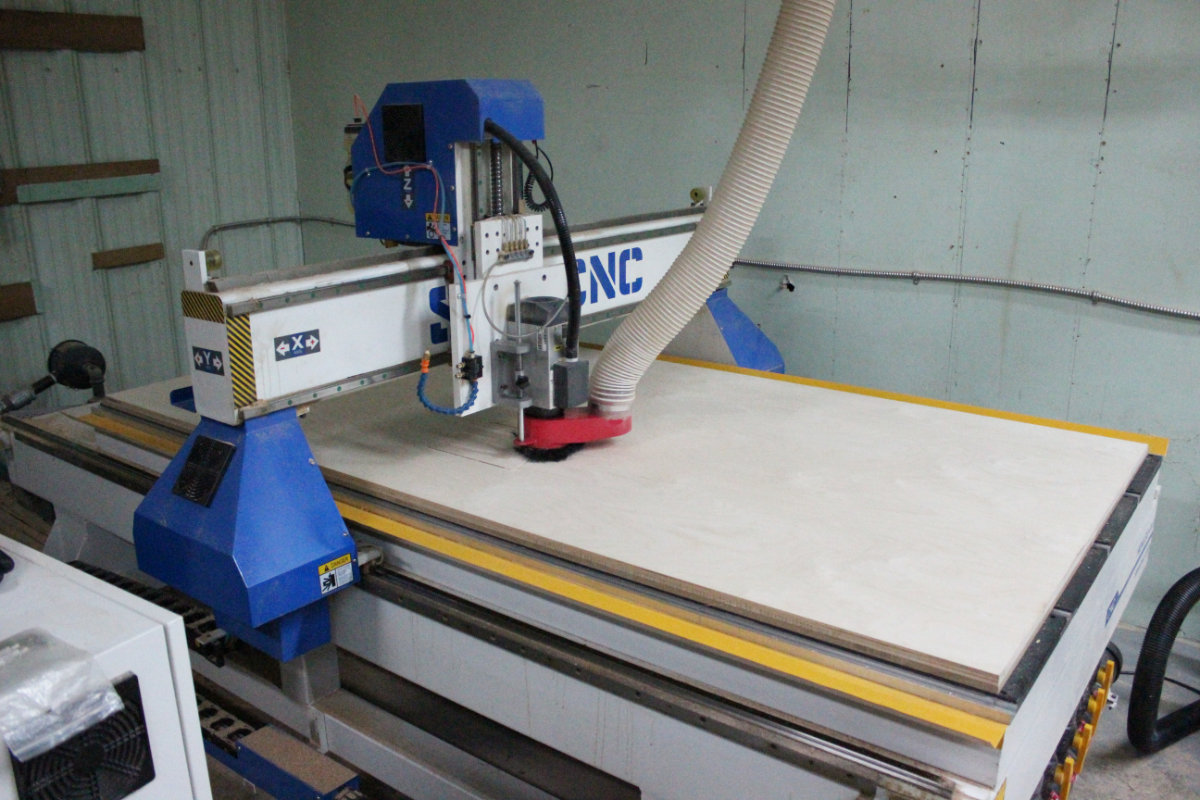
This machine has a suction table that we have to powered on so the plywood sheet will stays on the table and not fly around.
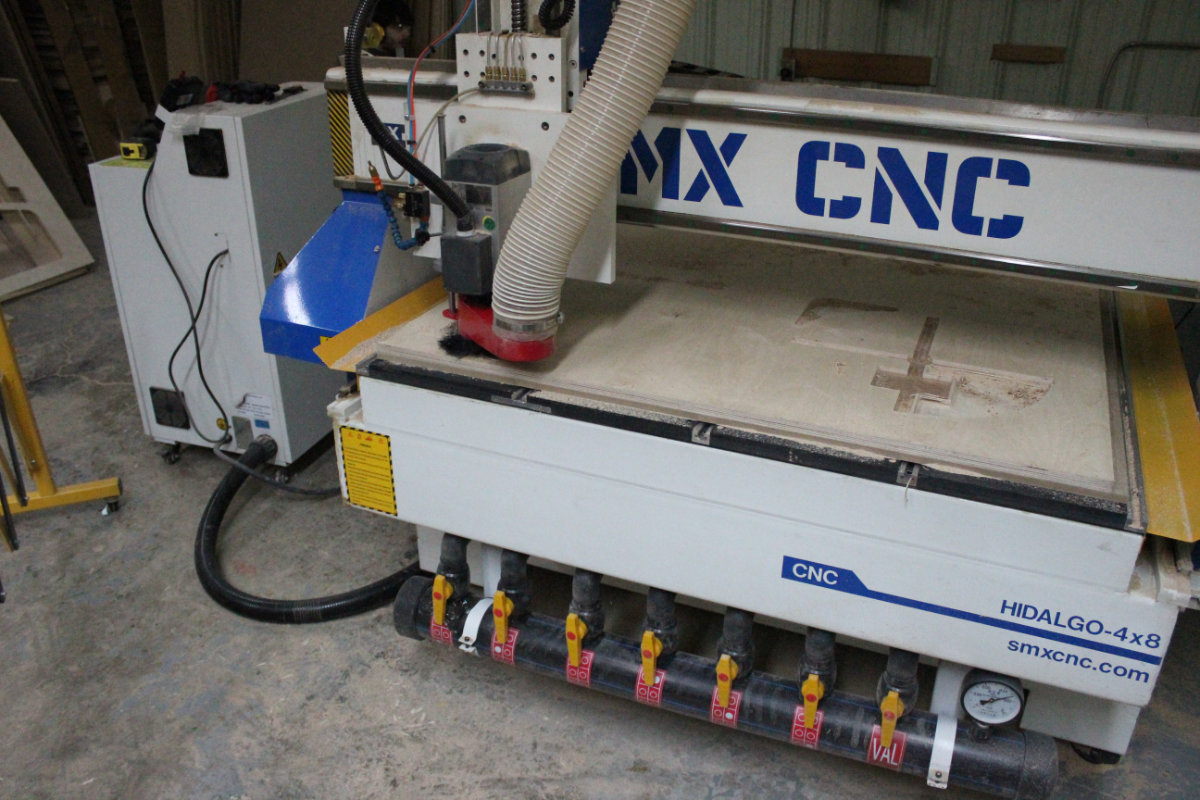
We then had to configure the Z-Axis.
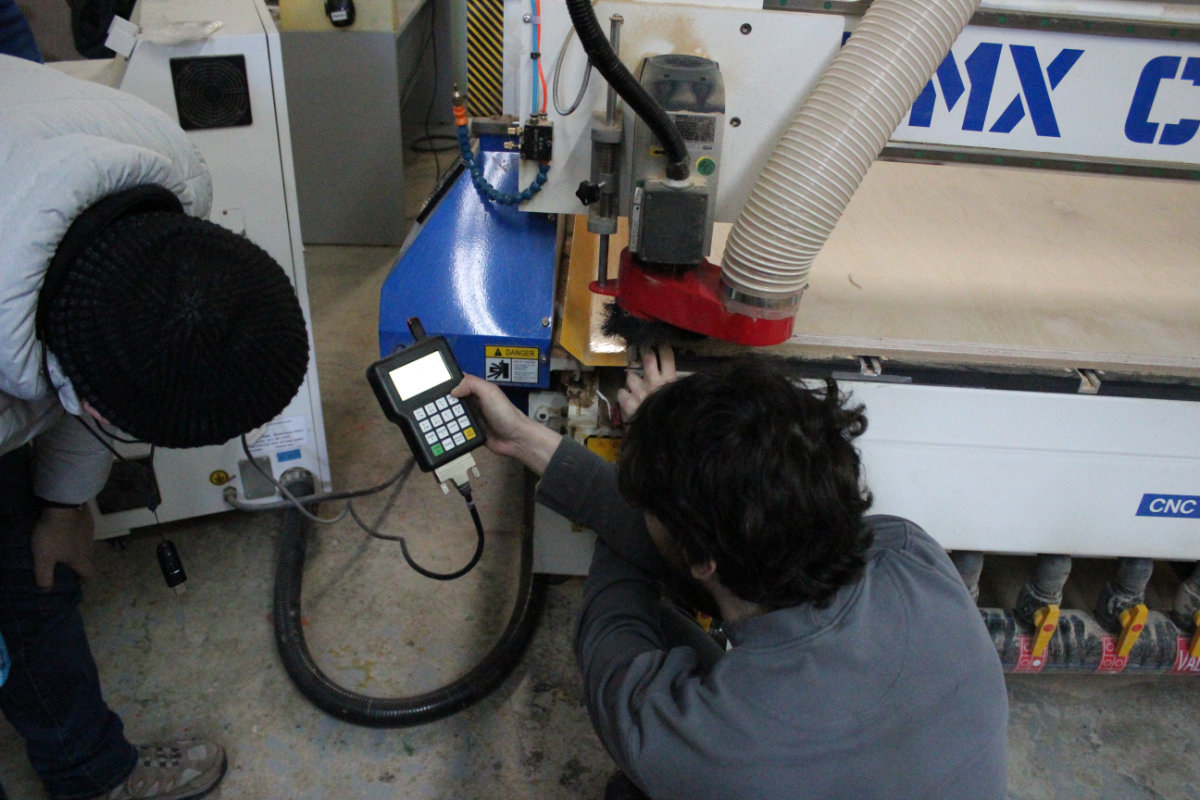
When Alec's project was done, I was ready. I placed my sheet of plywood being careful to place the lower left corner for the origin. I started the table vacuum, then the dust collecting vacuum and we were set. Everything went as expected, the machine started to mill the plywood and I first saw what would become the base panels.
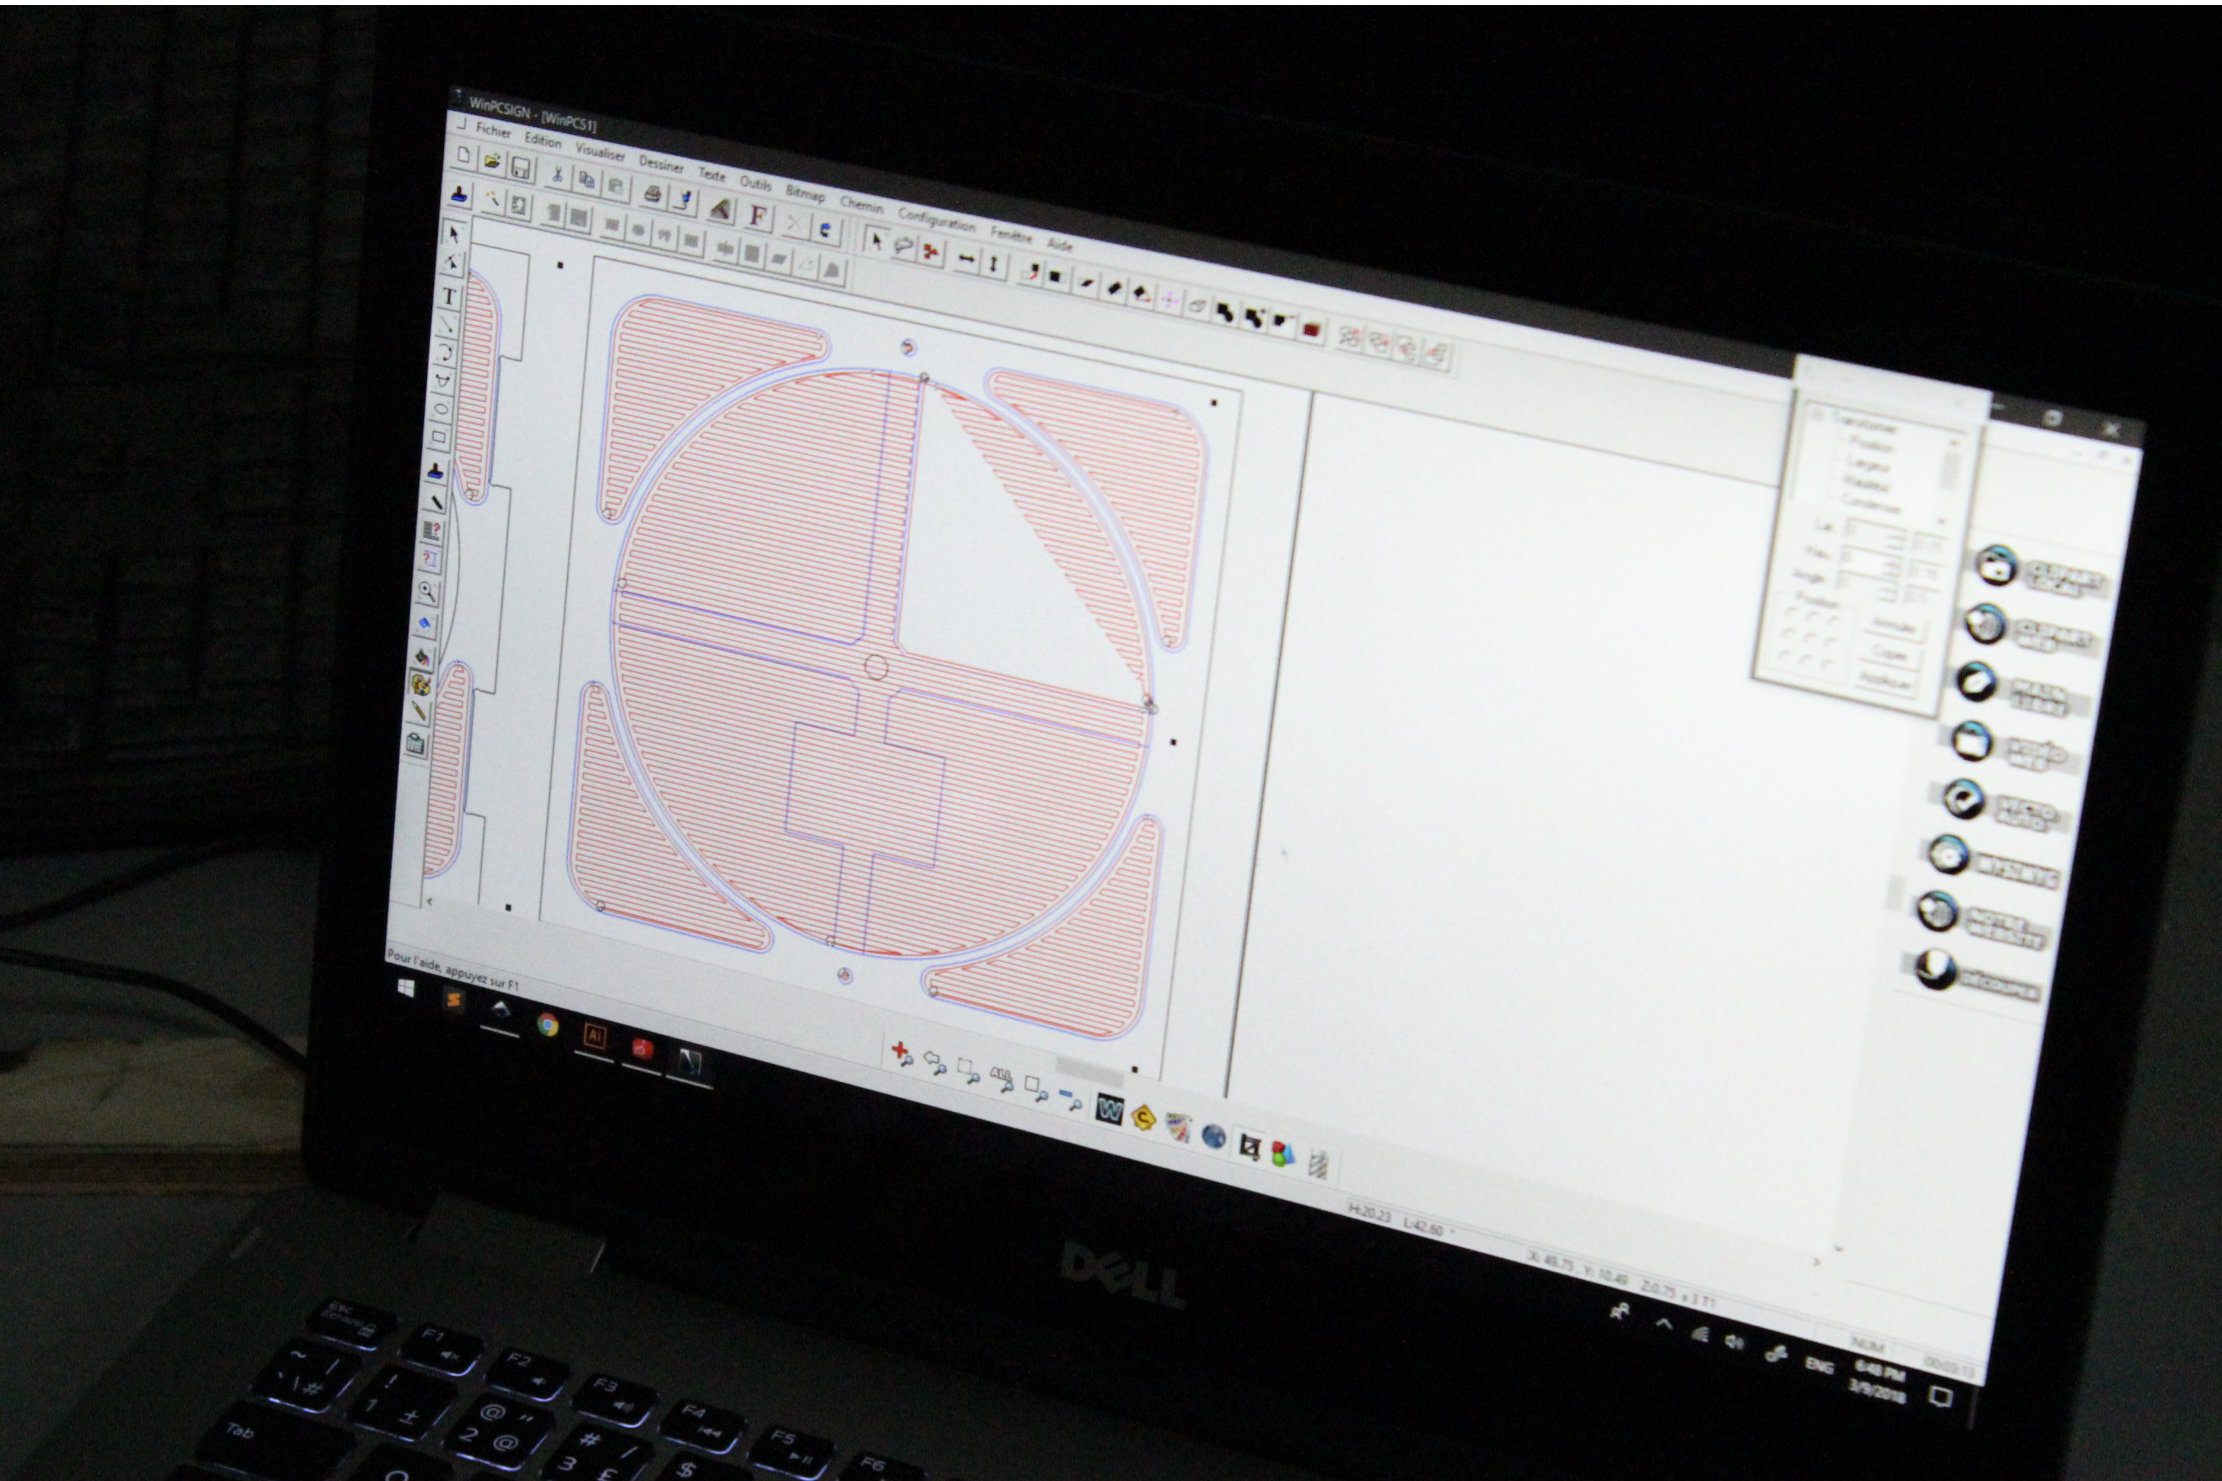
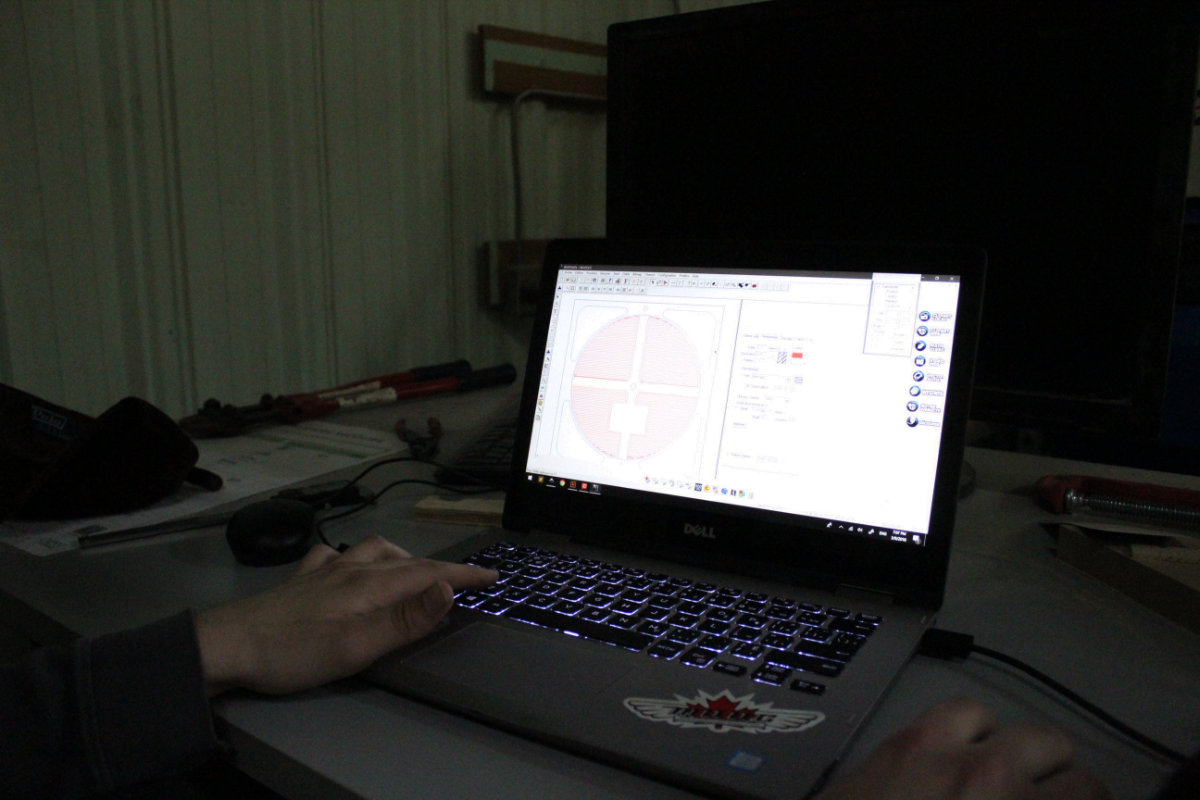
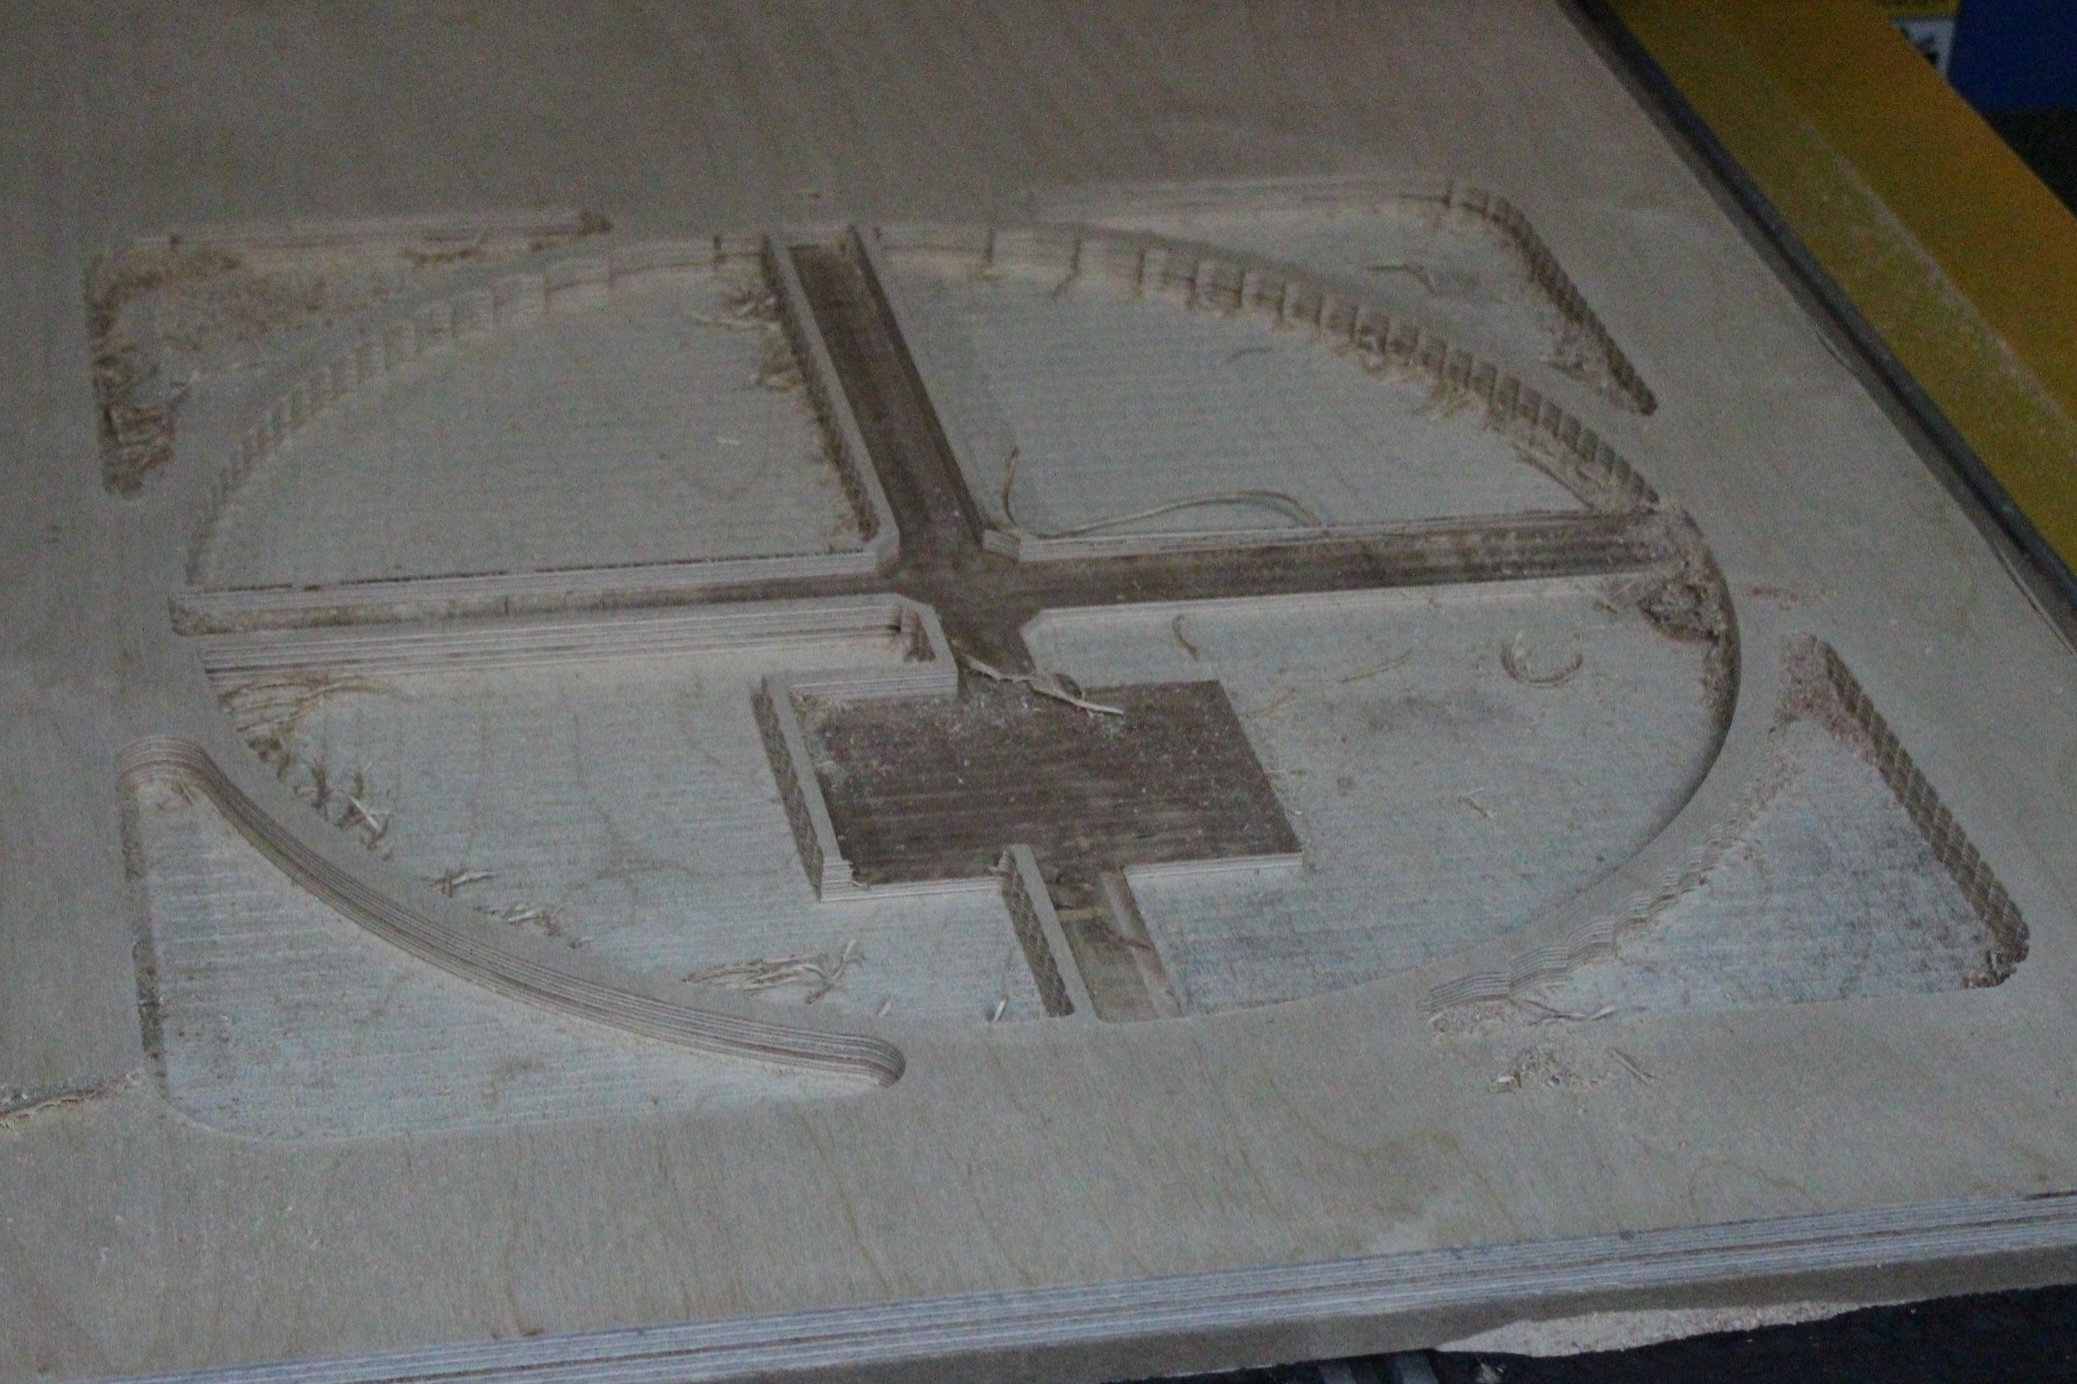
It took almost two hours to make all the parts. Afterward, it was time to clean and call it a day.
The end results
I must say that I was really surprised by the quality of the cut. There was a lot of dust and small particles as was to be expected. I was really impressed with the way the panels came out.
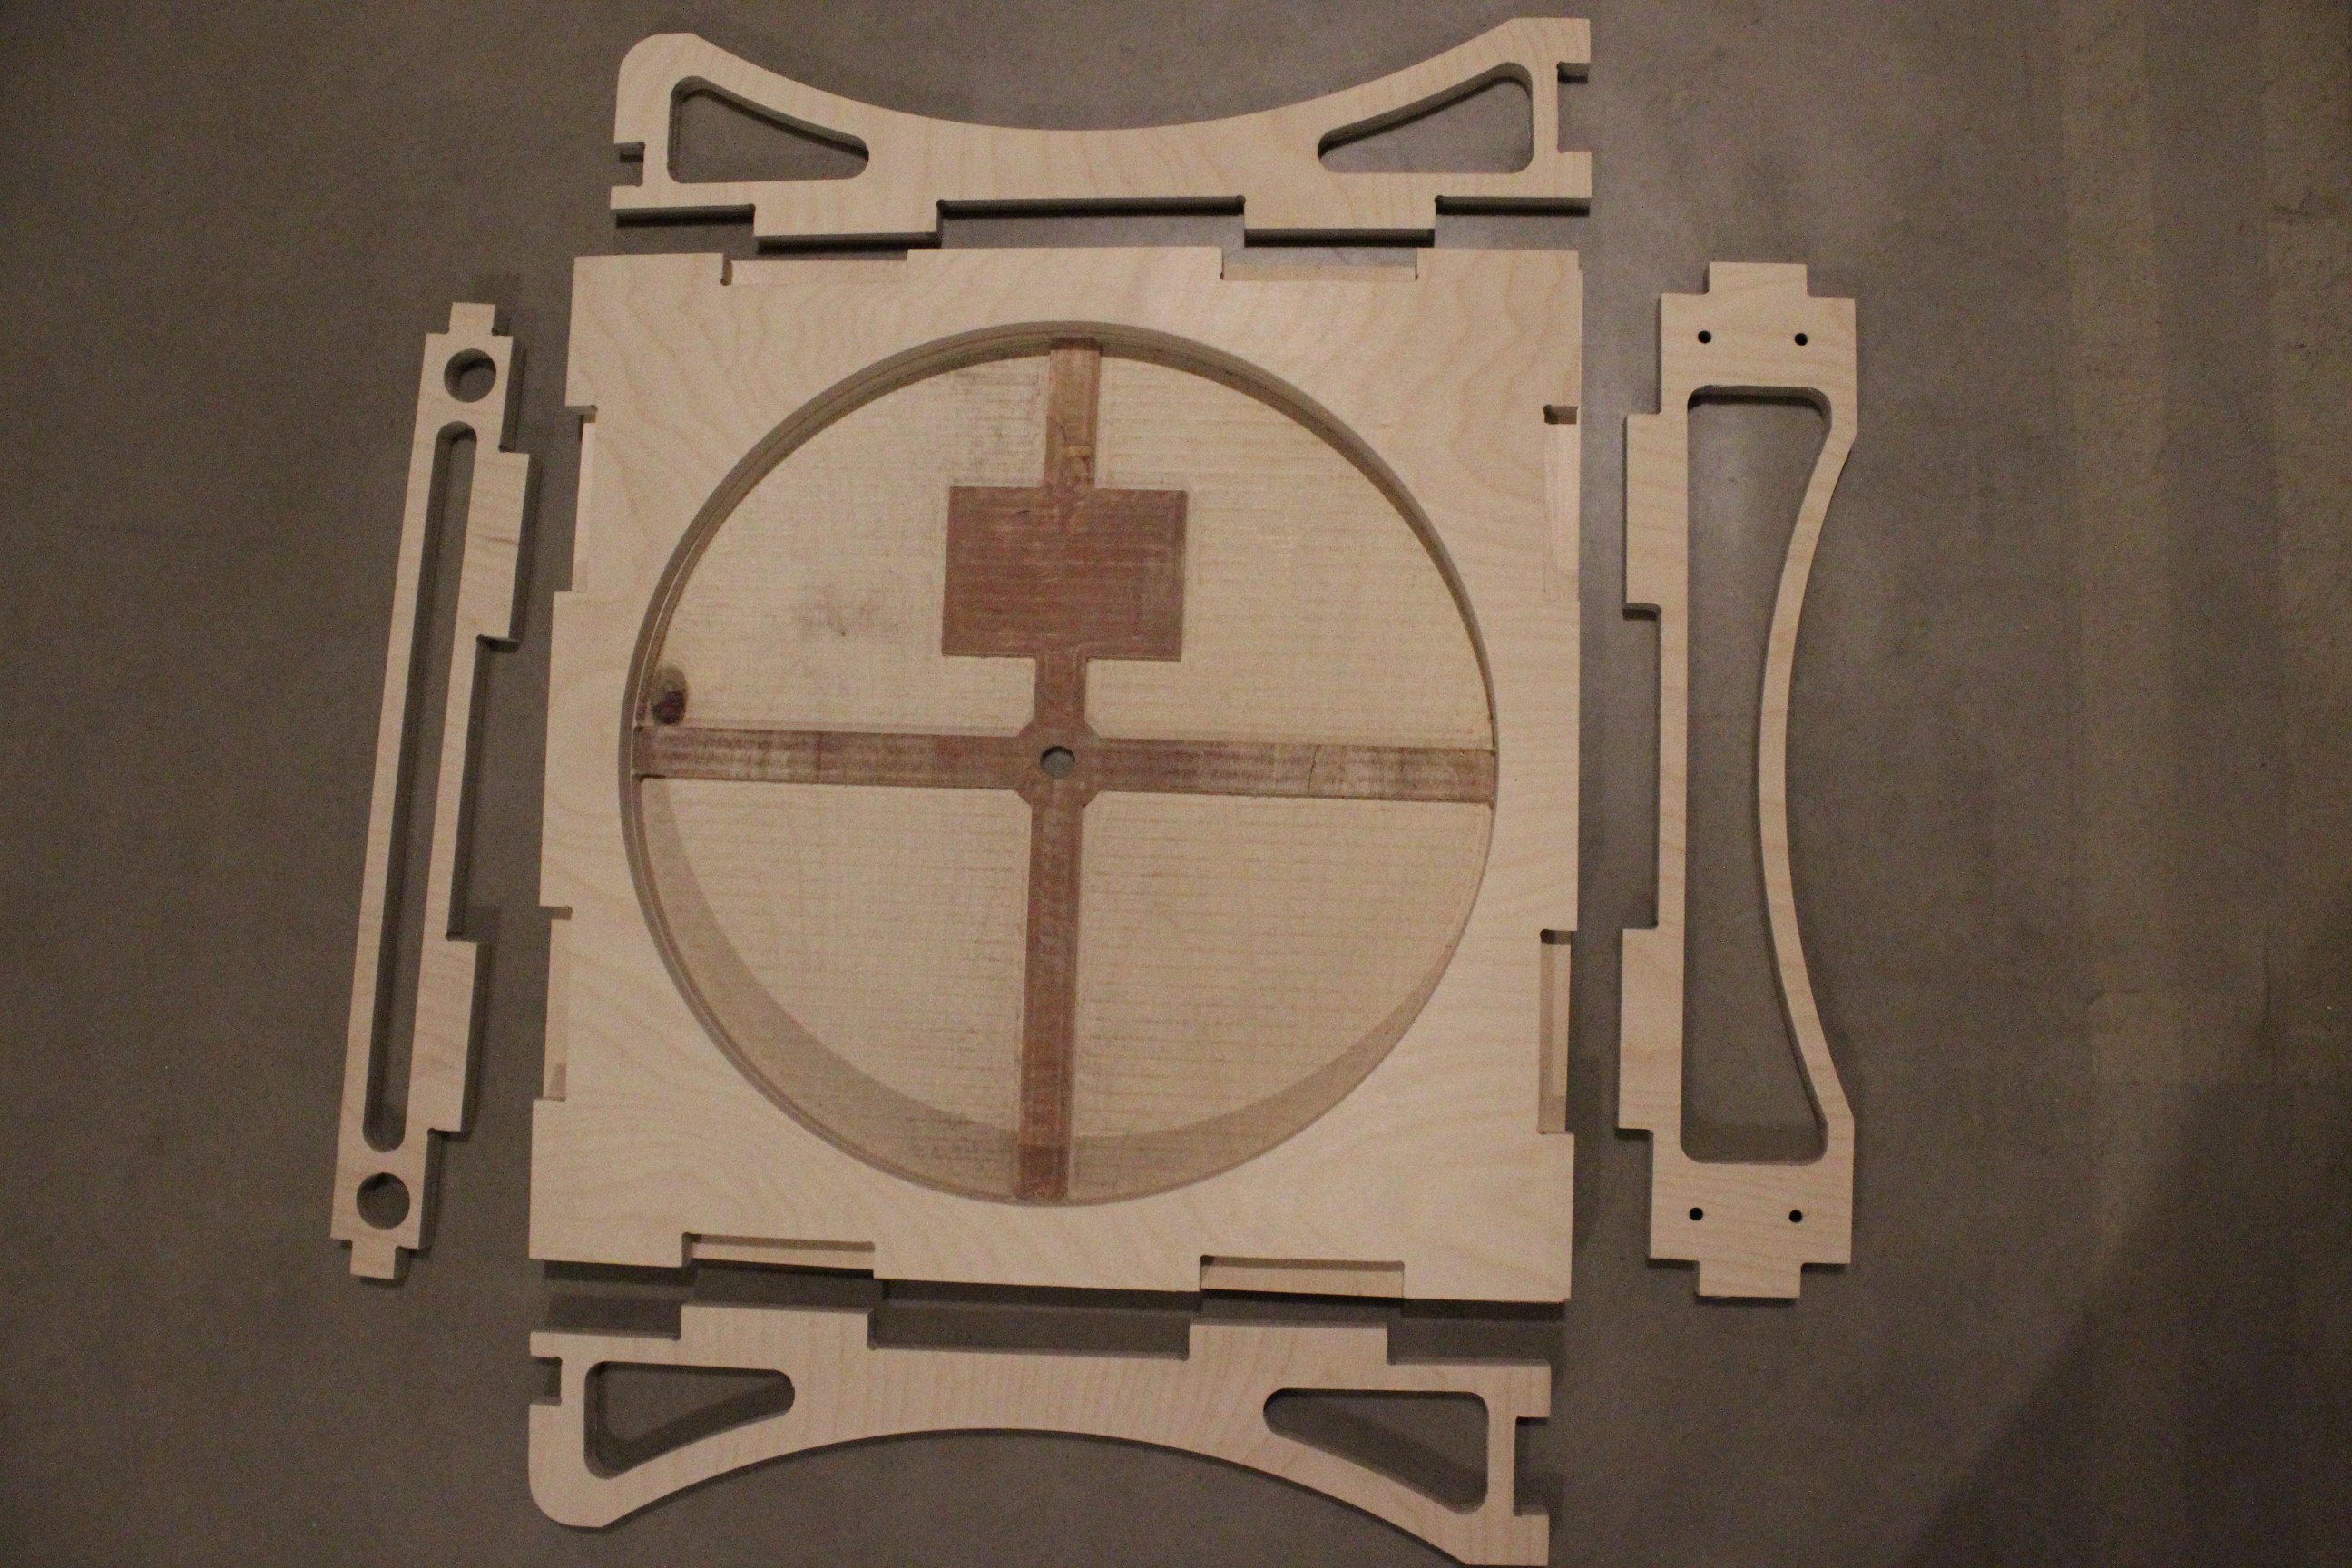
I went outside and sanded the edges smooth and tried to fit the pieces together. I found them to be a rather tight fit and started to sand some edges to make a better fit. I was time consuming and stopped only once it became too dark.
Of the importance of sometime using brute force
So there I was, trying to fit the parts together, being worried to destroy the parts. But also, well aware that making a smooth fit would involve extra hours that would be more appropriate to spend on something else.
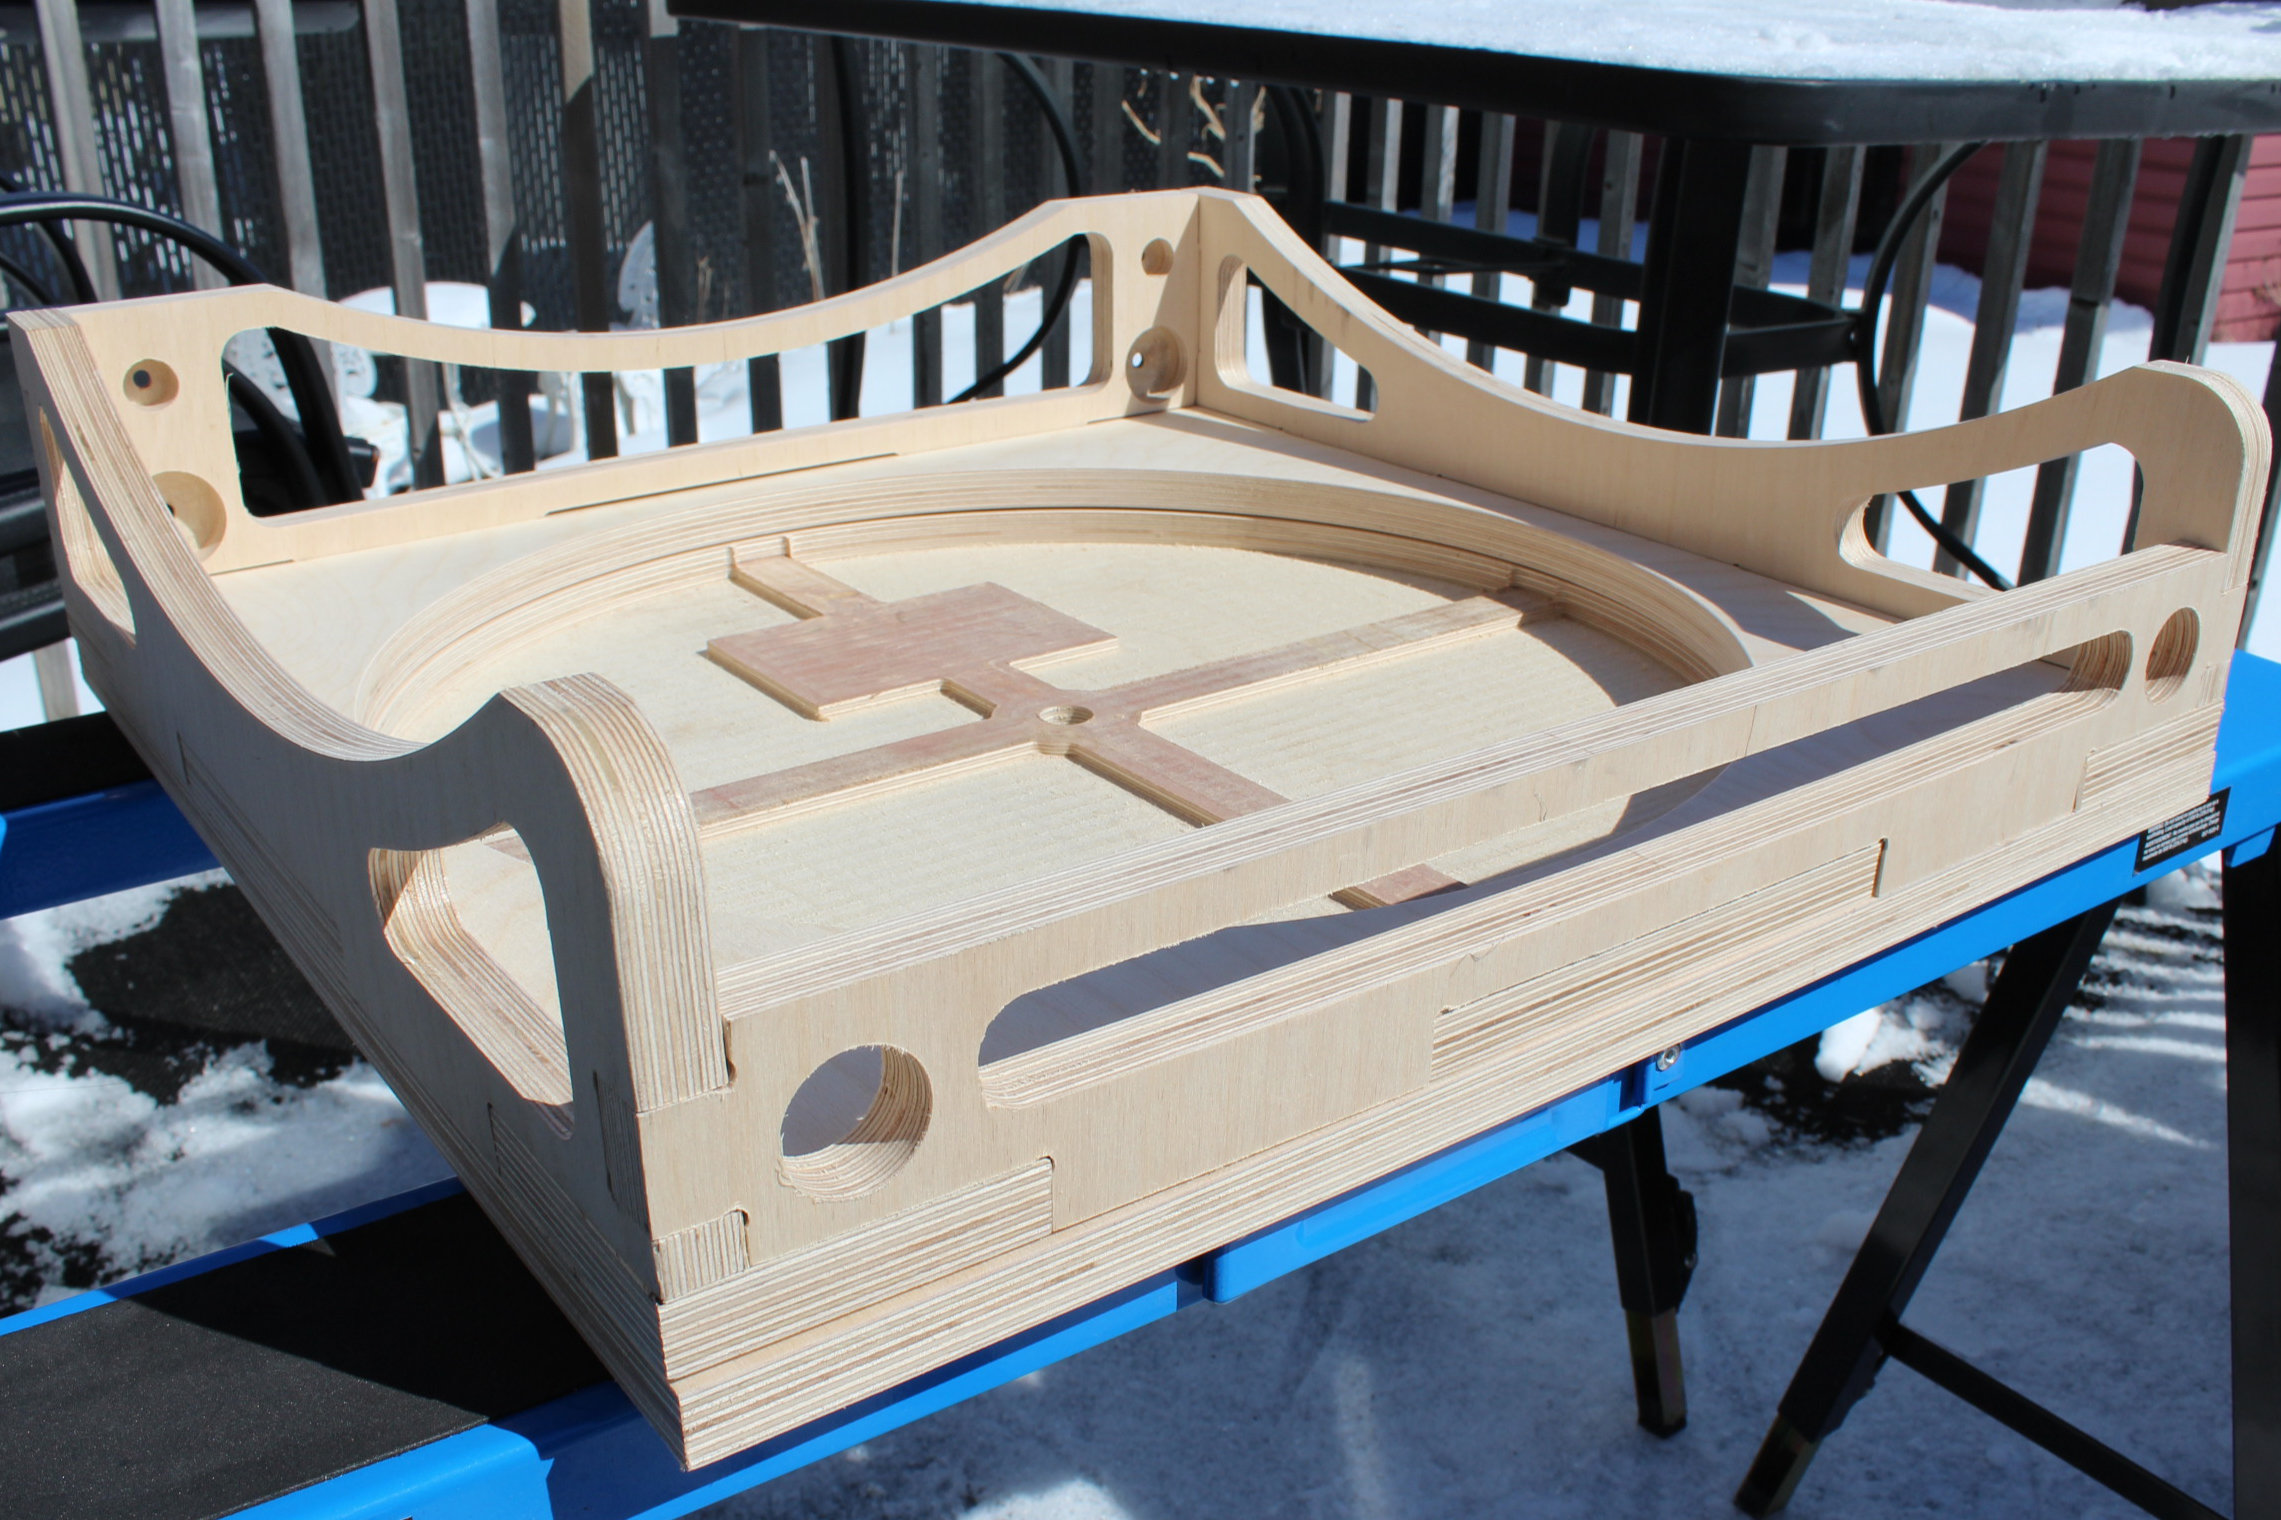
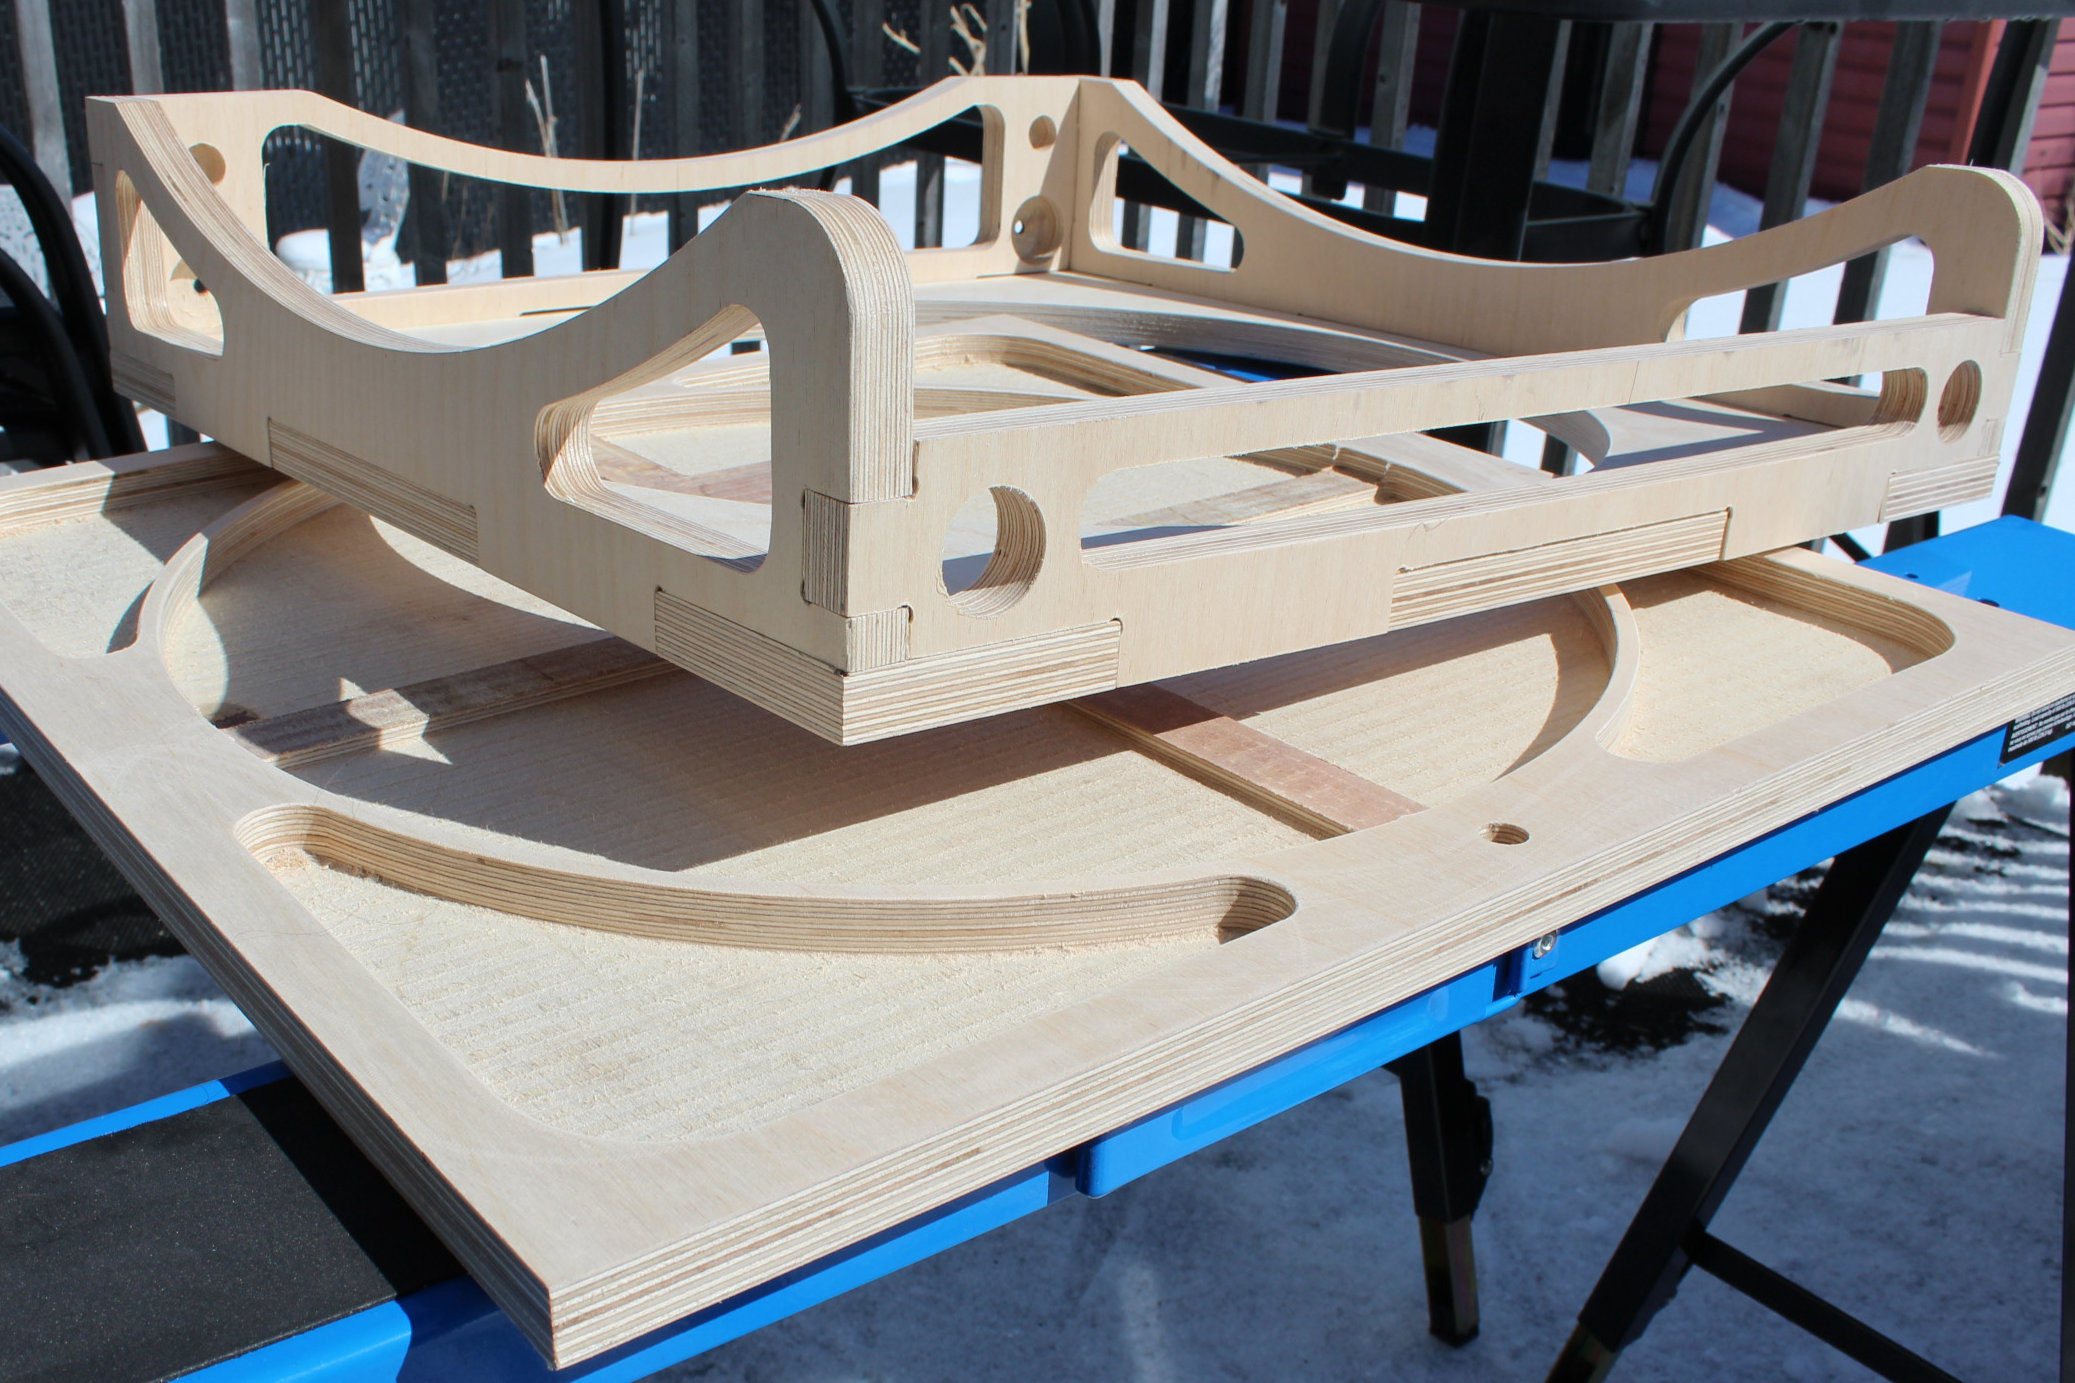
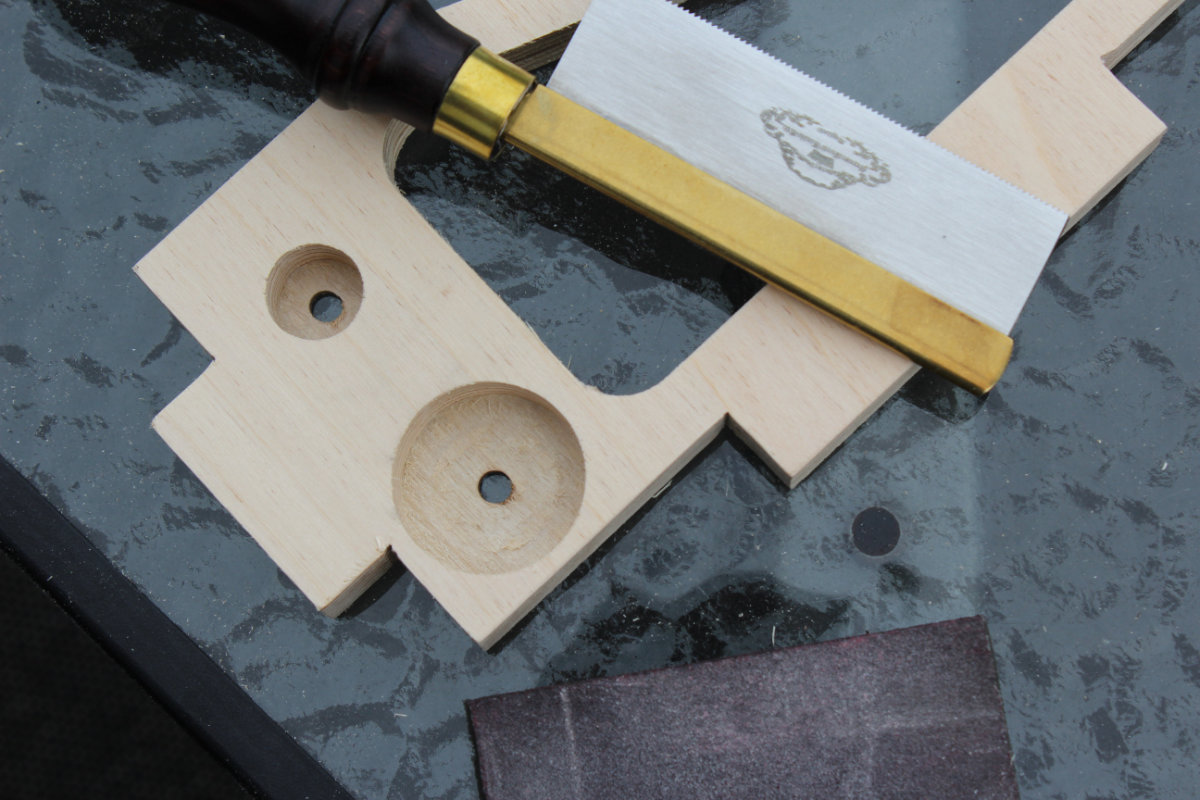
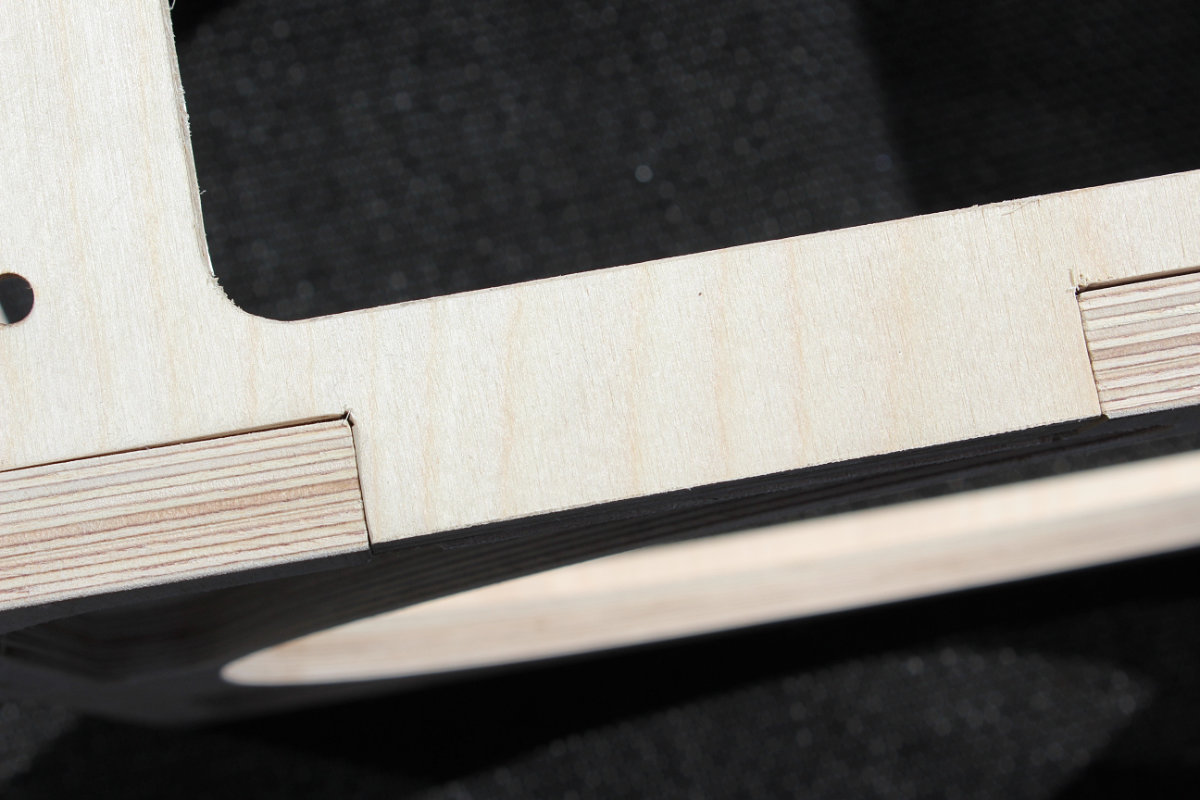
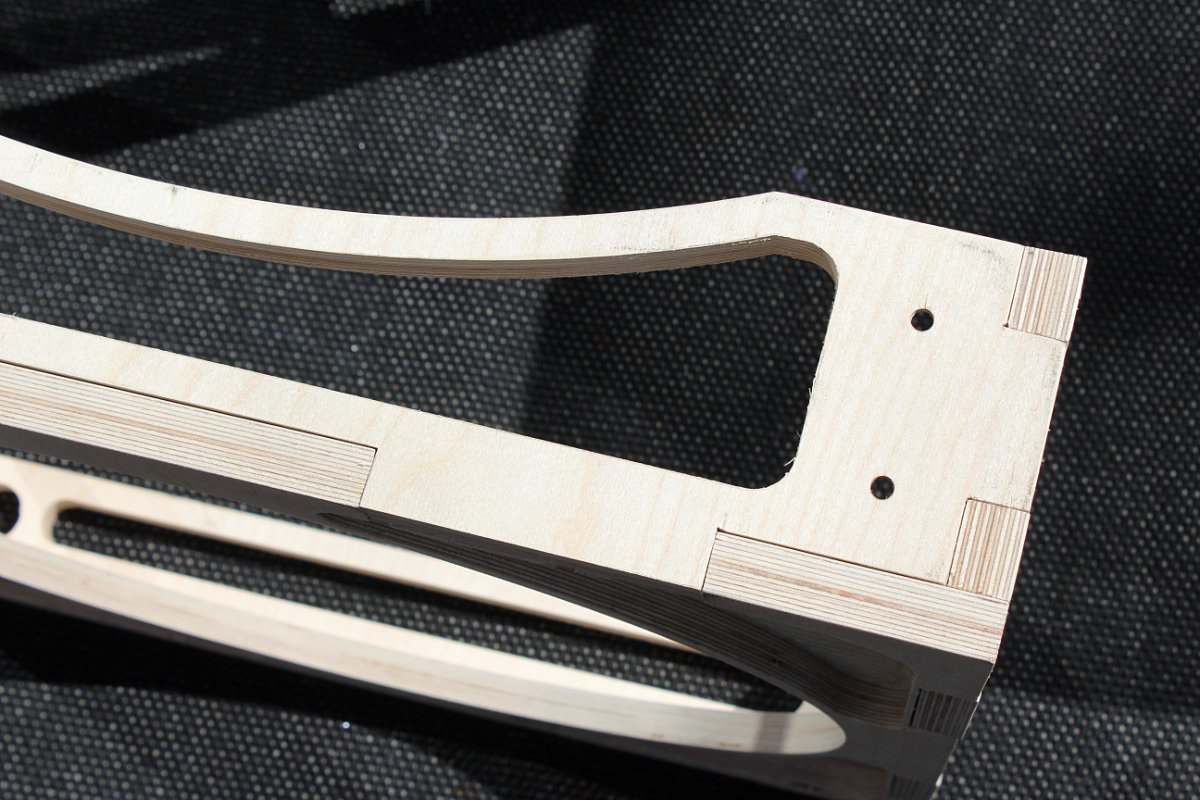
So I picked up my plastic dead blow hammer and hammered away to place the parts together. With brute force, the parts fitted together. But there some caveats. First, the dimensions are really tight. Maybe giving a 1/64 inch tolerances to the tongues would greatly improve the fit while not compressing too much the wood. Something to think about for next time. Second, althought I checked twice, one part was made without the dogbones. By chance, it's the back panel which has an error. I only have to correct the plan and redo the part or simply saw off the inside corners.
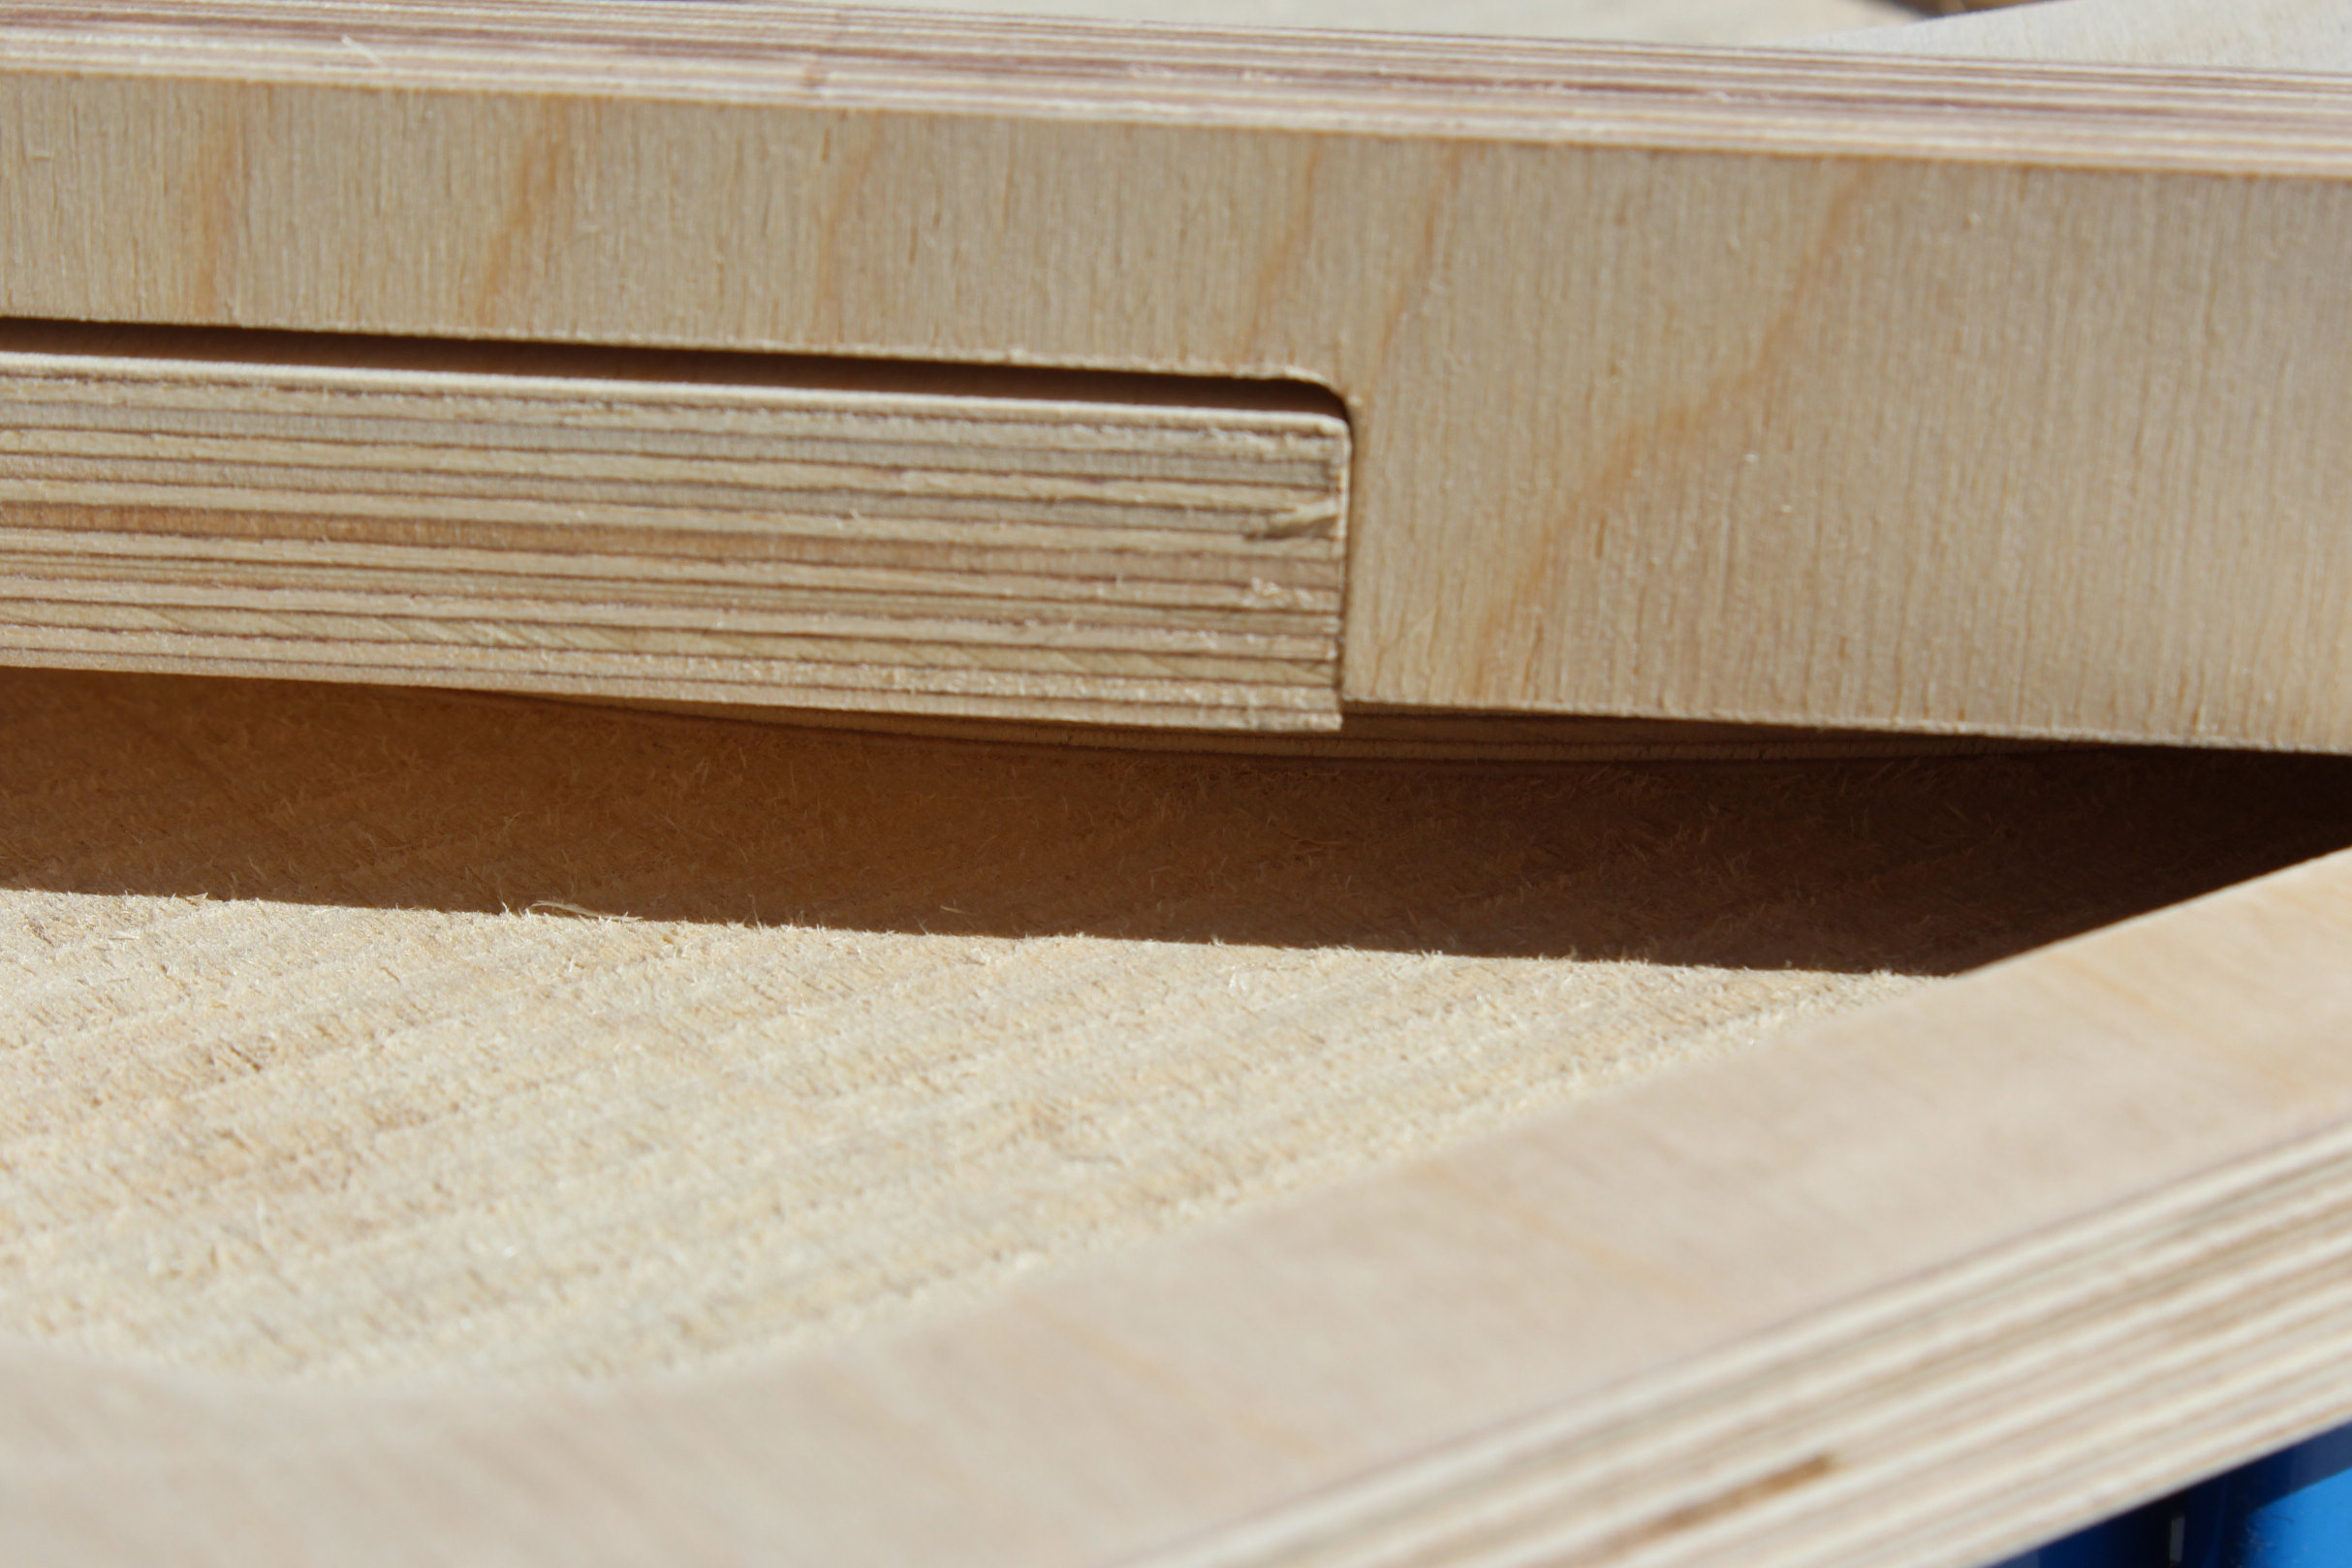
Since this base is part of my final project, I will simply correct the missing dogbones by sawing off the excess.
Some corrections applied
I enventually sawed off the round edges of the missing dogbones. The results are perfect and the base will be rock solid.
Closing thought
While still a dry run, the last stage proved that the design is solid and light. I'm still waiting for the Lower Optical Assembly to be milled before gluing all the parts of the base together as this will be permanent.
This was a big opportunity for me to work, for once, on my final project. Even though there will be design problems, I will be able to cope to problems and correct the design for the next iteration. This base is both strong and surprisingly light, proving to me that my design strategy is valid.
