Computer-Aided Design
Week 3
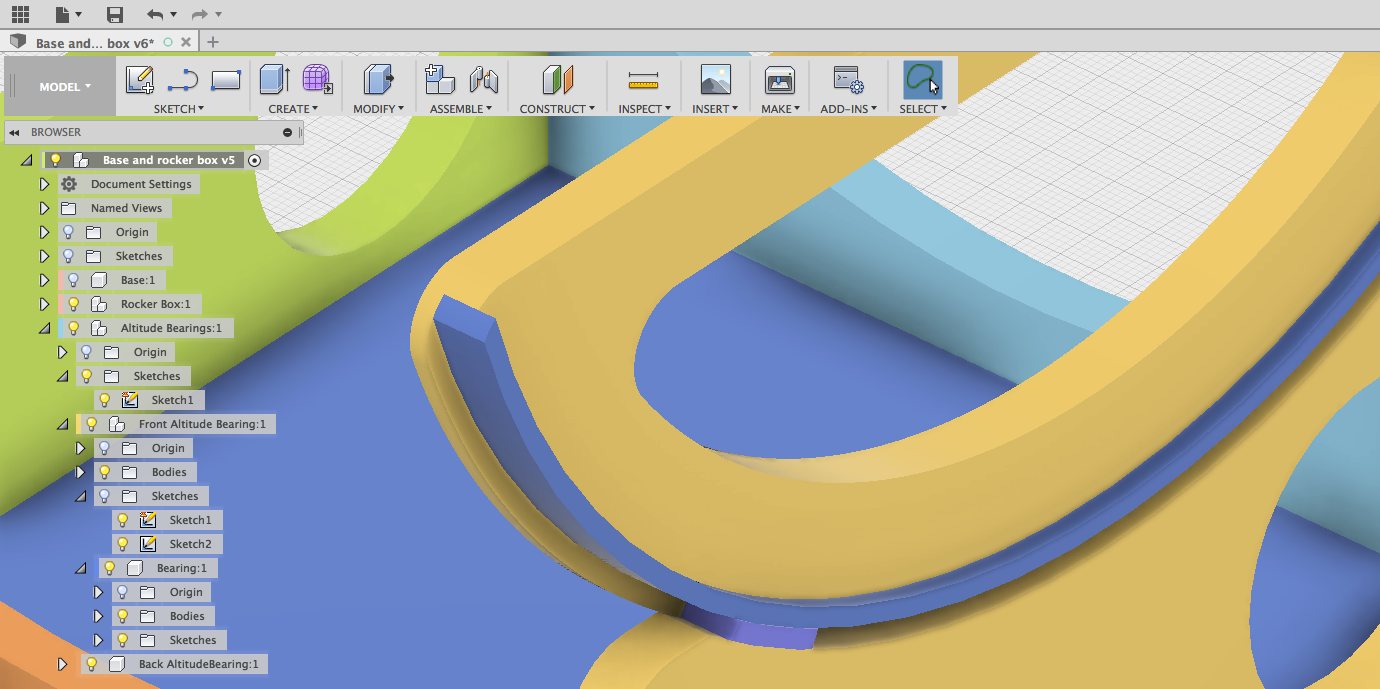
For assignement this week we have to tackle parametric design. While it is easy to see the potential for our future project, grasping the concepts of parametric design is frustrating at first. While Youtube tutorials does help a lot, we have to learn our way with this powerful software. I choose Autodesk's Fusion 360 for this assignement, mainly because I beleive it will become my software of choice once mastered mainly because this software, beside being parametric, has options to create 2D plans, have a simulator and a renderer.
Fusion 360
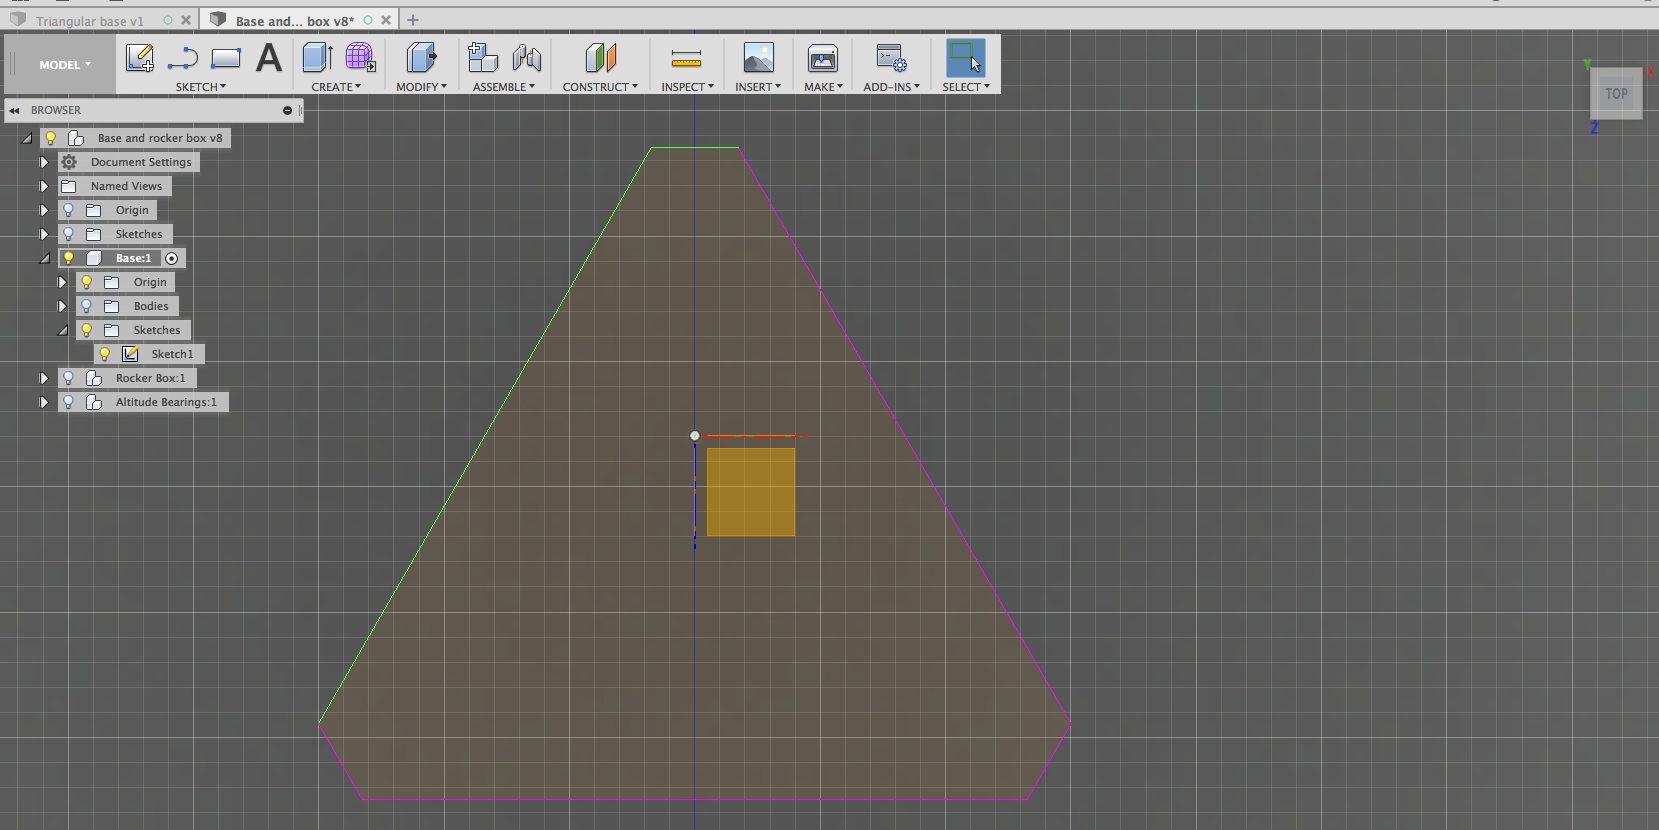
I started my project directly with Fusion 360. Using Lars's Assembly Drawer tutorial as a starting point, I first made the base support of the Lower Optical Assembly. This part was really challenging as a starting point as there is not default triangular form like "Center Diameter Circle" or "Center Rectangle". I had to do it all by hand. I struggled with the concept of sketch and eventually made an initial form. I eventually found out that I can make a triangle by simply selecting "New Sketch -> Polygon -> Inscribed Polygon" then select the center point, the number of polygons (3) and the dimension from the center.
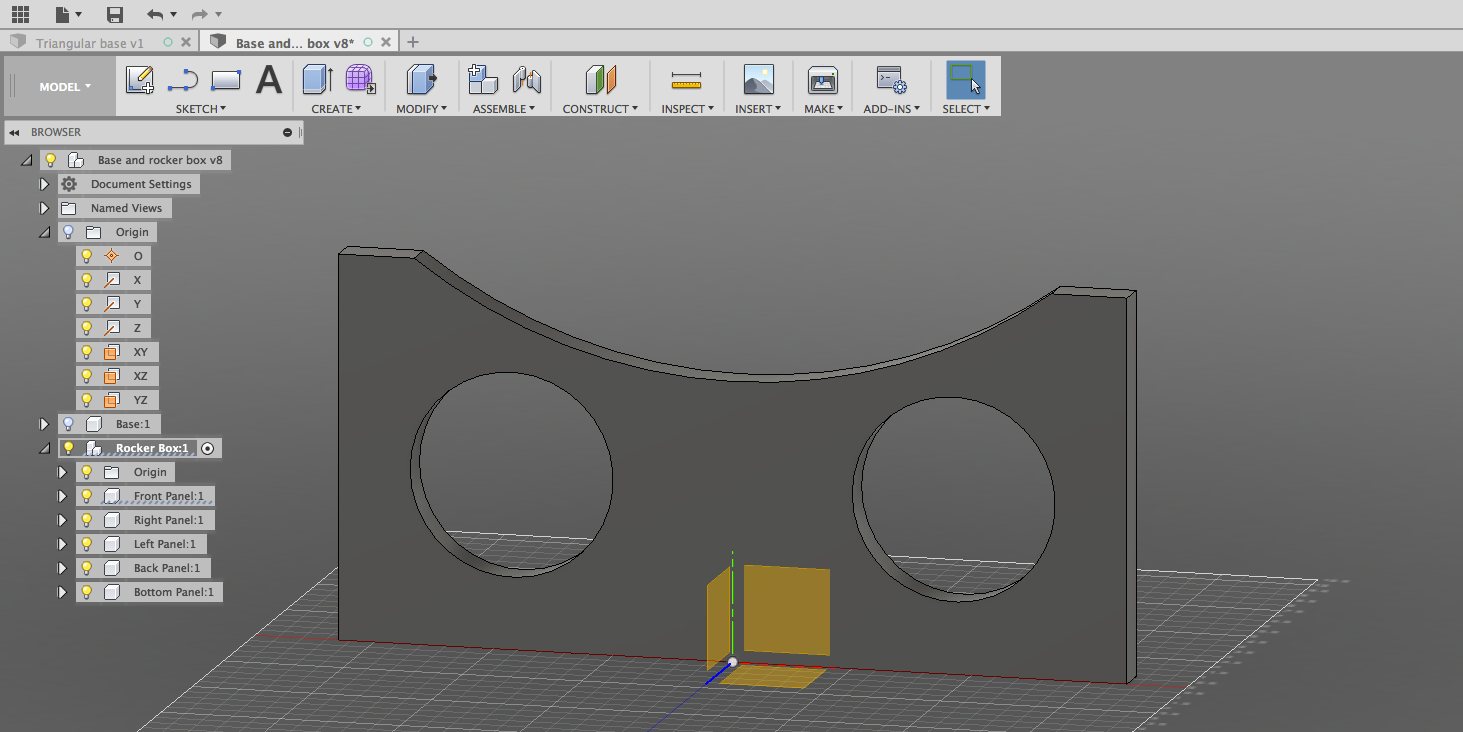
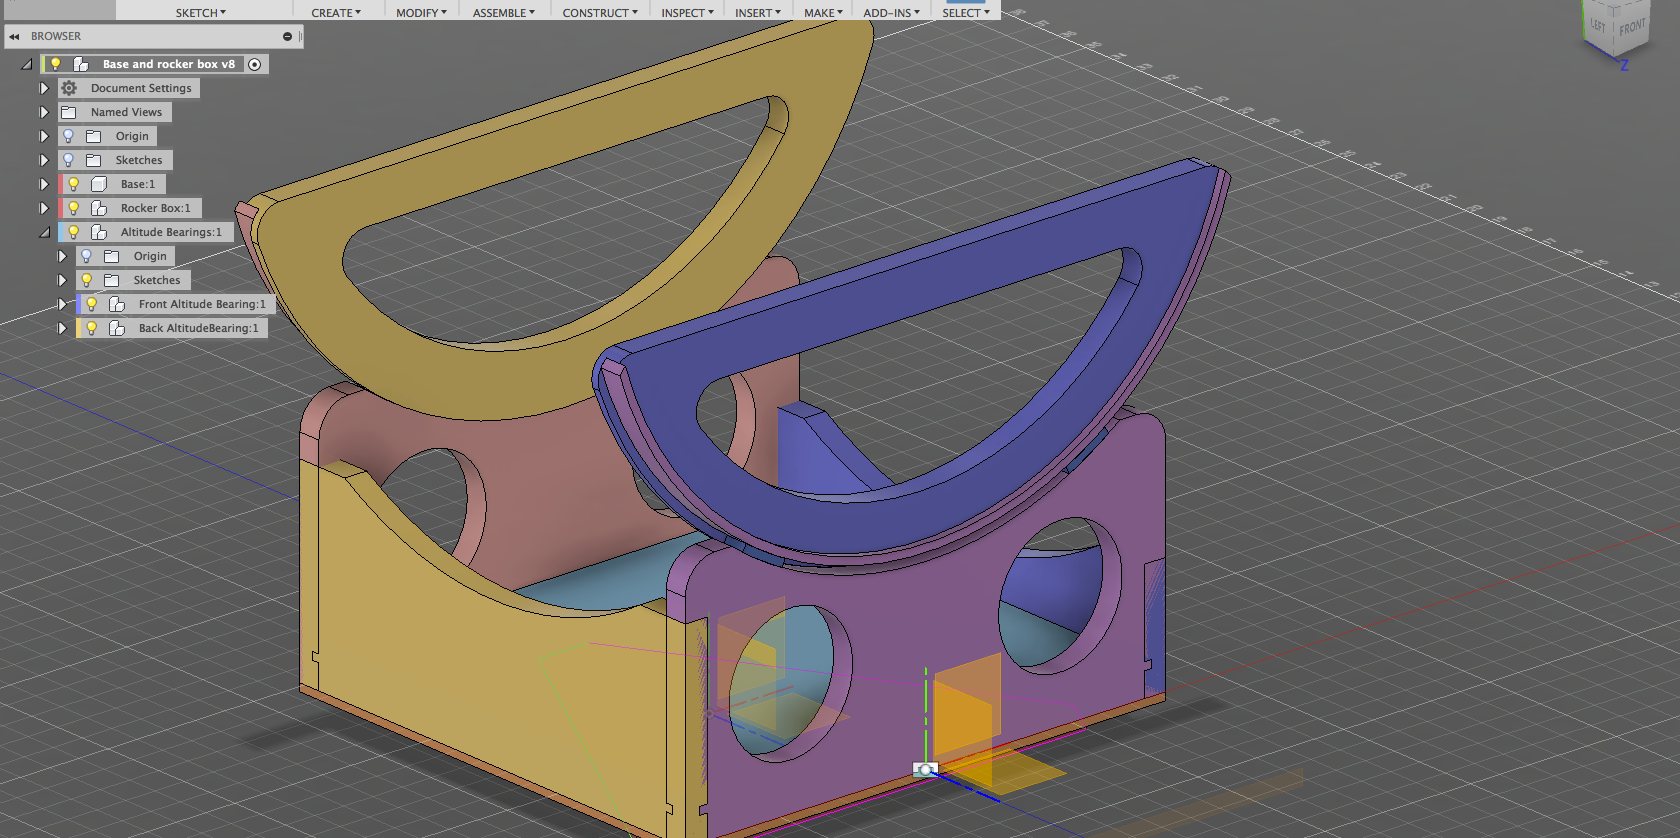
Next came the rocker box, easier to realize because of the similarities with the Assembly Drawer tutorial. I created a New Component and from there realised the front rocker panel.
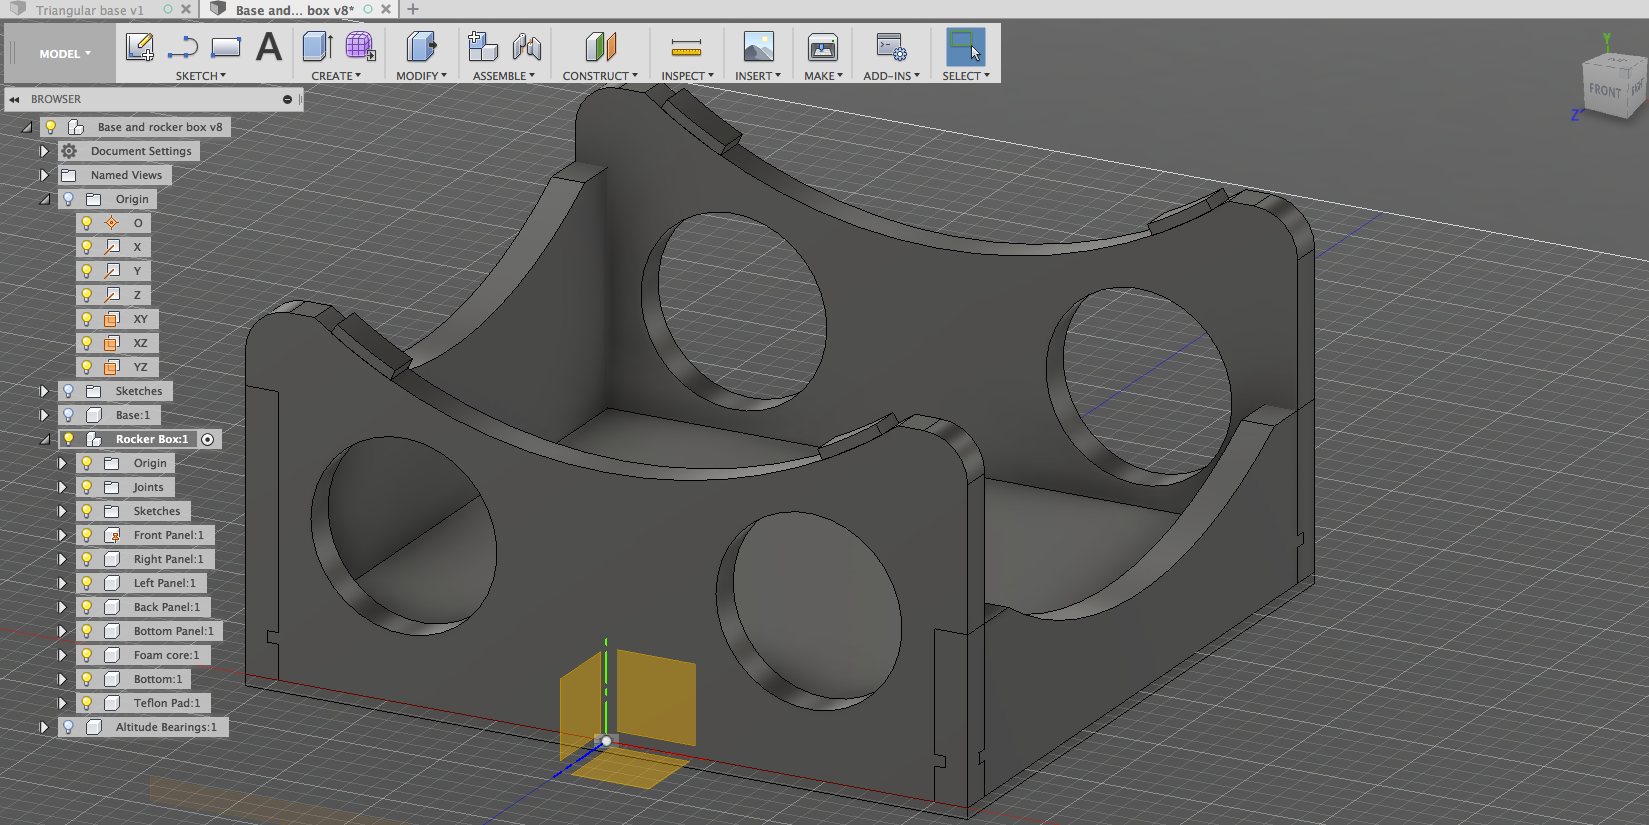
Designing one item at a time, I came more comfortable with the concept of sketches and assembly. It's really at this stage that I became more comfortable with the software. By playing and replaying tutorials, I eventually started to create an assembly of my own.
Once this assembly completed, I challenged myself to complete the Altitude bearing. I followed the dimensions for the bearing but instead of using two plywoods of ¼" and ½" glued together, I designed for one ¾" piece of plywood that will be machined to specification.
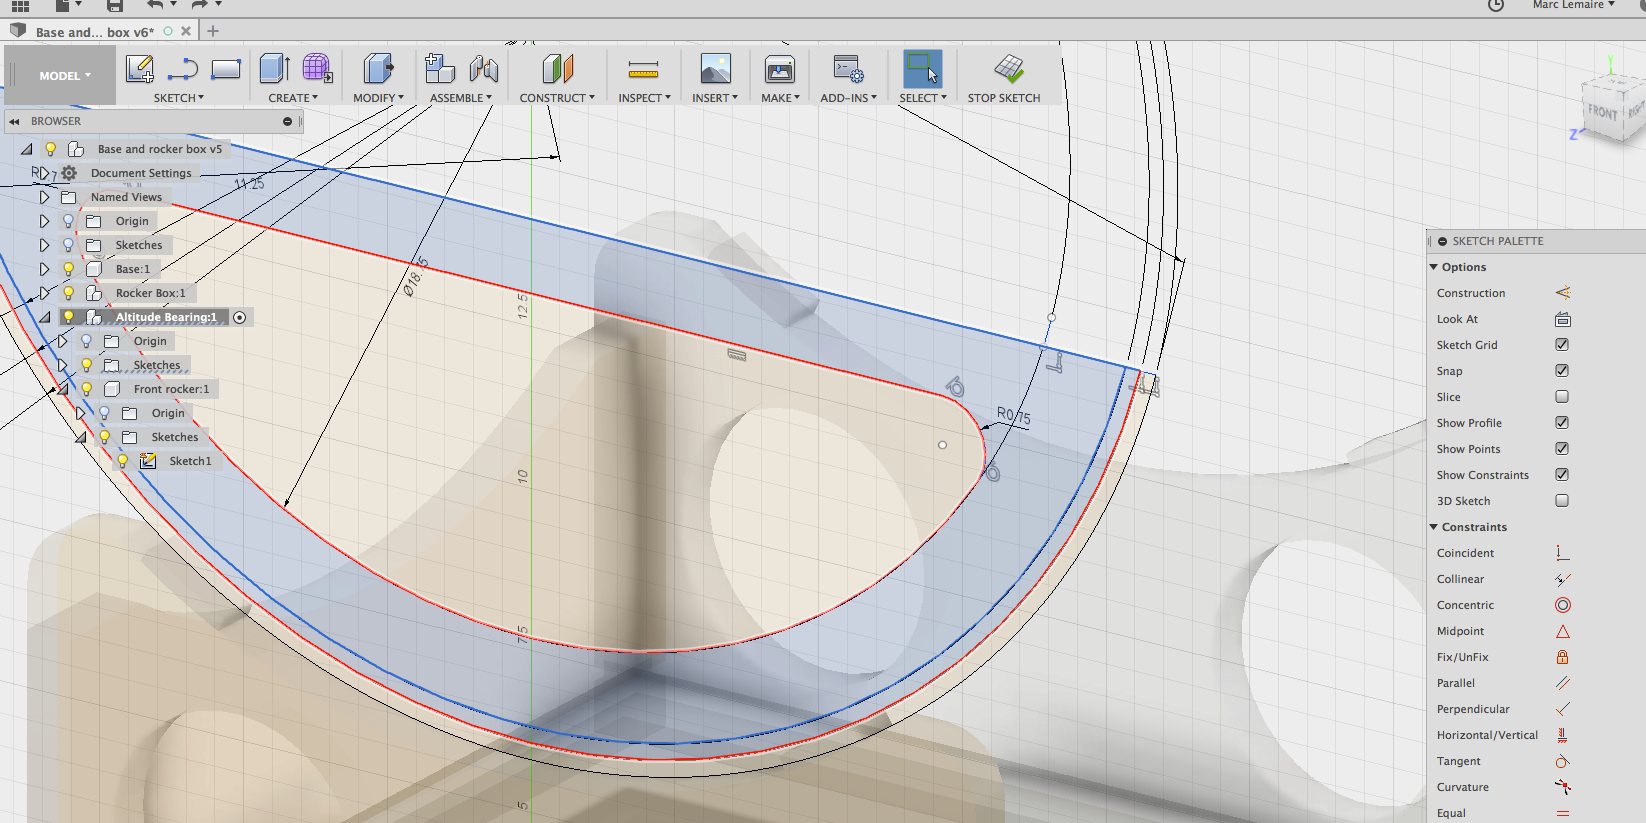
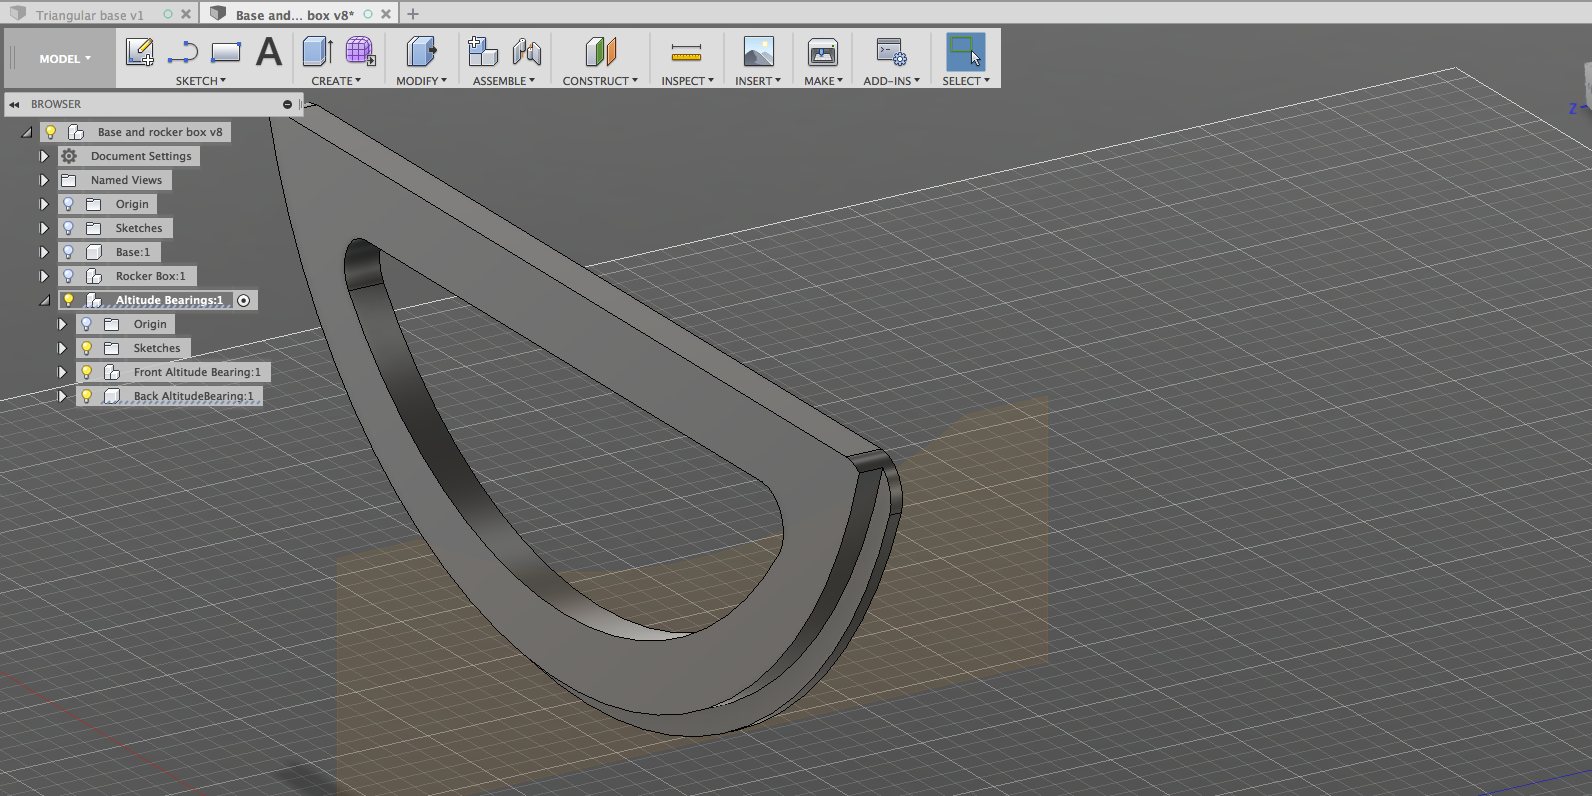
I completed my design with the opposite side of the base. I must confess that I have a great sense of accomplishment once this task was completed.
Blender
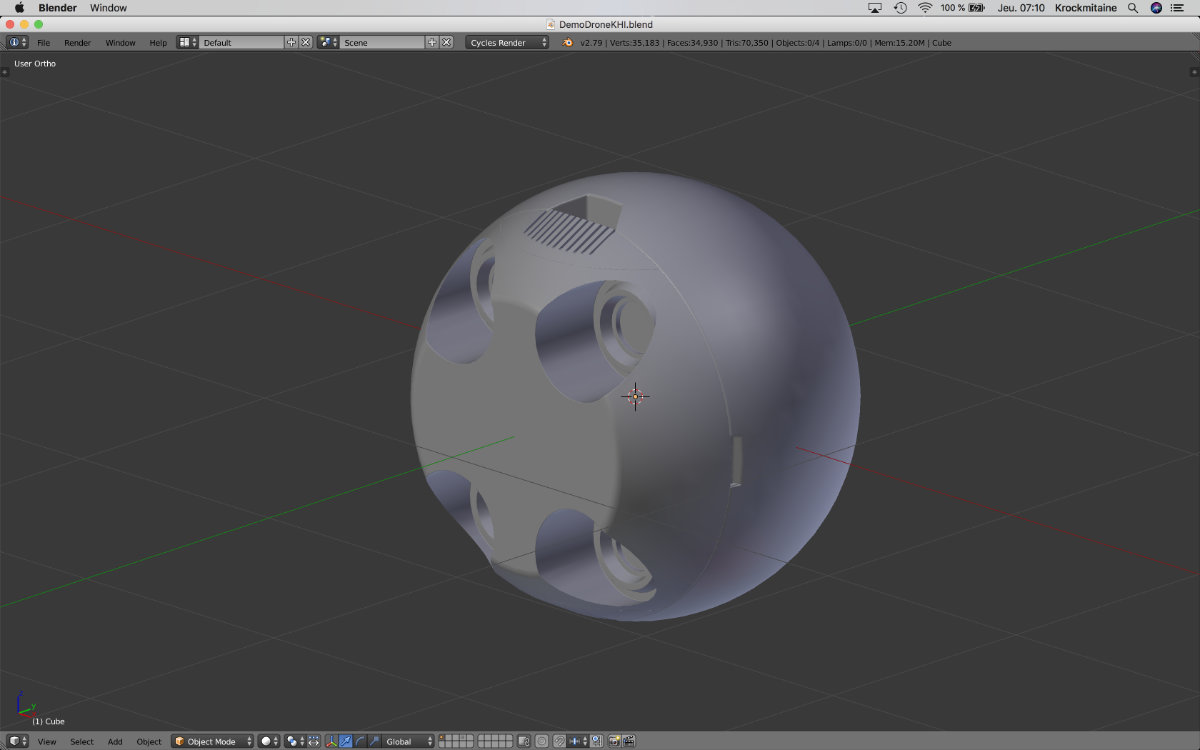
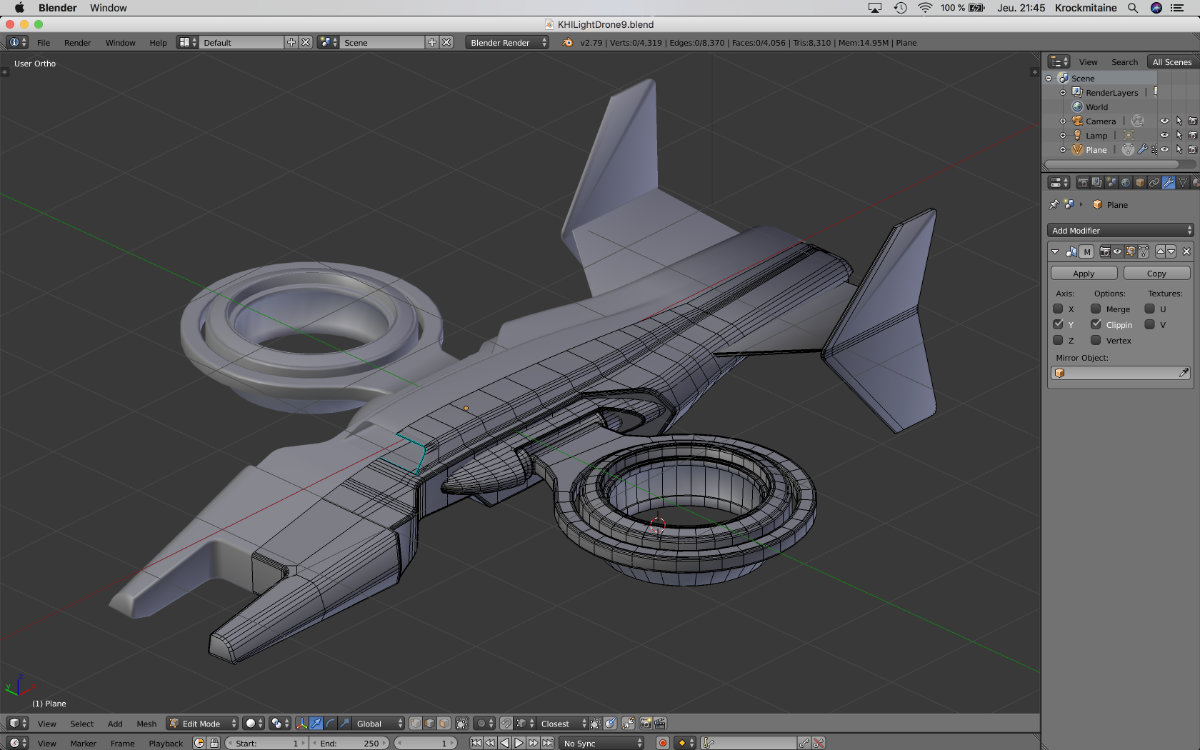
I've been using Blender for a number of years. Normally I would be an expert right now but I've been using off and over a period of years. My loss.
When I started learning Blender, I struggled a lot about their mesurement system. Default dimensions in Blender are Blender units, and this unit is an abstract an indicates the origins of the software, which is animation. Inside Blender, the measurement unit is the Blender Unit which must be change if you want to do precision modeling. You have to change it by going to the Scene tab and choose your preset (millimeters, meters, kilometers or inches, feet and miles). If you want to show your dimensions, you have to have look into the Properties tab (press N), then scroll down to "Mesh Display" and click, under "Edge info", the box for "length". After years of practice, you do it instinctly, but doing it for the first time is no fun. It's one of the many examples where beginners struggles with Blender. And I still struggles because I don't practice enough.
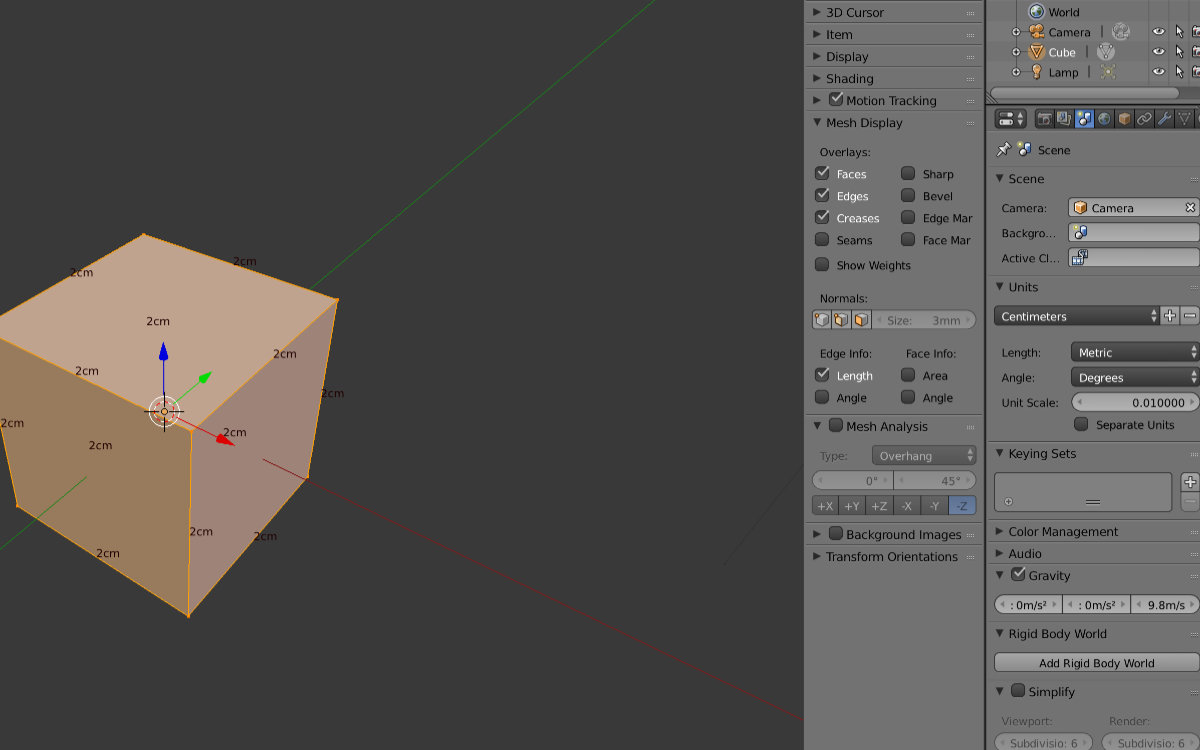
But the limitions of Blender compared to Fusion 360 is when you have complete your design. Under Fusion 360 it's a simple matter, IF done correctly, of changing one dimension in the sketch environment and the design will update itself automatically. Blender can't and will never do that. And Fusion 360 takes into account the physical properties of your object (moment of inertia, mass, volumetric), on any parts made out of wood, glass, steel and you can have an estimation of your project's weight, or can make a simulation out of it. Those features will never be included in Blender. Lastly, Blender will not make the plans for your design assembly: you have to use another software and draw the dimensions by hand, operations that are done automatically in Fusion 360. Blender has it's place in the maker's toolbox, especially for doing science-fiction objects, animation or characters for film making. But for me, it's because of all the reasons above that I will use Fusion 360 for all my projects.
Inkscape
I honestly have a problem with this software. I should like it, but try as I might, I just can't, or difficult. But I need to sit down, relax, and learn the ropes as it has some powerful features that are useful in a lab.
Inkscape is not a 3D software, not even a 2D one. It's a vector graphics software that is really usefull in a lab in the context of using the laser cutter.
Everything is more difficult with Inkscape under Mac because of the emulation. And because of that, you must use the emulator system keyboard shortcuts instead of Mac's default one's. Inkscape is not native under Mac OS system. It's the only one software that I think of that's not obeying the OS's behavioral system: for example, you have to press CTRL-z instead of CMD-z to undo.
The main advantage for me now of using Inkscape is the use design of svg files for the laser cutter. See my Computer-controlled Cutting
