Projection Mapping with Raspberry Pi
Projection Mapping with Raspberry Pi by Kriss
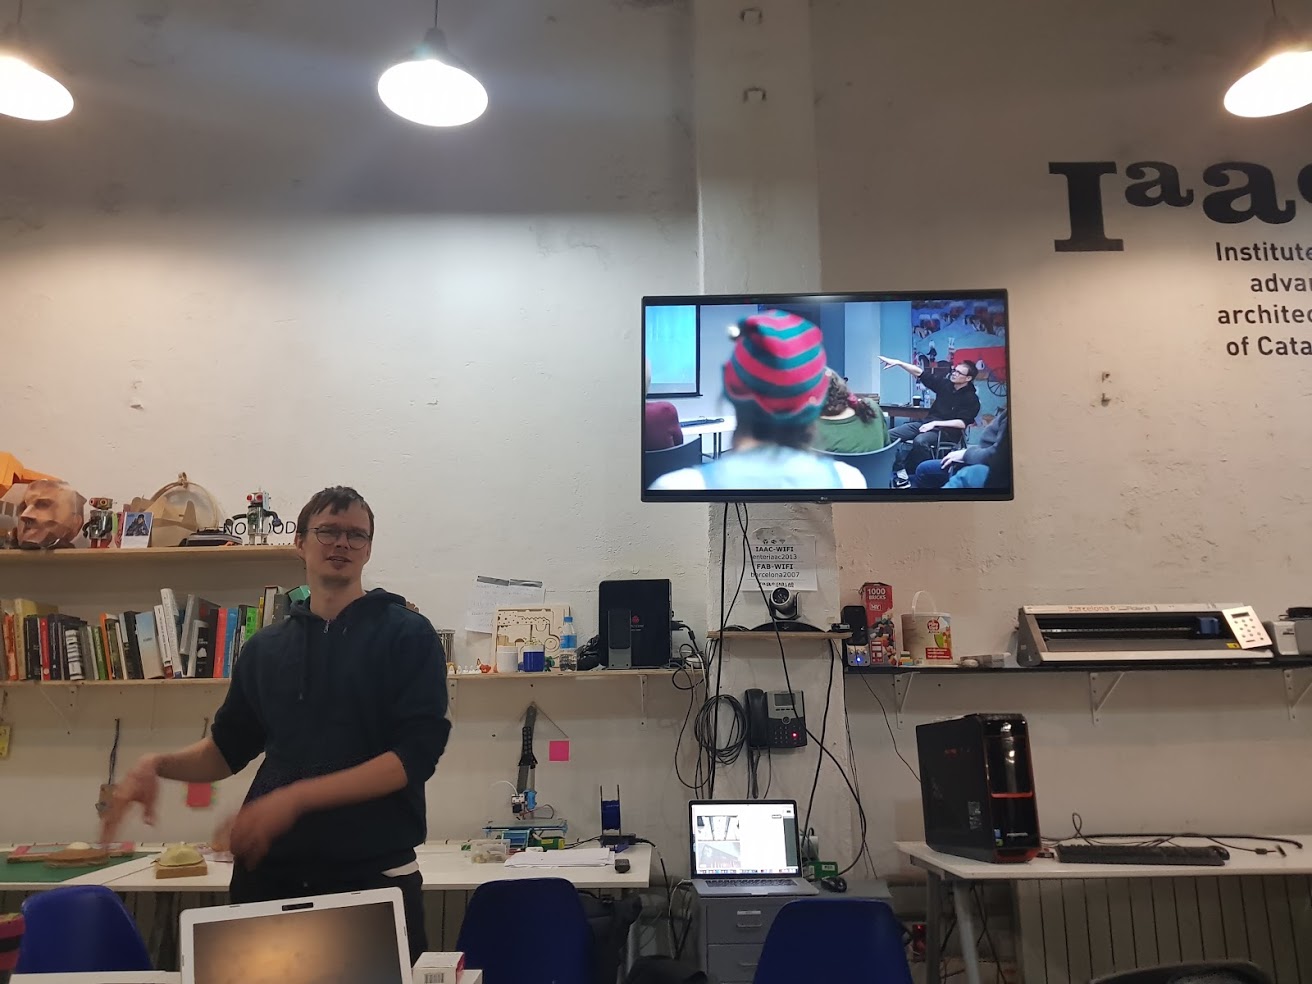
Kris propose a workshop that happened in 8th of February 2018 at IaaC, FabAcademy room
Introduction
Everybody in the room present itself, his background and why he is interested in this workshop.
Andre, Nico, Coral, Xavi, Joris, Javi, Jorge, Dorota,
Kris present itself and his work/realisations on ofxPiMapper
Really nice projects !!
go to rijniecks.com
Setup
We need ofxPiMapper image downloaded from https://www.ofxpimapper.com/
Ecther tool to burn image into your SD card
connect all wires (hdmi, mouse, keyboard, … and power)
Usage
to import your own video you should put them in the root of a usb stick connect the usb device and then rebbot (rbt) so the ofxPiMapper copy them to its directory
to go to texture mapping press 2 key
select and drag corners, then press 0 to view the output
try using arrows keys
modes
- 1 presentation mode
- 2 texture mode
- 3 mapping mode
- 4 source mode
basic keyboard shortcuts
- i togle info
- t add triangle
- q add quad
- c add circle
- d duplicate surface
- tab change source
- backspace Delete surface
- z undo
- Save composition
tip from kris: using remarjs for presentation
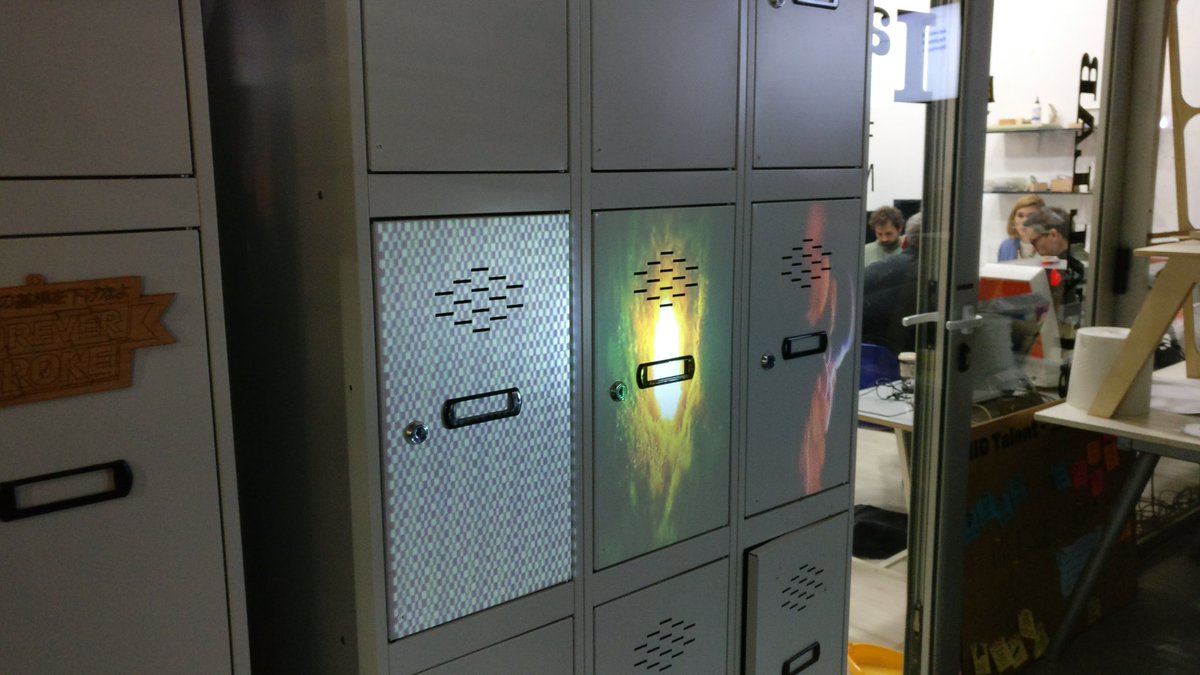
Here is a sample picture
Stay in touch
Hi, I'm
Joris Navarro, from Perpignan (France), a proud dad, a fab director/manager, a teacher, a ceo, a FabAcademy student, but not only. Click here to know more about me.
Check my work for FabAcademy on FabCloud GitLab
@joris.navarro.
Want to say Hi ? Please send me a message.