Mechanical Design and Machine Design.
-
General intro: A delta 3D printer (Click here)
-
Mechanical Design and Machine Design. Task I have been involved in (I): Assembly (Click here)
-
Mechanical Design and Machine Design. Task I have been involved in (II): Calibration (We are here)
Mechanical Design and Machine Design. Task I have been involved in (II): Calibration Rostock -> Make it draw!
II. A. Final Setup
II. A. 1 Connecting all elements to the RAMPS following the ReRap schema below
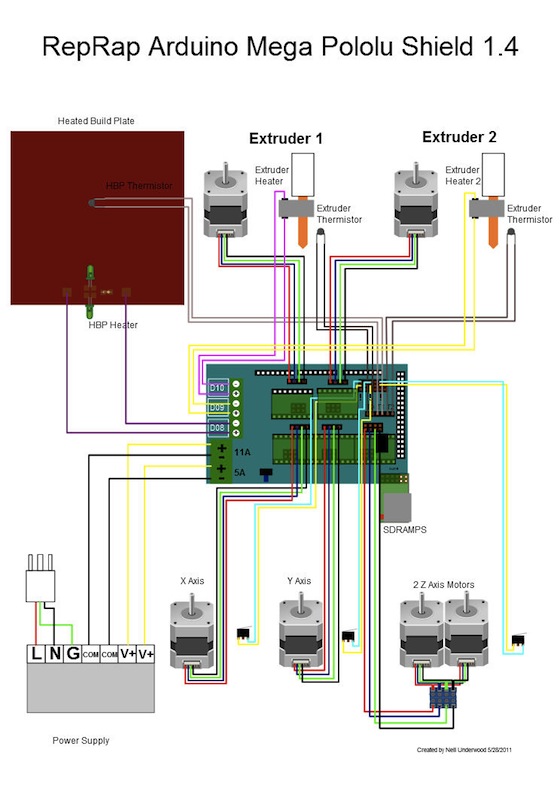
Image from http://reprap.org/wiki/File:Rampswire13.svg
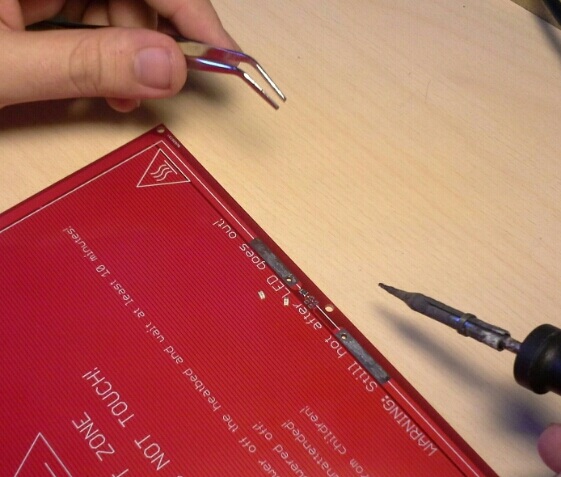
1. Preparing the heated bed
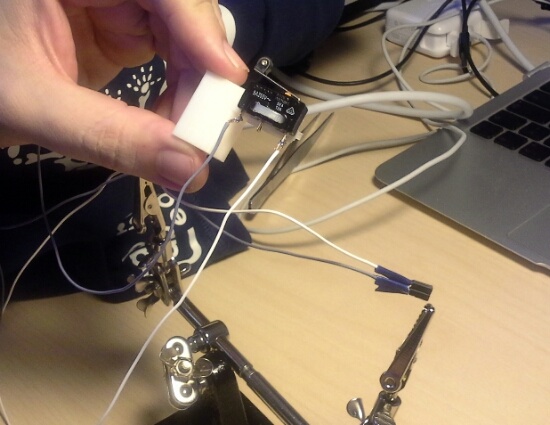
2. Prepare the very long wires we need to connect the endstoppers to the RAMPS,
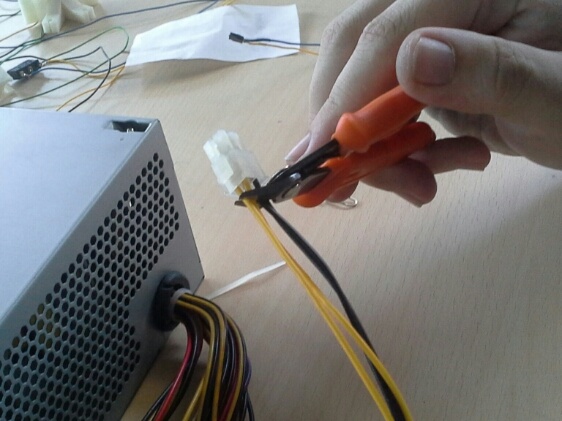
3. 12V Power Supply.
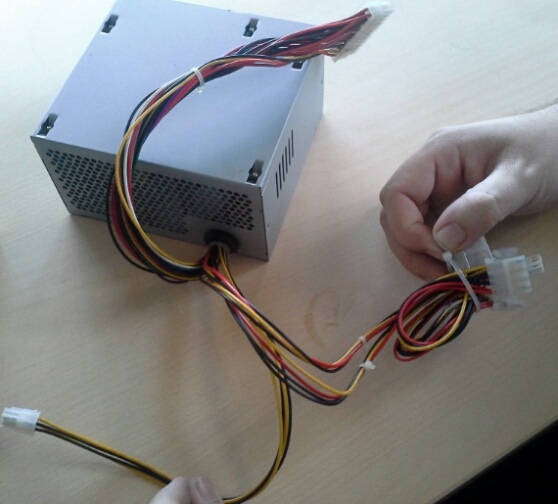
we don't need all these wires.
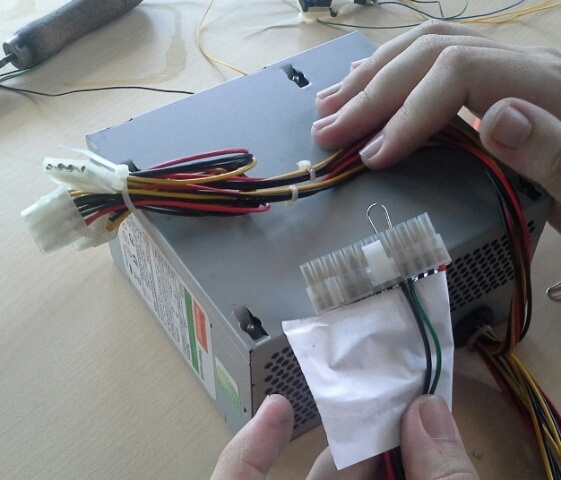
It is necessary to do the protection circuit!
4. Connect everything to the RAMPS
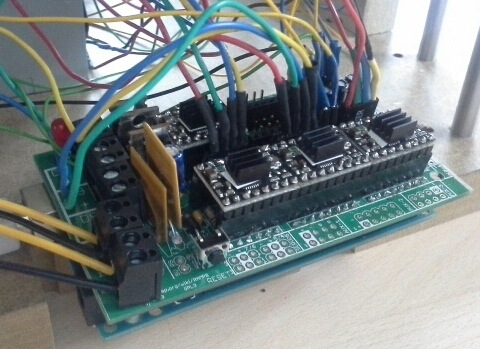
Connecting power: RAMPS Power Supply. The RAMPS shield has its own power supply. Looking at the power connector face on, the positive is on the left and the negative is aligned with the right edge of the card.
II. A. 2. Testing ramps
II. A. 3. Pololu driver calibration
ololu es un driver de potencia. Motores paso a pasa siempre lo la misma corriente ' 270mA. Ajustamos todo desde la misma parte de la ramps. video de obijuan
II. A. 4. Debugging
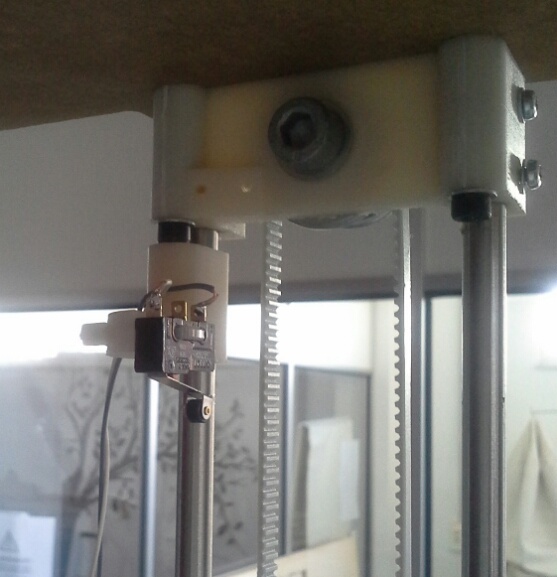
As we can see on the video the x axis was having some problems with its "home in". To debug we follow this steps:
* Changing bearings from one axis to the other in case the bearing on this axis was broken.
* Cheking the joins, soldering and conexions at the enstop.
* Cheking the soldering conexion of the ramps.
And we discovered the problem! The endstop wires that connect with the ramps were not well soldered!!!
II. B. FIRMWARE
The software Repetier-Host is great for delta printer. It can be downloaded from here: http://www.repetier.com/download/.
Here is the firmware we use: assets/Repetier_FablabLeon.zip At the original firmware there are some changes that need to be done:
* Puley teath -> in our case 32
* Type of termistor: in our case we have EPCOS 100K, so it is type 1. it to the code.
* Belt pitch -> in our case 2.5
* Endstop height
* At the #define lines we tried several combinations, finally this combination works:
** PULL UP false
** INVERTING false
** INVERTING A true
II. C. PRINTER SETTINGS
II. C. 1. Repetier Host
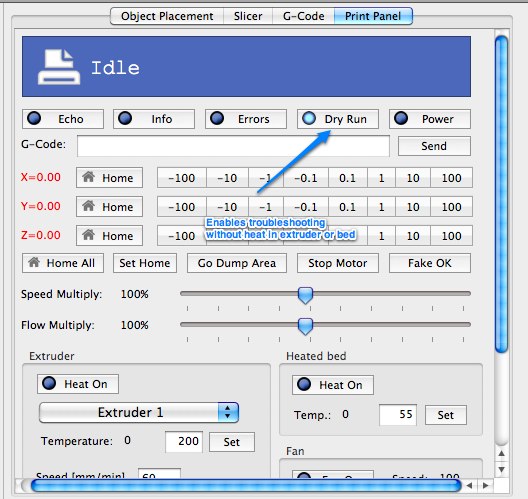
The dry run option enables trouble shooting with out heating extruder or bed.
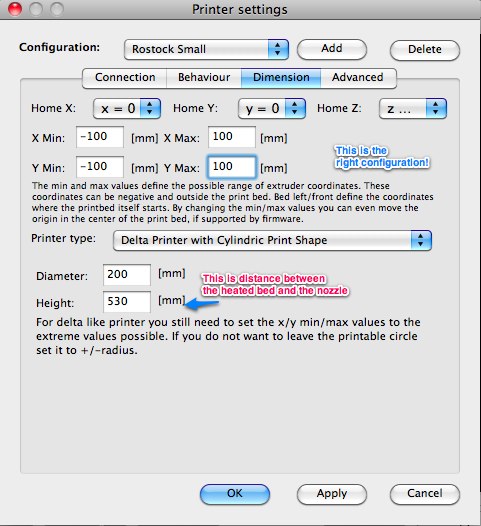
II. C. 2. Printer settings.

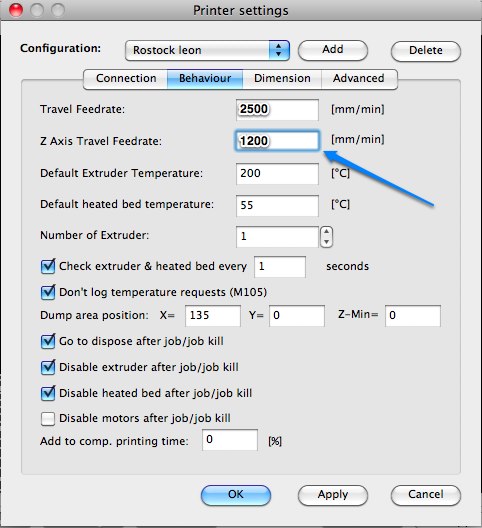
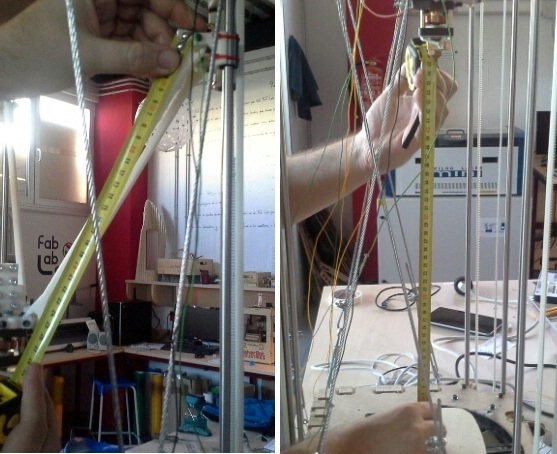
Measuring your machine need to be done to stablish some of the printer settings.
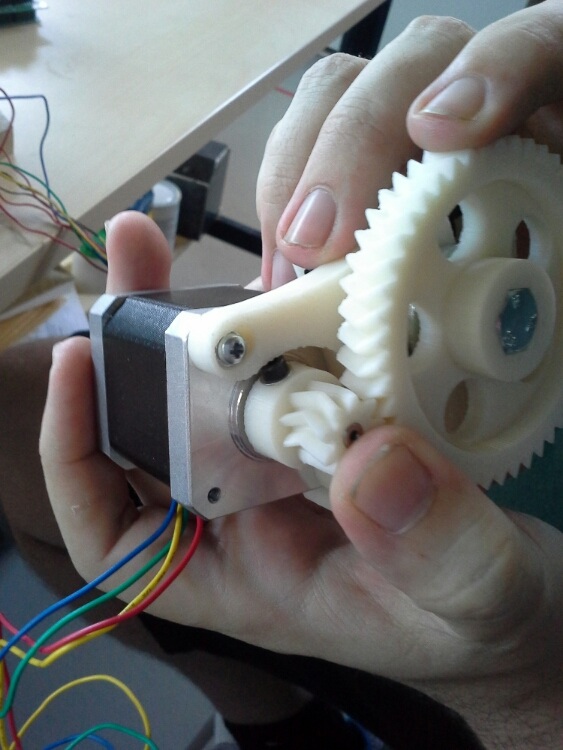
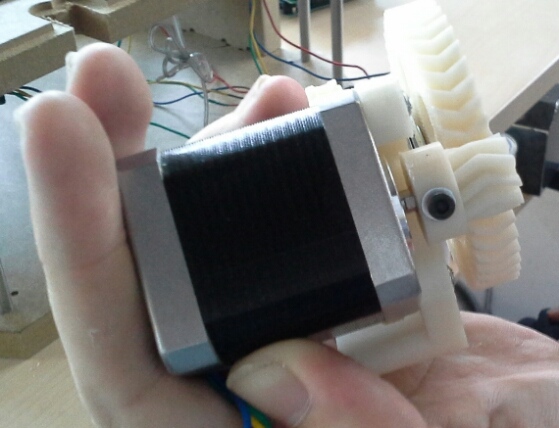
II. D.Extruder
We have to solve some issues with the extruder before start to heat plastic:
* The screw doesn't attach to the axis:
* But a longer screw won't work because it hits the extruder. There are also some small spring that we have to buy too. Let's continue next week!