Electronics Design
Electronics design with Eagle
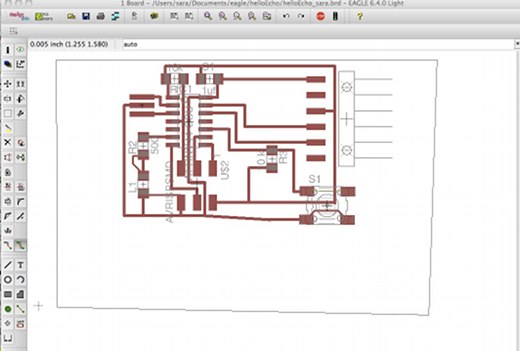
We started installing Eagle following this tutorial. We downloaded the Hello Echo schematic and board files, and the libraries needed. Then we started adding components to the Hello Echo schematic view: button, led, resistors... like in the image below: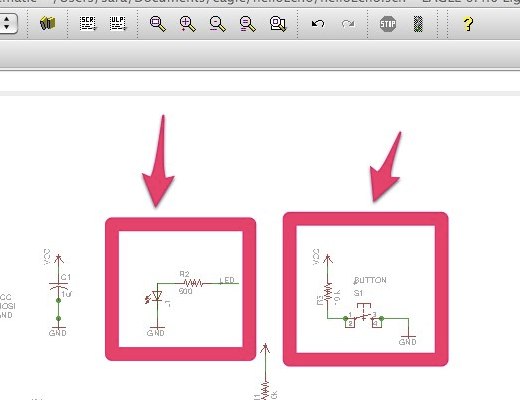
We checked out the design using the ERC (Electrical Rules Check). 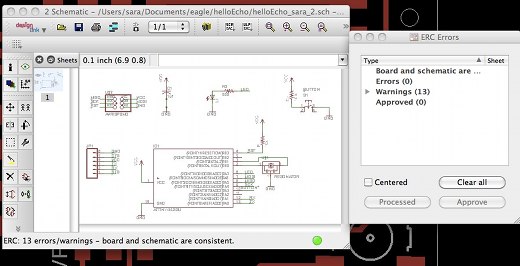
As there were no "Errors" we continued. We went from the schematic view to the board view. It is a good idea to set the background of your canvas black, it would be necessary afterwards. To change it go to "Options" -> "User Interface"->"Layout"-> "Background" and select "black".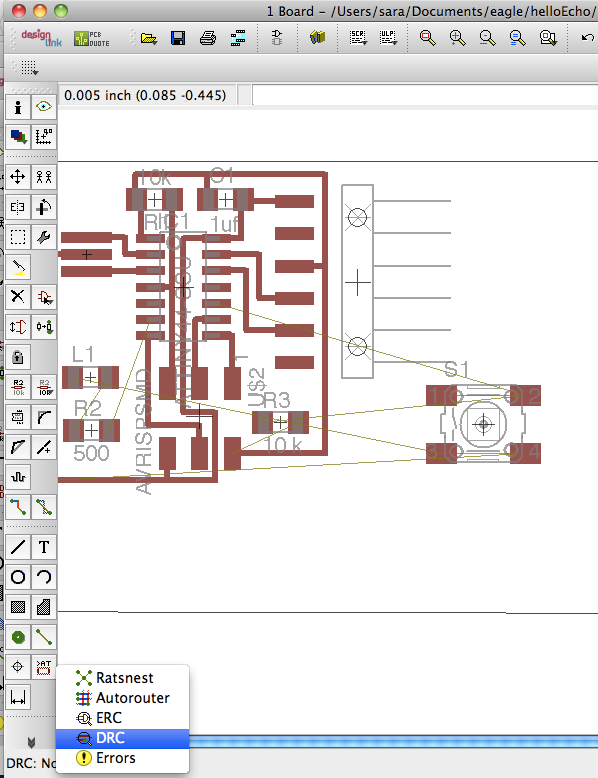
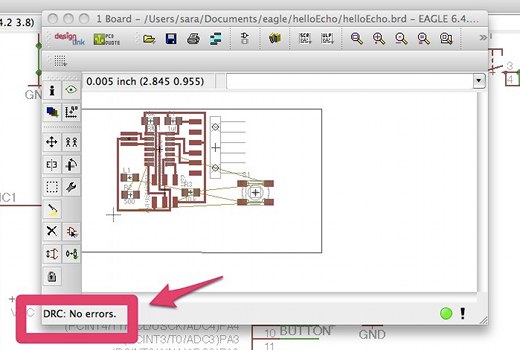
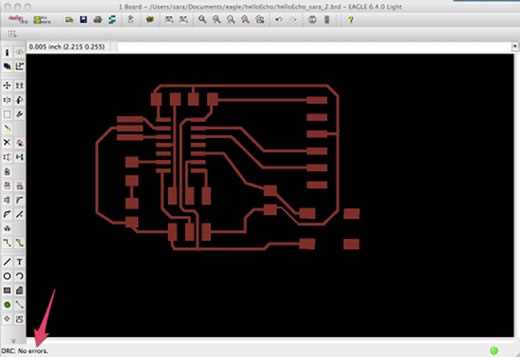
We started placing the components into the board limits. To work comfortably with the free Eagle version, it is important to move all your design in order to keep it into a region of the canvas where "x" and "y" axes have positives values. Once every component has its own place we checked the DRC:
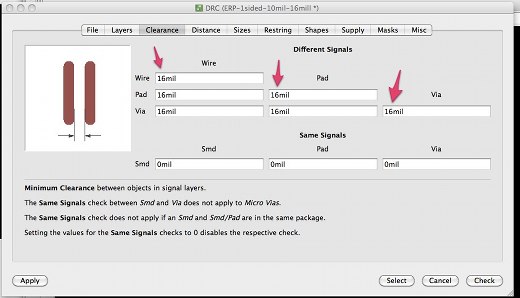
Then we started routing the traces. We made some attempts and checked the DRC every time.
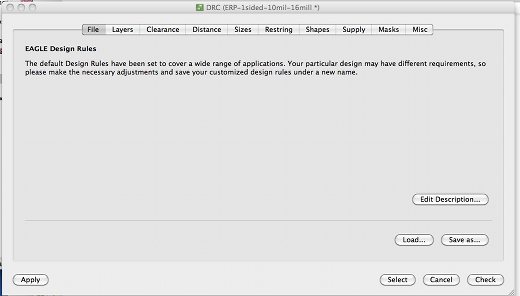
There is also an "autoroute set up" that I tried with the parameters on the picture below:
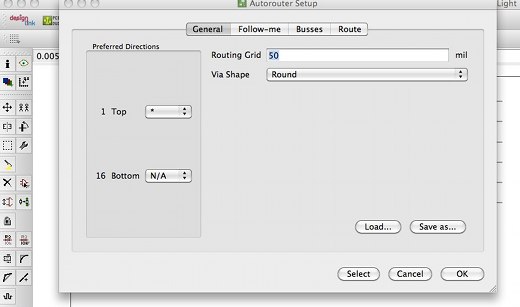
This "autoroute set up" did not work in my case. Finally I did the traces "handmade" and I use the "Miter" tool to help me avoid 90 angles on traces.
Preparing .png for the Milling Machine
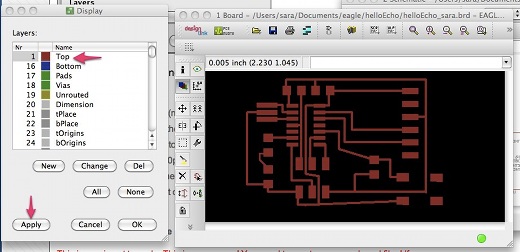
At the board view there were many layers with different informations of the board. We needed two black and white png file for the milling machine. These are the steps we followed to prepare this files:
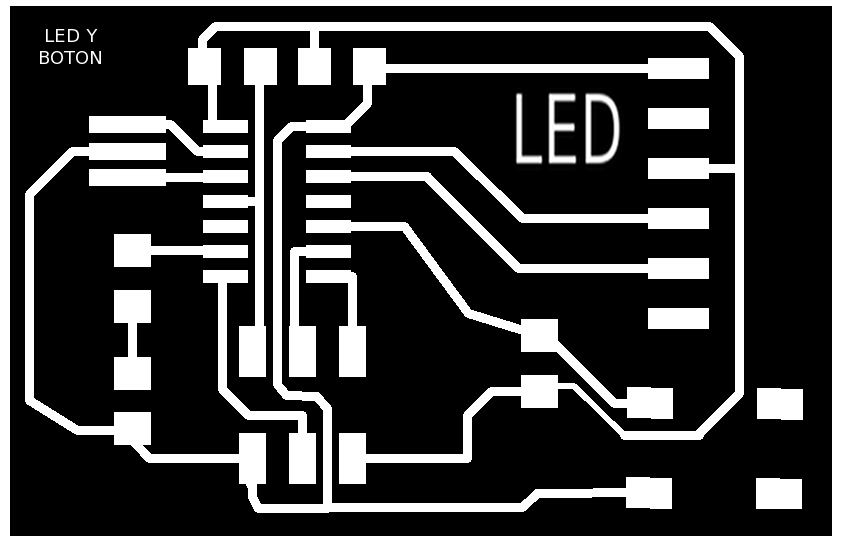
* Select on the layer display only the "Top" layer. (!) Very important, your layout background has to be black!
* "File" -> "Export" -> "Image". Select "Monochrome" and 500dpi.
This is the milling traces file, save it. 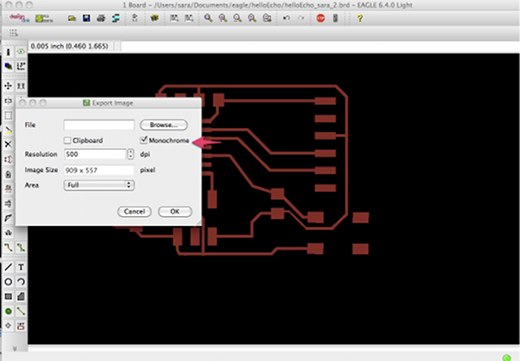
* Open this file in Gimp. "Image" -> "Mode" ->"grayscale". Save a copy of this one (milling traces file).
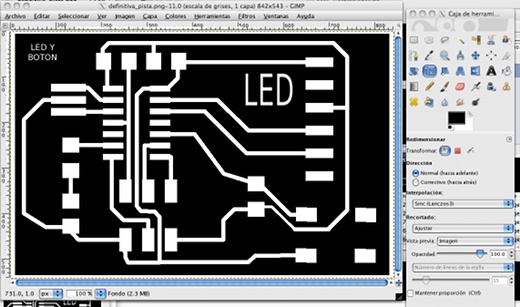
* Fill the area of the image in black.
* Select "Edit Canvas". Make its height and width 20px bigger. Fill it with white color. .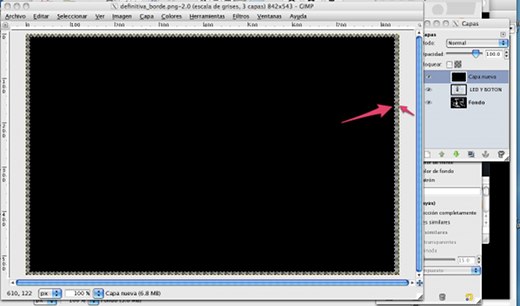
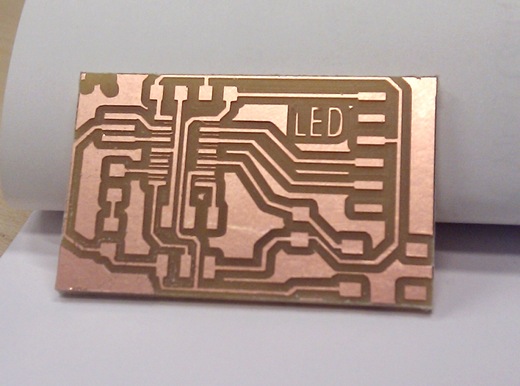
PCB production at the milling machine
Assembling
- Components needed for this design were:
- R1 10K
- R2 1K
- R3 10K
- C1 1uF
- Resonator 20MHz
- Led
- ISP
- ISP
- Attiny 44
