Embedded Programming
I followed AS220 Tutorial. I had both Arduino IDE and FTDI drivers already installed in my computer. I only had to add the "hardware" folder to my "Arduino" folder where I put the "ATtiny44 board files". I enjoyed discovering C, and I finally modified a little bit the echo.c code of the assigment. Let's see the whole process:
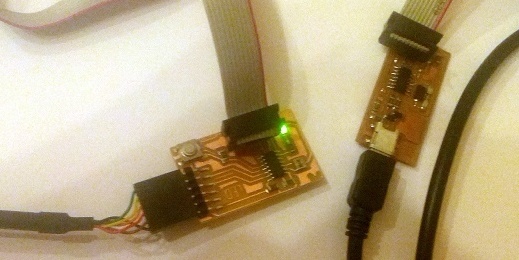
Fab Isp and the button + LED board
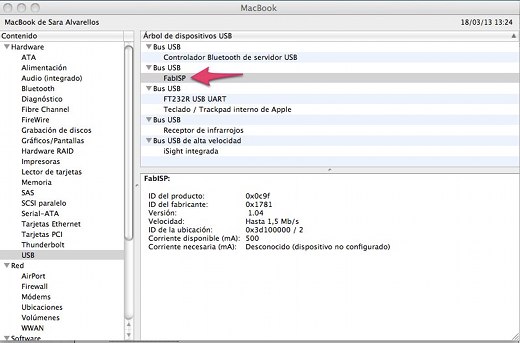
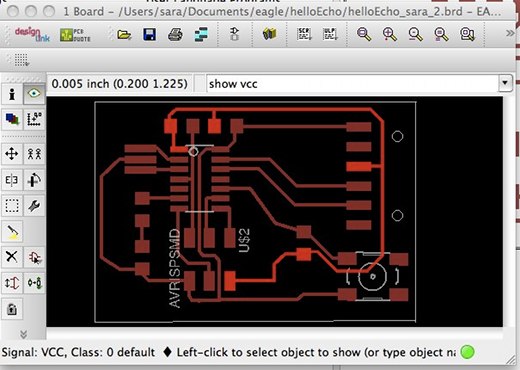
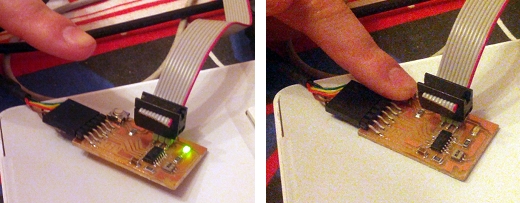
I used the Fab Isp I built on the 4th week. I started testing that the computer recognise it and then I connected it to the Led+Button board from the 6th week, and plug it in my computer with the FTDI. I had a look at the Eagle file and then I plug the 6 Pin ISP cable to the Led+Button board and the Fab Isp.
To start programming we opened Arduino IDE and we followed this steps:
- Configuring the ATtiny to run at 20 MHz: "Tools" --> "Board" --> "ATtiny44 (external 20 MHz clock)"
- Select Programmer: "Tools" --> "Programmer" --> "USBtinyISP"
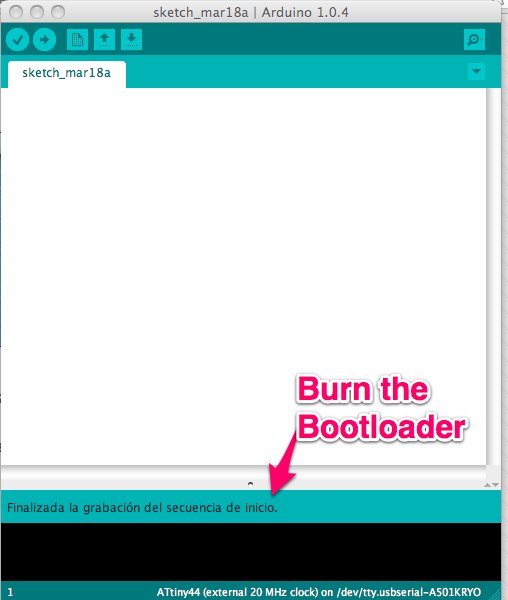
- "Tools" --> "Burn the Bootloader"
Arduino: Program button + LED Board
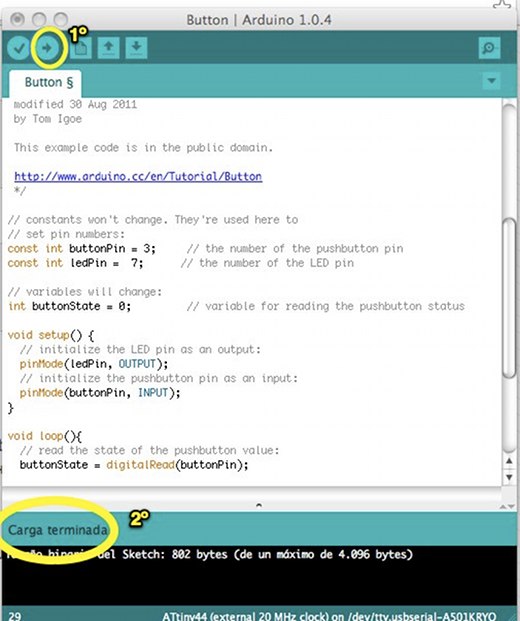
We opened the button Arduino example from:
- File --> Examples --> Digital --> Button
In the image below we can see the ATtiny 44 vs. Arduino Pin-Out Numbering.
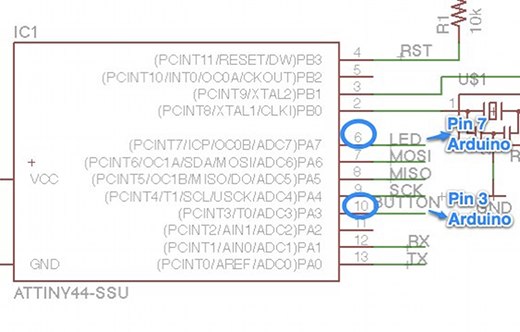
Following this we had to change the pin numbers to correspond to the pins used for our Button + LED board.

Then we compiled the code:
And the led started shining; when pressing the button we turn off the led.
Echo Keyboard Input Using C
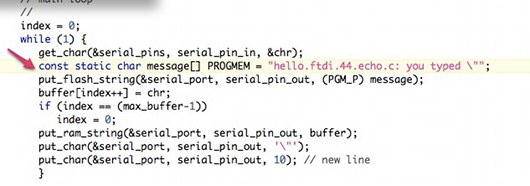
This was my first time using C. First I changed the hello.ftdi.44.echo.c file adding const before static char message[] PROGMEM = "hello.ftdi.44.echo.c:" so it looked like that:
Thanks Ohad Meyuhas for sharing this issue with the class.
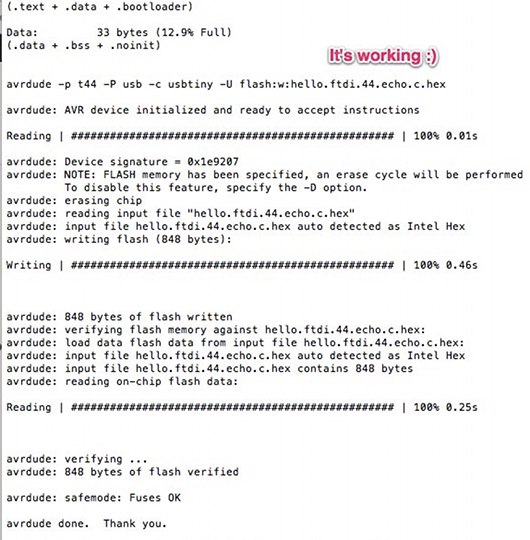
Once the .c file is ready, we opened the Terminal and we used the command-line to move across directories. Once at the echo.c folder we wrote down sudo make -f hello.ftdi.44.echo.c.make program-usbtiny from the command line and it looked like that:
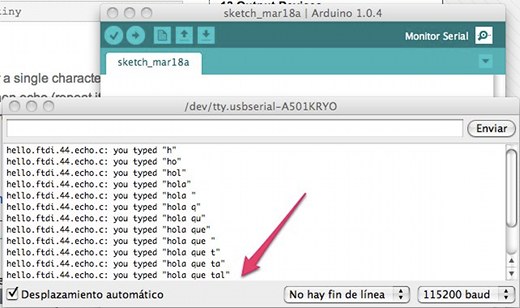
Following A220 tutorial we opened Arduino IDE and the Serial Monitor, and put it at 115200 baud. We started typing and the echo works.
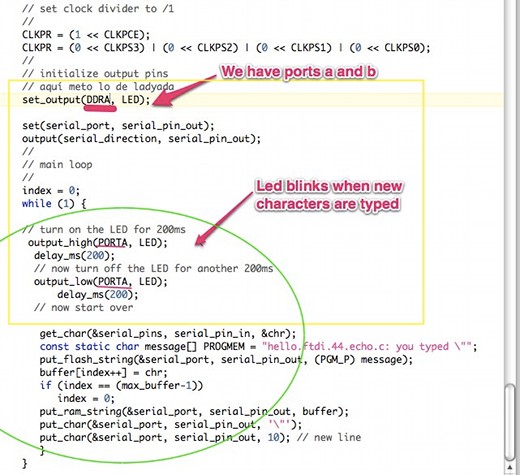
Echo Keyboard Input + Blinky led Using C
I modified the echo code. When a character is typed the green led from the Led+Button board shines. Here is the result of this mix:I studied this example from lady ada and added it to the echo example. The main differences were the microcontroller ports. Our ATtiny had A and B port, and lady ada's had D and B ports.