Week 4: Embedded Programming
Group Assignment Requirements
- Demonstrate and compare the toolchains and development workflows for available embedded architectures.
- Document work to the group work page and reflect on your individual page what you learned.
Microcontroller vs Microprocessor
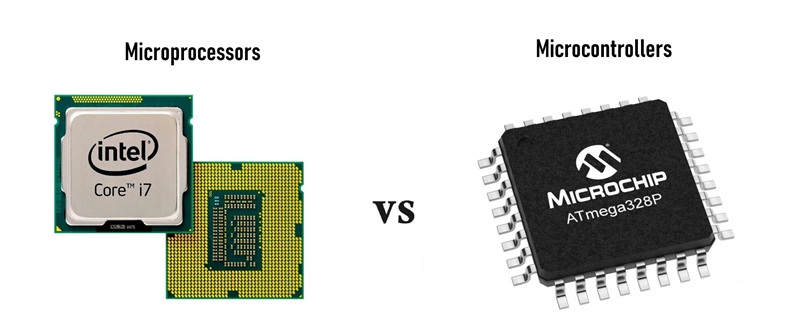
- Integration and Components: Microcontrollers combine all the essential elements of a microcomputer—the CPU, memory (RAM and ROM), and input/output (I/O) peripherals—onto a single piece of hardware. Conversely, microprocessors consist solely of a CPU and require external memory and specialized hardware to function properly.
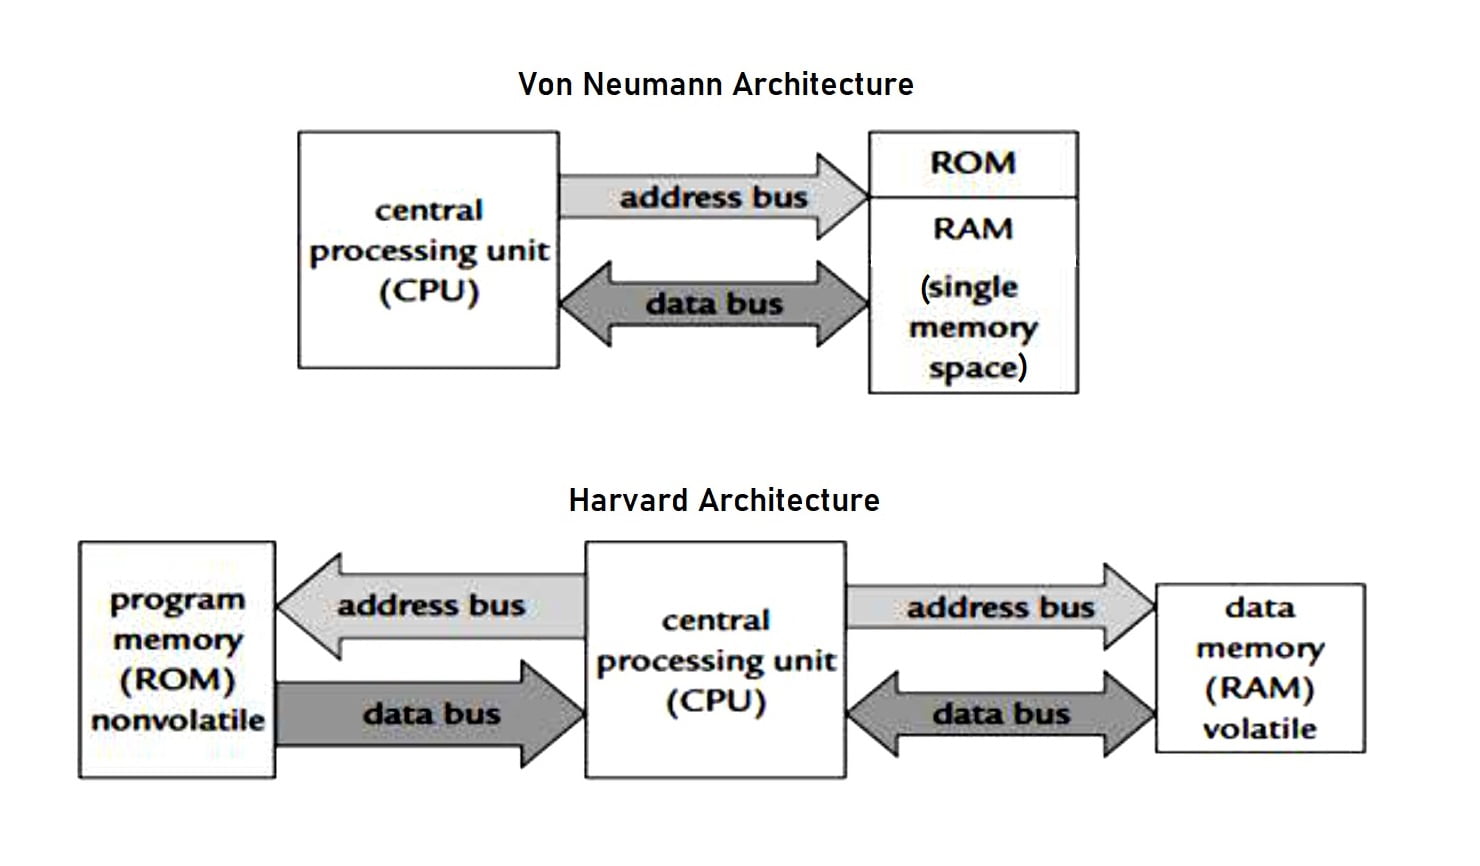
- Architecture: Most microcontrollers use the Harvard architecture, which features a dedicated set of buses for data and another set for instructions. Because it can fetch instructions and read data memory at the same time, this architecture excels at real-time and high-speed basic operations. Microprocessors typically use the classical von Neumann architecture, which uses the same bus to transmit both data and instructions. Though this can create a bottleneck, the unified memory space results in improved reliability and scalability for more demanding computing tasks.
- Power and Cost: Microcontrollers are small, highly cost-effective, and have low power consumption, making them perfect for battery-operated devices. Microprocessors, on the other hand, boast high-power processing but come with much higher power consumption and a higher price tag.
- Use Cases: Because they are optimized for specific standalone functions, microcontrollers are used in embedded systems, Internet-of-Things (IoT) devices, automotive infotainment systems, and wearables like smartwatches. General-purpose microprocessors are much more powerful and are designed for demanding, complex applications like personal computing, servers, gaming, and industrial supercomputers.
Here is a good reference to know more about the differences between microcontrollers and microprocessors.
In this week assignment we have only deal with microcontrollers and their toolchains.
1. Architecture Comparison
| Feature | ESP32‑C3 | ESP8266 | ATtiny48 | XIAO RP2040 | Arduino Uno |
|---|---|---|---|---|---|
| Core / Arch. | RISC‑V 32‑bit | Tensilica L106 32‑bit | AVR 8‑bit | Dual ARM Cortex‑M0+ 32‑bit | AVR 8‑bit |
| Max Clock | 160 MHz | 80/160 MHz | 12 MHz | 133 MHz | 16 MHz |
| Flash | 4 MB | 4 MB typical | 4 KB | 2 MB | 32 KB |
| SRAM | 400 KB | 160 KB | 256 B | 264 KB | 2 KB |
| Digital I/O | ~22 | 16 | 24 | 26 | 14 |
| Analog Inputs | 6+ | 1 | 6–8 | 3 | 6 |
| PWM | Yes | Yes | Yes | Yes | Yes |
| Voltage | 3.3 V | 3.3 V | 1.8–5.5 V | 3.3 V | 5 V |
| Connectivity | Wi‑Fi / BLE | Wi‑Fi | I²C / SPI | USB / UART / SPI / I²C | UART / SPI / I²C |
- Differentiating Microprocesser from a microcontroller
- Soldering Techinques
- Arduino IDE interface
- Datasheet exploration
- Debugging and Troubleshooting examples
Important Abbreviations and Definitions
| Abbreviation | Meaning |
|---|---|
| MHz | Megahertz – CPU clock speed (millions of cycles per second). |
| KB / MB | Kilobyte / Megabyte – memory size (1 KB = 1024 bytes). |
| SRAM | Static Random-Access Memory – fast, volatile memory used for program execution. |
| PWM | Pulse Width Modulation – method to simulate analog output using digital signals. |
| GPIO | General Purpose Input/Output – pins that can be programmed as input or output. |
Connectivity Definitions
- Wi‑Fi – Wireless networking standard for connecting devices to the internet or local networks.
- BLE (Bluetooth Low Energy) – Low-power wireless communication for IoT and peripheral devices.
- UART (Universal Asynchronous Receiver/Transmitter) – Serial communication protocol for simple device-to-device data exchange.
- SPI (Serial Peripheral Interface) – High-speed synchronous communication protocol for sensors, memory, and other peripherals.
- I²C (Inter-Integrated Circuit) – Two-wire communication protocol for connecting multiple devices on the same bus.
- USB (Universal Serial Bus) – Standard wired connection for data transfer and device programming.
2. Toolchains Introduction
A toolchain is the collection of software tools used to compile, build, and upload firmware to an embedded system such as:
- Arduino IDE – A beginner-friendly, cross-platform environment to program boards like Arduino Uno, ESP32, and XIAO RP2040 using C/C++. It handles compilation, libraries, and flashing to the MCU.
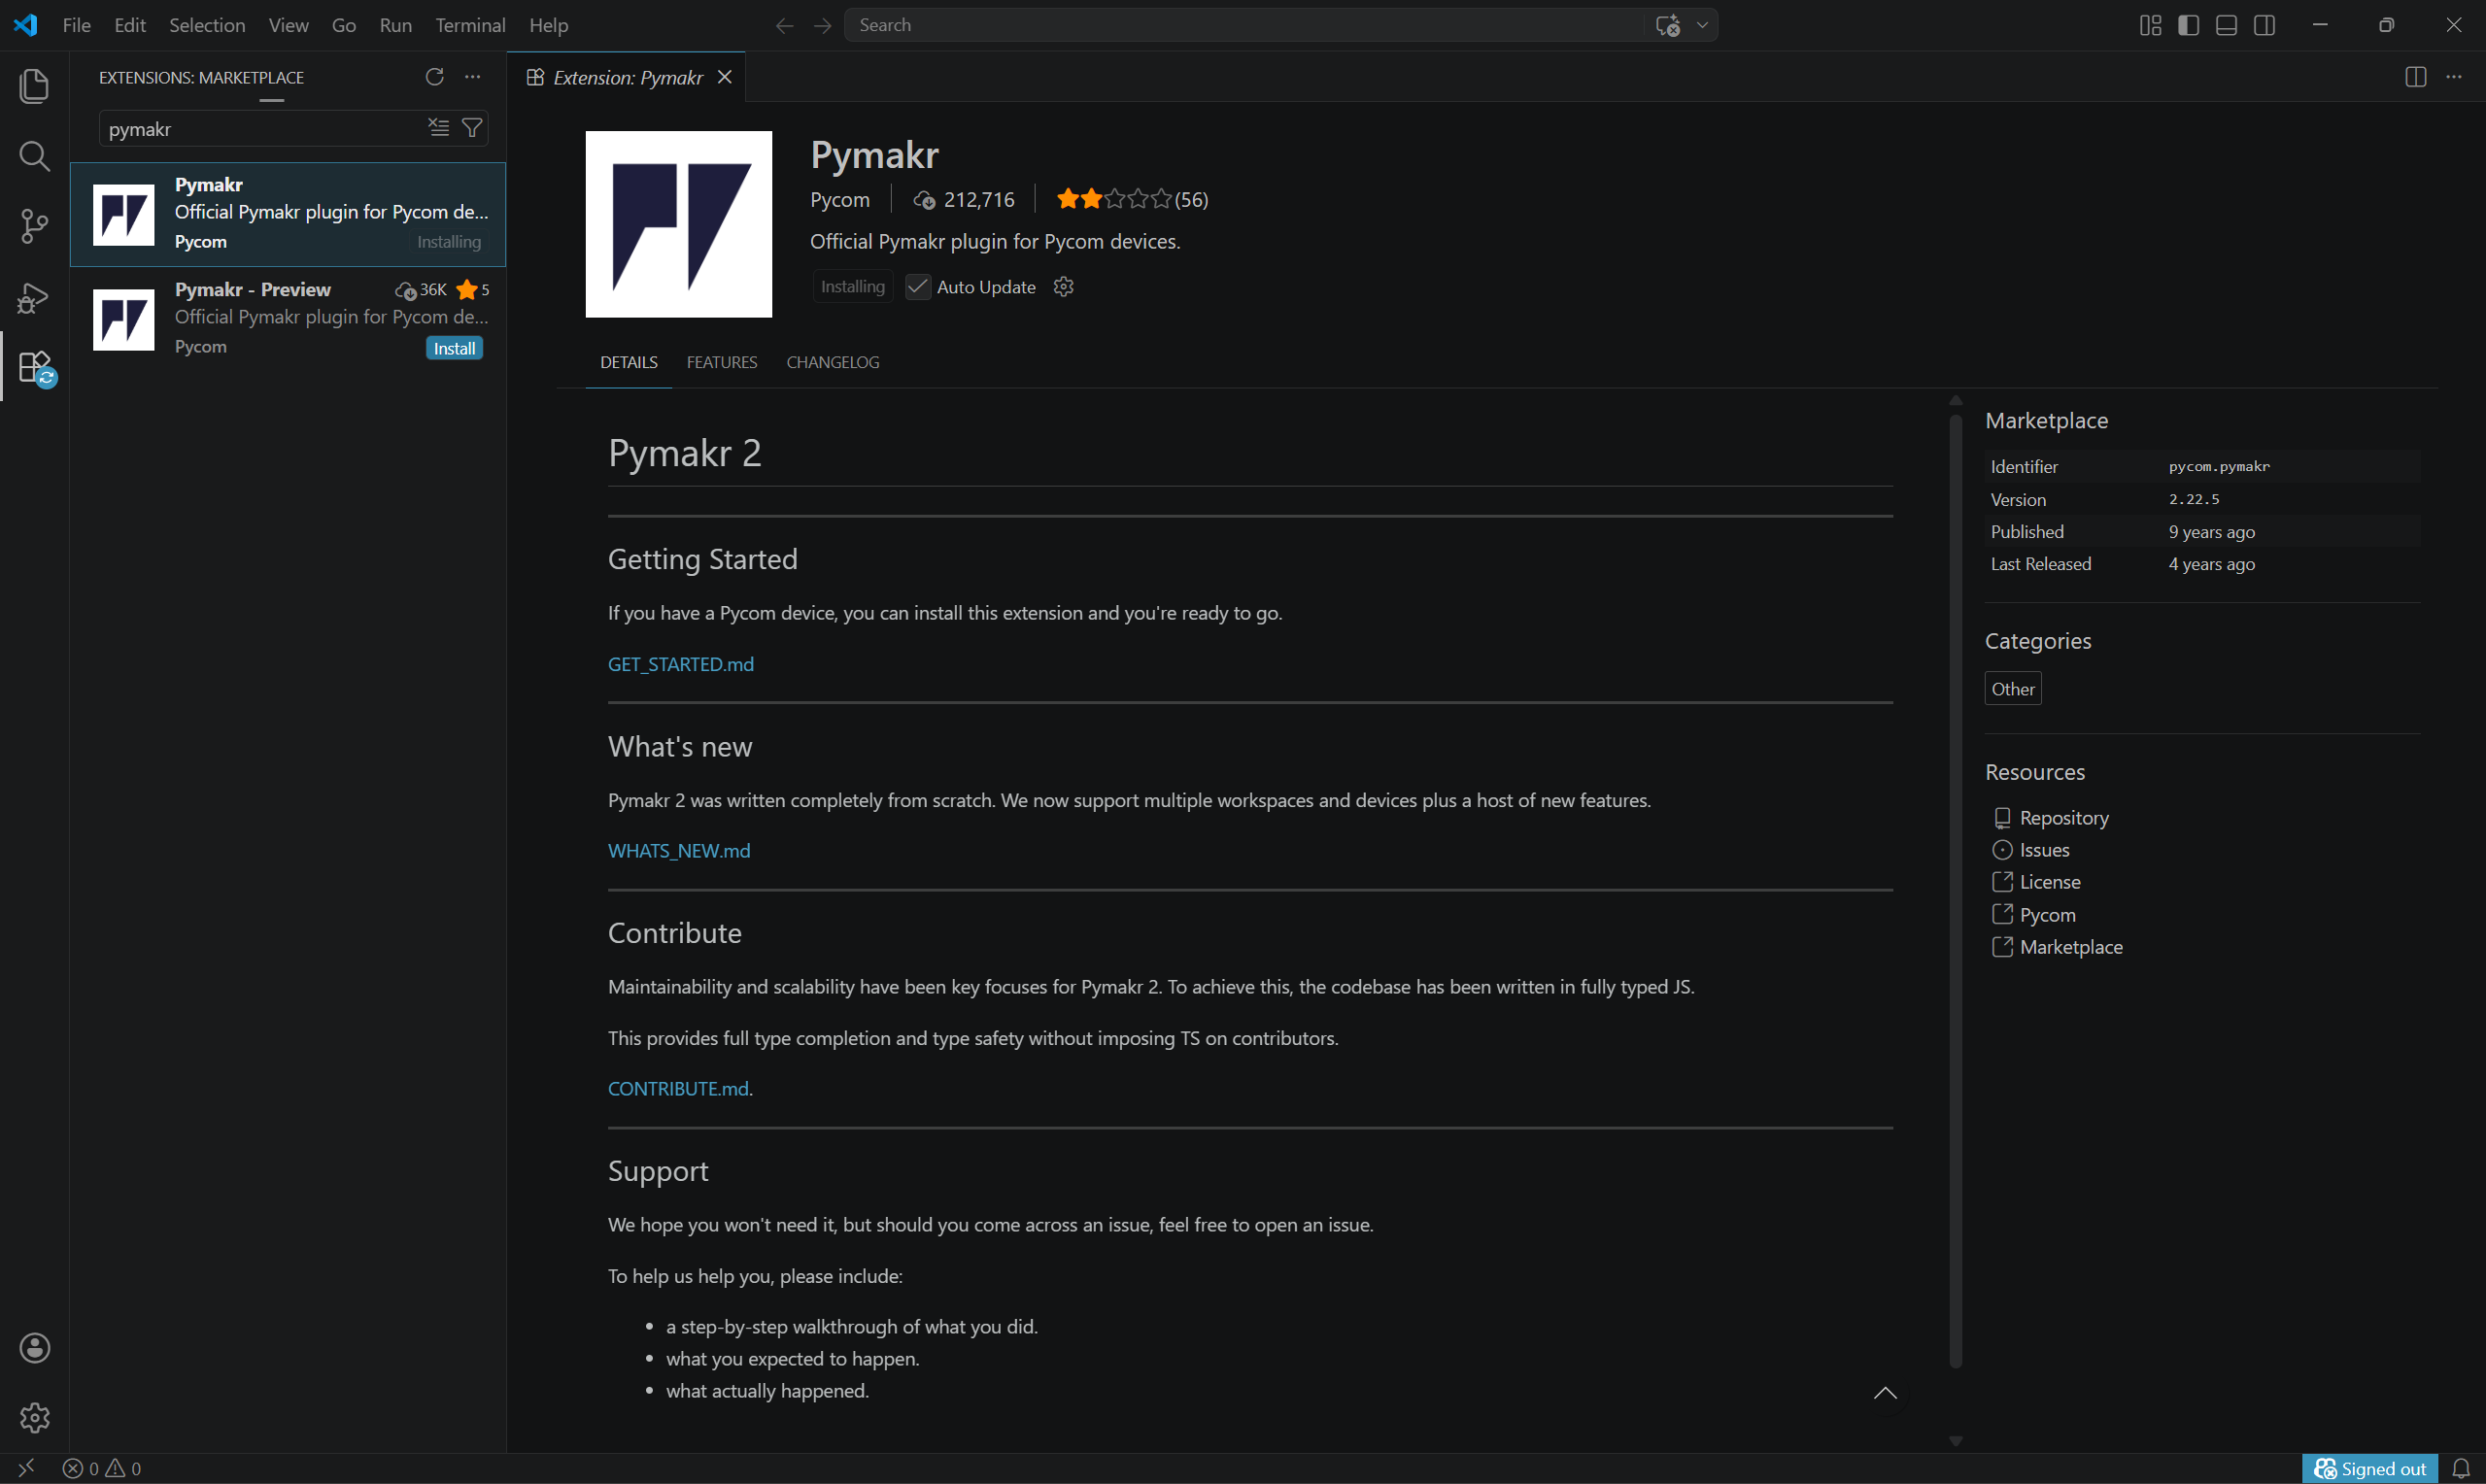
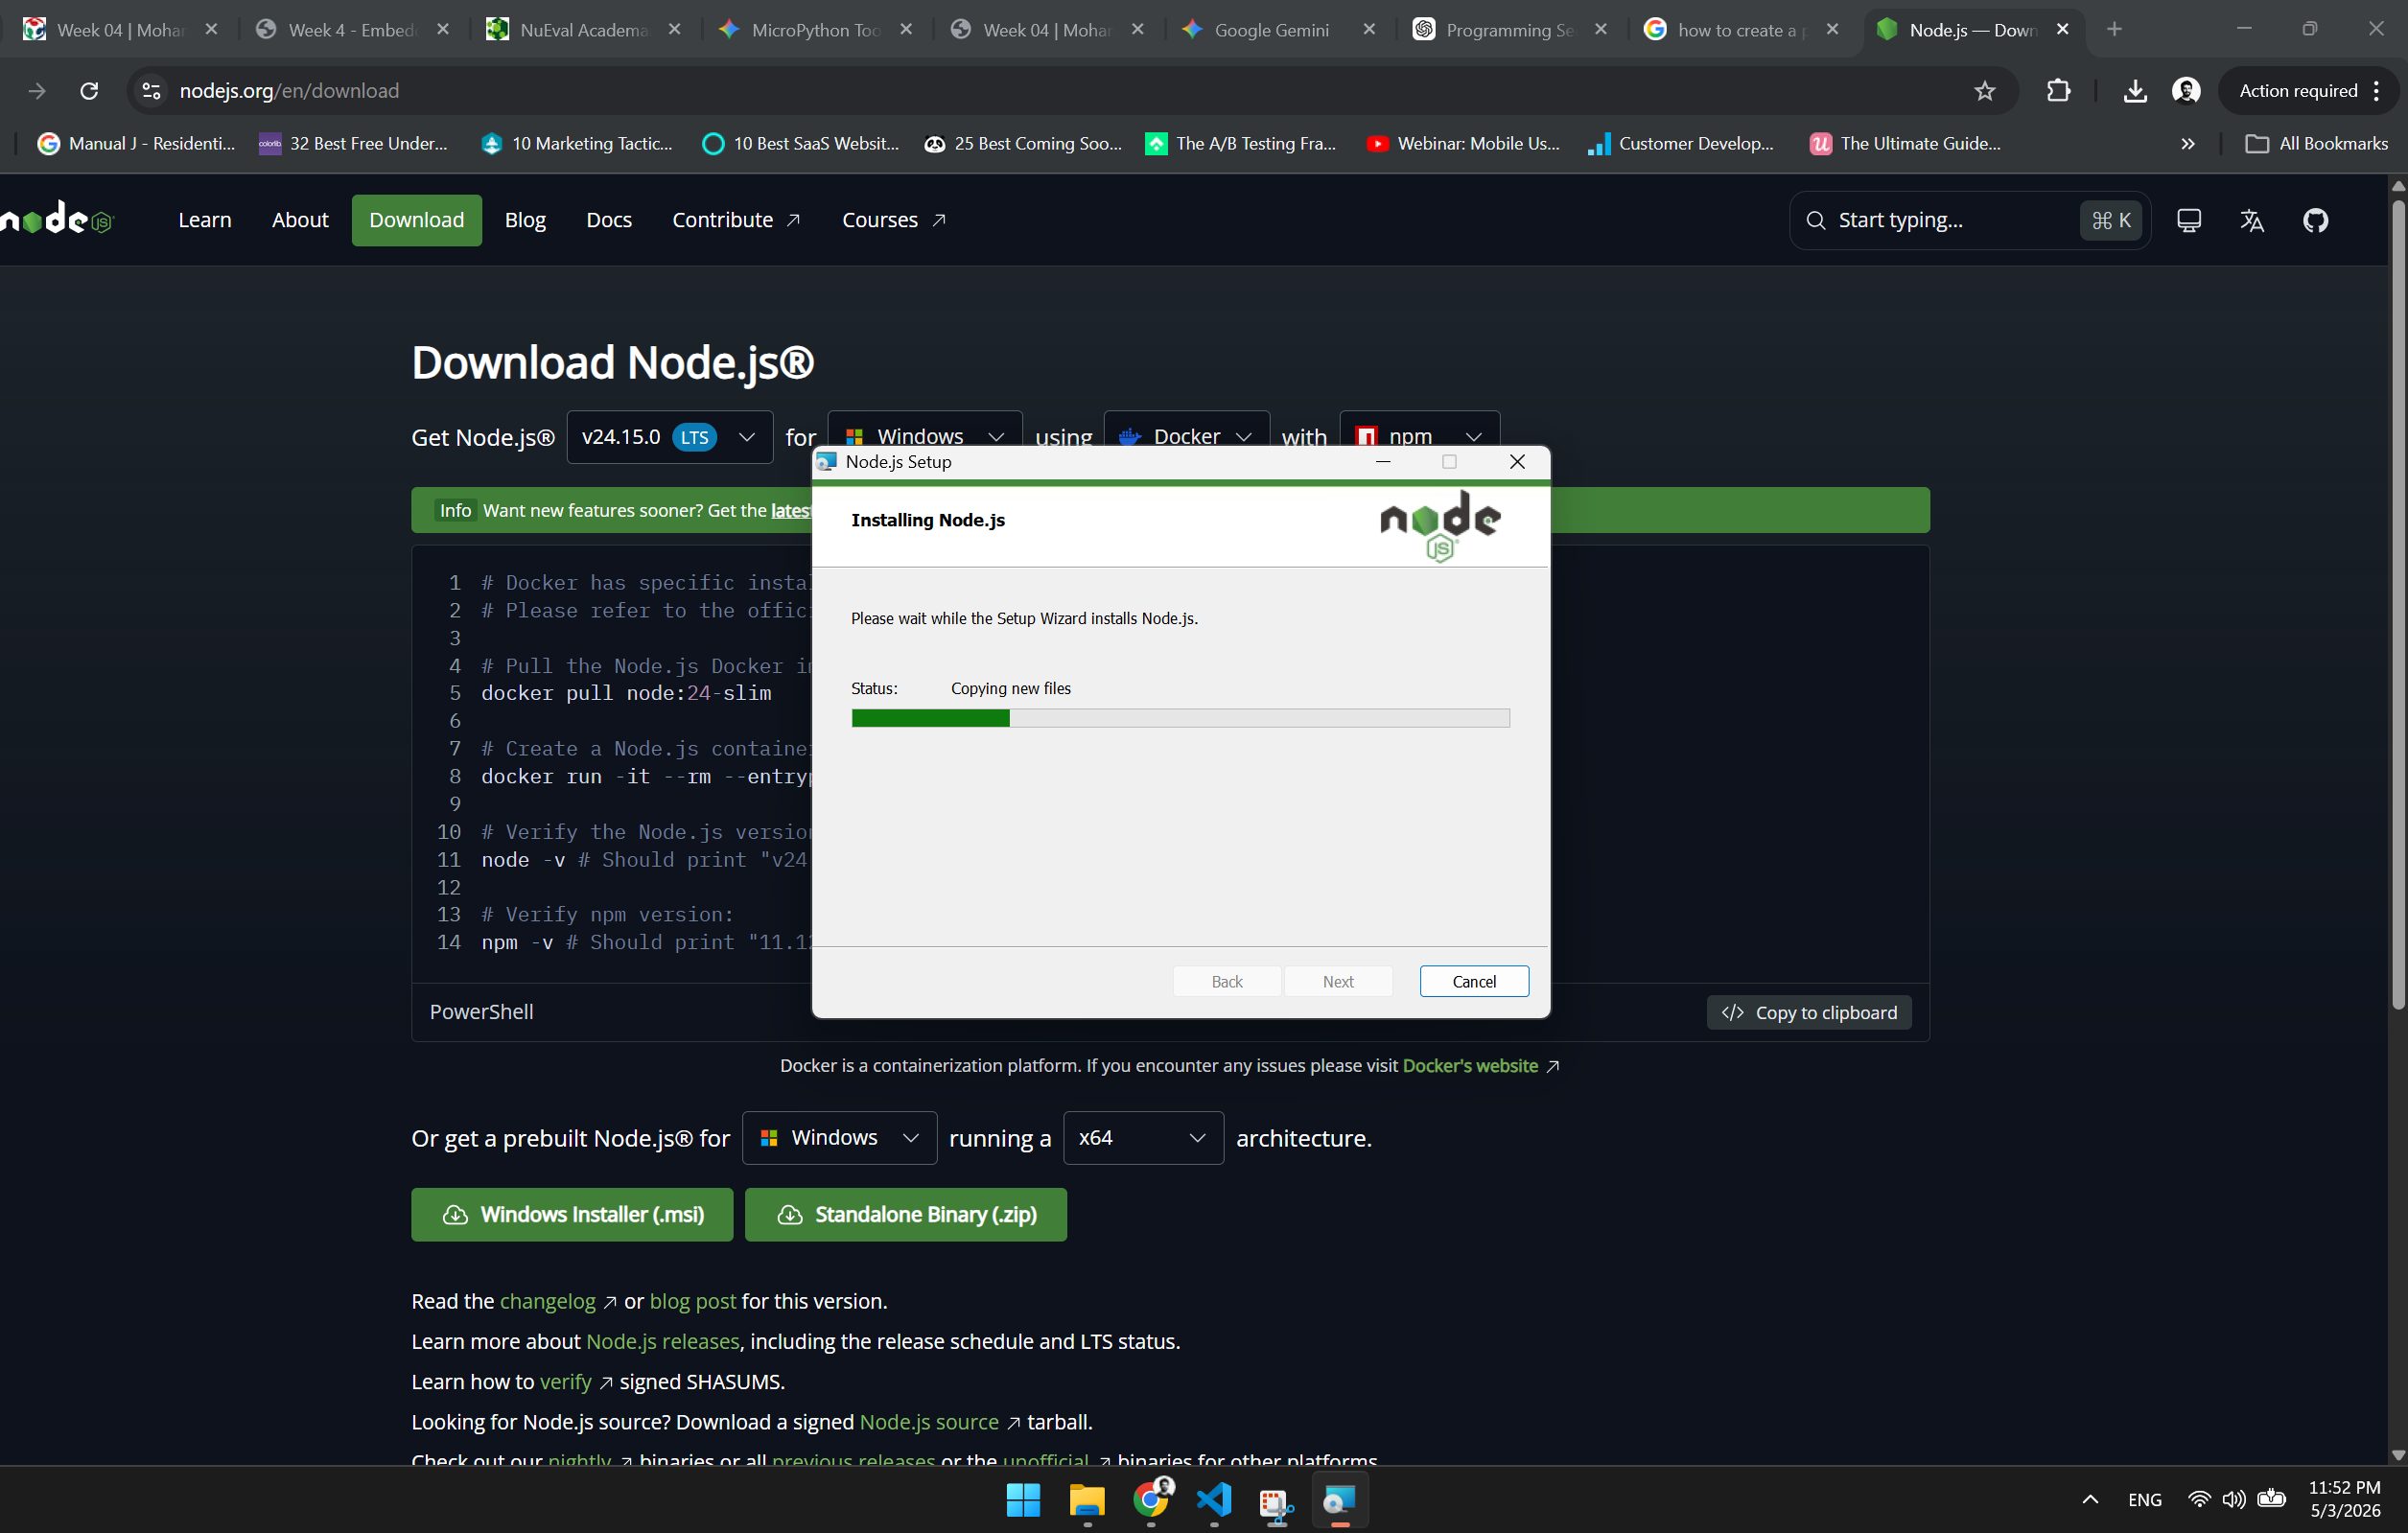
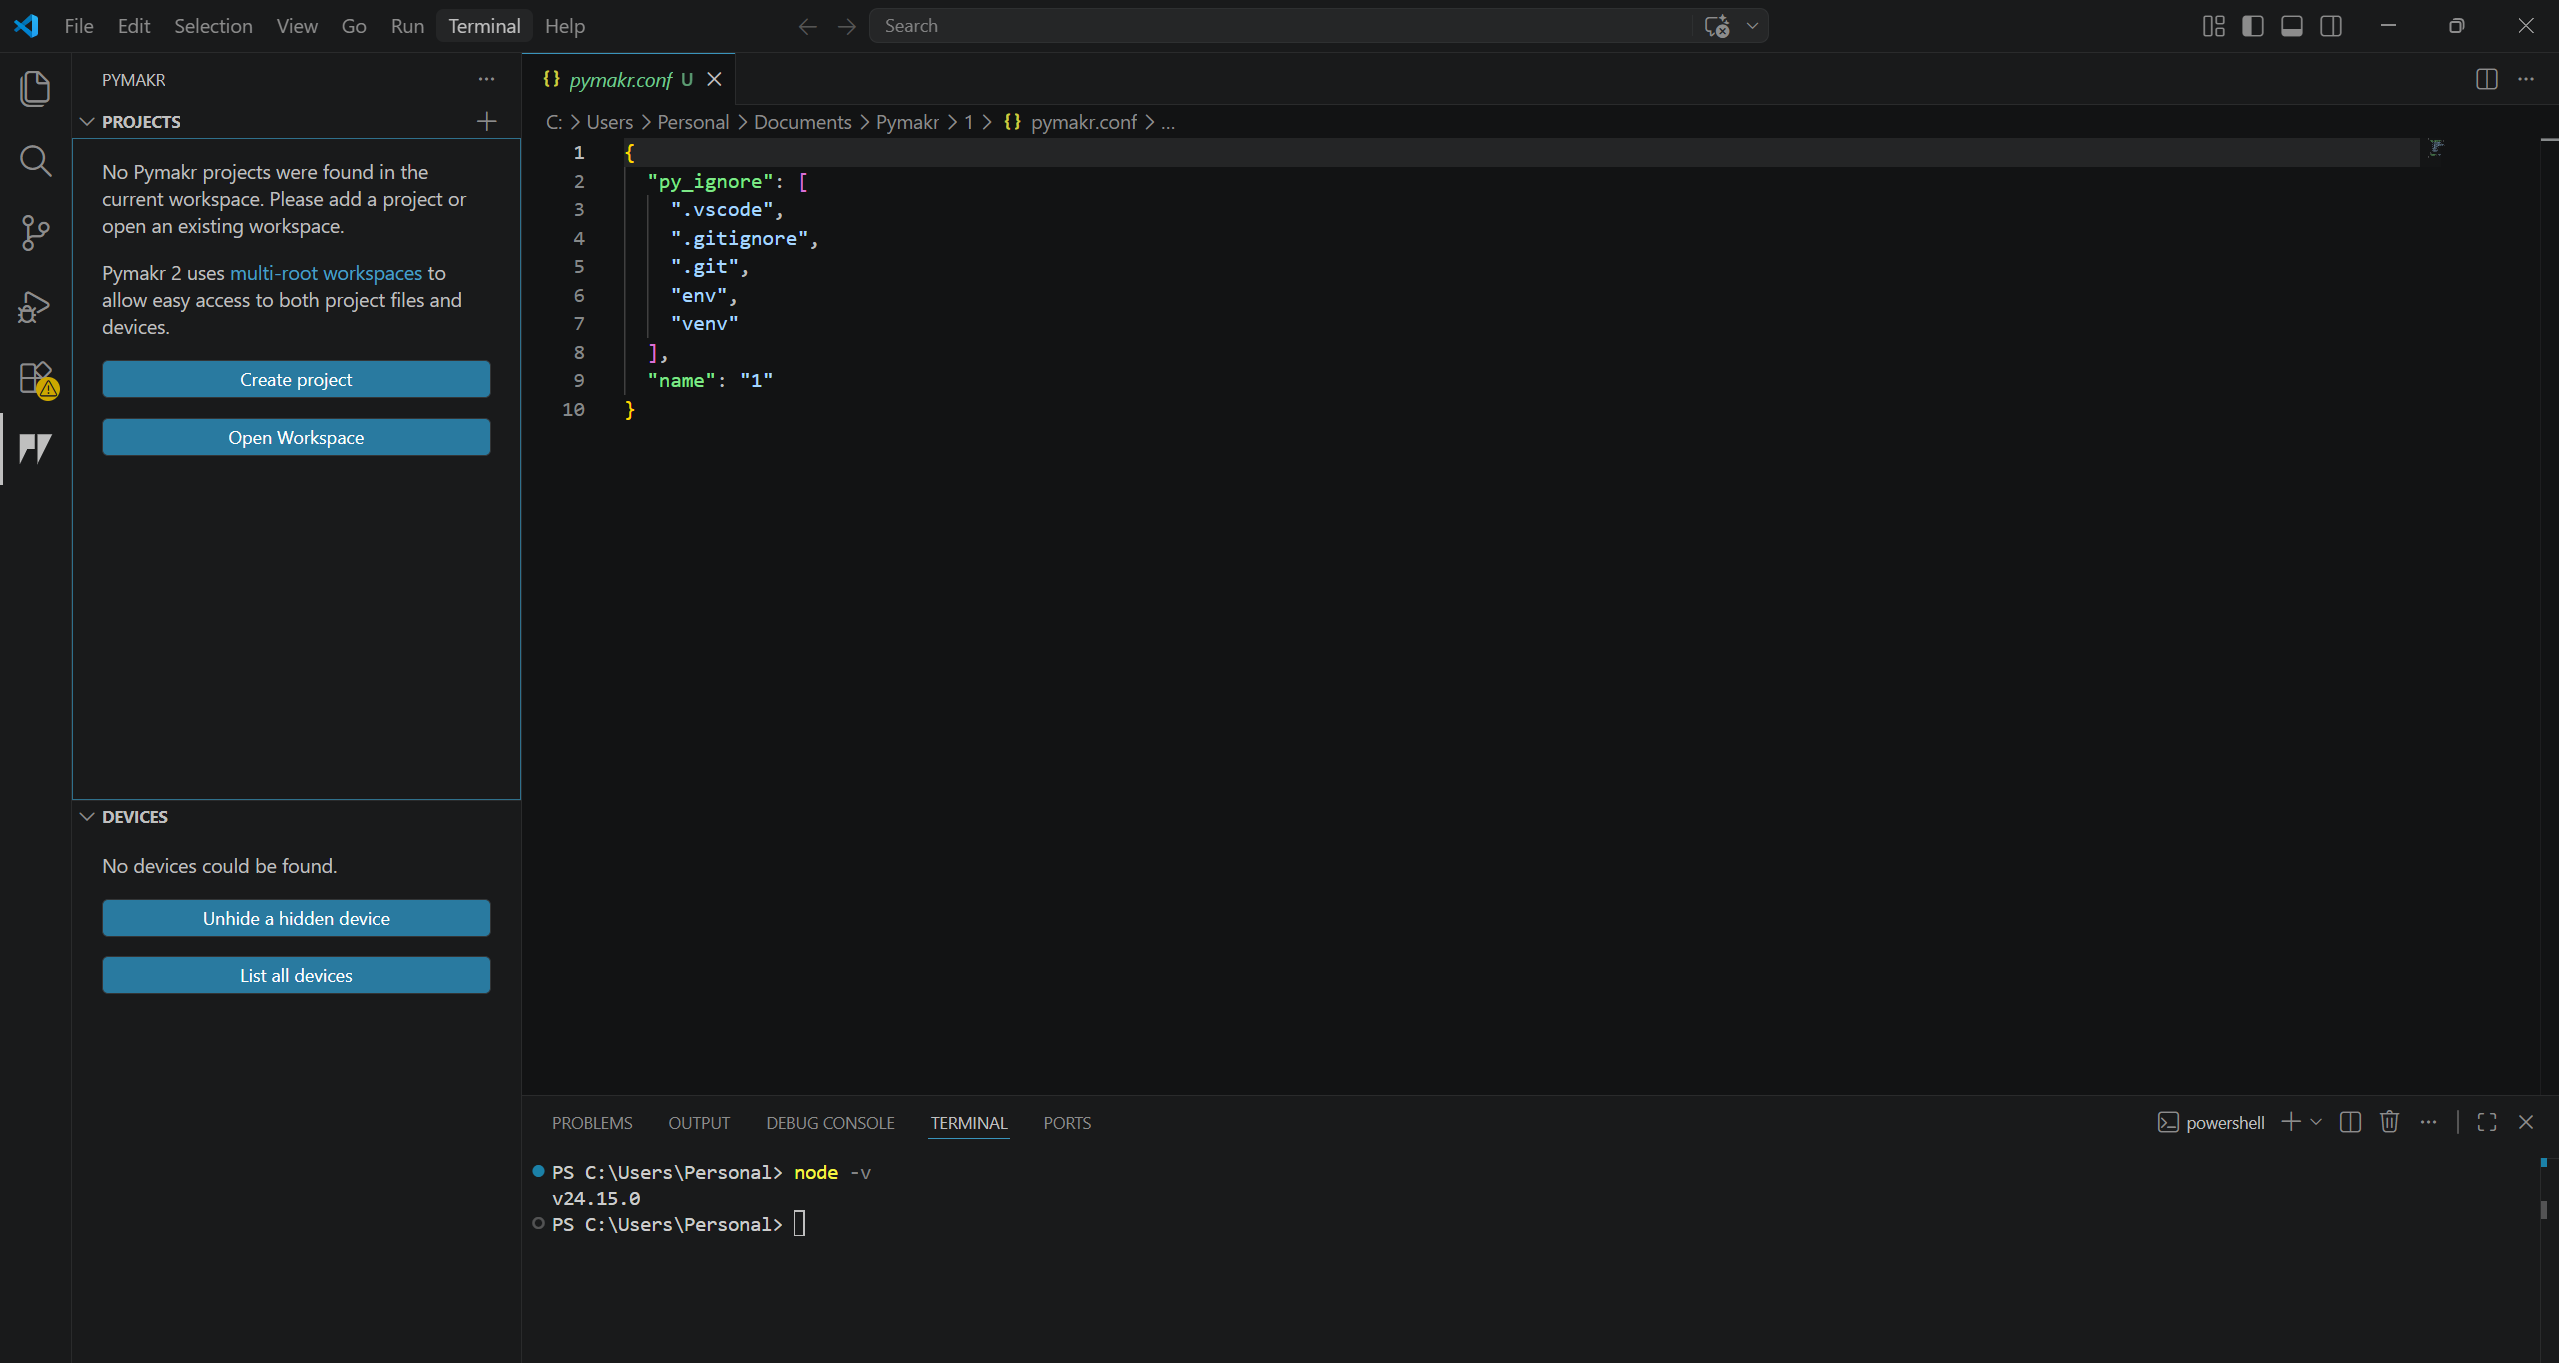
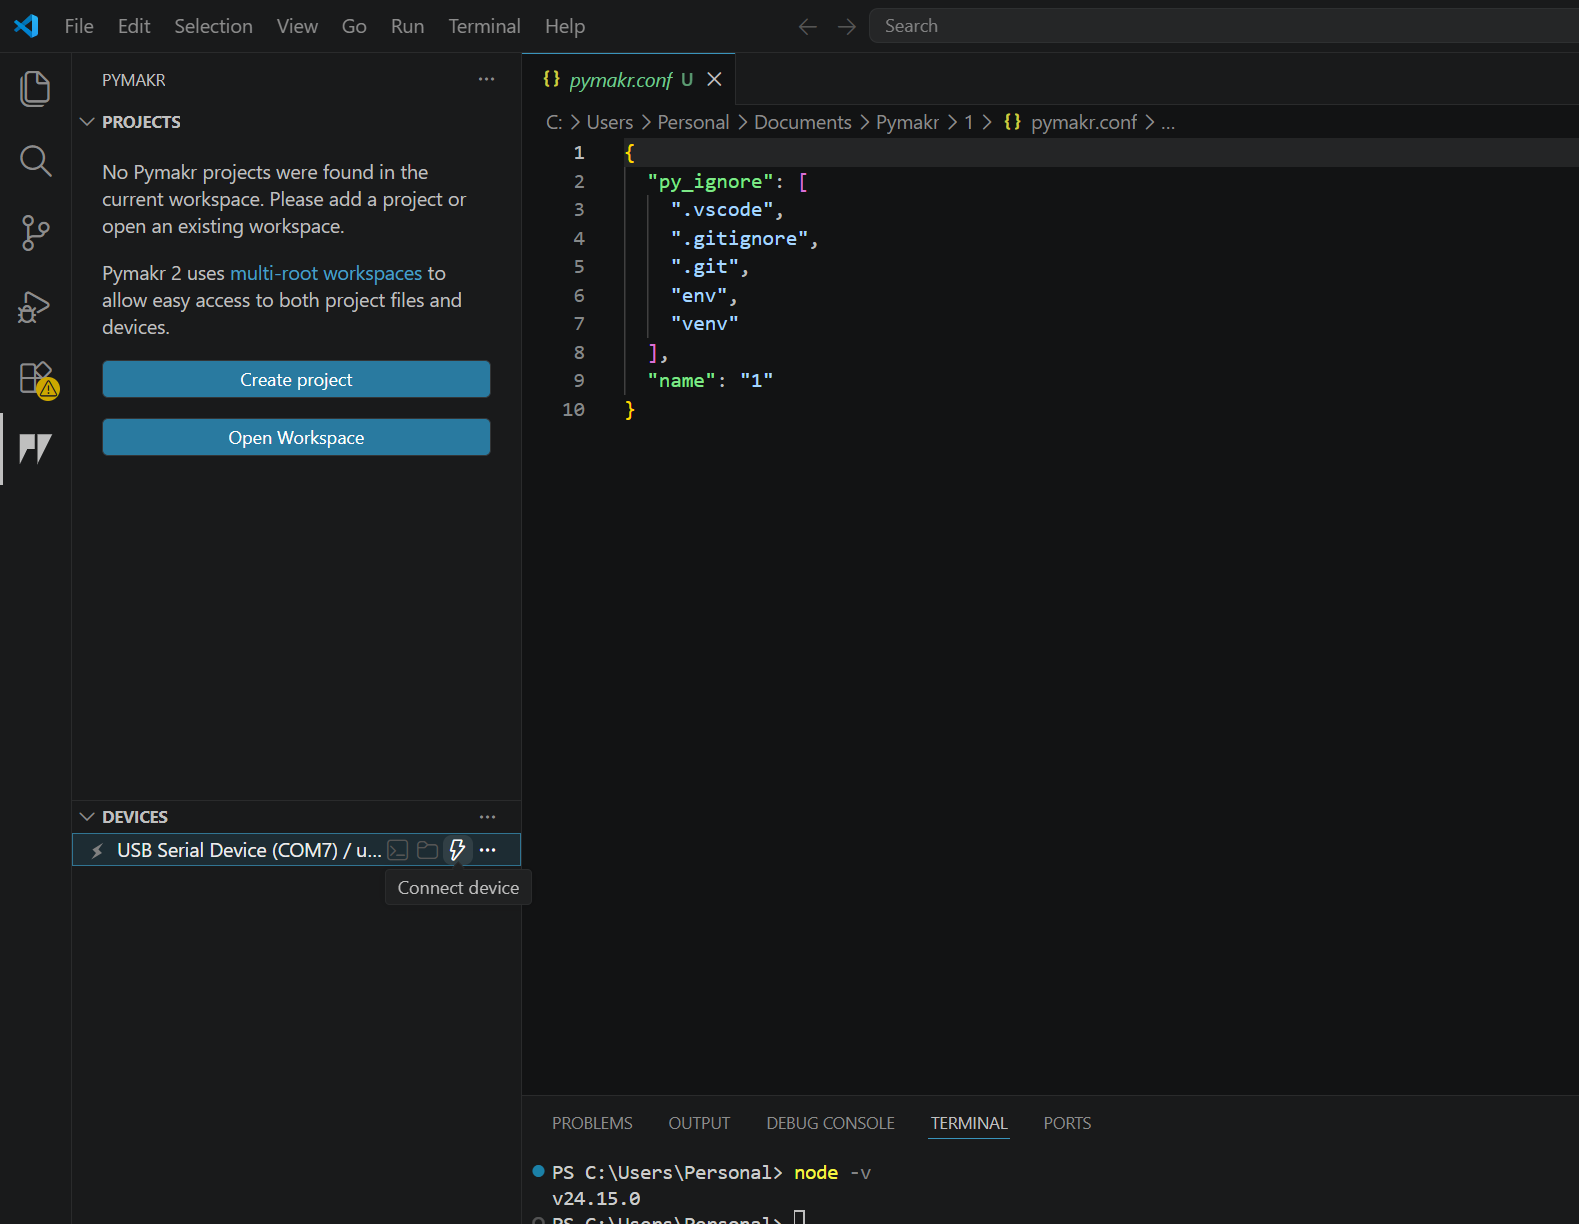
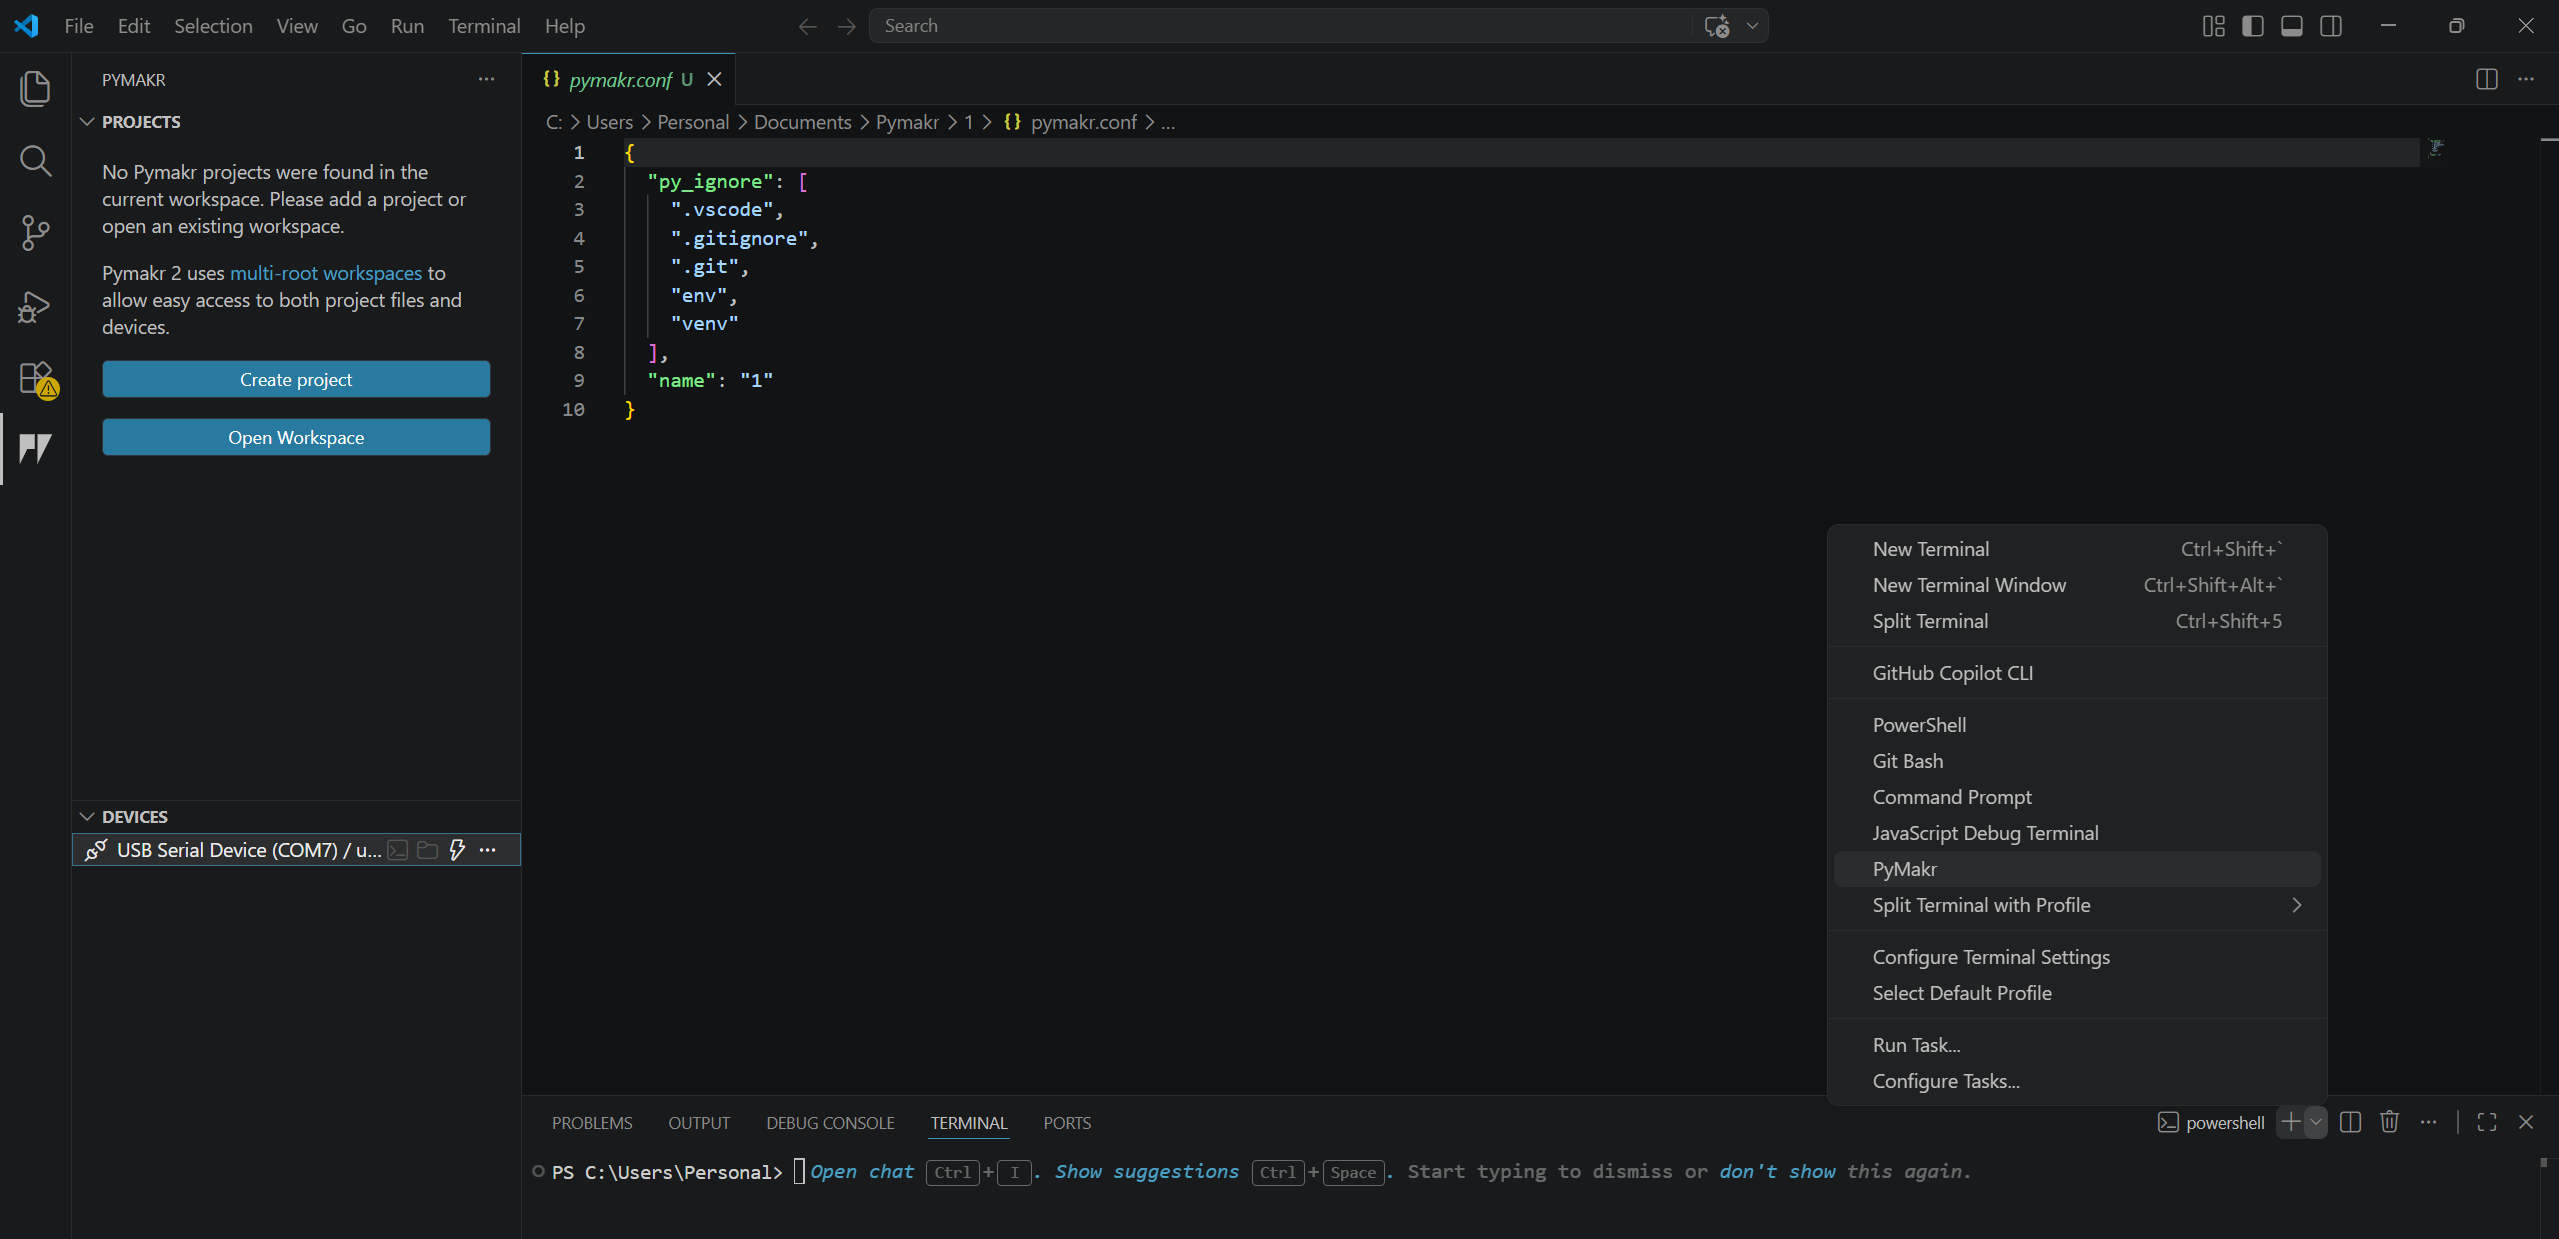
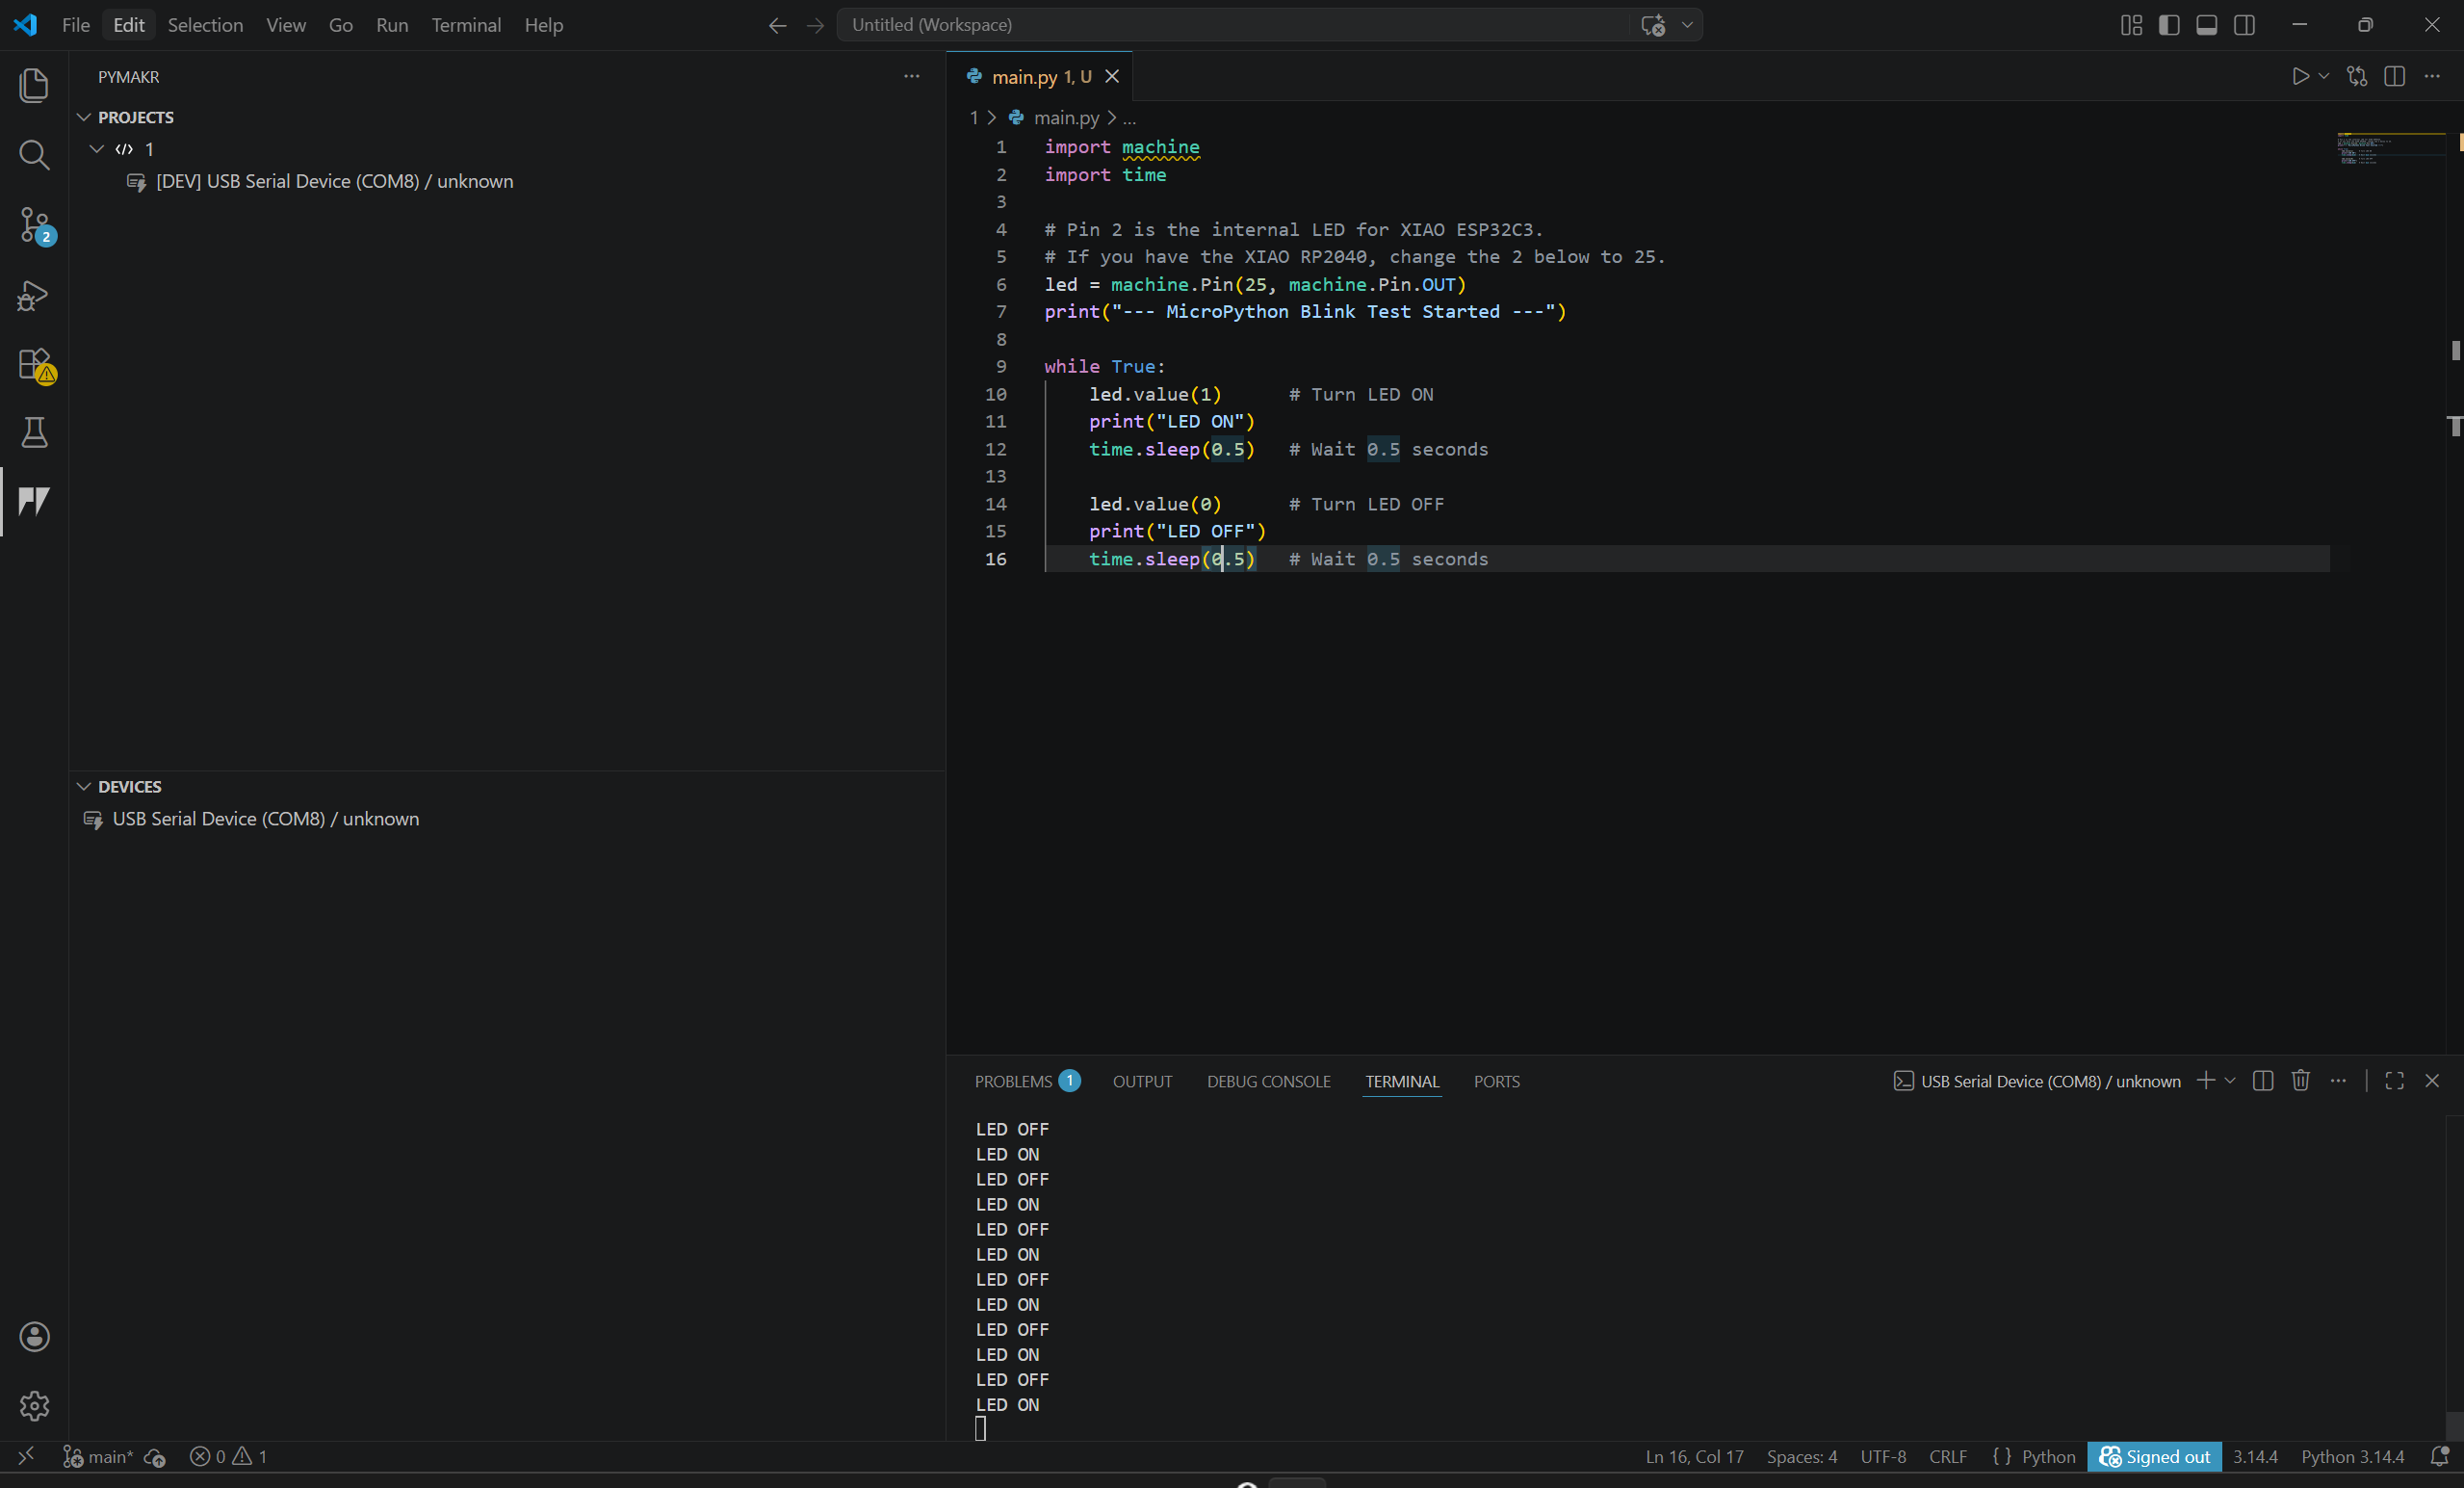
- MicroPython / CircuitPython – Lightweight Python interpreters for microcontrollers. Allow programming directly in Python, ideal for rapid prototyping on boards like ESP32 and XIAO RP2040.
3. Test
A speed test to compare RP2040 vs ESP32 vs Arduino Uno
We did a speed test to compare the performance of the RP2040, ESP32, and Arduino Uno microcontrollers. The test involved running a program that figured out the binary numbers from 0 to 5000 and measured the time taken by each microcontroller to complete the task. The results showed that the RP2040 was the fastest, followed by the ESP32, and then the Arduino Uno.
void setup() {
  Serial.begin(115200);
  while (!Serial); // Wait for Serial to open

  delay(2000);
  Serial.println("--- Speed Test Start ---");

  long startTime = micros();

  // Benchmark: Find primes up to 5000
  int count = 0;
  for (int i = 2; i < 5000; i++) {
    bool isPrime = true;
    for (int j = 2; j <= sqrt(i); j++) {
      if (i % j == 0) {
        isPrime = false;
        break;
      }
    }
    if (isPrime) count++;
  }

  long endTime = micros();

  Serial.print("Primes found: ");
  Serial.println(count);
  Serial.print("Time taken (us): ");
  Serial.println(endTime - startTime);
  Serial.println("--- Test Complete ---");
}

void loop() {}
Here are the results we got from the test:
| Microcontroller | Time Taken (us) |
|---|---|
| Arduino Uno | 1148340 |
| ESP32-c3 | 374423 |
| RP2040 | 90187 |
The RP2040 was significantly faster than the ESP32 and Arduino Uno, demonstrating its superior processing capabilities for this type of computational task. The ESP32 also outperformed the Arduino Uno, which is expected given its more powerful architecture and higher clock speed.
- Select the correct board and port in the Arduino IDE before uploading the code.
- Open the Serial Monitor and make sure to choose the correct baud rate (115200 baud) to view the output results.