Week 15: Interface and Application Programming
For this week's group assignment, we will test multiple interfacing tools such as:
- Arduino Cloud.
- Blynk.
- Node-RED.
In this test, a Seeed Studio XIAO ESP32C3 with an ultrasonic sensor and an LED was used to compare platforms, including Arduino Cloud, Blynk, Node-RED, and Processing. A remote button controlled the system: when turned on, the ESP32 activated the LED and sent live distance data to the dashboard; when turned off, the LED and sensor were deactivated. The platforms were evaluated based on setup, responsiveness, interface quality, and hardware communication.
here is the circuit diagram of the test setup:
Arduino Cloud
Arduino Cloud is a platform that allows users to connect their devices to the internet and create IoT applications. It provides a user-friendly interface for managing devices, creating dashboards, and setting up automation rules. With Arduino Cloud, users can easily monitor and control their devices remotely, making it an ideal tool for IoT projects.
Workflow:
- Sign up for an Arduino Cloud account using this link.
- Download and install the Arduino Cloud Agent to allow communication between Arduino Cloud and the local computer.
- Connect the XIAO ESP32C3 to the computer using a USB cable and test the board with a simple LED blink program.
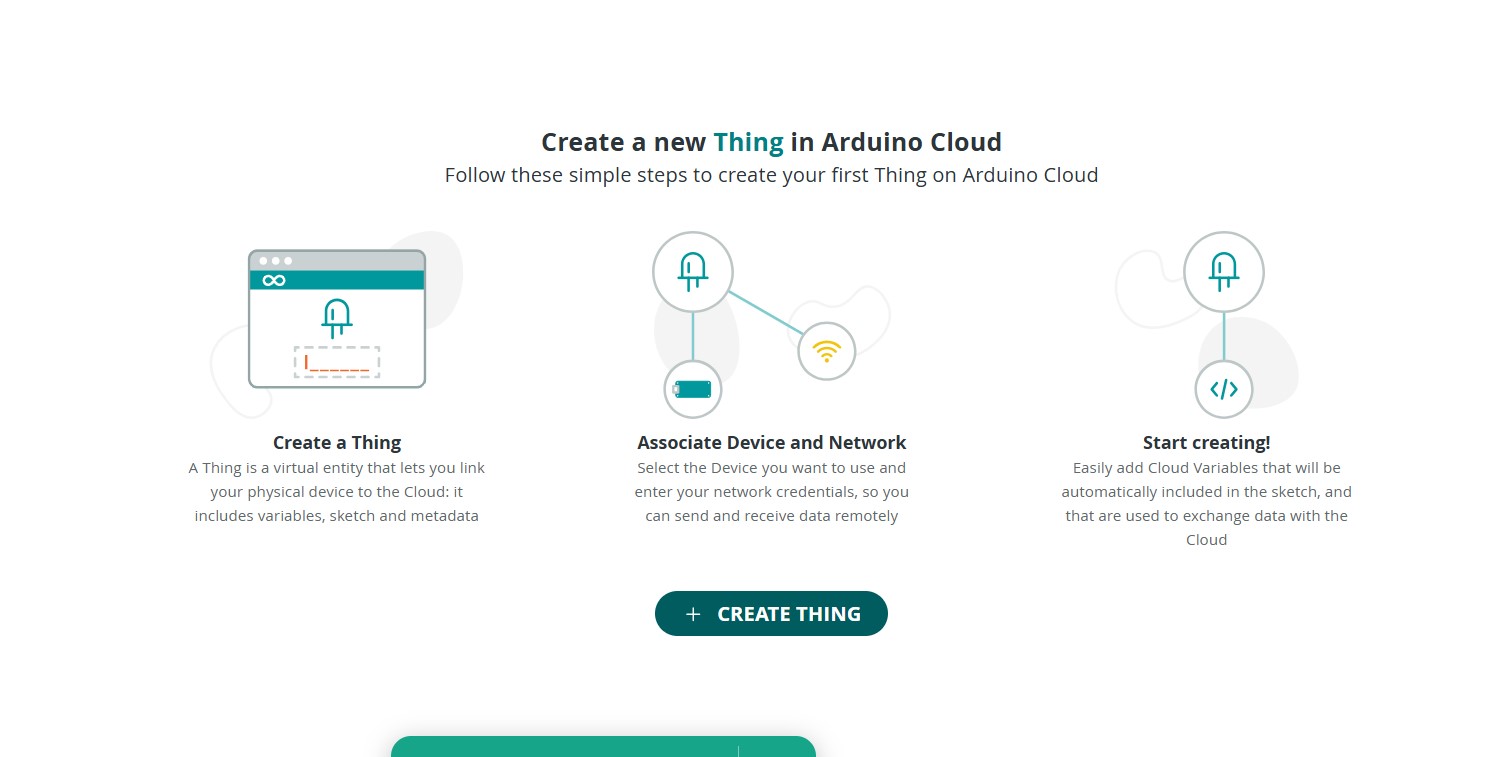
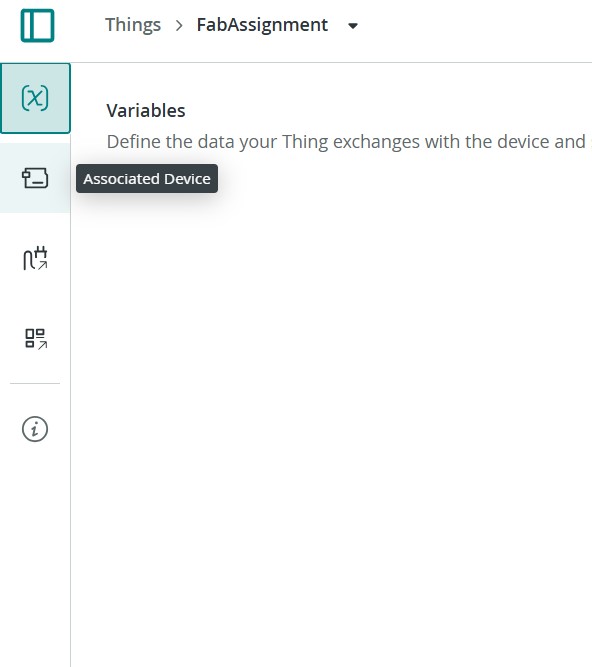
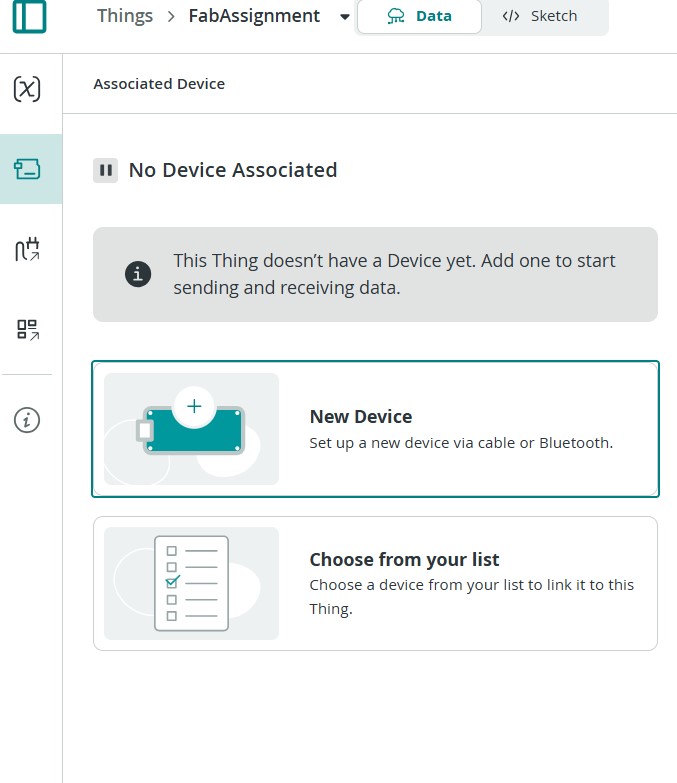
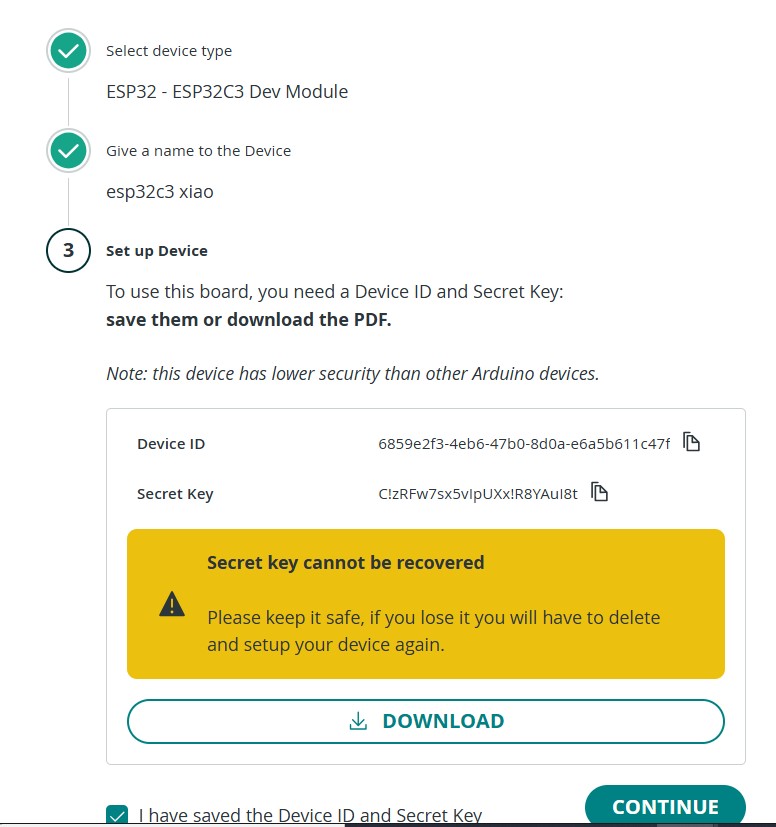
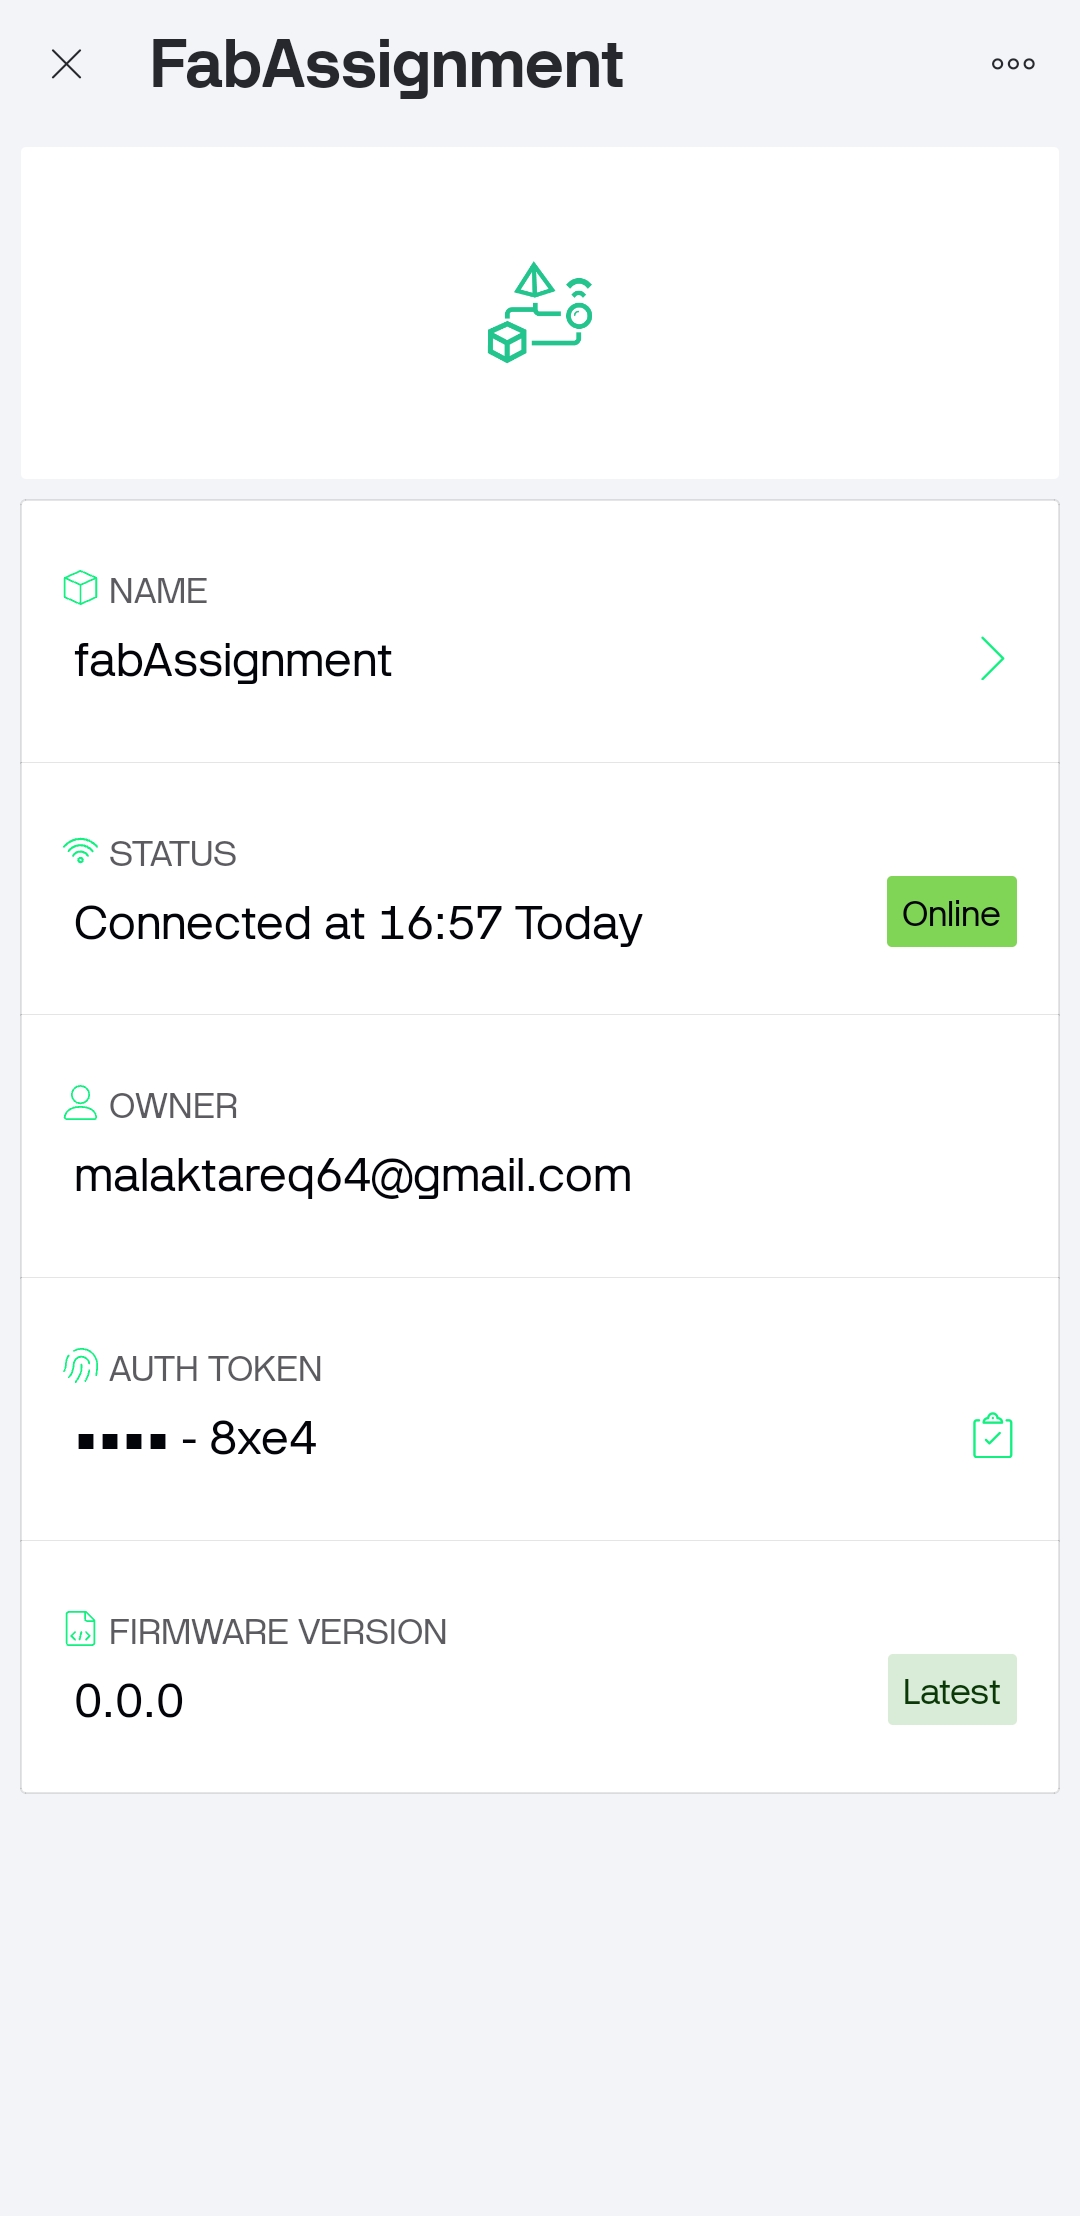
- Open Arduino Cloud and create a new Thing for the project.
- Add a compatible ESP32 device and configure the Wi-Fi credentials and device key.
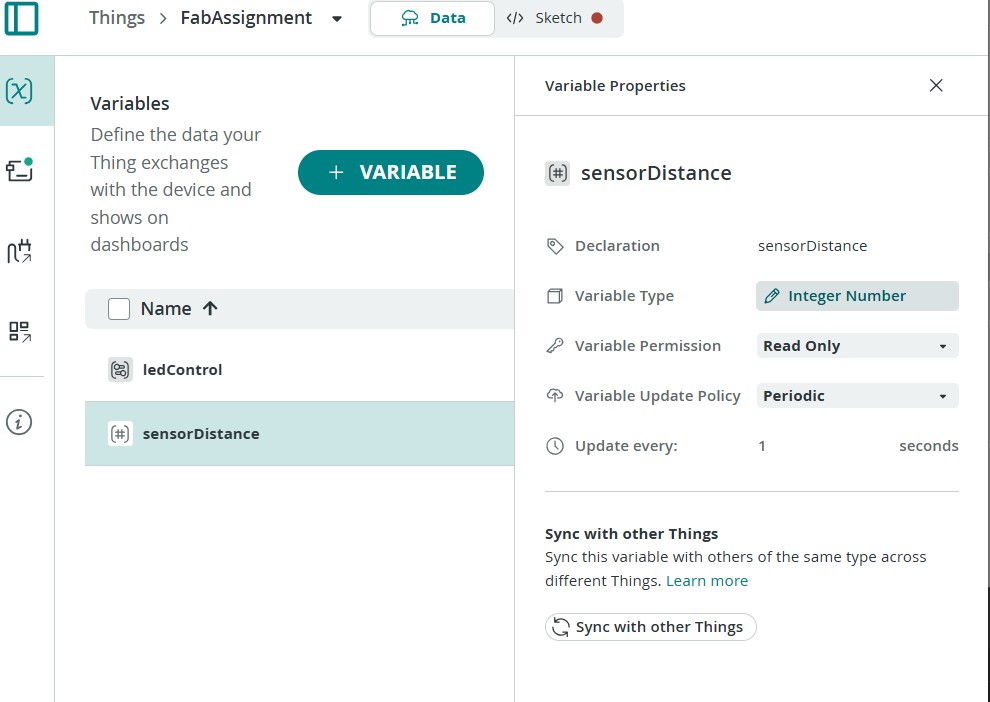
- Create cloud variables:
- ledControl (boolean, read/write)
- sensorDistance (integer, read only)
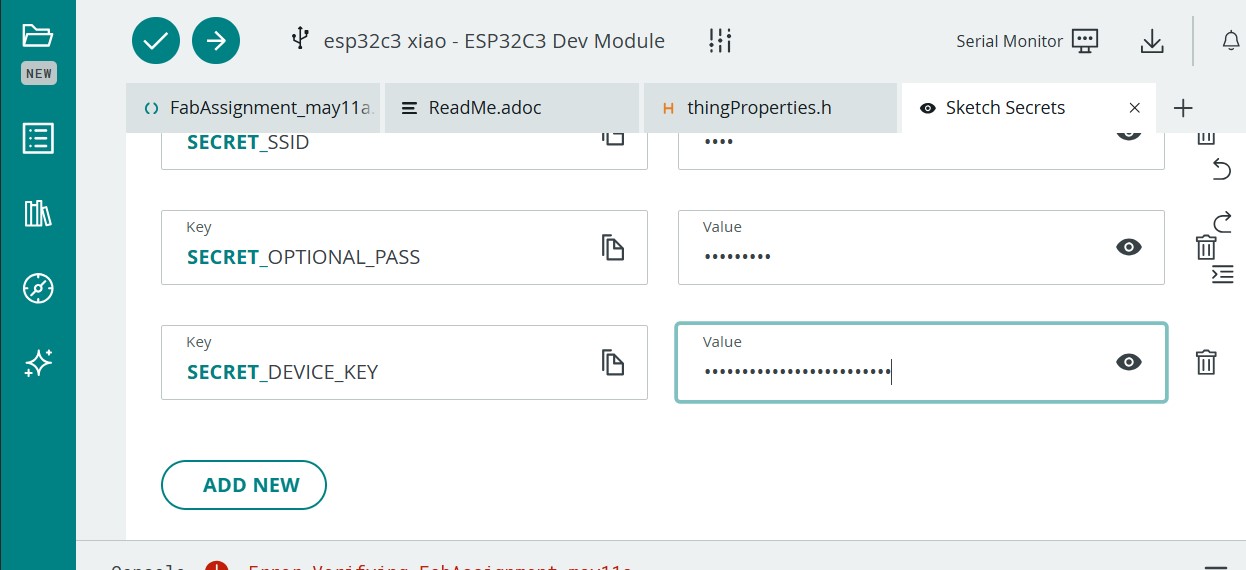
- Create the arduino_secrets.h file manually and add the Wi-Fi name, password, and device key.
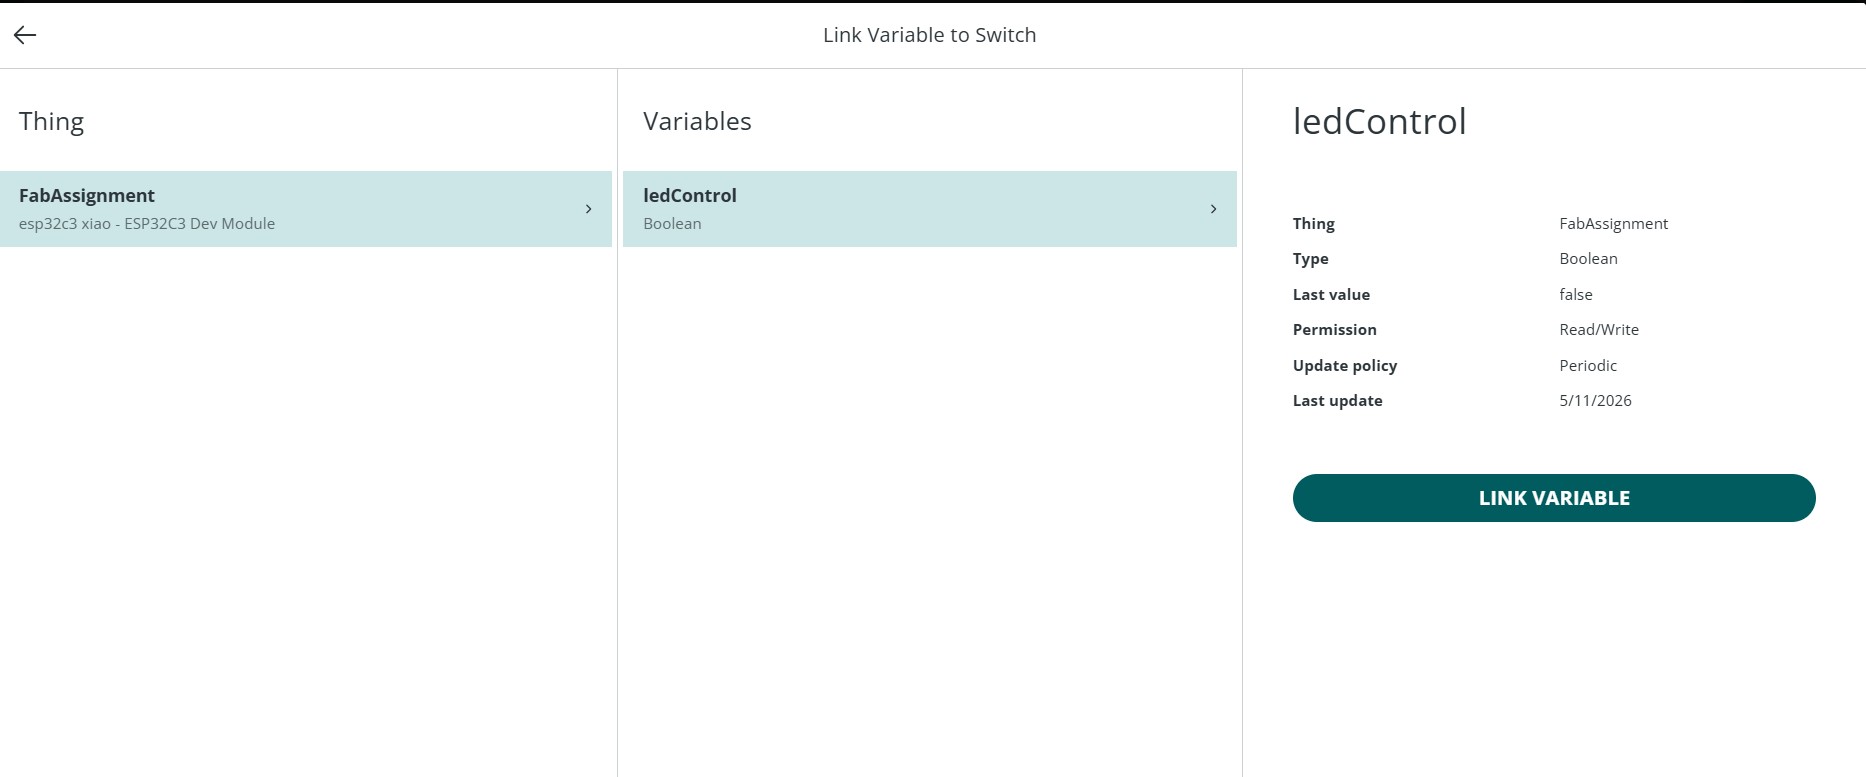
- Connect an LED to pin D10 and test controlling it from the Arduino Cloud dashboard using a switch widget.
- Connect the HC-SR04 ultrasonic sensor to the XIAO ESP32C3 using TRIG and ECHO pins with a voltage divider for safe 3.3V operation.
- Modified the Arduino Cloud sketch to:
- Turn the LED on/off from the dashboard
- Activate the ultrasonic sensor only when the switch is enabled
- Send live distance values to the cloud dashboard
You could download the sketch from here: Download Sketch
- Add dashboard widgets including a switch for LED control and a value/gauge widget to display live ultrasonic distance measurements.
- Test the system by controlling the hardware remotely and monitoring real-time sensor data through Arduino Cloud.
Observations:
- Advantages of Arduino Cloud:
- Easy and beginner-friendly setup process.
- Works on both web and mobile interfaces.
- Provides ready-made dashboard widgets such as switches, gauges, and graphs.
- Allows remote monitoring and control through the internet.
- Automatically generates cloud communication code and variables.
- Disadvantages of Arduino Cloud:
- Requires internet connection for most features.
- Less customizable compared to fully custom web applications.
- Can be confusing when handling generated files such as thingProperties.h and secrets files.
- Uploading and connecting non-Arduino ESP32 boards may require extra manual configuration.
- Slight delays may occur due to cloud communication.
Blynk
Blynk is a popular IoT platform that allows users to create mobile applications to control and monitor their devices. It provides a drag-and-drop interface for building custom dashboards and supports a wide range of hardware platforms. Blynk offers both cloud-based and local server options, making it flexible for various IoT projects.

Workflow:
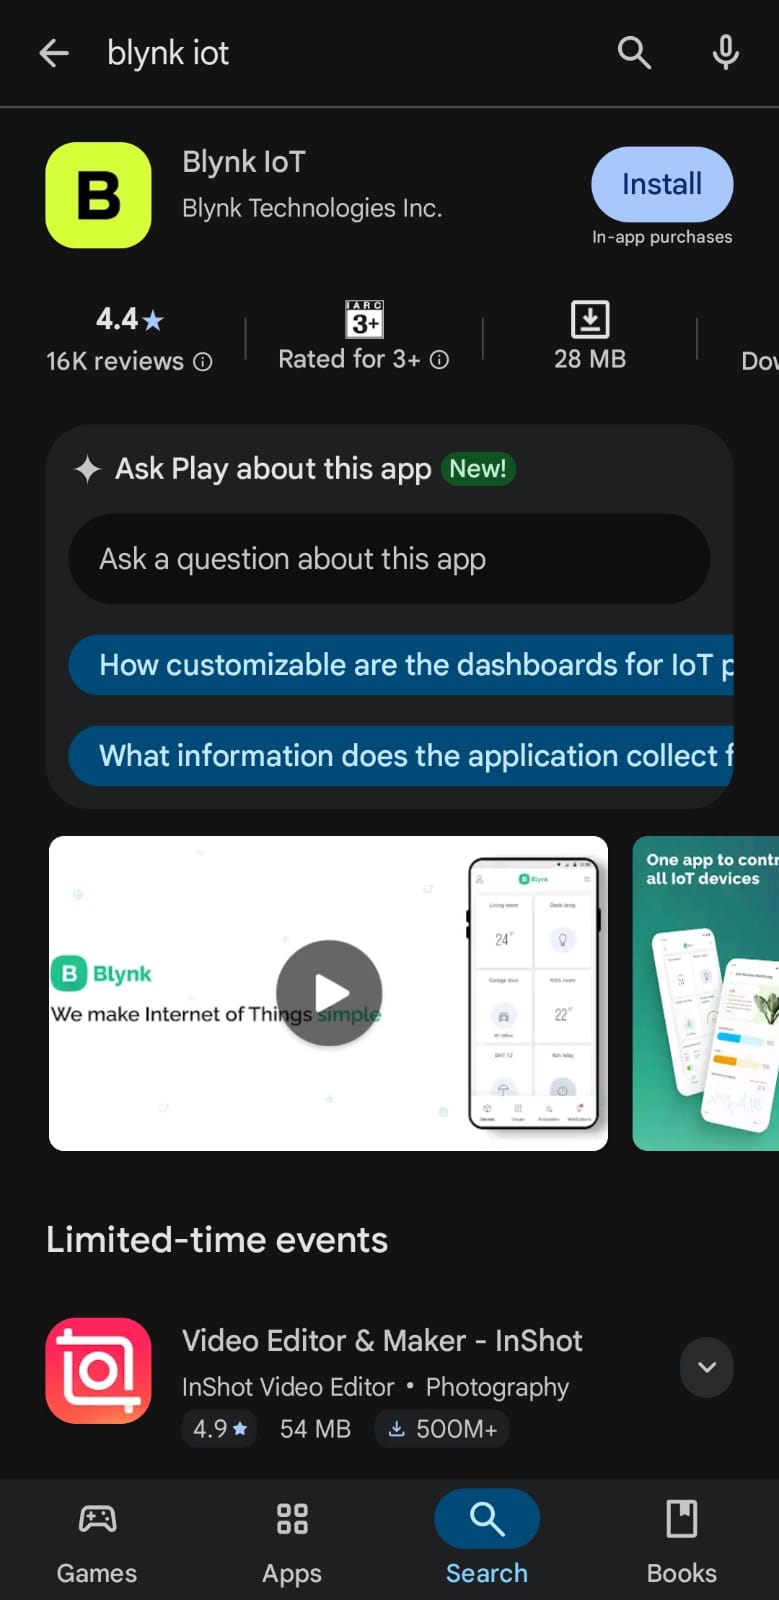
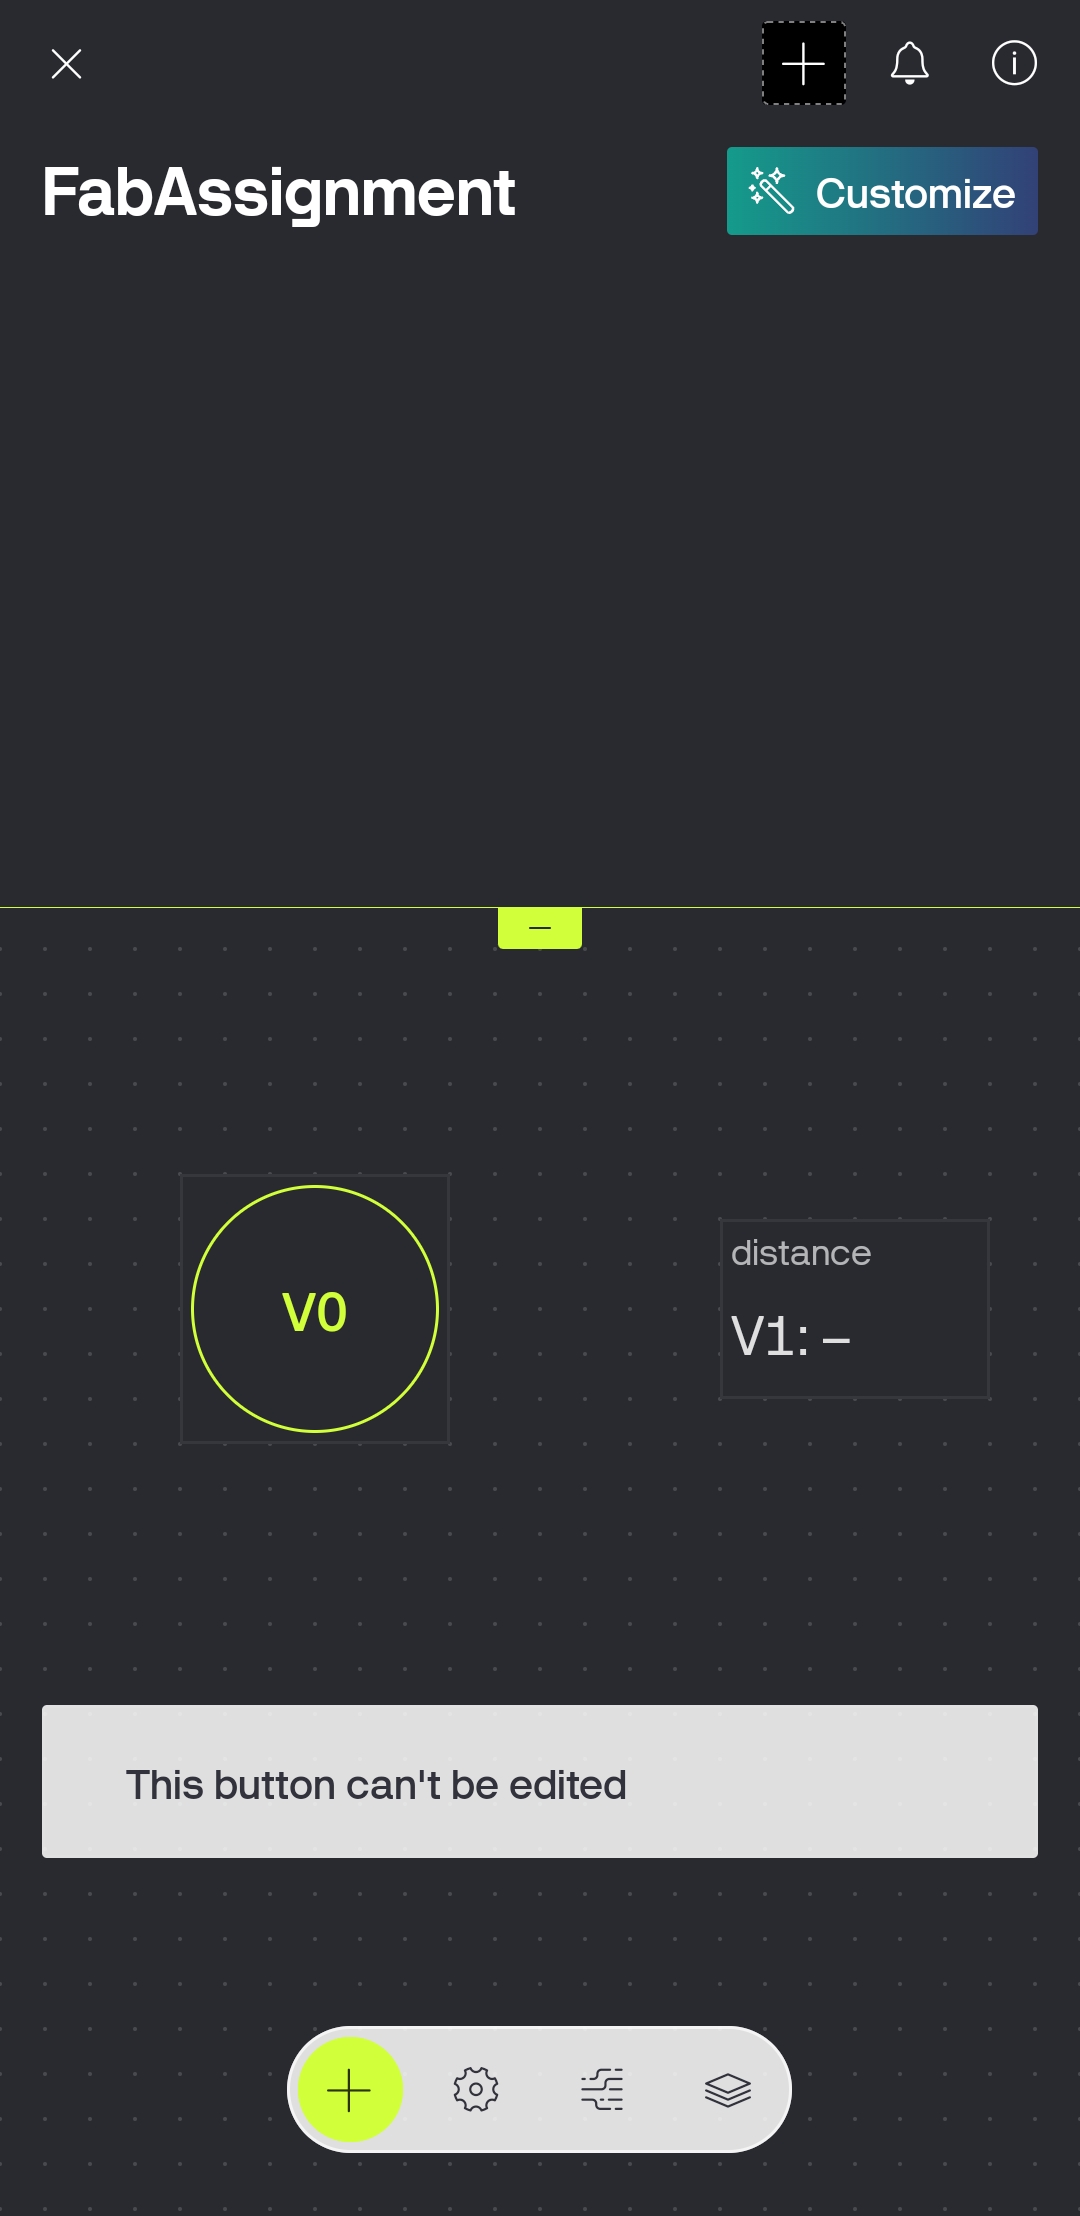
- Downloaded and installed the Blynk IoT mobile application and created a user account.
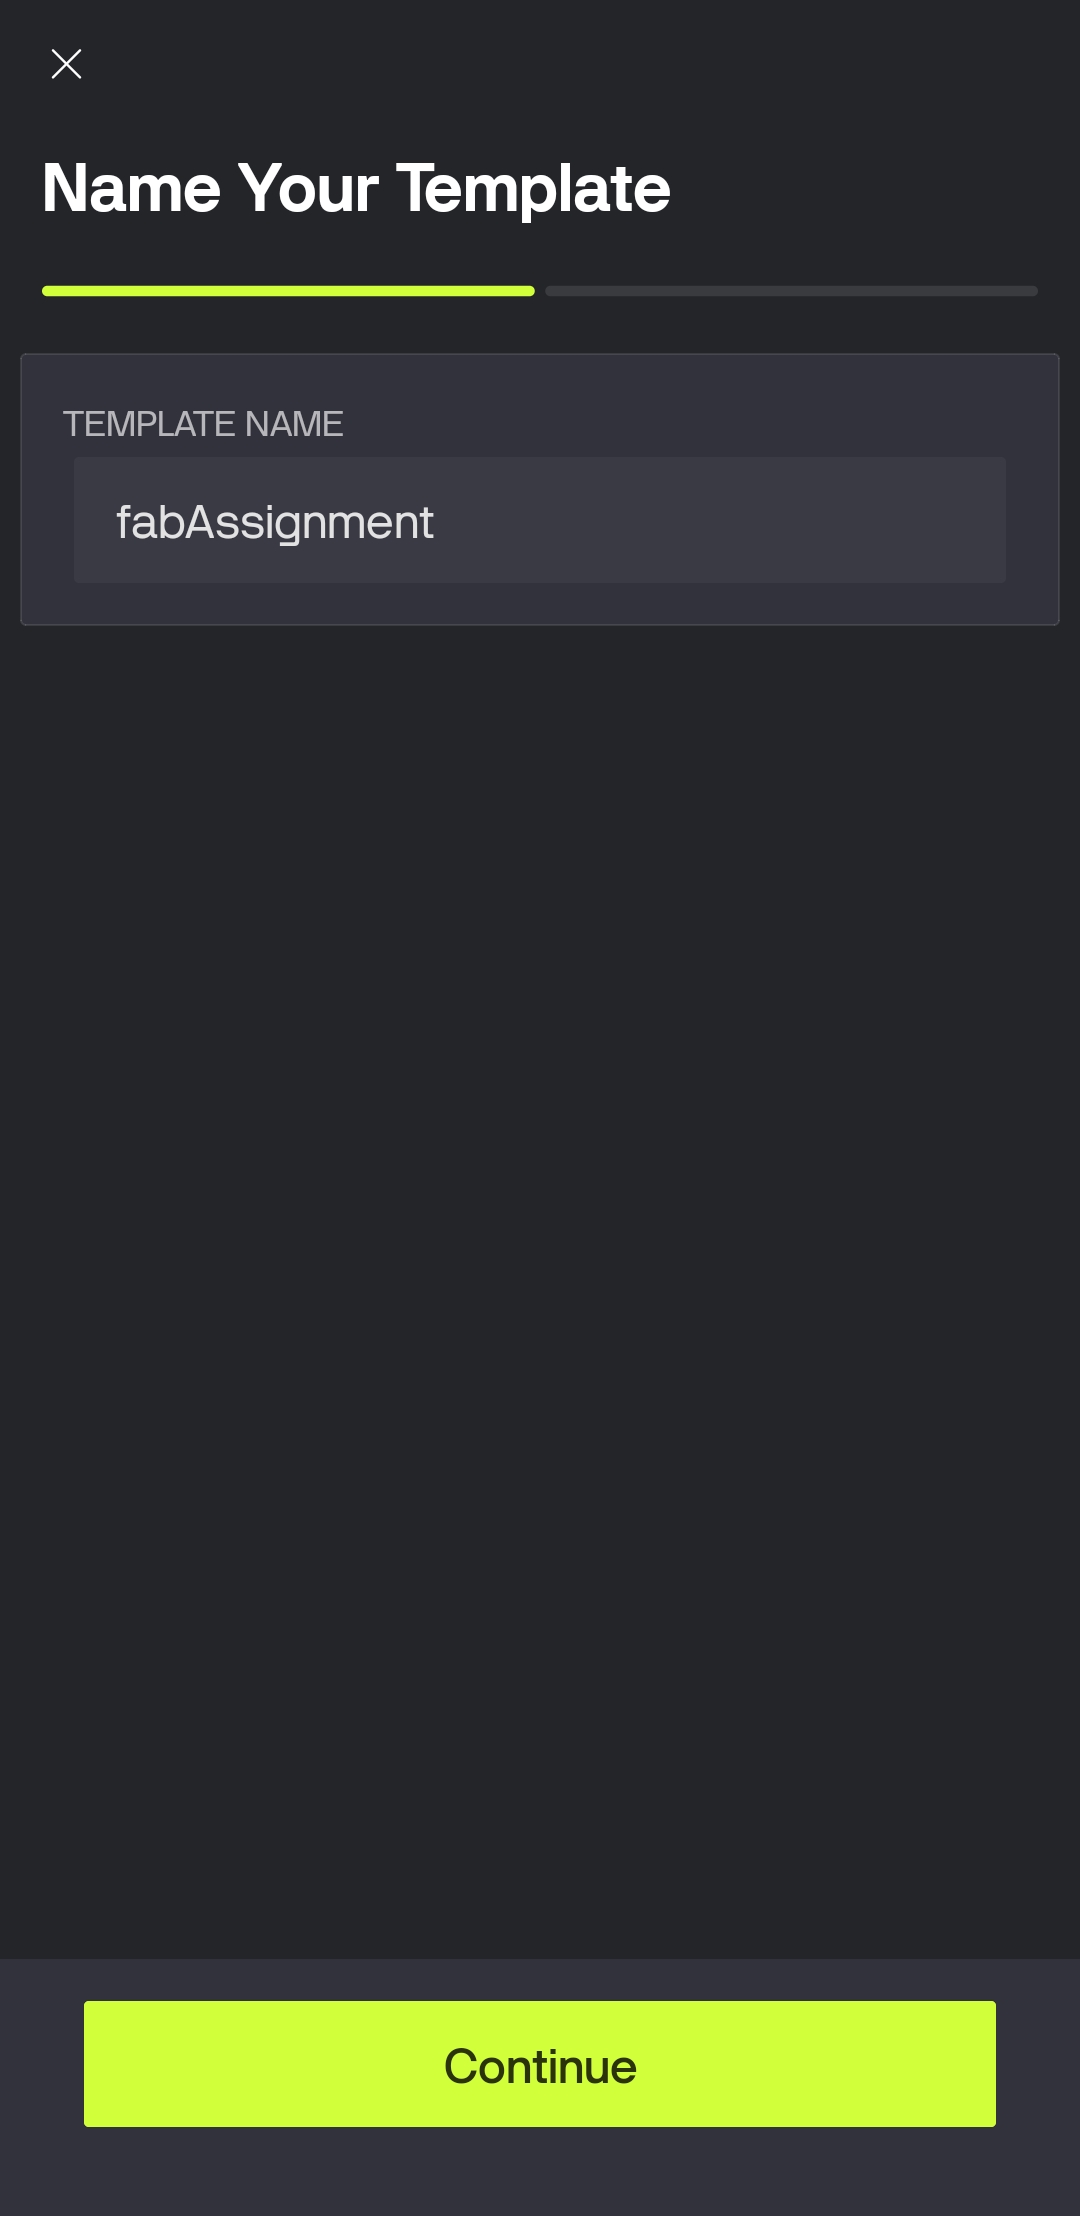
- Created a new template for the project and selected ESP32 with Wi-Fi connection type.
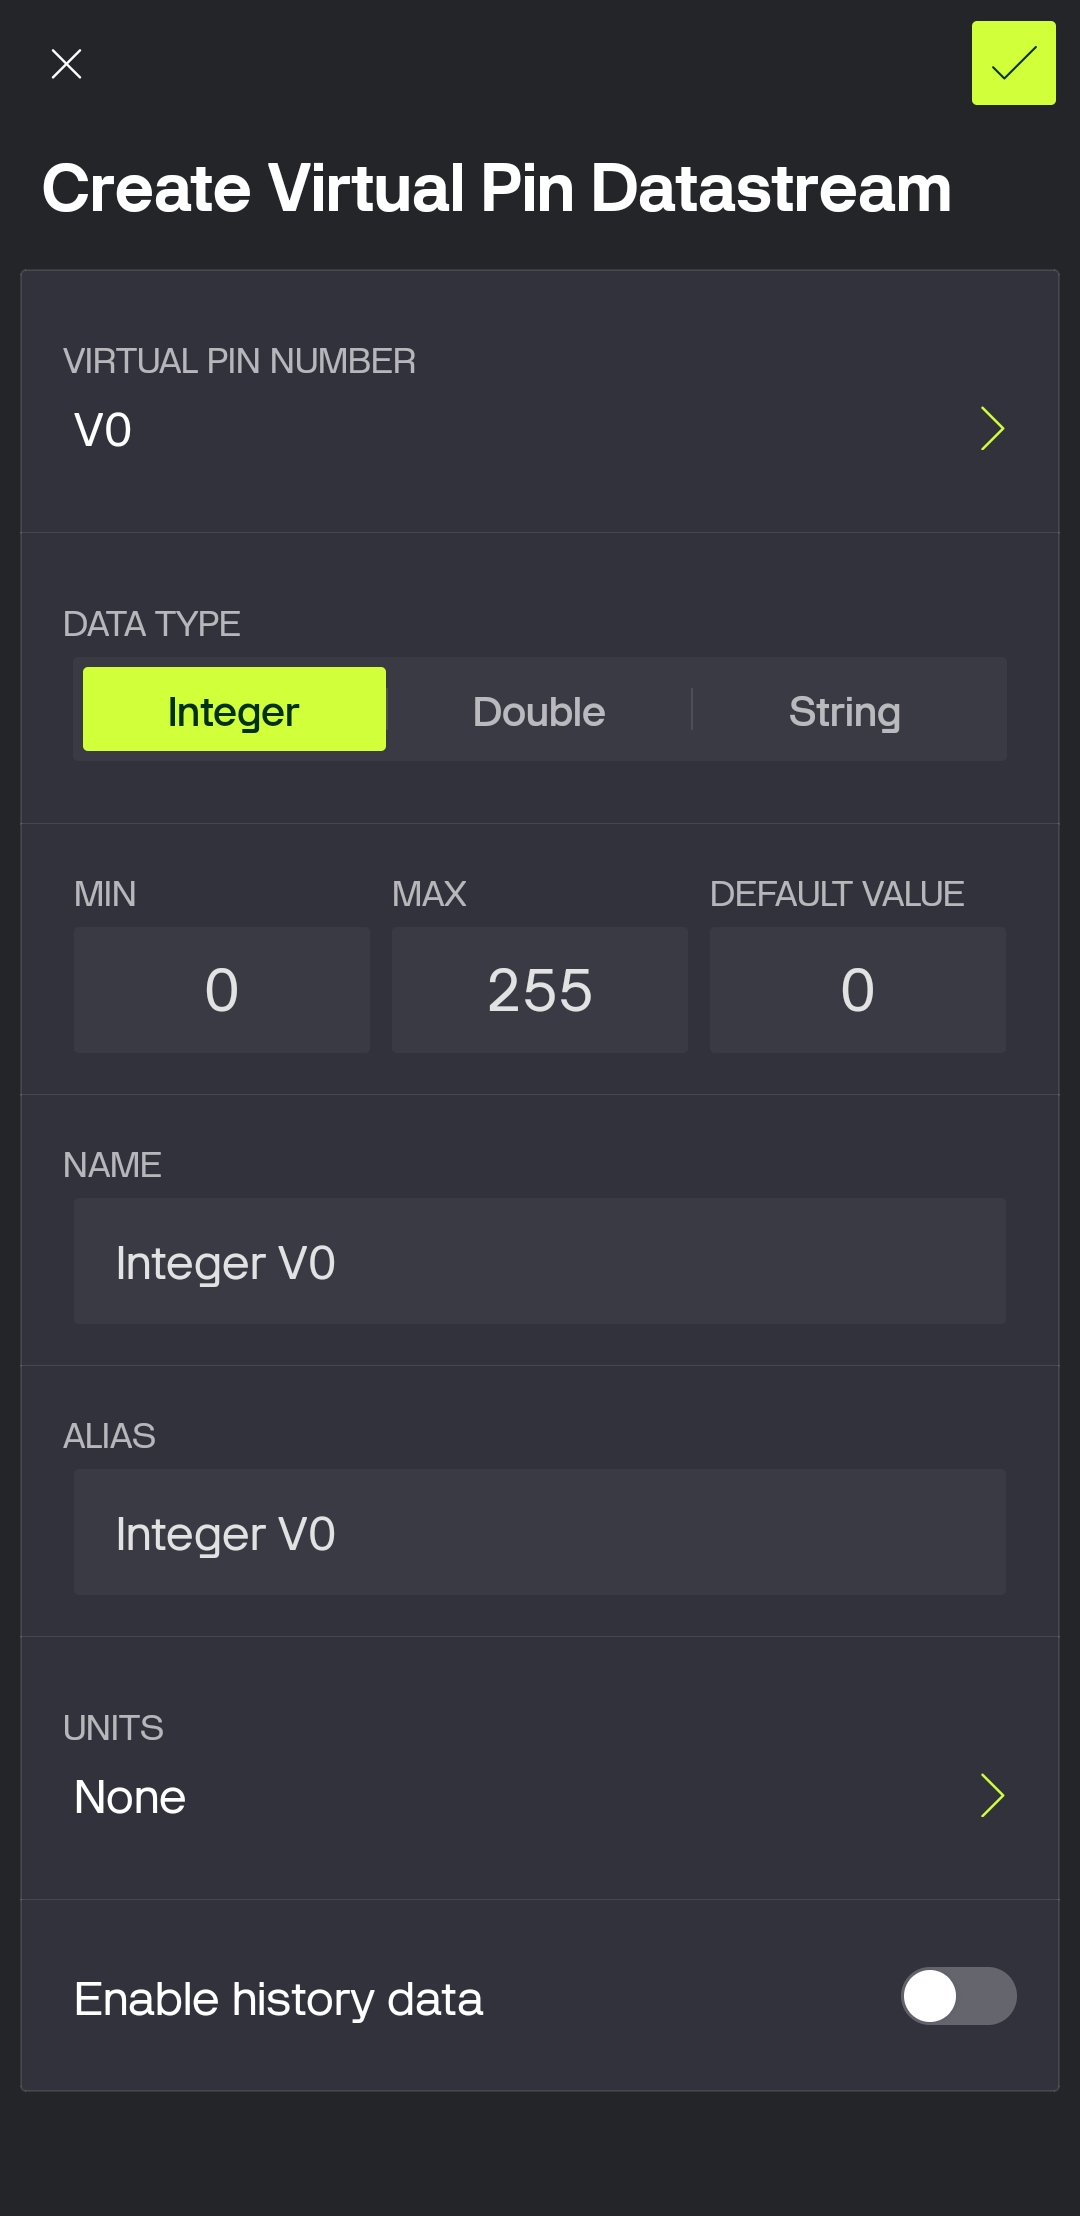
- Created datastreams:
- V0 for LED control
- V1 for ultrasonic sensor distance values
- Created a new device from the template and generated the device authentication token.
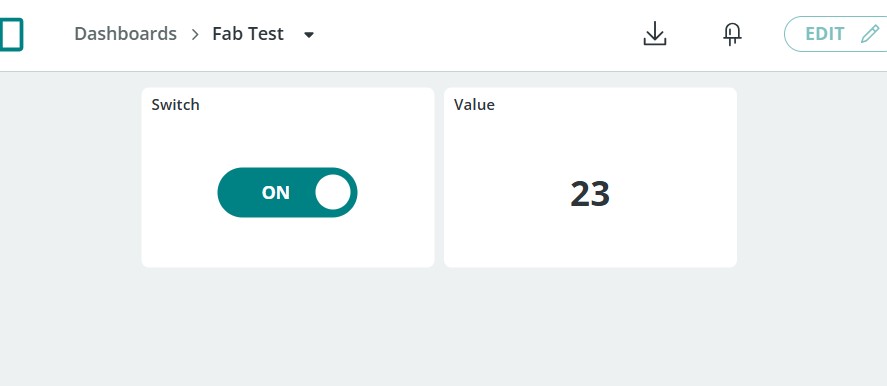
- Designed the mobile dashboard by adding:
- a button widget connected to V0
- a value display widget connected to V1
- Opened Arduino IDE and installed the required libraries:
- Blynk library
- ESP32 board package
- Added the Blynk template ID, template name, authentication token, Wi-Fi name, and password to the ESP32 code.
- Connected an LED to pin D10 and connected the HC-SR04 ultrasonic sensor to the XIAO ESP32C3 using TRIG and ECHO pins.
- Programmed the ESP32 to:
- turn the LED on and off from the Blynk mobile application
- activate the ultrasonic sensor only when the button is enabled
- send live distance values to the mobile dashboard
- Uploaded the code to the Seeed Studio XIAO ESP32C3 using Arduino IDE.
- Tested the system by remotely controlling the hardware and monitoring live ultrasonic sensor data through the Blynk mobile application.


You could download the source code from here: Download
Observations:
- Advantages of Blynk:
- Easy and fast IoT setup.
- User-friendly mobile interface.
- Provides ready-made widgets and dashboards.
- Supports real-time hardware communication.
- Disadvantages of Blynk:
- Requires internet connection.
- Some features are limited in the free version.
- Initial setup can be confusing.
Node-RED
Node-RED is a flow-based development tool for visual programming. It allows users to create applications by wiring together pre-built nodes that represent different functionalities. Node-RED is often used for IoT applications, data processing, and automation tasks. It provides a web-based interface for designing and deploying applications, making it accessible for both beginners and experienced developers.

Workflow
- Downloaded and installed Node.js on Windows to support Node-RED.
- Installed Node-RED using Windows Command Prompt with the command:
npm install -g --unsafe-perm node-red
- Started the Node-RED local server using:
node-red
- Opened the Node-RED interface in the browser using:
http://127.0.0.1:1880
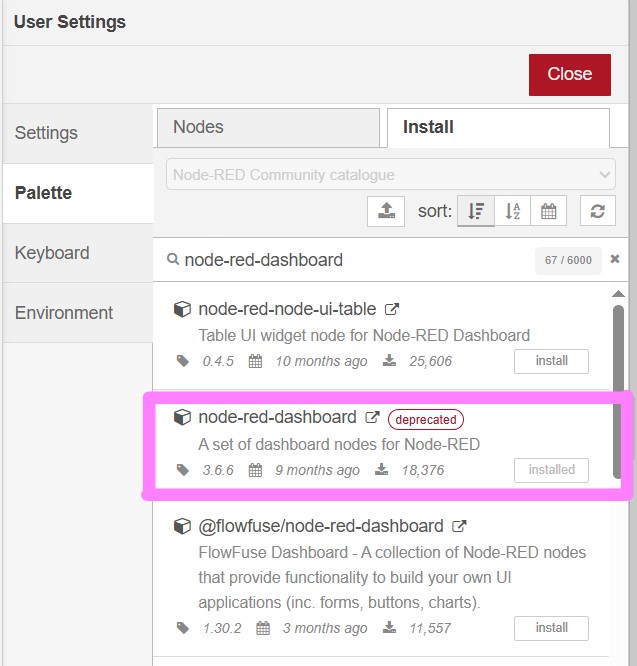
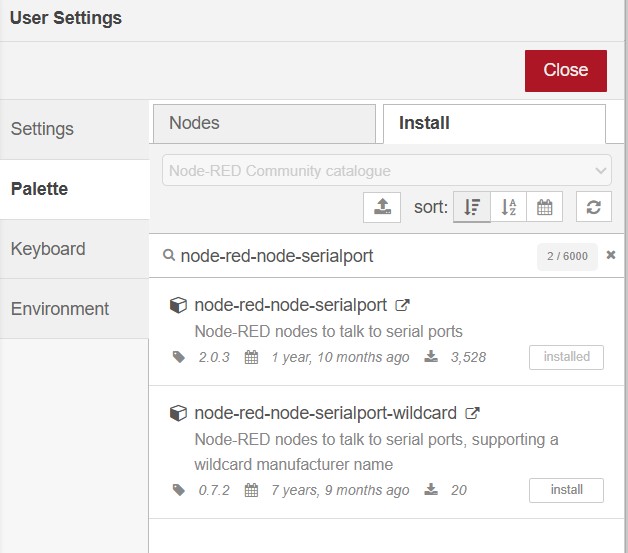
- Installed the node-red-dashboard and node-red-node-serialport packages from the Manage Palette menu to create graphical dashboard widgets.
- Created a dashboard interface containing:
- a switch widget for system control.
- a gauge widget for displaying ultrasonic sensor distance values.
- Added serial communication nodes:
- serial out node to send commands from Node-RED to the ESP32
- serial in node to receive sensor data from the ESP32
- Configured the serial nodes to use the ESP32 COM port with a baud rate of 115200.
- Connected the dashboard switch to the serial out node and connected the serial in node to the gauge widget.
- Programmed the Seeed Studio XIAO ESP32C3 to .
- receive serial commands from Node-RED
- turn the LED on and off
- activate the ultrasonic sensor when the system is enabled
- send live distance values back to Node-RED through serial communication
You could download the code from here.
- Uploaded the code to the ESP32 using Arduino IDE.
- Opened the Node-RED dashboard in the browser using:
http://127.0.0.1:1880/ui
- Tested real-time hardware control and live ultrasonic sensor monitoring through the Node-RED dashboard.
Observations:
- Advantages of Node-RED:
- Provides real-time local communication with fast response.
- Uses a visual drag-and-drop programming interface.
- Highly customizable and flexible for IoT systems.
- Supports many protocols and integrations such as serial, MQTT, and HTTP.
- Disadvantages of Node-RED:
- Requires installing Node.js and additional packages.
- Initial setup is more complex than Arduino Cloud or Blynk.
- Mainly designed for desktop or local server environments.
Comparison of Platforms and my opinion
After testing Arduino Cloud, Blynk, and Node-RED, I noticed that each platform has different strengths. In my opinion, Blynk provided the best overall experience because it was easy to use, responsive, and offered a clean mobile interface suitable for most users. Node-RED was the fastest platform because it used local serial communication and provided high flexibility for advanced IoT systems. Arduino Cloud felt more structured and beginner-friendly, especially for learning IoT concepts, but it was slightly slower due to cloud communication. Overall, I think Blynk is best for simple IoT projects, Node-RED for advanced systems, and Arduino Cloud for beginners.