Week07
Computer-Controlled Machining
Assignment
Group assignment:
- Complete your lab’s safety training
- Test runout, alignment, fixturing, speeds, feeds, materials and toolpaths for your machine
- Document your work to the group work page and reflect on your individual page what you learned
Individual project
- Make (design+mill+assemble) something big
Group assignment
We built a machine and did test run as group page.
Safety training
- Wear safety glasses
- Do not wear loose-fitting clothing
- Long hair must be tied up
- Be around the operating machine
- No gloves while handling operating machine
- Better to wear earmuffs and face masks while milling
Make something big
I used 1 flute 1/4” diameter, 1” length milling cutter in this week.
Designing
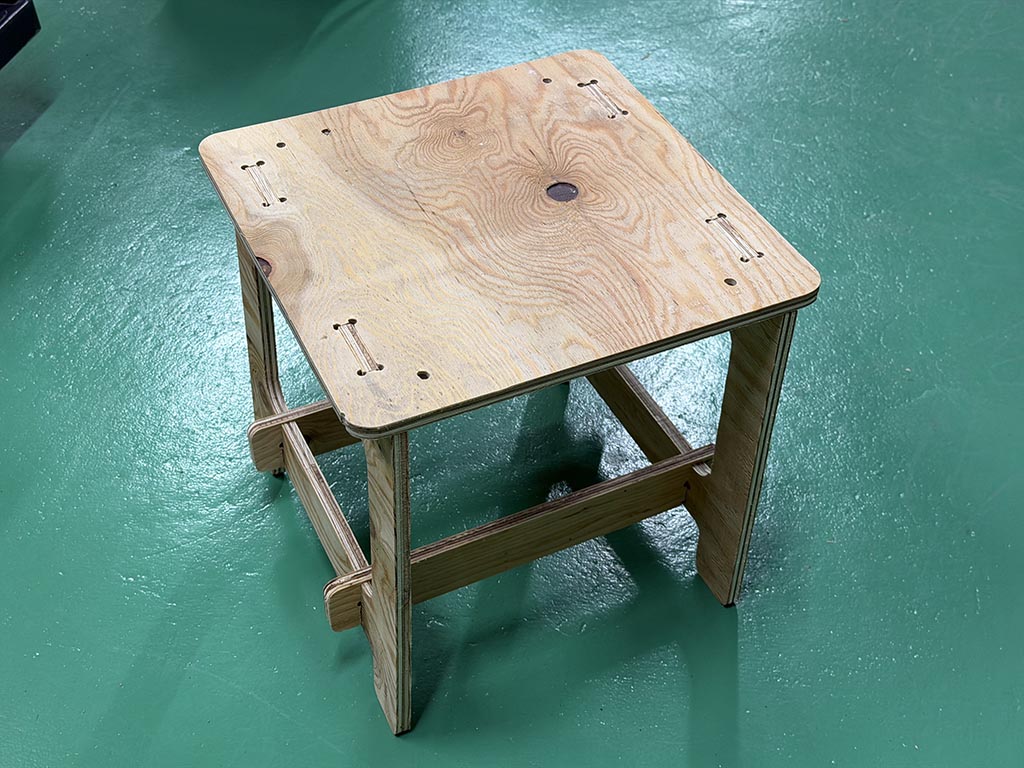
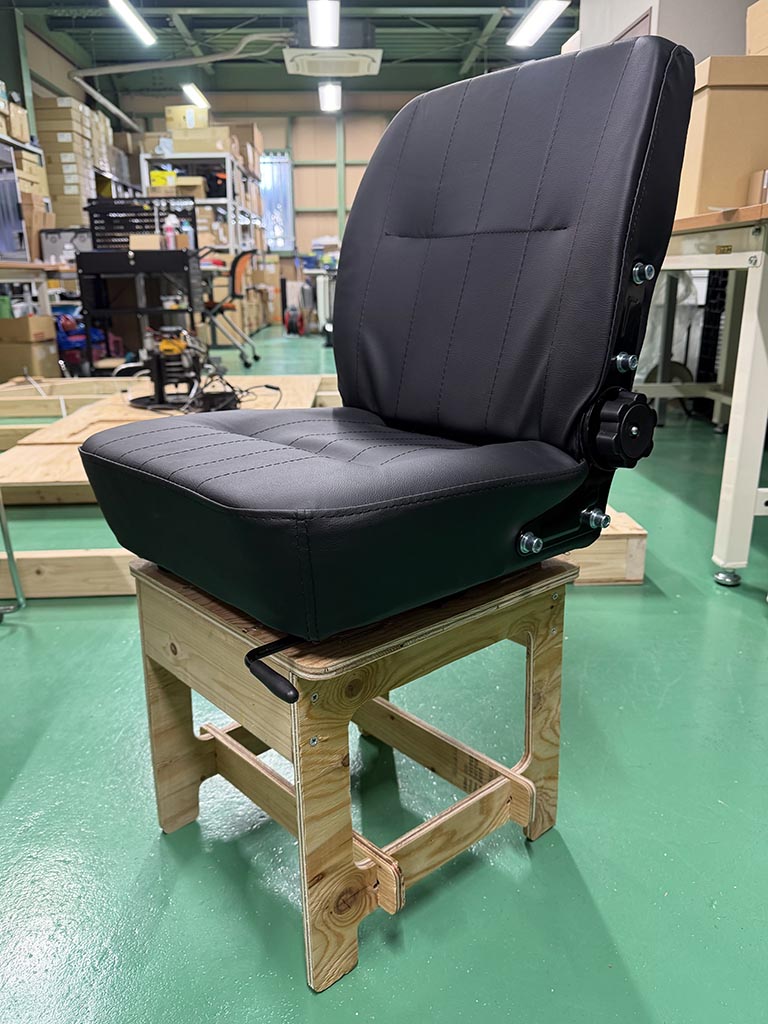
I don’t want to make something big that go out of use. So, I chose to make chair of flight simulator for this assignment. So I bought Operator Seat through Amazon. I’m going to design and make a base for this operator seat.
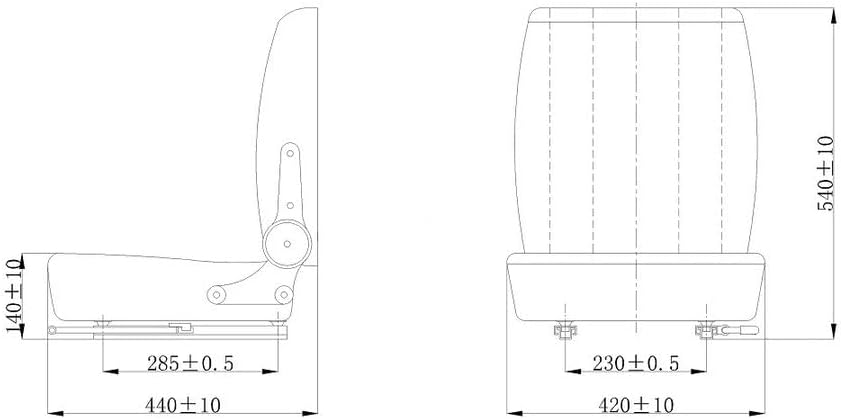
Here is the drawing of this operator seat. I’m going to set 450mm as seat height, and the seat thick was around 130mm, so the base height would be 320mm. And I’m going to use t=12mm plywood board as materials.
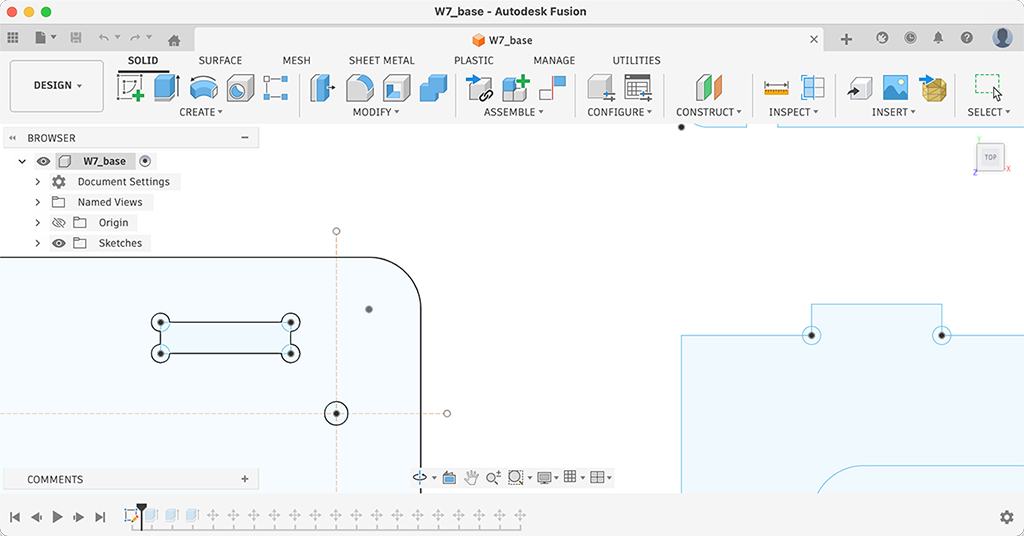
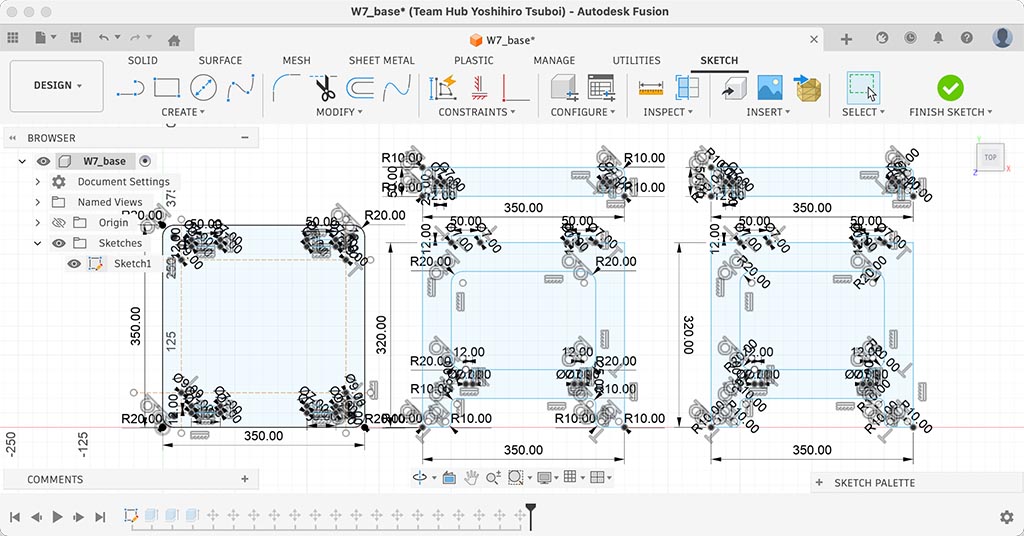
I chose Fusion to draw DXF file for this project. I draw sketch at first, started from drawing a top plate to fit bottom of operator seat. Put a rectangle holes that would catch a tab of side plate. And hen, I drew a side panels with the tab that would fit into rectangle holes of top plate.
At this time, I didn’t find dogbone option on CAM, so I put circles on right angle corners.
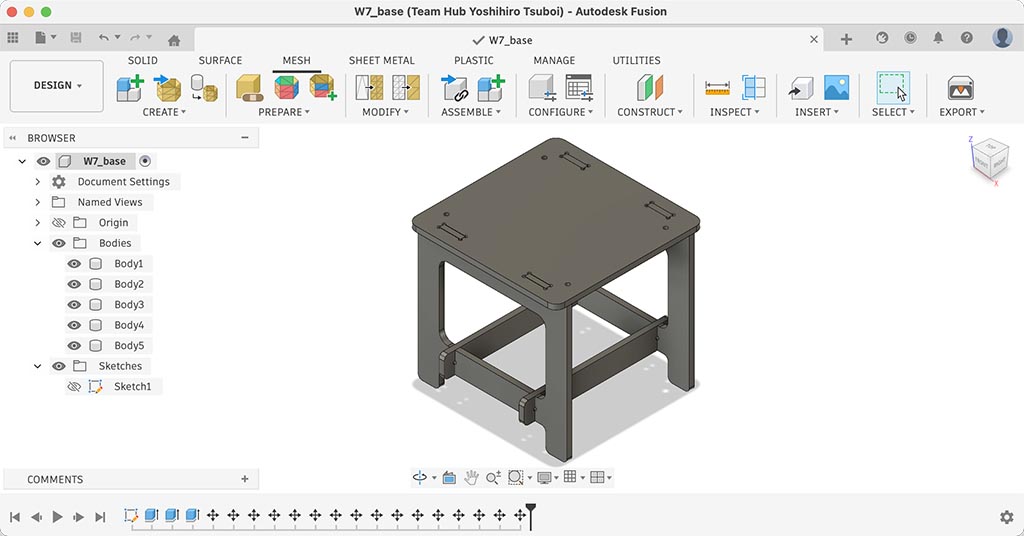
To confirm if the drawing I just drew, I assembled it on Fusion. I could also confirm we can do this on this software.
Design file: W7_base.f3d
Milling
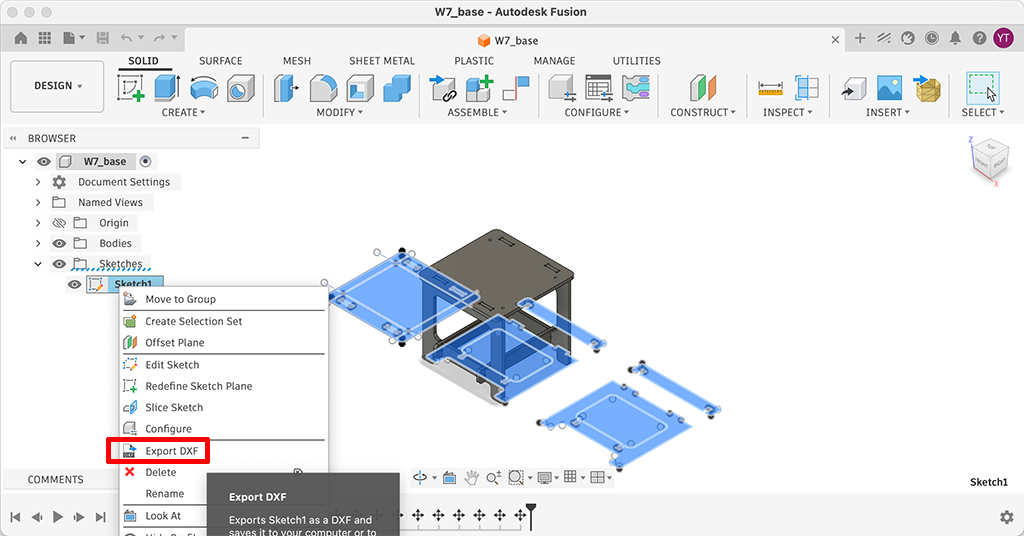
I exported DXF file on Fusion and imported it on CrabzCAM. To export DXF on Fusion, right click the sketch and choose Export DXF.
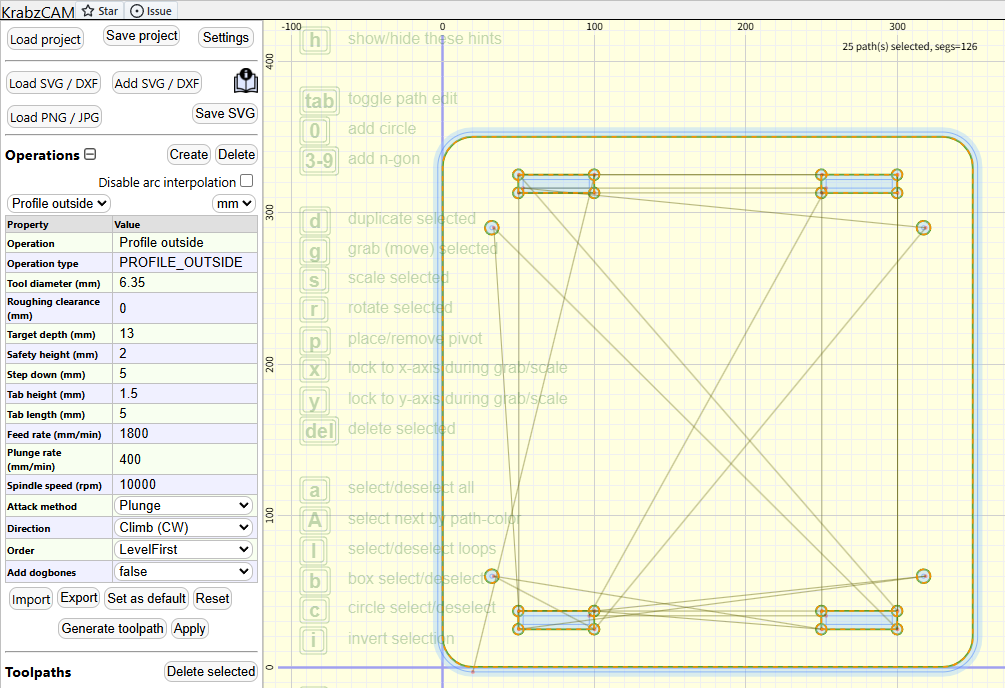
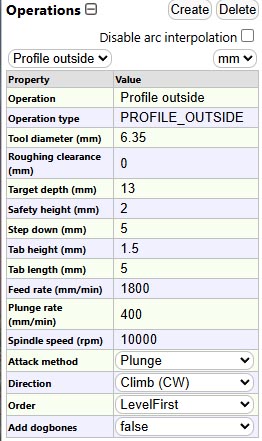
It looks I should choose Profile outside to cut it. Tool diamater and other parameters can be set on left pane of this screen. Dogbones could be added on here, if you didn’t make dogbones on your original design. And I uploaded g-code file generated with CrabzCAM.

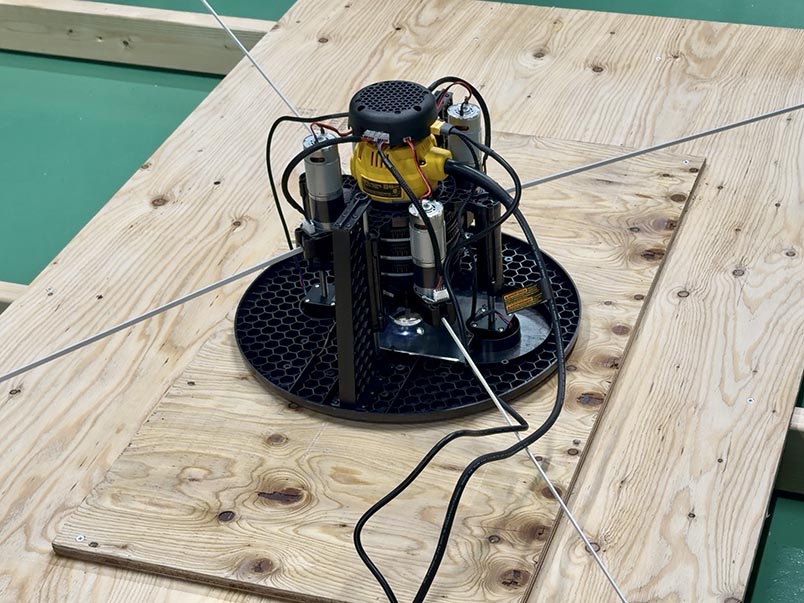
I uploaded g-code to Maslow, and started milling.
Assembling
It looks there are some inaccuracy.
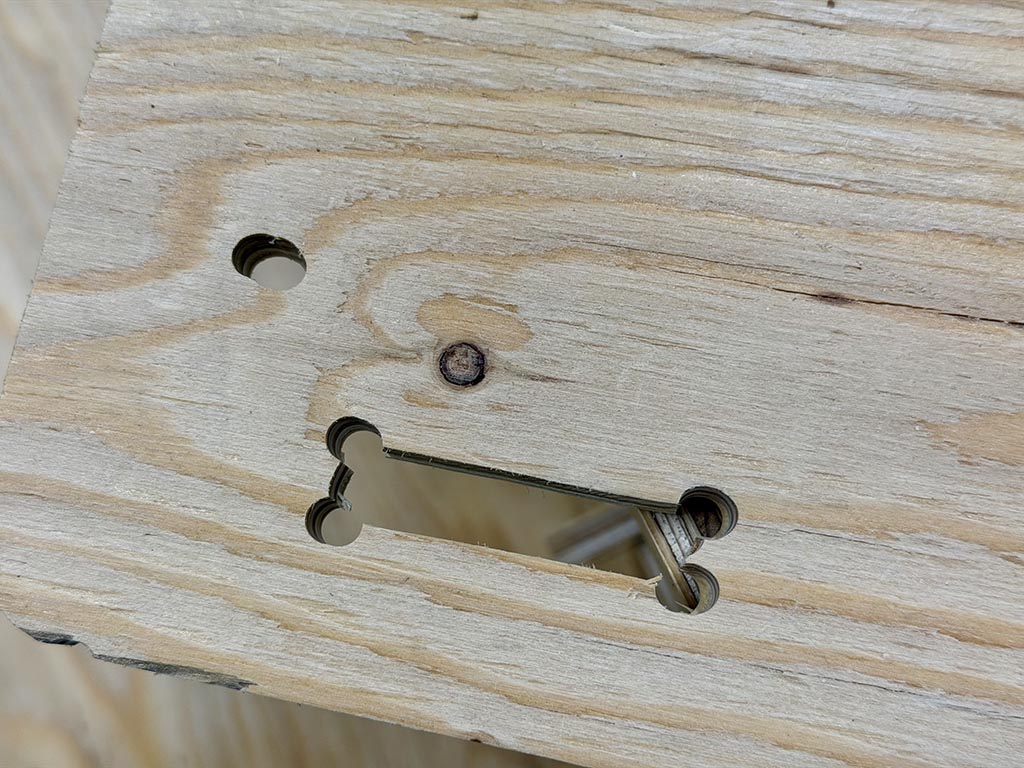
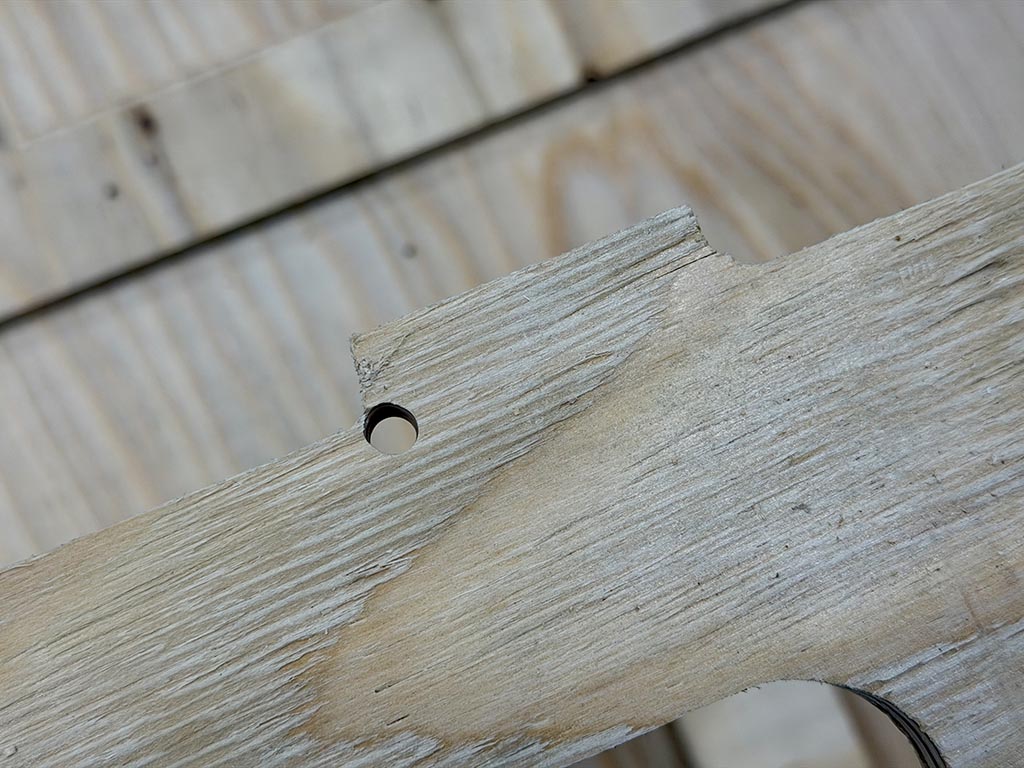
It looks there are a few millimeter inaccuracy. I think this was caused because the bottom base of Maslow doesn’t slide smoothly and Maslow has inaccurate four corner - timing belts tension stracture.
So I cut those by using mini router and file. Since those errors are a few millimeter things, it was not tough work. Just file down extra a few millimeter.
It looks my design doesn’t have enough stiffness, I added crosspiece.
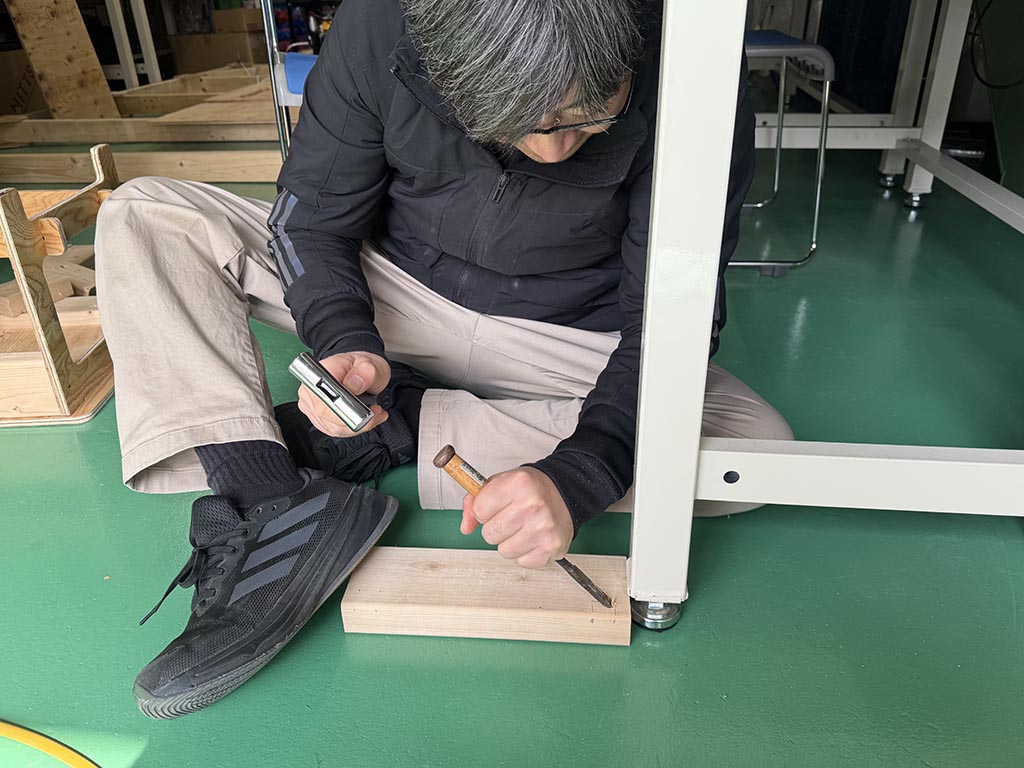
To make a space for nut, I carved crosspieces with chisels.
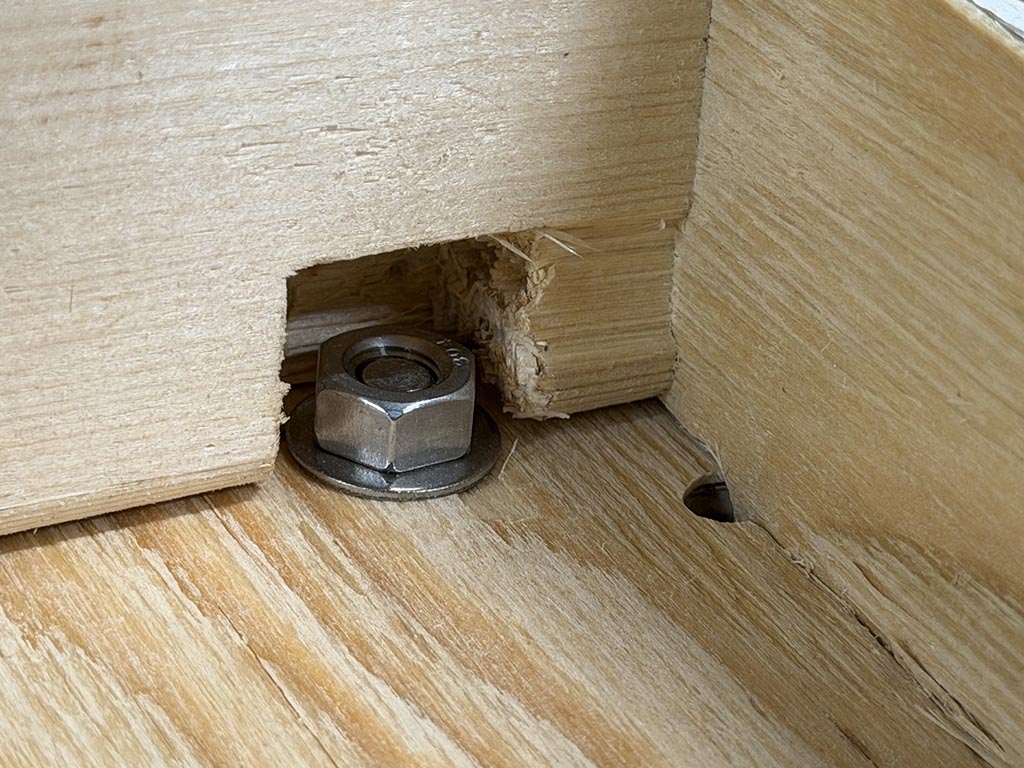
And, fixed the seat in the base with 4x M6 bolt and nut.
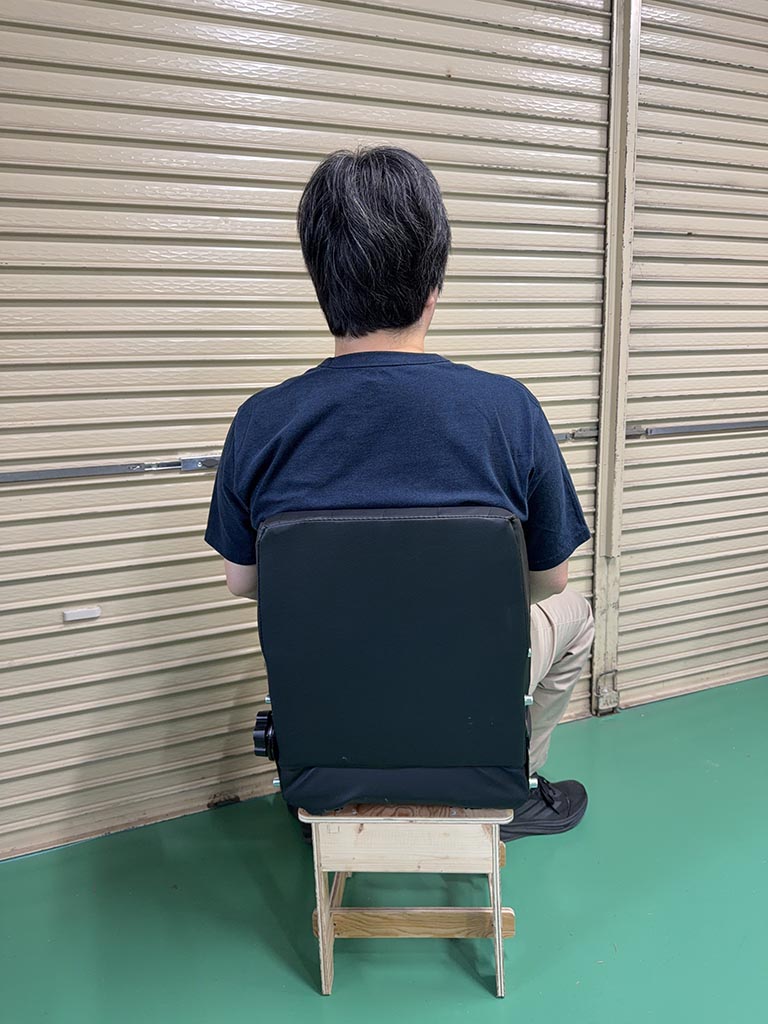
It works!!
Problem
When I cut with affordable 4 flute end mill, small fire occurred in vacuum cleaner by sucking up sparks (chips).
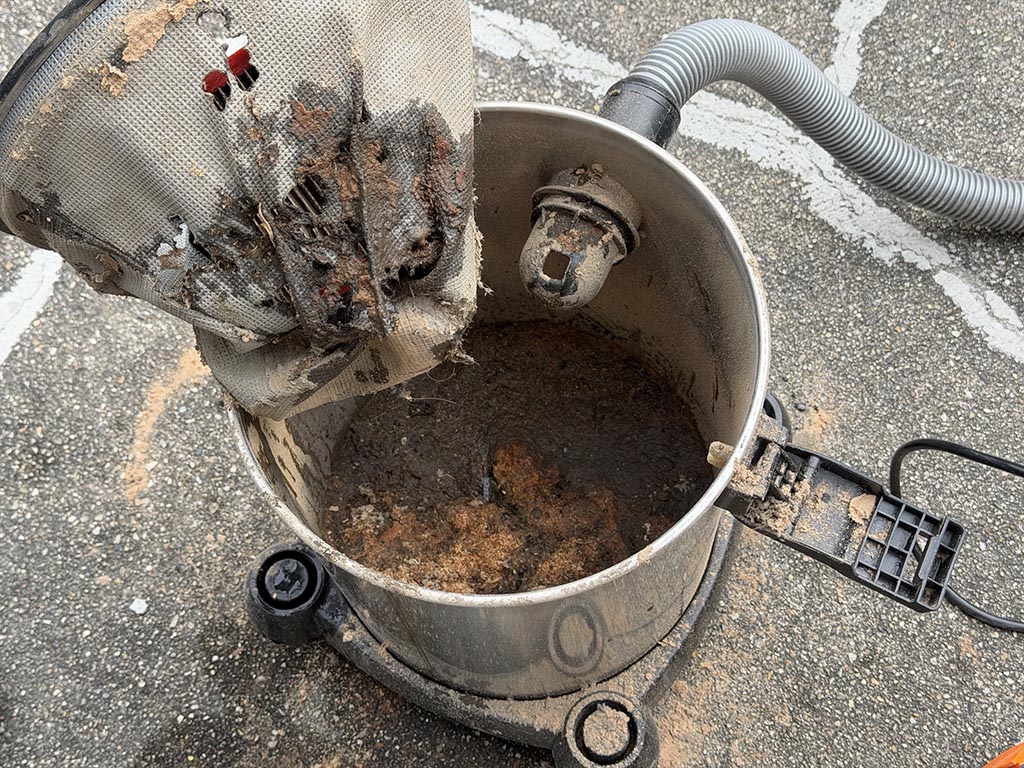
To solve this problem, we changed to 1-flute end mill, reduced motor speed and changed parameter on CAM as below.
And according to the manual of trimmer DEWALT DWP611, we’d better to set speed dial 1-3 for large diameter bits and cutters.
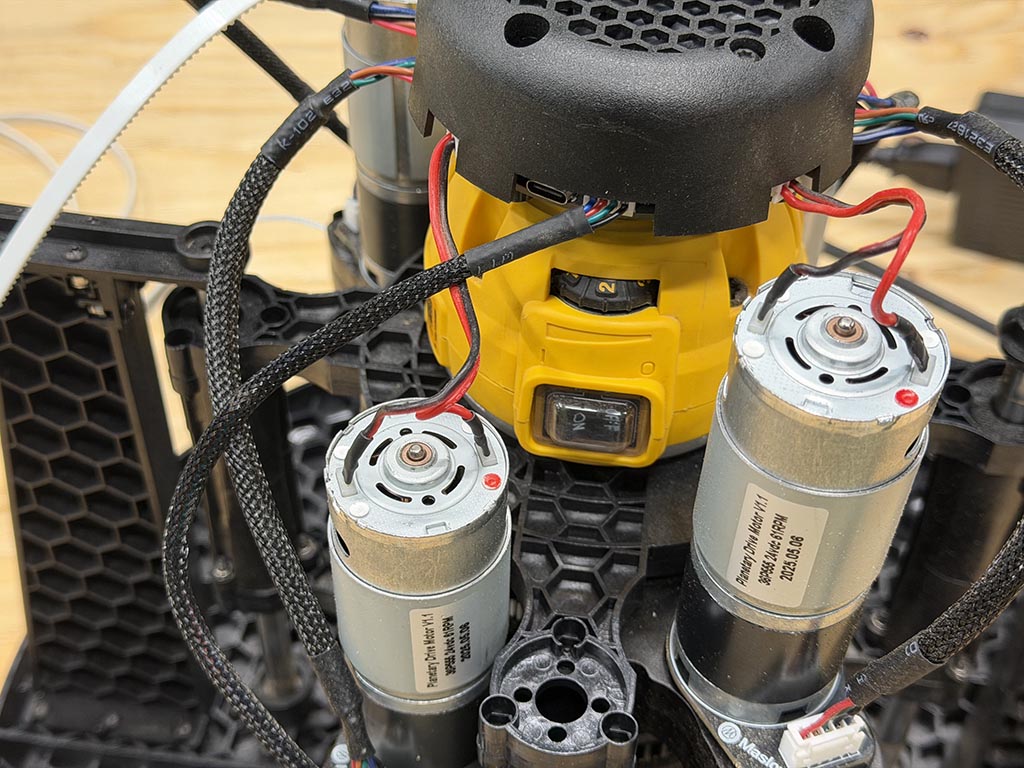
Finally, I found how to mill plywood with Maslow 4.1.
Checklist
- Linked to the group assignment page
- Reflected on your individual page what you learned of your labs safety training
- Documented how you designed your object and made your CAM-toolpath
- Documented how you milled and assembled your final product (including setting up the machine, fixturing, feeds, speeds etc.)
- Described problems and how you fixed them
- Included your design files and ‘hero shot’ of your final product