Week05
3D Scanning and Printing
Assignment
Group assignment:
- Test the design rules for your 3D printer(s)
- Document your work on the group work page and reflect on your individual page what you learned about characteristics of your printer(s)
Individual assignments
- Design, document and 3D print an object (small, few cm3, limited by printer time) that could not be easily made subtractively
- 3D scan an object (and optionally print it)
Group assignment
We tested the design rules for our 3D printer. It is on our group page.
What I learned were:
- More than 60 degree overhangs will be rough.
- Small holes will be shrunk. If we want to screw hole for serious 3D printing, we’d better to put insert nut on it.
- 50 mm in the air works, but we’d better to avoid that design. If we need to do so, let the slicer add support.
Design and 3D print an object
Why it could not be easily made subtractively
Hollow structure, especially complicated shape hollows are hard to be made subtractively because it is hard to put and move cutting tools onto hollows.
I remember this additive approach Handles for hex key is one example that could not be made subtractively. Normally, handles will be divided to more than two parts that sandwich the hex key.
Design
I desided to make something nested structure object with Autodesk Fusion.
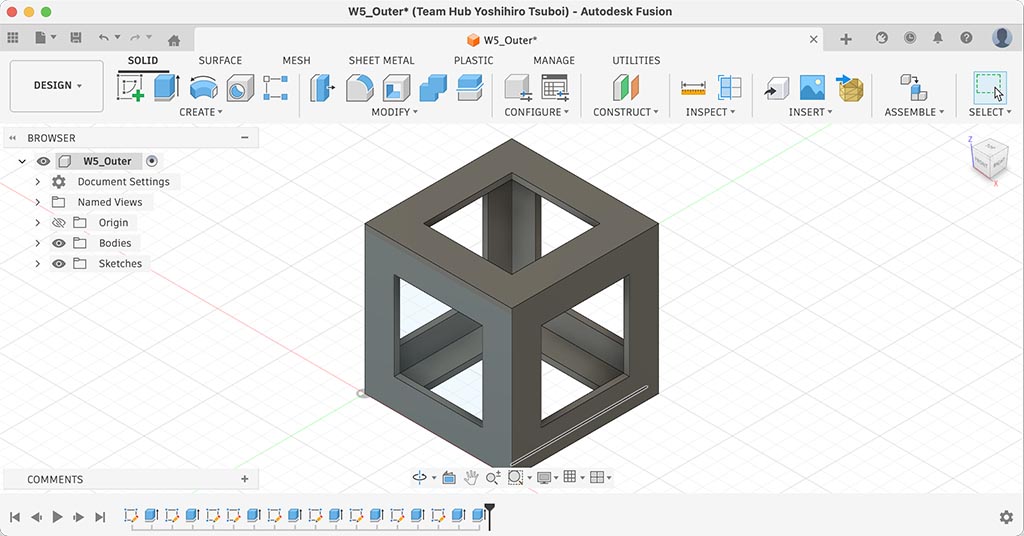
I designed outer cube by using Sketch and Extrude. (Both can be found in Create)

After finishing “Outer”, I copied it as “Inner”. And used Scale under Modify. Scaled to 80%.
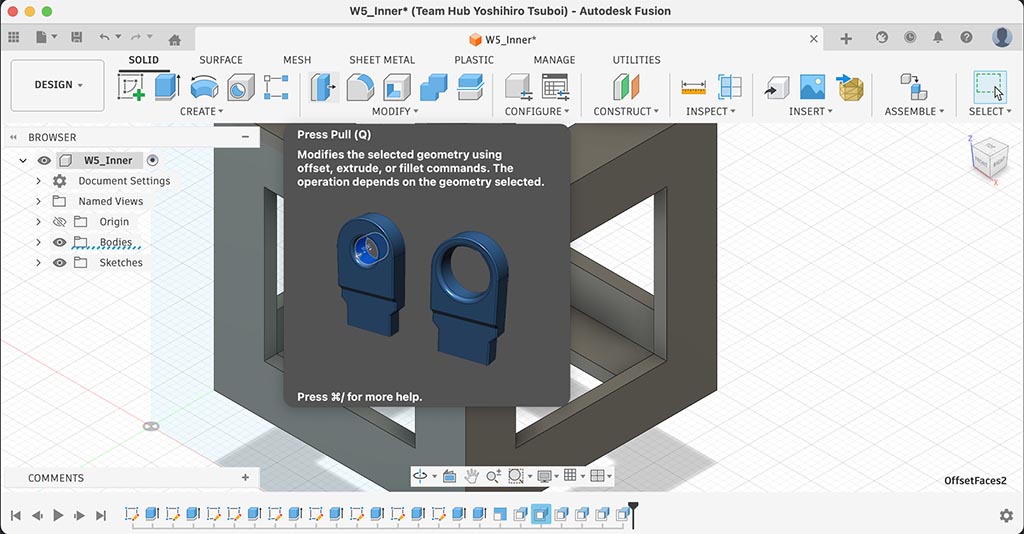
Because I scaled it 80%, wall thickness also got 80%. So I fixed it with Press Pull also under Modify. Inner was also finished.
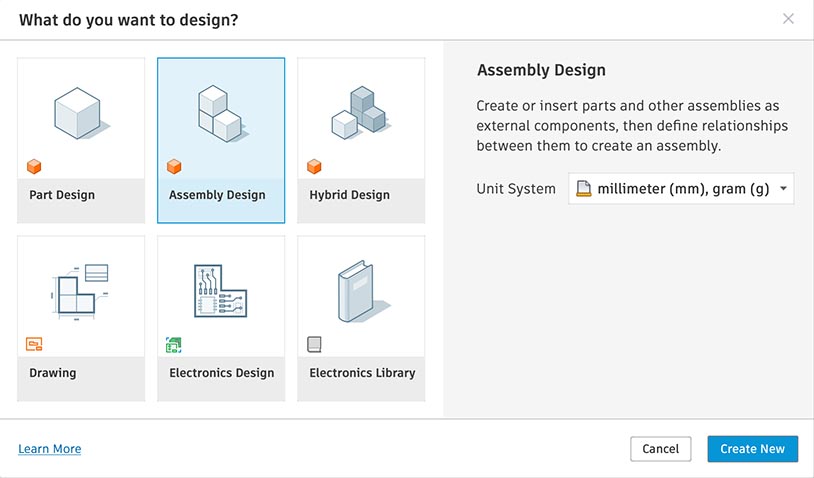
At last, I started to make assembly design.
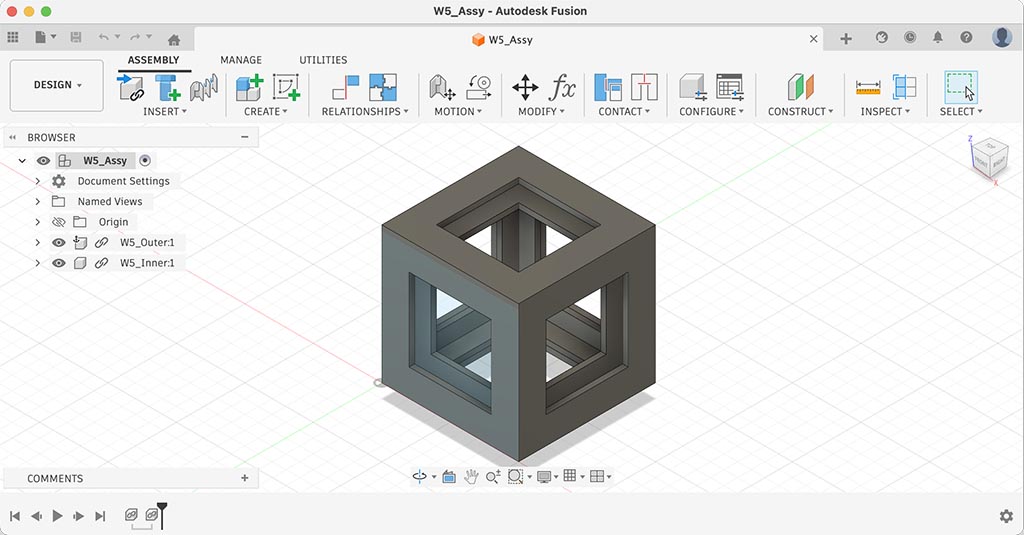
I used Insert Component under Insert and inserted both Outer and Inner component to this design.
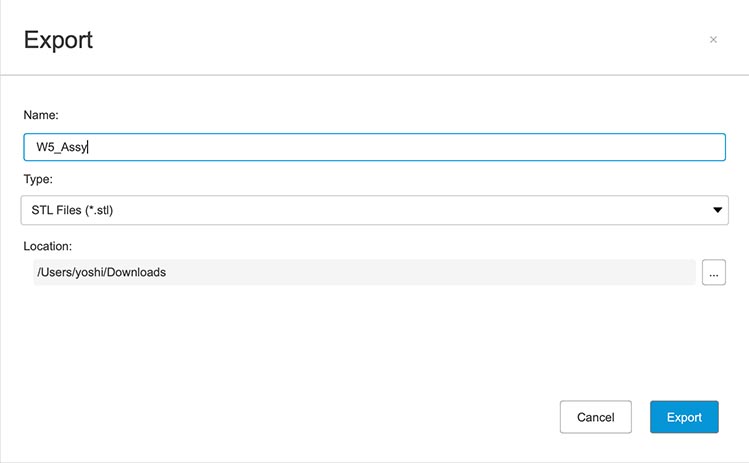
And Exported as STL from [File]-[Export…].
Files I made:
- W5_Outer.f3d
- W5_Inner.f3d
- W5_Assy.f3z - I exported but it doesn’t work.
- W5_Assy.stl
Print
I used default “0.20mm High Quality @BBL H2S” as print profile. It is 0.20mm layer height, 15% infill density, 2 wall loops. I think Bambu is great because they make 3D printers like consumer electronics. Bambu printers can do 3D prints without hustles.
When I added STL file, Bambu Studio noticed that design has floating cantilever. So I enabled support.
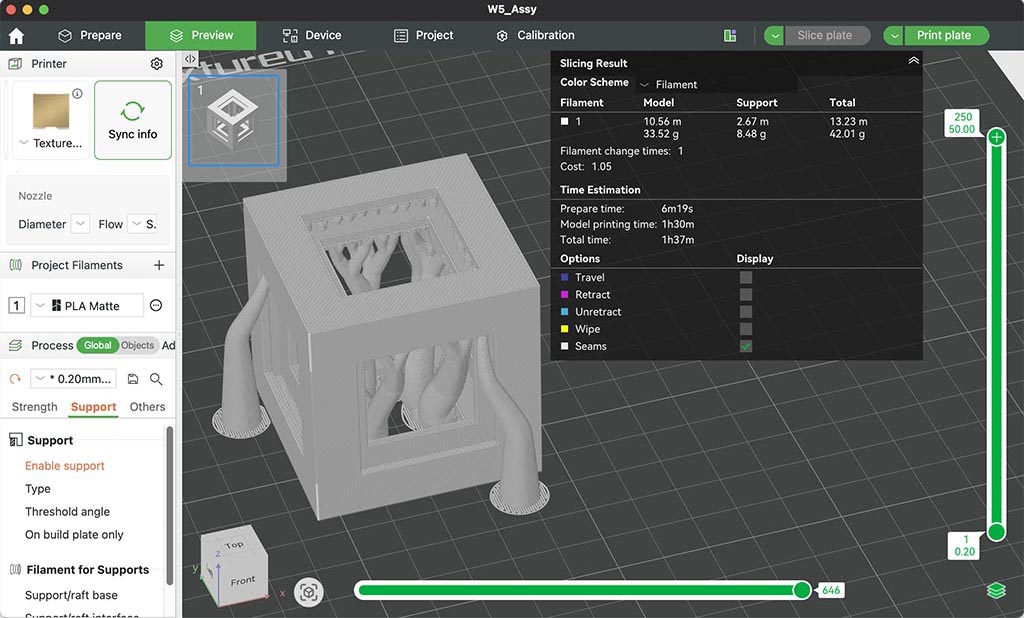
I choose “tree (auto)” mainly because it was default choice. But I think tree is much easy to remove than normal support.
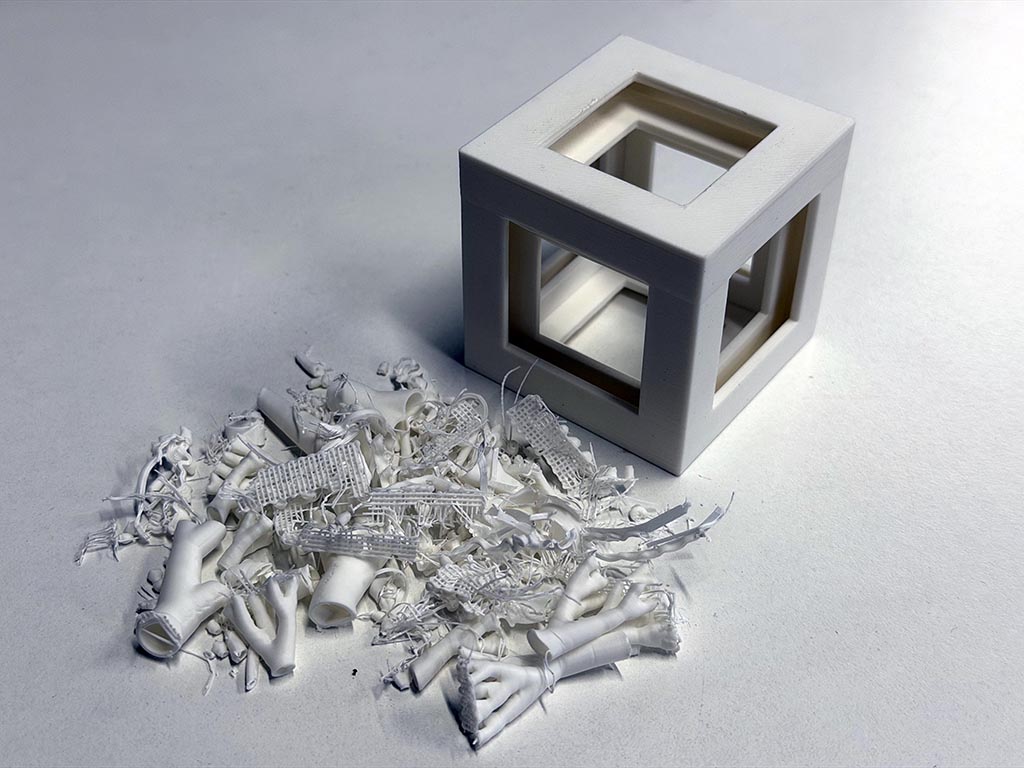
There are so many support materials🤣
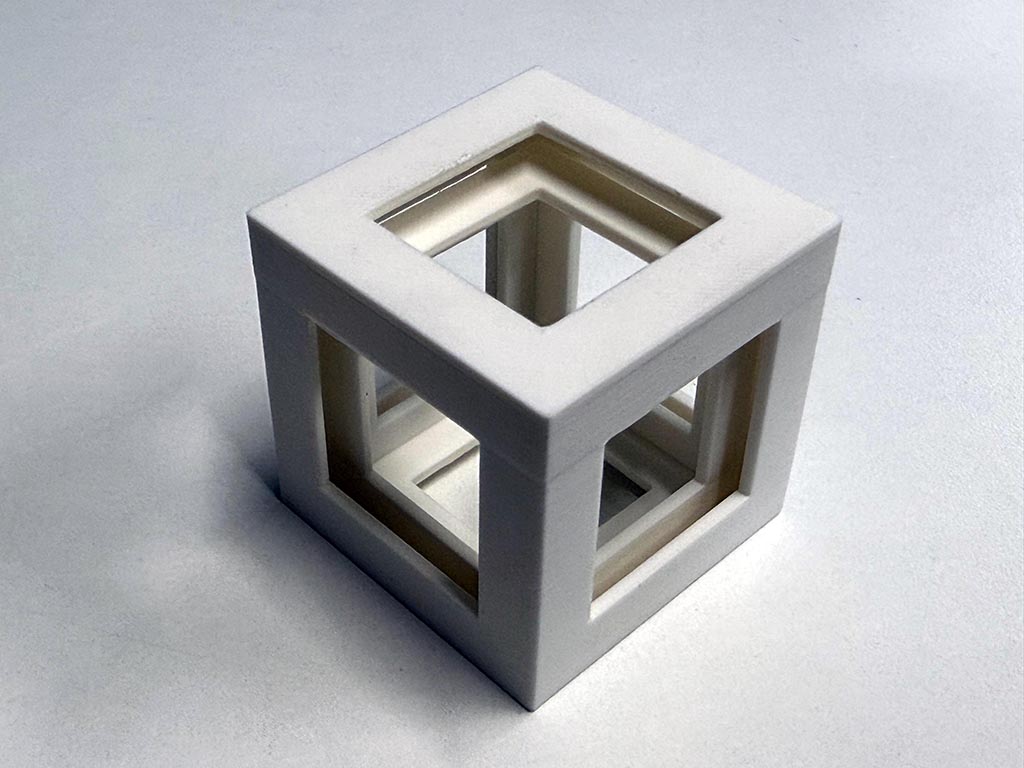
Finally I’ve got what I designed.
3D scanning
Polycam
I choose Polycam for the trial this time by the reputation on the web.
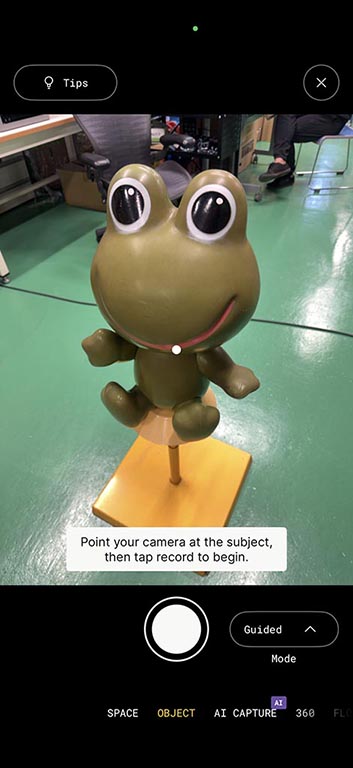
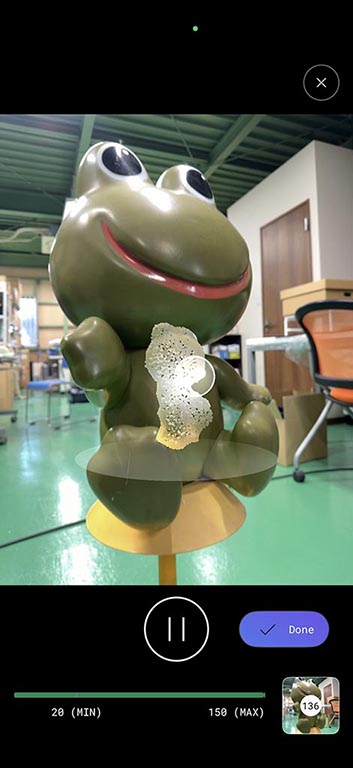
I scanned frog character object with object mode. I moved iPhone to take shots from variety of angle, and finally Polycam let me know I took enough shots. After that, uploading was started. Polycam looks process the shots on the cloud.
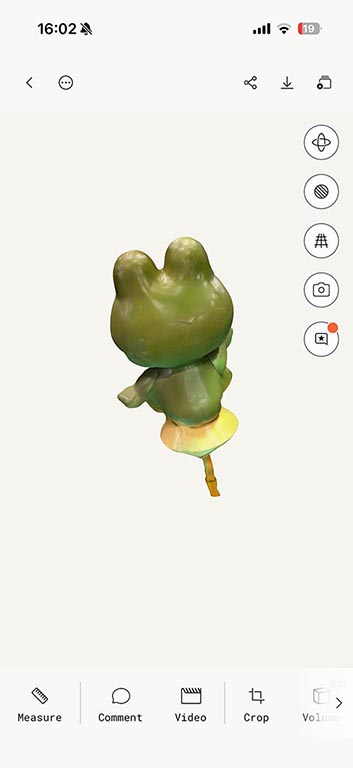
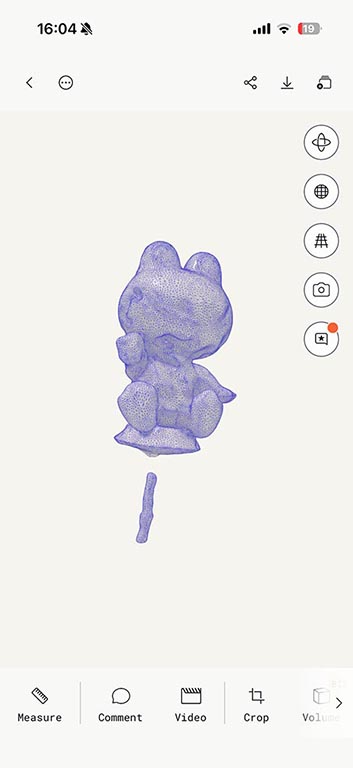
I heard Polycam uses iPhone built in LiDAR (Light Detection and Ranging) sensor for scan. So I expect precise scan but result was not that what I expected.
I think Polycam is something like oneway thing. I can’t get feedback of scanning real time, so I was not sure about the quality of scan until I got processed result.
Revopoint POP
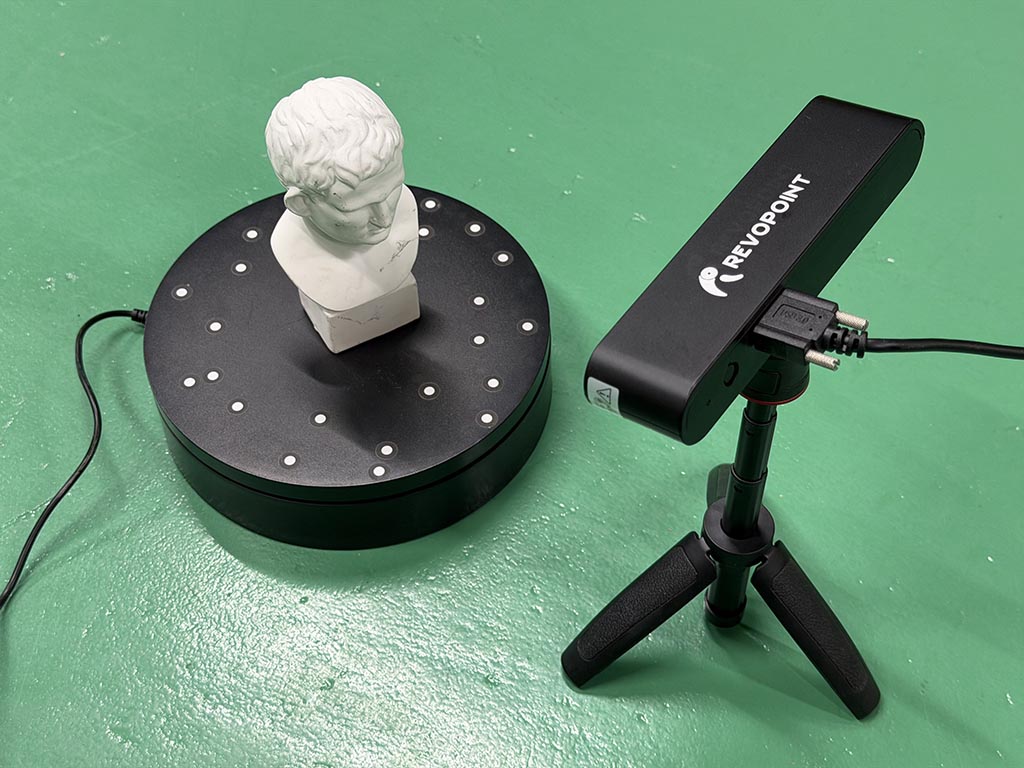
Our instructor Take brought 3D scanner Revopoint POP. So, I tried to scan a sculpture.
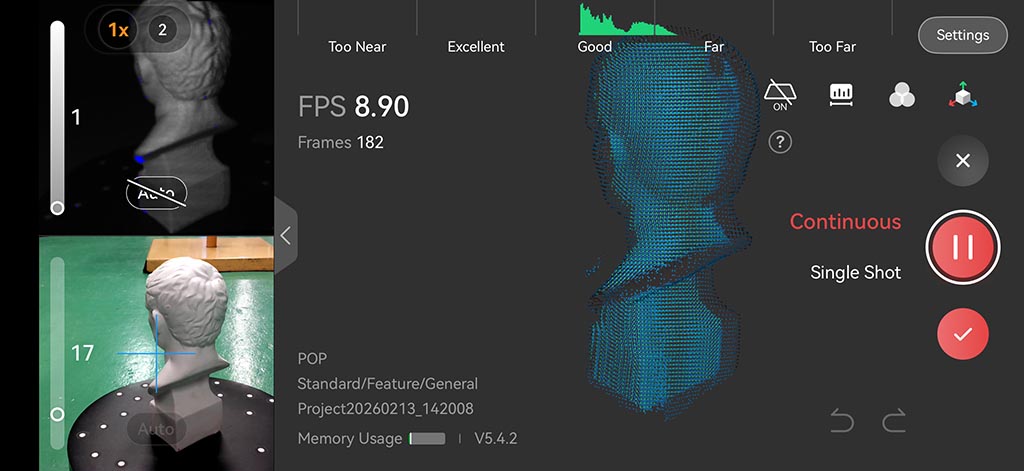
There are a iPhone App named “Revo Scan”, I installed it from App Store. After a few times trial, I could scan with acceptable quality. So, I exported scanned model as STL file. W5_20260213_143735_mesh.stl
The sculpture was bundled with 3D scanner. So scanning was easy, what I needed to take care was only not to lost tracking when I move scanner to scan all over. I needed to move scanner slowly and carefully.
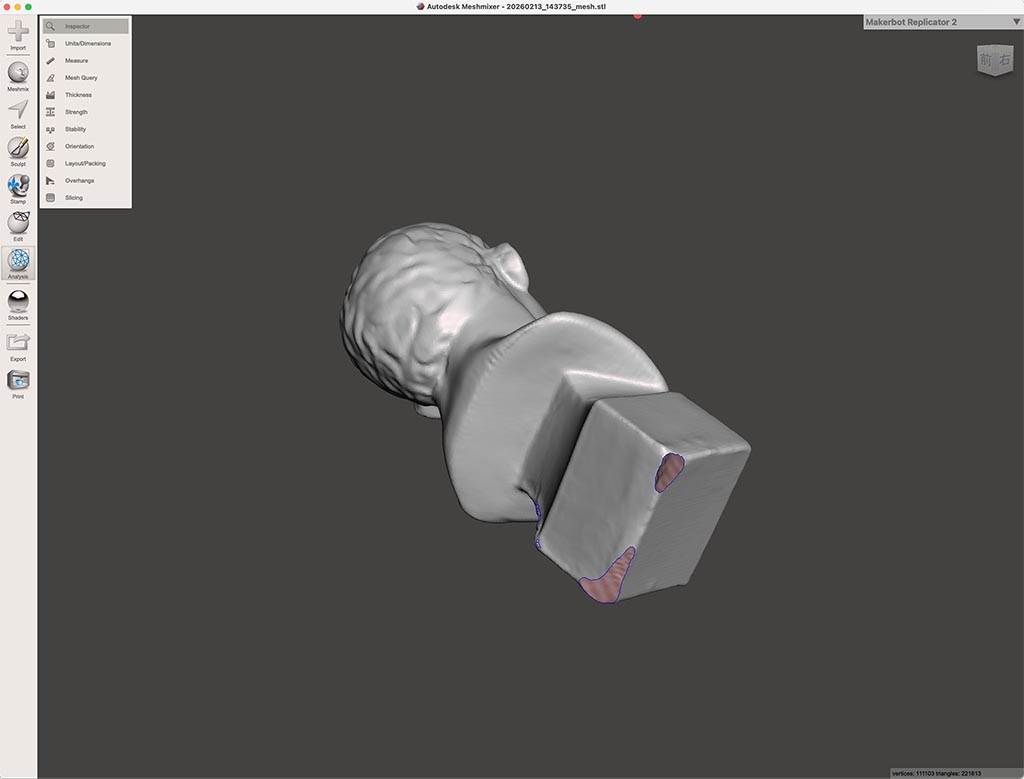
There are some worm-eaten hole on scanned data, so I repaired it with Autodesk Meshmixer. I imported scanned STL file into Meshmixer and clicked [Analysis] - [Inspector] first. So Meshmixer pointed out broken points, so I choose “Auto Repair All” to let Meshmixer repair automatically. Now this STL should be ready to print.
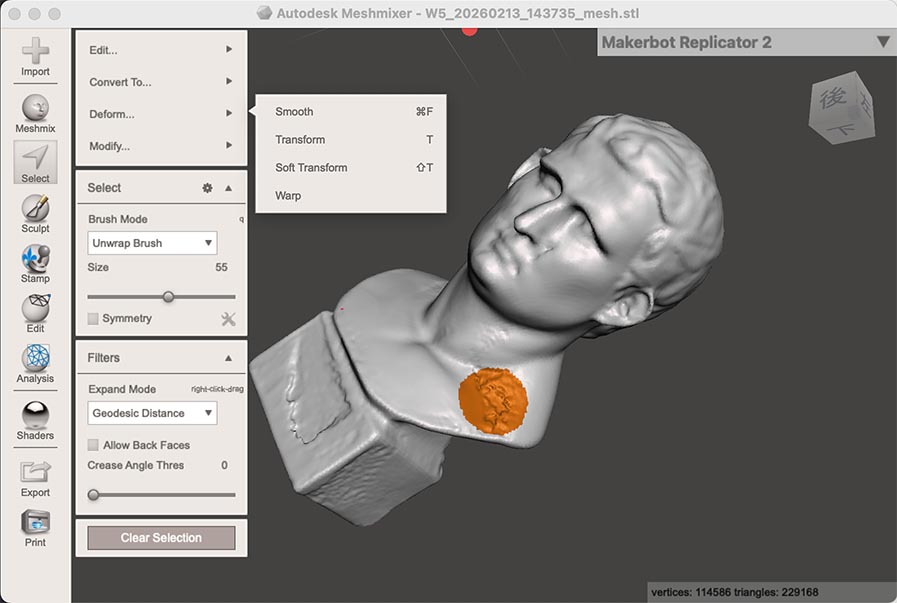
And I found some rough surface on the data, so tried to fix by [Select] the place and then [Deform] - [Smooth].
I exported repaired data as binary STL at first but it was not recognized by Bambu Studio. So I tried to export as 3MF (W5_sample.3mf) and it worked.
Meshmixer for macOS
Autodesk is no longer provide Meshmixer for macOS. There are independent fan‑made site and macOS version archive can be found there. If we want we can use it at our own risk.
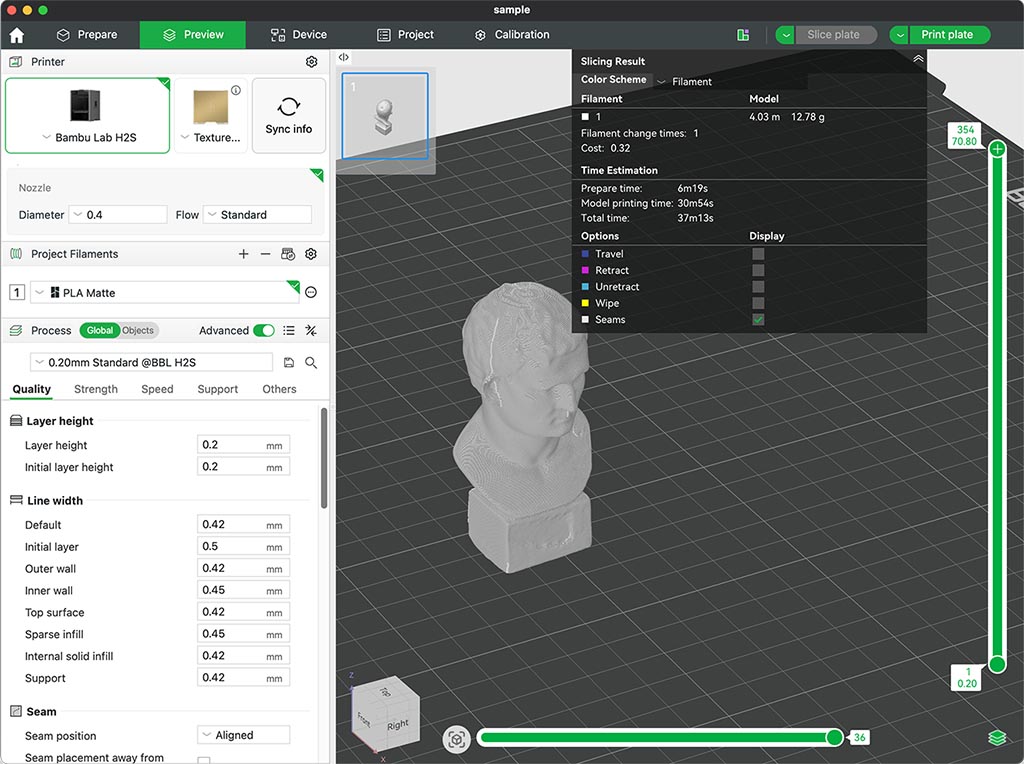
I printed it out with company’s Bambu Lab H2S printer. To save filament consumption and print time, I printed out as 50% scale. It took around 37 minutes. I used default “0.20mm High Quality @BBL H2S” as print profile again. It is 0.20mm layer height, 15% infill density, 2 wall loops.
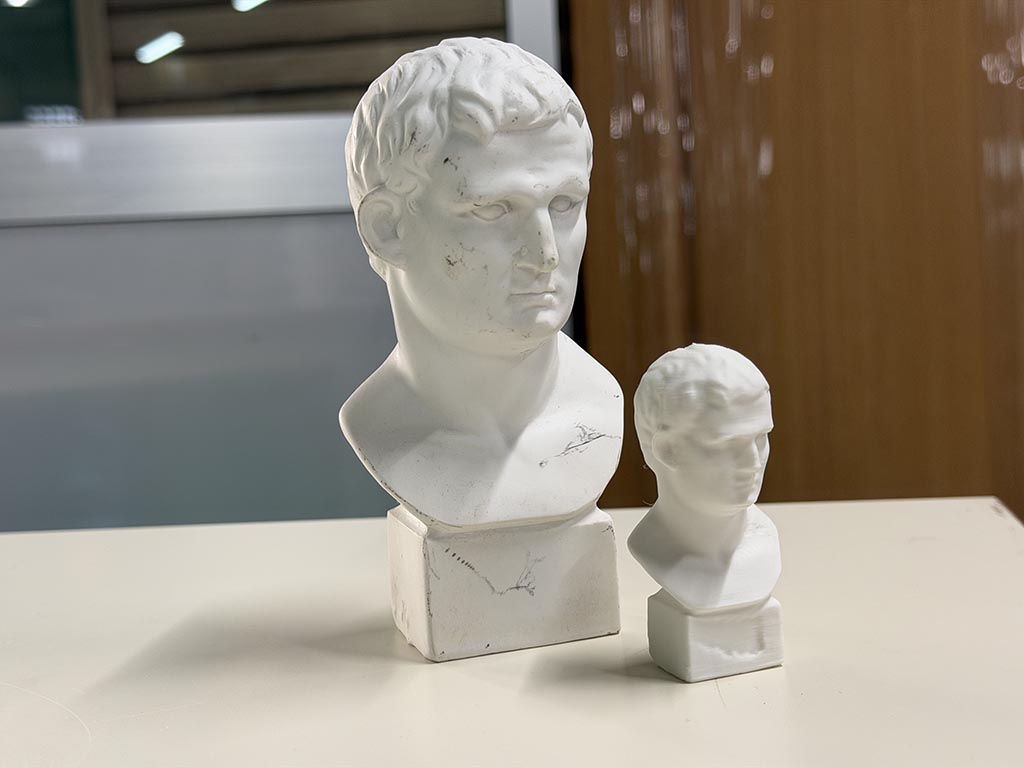
I took a picture with original sculpture and printed 1:2 scale copy. (Hero shot)
Checklist
- Linked to the group assignment page
- Explained what you learned from testing the 3D printers
- Documented how you designed and 3D printed your object and explained why it could not be easily made subtractively
- Documented how you scanned an object
- Included your original design files for 3D printing
- Included your hero shots