17. Wildcard Week
Assignments and Assessment this week
- Design and produce something with a digital process (incorporating computer aided design and manufacturing) not covered in another assignment, documenting the requirements that your assignment meets, and including everything necessary to reproduce it.
- Possibilities include but are not limited to wildcard week examples.
Learning outcomes
- Demonstrate workflows used in the chosen process
- Select and apply suitable processes (and materials) to do your assignment.
Have you answered these questions?
- Documented the workflow(s) and process(es) you used
- Explained how your process is not covered in other assignments
- Described problems encountered (if any) and how you fixed them
- Included original design files and source code
- Included ‘hero shot’ of the result
Individual assignment
- Try digital fabrication on fabric, something we haven’t done before.
- Use the new embroidery machine in the lab to embroider on fabric and record and document its usage.
-
Try silkscreen printing on fabric using a 3D printer and record and document the process.
-
extra credit: Make a T-shirt to wear to the FAB26 graduation ceremony.
Textiles
This week, composite materials were recommended, but since they are difficult to handle in our lab in Kamakura, we tried fabric embroidery and silkscreen printing instead.
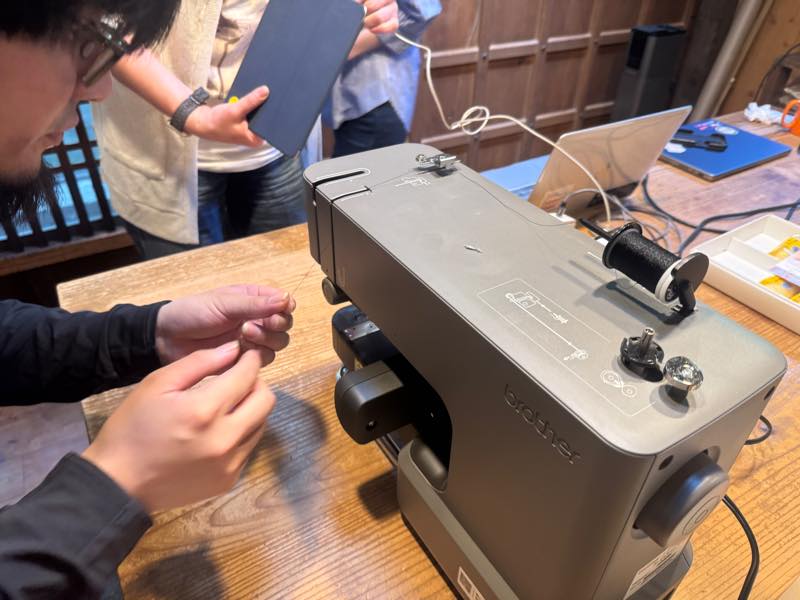
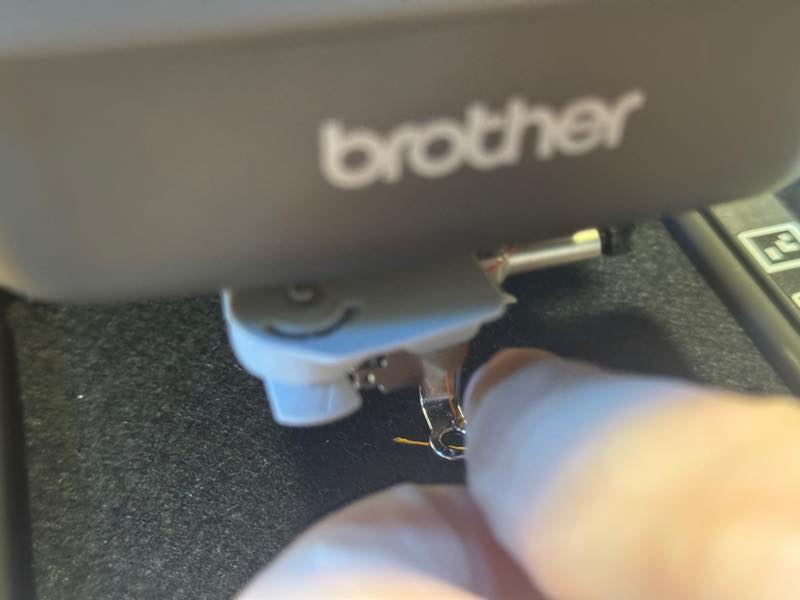
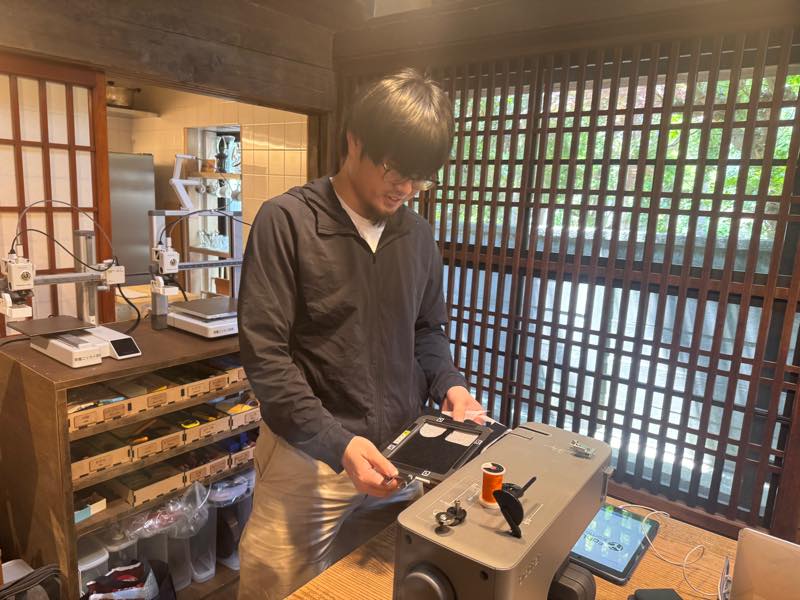
Embroidery machine
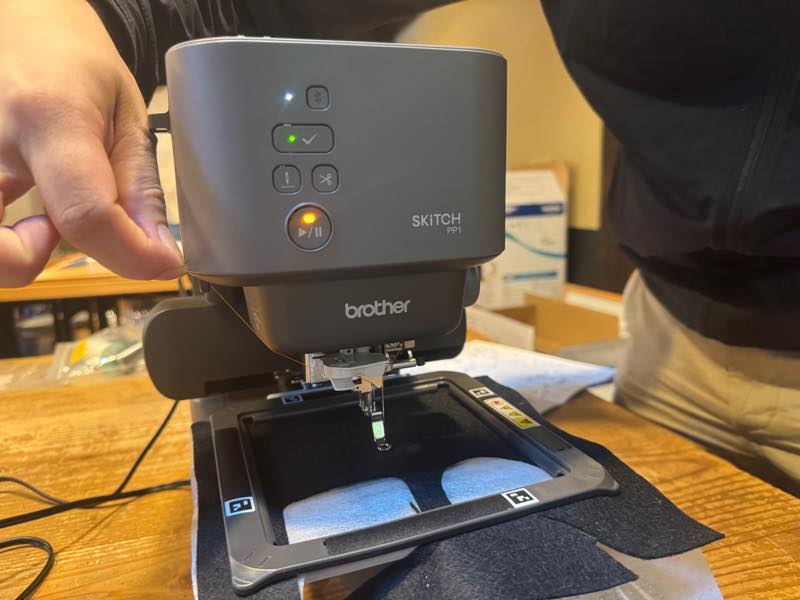
FabLab Kamakura has introduced a new embroidery machine this year, and we will be using it. The model name is PP1 [PER0001] It is manufactured by Brother and is known in Japan by the model number PER0001.

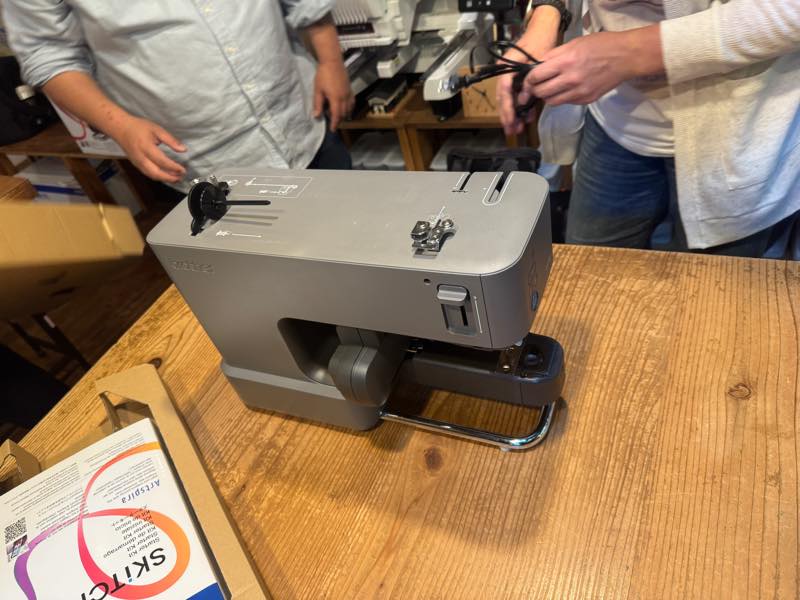
This is what it looks like after opening the box.
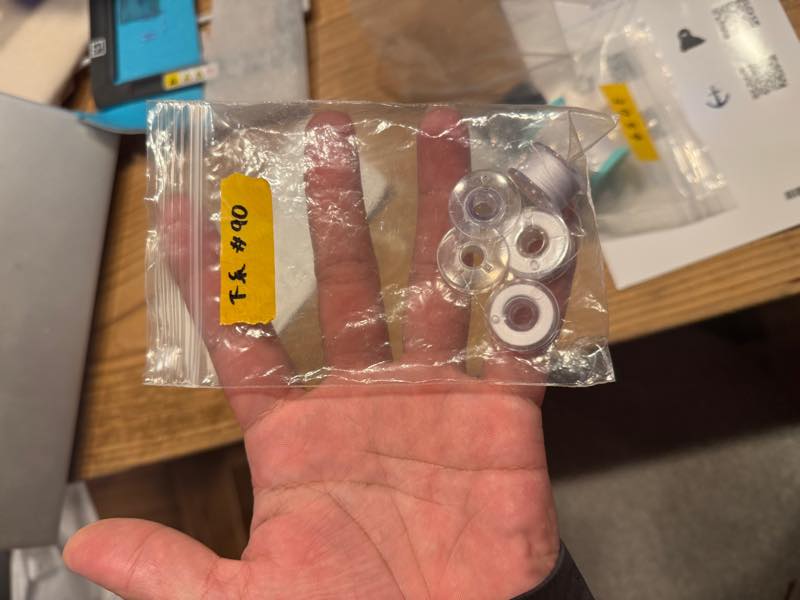
It comes with a special bobbin thread set.
Threading
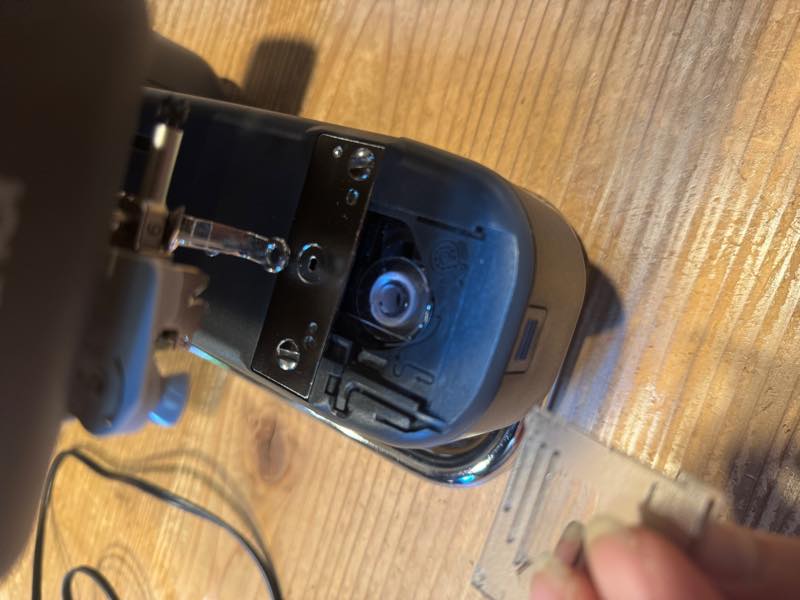
Attach the bobbin thread according to the instructions and close the lid.
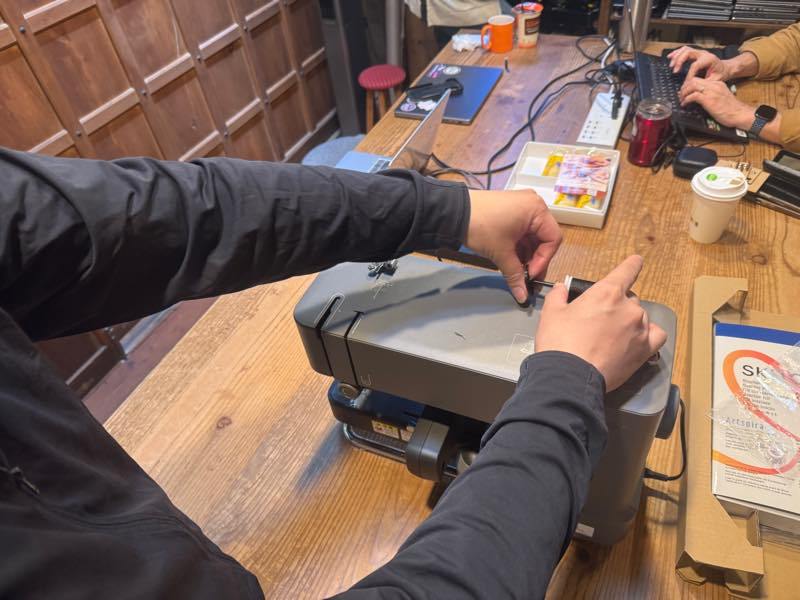
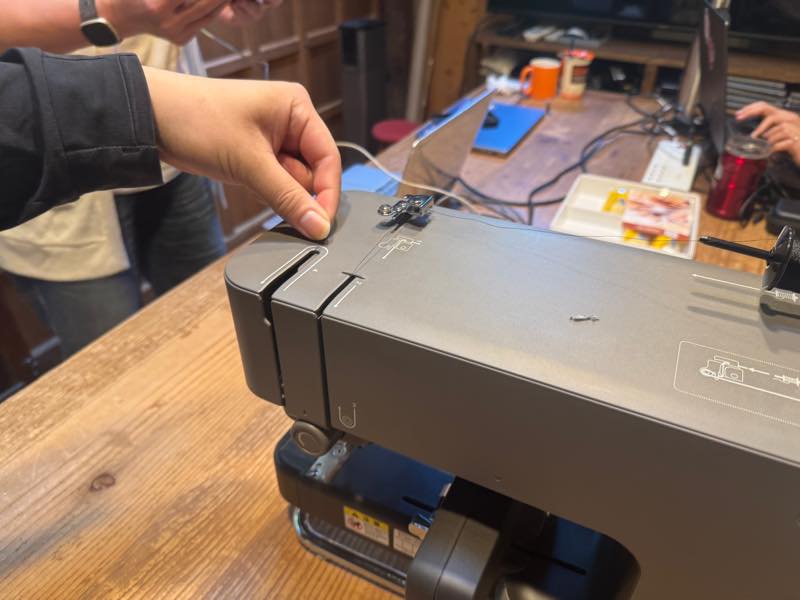
Attach the upper thread.
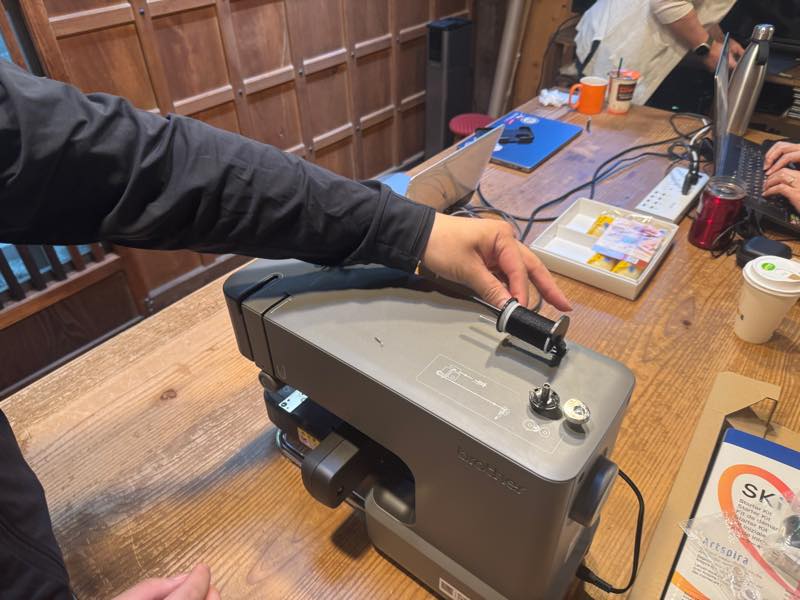
Pull out the thread,
and thread it according to the instructions.
Lower it,

rotate the circular part,
hook it onto the upper part,
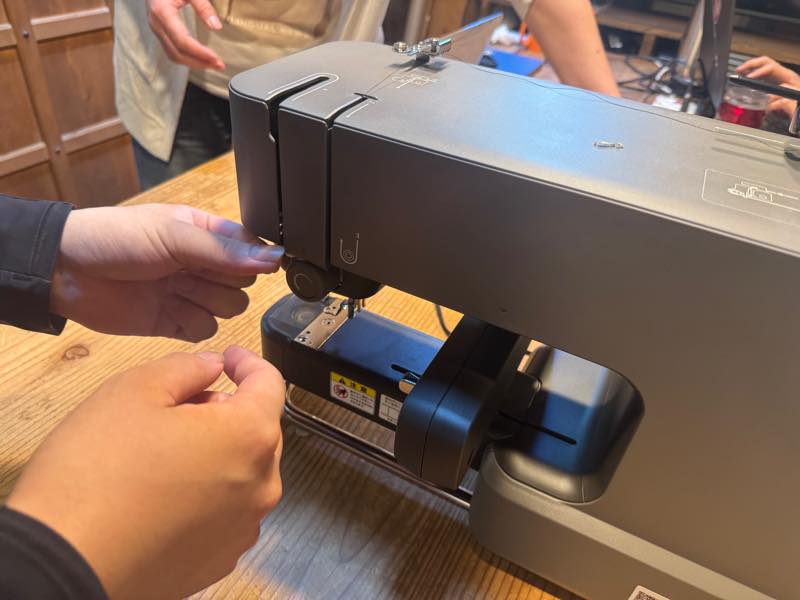
and lower it.

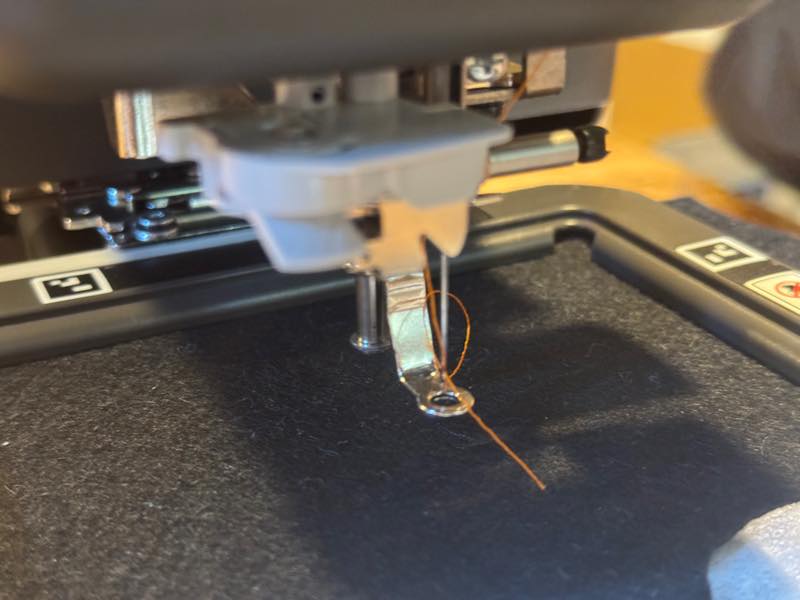
Pull the thread,
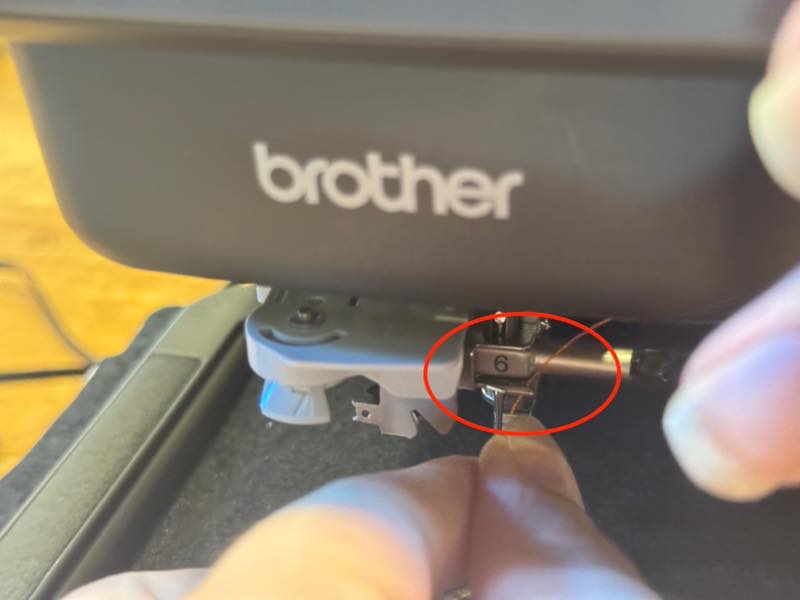
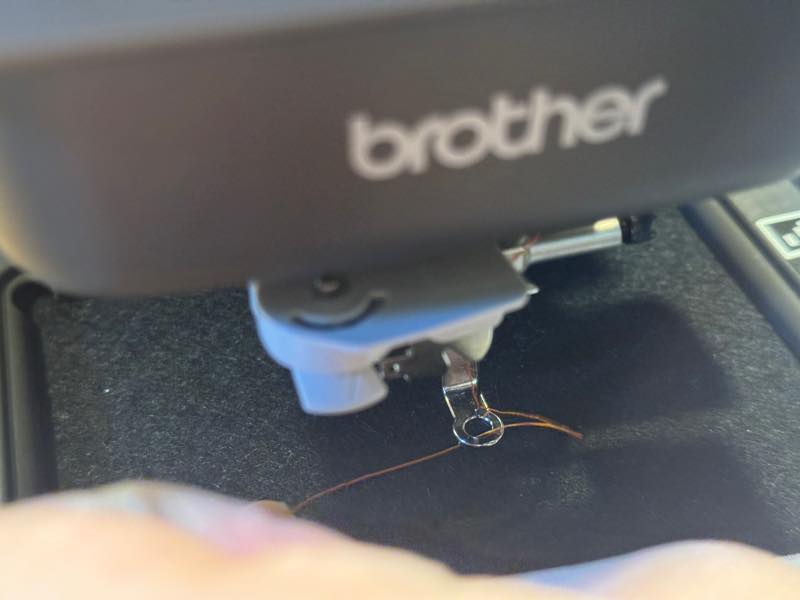
and thread it through part 6 (red circle).
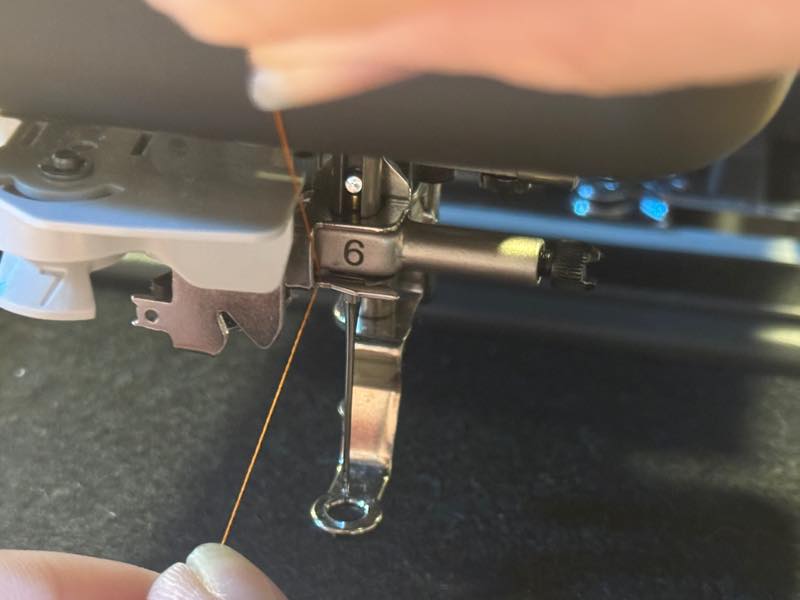
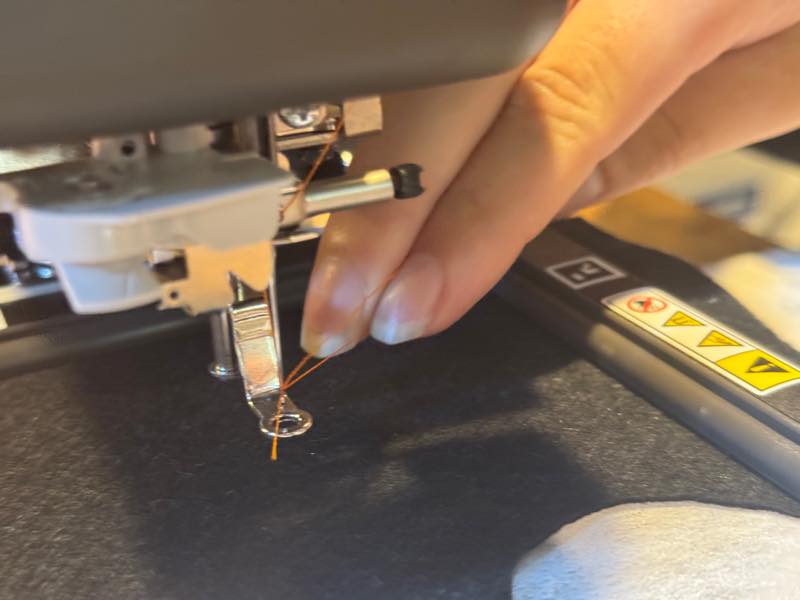
Once the thread is through,
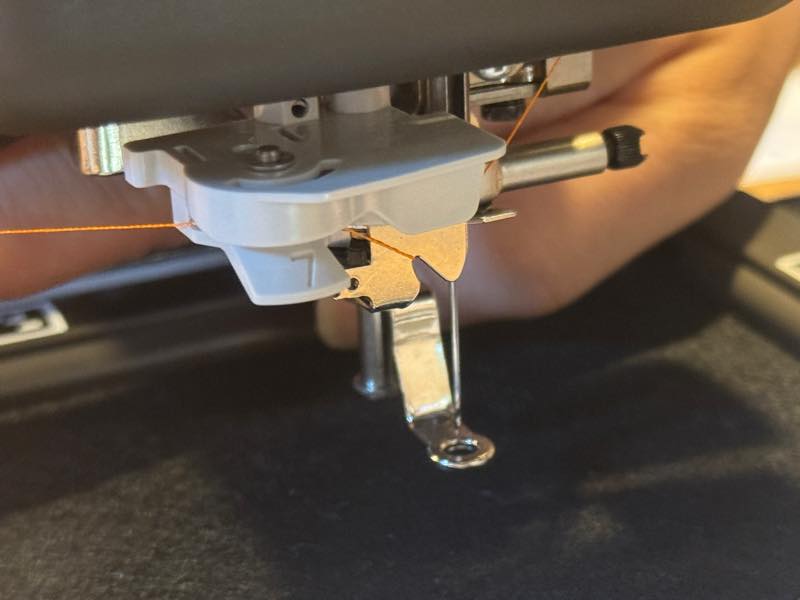
thread it through part 7,
and cut off the excess thread.
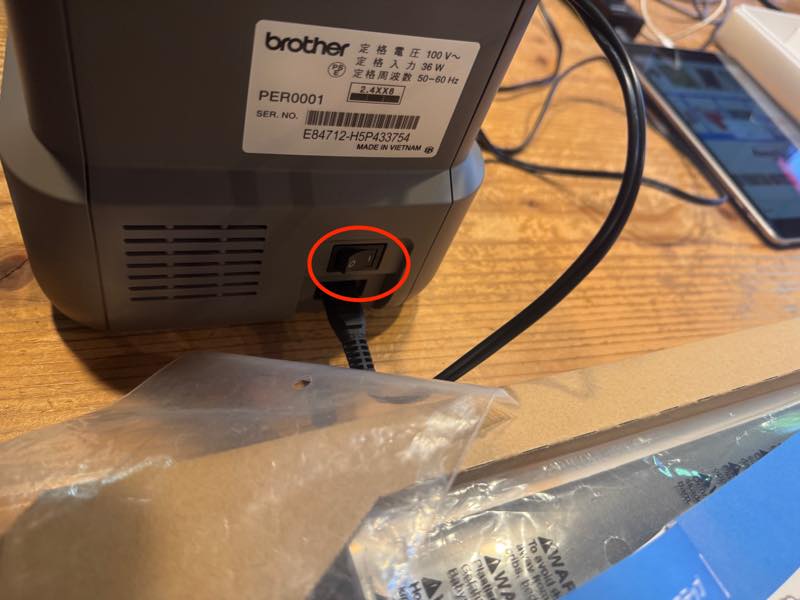
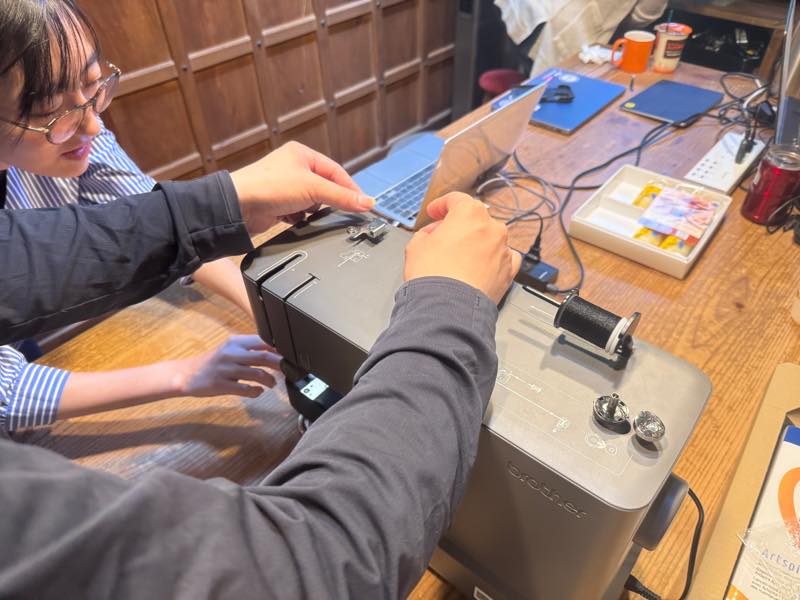
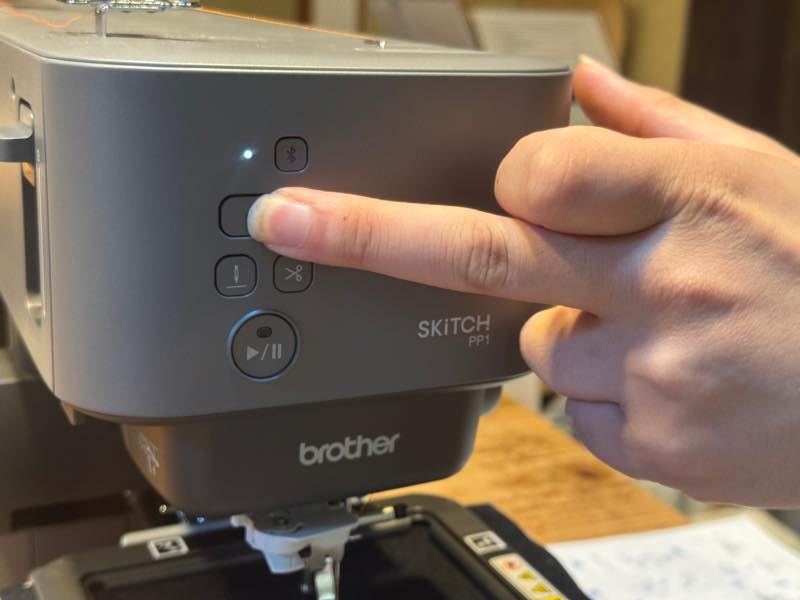
Turn on the power.
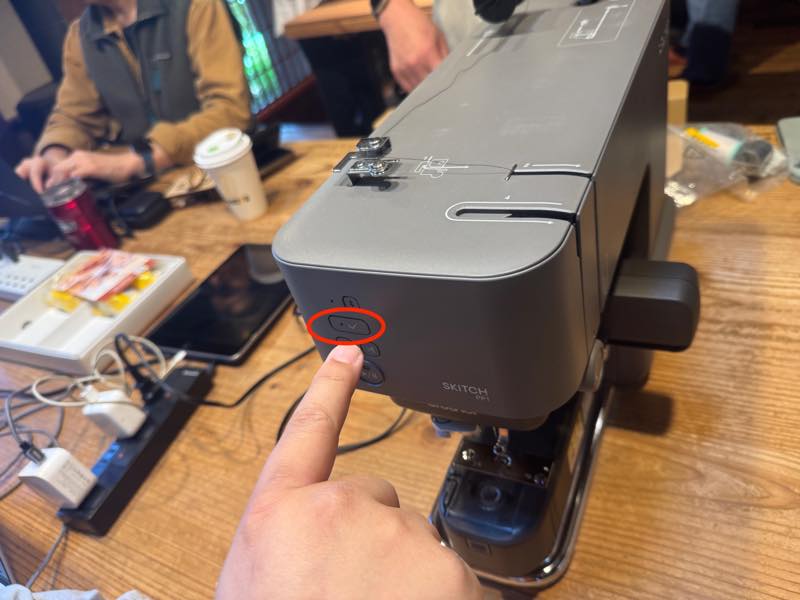
Press and hold the OK button,
and lower the presser foot (red circle).
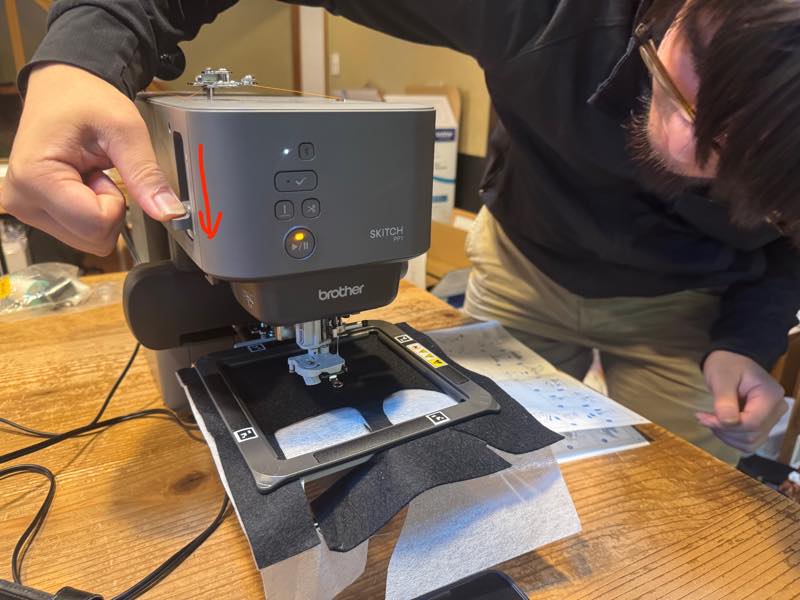
Lower the lever at the back,
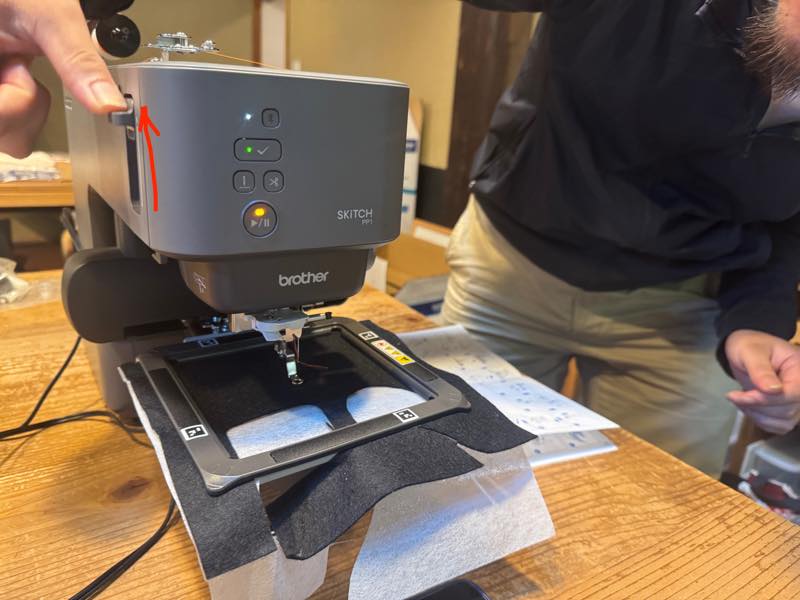
and return it to its original position.
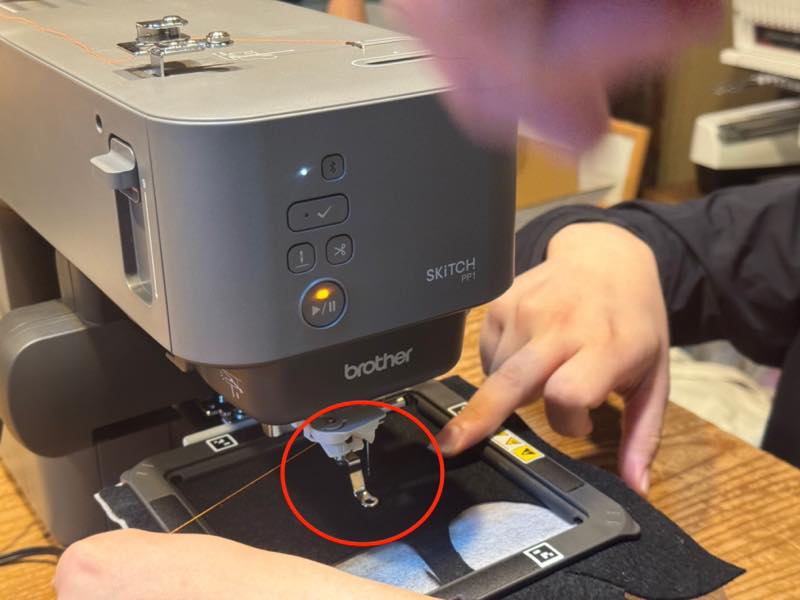
The needle will be threaded automatically.
Pull the loop,
and threading is complete.
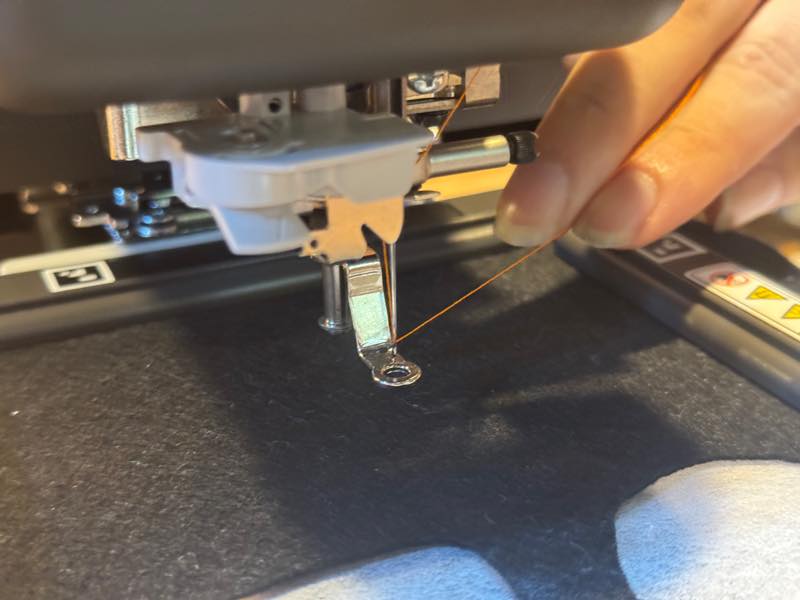
Finally, thread the thread through the hole in the presser foot,
and pull to complete upper threading.
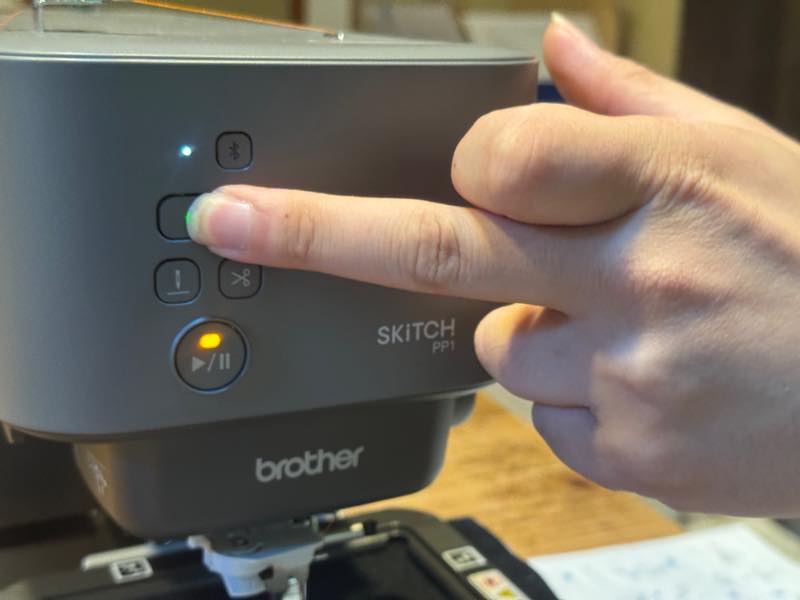
Press and hold the OK button for more than 2 seconds.
Data Creation
The design was reused from the FabLab Kamakura design file used in the Vinyl Cutter week3. First, convert the design file to a format that the embroidery machine software can read (PNG) and send it to the iPad with the app installed. The design data will be attached at the end.1
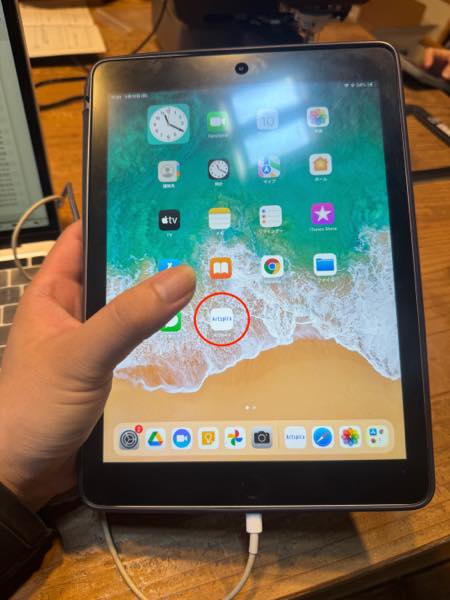
Launch the Artspira+ app on the iPad.
 |
 |
by Brother
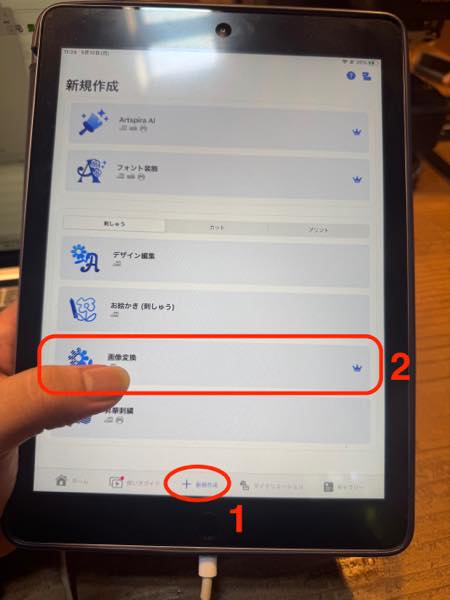
From 1. Create New, press 2. Convert Image.
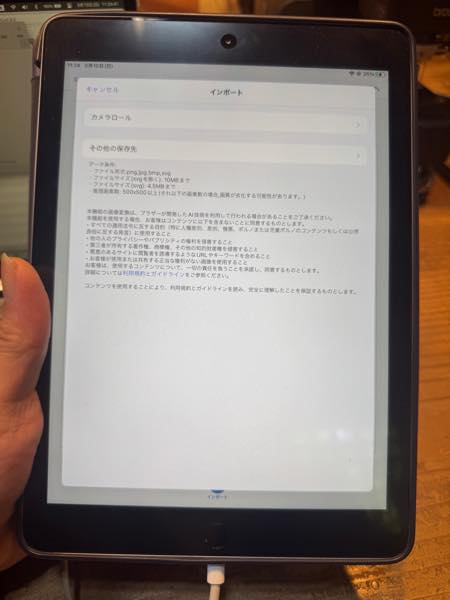
You will be asked where the images to be imported are saved, so navigate to the saved location.
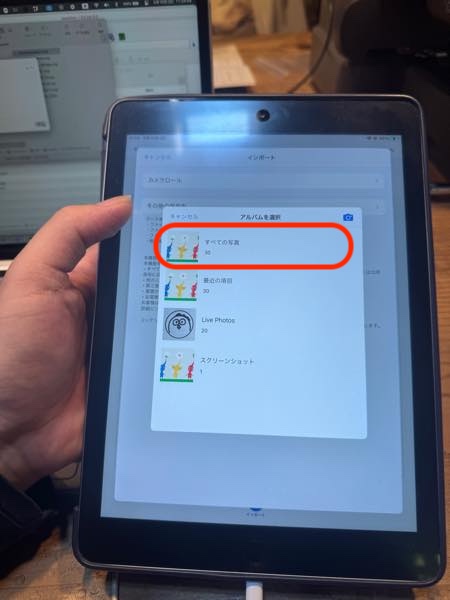
This time, select all photos in the album.
They were saved in the second location, so tap there.
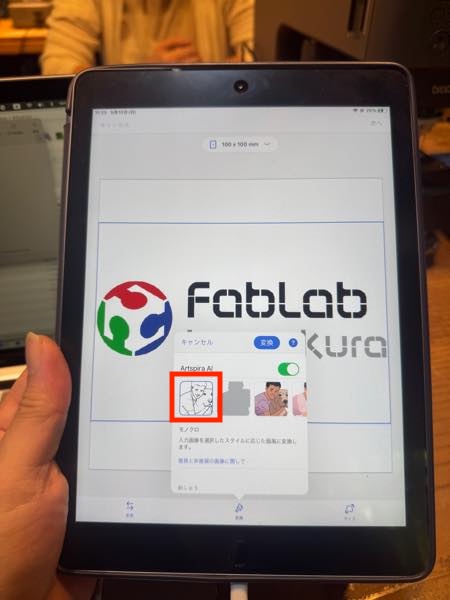
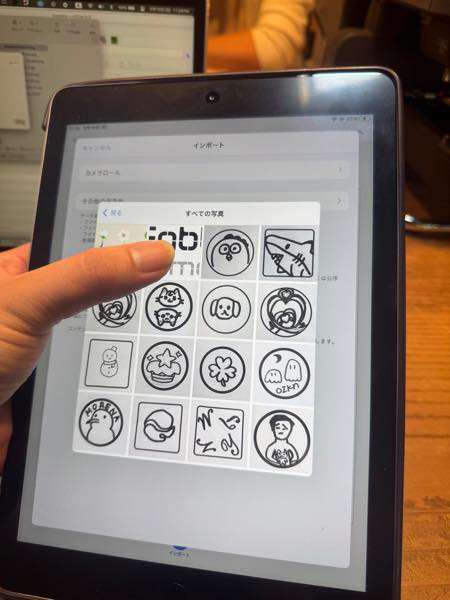
This time, I don’t intend to change the colors, so I chose to import them in monochrome, circled in red. Choose the embroidery design.
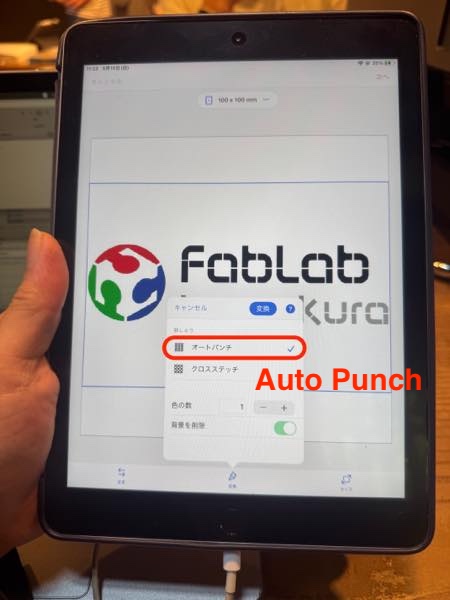
Select Auto Punch, circled in red.
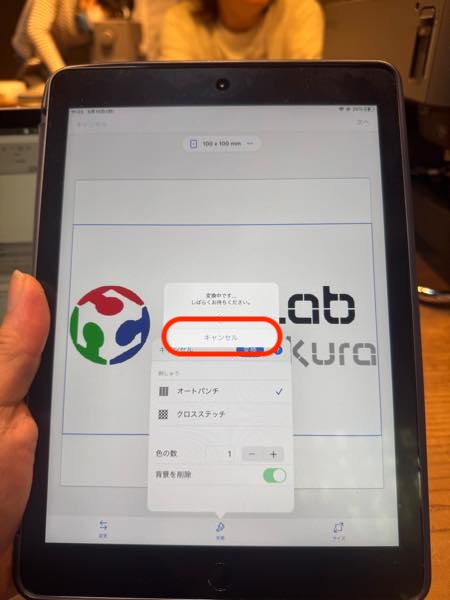
Converting to one color didn’t work, so I canceled it.
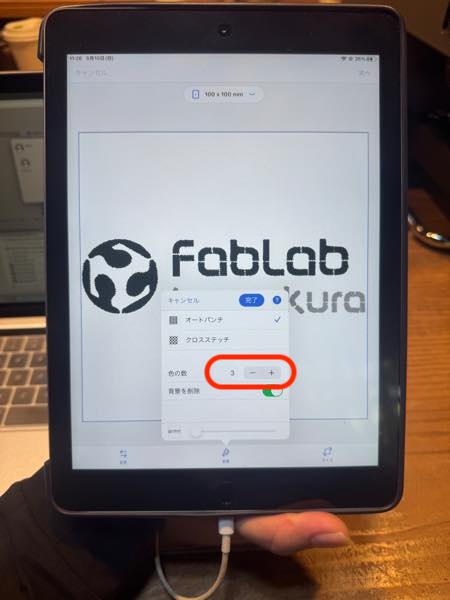
Converting to three colors converted all the images successfully.
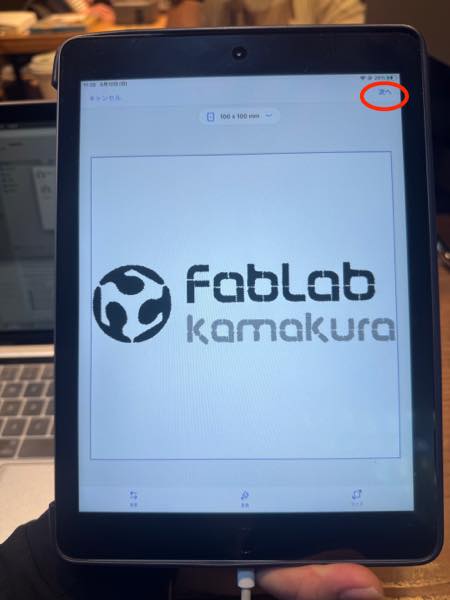
Press Done to close the tab, then press Next.
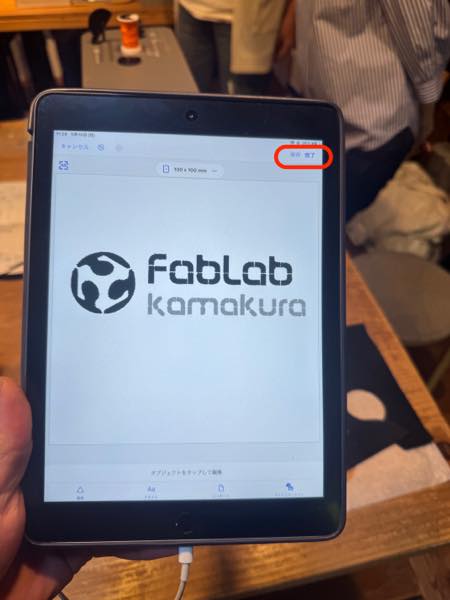
You will be asked if you want to save, so save and press Done.
Setting and Aligning the Fabric
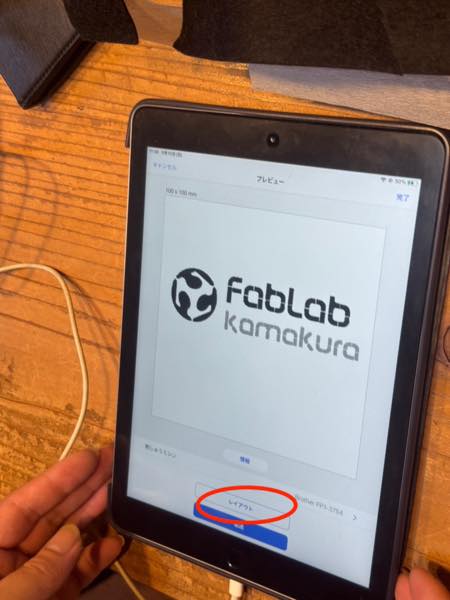
Press Transfer.
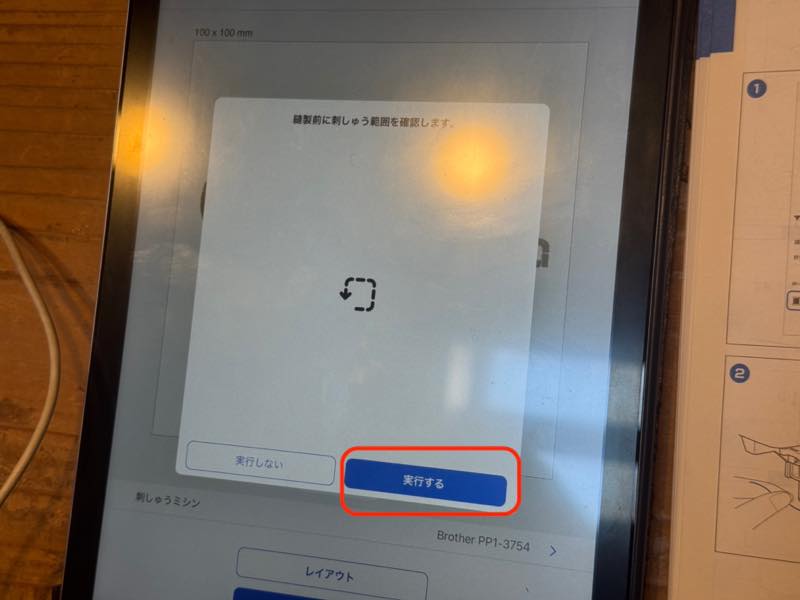
The embroidery area confirmation will begin, so press Execute.
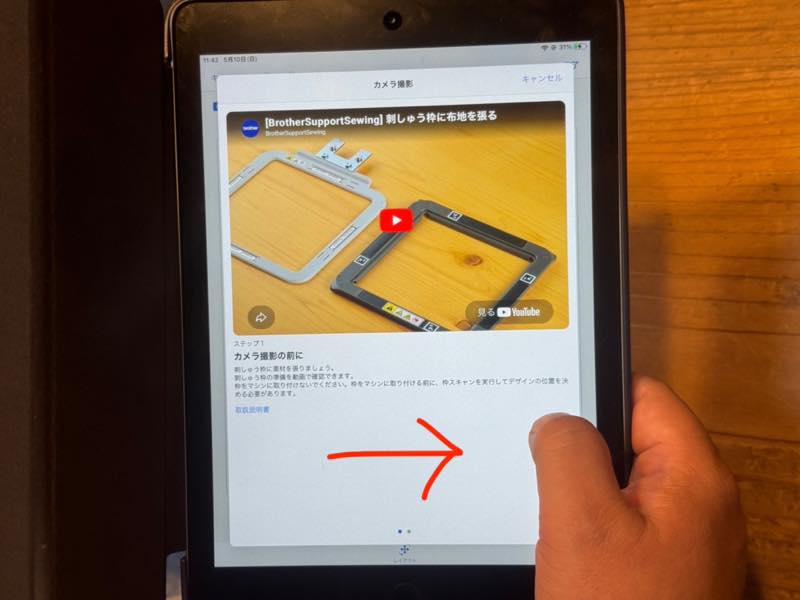
Swipe right to advance.
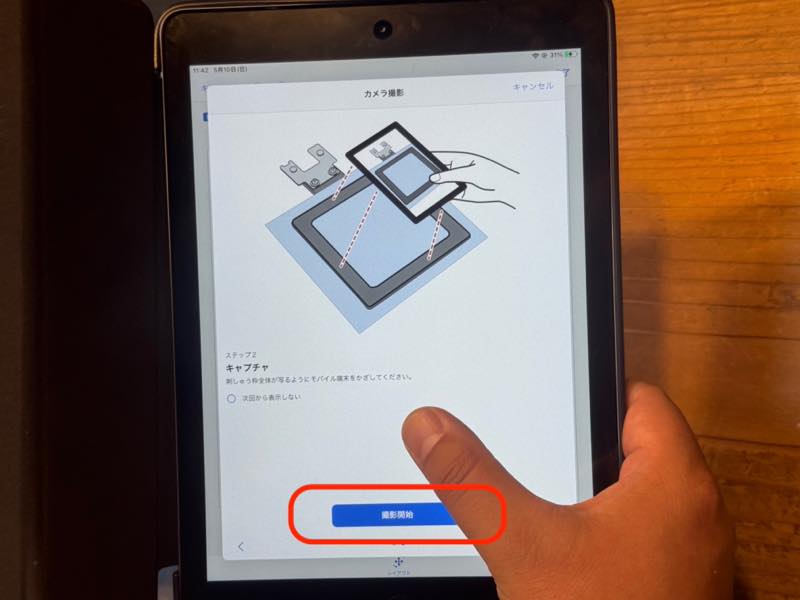
The camera will activate when you start shooting.

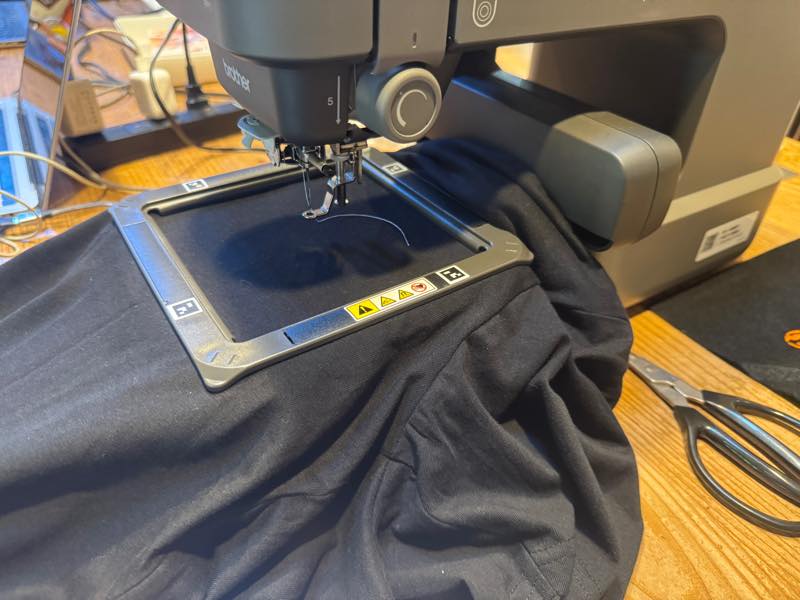
Before that, set the fabric in the embroidery hoop.
Disassemble the hoop, which is held together by magnets.
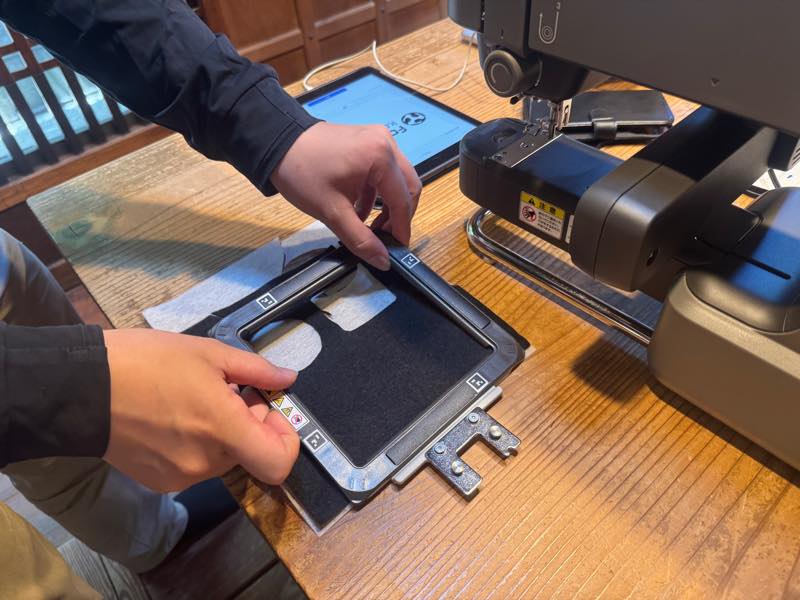
Place the fabric you want to embroider and a non-woven fabric base (if the fabric is thin) in between.
Secure it to the hoop with magnets.
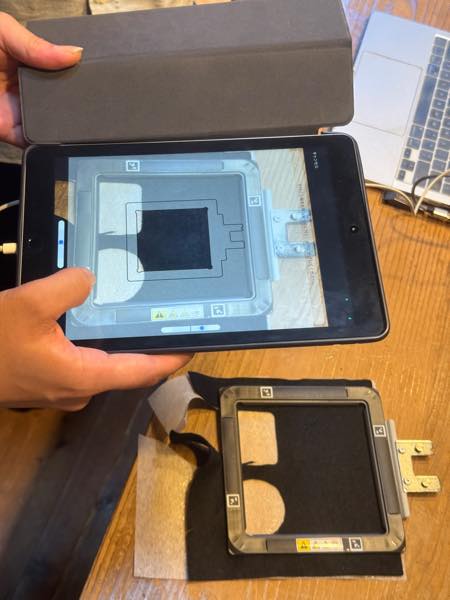
The fabric should be as taut as possible at this time for a cleaner embroidery.
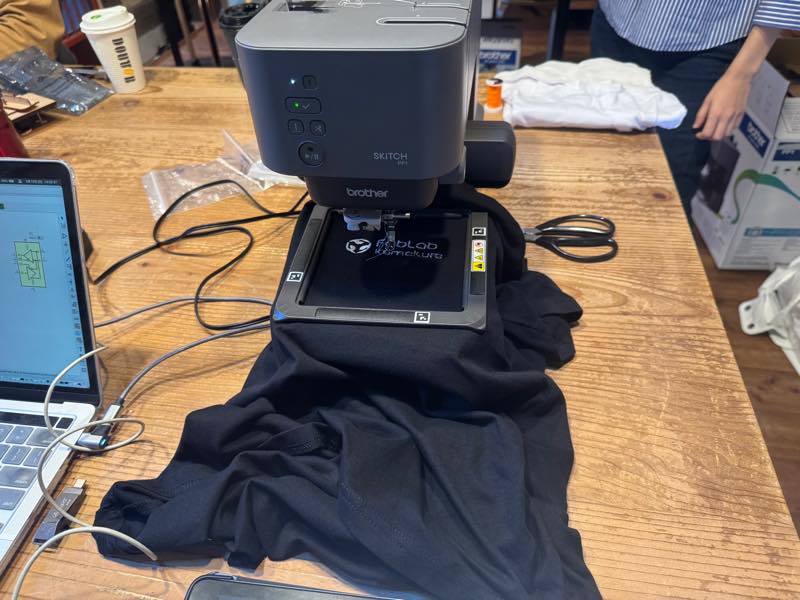
Setting complete.
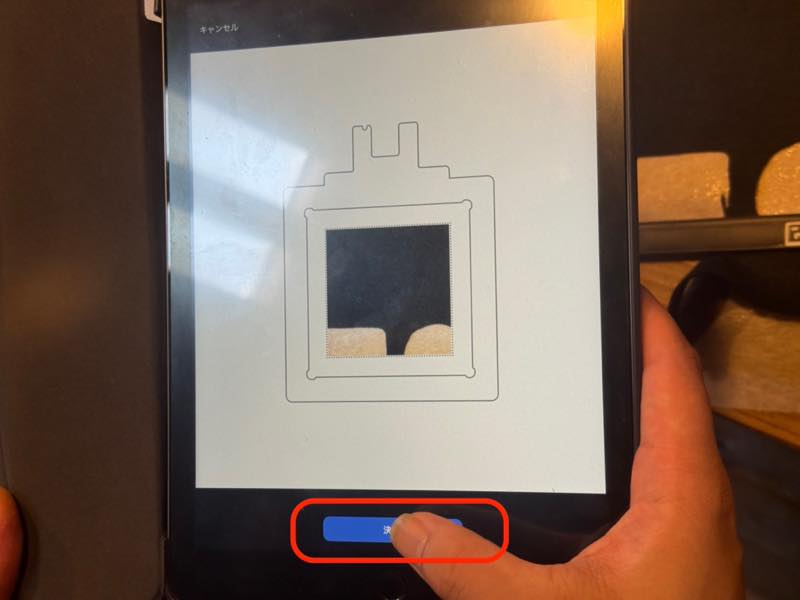
Activate the camera and scan the barcode image of the embroidery area.
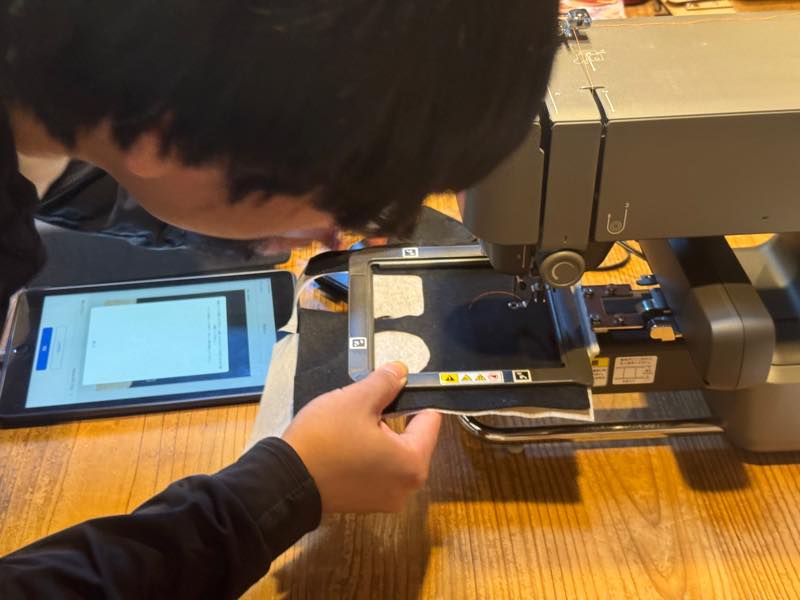
Once scanned, it will look like this, so press Complete.
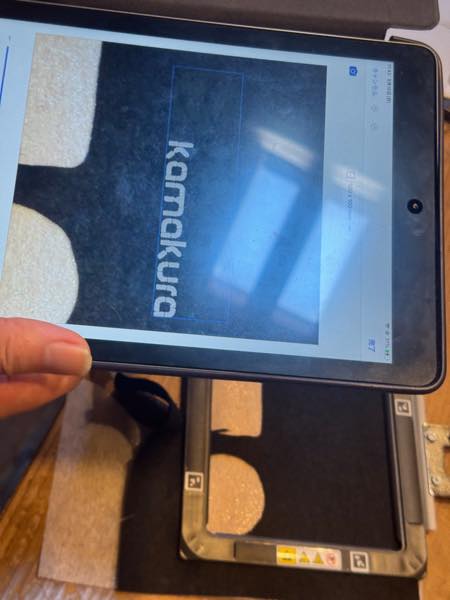
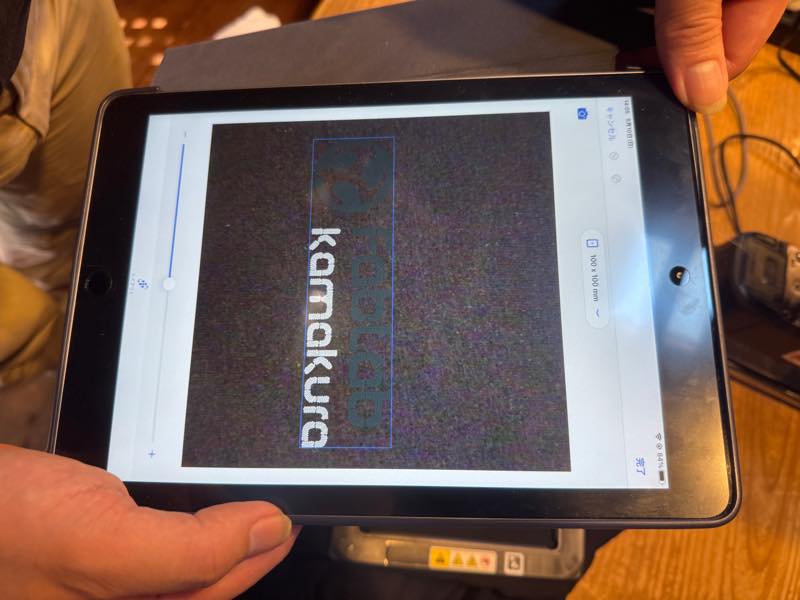
Adjust the position and size of the embroidery.
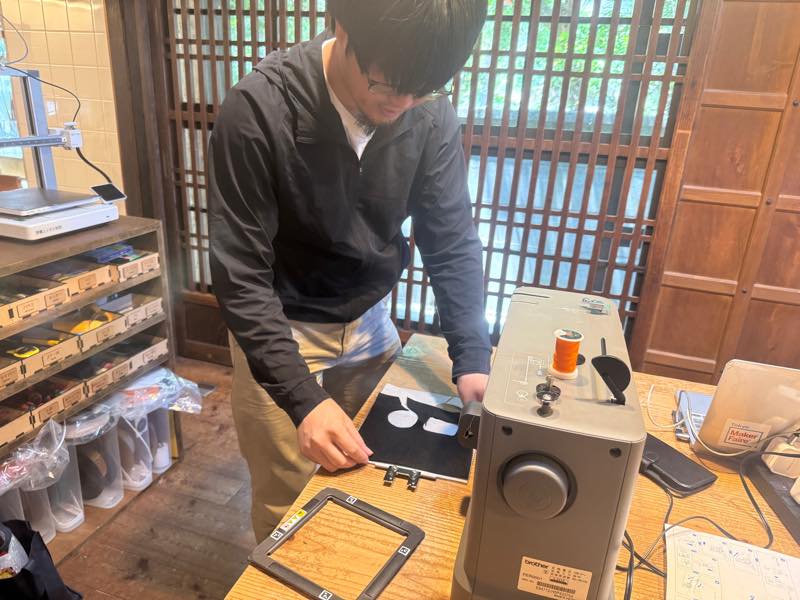
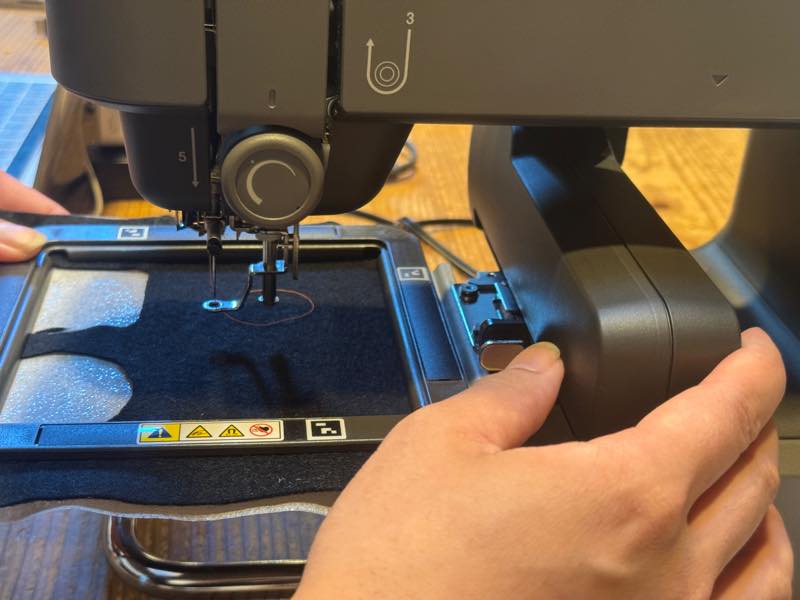
Set the hoop in the embroidery machine. Make sure to insert it all the way in and hear a click.
Pull it forward to confirm that it does not come off.

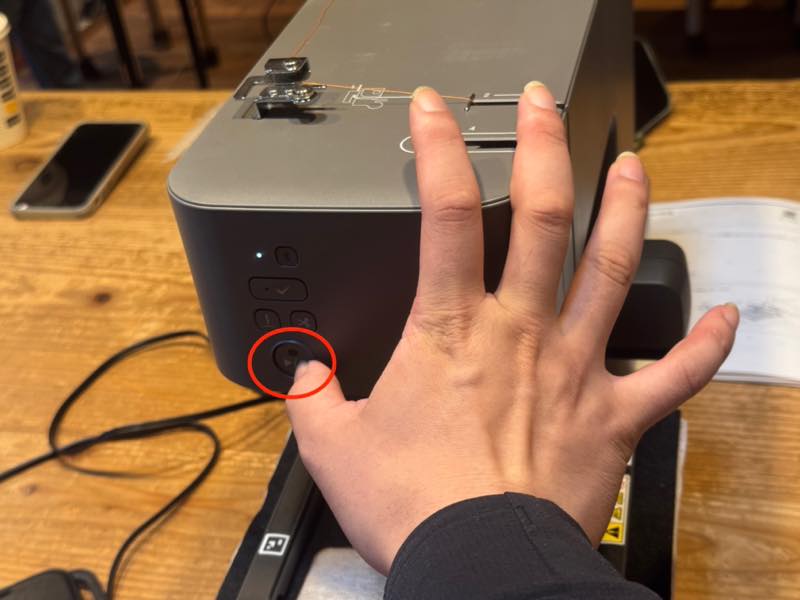
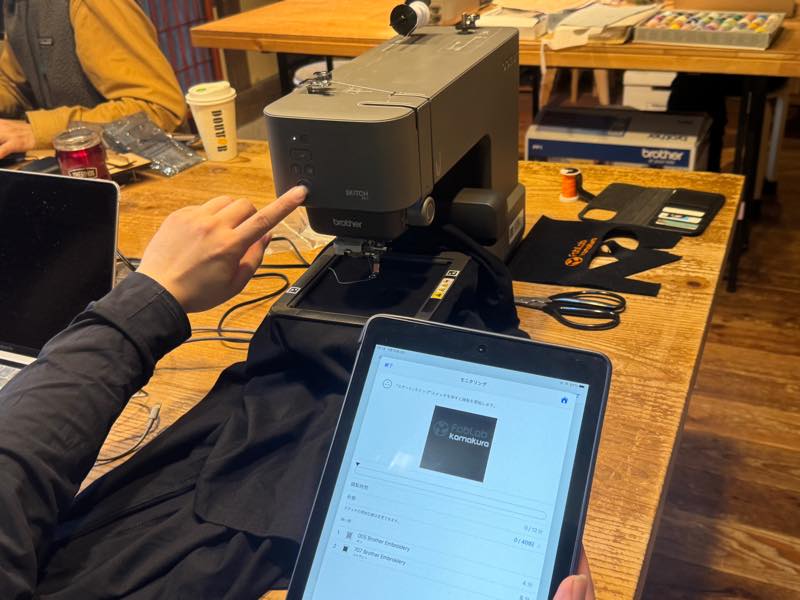
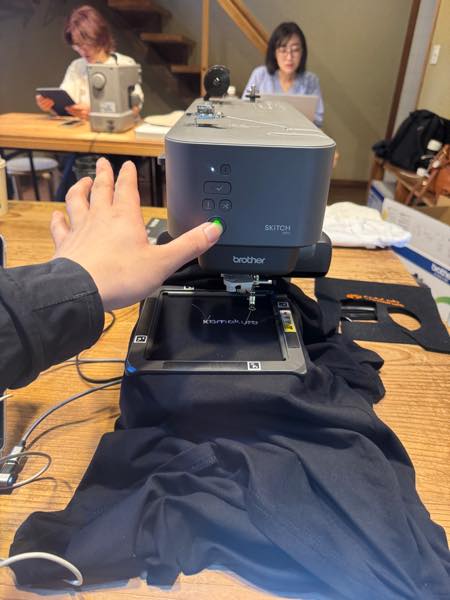
Press the switch on the sewing machine body to perform calibration.
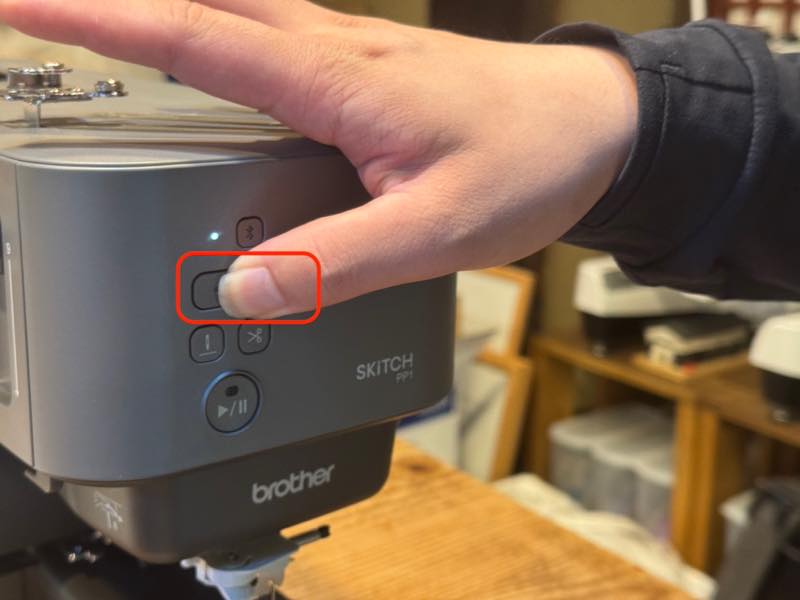
Pressing this switch will start the machine. Move any objects that might hit it out of the way.
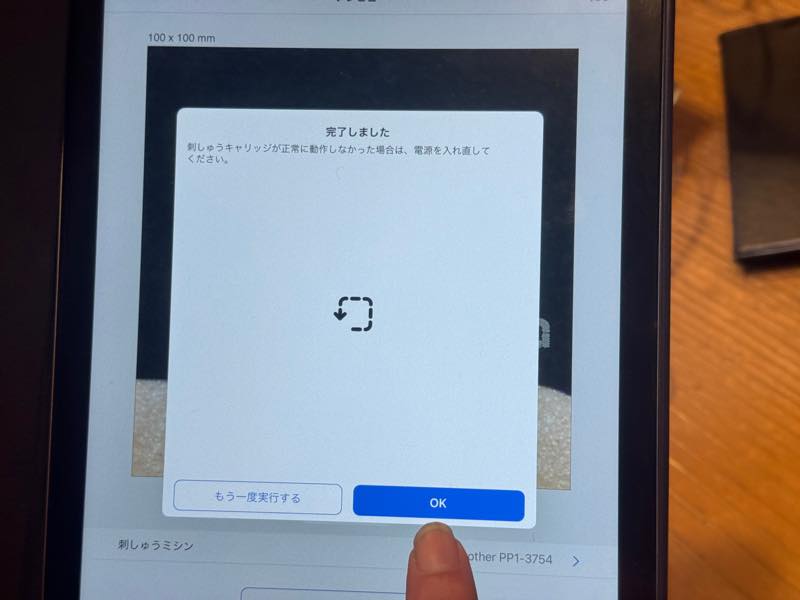
Press OK when the process is complete.
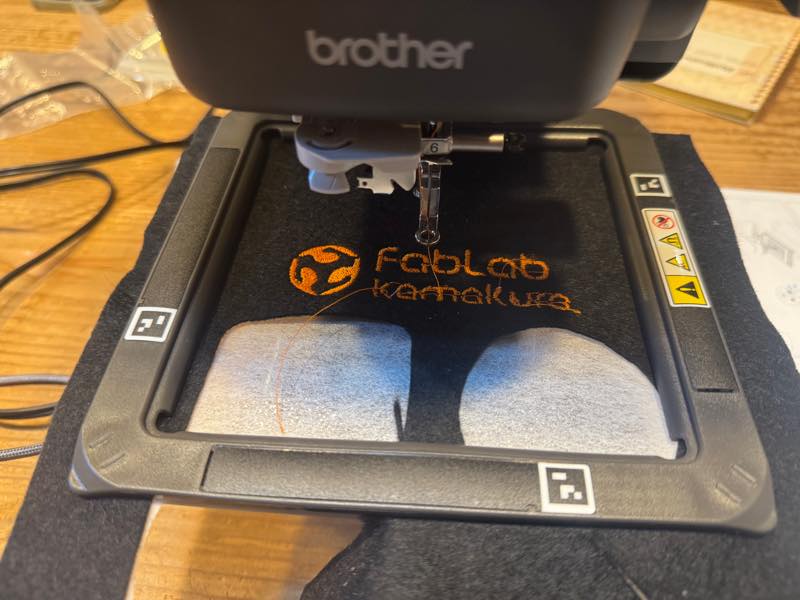
Embroidery Test
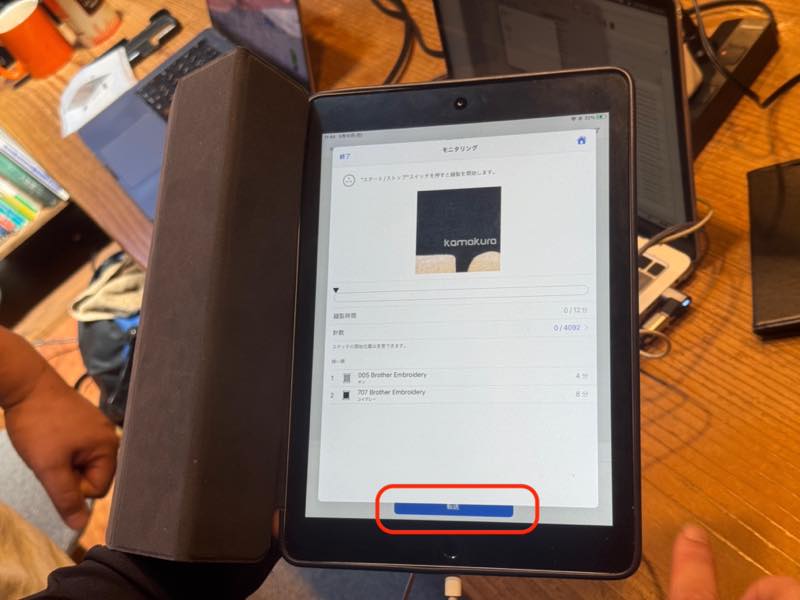
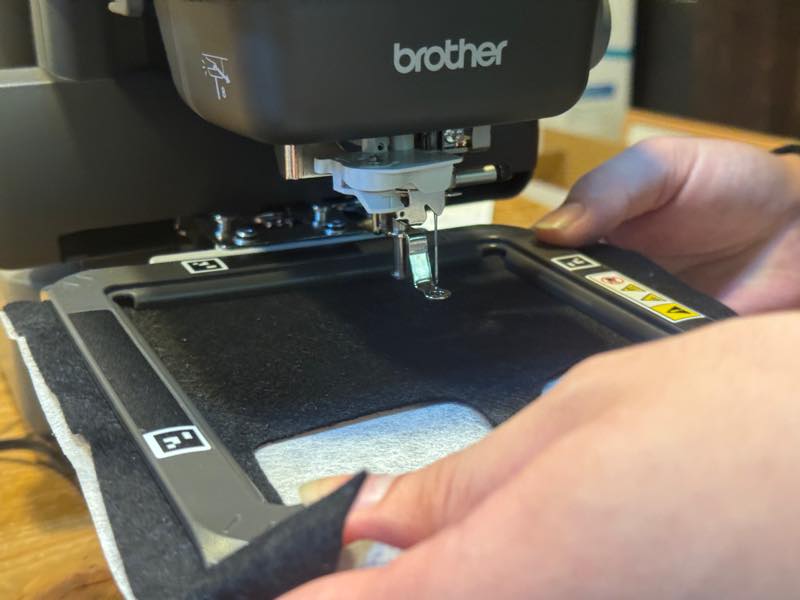
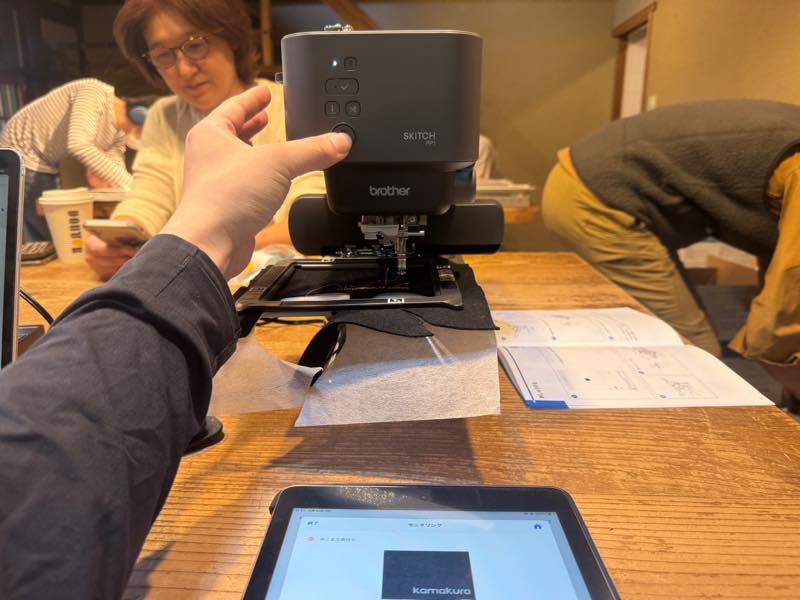
Pressing “Transfer” transfers the data and the machine is ready for embroidery.
Pressing the start switch at the bottom of the sewing machine starts the embroidery.
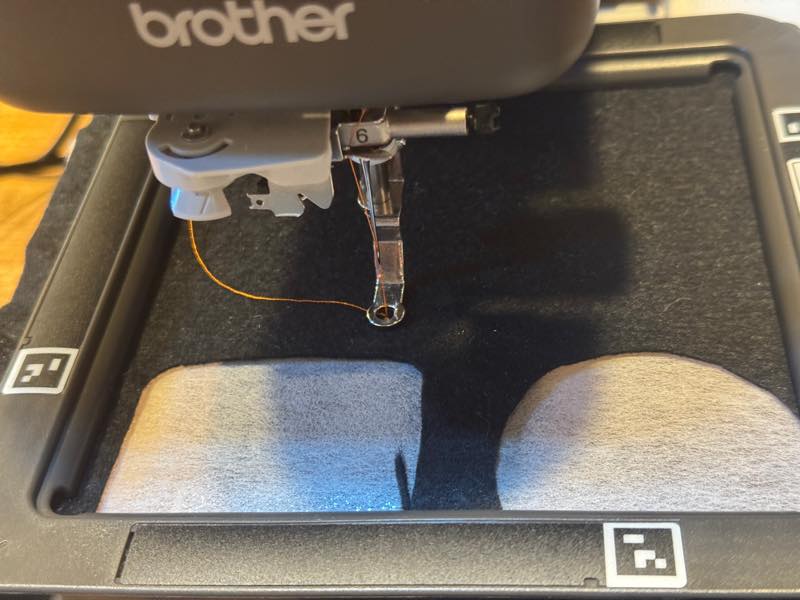
The first stitch…
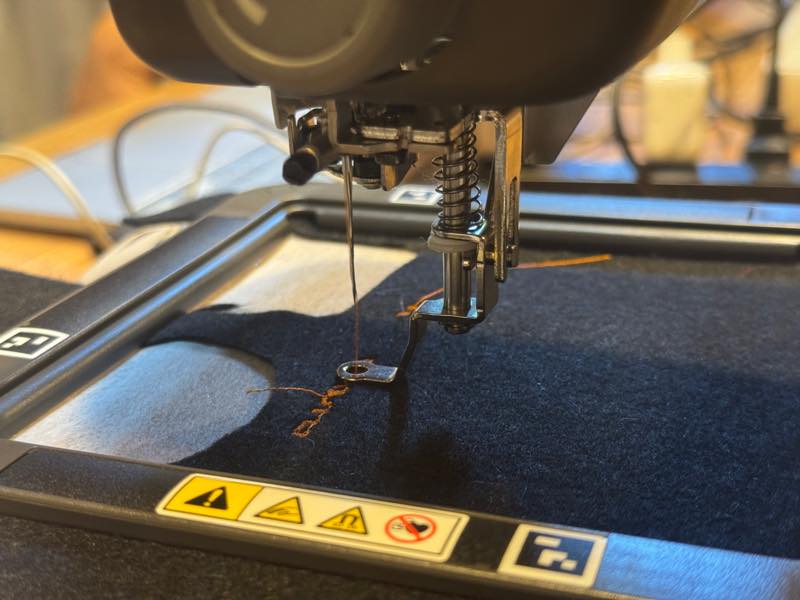
It stopped midway.
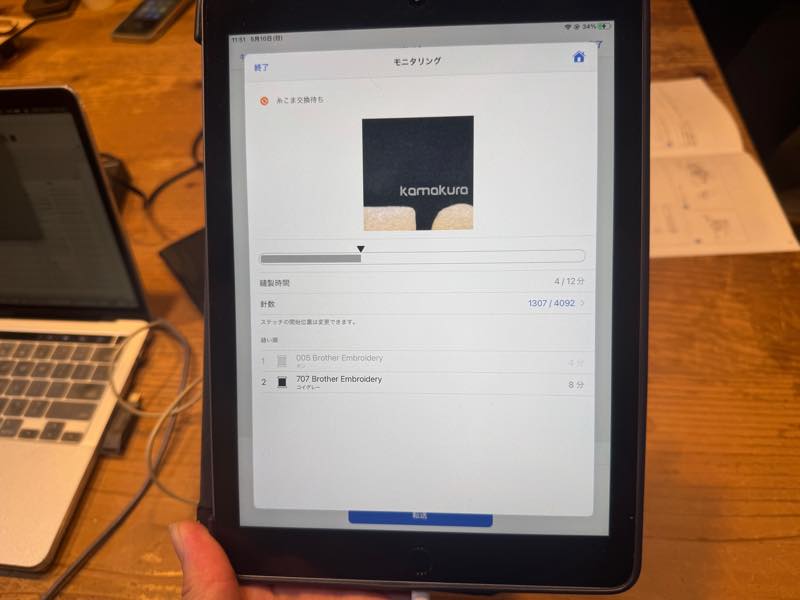
It displays a message asking you to change the color, but this time I will continue embroidering without changing it.
Press the start switch on the sewing machine.
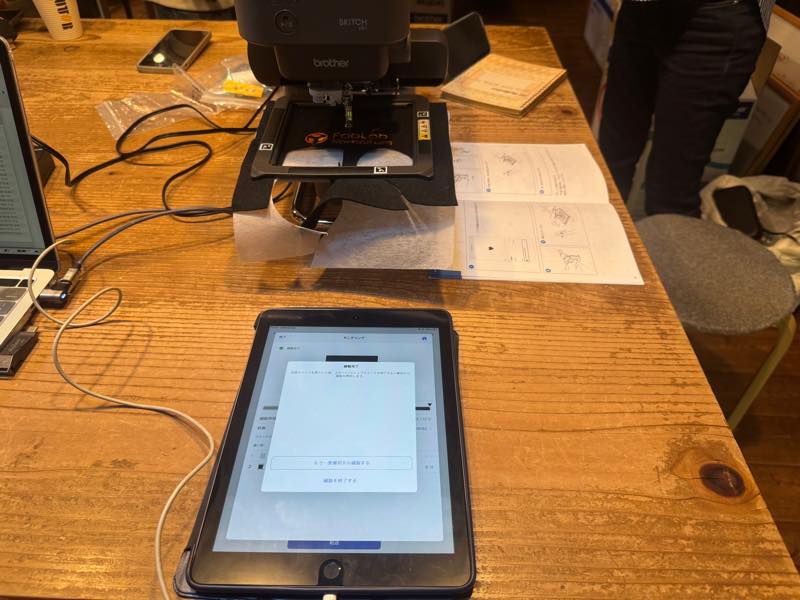
Embroidery completed.
Finished embroidery.
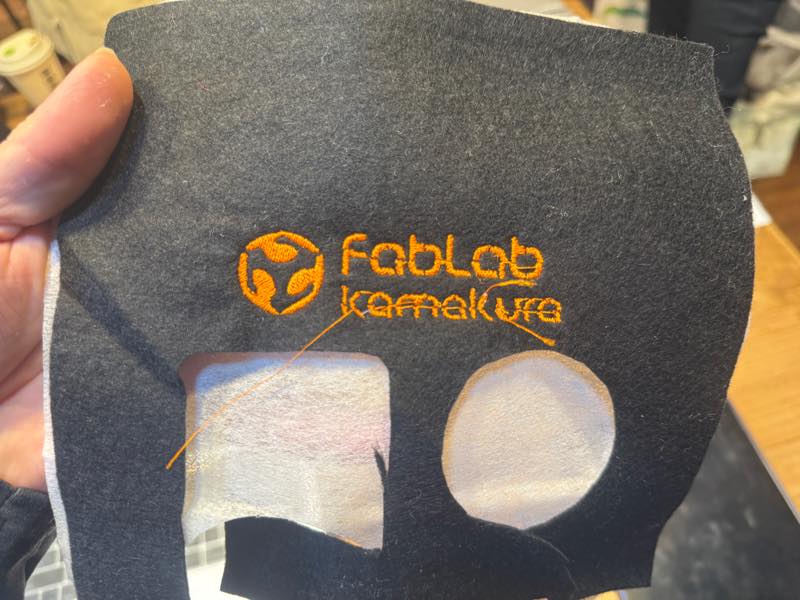
Removed from the hoop.
The text on the back is trimmed by hand around the embroidered area to finish.
Embroidery on a T-shirt
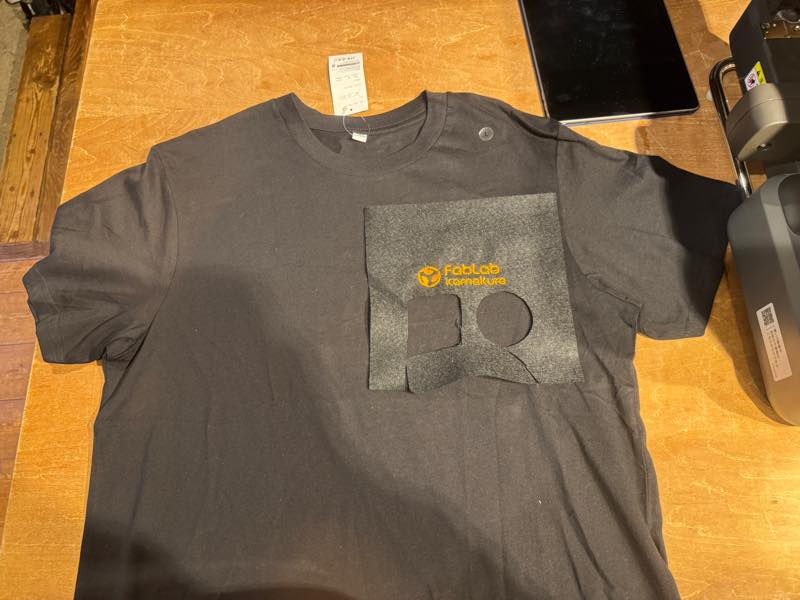
I used a test embroidery to find the best position for embroidery on the T-shirt.
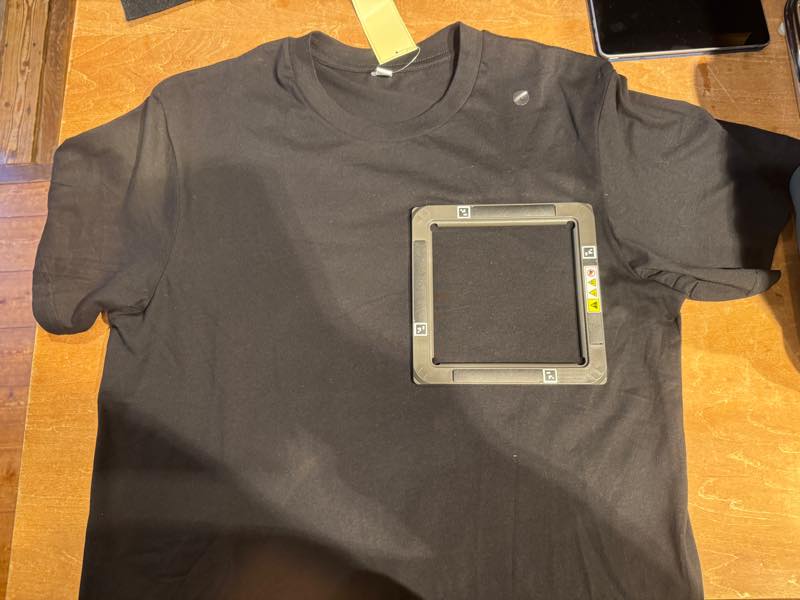
This position seemed good, so I placed the embroidery hoop.
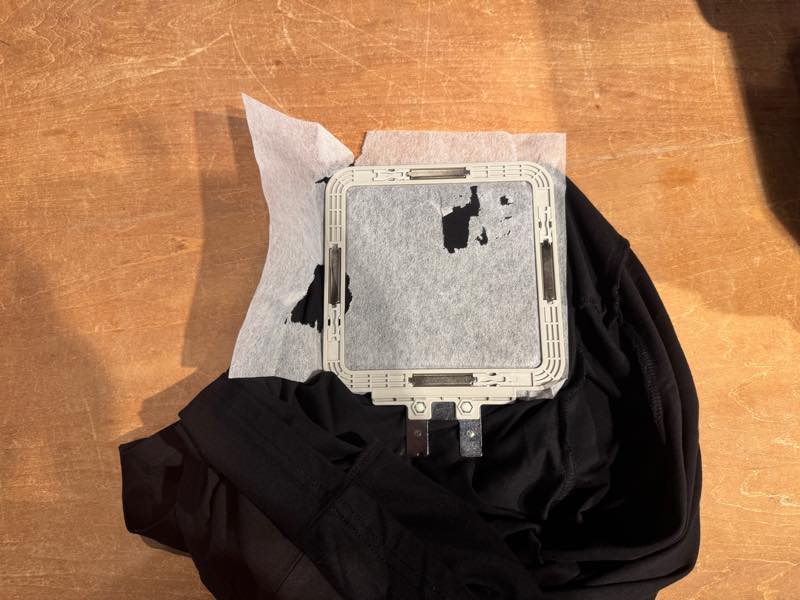
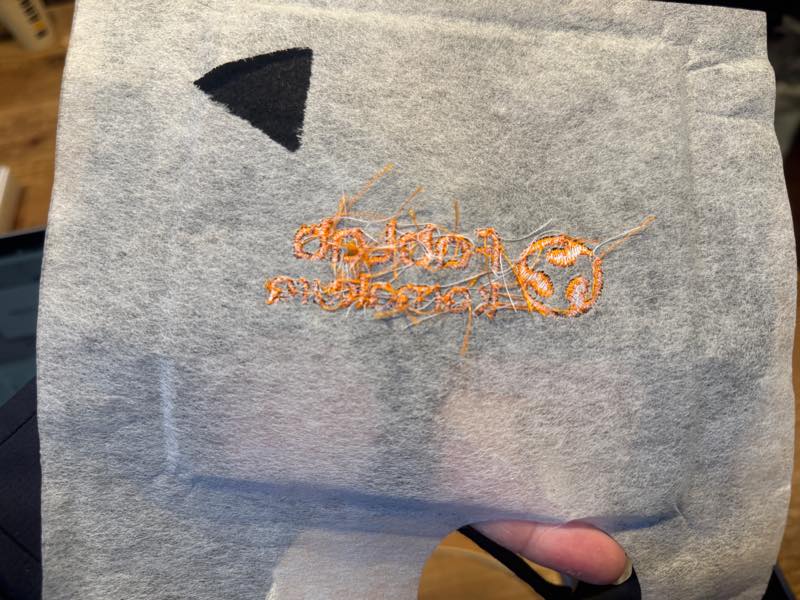
I turned it over and set the stabilizer paper.
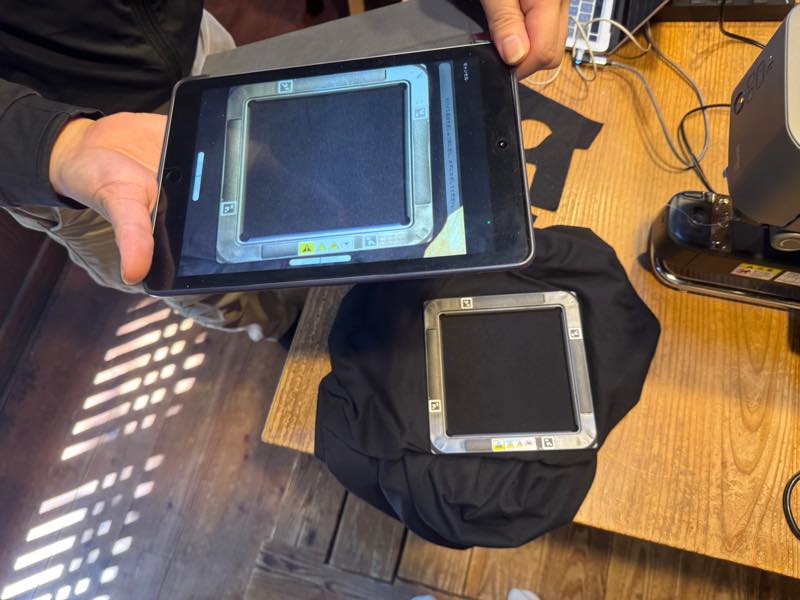
I turned it right side out and carefully read the position, paying attention to the orientation.
Position confirmed.
Embroidery started.
Color change stopped.
Color change skipped.
Embroidery completed.
Finished.
Silkscreen printing
I tried making an original mask using the method of creating silkscreen masks with an FDM 3D printer, which was trending on X in Japan , and then I tried silkscreen printing it.
Traditional screen printing involves using chemicals to fill the holes in the screen, a time-consuming process that most people would prefer not to do.
This new method allows you to easily create screens using an FDM 3D printer.
However, because the mesh is coarse, it’s not suitable for fine details.
Also, the stencil size is limited by the printer’s build plate.
Things to use
-
Bambu Lab A1mini This time I used this printer, but any model with auto-leveling that can print uniformly at a pitch of 0.08mm should be fine. The nozzle is the original 0.4mm, and I used bambu Studio slicer.

-
Smooth PEI Plate With a regular textured PEI plate, the texture is transferred to the printed screen, causing the ink to bleed. When printing with a regular plate, apply masking tape or something similar to the printing surface to make it as flat as possible. Ultimately, buying a cheap plate from Amazon was easier.

-
PLA Filament You can use your usual filament, but make sure to check its compatibility with the ink and solvent. Some ABS filaments are said to melt.
-
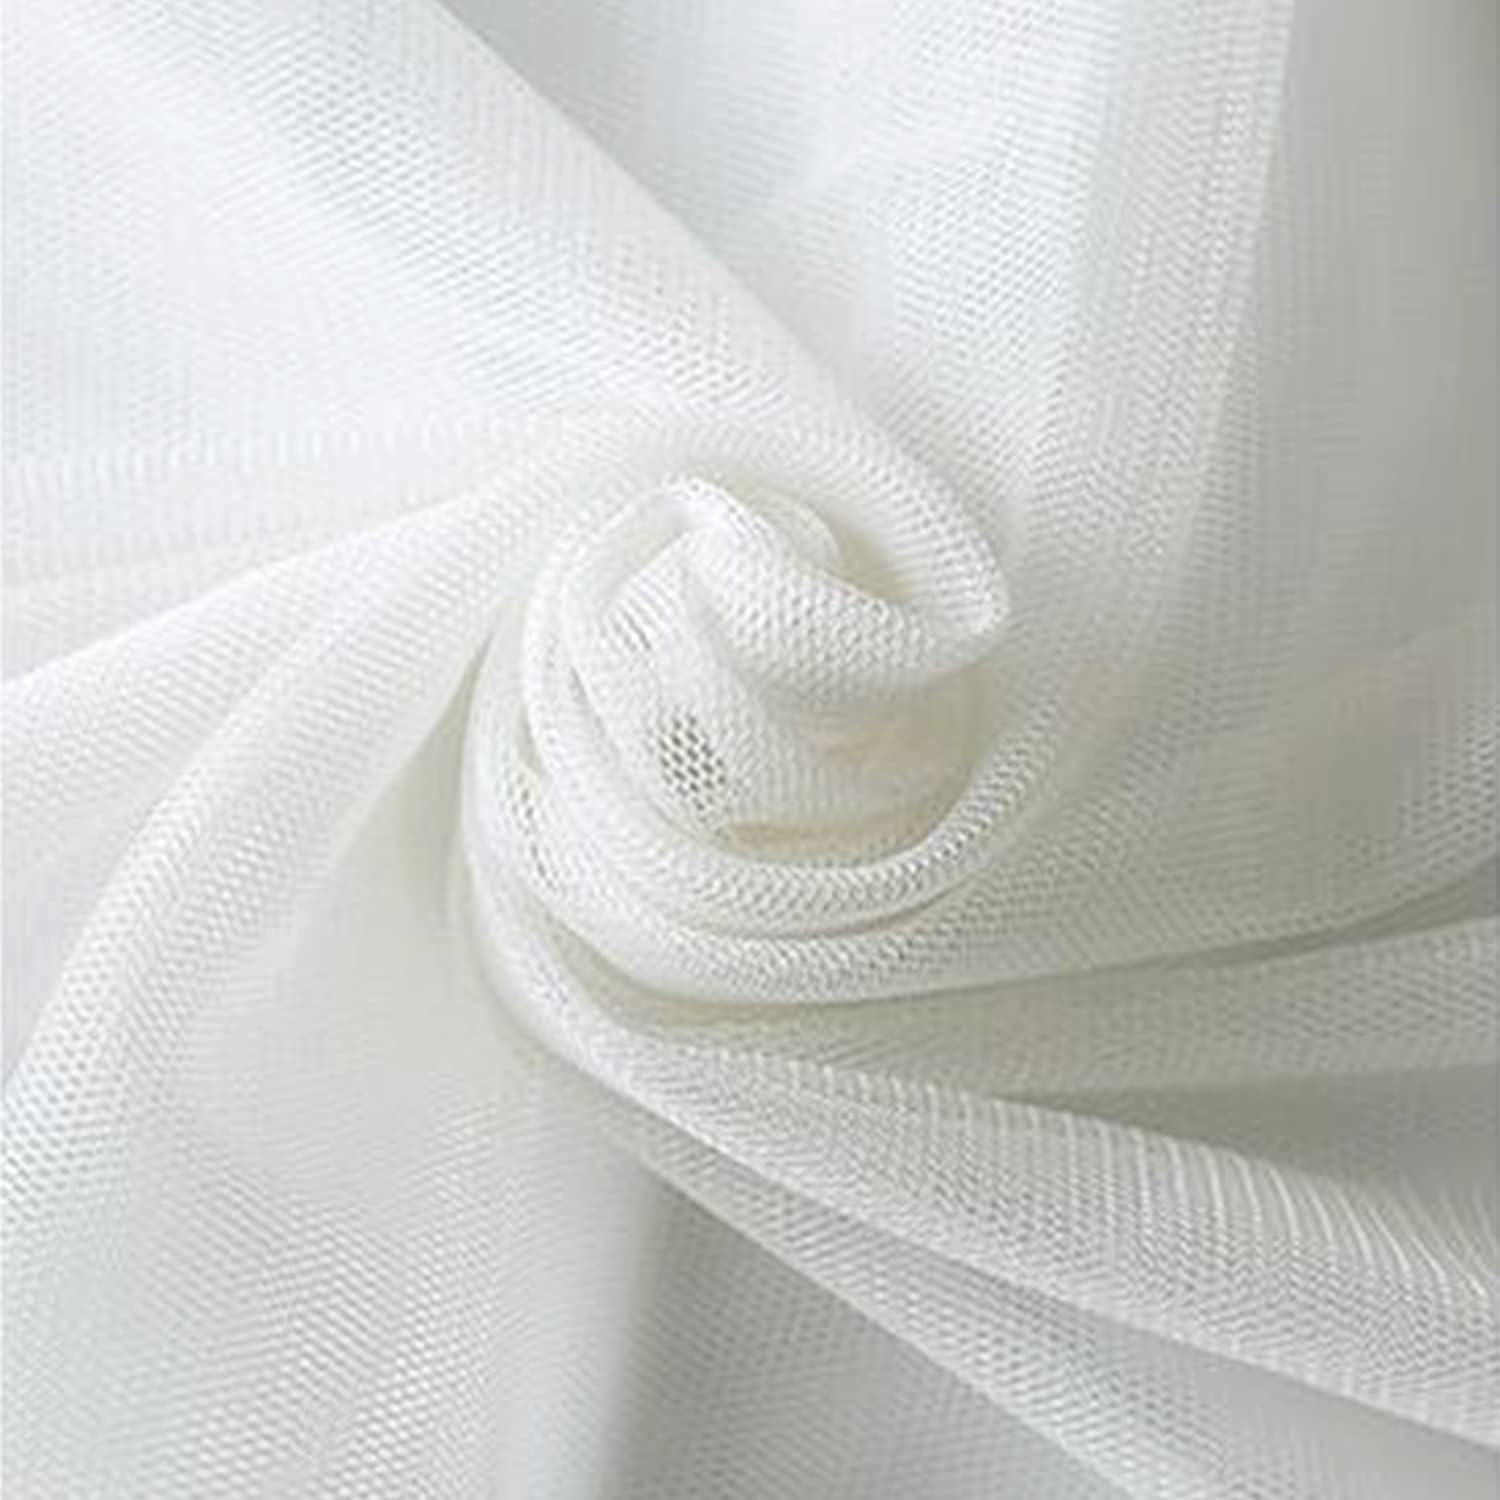
Hard, Thin Tulle Mesh A very thin tulle mesh with extremely fine threads (around 20D) is strongly recommended. An 80-mesh silkscreen mesh also seems to work. Fine meshes are too dense for the filament to melt properly and don’t work well. Also, meshes with thick threads obstruct the ink flow, resulting in poor final print quality. This time I purchased this tulle mesh from Amazon.
-
Double-sided tape Used to attach the mesh to the build plate. I used some that was near my desk this time, but it wasn’t a very good tape; the tulle peeled off midway through, and it was difficult to remove the double-sided tape afterward. The width is 10mm.
-
Tape remover Used for cleanup after printing. When using this chemical, it’s best to use a dedicated build plate and not use it for other prints.
-
Anhydrous alcohol & dish soap Used to clean the build plate. Make sure to clean it thoroughly. If the first layer doesn’t set properly, you’ll have to start over.
-
Spatula A spatula with a thin blade is easiest to use for peeling the printed screen off the build plate. You can make your own, but Nitoms tape remover cutter is recommended as it can be used for other tasks as well.

-
Silkscreen ink If you use dedicated silkscreen ink, after printing, drying and ironing will fix it, making it washable. This time I purchased “Horizon T-Shirt-kun Water-Based General Ink” from Amazon.

-
Plywood I used leftover FDM material from my printing lab to create a flat surface for printing.
-
Squeegee wider than the design If you have a suitable one, that’s fine, but if not, 3D printing will give better results.
-
Iron Used to fix the print. Also used to smooth out wrinkles in the fabric. An ironing board and pressing cloth are also necessary.
-
Water Used for cleanup after printing. Wash the screen before the ink dries. Also, if you want to change colors, you will need to wash it each time.
-
Other Silicone spatula, cutter, sponge, tissue, towel, etc.
Make the data
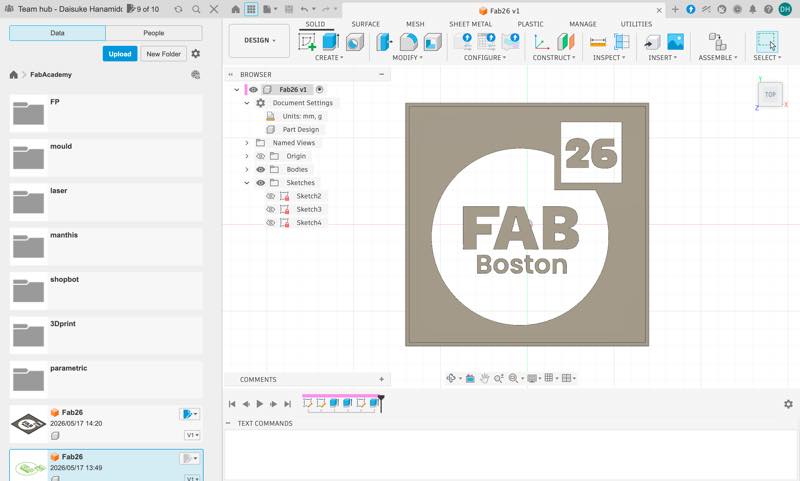
I want to make an original T-shirt with the FAB26 logo on it, so I downloaded the FAB26 logo.2
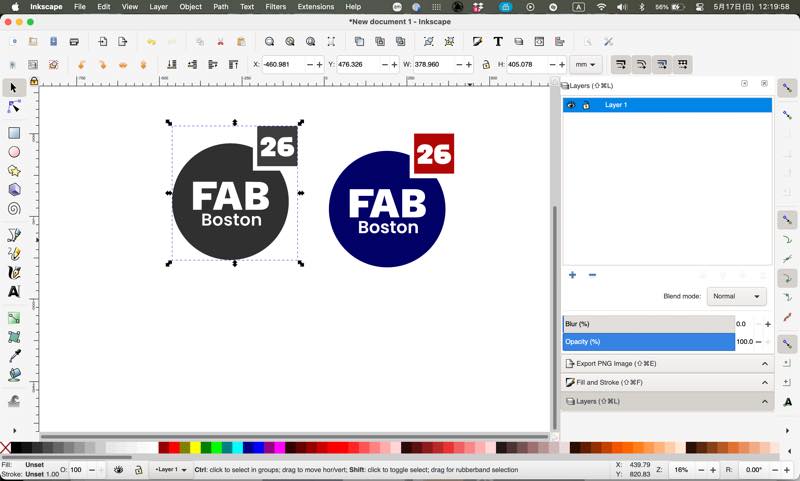
Prepare the clearest possible image data (large image) and perform a bitmap trace using Inkscape or similar software, saving it as an .svg file 3.
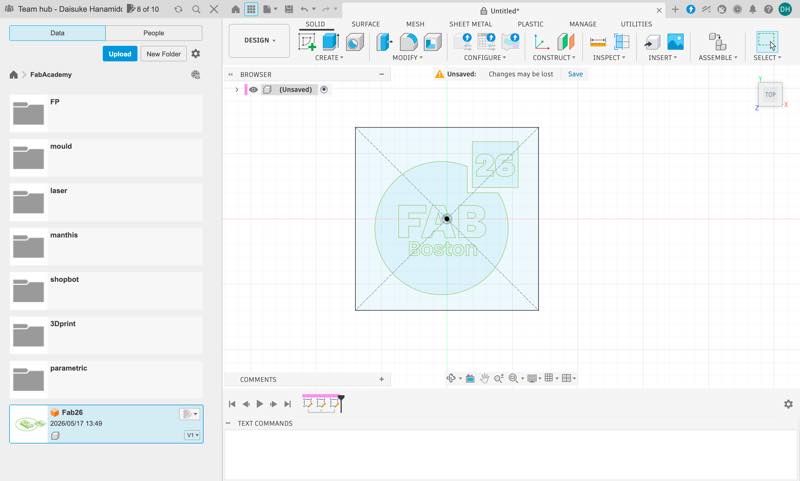
Import the SVG data created in Fusion.

The key point in creating the mask is that, for the A1mini, the printable area is 180mm x 180mm, so we defined the maximum size as 140mm x 140mm, leaving a 20mm margin for tape on the build plate. Furthermore, we created a 3mm border around this area, leaving a margin of 10mm on the left and right, 30mm at the top, and a slightly larger 35mm at the bottom to allow ink to escape during printing. The area inside this border was defined as the maximum printing area for the silkscreen.
However, in this case, to prevent the logo text from being too small and becoming illegible, the logo was rotated horizontally, and it slightly exceeded the maximum printing area.
AN’s explanation diagram on MakerWorld was very clear, so I’ve included it here.
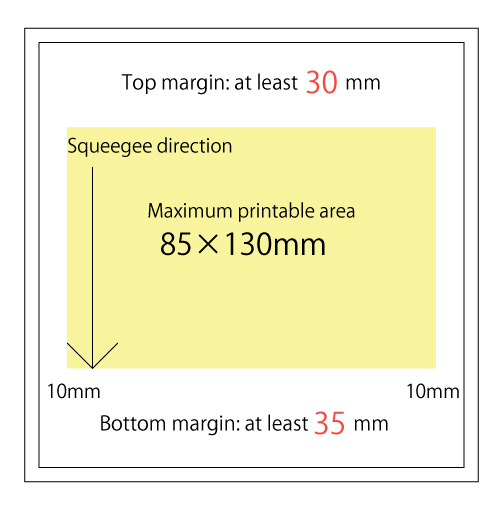
Written by AN
When extruding, the model thickness was set to 0.16mm, which is two layers of the minimum printable thickness (0.08mm) of the 3D printer used.
Some people have made it at 0.24mm, but it seems that thinner is often better.
The frame was also extruded by about 3mm at the end to complete it. 4 This was output as an STL5 and loaded into Bambu Studio.
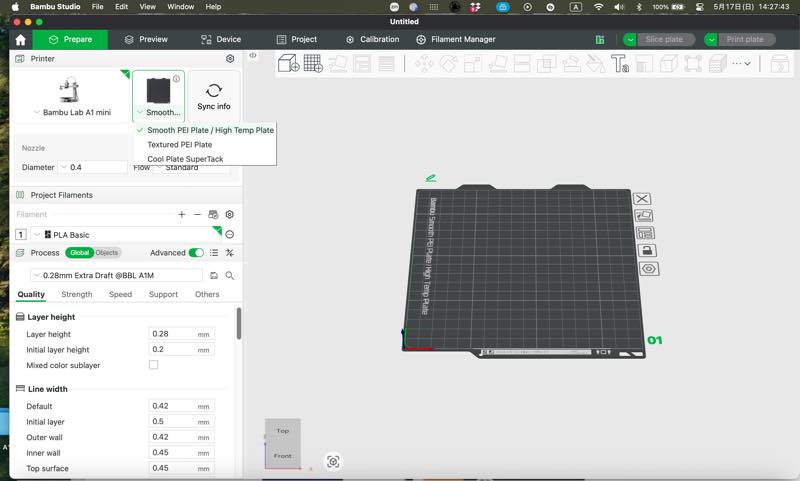
Launch Bambu Studio and change the build plate to a smooth PEI plate.
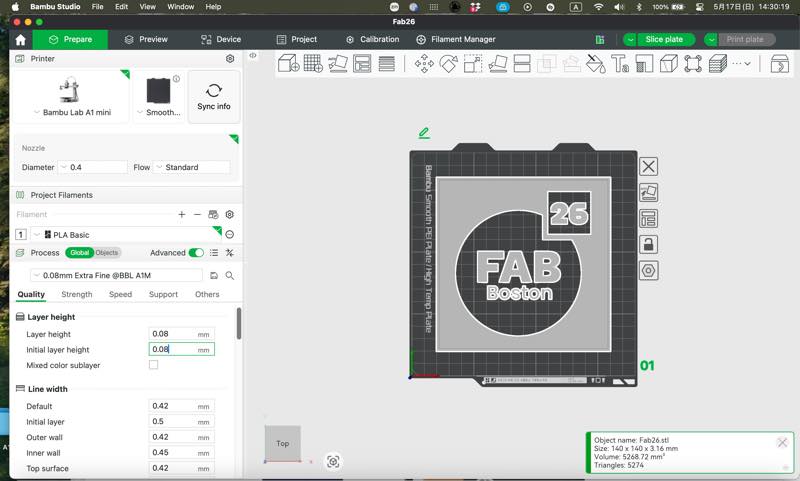
Next, load the model and change the print process to the default 0.08mm Extra Fine. The first layer height should be 0.2mm by default, so change this to 0.08mm. If you don’t do this, the printing will stop after the first layer, and you won’t be able to insert the mesh.

Also, since there are parts with fine line widths, the line width of the first layer was also changed to 0.42mm.
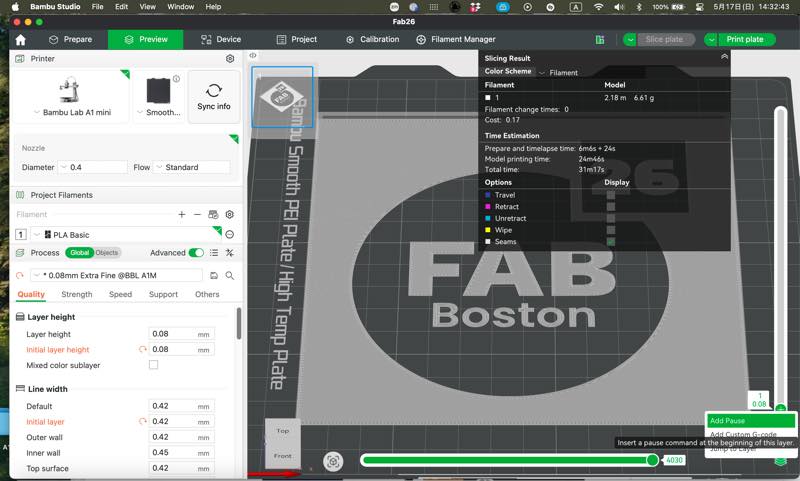
Perform a slice once and check with the slider on the left to see if the first and second layers are printed correctly. Also, when displaying the second layer, you can trace the nozzle’s path by moving the bar at the bottom of the screen to the left. The most important thing here is to move the bar all the way to the left, right-click the plus sign next to the second layer on the vertical bar on the right, and select “Add Pause” to pause printing between the first and second layers. Forgetting this will force you to manually stop the printer. I also had trouble with this setting initially and ended up stopping the printer manually.
Once you’ve completed these settings, send this file 6 to the printer and start printing. The G-code 7 sent to the printer can be placed on this SD card, allowing you to start printing immediately.
Make Screen
Cut the purchased tulle mesh.
Cut it to fit the build plate.
Then, thoroughly clean the build plate with detergent or alcohol.
Neglecting this risks small details peeling off during printing, resulting in a failed print.

Print the first layer.
While printing was in progress, I applied double-sided tape to the mesh. However, this is not highly recommended.
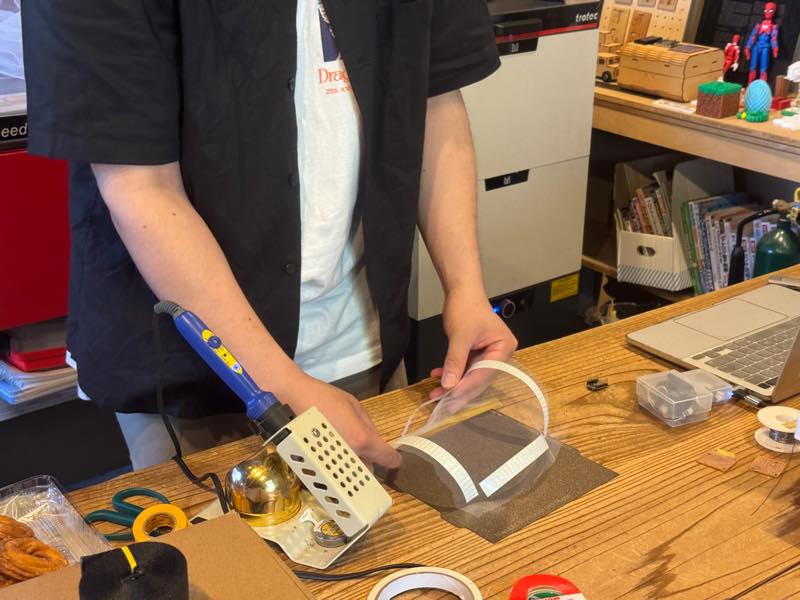
If the pause function works correctly, it will stop before the second layer. After pausing, apply double-sided tape to the build plate and then attach the cut tulle mesh to it. In the photo, the double-sided tape was attached to the mesh side, but this was difficult to apply, so the other way around is better.
Stretch the mesh firmly to remove wrinkles before applying. You might want to iron it beforehand.
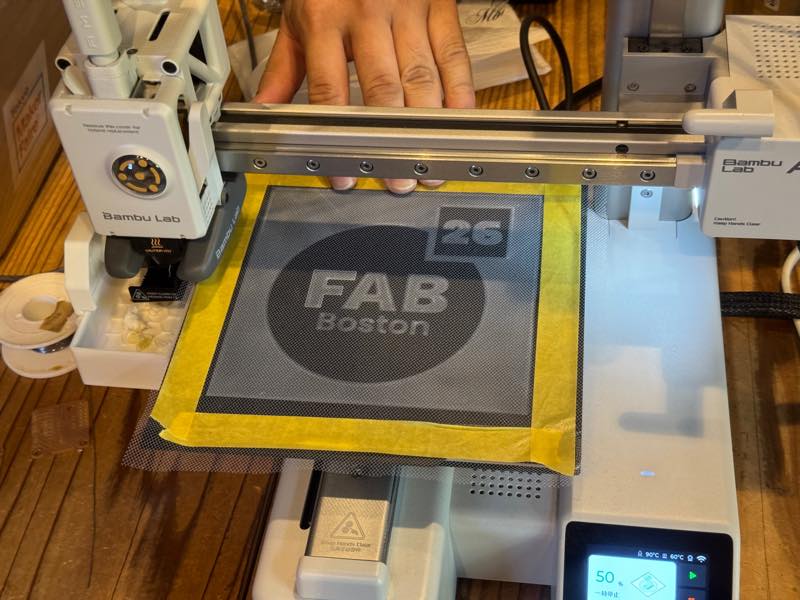
Attachment complete.
Resume printing. The masking tape that was applied when attaching the mesh seemed likely to interfere with printing, so I removed it. Without any special settings in the slicer, the PLA will melt into the holes in the mesh and fill them.
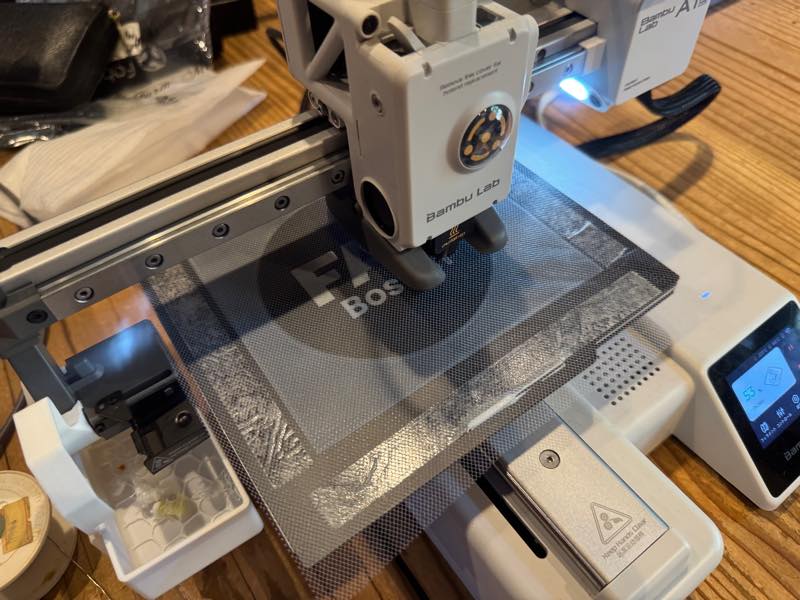
Printing complete.
I removed the build plate from the printer after it had cooled down.
I trimmed off the excess mesh that was sticking out of the frame with a cutter.
The screen frame is now complete.
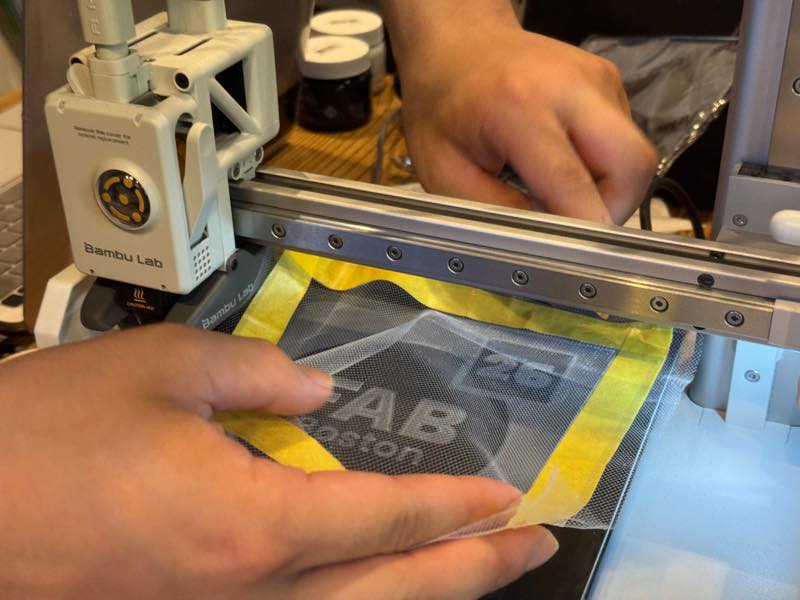
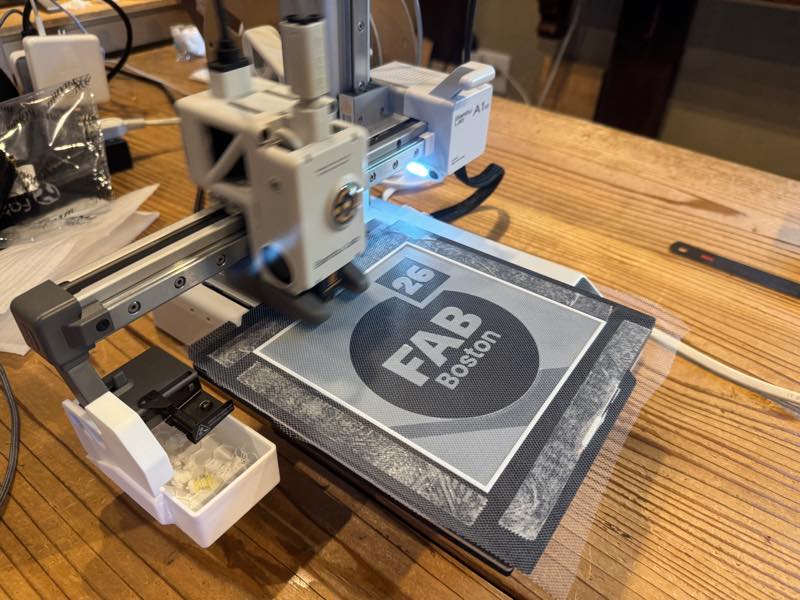
Printing
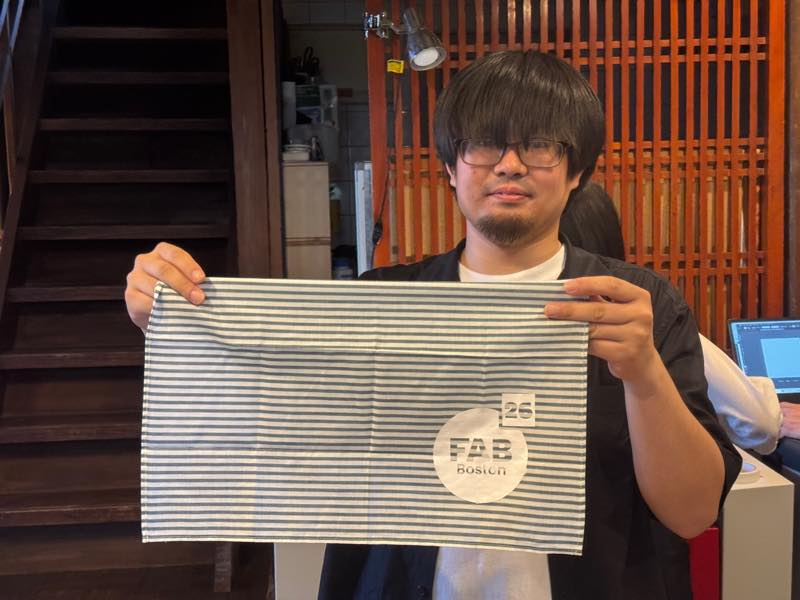
I did a test print on a handkerchief I bought.
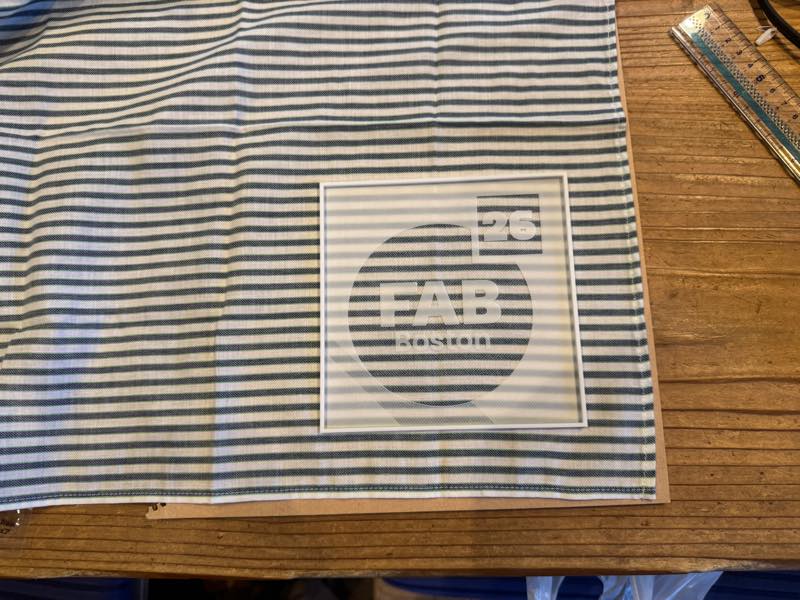
I used an MDF board that I didn’t mind getting dirty as a base to ensure a flat, stain-resistant surface, and then determined the position of the mark I wanted to screen print.
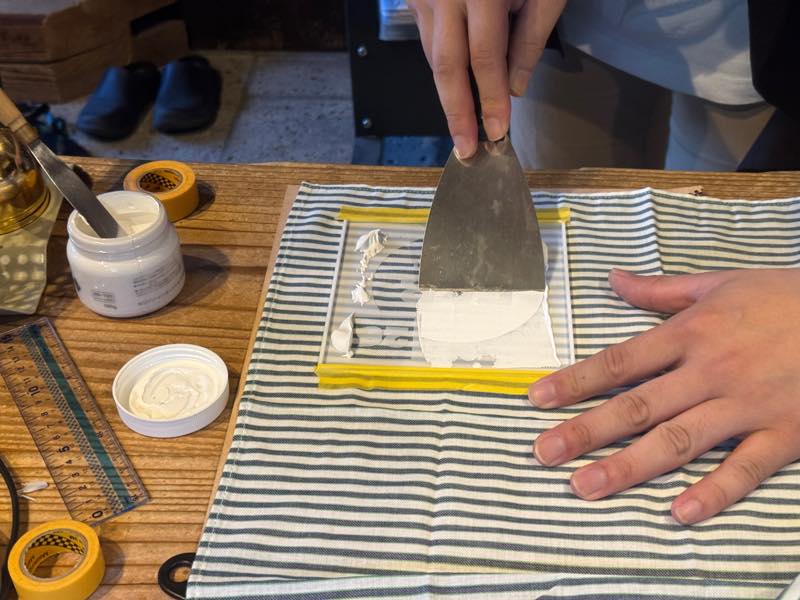
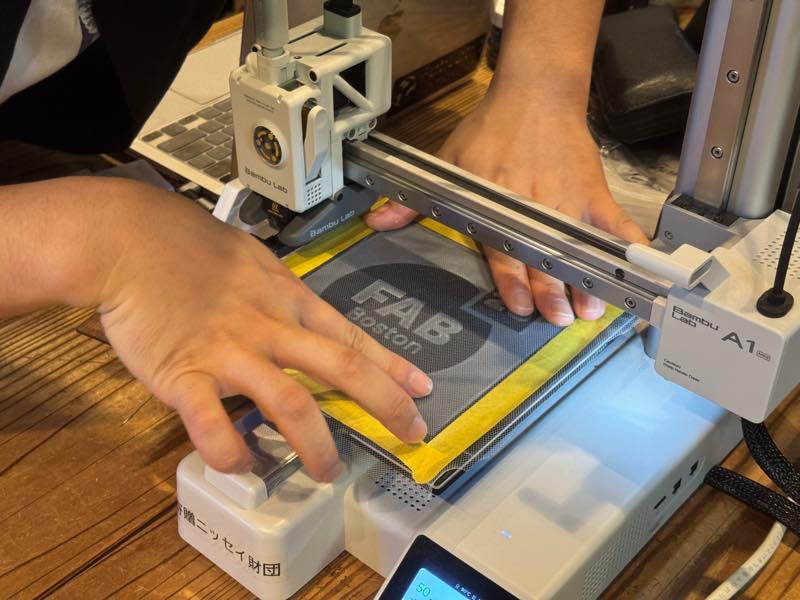
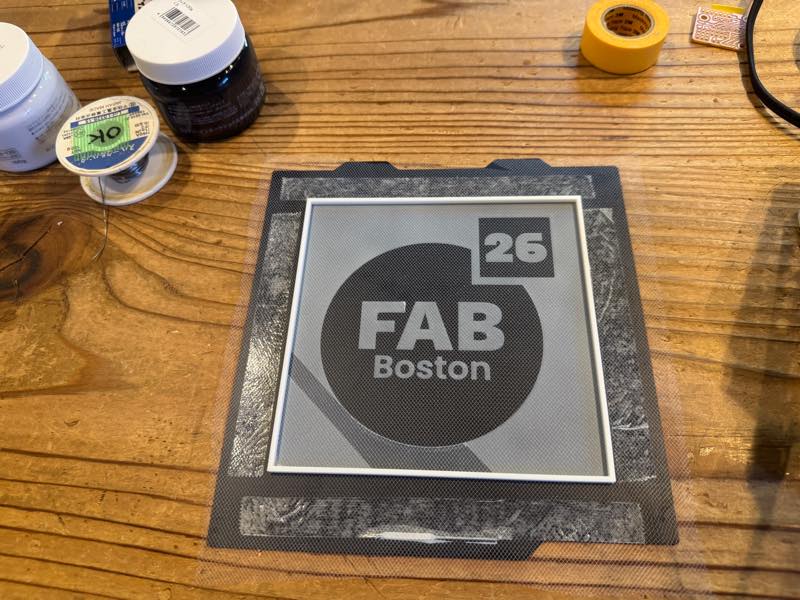
Once the position was confirmed, I applied masking tape to secure the frame and started printing.
This mask had too little margin, making it difficult. Also, it seems that a larger squeegee and printing in one pass would yield better results.
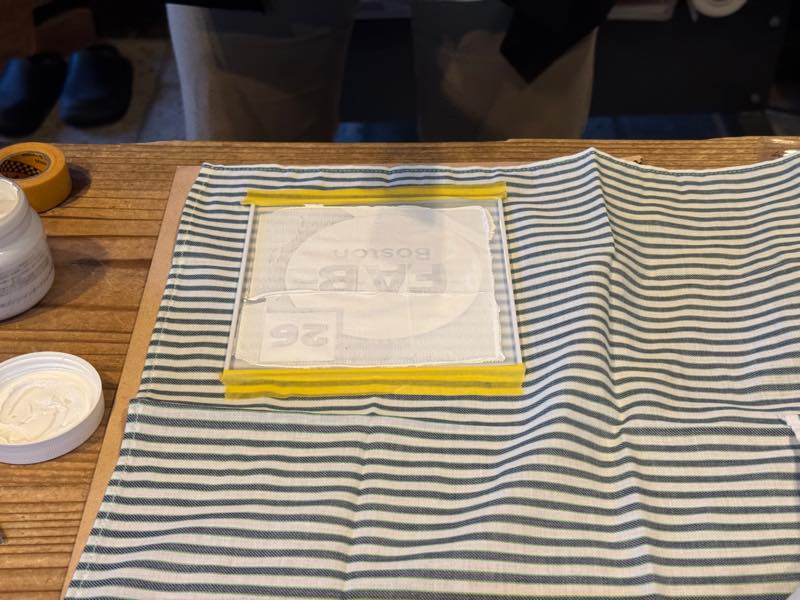
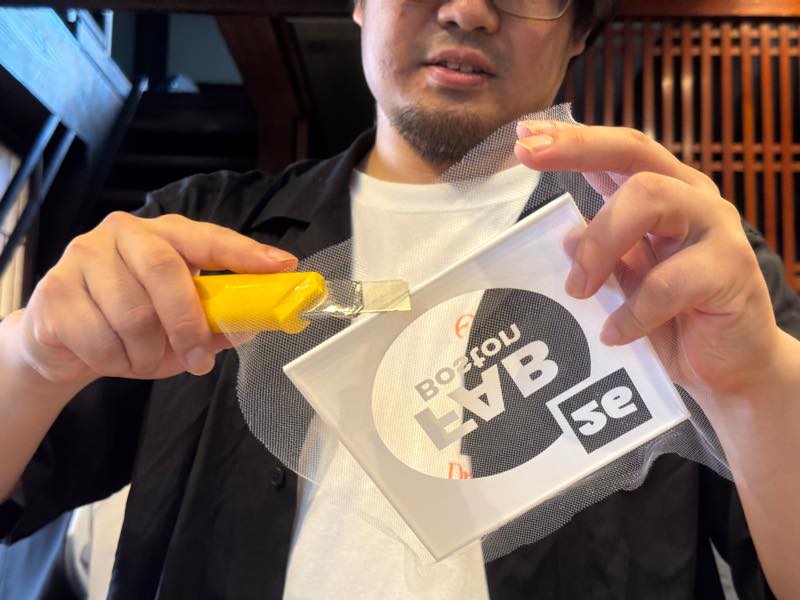
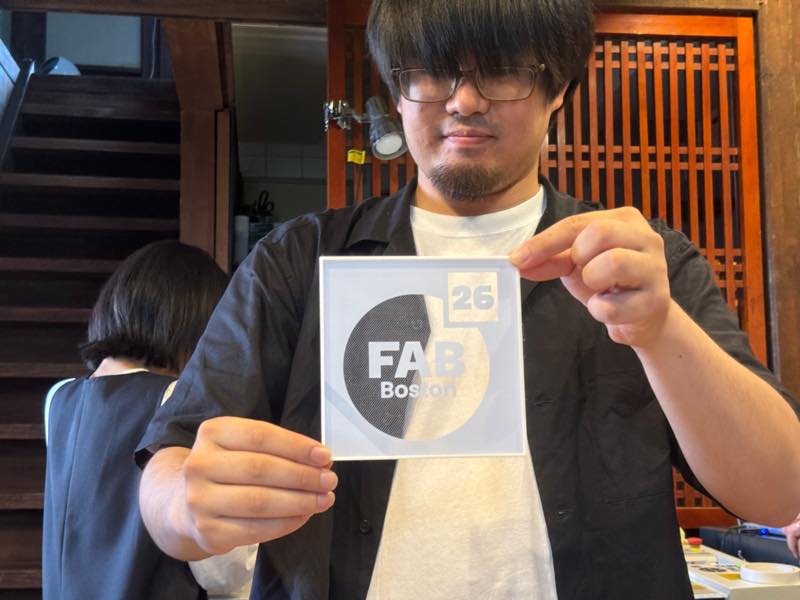
Printing complete. After this, I slowly peeled off the frame, let it dry for an hour, placed a cloth over it, and then ironed it with a medium-temperature dry iron for two minutes to finish.
Finished photo
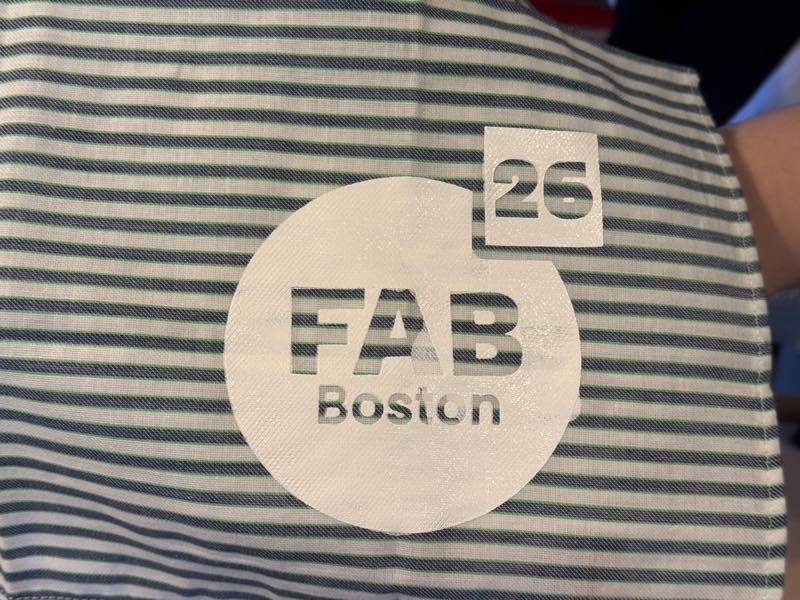
Up close, you can see some bleeding in the “A” part of “FAB” and around the circular frame. This is likely due to printing without ironing out the folds, and using a squeegee that was too small, or conversely, printing over too large an area, which prevented the ink from spreading properly, resulting in multiple passes with the squeegee.
Referenced websites
I would like to thank Seamstress AN, the inventor of this method, for making it publicly available.
3D PRINTER → SCREEN PRINTING / NO EMULSION NEEDED by Seamstress AN [An]
Let’s try making and printing with a silkscreen! by DIGITAL Craft Studio