Molding and Casting
Tools

Fusion 360
Integrated CAD, CAM & Product Design
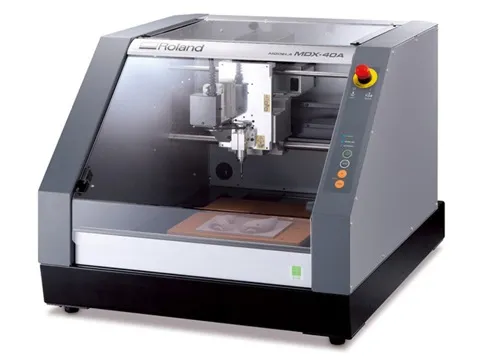
MDX-40A
CNC milling machine for precision machining and PCB fabrication
3D Mold Design
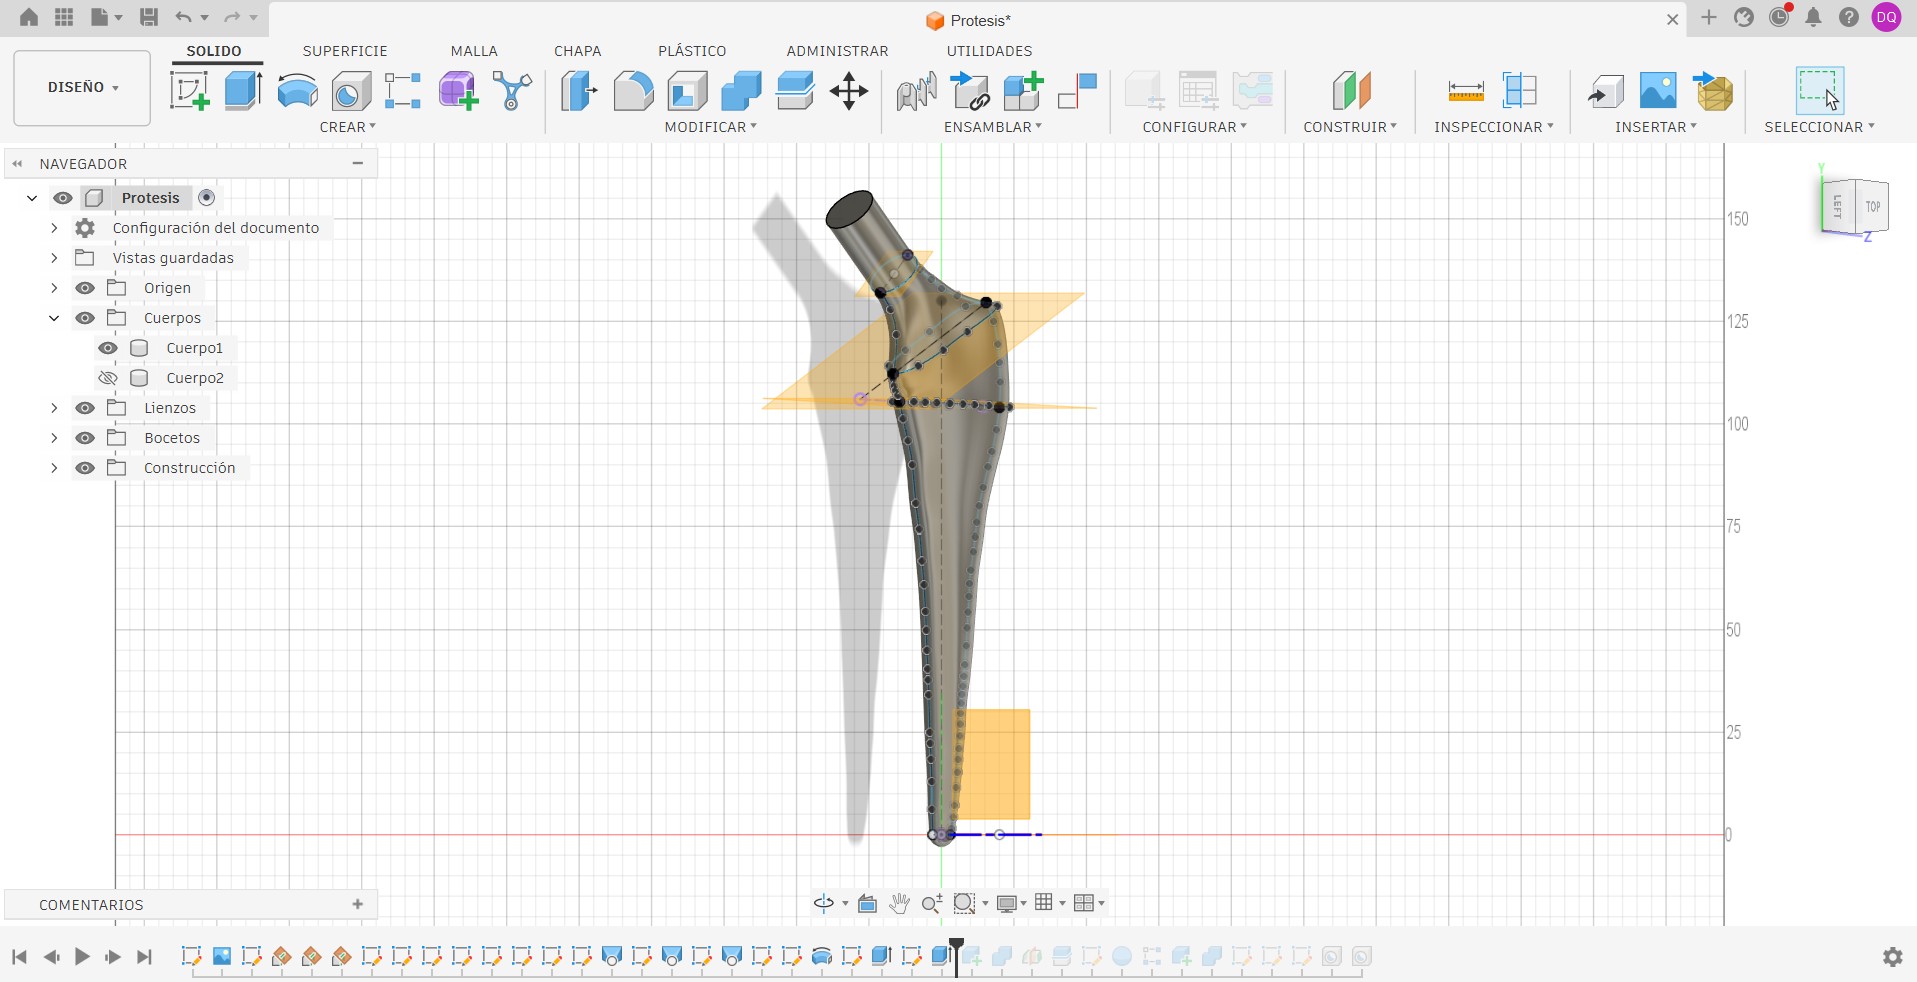
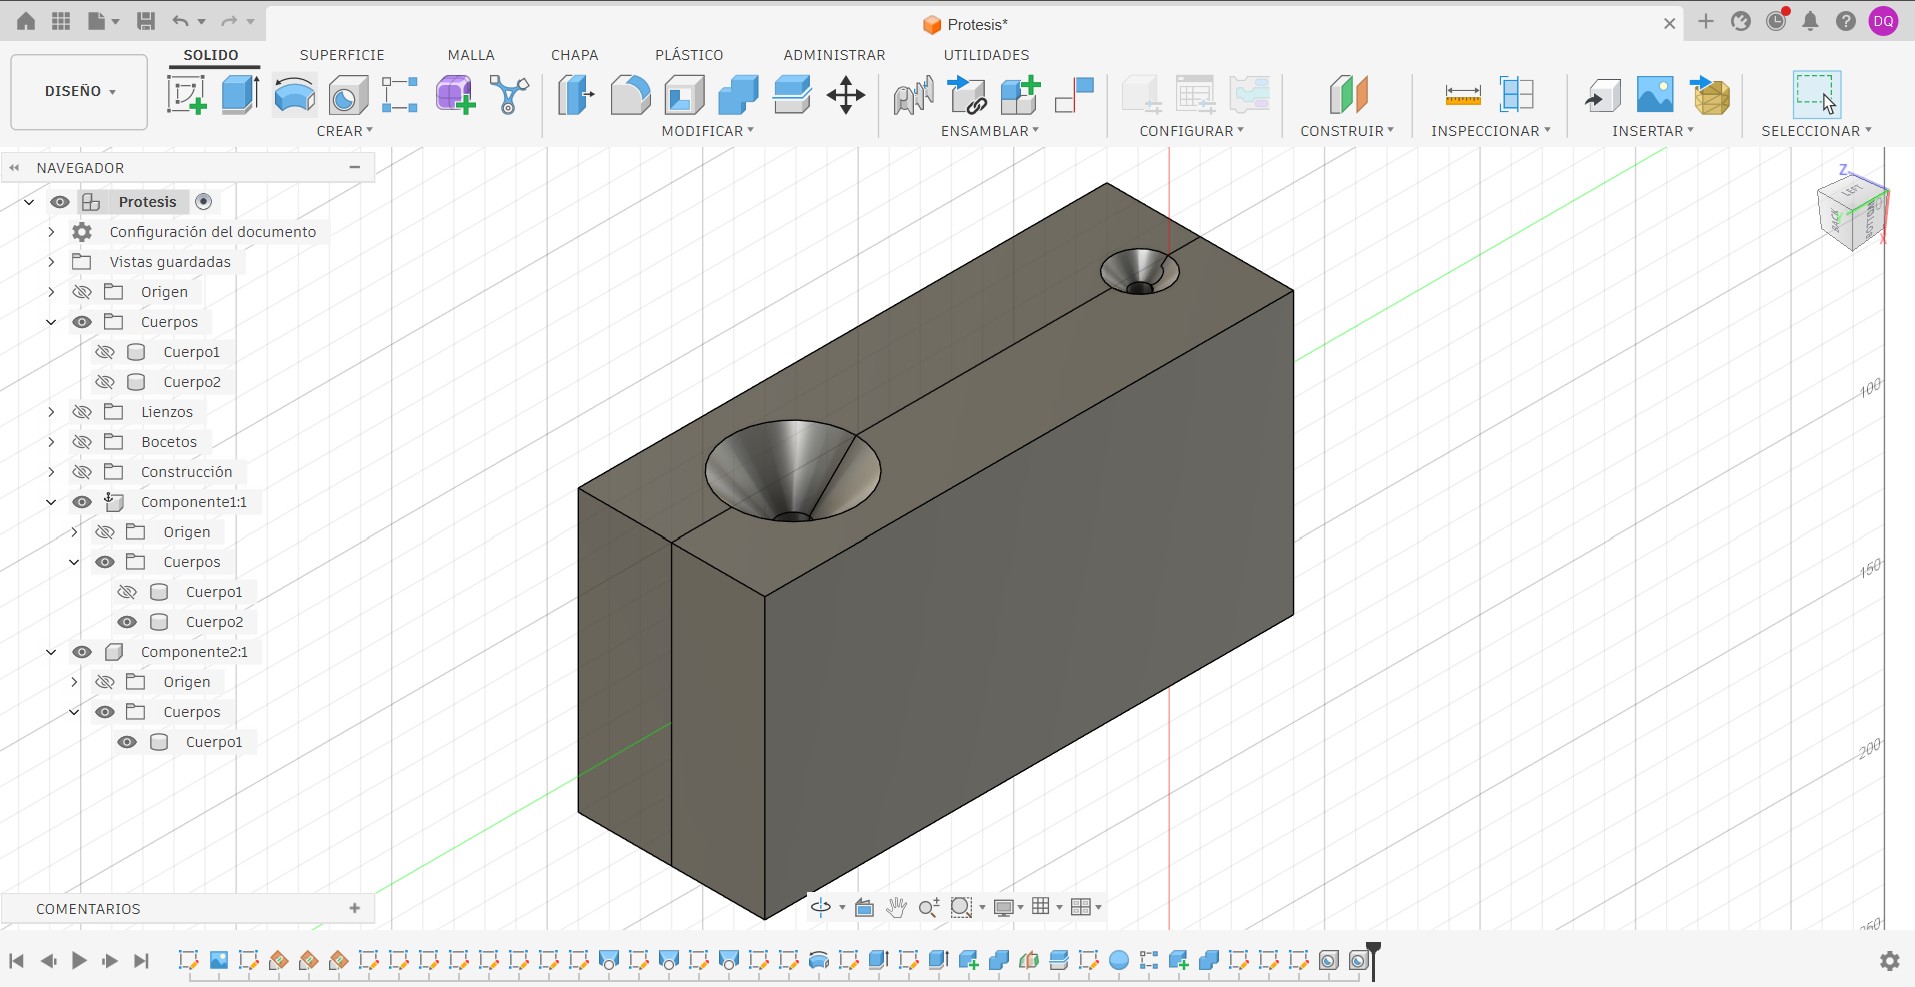
Before starting the assignment, I designed a hip-brace prosthesis model in Fusion 360, and from this model I developed the mold design to be used in later stages.
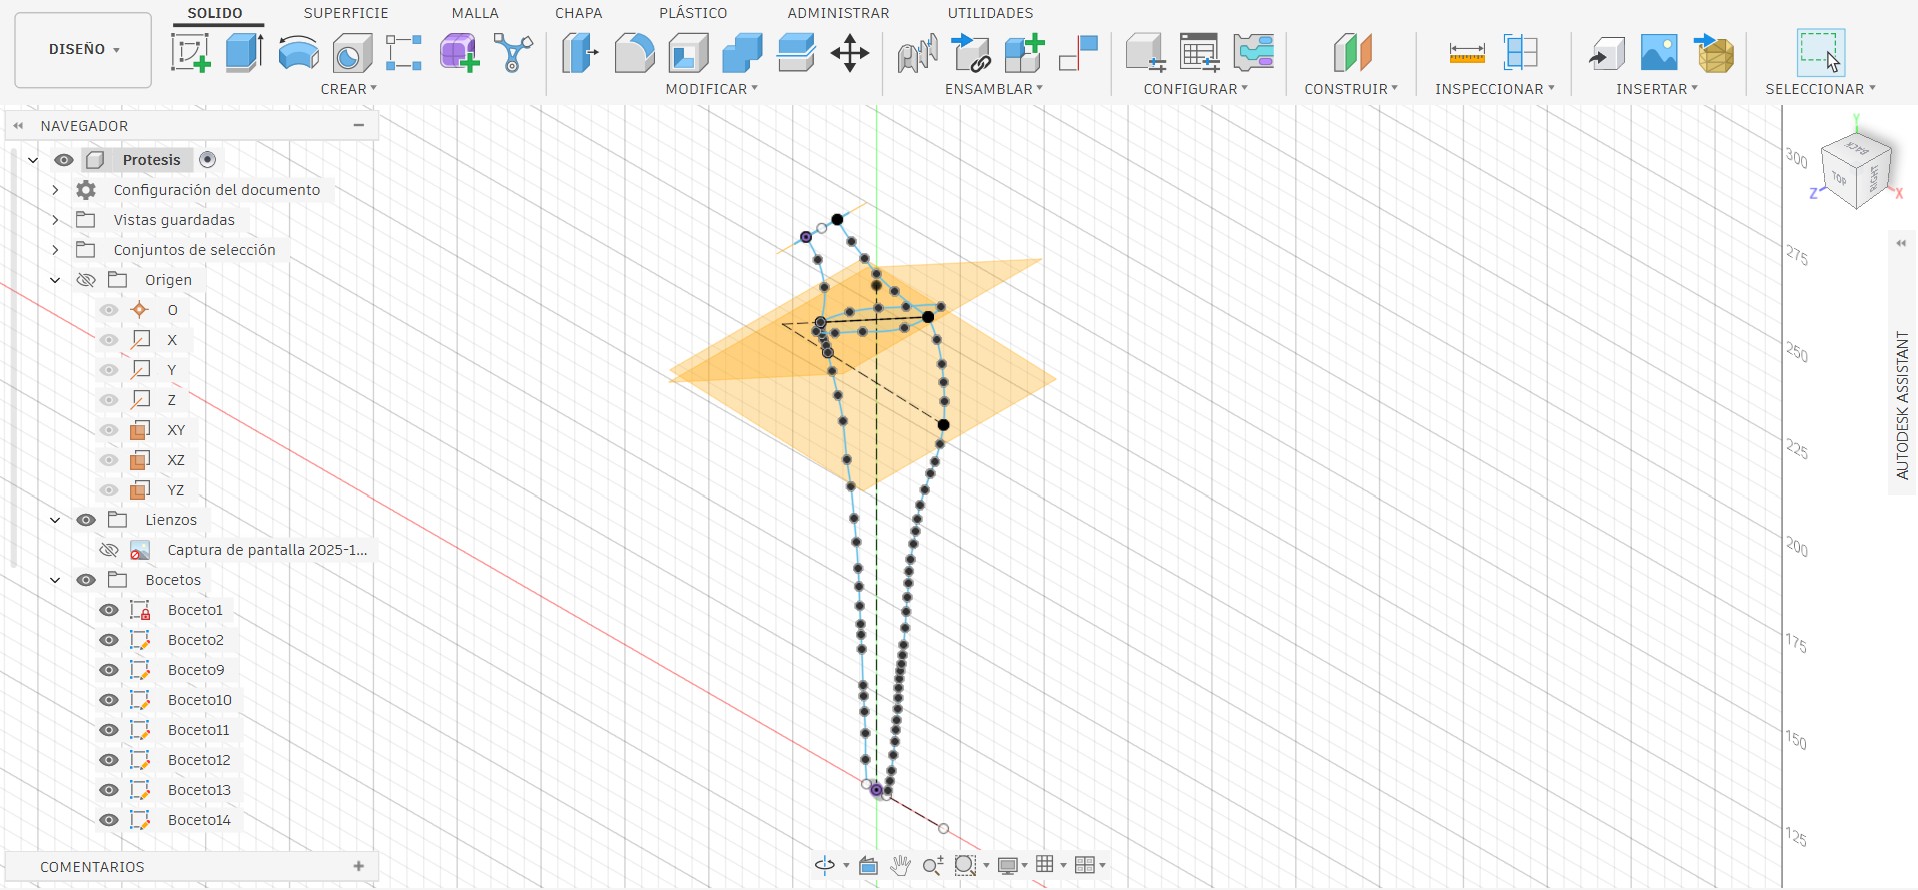
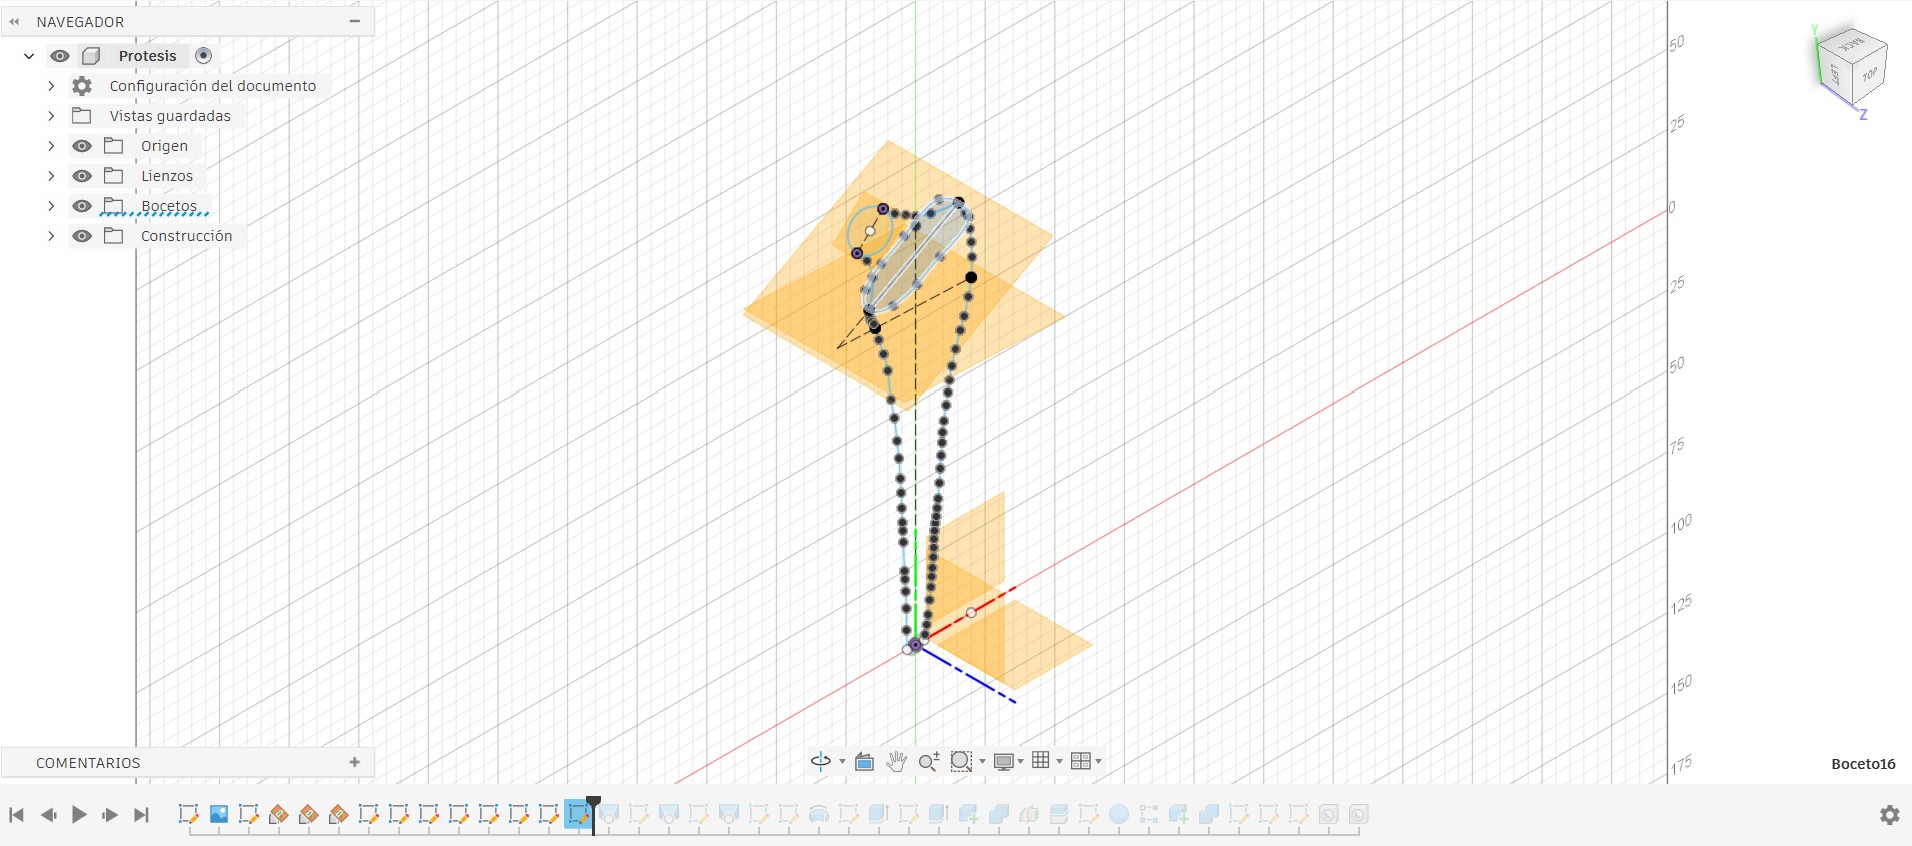
I used multiple reference planes to begin designing my prosthesis; to define the model’s outline, I had to employ different angles.
With the sketch complete, I used the Extrude tool, selecting the profiles to extrude according to their reference planes.
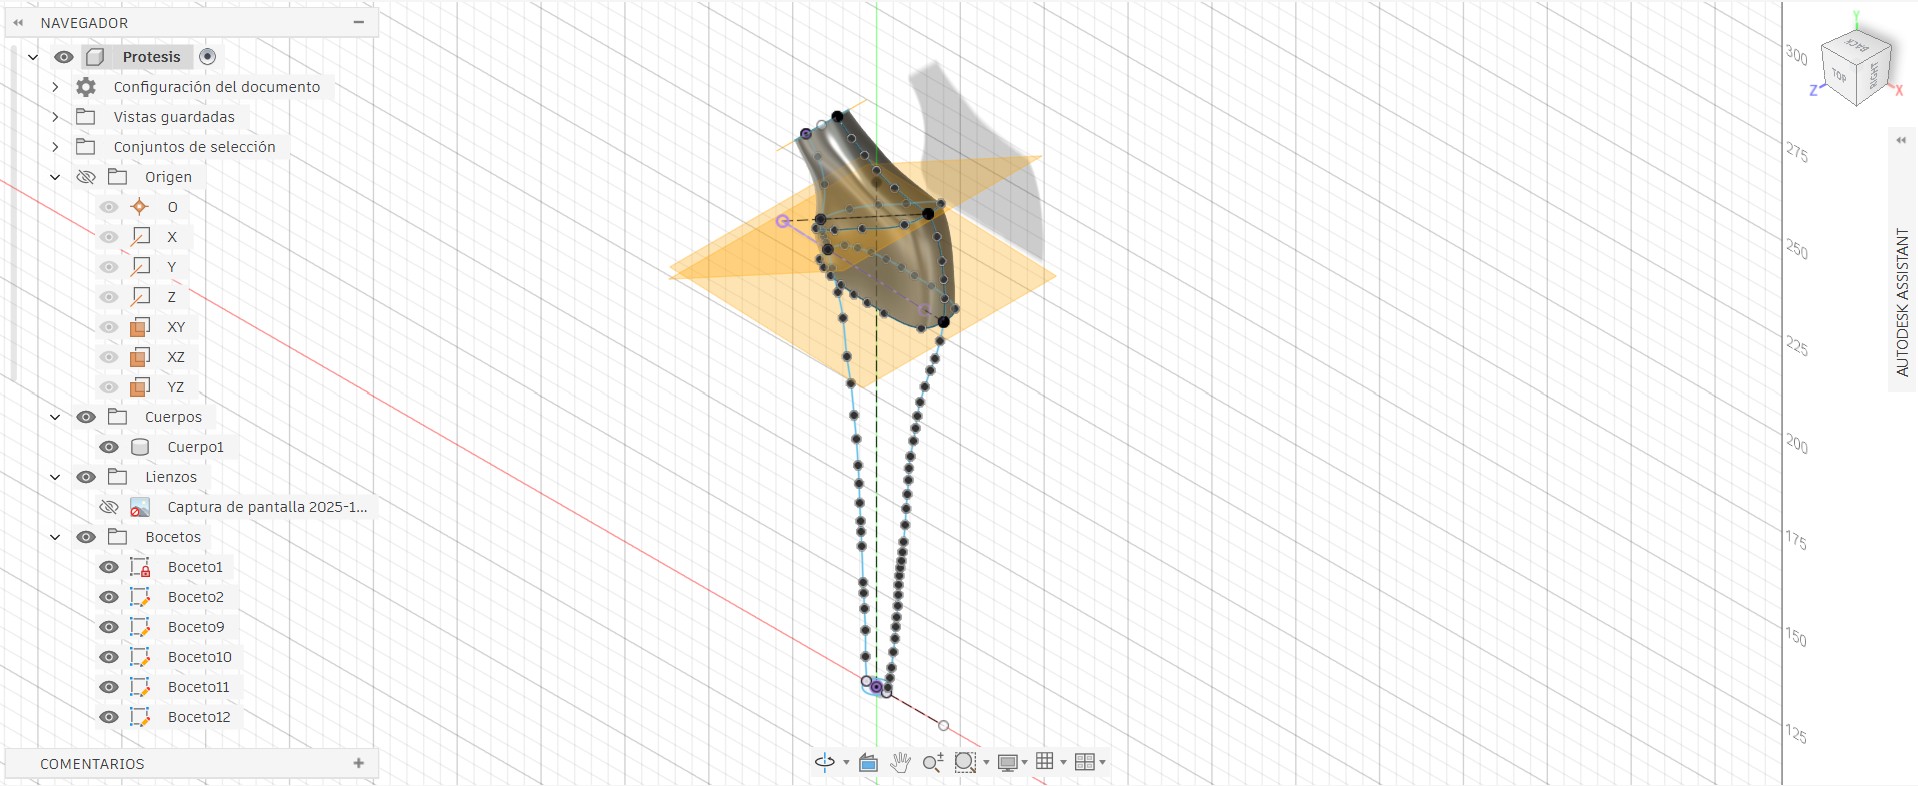
Done, we now have the first part of the model that we want to obtain in the final mold.
At this stage, I performed a Boolean subtraction to create the side-A cavity of the mold.
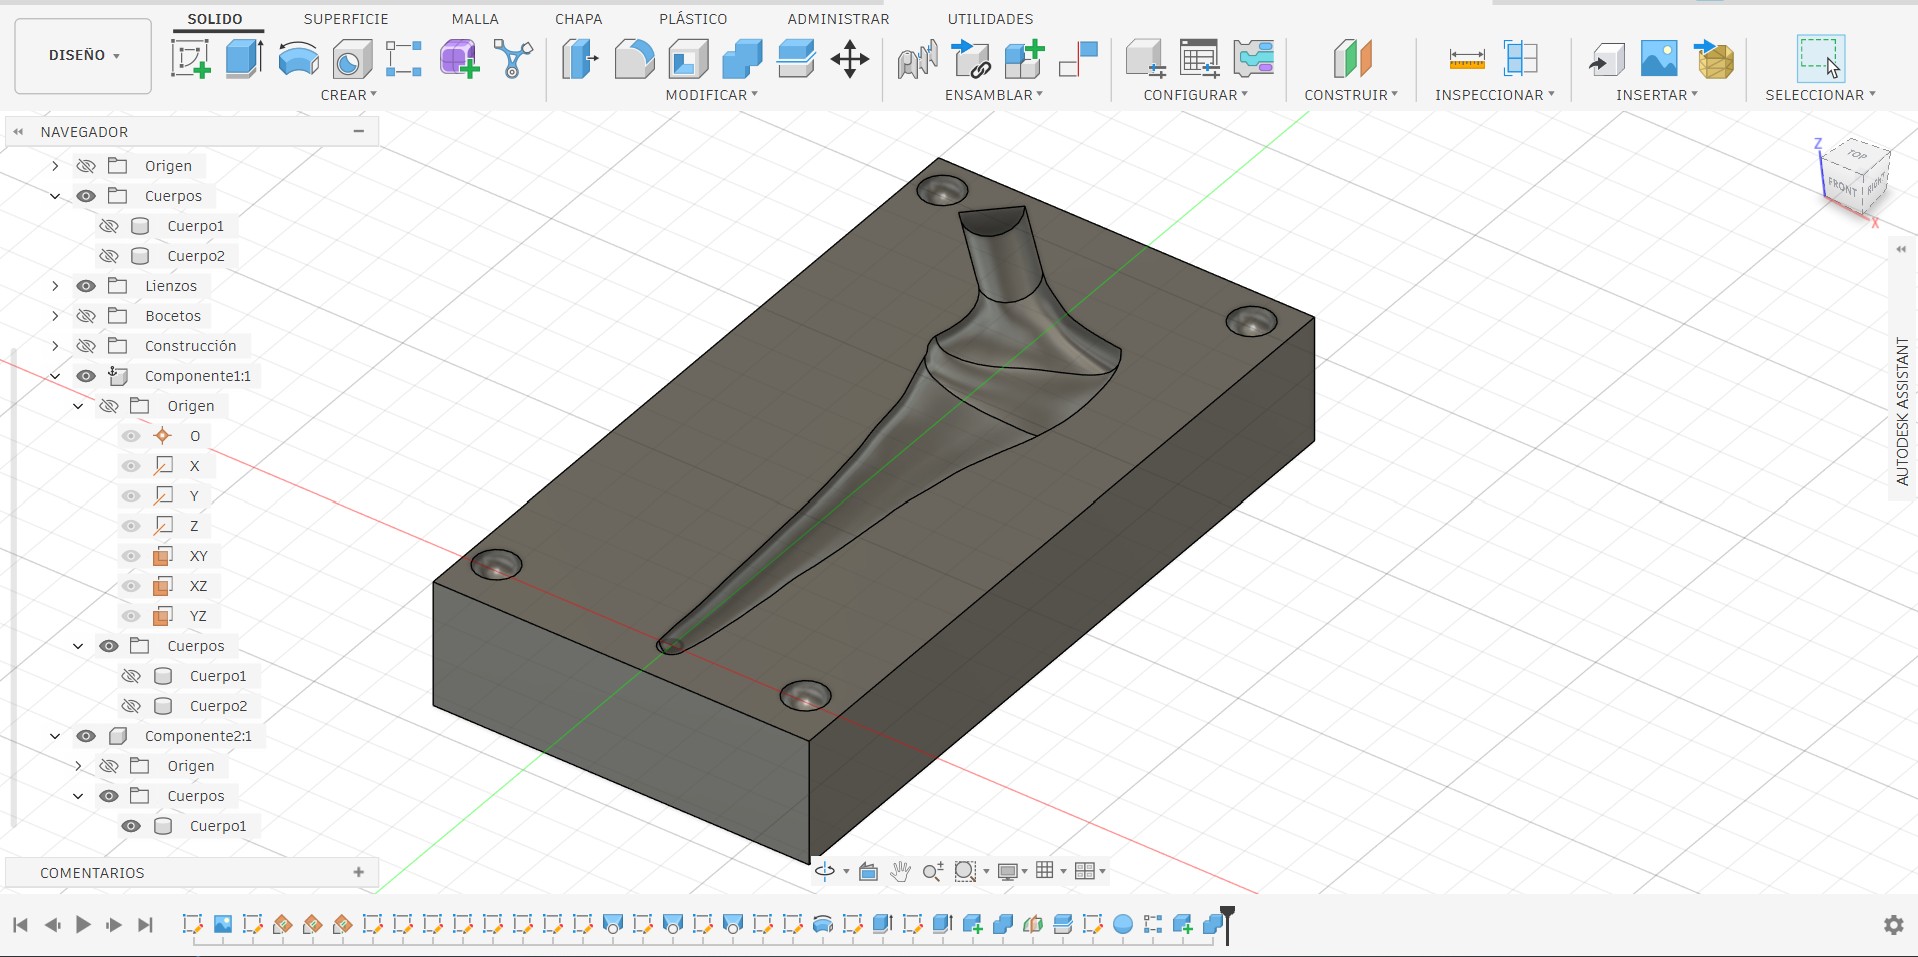
I also added a permanent-casting style feed-and-vent system: one channel for pouring material and another for venting air, enabling proper mold filling.
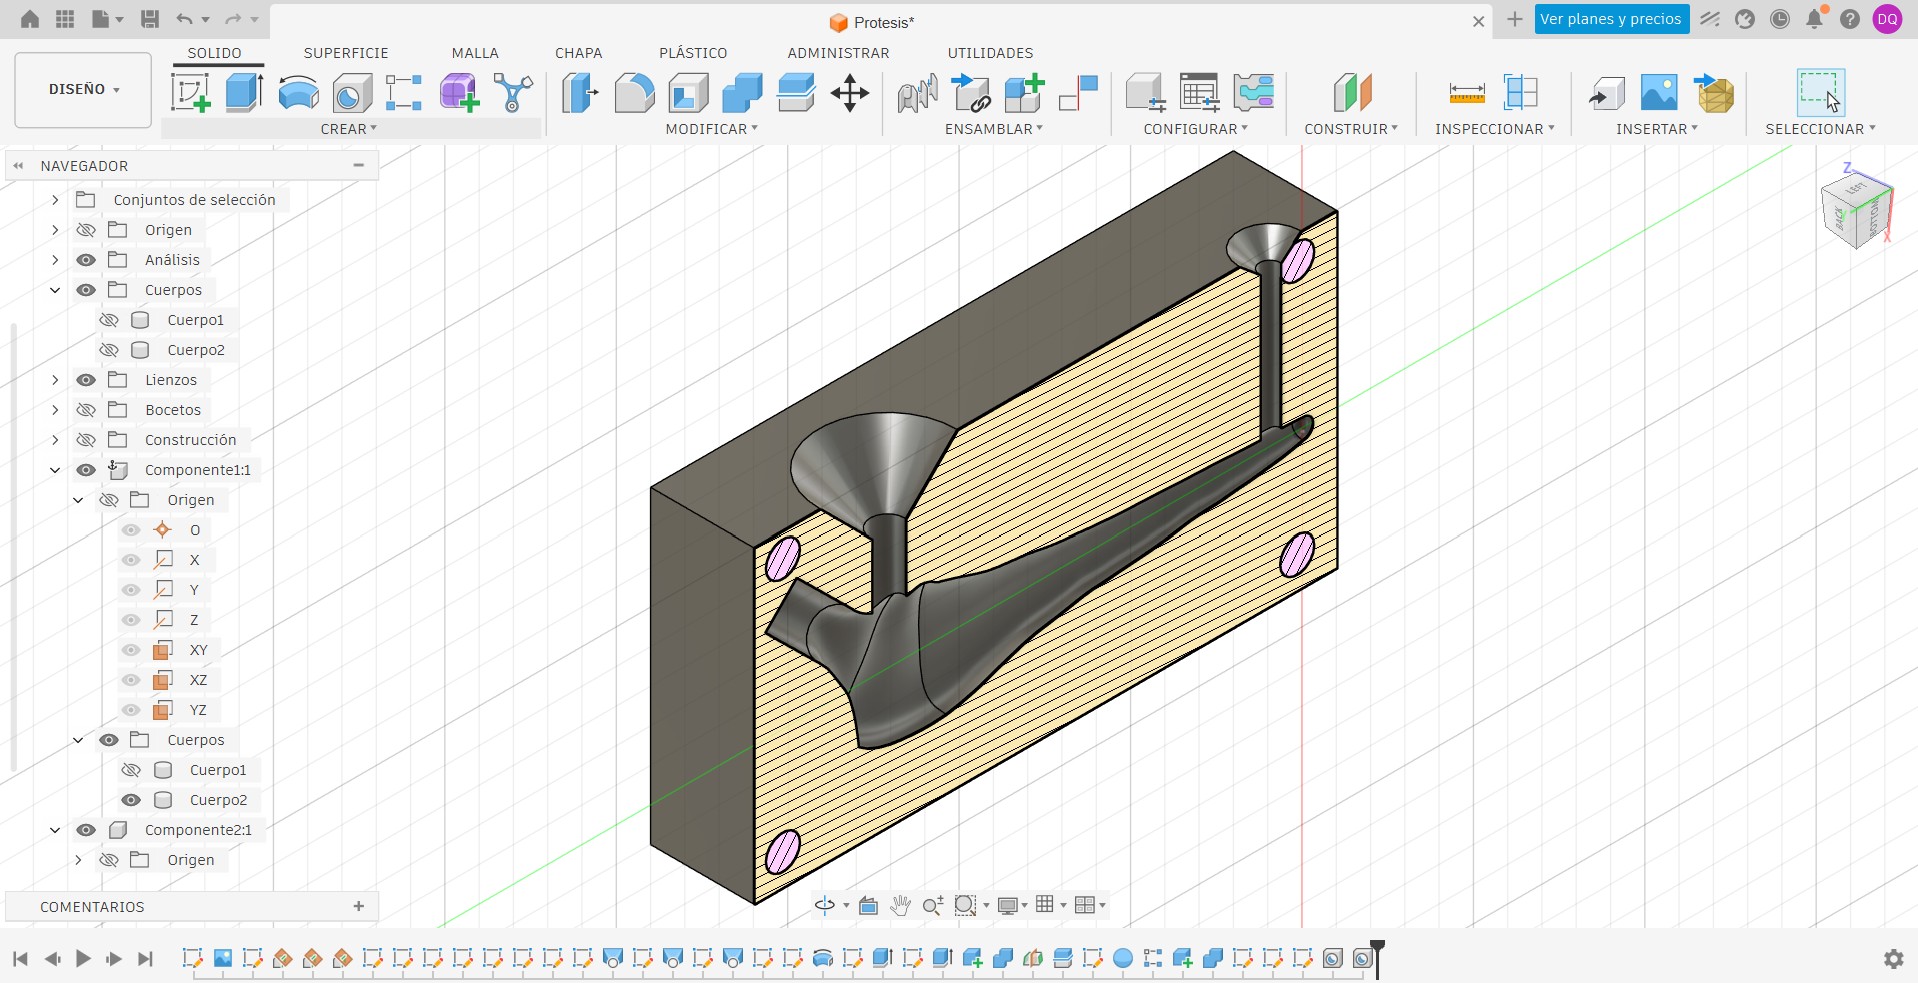
This was implemented on both halves of the mold (A and B).
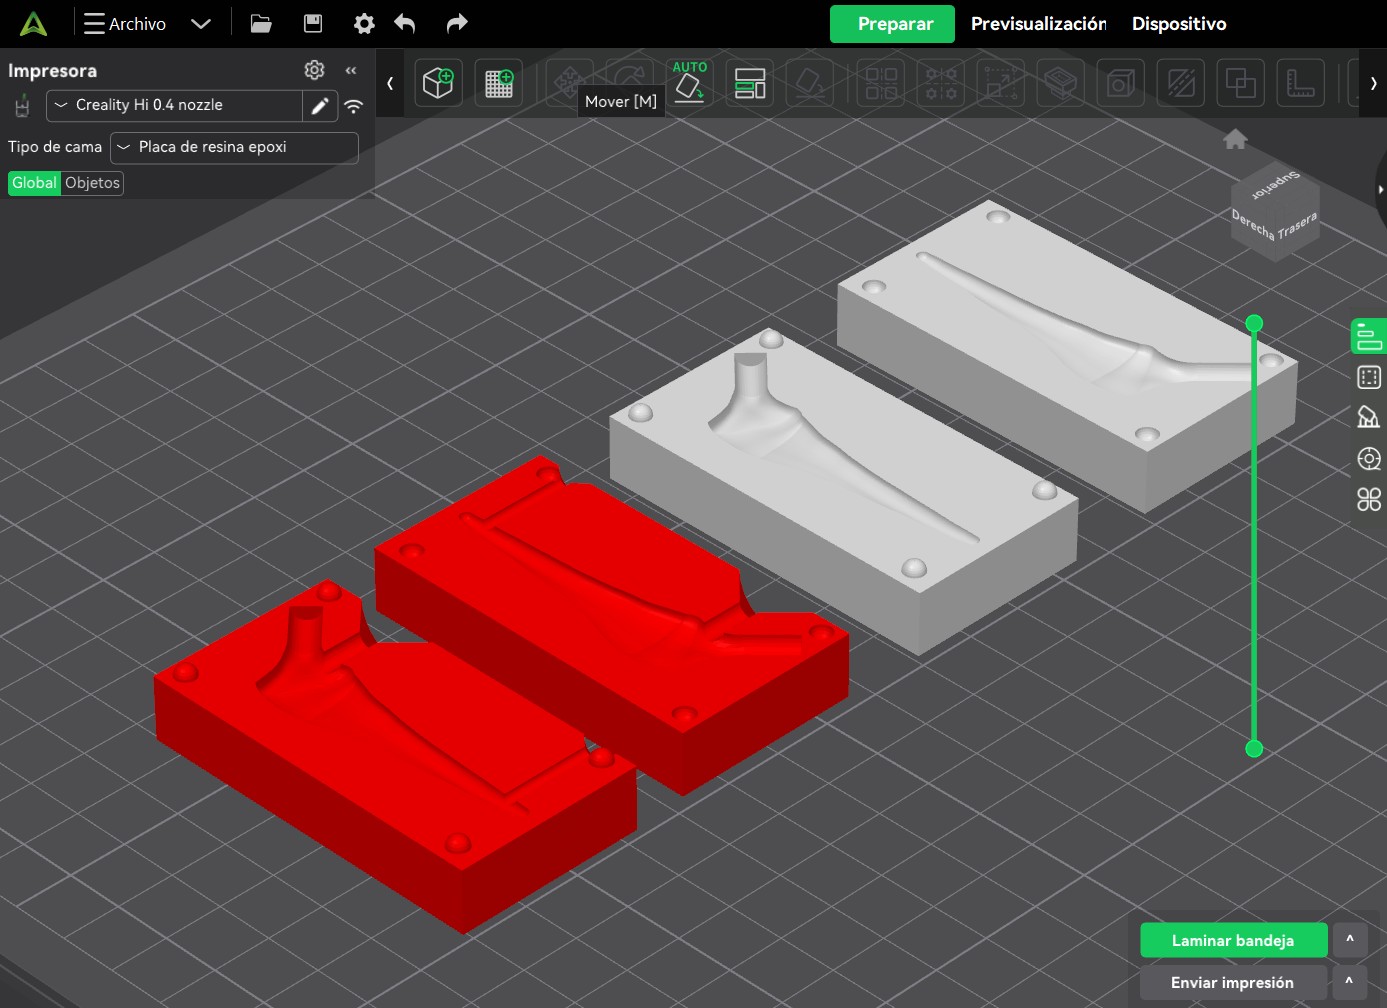
We are now ready to produce our part.
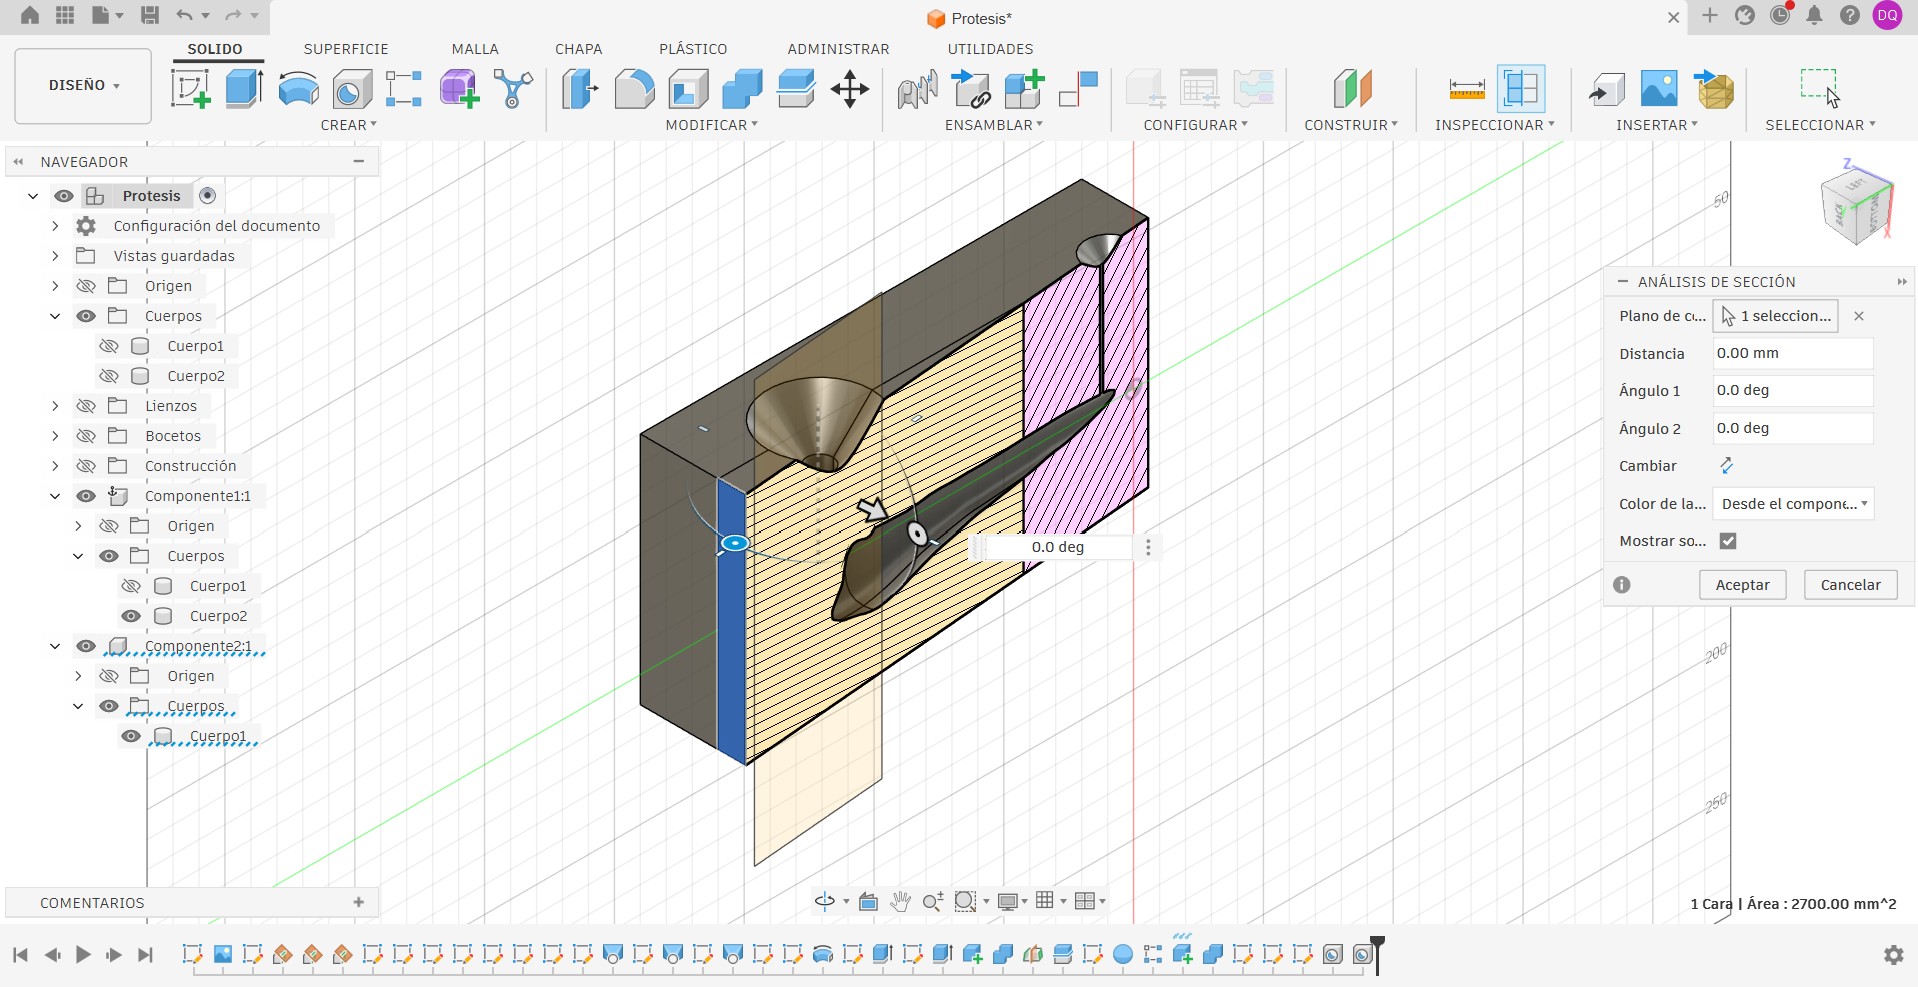
Here I used a small trick with the part: first I imported the model and then tweaked its orientation slightly in case I needed to use a different machining strategy.
Molding
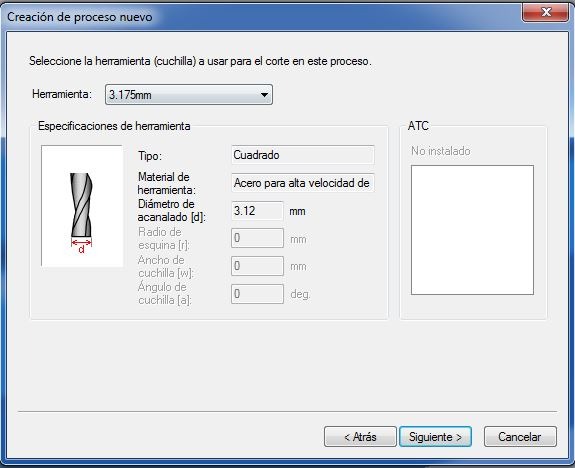
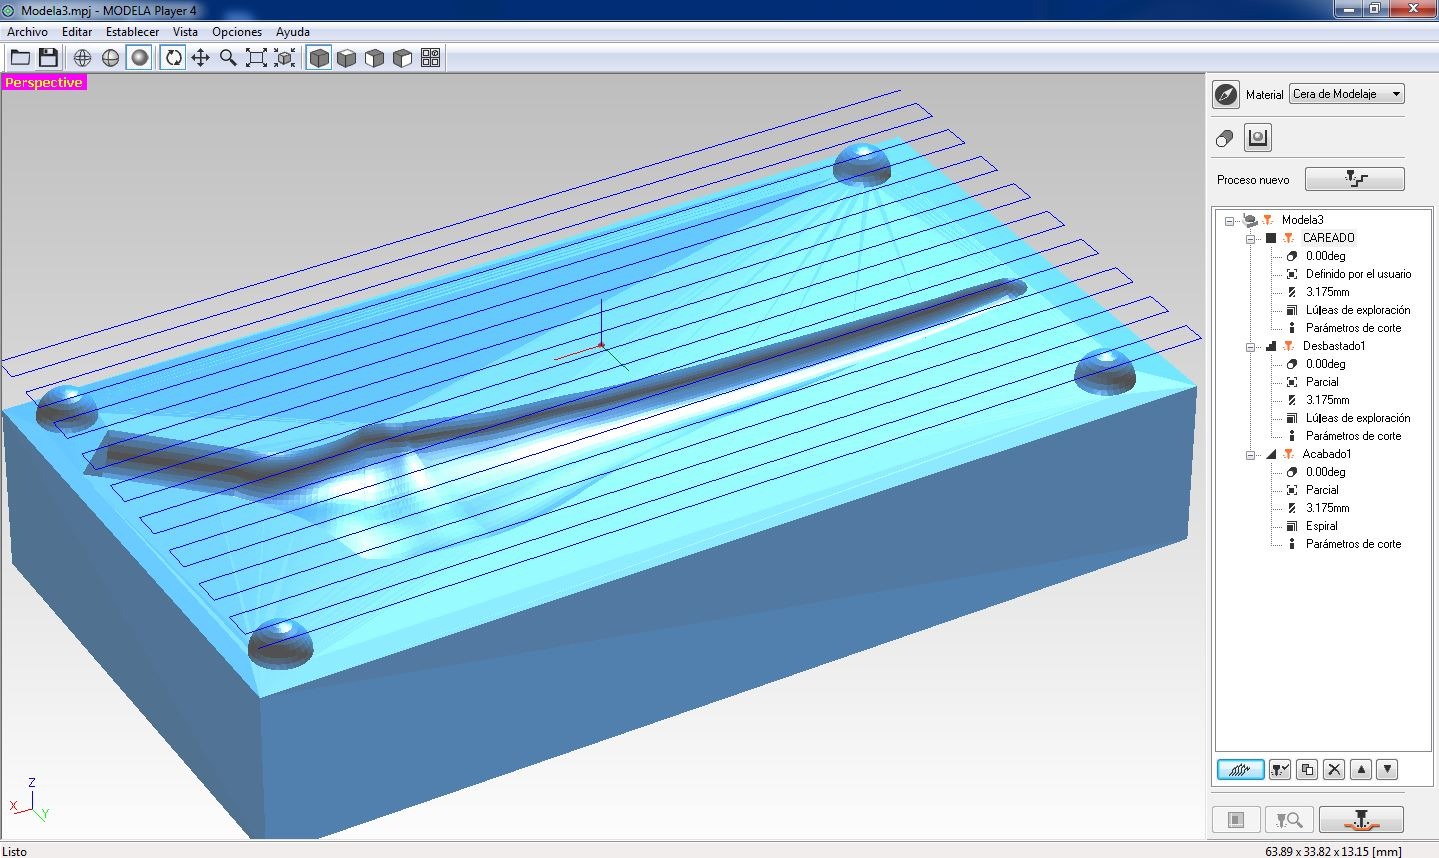
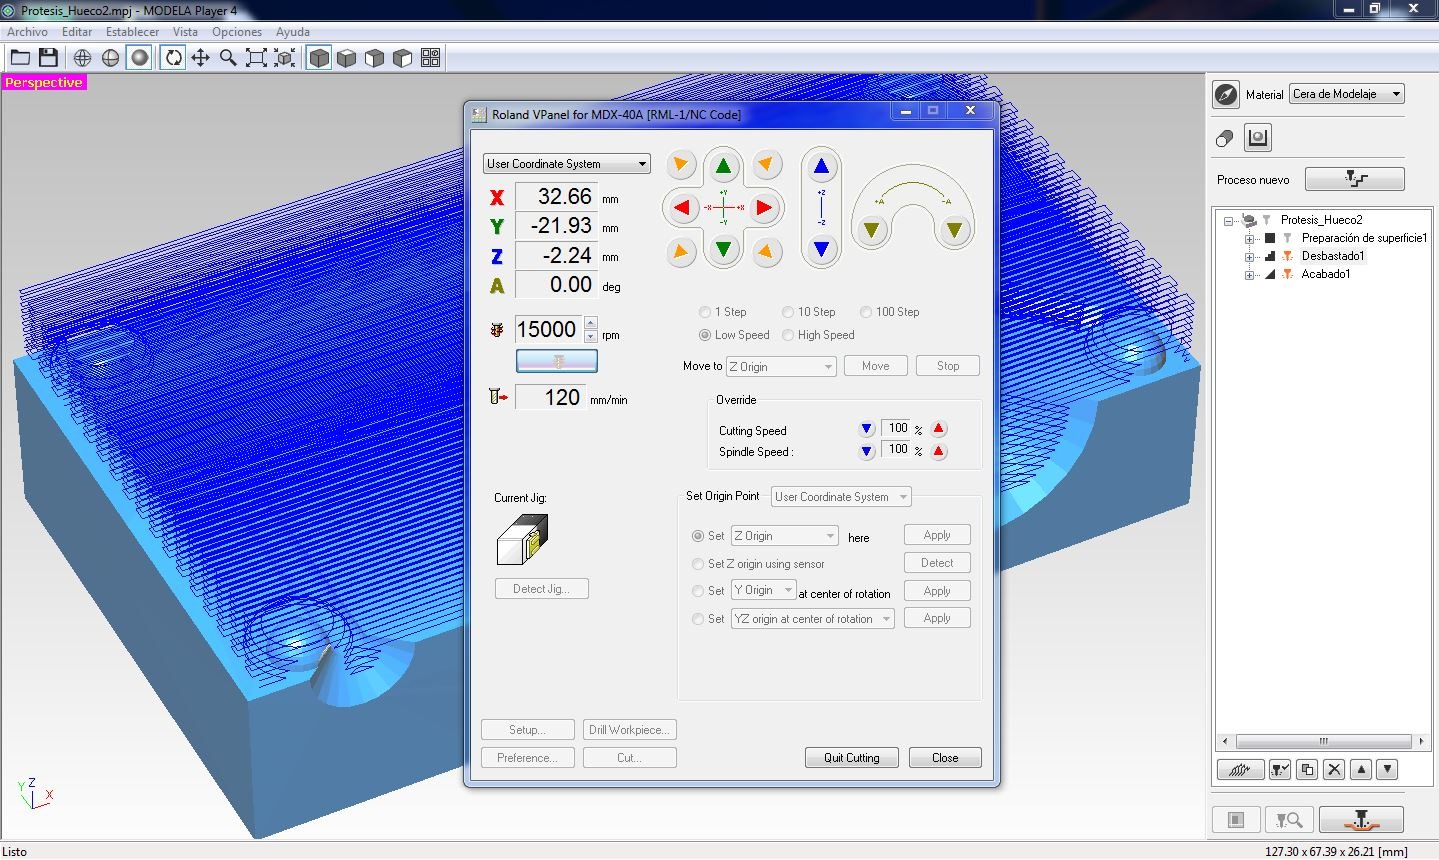
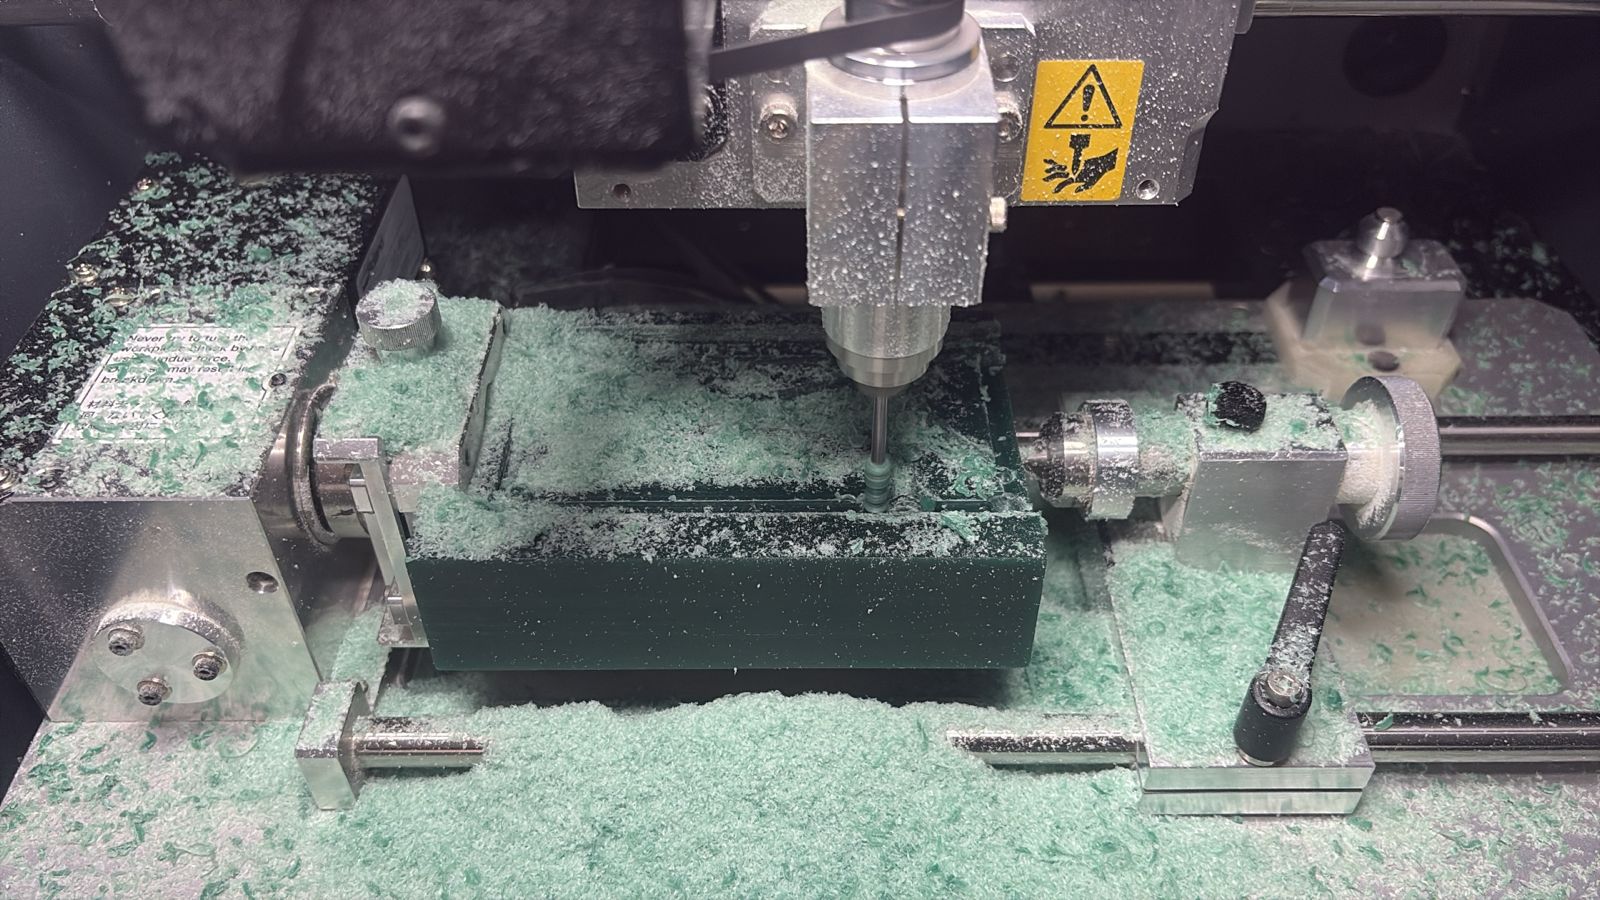
Now, to fabricate the part, we used the MDX‑40A milling machine along with Modela Player 4 software.
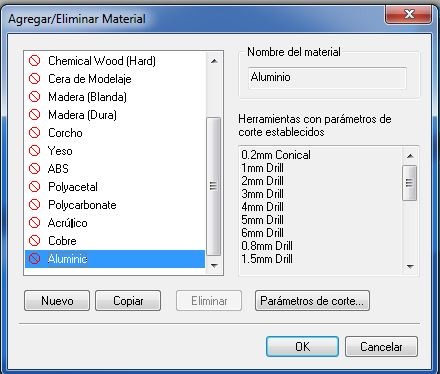
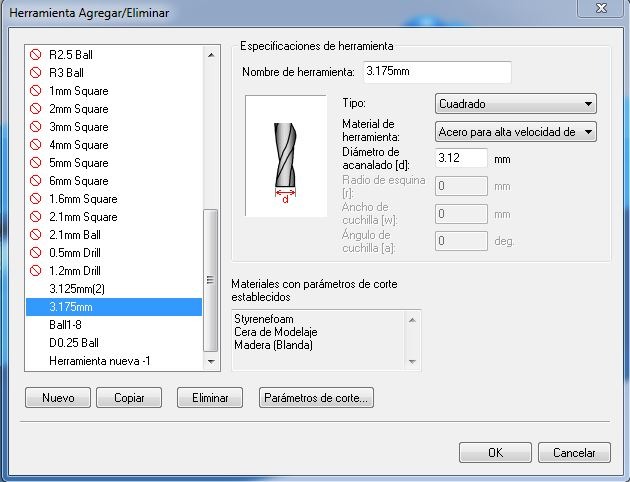
The software includes a default material library; however, new materials and tools can be added as needed.
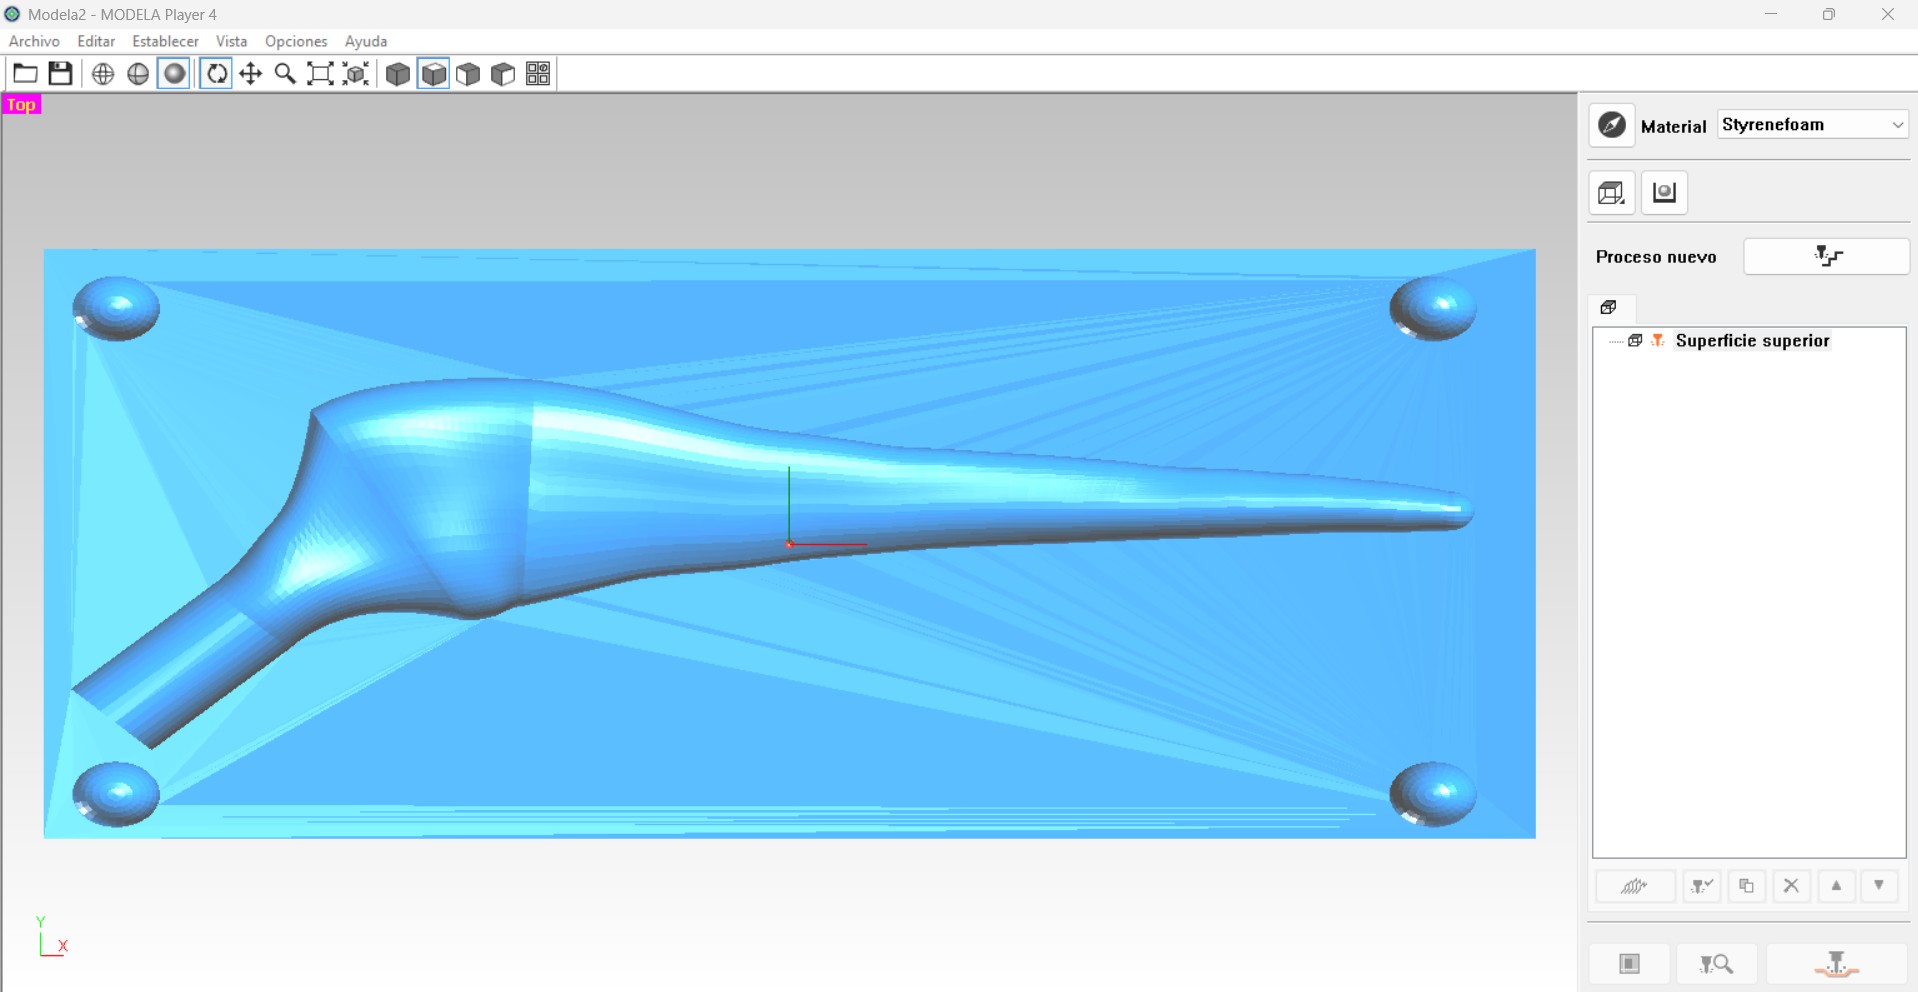
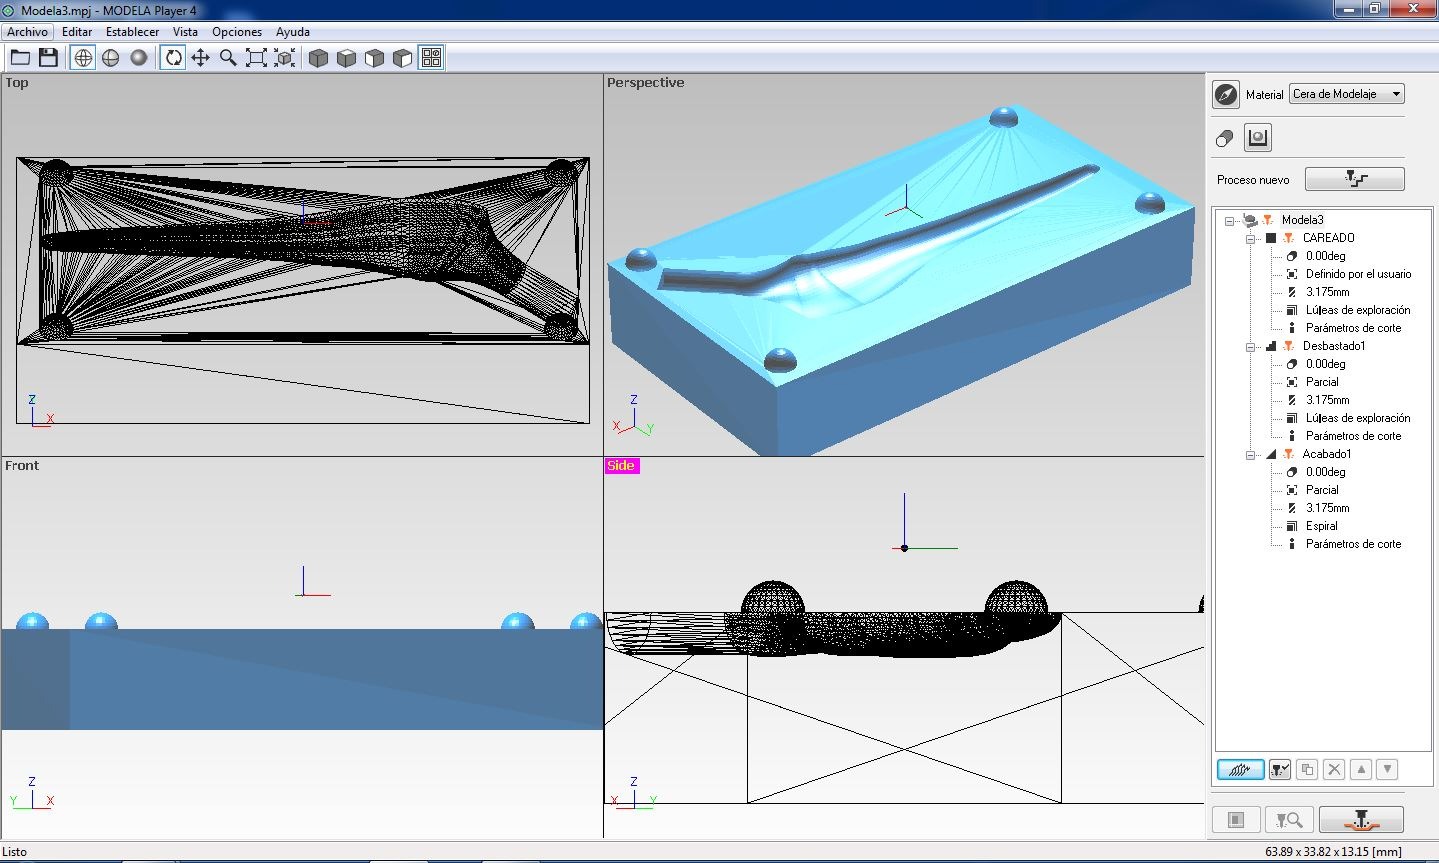
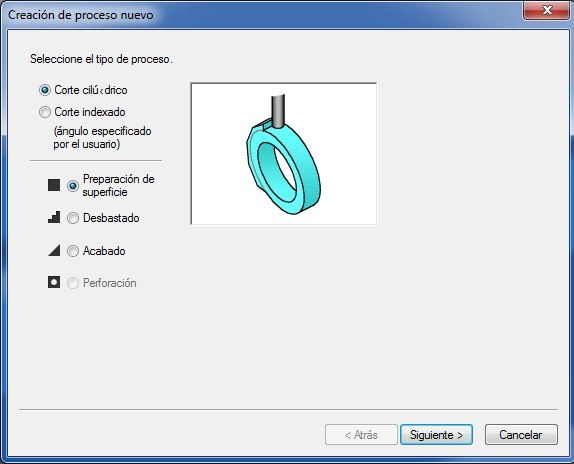
We used three different machining processes for the part: surface preparation (facing), roughing, and finishing to fully detail the final geometry.
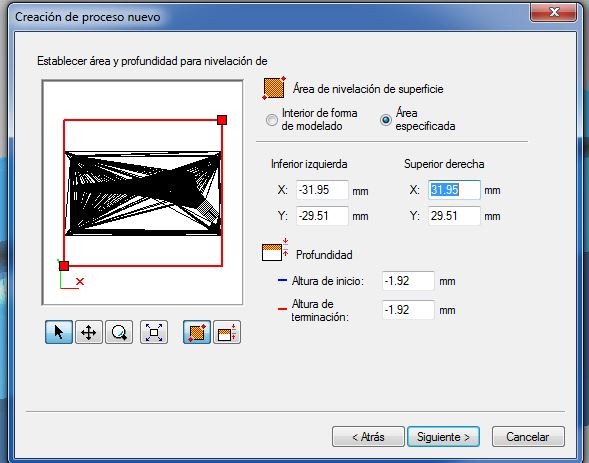
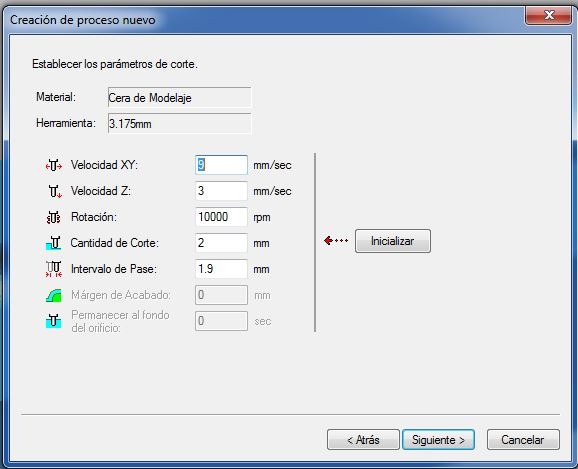
In each operation we defined key parameters, such as the tool’s start point, work bounds, and cutting depth which are essential to ensure machining precision.
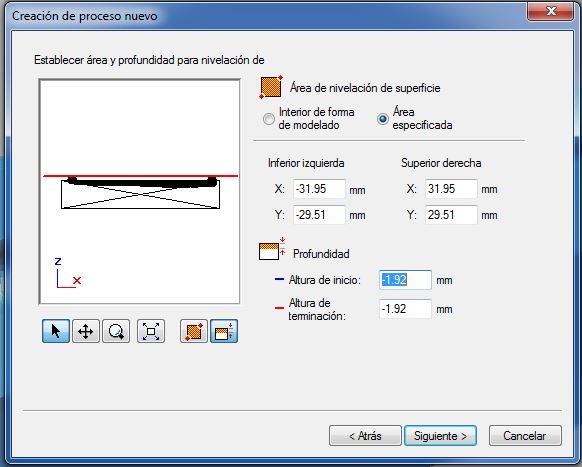
We also configured the toolpaths for each pass; from these settings we determined how much detail would be achieved on each layer.
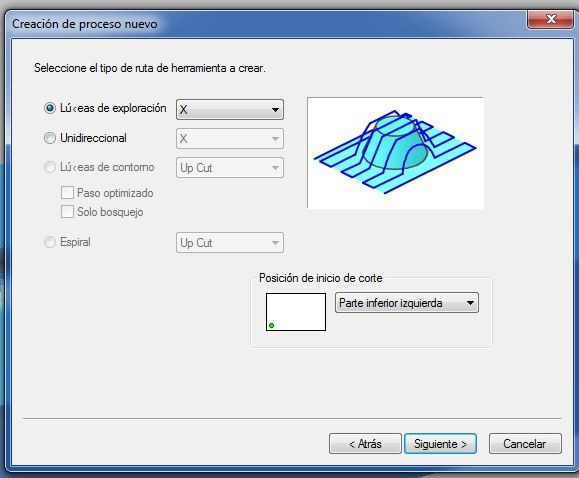
We also adjusted the tool’s step-over (lateral pass spacing) and step-down (cutting depth per pass) based on the material’s characteristics.
Facing
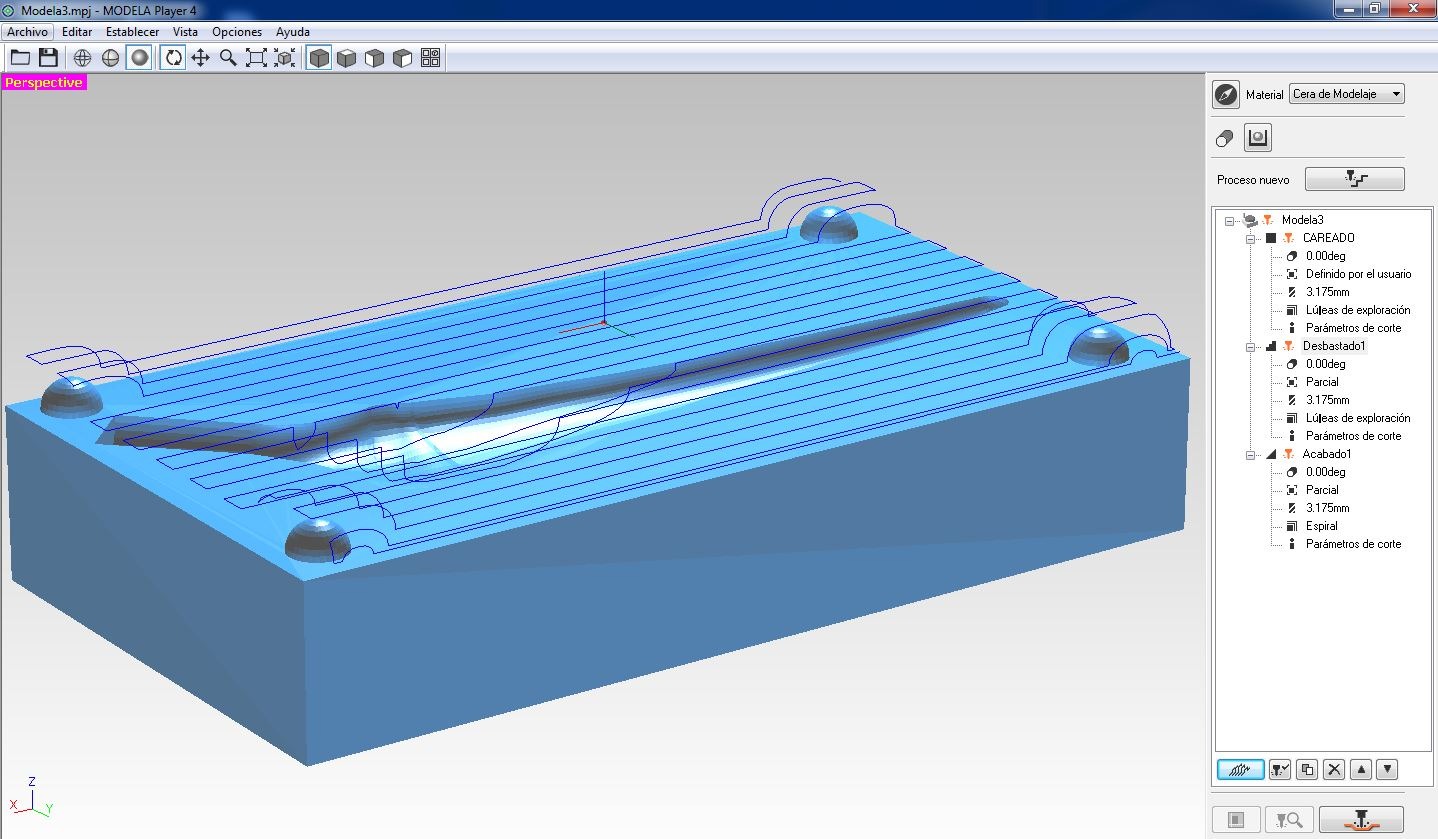
Roughing
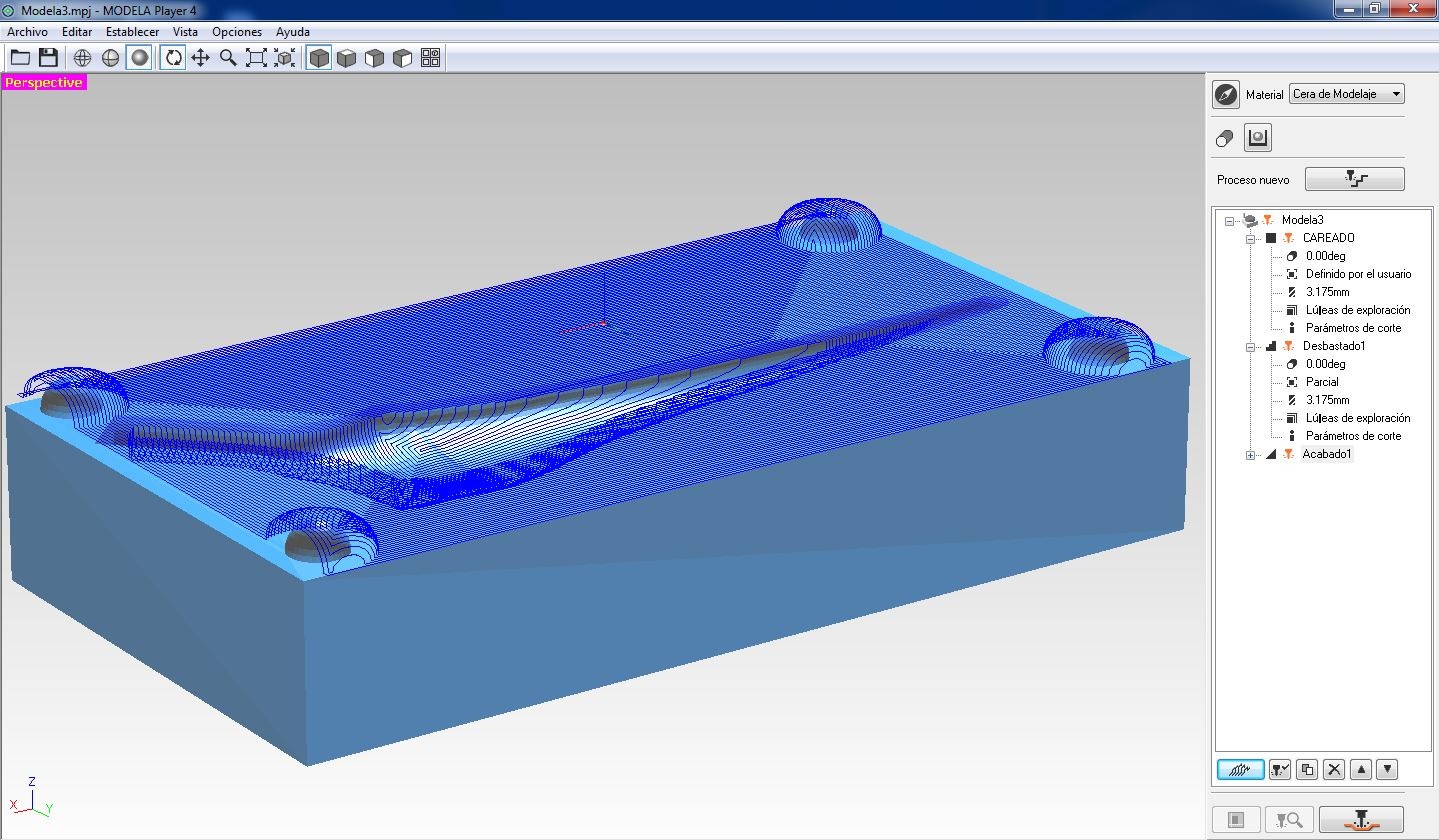
Finishing
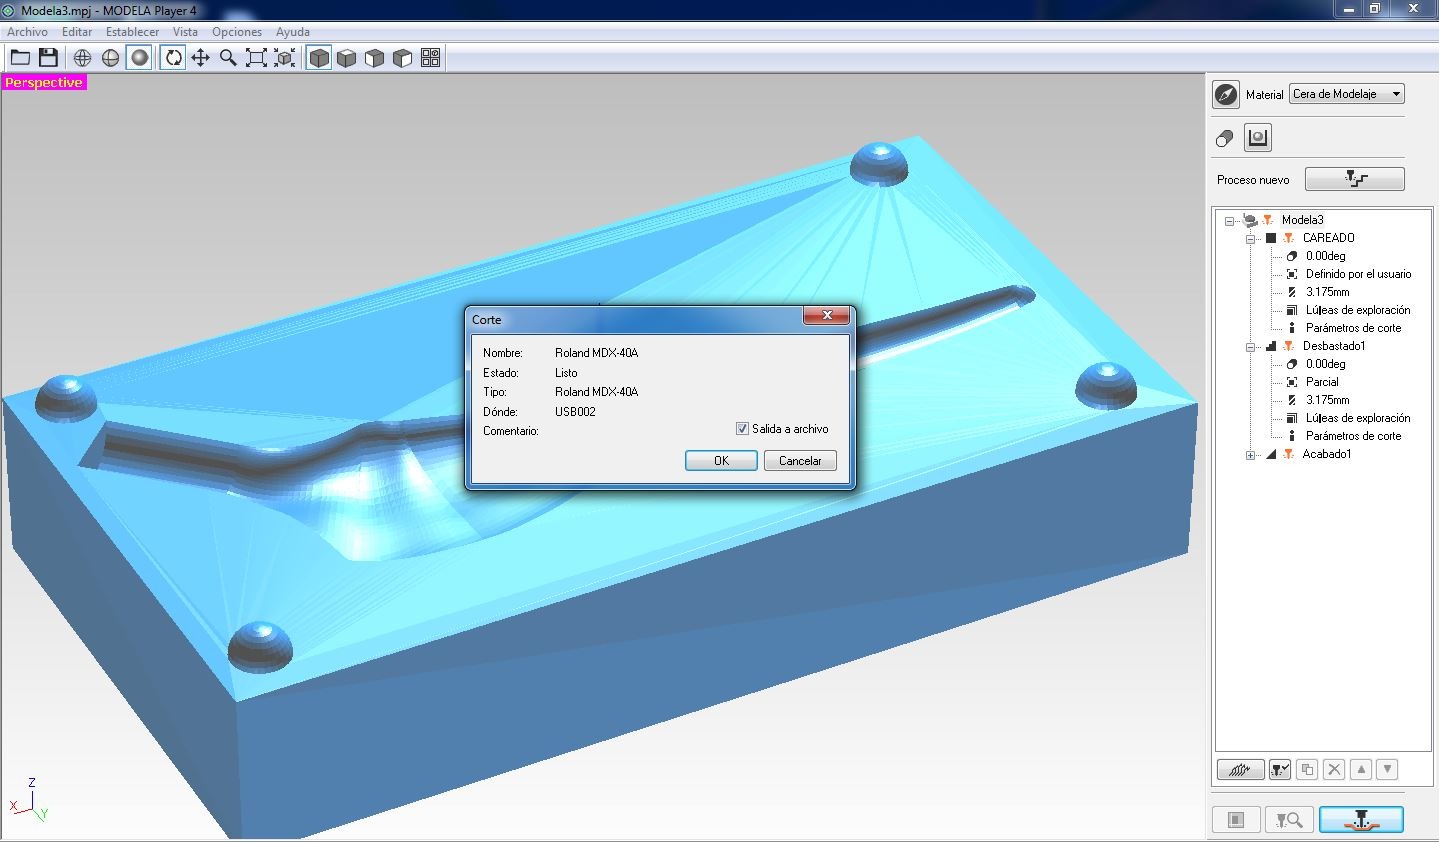
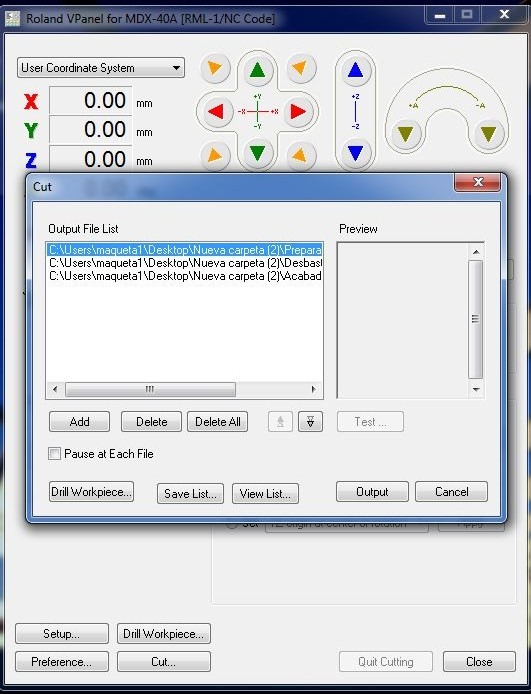
With the operations ready, we generate the files for use in the VPanel program.
We selected the sequence in which to run the operations using the generated toolpath files.
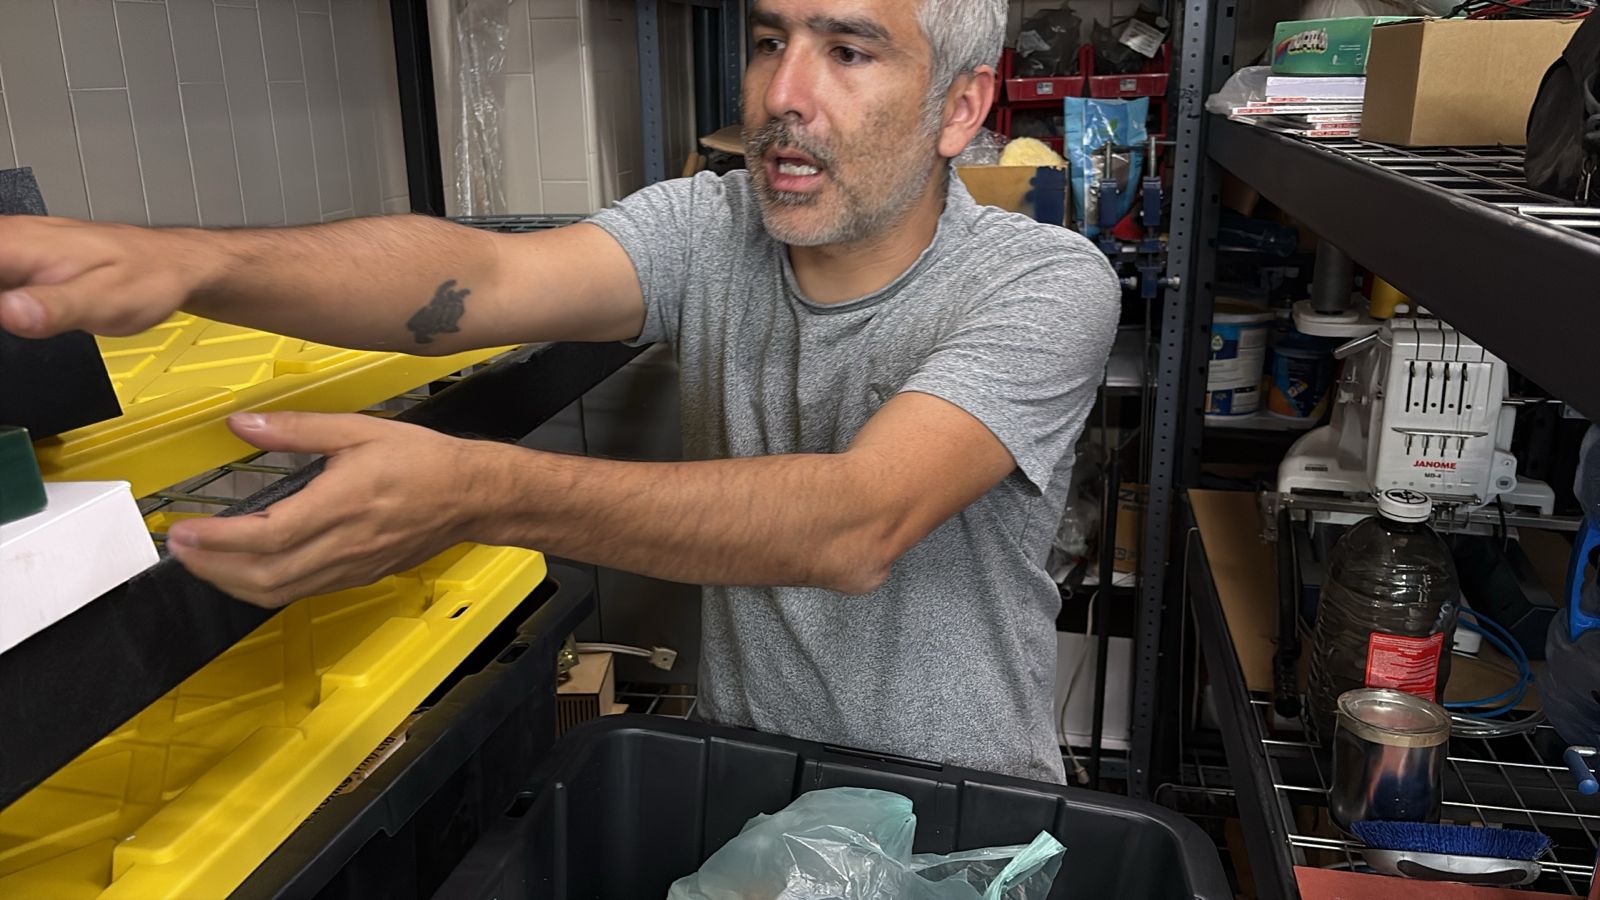
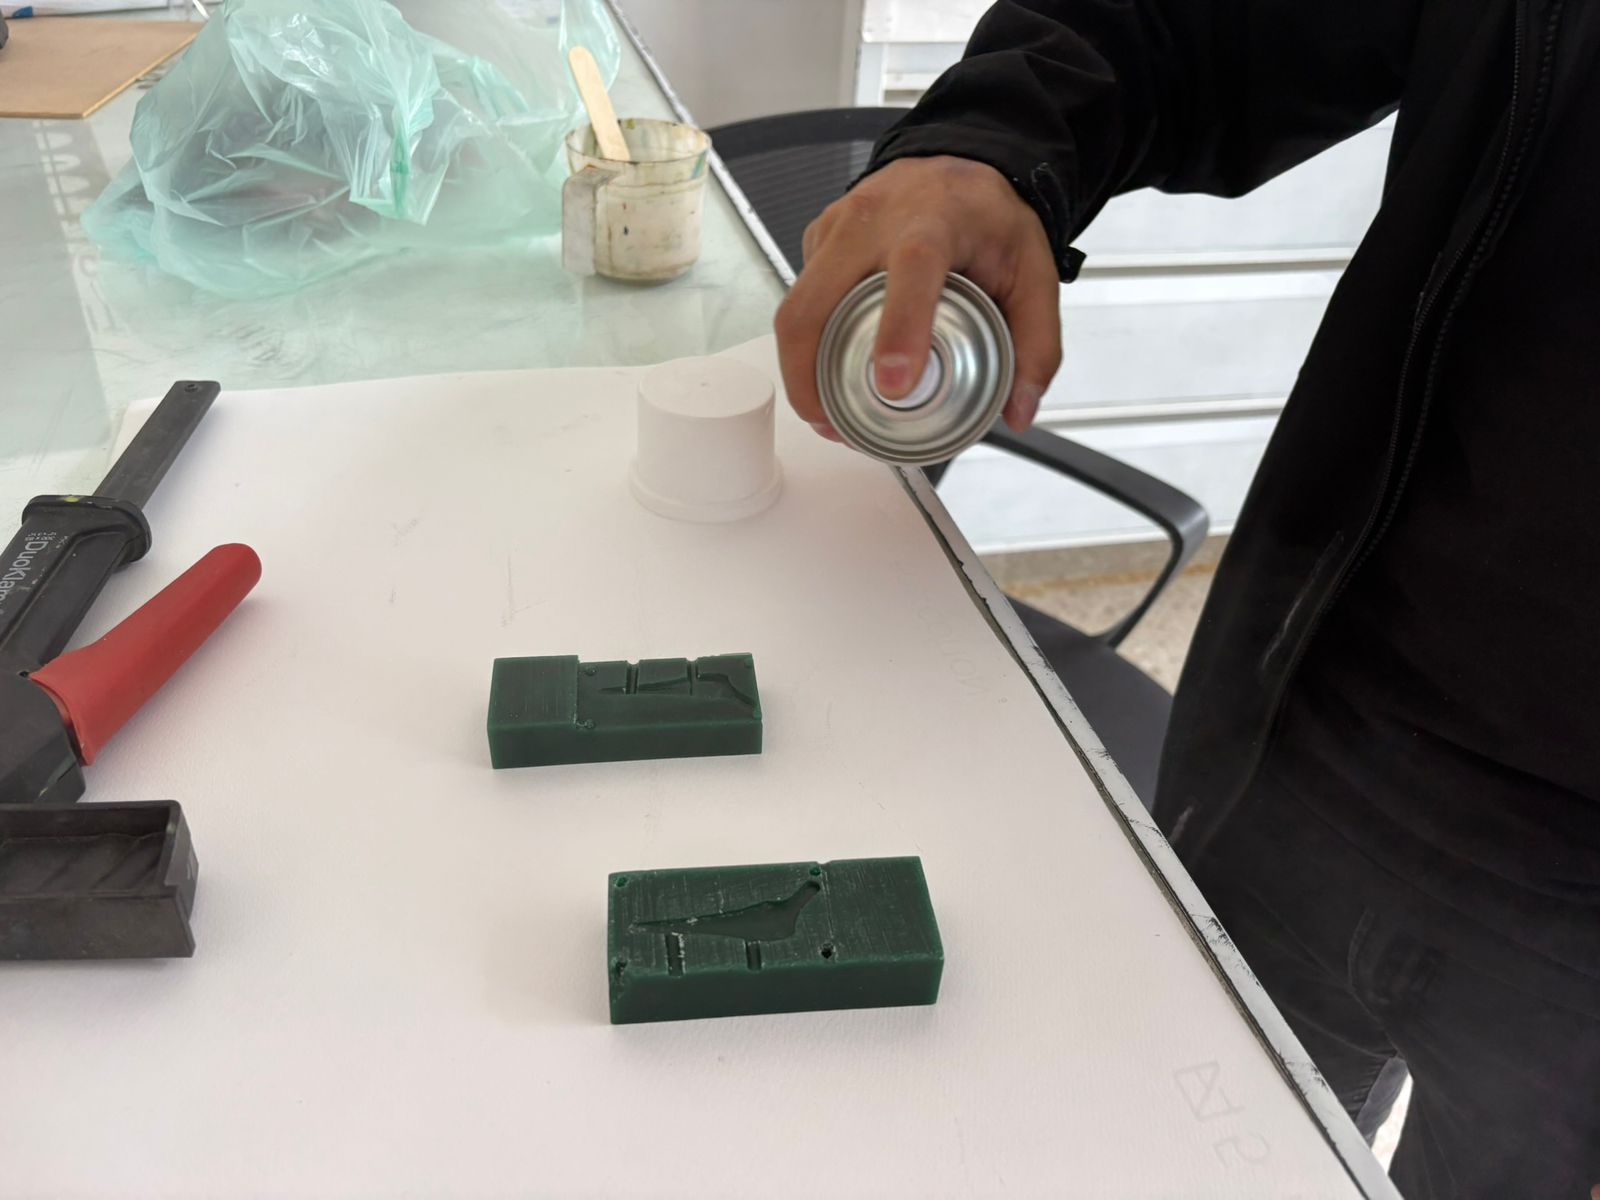
Here is Rodrigo showing me the available materials that we will use.
Materials
- Silicone Rubber – Flexible material used to create molds.
- Polyester Resin – Liquid plastic used for casting rigid parts.
- Catalyst / Hardener – Chemical that initiates curing process.
- Pigments – Add color to resin or silicone.
- Mixing Container – Used to prepare and mix materials.
- Gloves (PPE) – Protect hands during handling.

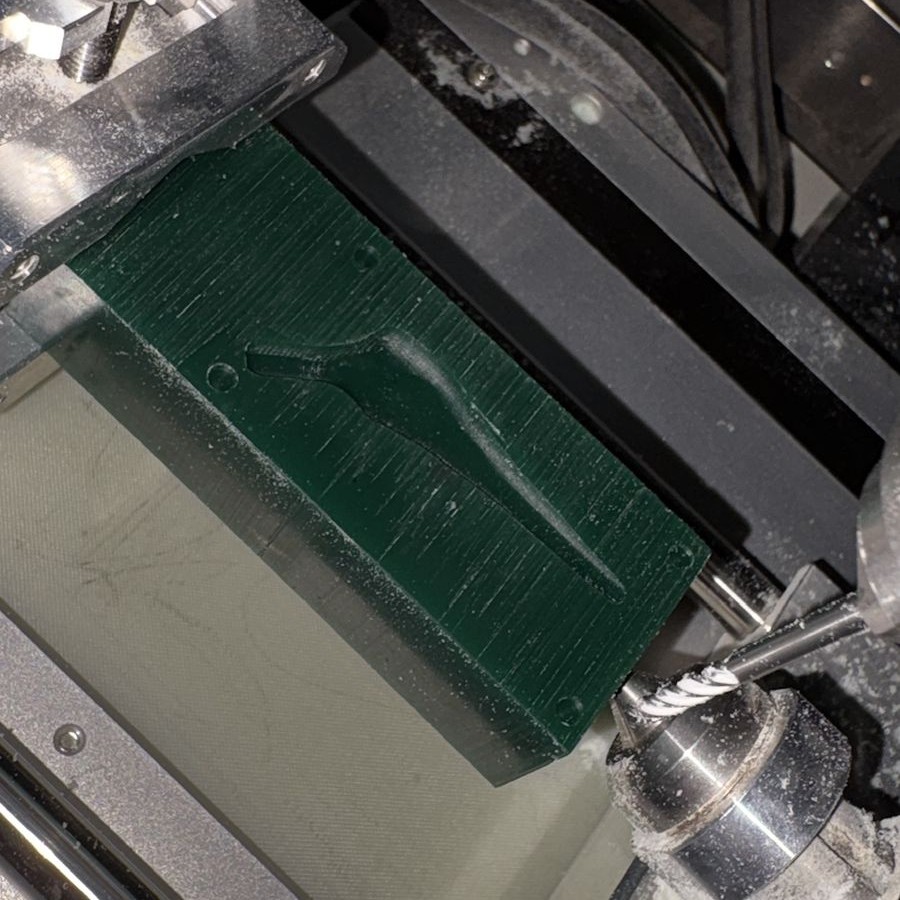
We prepared the stock material and set the workpiece zero (origin) on the machine.
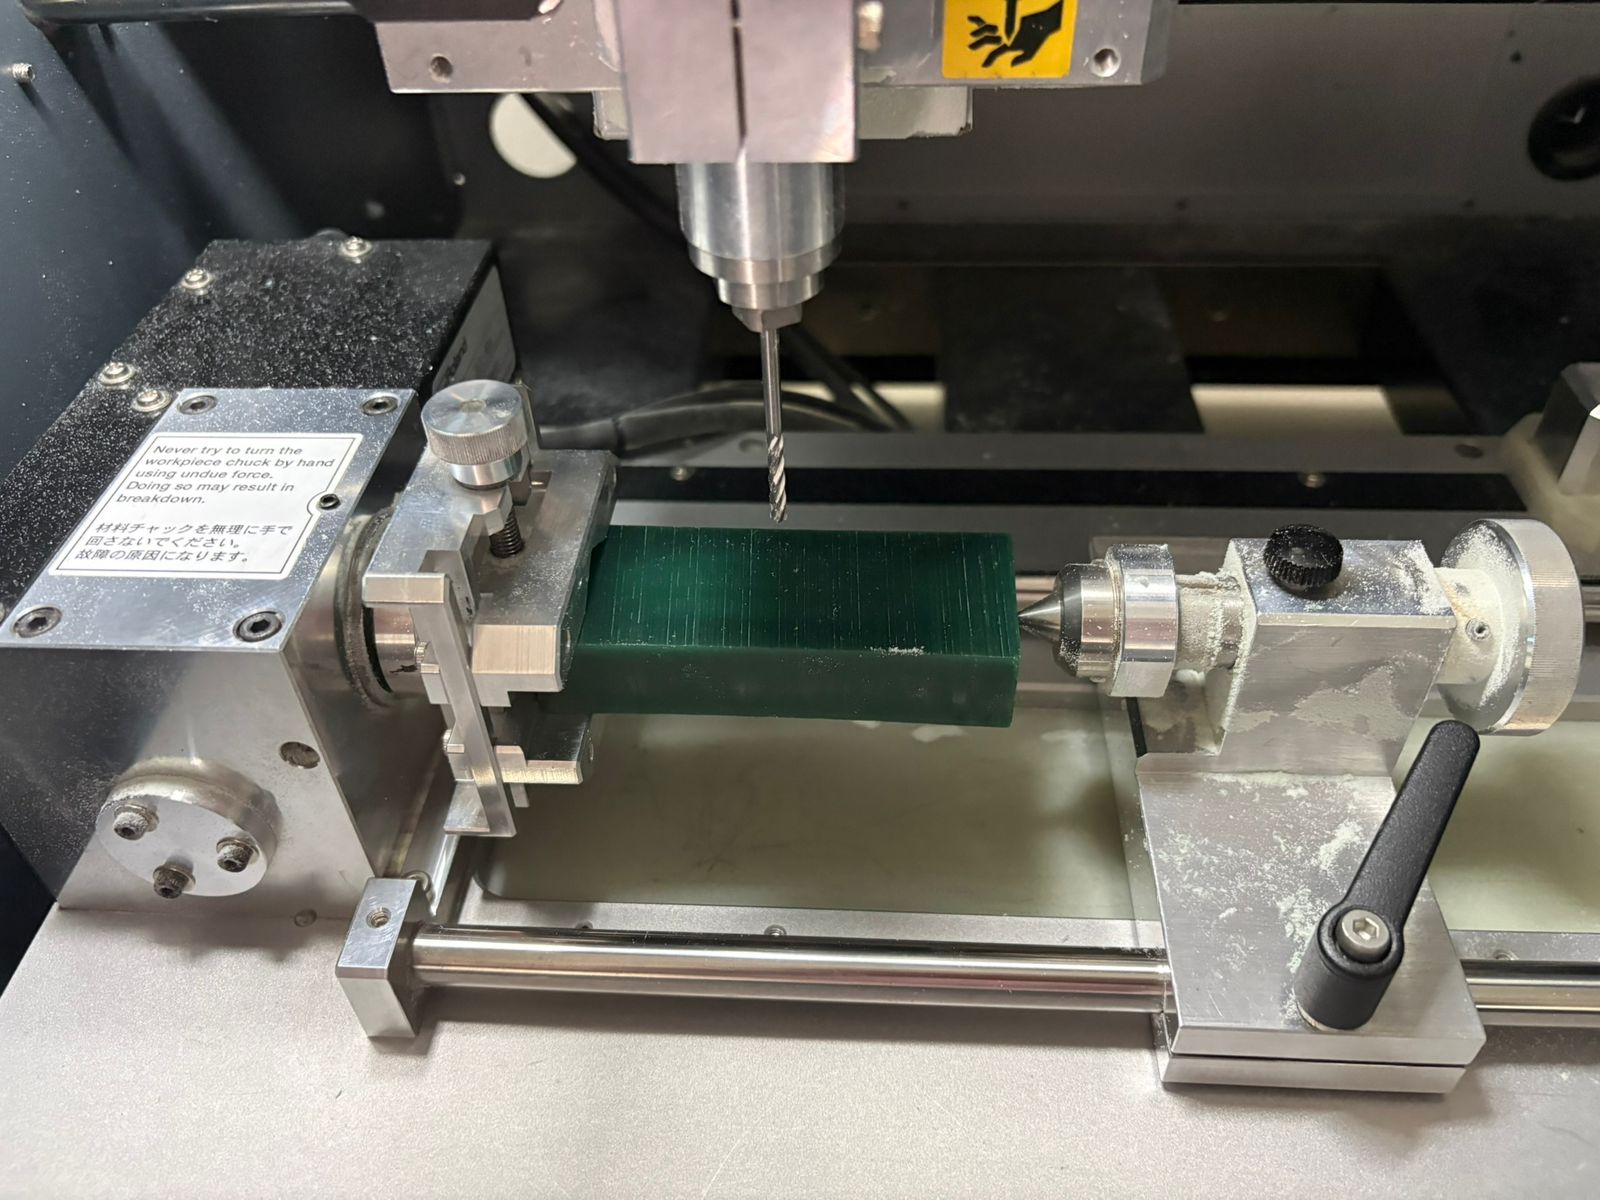
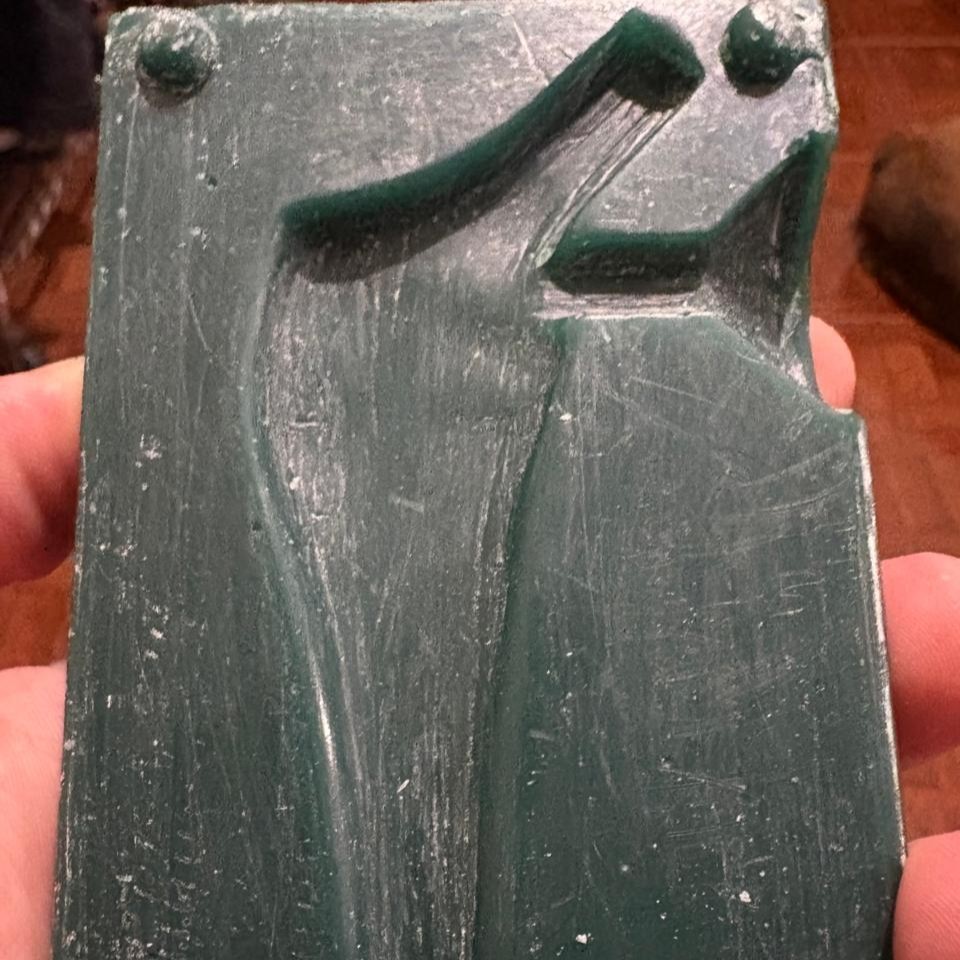
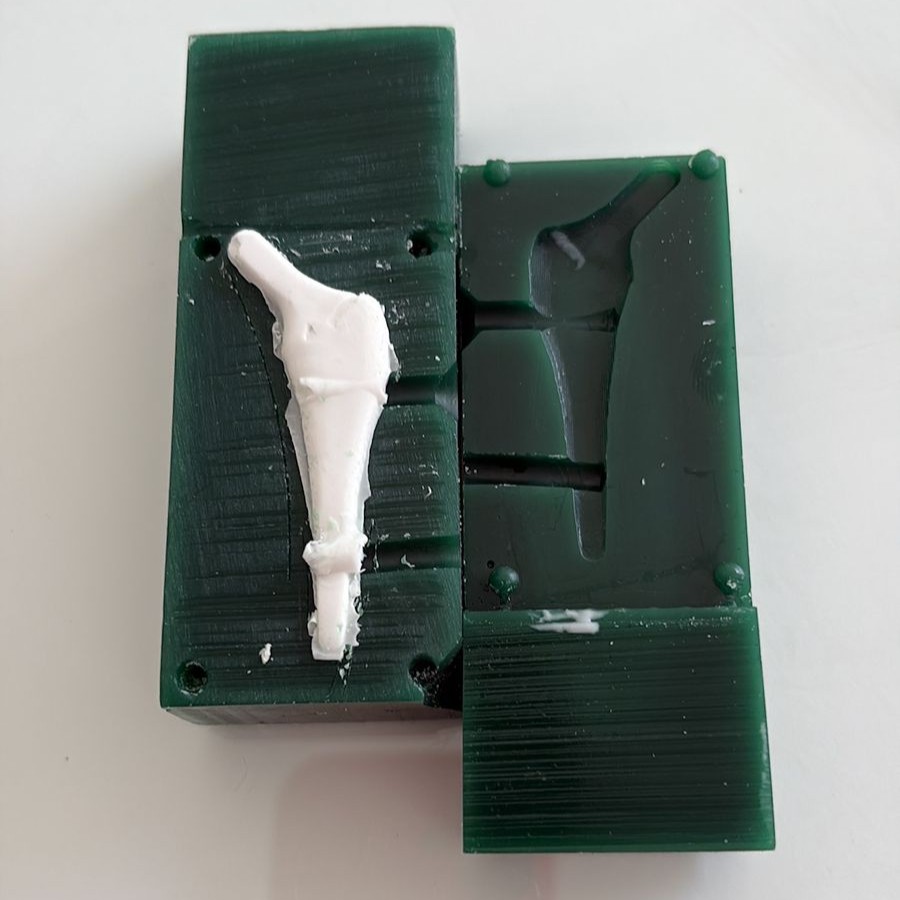
The first test was completed successfully.
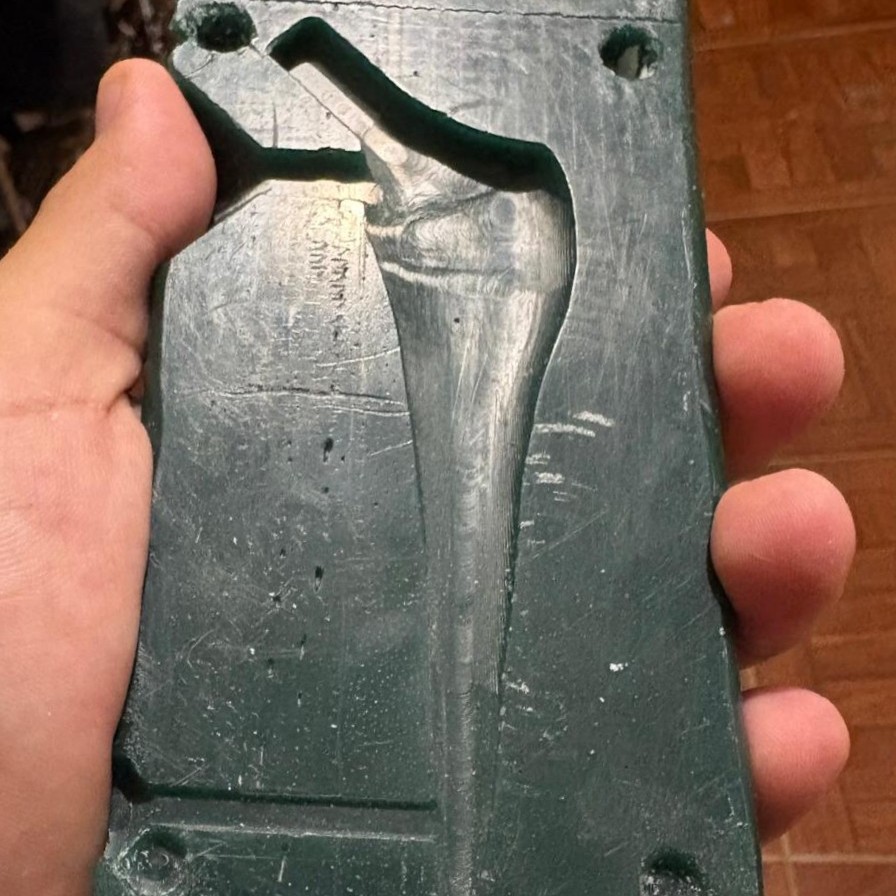
Now, having confirmed the operations worked, we produced a second version scaled up in size.
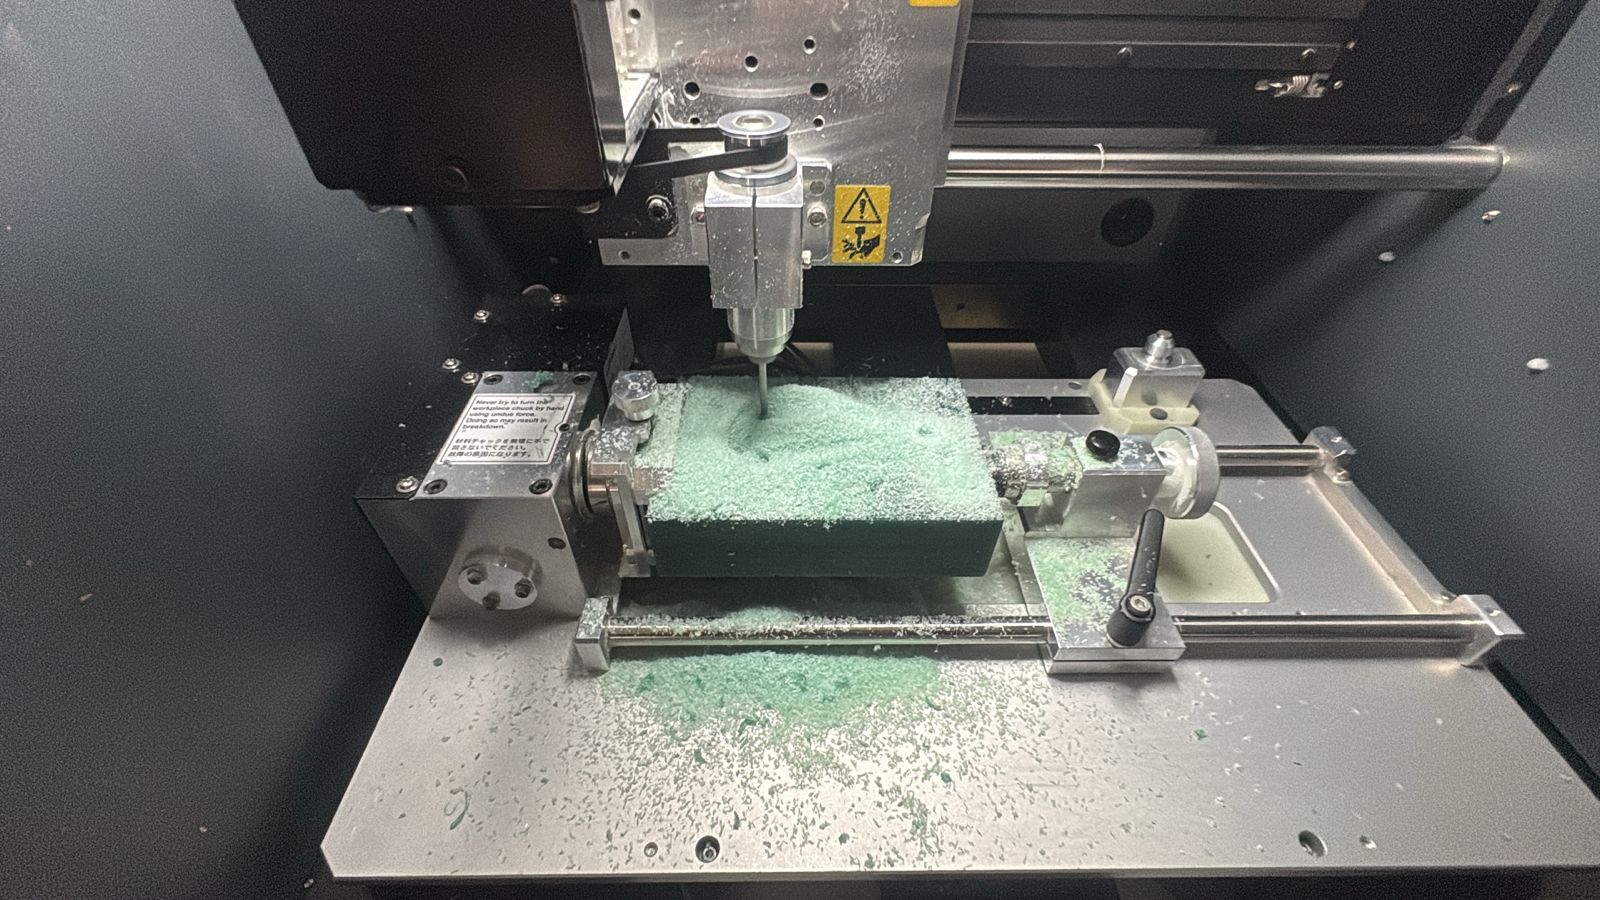
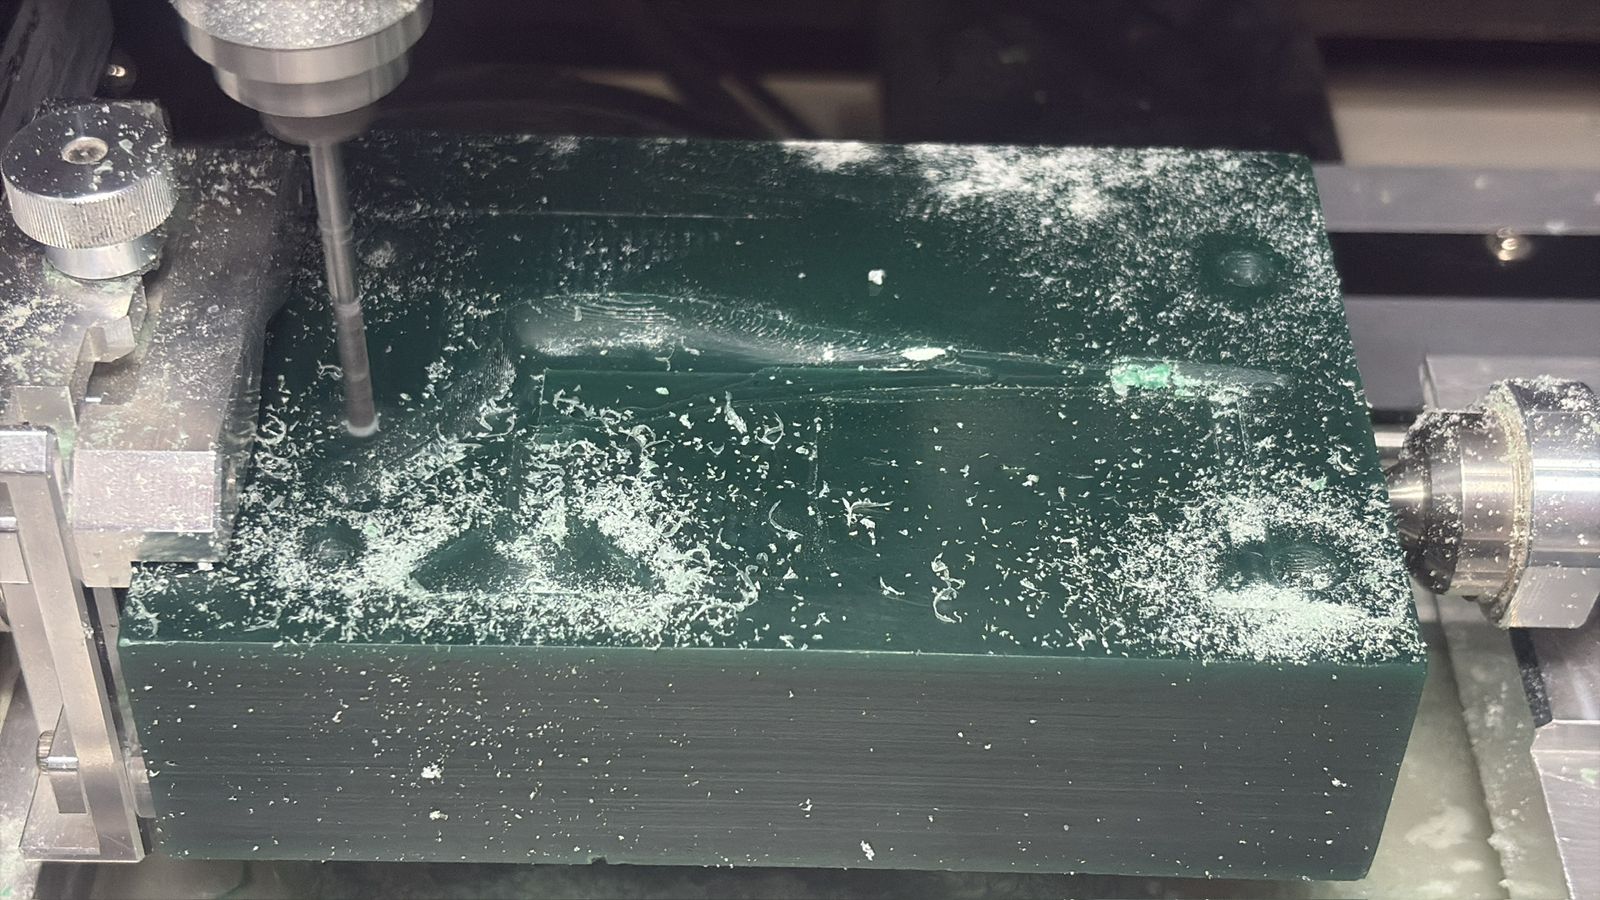
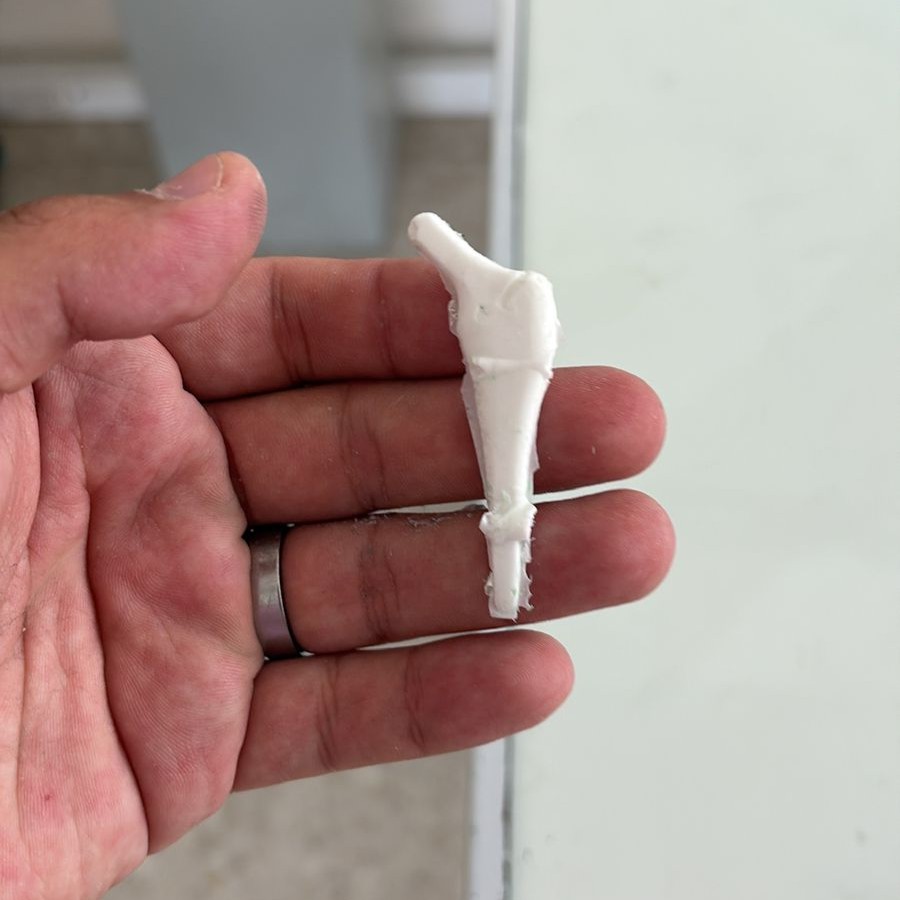
Ironically, it looks like a fossil, but believe me, it is actually a prosthesis. As you can see, both the design and machining met the intended objectives.
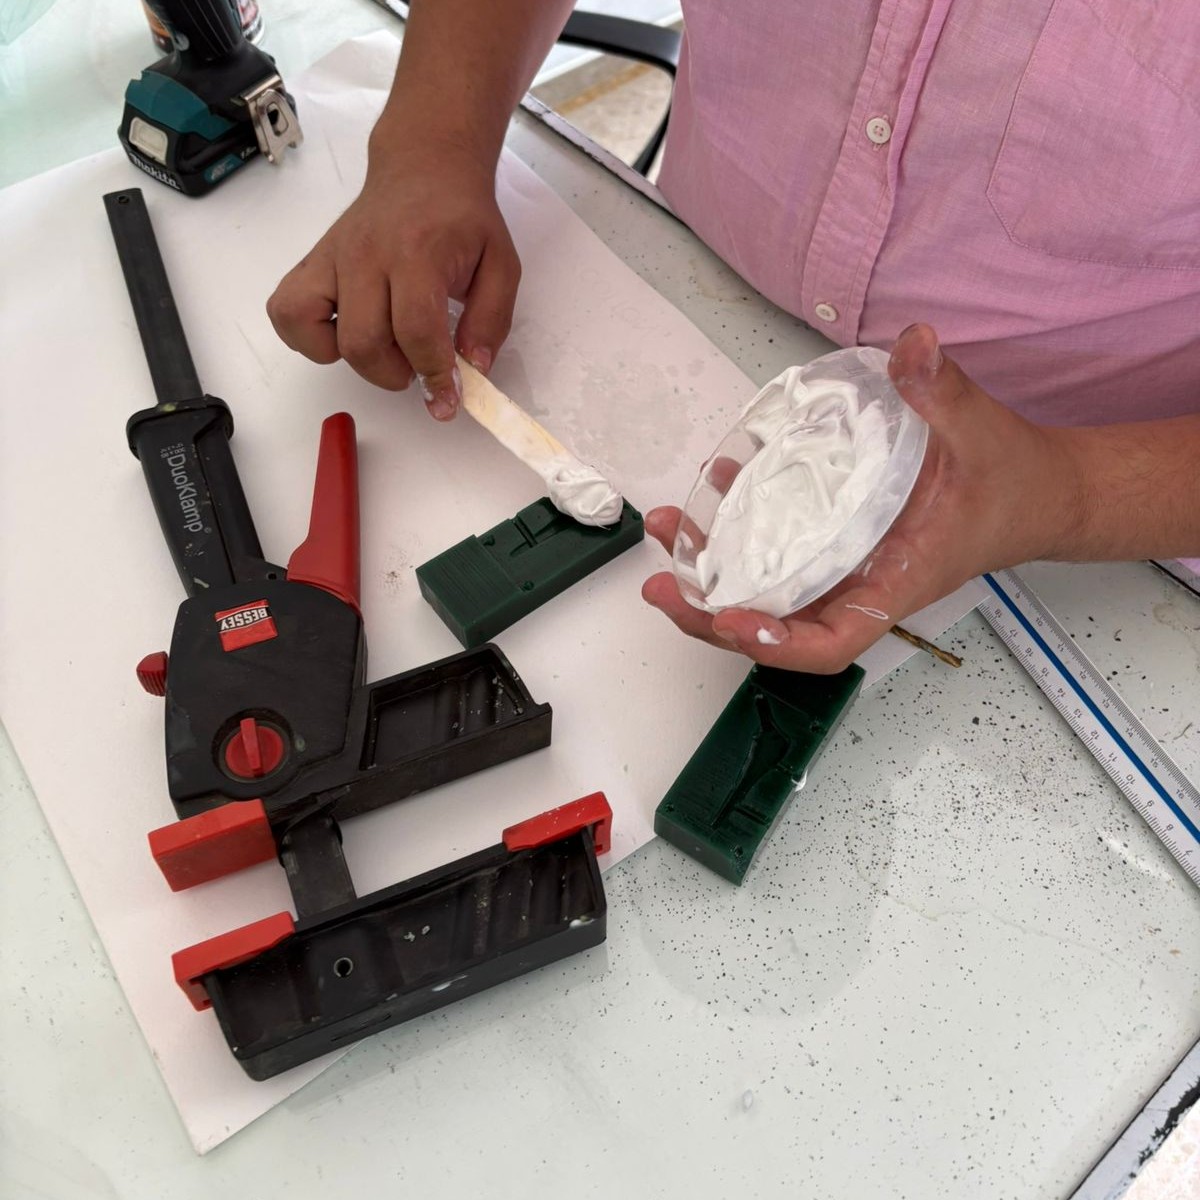
Casting
SHAKE IT!!
“Greatness is not measured by size, but by impact”