13. Molding and Casting
Objectives of the Week
-
Design appropriate objects within the limitations of your process
-
Demonstrate workflows used in mold design, construction and casting
Schedule
Wednesday, April 22st - Molding and Casting
Thursday, April 23nd : Materials and Processes
Assingment Summary
Group assignment:
- Review the safety data sheets for each of your molding and casting materials
- Make and compare test casts with each of them
- Compare printing vs milling molds
Individual assignment:
- Design a mold around the process you’ll be using
- Produce it with a smooth surface finish that does not show the production process toolpath
- Use it to cast parts
Overiew of Casting Materials and Process

Materials
Cast Materials
As a class we looked at a variety of casting materials and reviewed the casting process of different objects and materials.
Considerations for the casting material include:
-
Size and shape of the object
-
Asthetic you would like
-
Mechanical properties you need
-
Cost
-
Environmental impact
-
Curring time and process
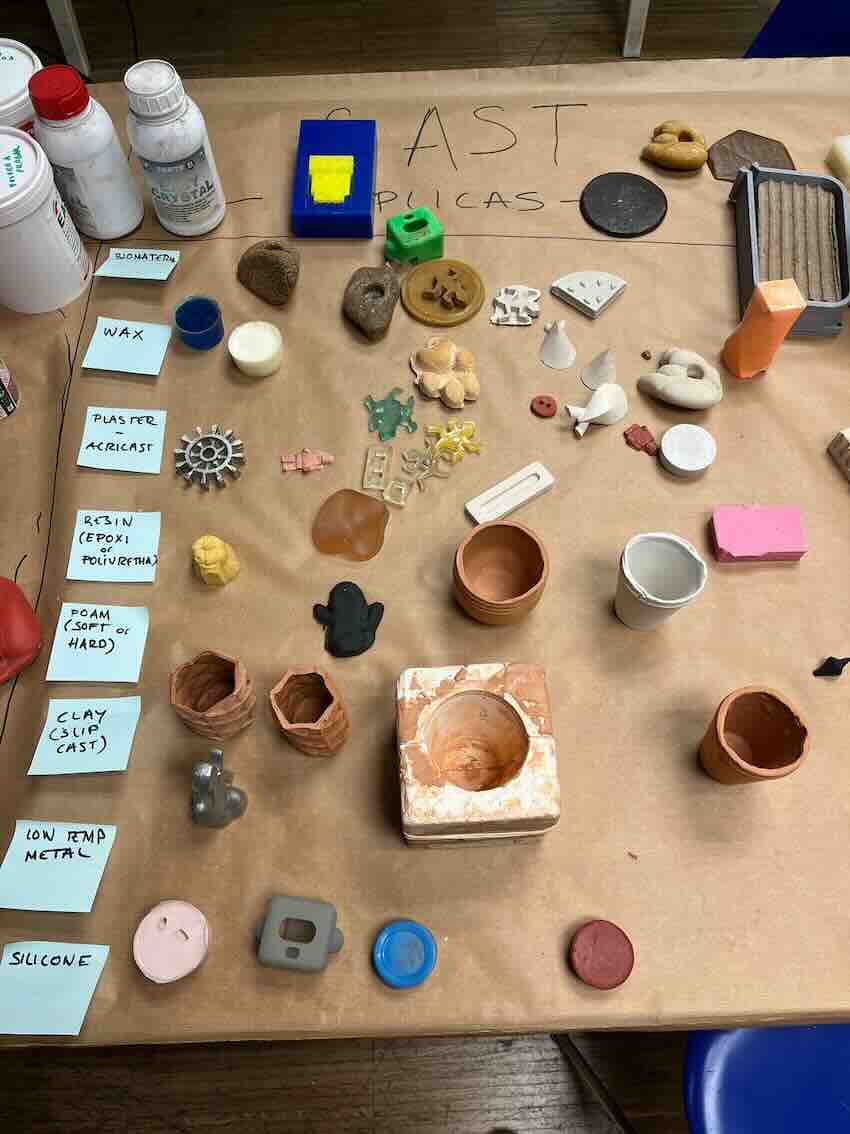
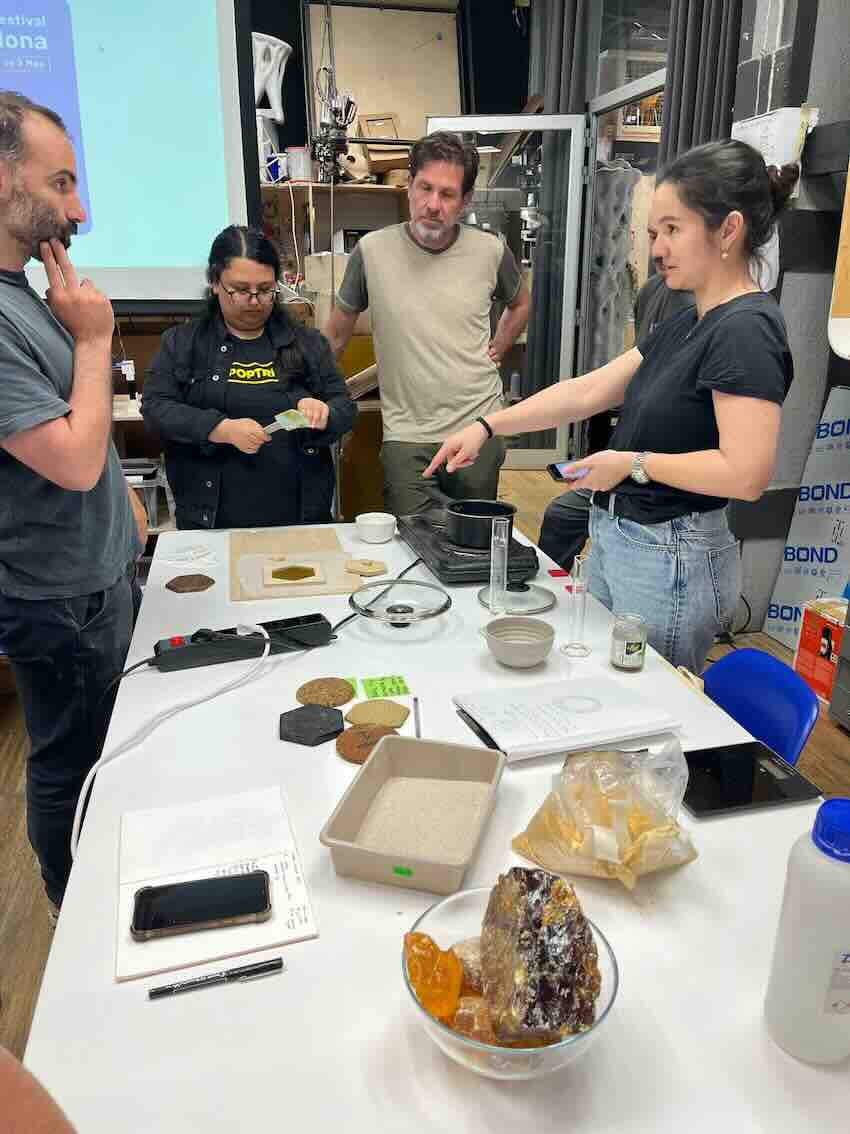
In the global class we were introduced to a material library of tried and tested casting materials. This library can be found at the Materiom Database
This photo shows a few of the interesting materials that have been used here in the Barcelona Lab.
Mold Materials
Another major consideration is the material that is used to make the mold for the cast form. Some of the critical properties that should be considered include:
-
Rigidity of the the mold - If you are working with a complicated shape that has small overhanges you will need a flexible material for your mold.
-
Number of casts you need to create - If the goal is to make many replicas you need to select a mold material that is durable
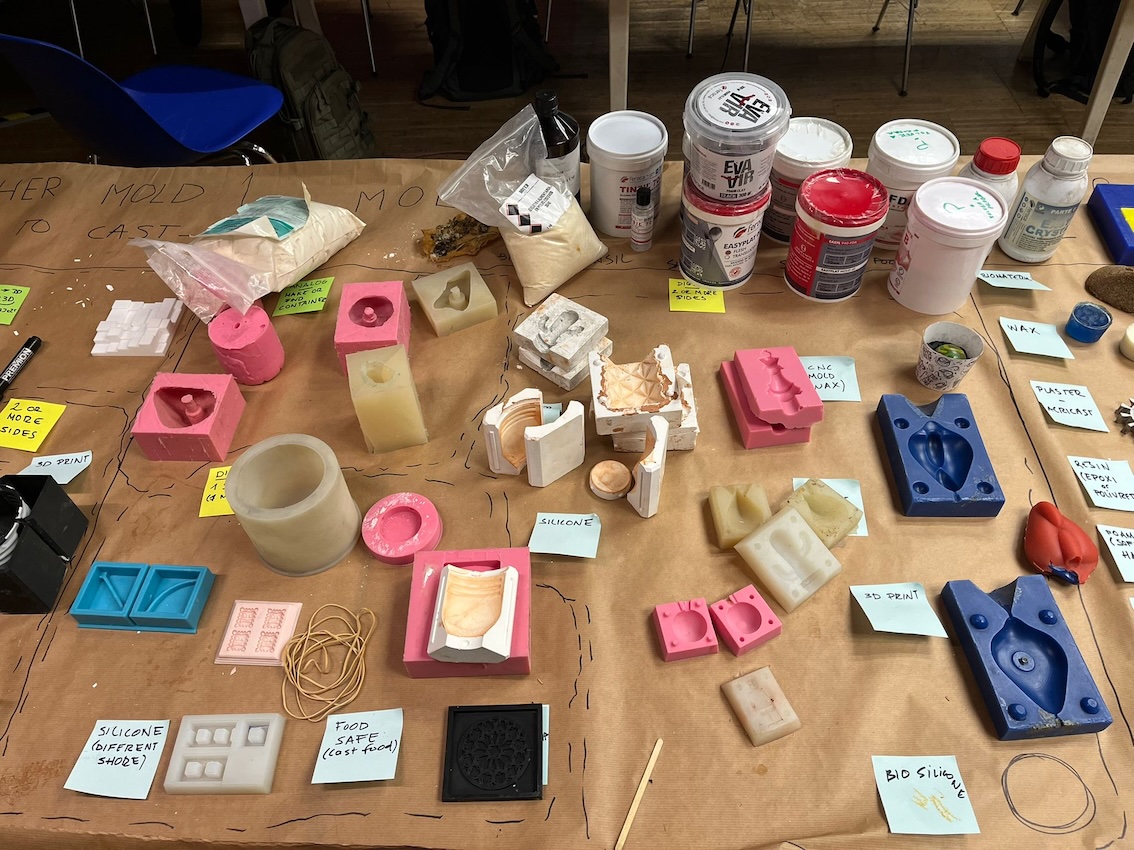
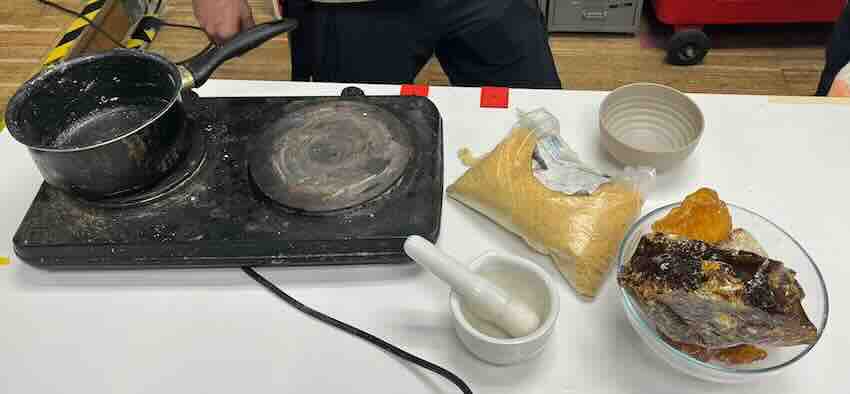
Here are a few examples of molds materials that we have available here in the Barcelona Lab.
Casting Process
The casting process depends heavily on choice of object and material. In general the process involves:
-
Selecting an object to cast
-
Creating a mold
-
Mixing casting materials
-
Casting and curring
-
Cleaning up the cast form after casting
Depending on the object step 2 (creating a mold) my take many more steps. In some cases a mother mold needs to be created first. This is a mold that is used for making molds.
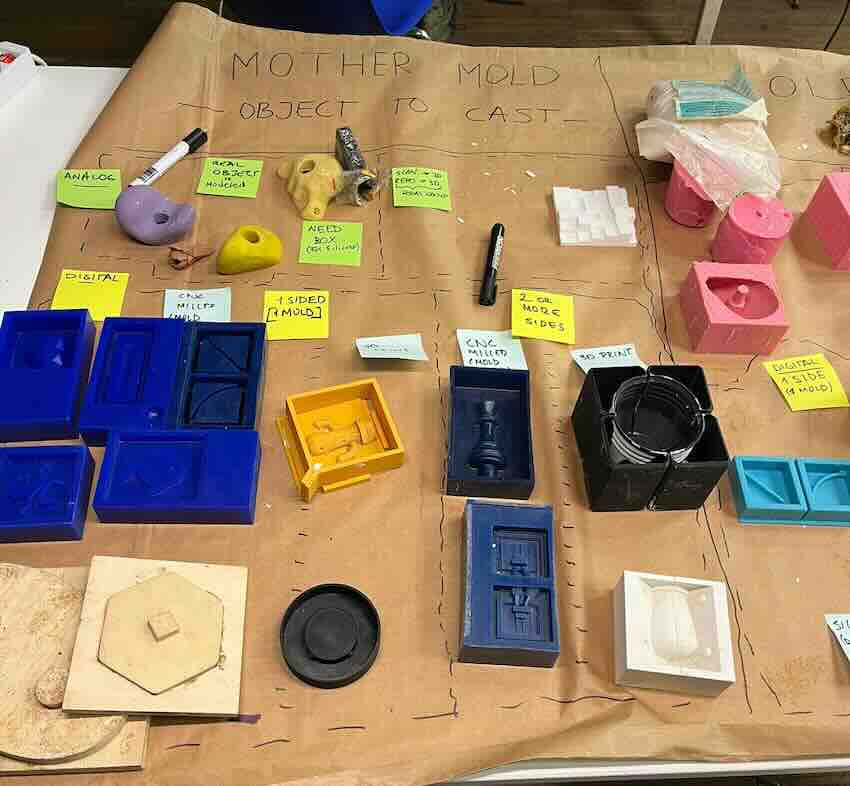
The image below shows the workflow for mold making and casting.

Example Cast From Recipies
Gelatin
Gelatin has a low melting point that makes it easy to work with. There are many food safe options for gelatin but it is important to note that all steps in the process must be food safe in order to have a food safe process.
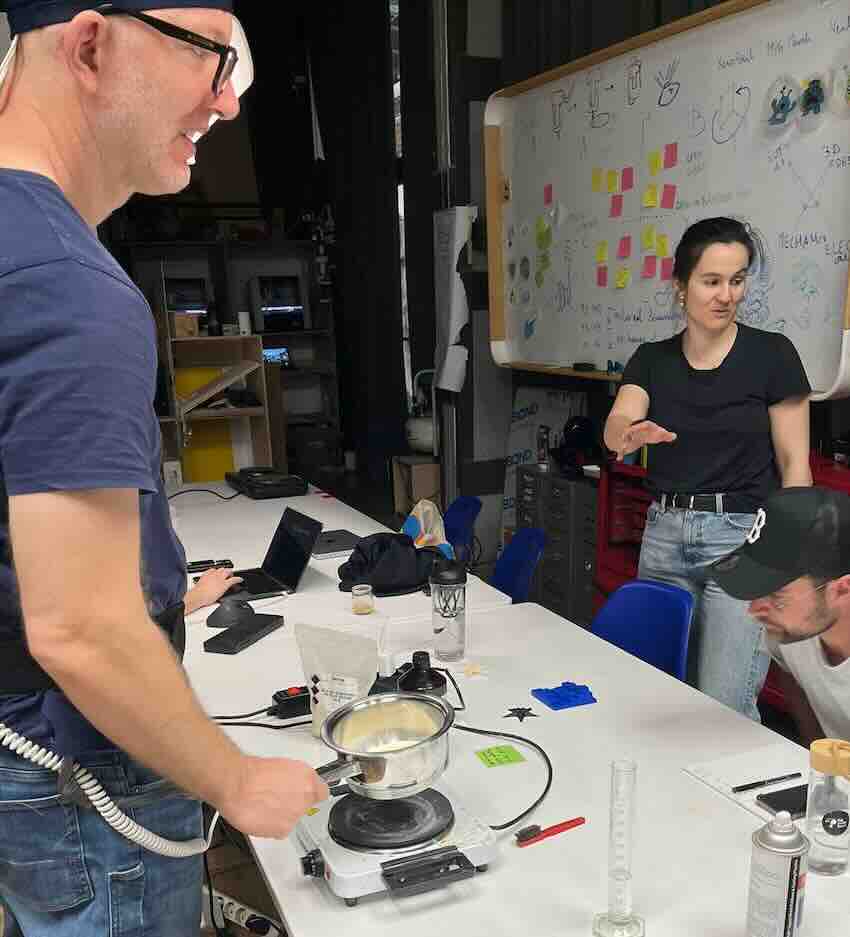
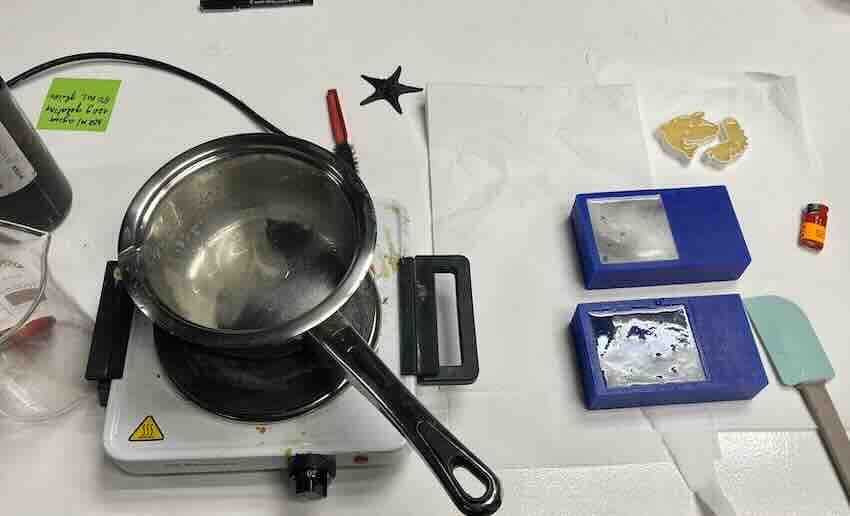
This photo shows our team mixing gelatin over a burner in our lab.
Resin
Resin is a natrually occuring material that can be harvested from trees (like tree sap). this material has a low melting point and is thus a easy material with which to cast. It can be mixed with other materials such as wood fiber or starch to create different ashthetic and mechanical properties. While the low melting point makes it easy to work with, it also limits the uses. In direct sun or heat exposure the cast form will become sticky or even melt.

Example Casting Process
Step 1: Choosig the Form and Material
For this week I wanted to experiment with recipies that include sawdust. Sawdust is a byproduct of furniture productin and I have endless amounts. Becuase sawdust has a very rough texture I was not very worried aobut the fine detatil of my mold.
Another interesting reference - Damián Arezzo works with a starch based glue and sawdust to make the material fully recyleable: woody.com
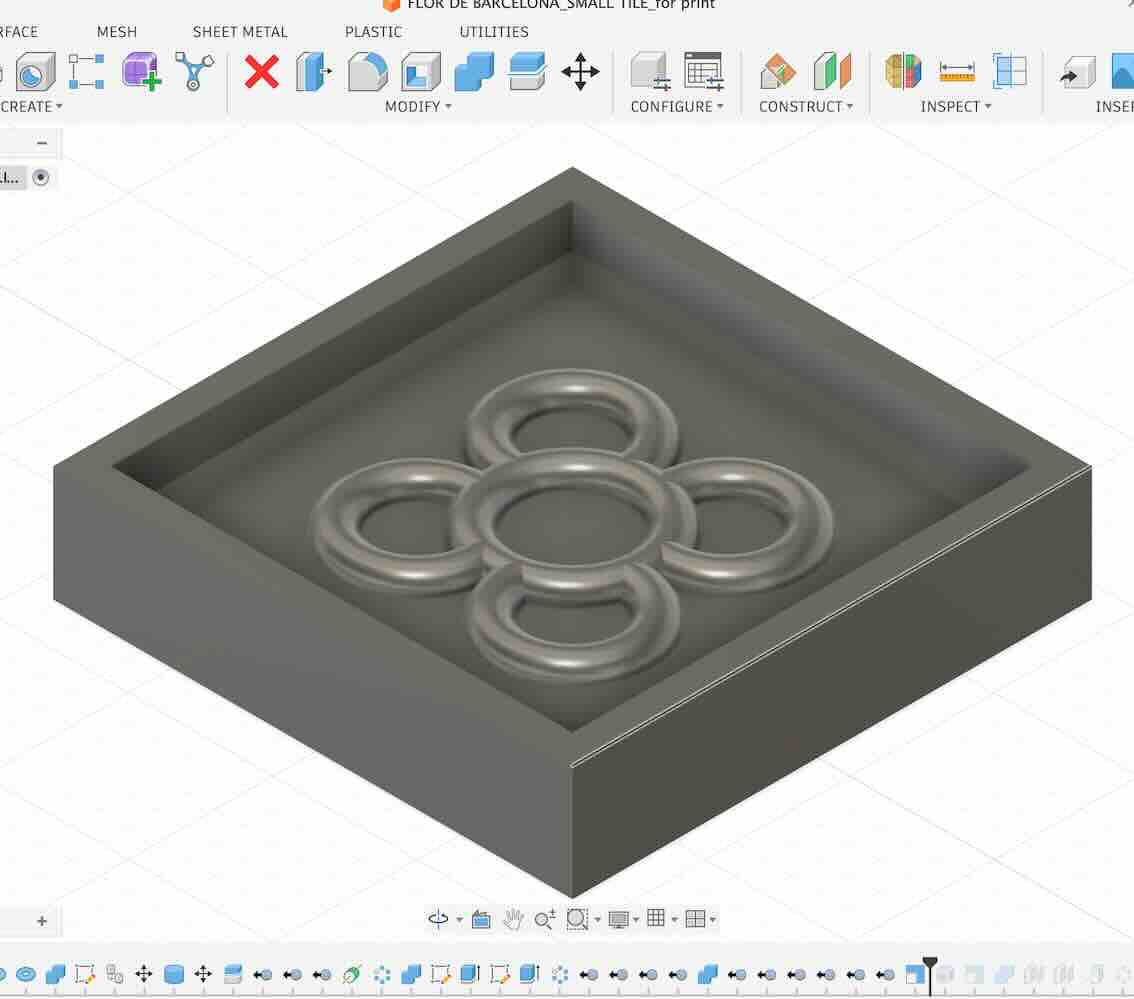
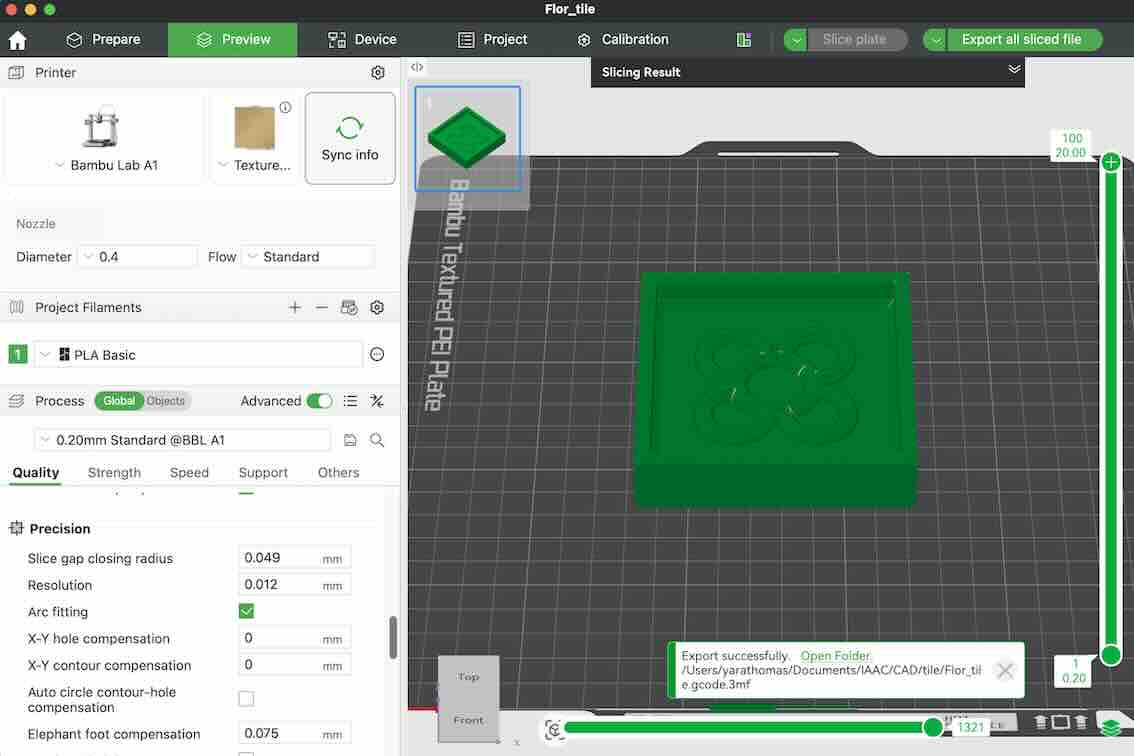
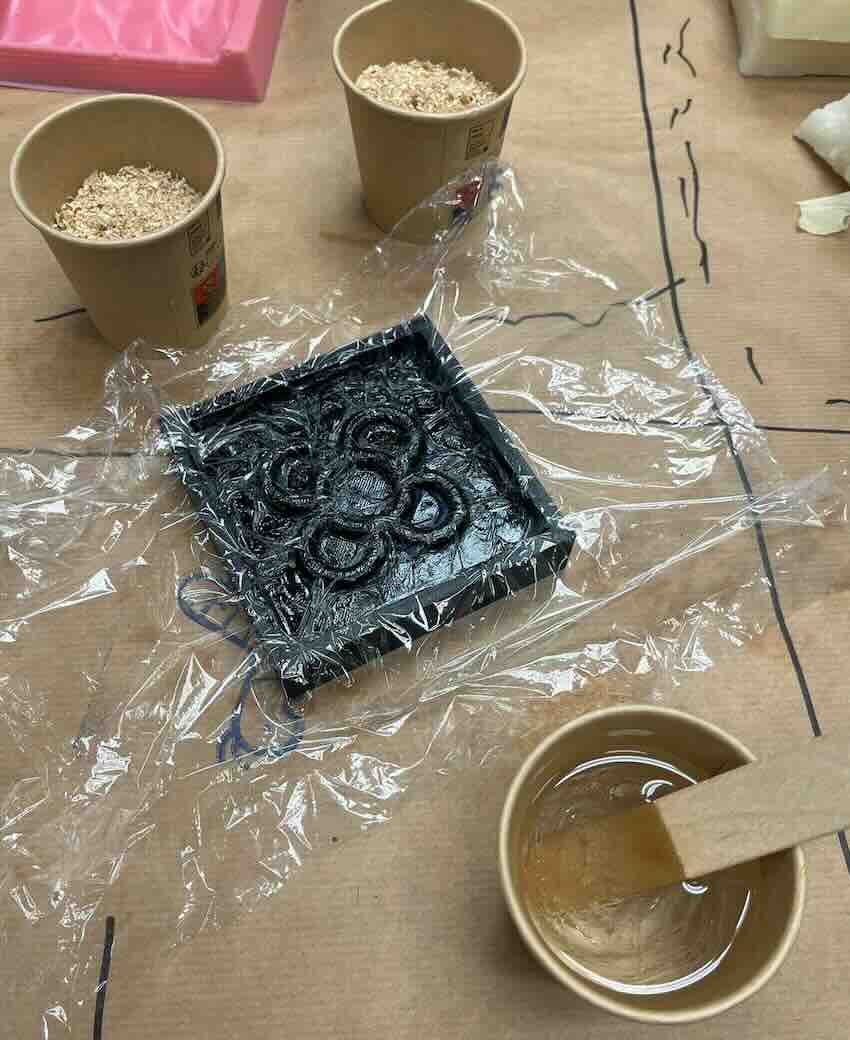
Step 2: Creating the Mold
For simplicity I choose to create a mold using 3D printing. I am not sure that this is the best choice beucase the apoxy might adhere to the PLA. To prevent this I will try lining the Mold with a material that prevents adhesion.
Step 3: The Recipe
Recipe 1: Sawdust and Woodglue
Content......
Recipe 2: Sawdust and Apoxy
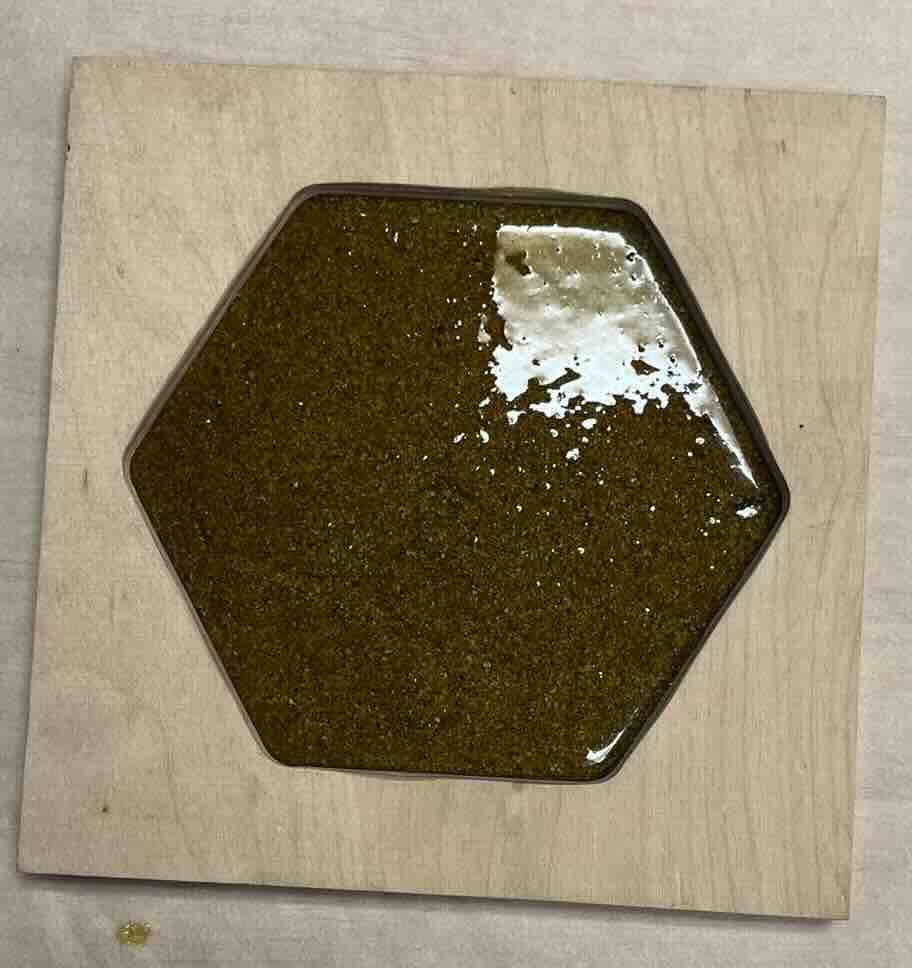
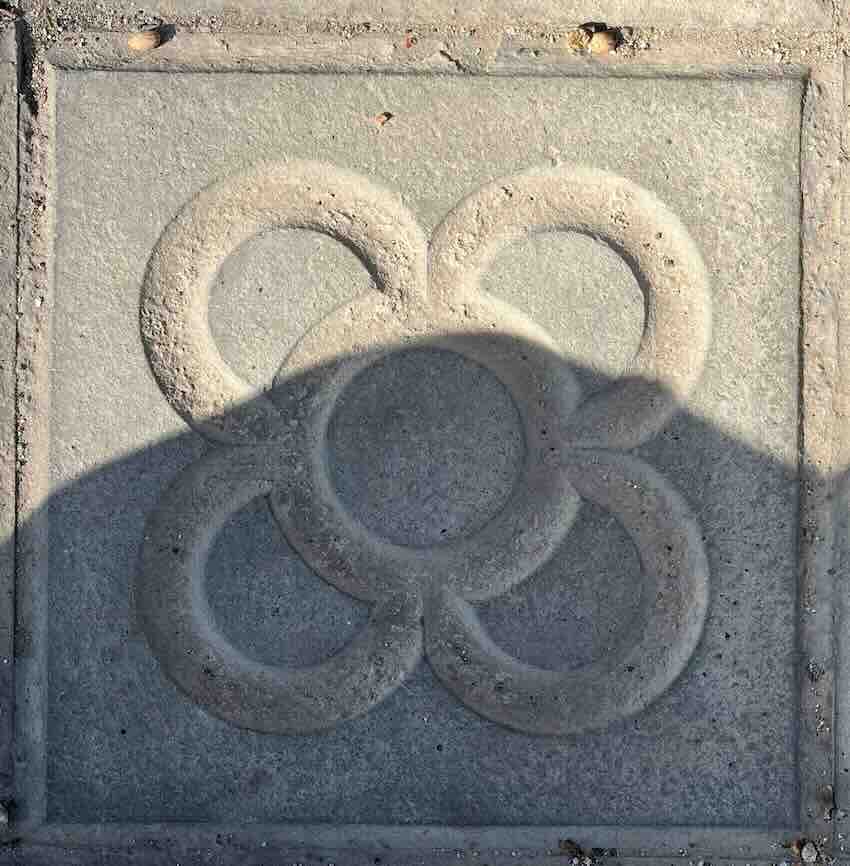
I chose to use appoxy as my cast materials. Apoxy is a material commonly used in furniture. My expereince with it is primarily to fill gaps and holes but was interested to explore it as material in and of itself. I am particularly interested in the idea of mixing apoxy with wood byproducs such as sawdust to create unique astheitics that share properties of the apoxy but have a more nartual vibe from the incorprated wood chips. Becuase there are no parts in my project that I plan to cast I chose to replicate on of the famous side walk tiles of barcelona : Flor de Barcelona
I created a custom recipie of apoxy and sawdust. By colume I went with a 2:1 mix of sawdust to appoxy. Note that weight would be a better way to do this long term.
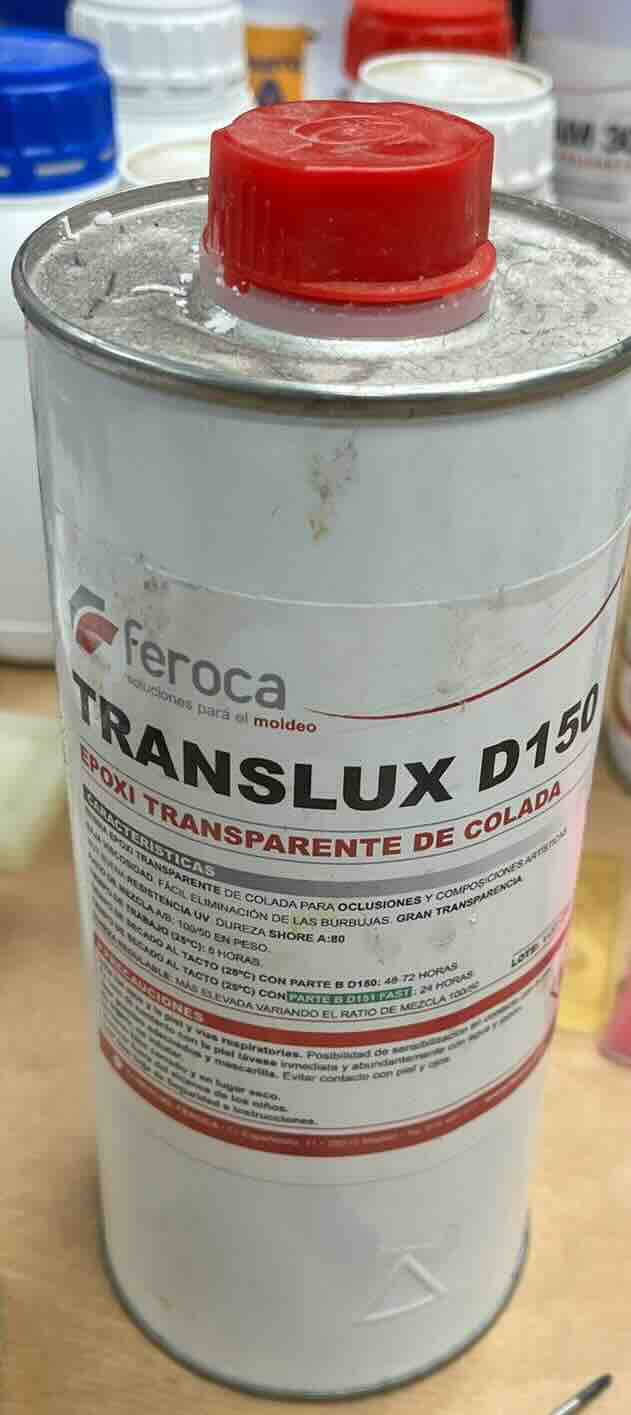
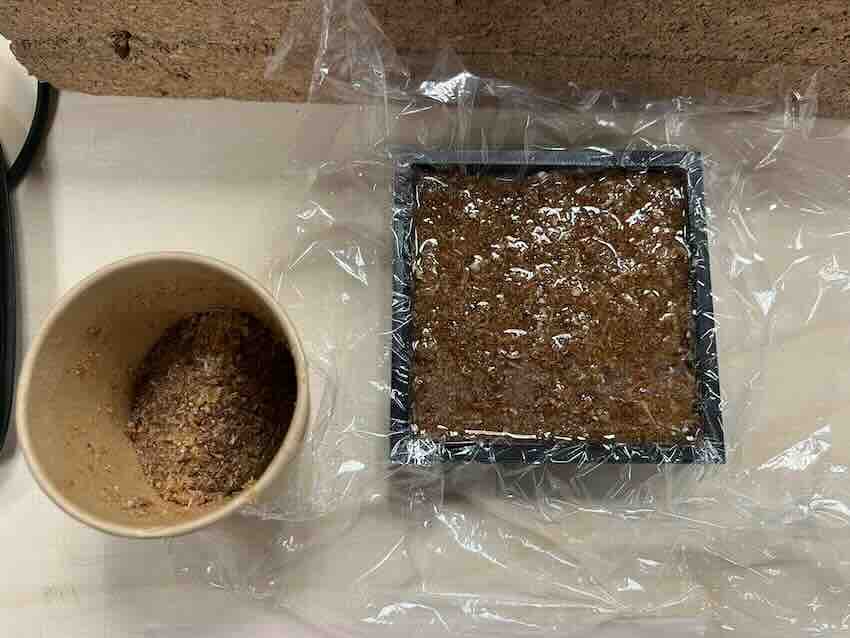
Issues: One major issue is that I did not read the label carefully enough. I thought that it said 6 hours of curing time when, in fact, it was 6 hours of working time and 48 hours or curing time. In the future I would use a fast acting apoxy.