5. 3D Printing and Scanning
Objectives of the Week
- Identify the advantages and limitations of 3D printing
- Apply design methods and production processes to show your understanding of 3D printing.
- Demonstrate how scanning technology can be used to digitize object(s)
Schedule
Wednesday, Jan 21st - Global Class - 3D Printing and Scanning
Thursday, Feb 19th: Scanning
Friday, Feb 20th: Printing
Assingments
Group assignment:
- Test the design rules for your 3D printer(s)
- Document your work on the group work page and reflect on your individual page what you learned about characteristics of your printer(s)
The link to the group work can be found here
Individual assignment:
- Design, document and 3D print an object (small, few cm3, limited by printer time) that could not be easily made subtractively
- 3D scan an object (and optionally print it)
Principles of Additive Manufacturing
- Manufacturing Approaches
- Subtractive
- Excess waste material
- Generally more expensive
- Time consuming
- More precise
- Better for long-term use
- More available materials
- Additive
- Very little material waste
- Cheap materials and operational costs
- Fast and user-friendly
- Complexity and design freedom
- Poor surface definition and tolerance
- Suited for prototyping
3D Printing
Class Notes
- Properties
- 3-axis systems
- Parameters
- Layer height
- Shells
- Infill
-
Input geometry
- 3D mesh (sliced)
-
Available Technologies
- Extrusion (FDM)
- Cheap
- Material deposited layer by layer
- Light Polymerized (SLA/DLP)
- Platform dips into resin
- Laser/screen polymerizes resin layer by layer
- More accurate
- Can use internal supports
-
Selective Laser Sintering (SLS)
- Laser sinters thin layers of powdered material
-
Printing Parameters
- Shell
- Number
- Thickness
- Infill
- Structure
- Density
- Layer height
- Higher resolution = slower print speed
- Overhang and support
- Use support if overhang is less than 45°
-
Part strength
- Weak between layers (vertical tension weakness)
- Print orientation is important
- Avoid sharp edges → use fillets/rounding
-
Materials
- PLA
- Excellent visual quality
- Easy to print
- Biodegradable
- Not suitable for high temperatures
- ABS
- Good mechanical properties
- Susceptible to warping
- High fume emission
- Nylon
- High strength
- Wear and chemical resistant
- Low humidity resistance
- PETG
- Food grade
- TPU (Filaflex)
- Flexible
- Recommended for auxetics
-
HIPS
-
Workflow
- Model in CAD software
- Must convert to mesh before export
- Must be a closed (watertight) shape
- Shapes cannot improperly share edges/surfaces
-
Export as STL
-
Software (Bambu Lab P1S)
- Standard profile: 0.2 mm
- Seam position
- Random → for round shapes
- Aligned → for sharp corners
- Always scale and adjust before exporting
- Orientation can be changed in slicer
-
Click “Slice Plate”
- Inspect layers with slider
- Check walls
- Ensure infill appears (if not, model may not be closed)
-
Machines
- Ensure enough filament is loaded
- Bend plate to remove print
- Calibration tab must be at the back
- Magnetic plate must align correctly
-
SD card located on back right of screen
-
Lab Rules
- Book enough time for full print
-
Do not print overnight
-
Buying Spools
-
Local supplier: 3De Nou
-
SLA Printing
- Platform pulls up from resin pool
- Material solidifies layer by layer
- Print time depends on vertical height
- Timing
- First layer ~30 seconds
- Subsequent layers shorter (check layer count)
-
Software workflow
- Import model
- Select orientation
- Check for cavities
- Hollow model
- Add drainage holes
-
Advanced Materials
- UV-curing resins (wax-like → casting)
- Ceramic resins (kiln firing)
- Electroplating
- Apply conductive spray
- Submerge in metallic solution
- Metal coating forms
3D Scanning
Class Notes
- 3D Scanning
- Taking multiple images to reconstruct geometry
- Matching corresponding points is the main challenge
-
Requires post-processing
-
Scanning Technologies
- Structured Light Sensor
- Projects known pattern
- Fast and accurate
- High contrast improves detection
- LiDAR
- Spinning laser
- Very fast
- Captures large areas
-
Touch/Digitizer
- Extremely precise
- Very slow
- Specialized equipment required
-
Scanning Process
- Scan → Point Cloud → DEM → Terrain
- Good scan practices
- Clean workspace
- Matte surface
- Consistent lighting
-
File formats
- STL → mesh (recommended)
- OBJ → includes color and texture
-
Equipment Available
-
Structured Light Scanner: Revopoint
-
Other Tools
- Disappearing scan spray
-
Software
- Polycam
- AliceVision
-
Clay Printing
- Software
- Repetier Host
- Rhino + Grasshopper
-
Parameters
- Pressure
- Nozzle size (affects layer thickness)
- Speed
-
Maintenance Checklist
- Clean cartridge, extruder, nozzle, screw
- Check bed leveling and Z calibration
- Check belt tension
- Check coupler (tight, not touching motor screw)
-
Check for air leakage (use Teflon if needed)
-
Common Problems
- (Insert table from slides here)
Scanning Examples
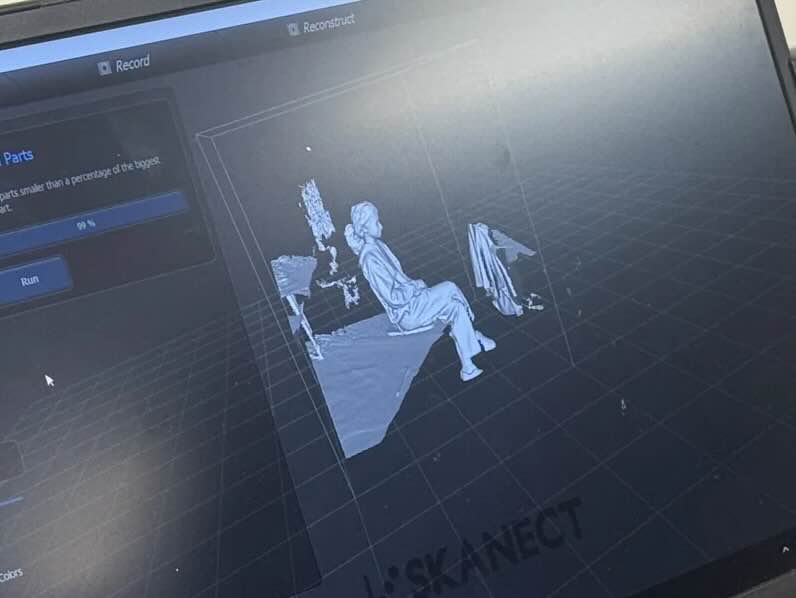
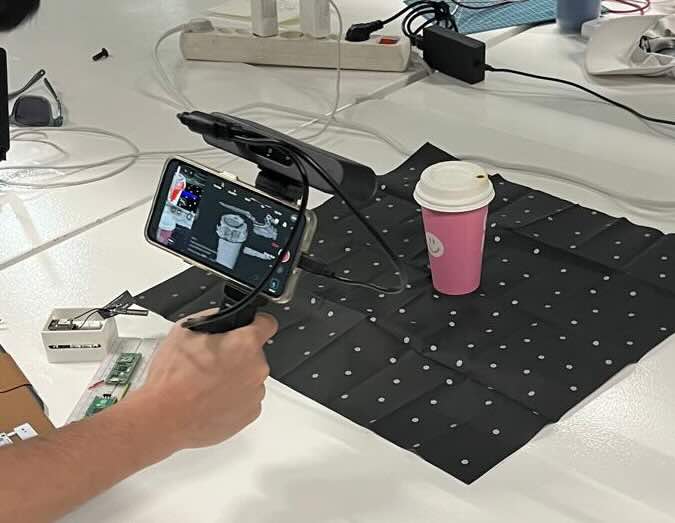
As a class we tested hand held scanners and a phone mounted scanner. The link to the group work can be found here
Class work in summary:
- We used a hand held scanner to generate a large complex mess.
- We used a phone mount to scan a smaller object.
Individually:
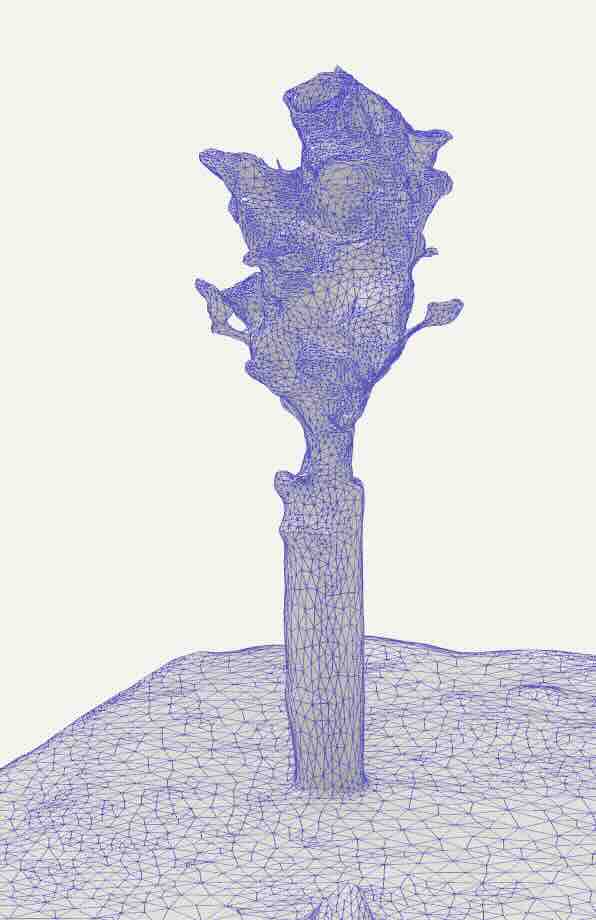
I investigated 3D scanning options that are fully app integrated, requiring no additional hardware. I ulized a free trial of PolyCAM to better understand the limitations of creating a mesh through 3D scanning.
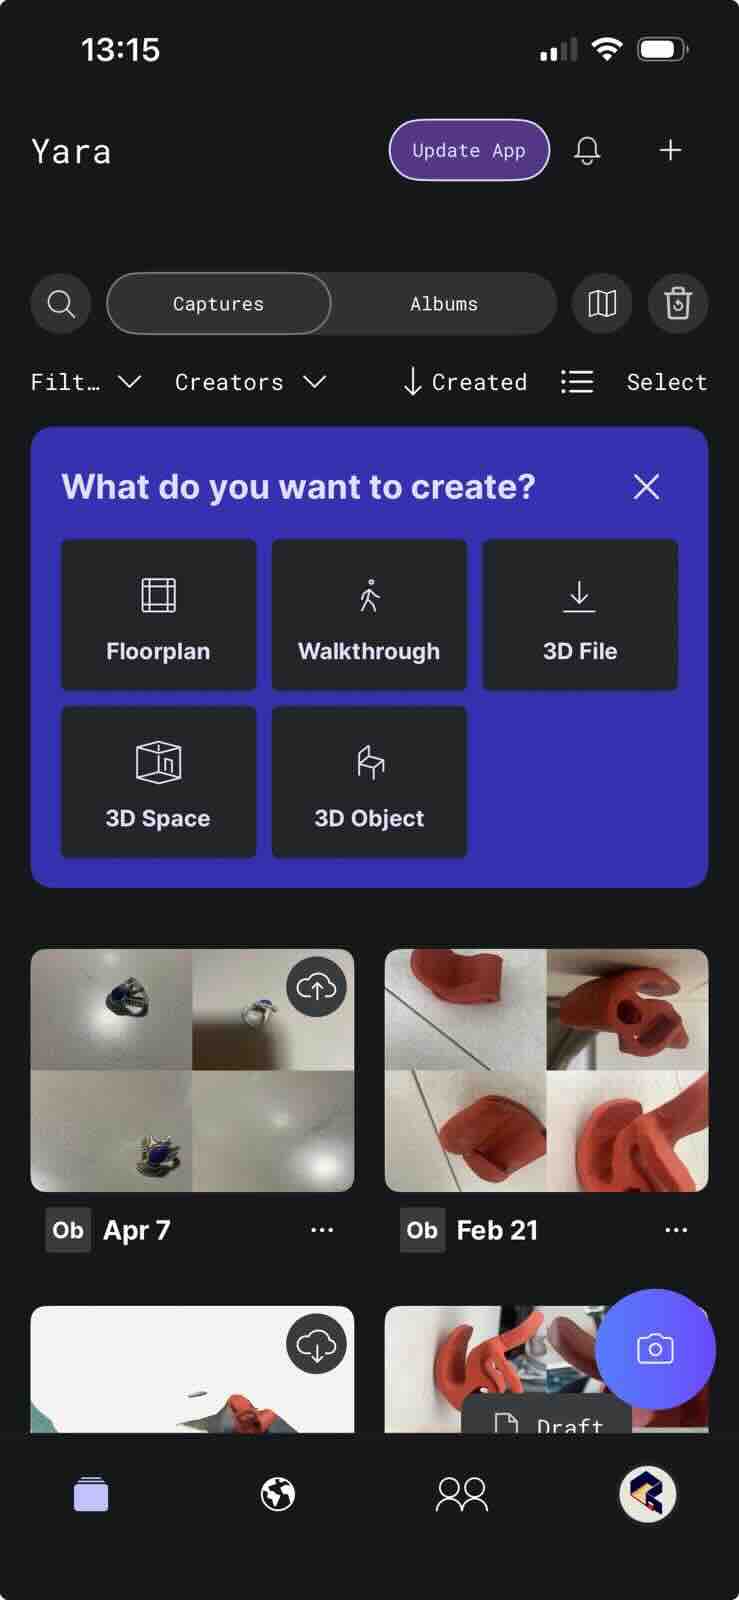
PolyCAM is an app that uses your phones onboard camera and compiles dozens of photos, taken from all sides of an image, to create a 3D representation.
PolyCAM Examples:
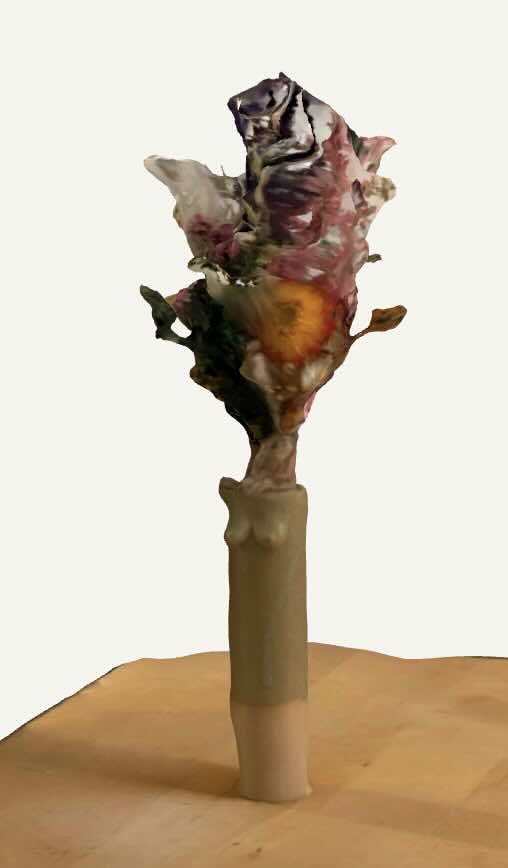
Trial 1: Flowers
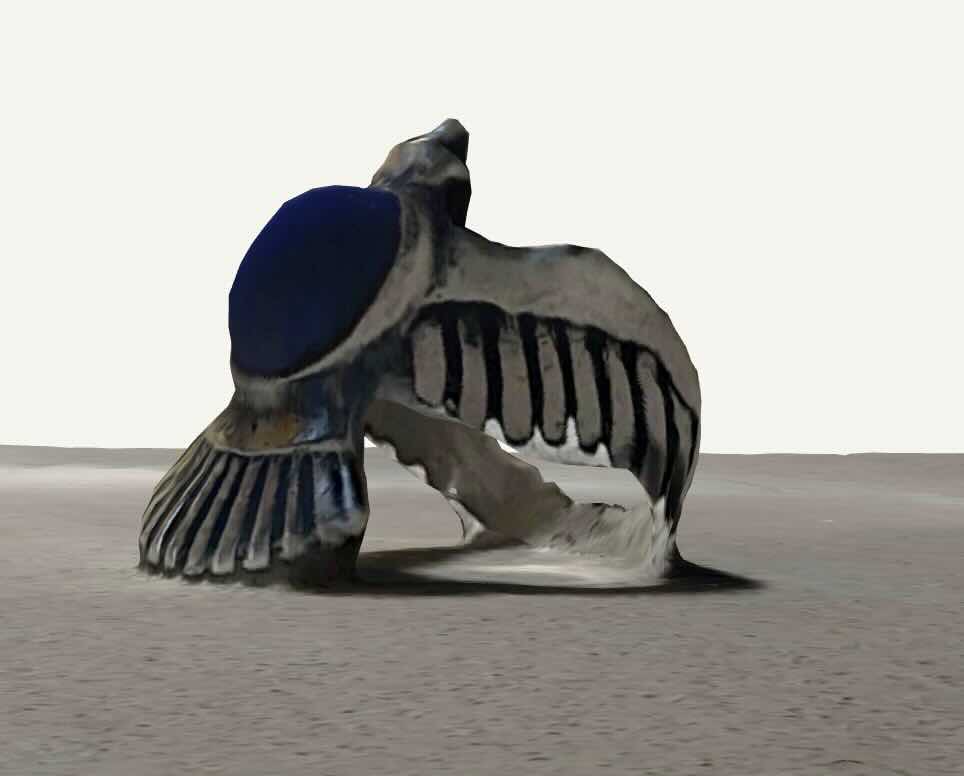
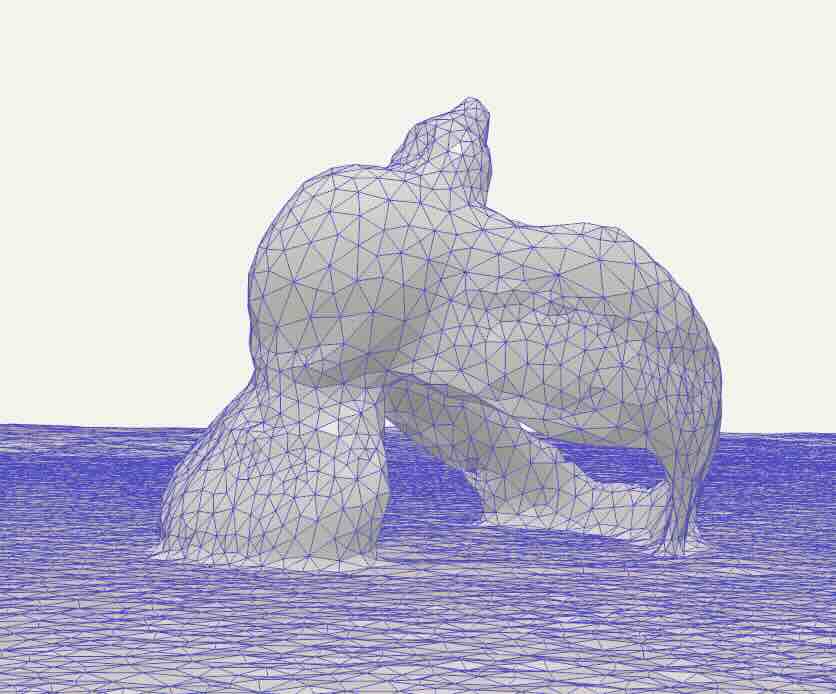
Trial 2: Ring
Trial 3: Chair
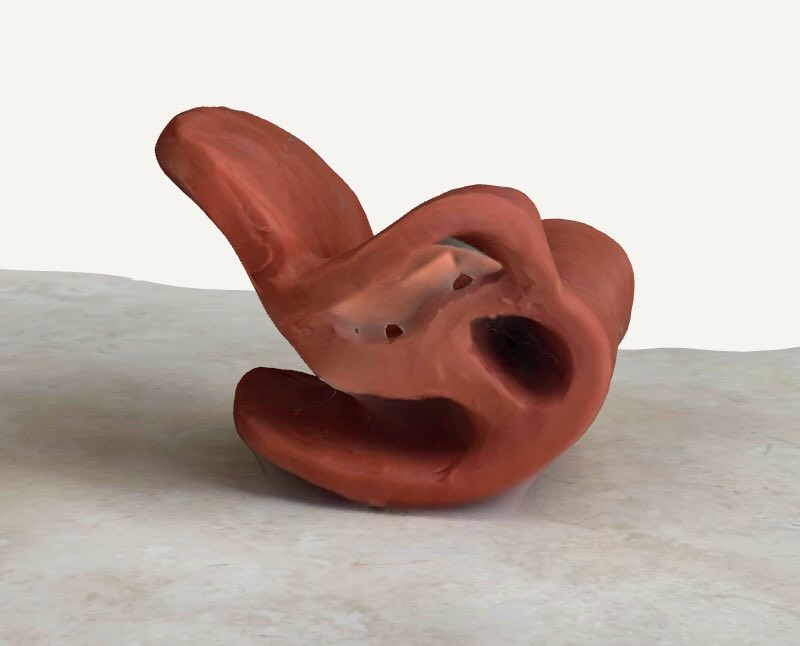
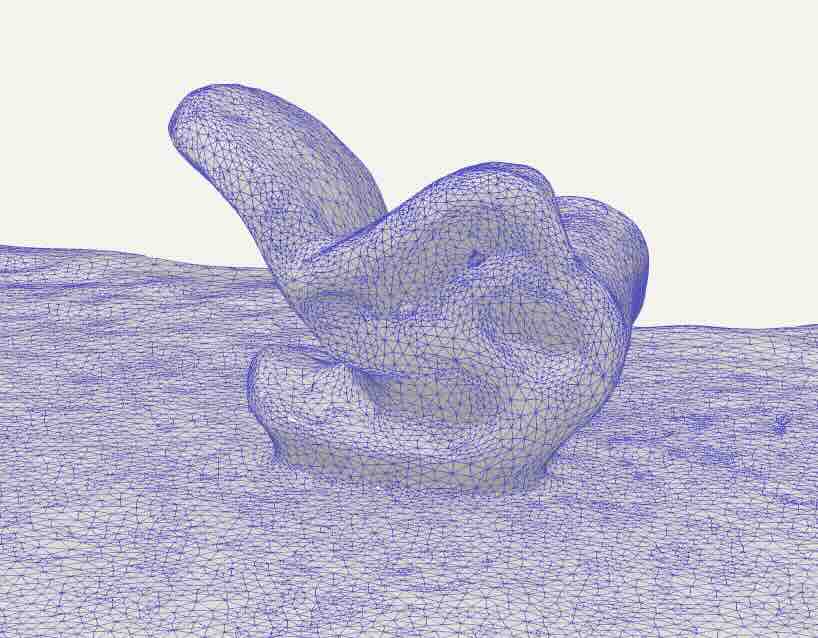
In this example I was interested in the concept of using sculpural hands on modeling as a design tool that could be used in conjunction with CAD software to create manufacturable designs. I found that the mesh was too rough to be useful for this. Perhaps if the design was less dense and included fewer tight voids the mesh would be more useful.
Observations and Learnings
- Background: It is critical to have a clean, contrasting background.
- Voids are not handled well by the mesh.
- The image might look good in rendering but detail may be captrued in color that is not captured in mesh
- Where the object meets the ground the mesh does not define the shape. This is tricky to deal with in CAD software.
What 3D scanning is good for. - basic visual representation of images or objects. These can be complex or otherwise - Transfering the idea of an object to a virtual form
What 3D scanning is not good for - creating workable meshes for detialed design or construction processes