Week 2: Computer Aided Design
This Week’s Requirements:
- Model (raster, vector, 2D, 3D, render, animate, simulate, …) a possible final project
- Compress your images and videos
- Post a description with your design files on your class page
File Management
The 3D files for this week can be downloaded here. Note - only the .jpg for the gimp file is accessible due to the size of the .xcf.
References and Links:
- Angelina Yang’s Documentation
- Cuttle
- FreeCad
- Fusion 360
- OnShape
- Image Optimizer
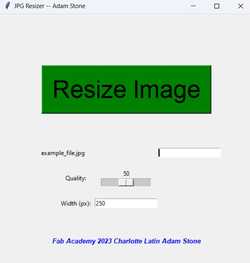
- Adam Stone’s Image Resizer:
3D CAD Modeling
Another part of this week’s goal was to use different modelling software to create basic representations of parts of my final project. As we were required (at least by our instructors) to use at least three different CAD softwares, I planned on using Fusion360, OnShape, and FreeCAD. I already had access to Fusion360 through a student license, and FabAcademy provided me with a OnShape account. FreeCAD was chosen because of the ease of access and the similarities to the other CAD softwares.
These software would be used to help visualize the final state of what my helmet design may look like and were not intended to be comprehensive representations of the actual printed models.
Fusion360
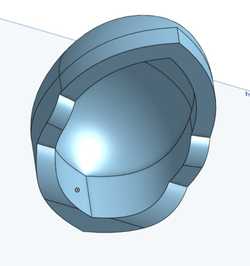
In Fusion360, I began by working to create a rudimentary model of what my ski helmet design would look like. Using my previous knowledge from Kevin Kennedy’s Fusion360 tutorials, I began to design.
The first thing that I did was create a rough outline of the shape of the exterior of the helmet using the spline tool and the offset tool. I created lines along between the two splines to show where extrusions would come down from later on.
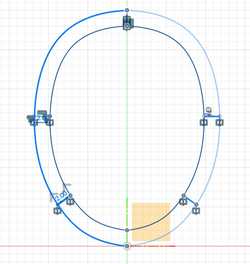
Then, I extruded the entire outer ring of the sketch up so there would hypothetically be more space for electronics within the helmet when the top of the helmet was created.

Using the separated sections of the initial sketch, I extruded both downward with different lengths.
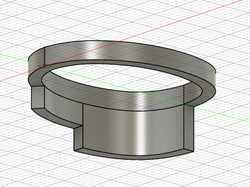
I proceeded to use the revolve tool on the top of extruded ring to create the top of the helmet.
The next step I took was to use the fillet tool on the two pieces on the underside of the helmet so that they smoothly went back instead of have sharp corners. After this, I additionally used the mirror tool to reflect these pieces over to the other side of the helmet.
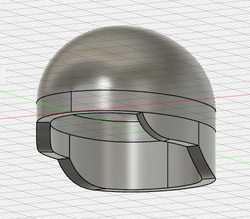
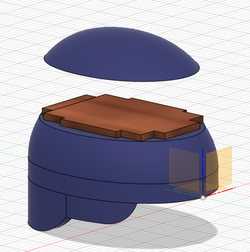
The final part of this design was to create a very basic idea of what the wood plate within the top of the helmet, which has the electronics on top of it, would look like. I used an offset plane to be able to create a sketch on, and used the split body tool to separate the cap from the rest of the helmet.
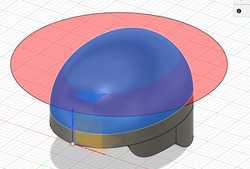
Then, I moved the top up and extruded another body which was meant to represnt the wooden board.

Finally, I added some appearances to make it look nicer.
3D model of the final product.
OnShape
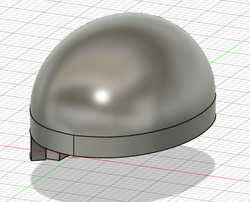
OnShape was the second CAD software I used for modelling my ski helmet. I had not used it before this, so I was exicted to see how it operated. I was mainly using it to see if I liked the interface and how it working in general, and I used it to also create a basic model of my ski helmet.
I had a very similar design process to the creation of the ski helmet, with the exception of the how the interior ended up and not creating the sample wooden plate. I created the basic sketchs like before, extruded differnt sections, and did fillets on the bottom.
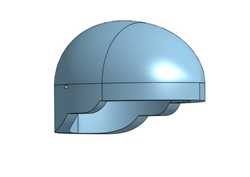
Side profile of the final product.
However, I used the shell feature to hollow the top of the helmet out instead of having a revolve feature naturally make it hollow, so the interior ended up being odd.
Interior of the cap
Thoughts on OnShape:
This software seemed very simplistic and almost bland at first, but had a decent amount of depth and utility. Due to my unfamiliarity, I was initially disapproving of how it functioned, but by the end, I thought the software was very solid overall. However, I would likely not use it again due to personal preference. From this software, I learned more benefits of the timeline and gained important new experience.
FreeCAD
For FreeCAD, I had previously heard very negative things about the software from Fab Graduates and fellow students alike. Because of what I had heard, I decided to follow a tutorial to complete the requirement for a design. I followed this tutorial. This tutorial detailed the process of creating a sketch, extruding that sketch, and creating a perpendicular sketch to create a hole within the first body. The final result was a phone holder mechanism.

Thoughts on FreeCAD:
I thought this software was confusing, disorienting, and unappealing, with the overall systems being annoying. Without the guidance of the tutorial, I would have been lost. The only benefits I can see from using this software is the potential depth, but I don’t believe I would be able to become experienced enough with FreeCAD in the limited time that I have as a student.
Gravity Sketch
Gravity sketch is a VR 3D modelling software. The appeal of it is clear - being able to see your models in a new perspective with artistic capabiliites. We used this software as an experimental group for our instructors, as their philosophy for each year’s Fab group was to build off the previous group and do more.

The Oculus Quest 2 system we used.
Each student in our group used Gravity Sketch to create 3D models, export them to a platform called LandingPad, and print them.
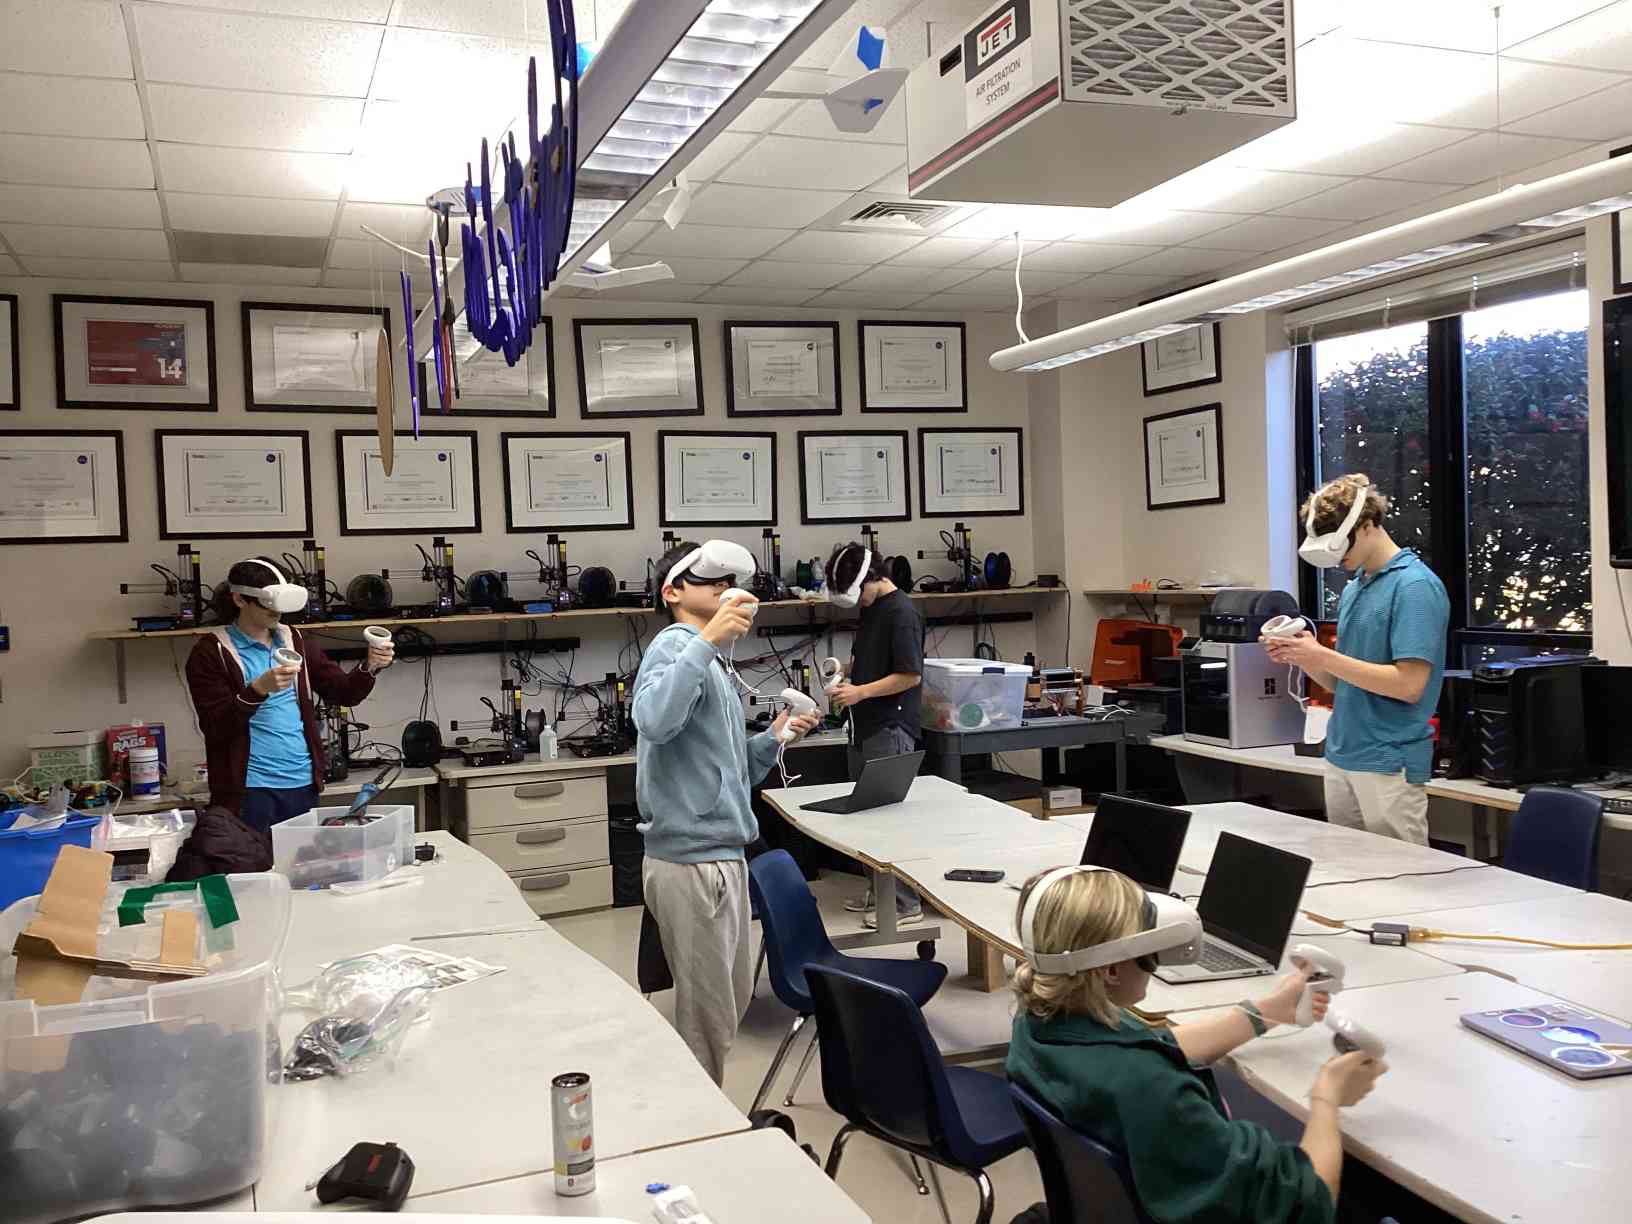
The students in the lab using Gravity Sketch
The following is a workflow of the process we followed:
- On home menu, click on LandingPad, login to your preferred email without password
- Click on magic link
- Open the email account and click
Activate Magic Link - Create a 3D sketch
- Enter the menu by clicking the 3 lines button
- Go to the save and export tab that looks like a hard drive
- On the bottom, click the toggle under
save to deviceuntil it says save to LandingPad. - Make sure the file is exported as
OBJ, welded and render is on. - When it has sent, your left hand will have a text saying
This file was sent to _________. - Open landingpad.me on your computer.
- Sign in using magic link again.
- Export your file from landingpad.me onto your computer for personal use.
- Open the file in PrusaSlicer and export the G-Code to local servers.
- Print the file.
Link to my Gravity Sketch File. I created an incredibly simple rendition of a ski helmet with an ellipsoid and rounded cubes on the bottom, for I could not create much else due to time constraints. After following the above process, I imported my file into PrusaSlicer:
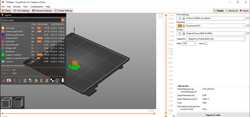
Then, I simply printed the model.
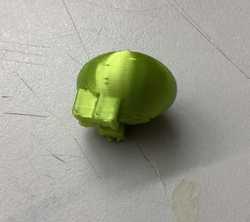
The final print
Thoughts on Gravity Sketch: This software was very interesting in how it allowed us to experience modelling in a whole new way and environment. Being able to see the models that you create in real time and reoriente them to have any perspective on them made the software very interactive. While the system and tools were fluid, the interface was unfamiliar and I often ended up confused on how to alter or add more to my design. The process of exporting the files and being able to print them provoked critical thinking amongst my fellow students, but there I found little utility in the majority of the functions. This is not to say that I thought Gravity Sketch was terrible, as I did enjoy the majority of the process and found that it was fun to make different tools, but I would probably not use it again.
2D Modeling
Gimp
Gimp is a free raster software meant for creating and editing raster graphics, with some vector capabilities. To learn the basics of Gimp, I used this tutorial after downloading it here.
After that, I imported an image of a character from a show I enjoy into gimp.

I planned to cut the dog, whose name is Bond, out from the rest of the image and take away the background. To do this, I was going to use the lasso/free select tool and eraser tool.
I used the lasso tool to manually trace different parts of the dog in the center with the toggle set to replace the current selection. Then, I went in using the eraser tool and (guess what) erased these regions that had been outlined by the lasso tool, but when I used it, it erased the insides of the lasso-ed area, instead of the outside. Though this logically makes sense, my tired brain did not think of it.

To fix this, I probed around a little and found, within the select menu at the top, the invert option, which made the outside of this drawing into what could be erased. Having done this, I used the eraser tool again and erased everything besides Bond. All that was left was to crop the image and be done!
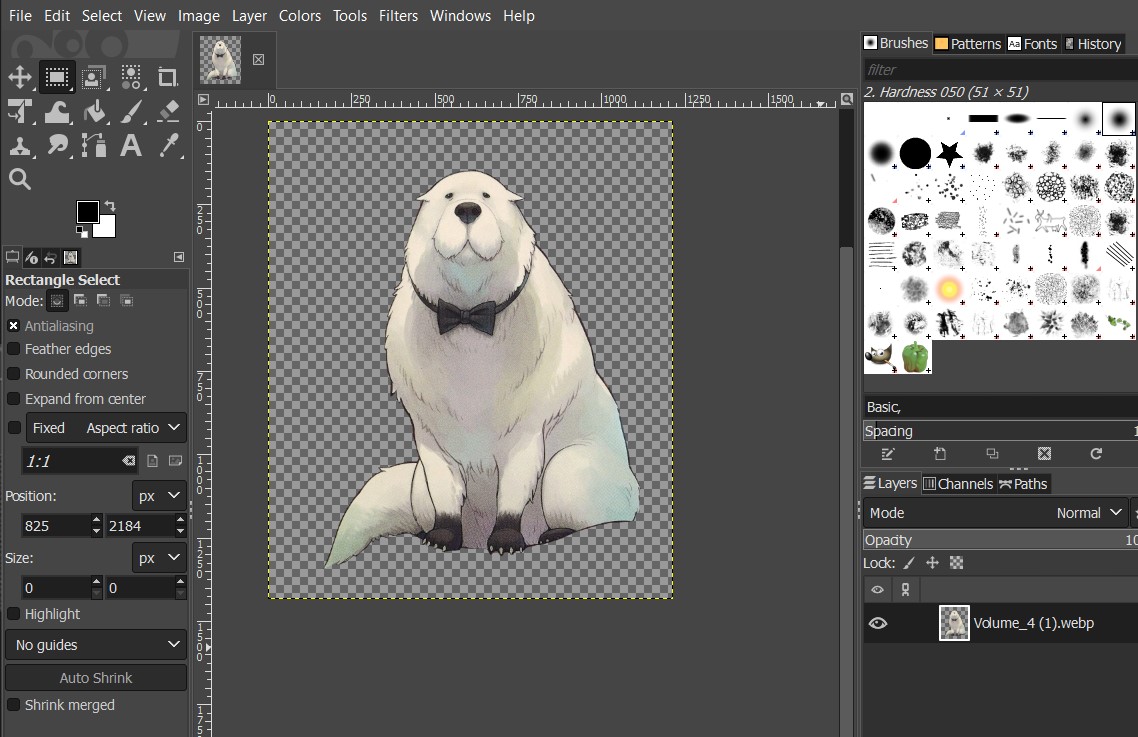
This was the final product:

Thoughts on Gimp:
Gimp was a very simplistic and decently intuitive software to use. I had used a few raster and vector softwares before this like Inkscape and CorelDraw, so I wanted to try something new by using Gimp. Though I had heard some negativity about Gimp, it truly did not seem that bad once I understood what was going on and how the select tool worked. I likely would use this software again to crop or manage any images I need to in the future.
Cuttle
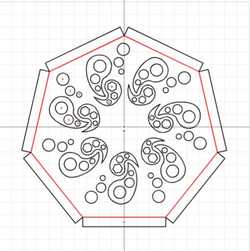
The second 2D software that I used was Cuttle, a free online vector-based software that allows you to create designs oriented around geometry snapping and patterns. The simplicity makes it very user friendly but limits the depth to which you can design. I followed this tutorial to get a basic understanding of how to use Cuttle, and this tutorial to build on the last and create a more intracite design.
From the first tutorial, I created this:

And from the second tutorial, I created this:
Thoughts on Cuttle: I thought Cuttle was a concise alternative vector software that provided a decent amount of detail for the fact that it is free and online. I learned how to use the circular pattern modifier, grouping, different shape tools, and geometric snapping; however, I would still prefer to use CorelDraw over this due to the complexity, tools, and the fact that it is already integrated into our school’s lab.
Reflection
This week’s exploration into Computer-Aided Design (CAD) involved delving into various software tools to model a potential final project. I used Fusion 360, OnShape, FreeCAD, and even used VR with Gravity Sketch. Additionally, 2D modeling in GIMP and Cuttle was explored. I enjoyed being able to branch out with what I could create, as all of these softwares had different potentials and specifics to them. I had fun using Gravity Sketch, even if the process was a bit confusing and disorienting at times. I look forward to what we will be doing as a group project next week.