Molding and Casting
| Task | progress |
|---|---|
| Linked to the group assignment page and document your learning | done |
| Reviewed the safety data sheets for each of your molding and casting materials, then made and compared test casts with each of them | done |
| Documented how you designed and created your 3D mold, including machine settings | done |
| Shown how you safely made your mold and cast the parts | done |
| Described problems and how you fixed them | done |
| Included your design files and ‘hero shot’ of the mold and the final object | done |
Group Assignment
Here is the Group Assignment Link
Key Takeaways from this week: - Reading the data sheet and following the exact propotion is very important to get the final product with right density.
-
Always read the safty guide, as some of the material produce fume that are not safe and also heat that can burn.
-
Never use CAST material like plastic and ployurethane as MOLD material.
HERO SHOT
Individual Assignment
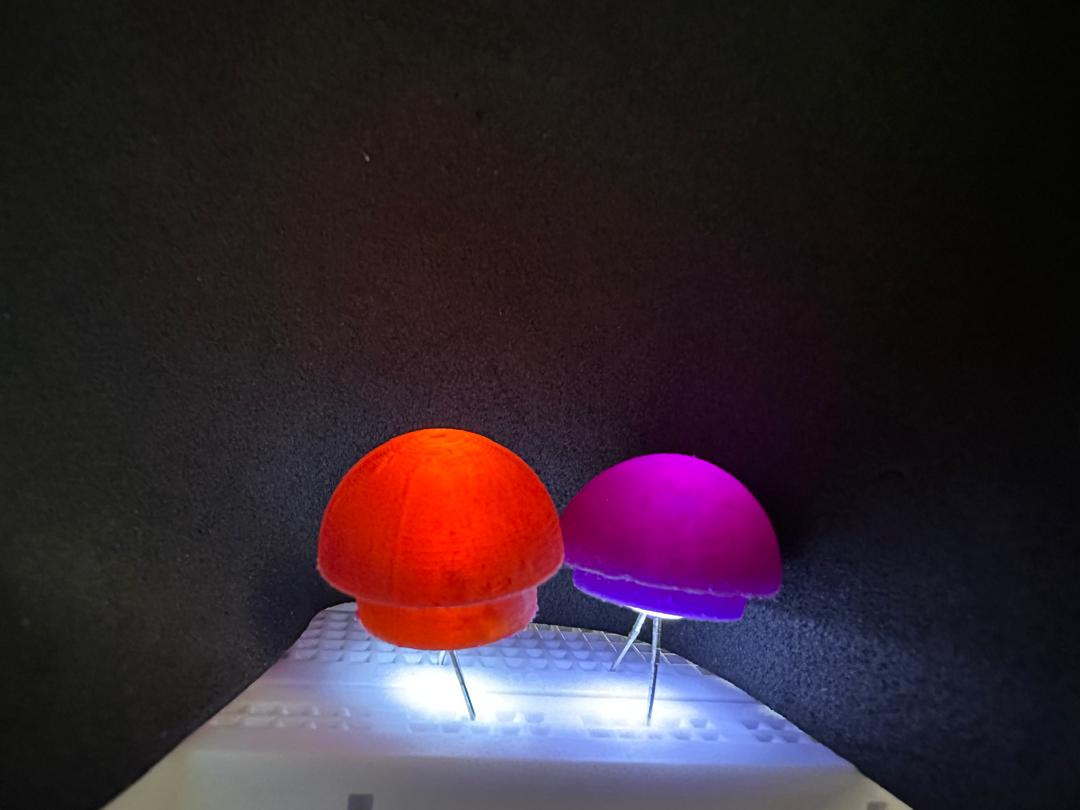
For this weeks assignment I wanted to make a cap for Solenoid for my final project with silicon or rubber for a soft finish. I also like how it looks like magic mushroom.
Design in Fusion 360
I started with measuring the size of the solenoid for which I was making the design and made the actual mushroom button in fusio360 first.
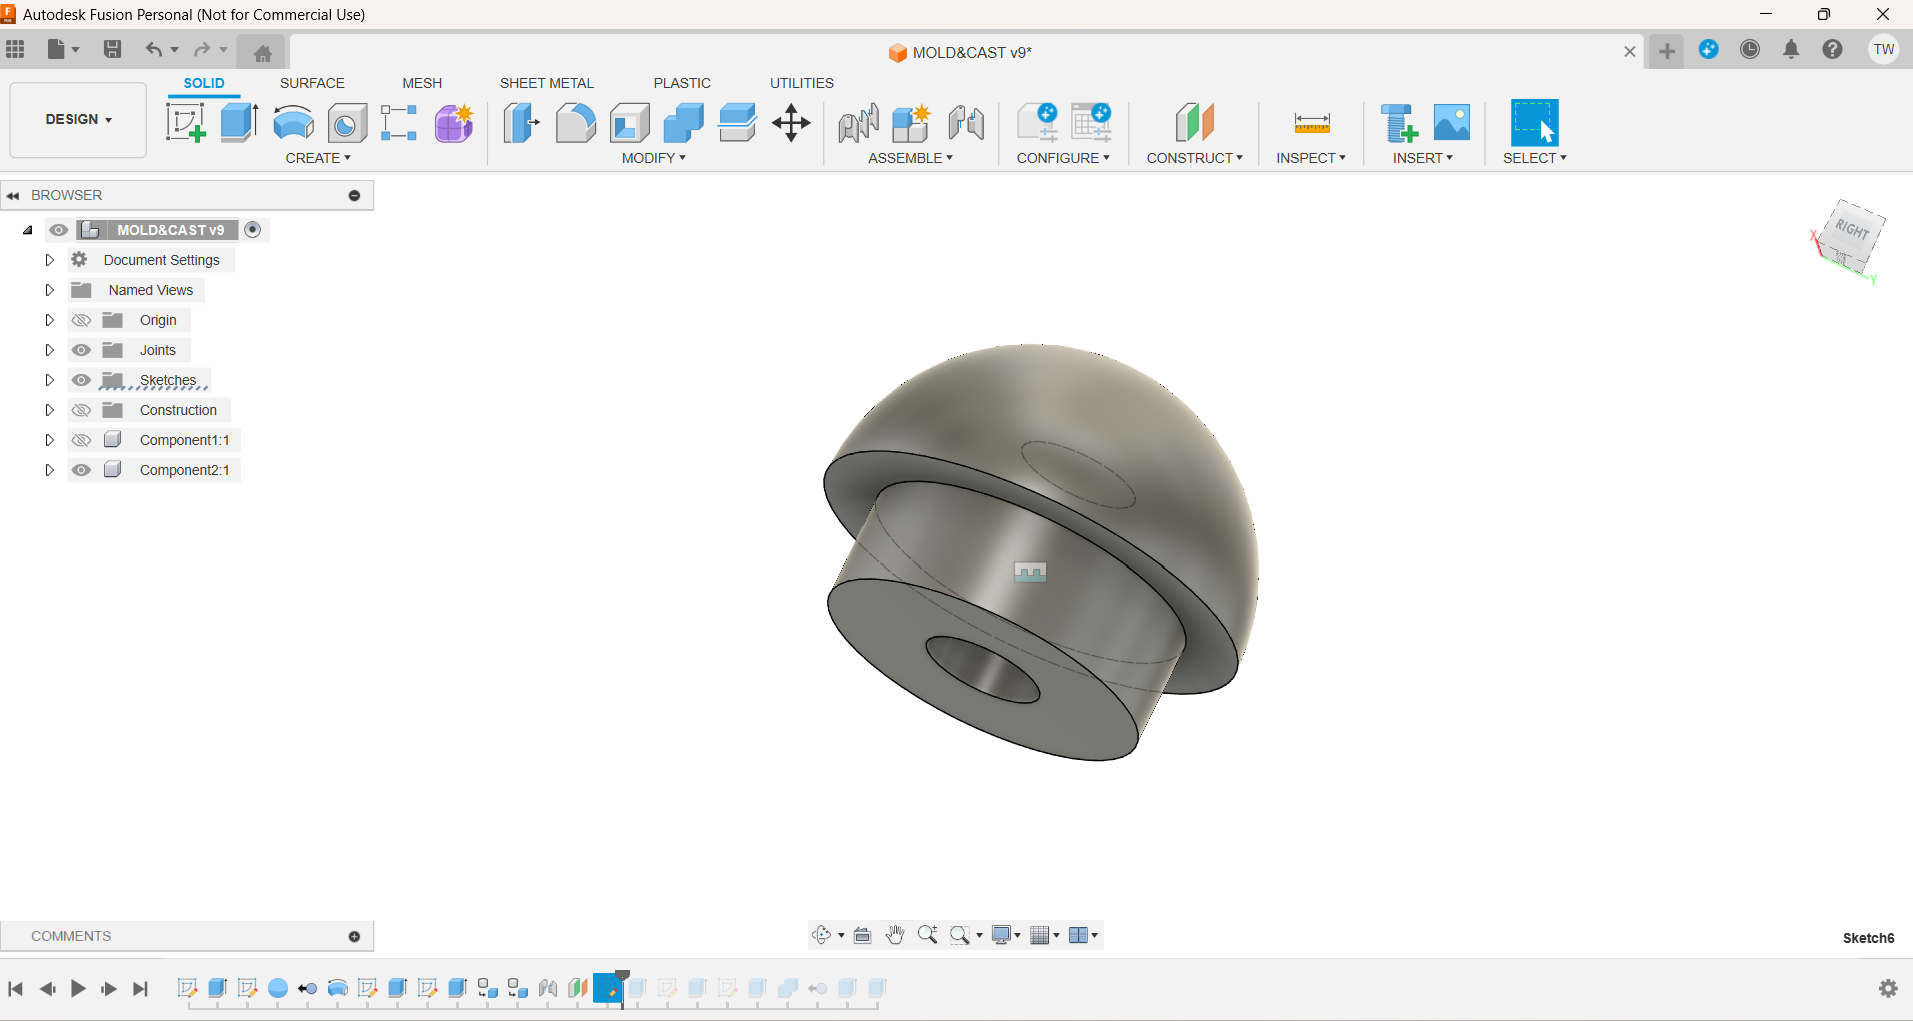
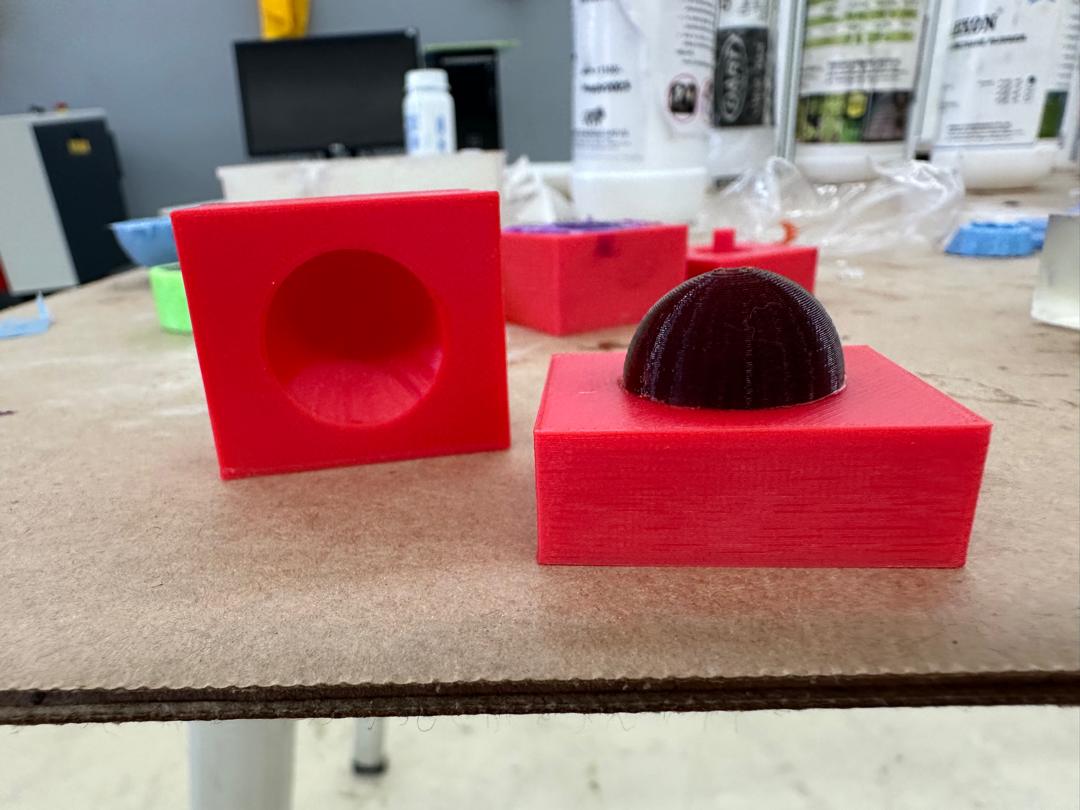
I had to make 2 part Mold, one for the bottom part with semi-circle and the top part the hole where my solenoid head will go in.
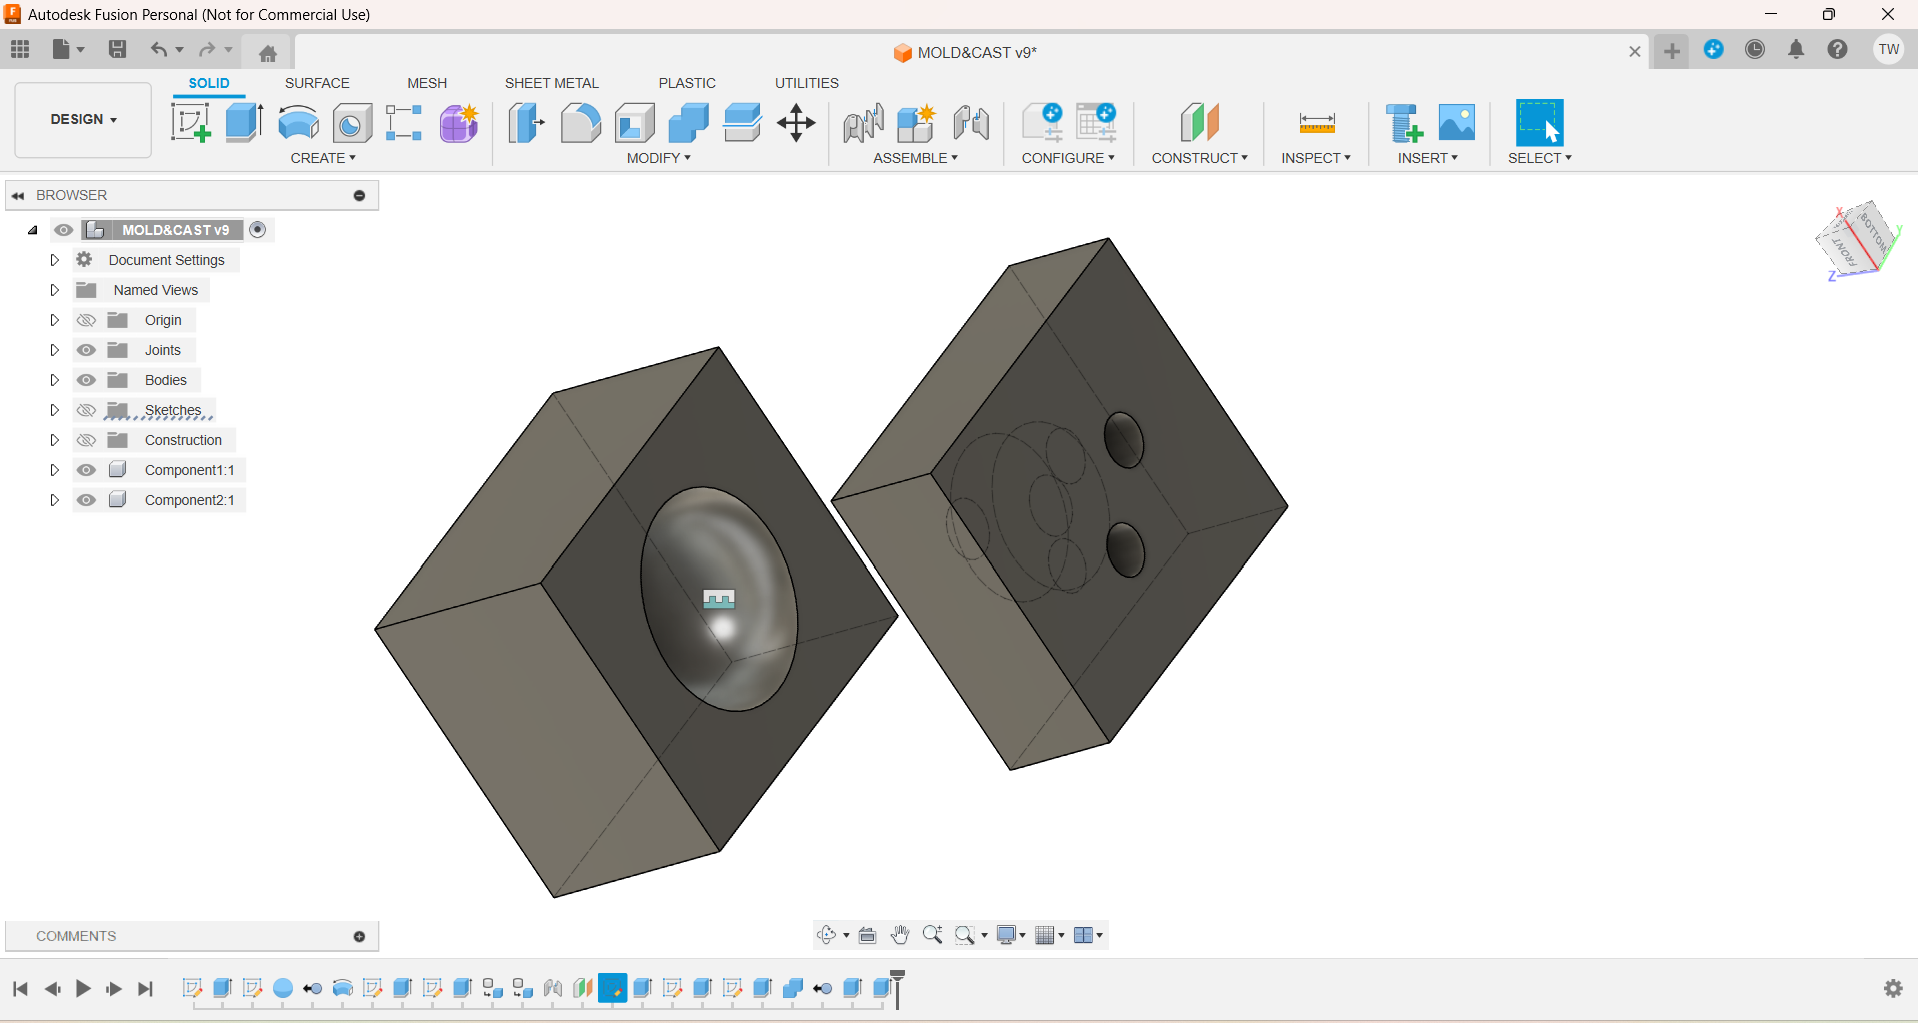
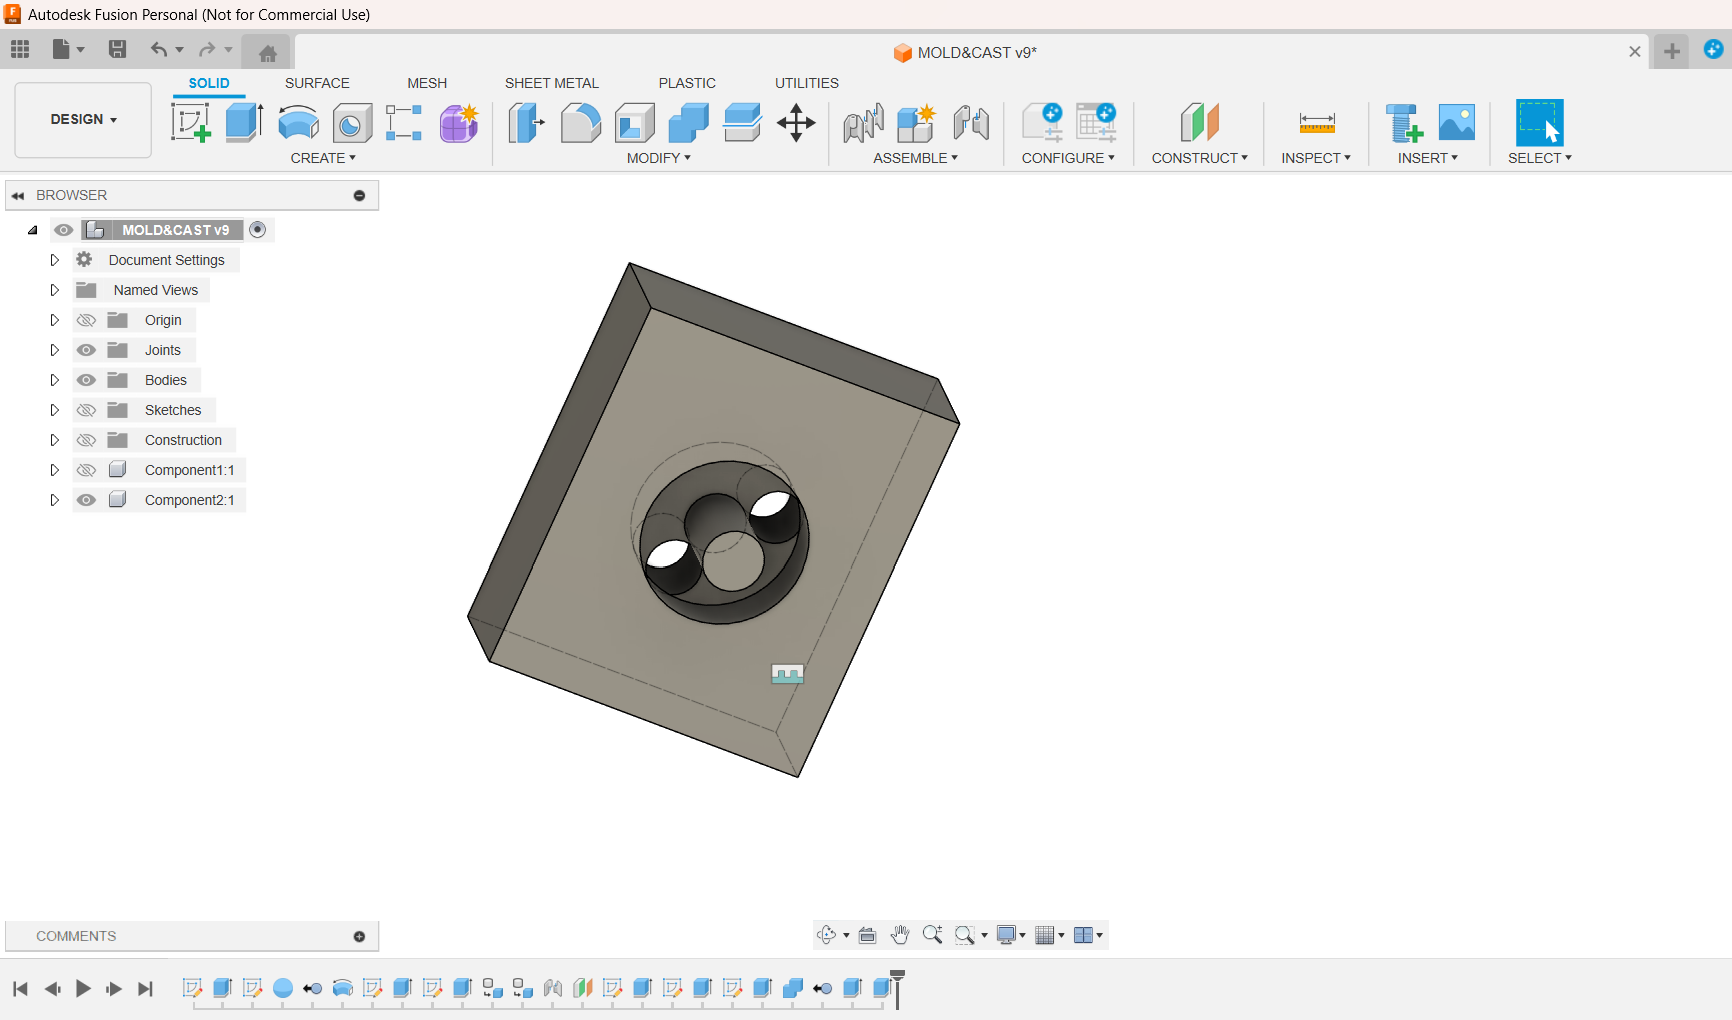
I also had to make two hole, through one of the hole cast material will be injected inside and through another air to escape when I inject material inside.
3D printing Mold
I decided to print two Molds, One with our MK3 Prusa and other one using FORM LABS.
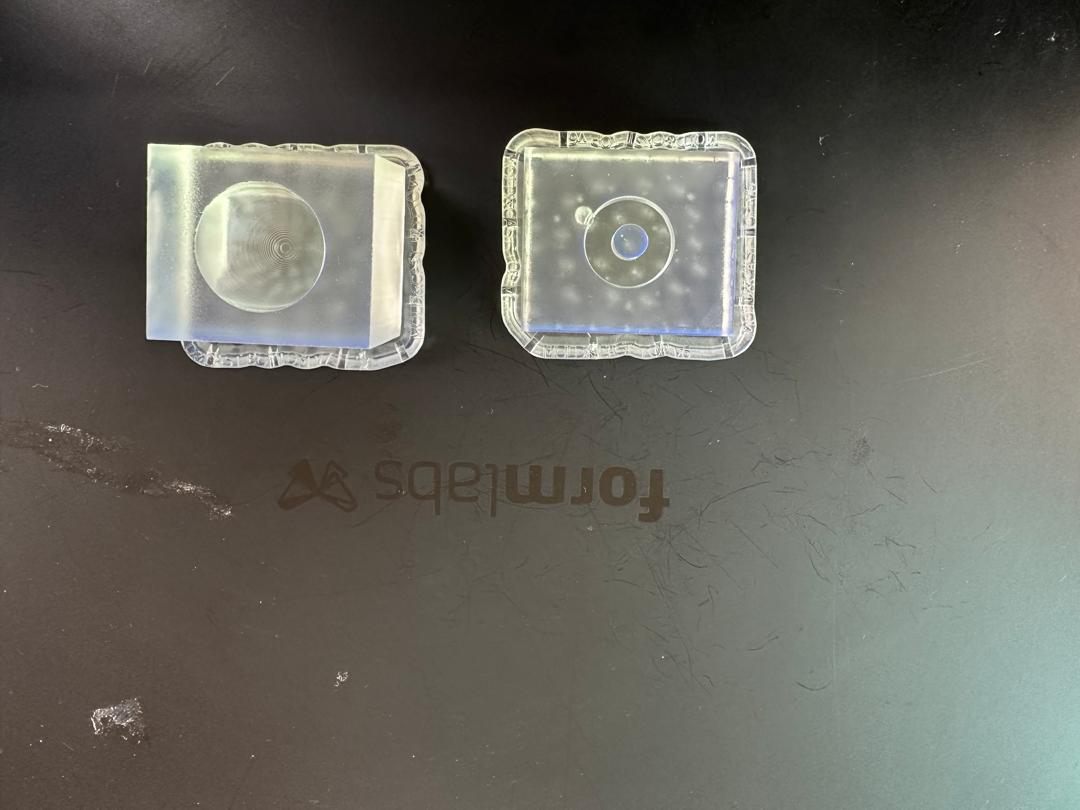
FORM LABS
I used my first design with a single hole on the top and used clear Rasin. I set the layer setting to 0.1mm.

PRUSA Mold
For Pursa, I used 0.05 mm Ultra detail with 15% infill. I ended up making two molds. One with 2 holes and one with single hole.
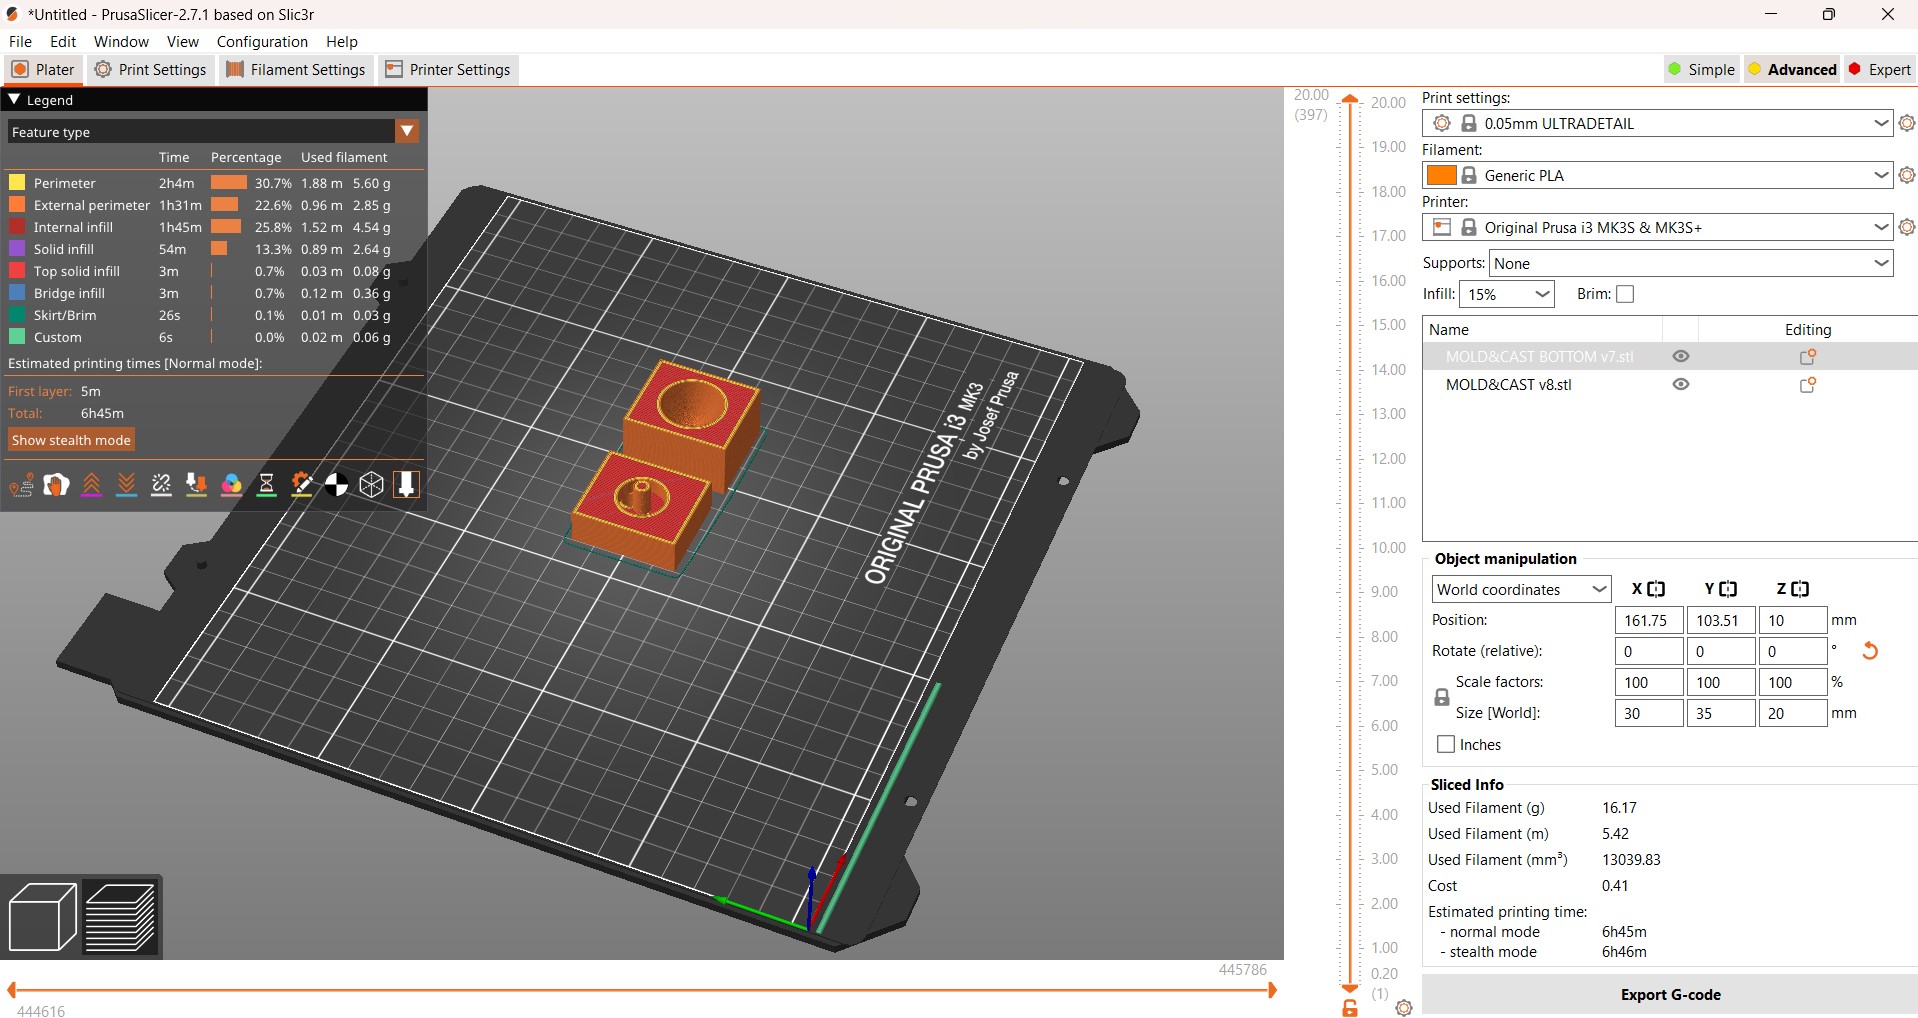
The first one is with a single hole and second one is with 2 holes
Molding And Casting
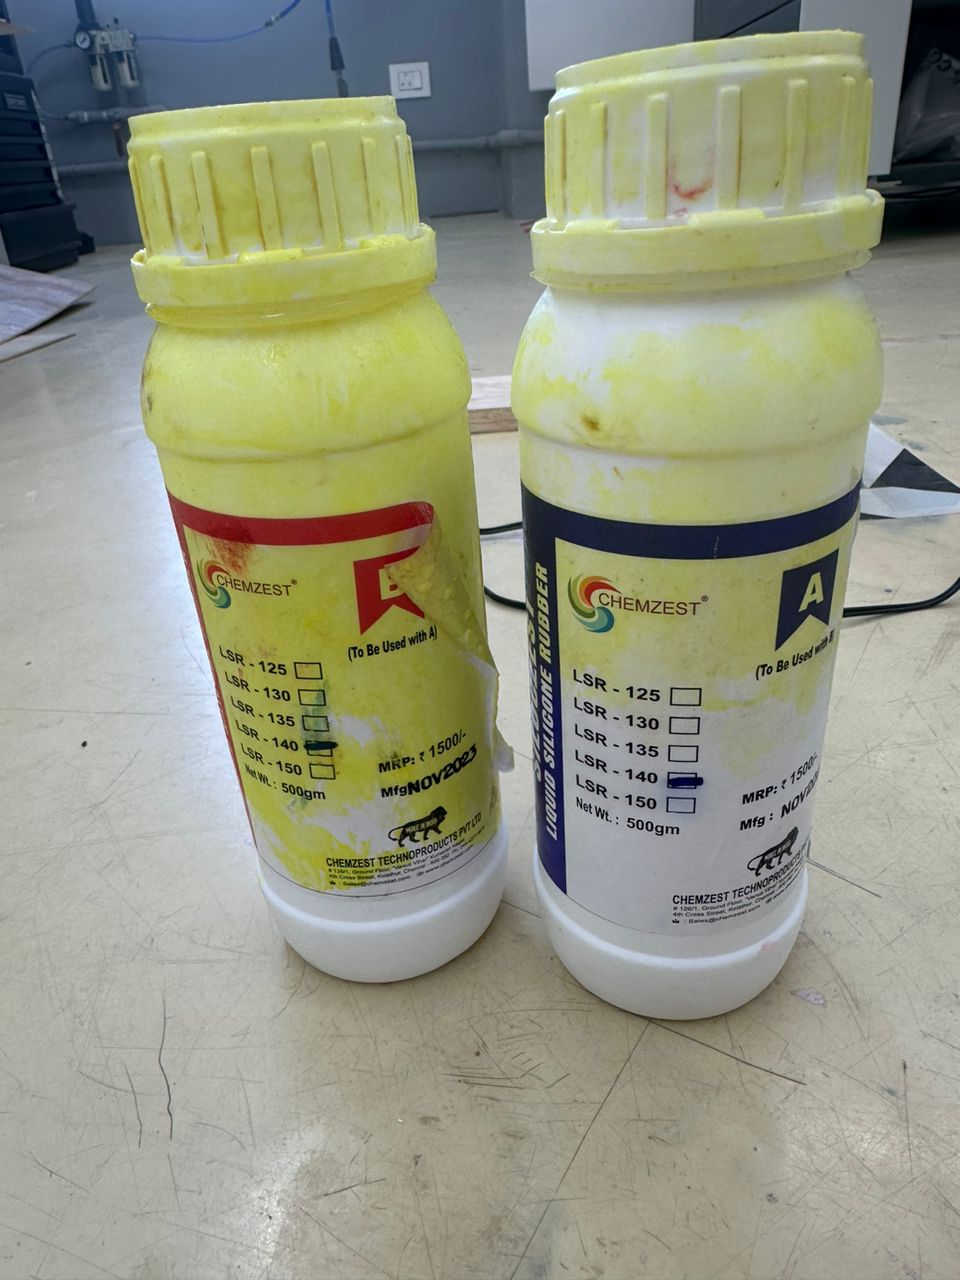
Silicon Rubber
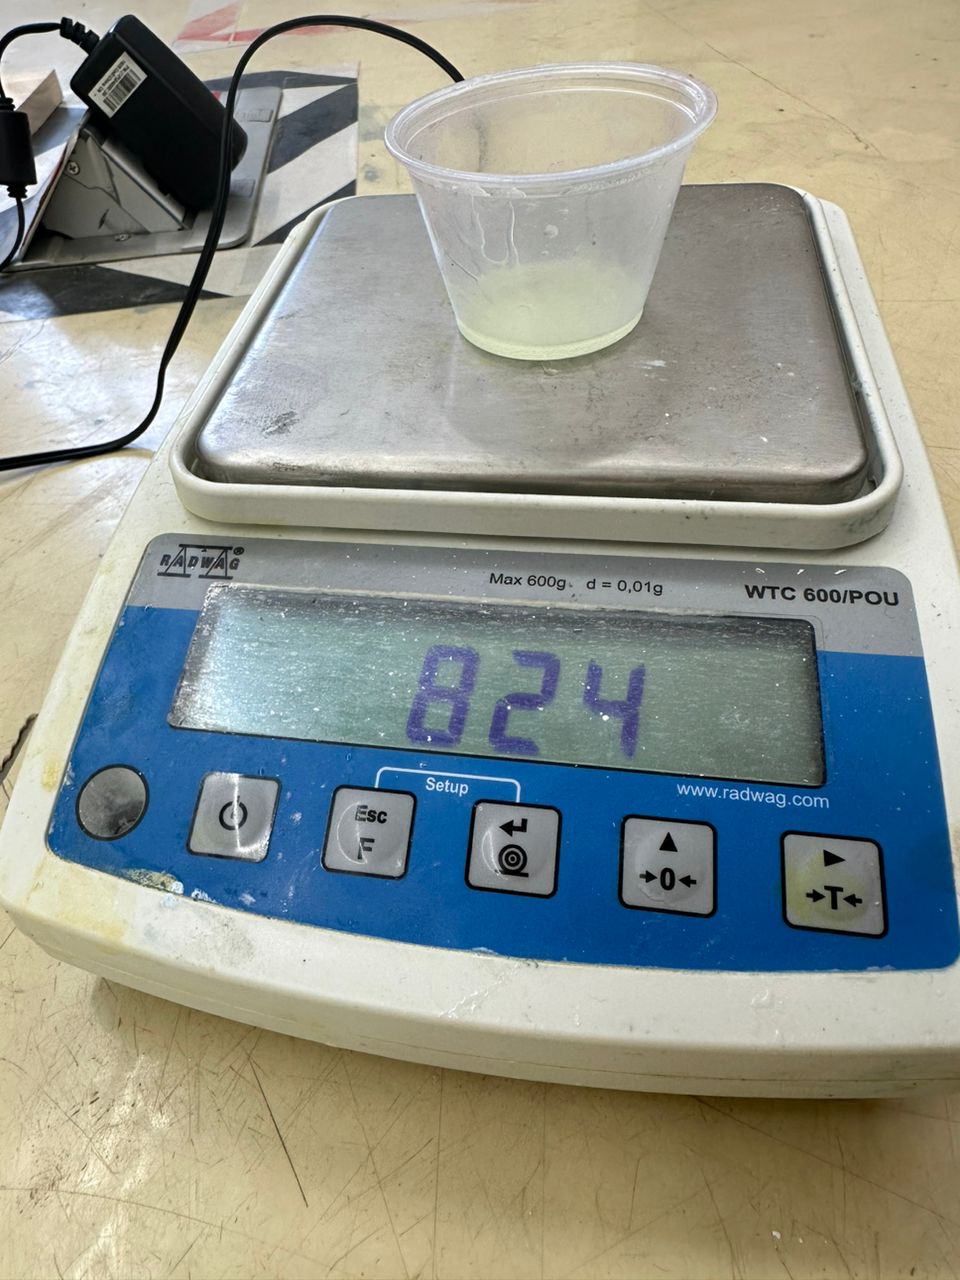
I used silicon LSR-140 rubber as my Casting material as I wanted rubber finish to my button. According to the instruction we need to mix equal amount in weight of Part A and Part B together.
I measure the product seperately using weighing machine and mixed them together with a stick until there was a same consistancy.
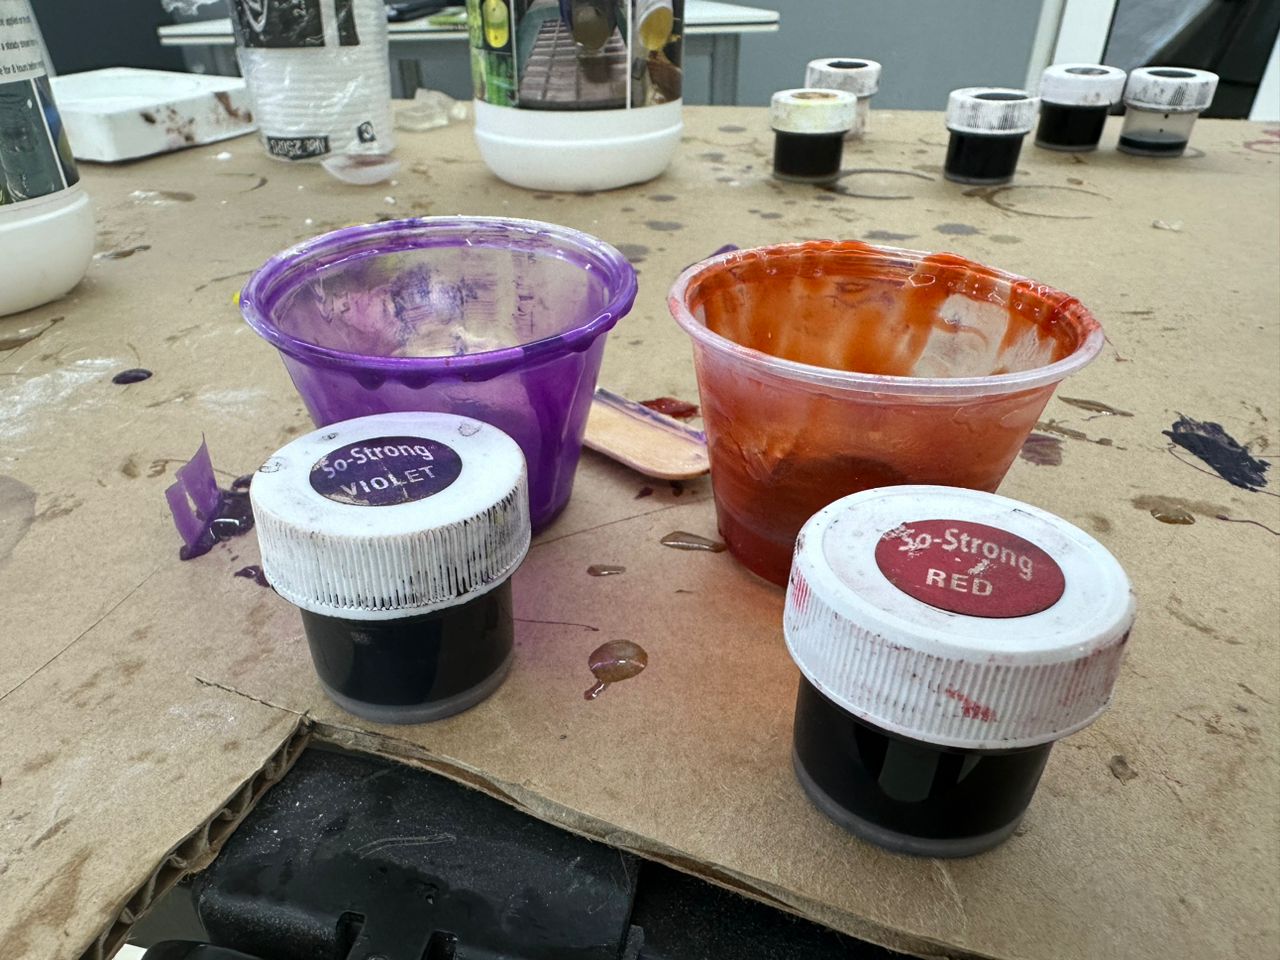
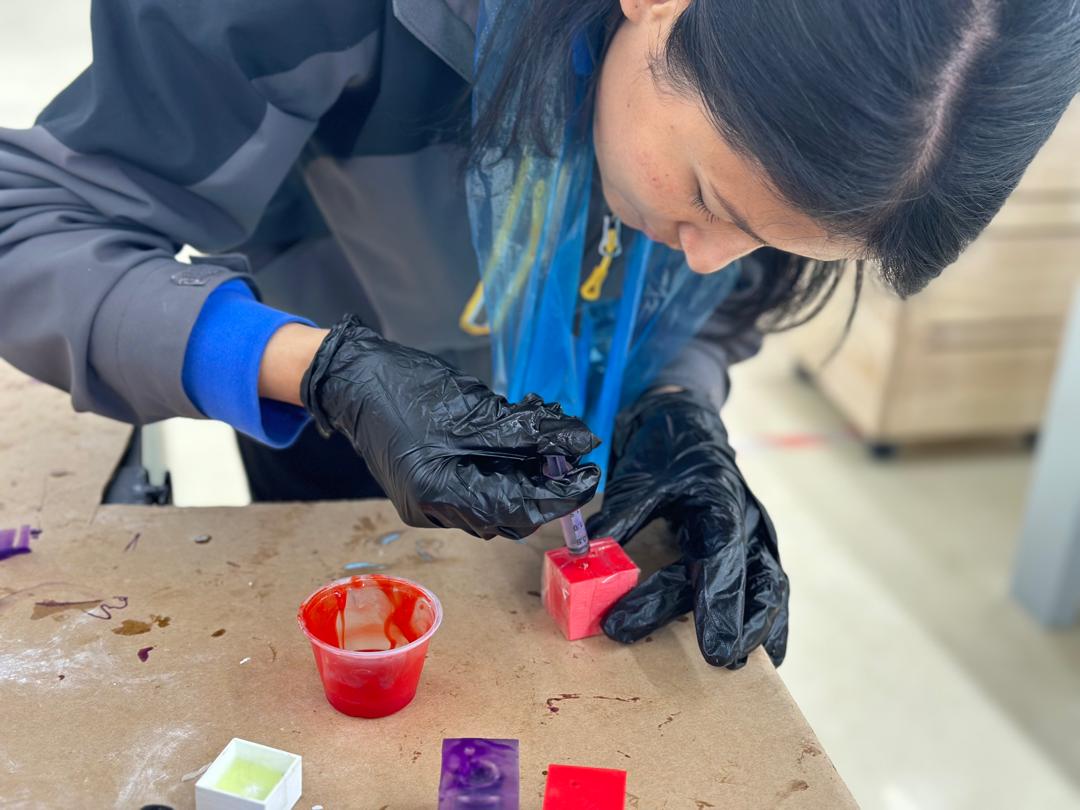
I added color to the silicon for beauty aspect for my final product and also so I can have distinction on differnt mold at the end.
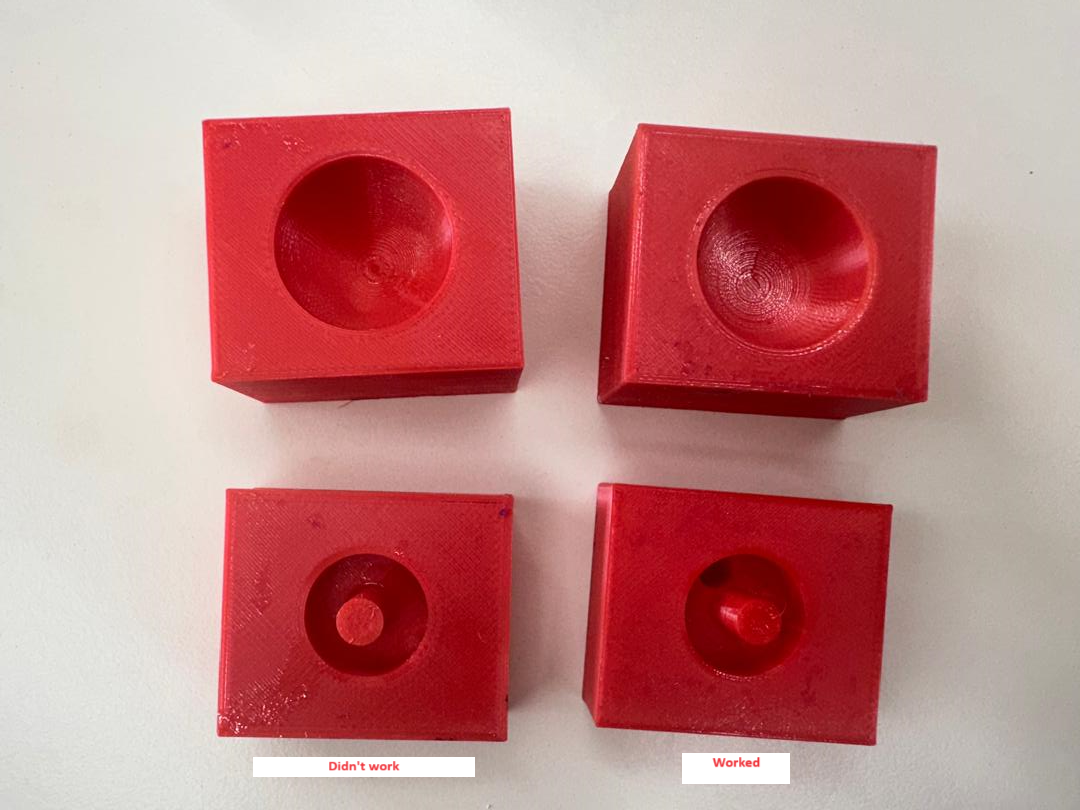
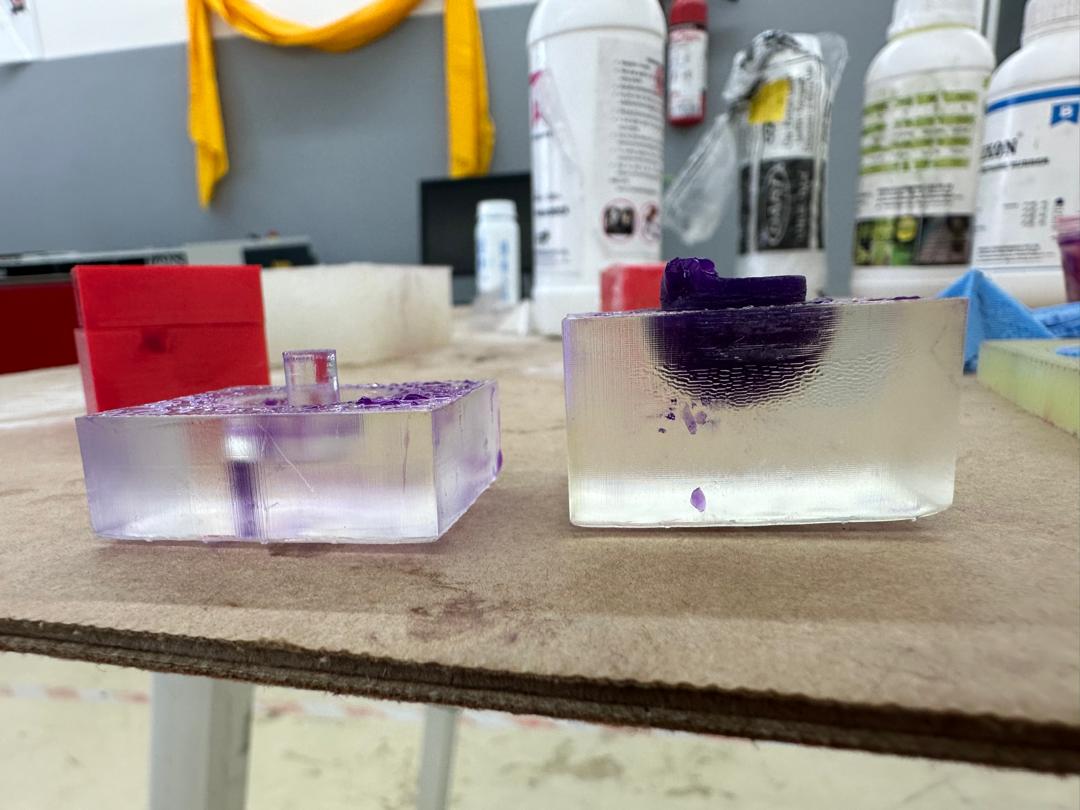
This is the same mold design but 3d printed in Pursa. Unlike for the one made in Formlabs, I could not see if I had injected enough silicon inside and the Cast Failed.

Casting 1
I really like how it looked through the transparent mold when I was injecting silicon inside.
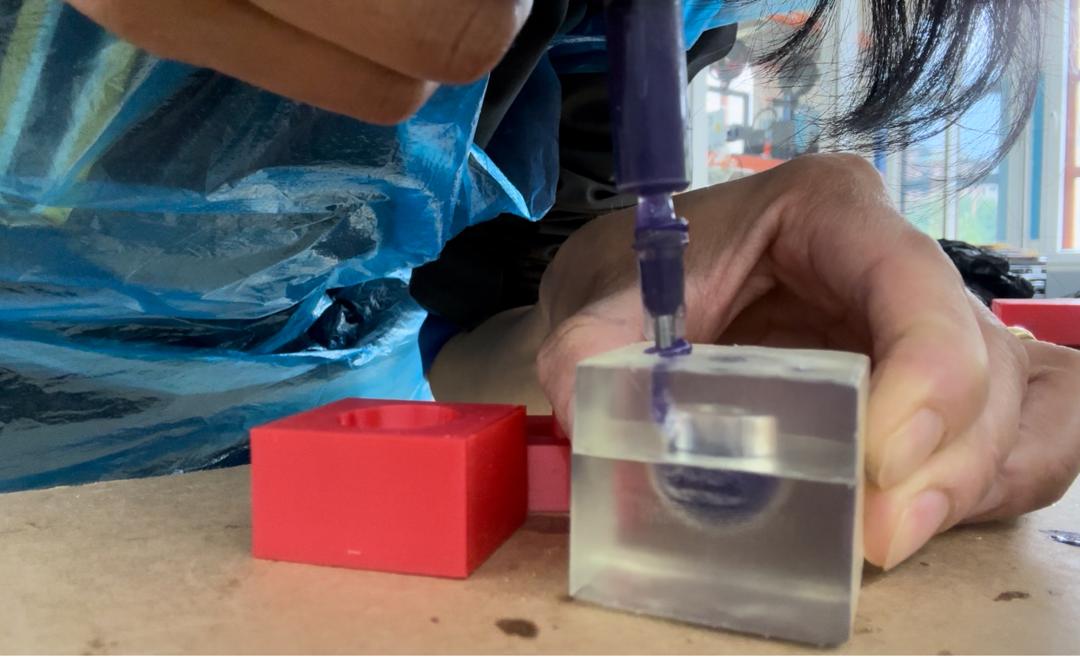
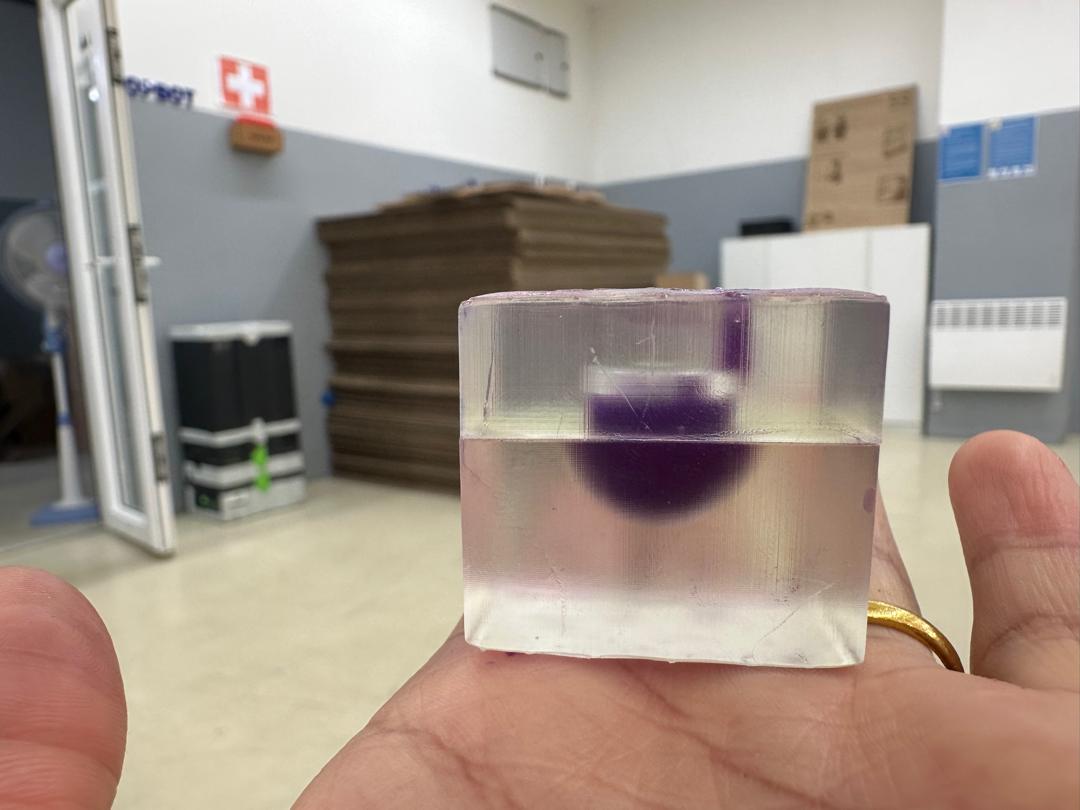
Unfortunately, because the hole was too small and because of Air, I could not fill the cast till it was full.
Casting 2
For this cast, I used the second design I had made with two holes for easy flow of silicon inside and as expected there was no issue with air inside.
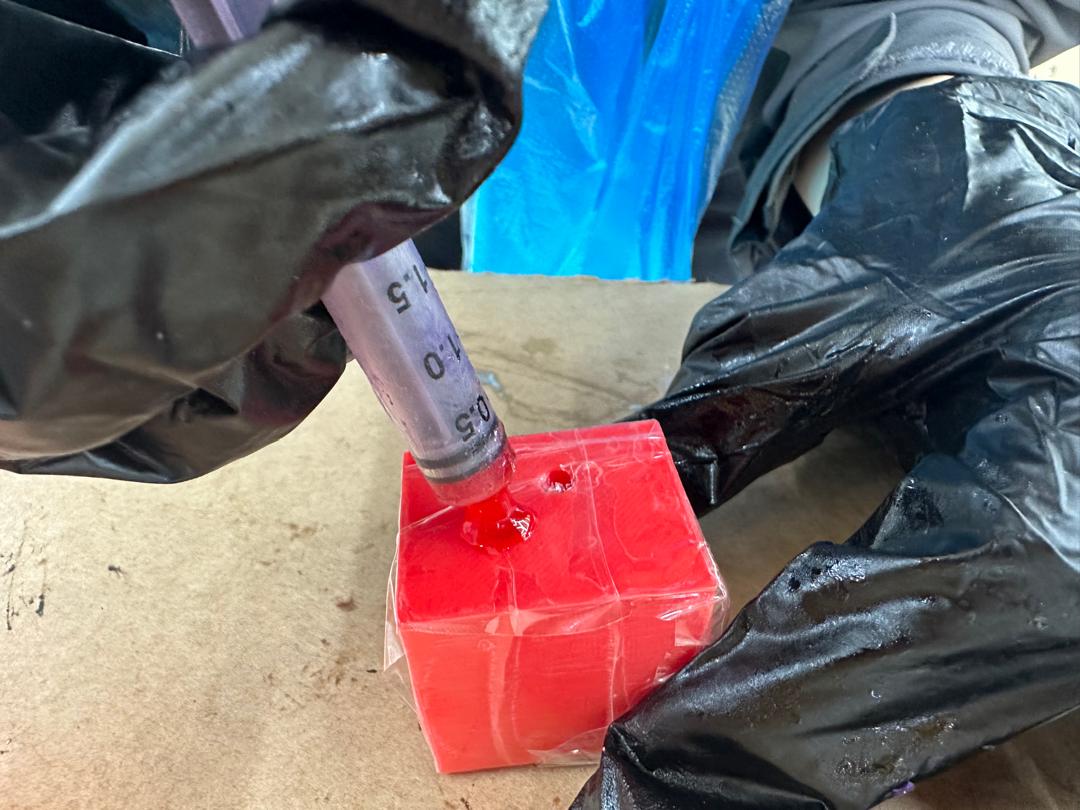
I actually used cello tape to tightly hold the two part mold together.
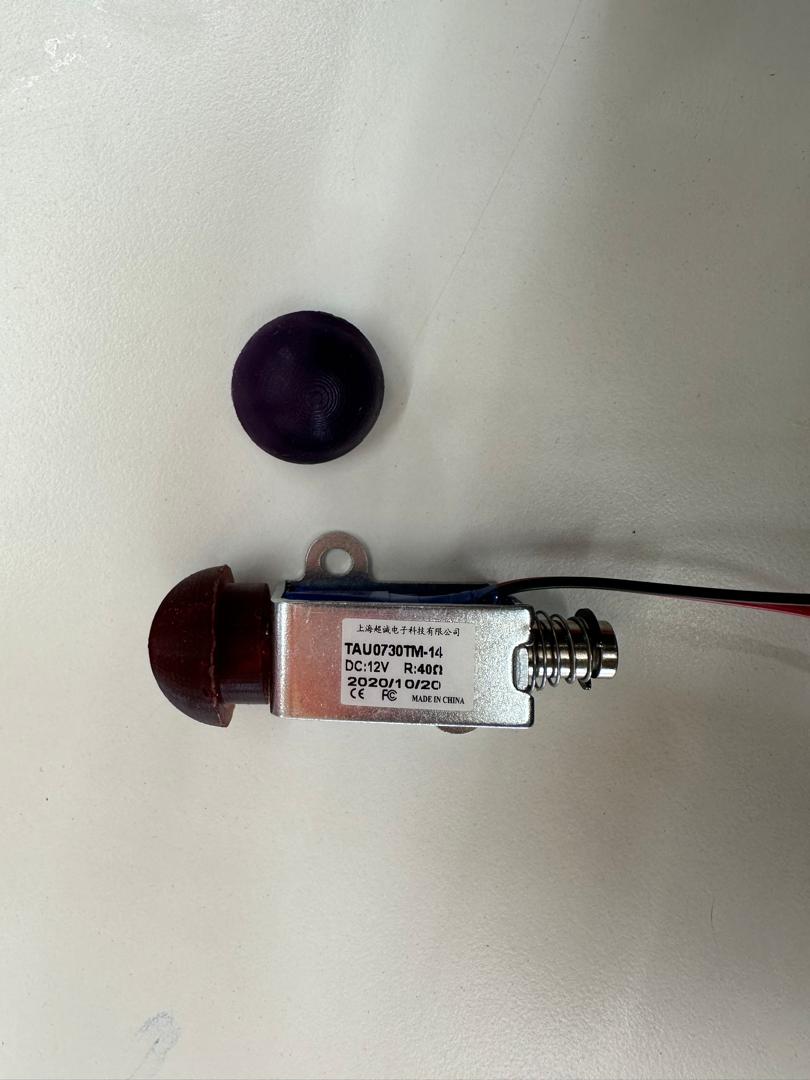
Final Product
This is a cap I designed for solenoid and it fits perfectly. I also like the feel of the product.
Note
All through the process, I was always wearing gloves and Apron following all the safty procedures mentioned for each material.
Polyurathane Rubber
Failure
I also tried using ployurathane rubber as my casting material but I was not able to take out the cast and ended up breaking the Mold. The problem was because both are plastice, it was sticking to each other.
I should use Rasin printed mold with poly Urathane rubber.

I made in total 4 molds. out of which 2 gave good results.