Principles and Practices, Project Management
Things to do this week:
| Task | progress |
|---|---|
| Documented steps for setting up your Git repository and adding files to it | done |
| Make a website and described how you did it(MKDOcs) | done |
| Photo compression | done |
| Final project ideas and describe its functions. | done |
| Read fablab chater | done |
| signed and Uploaded student charter | done |
| Introduce yourself in About me page | done |
| Pushed my work to GitLab Repository | done |
Getting started with Git
what is GIT?
“Git is an open-source and fast version control system that tracks changes in computer files and handles small to huge software development projects. Git is a top-rated utility for software developers, allowing them to work together without disrupting each other’s work.” ~ from web
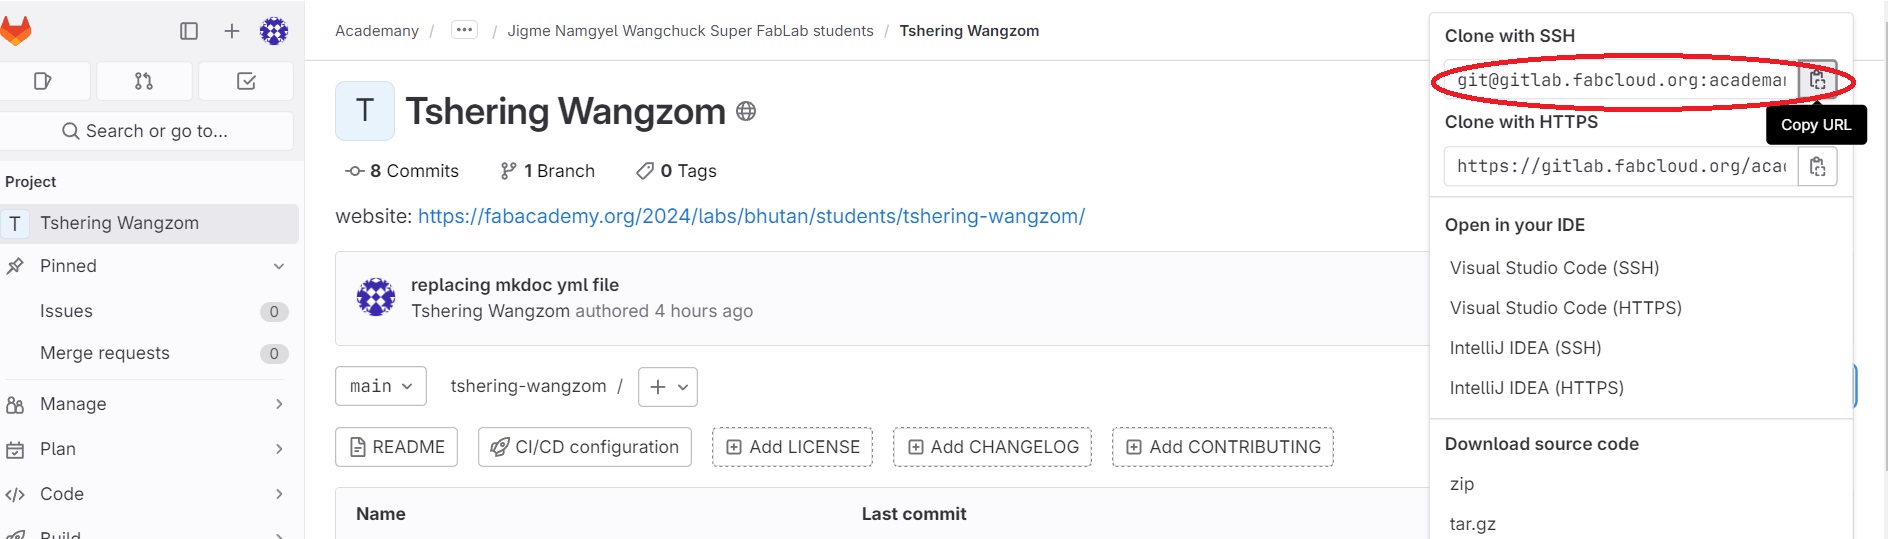
I had been using gitlab for awhile( not extensively) so I already had git installed in my laptop and knew how to push and pull. But here is where you can download git.But I have always been using https link while cloning so using ssh was something new for me.
Also something that was also new was during Neils class someone asked “what we are not not using github?”
Well the answer was: github is owned by Microsoft and is not free where as git lab has open source licence and allows self -hosting capabilities. Also git means an annoying in british dictionary which is definitly true for first time users.
Git commands
Firstly, need to get fimilarized with git commands after downloading and installing git. There are overwhelming amount of git commands but our guru Rico shared an interesting picture.

Those 4 commands are most important commands. Here are the list of comments I used and will be needed.
-
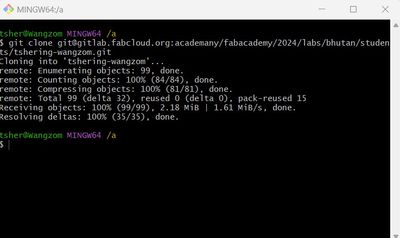
git clone: to download your repository from online gitlab. After git clone paste the git link(https/shh) -
git status: to check what has changed. It is a good habit to run this comment often. -
git pull: to download the latest update from the online repository. -
git add .: To add ALL the changes to the next commit -
git add [file name]: To add the file changes to the next commit -
git commit -m "you message": to confirm the change to push to the repository git push: pushing the changes made from remote repo to online repo.cd [name of the file]: to navigate to the particular filels: list all the files and folders in the current directoryclear: to clear the git terminal
You can find the cheat sheet for git here
Creating SSH-KEY
I am using git bash as my working terminal. This are the steps I took:
1. Type git config -- global user.name "your_name" and press enter
2. Type git config -- global user.email "your email" and press enter .
Step 1 and 2 was to add Git username and email to identify myself.
To generate the SSH-Key
-
Type
ssh-keygen -t rsa -C "$your_email"and press enter. Then the ssh-key image gets generated. and also a .ssh folder gets created. -
To check you key type
cat ~/.ssh/id_rsa.pub
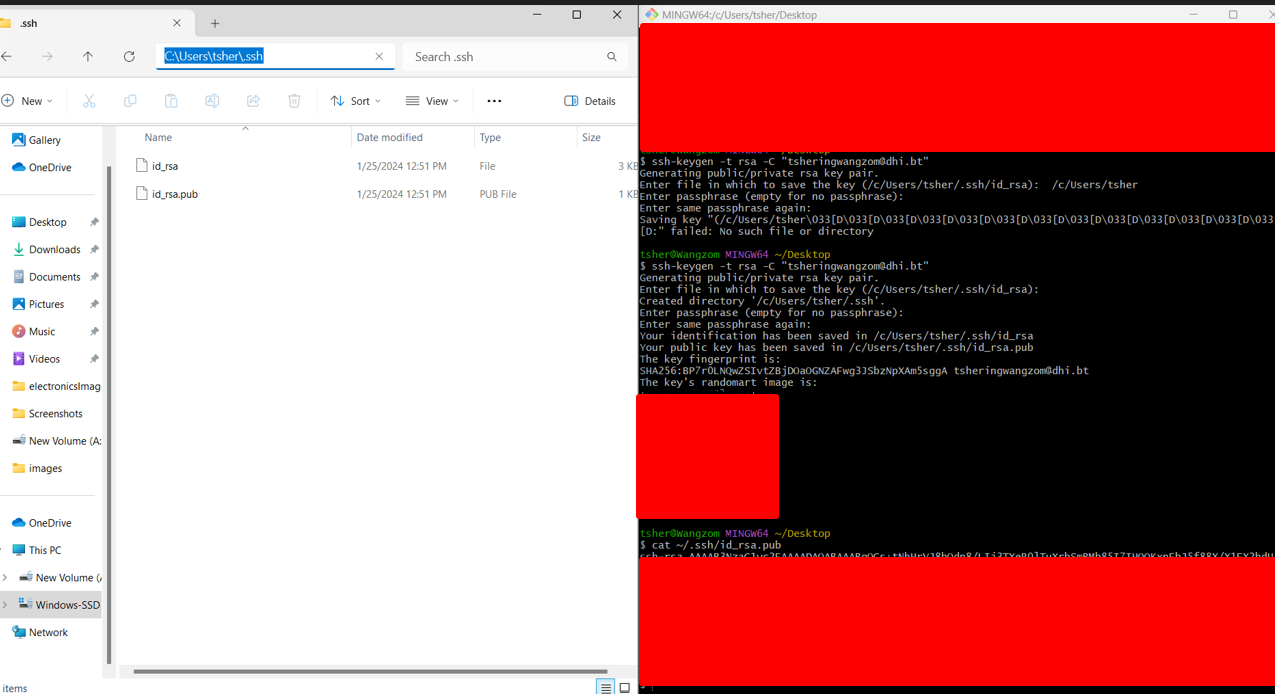

Success!!!
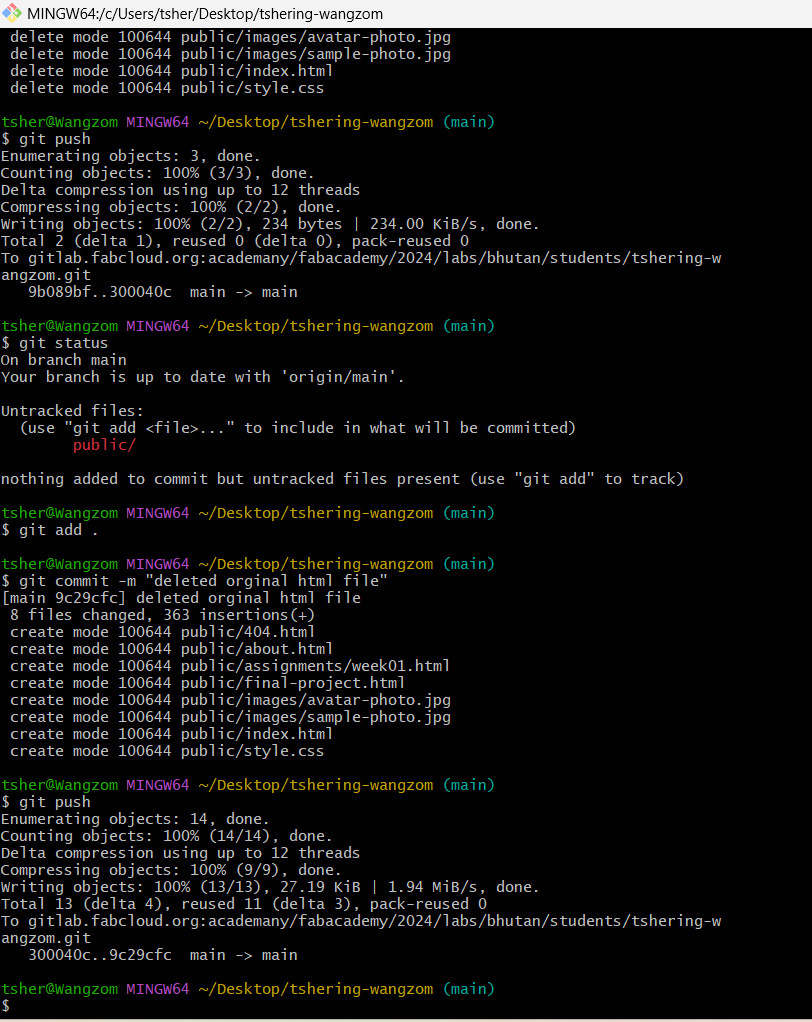
Next I was to clone the repository from git lab and the picture below shows how its done.
Errors
- Permission Denied
- Connection Timed Out
- pipeline issues
1. Permission denied
I came across an ERROR where I was not able to pull from the repository. I looked online and found out that I needed to run the git bash as Run as adminstrastor and do the whole thing again of creating SSH-KEY.

2. Connection Timed Out
This was the problem I was facing while trying to push from my home. I asked in the golobal recitation and Thinley and Julian answered my question.

The problem was my home network which was blocking the SSH-key. I tried hotspotting from my phone and it worked. Julian also suggested I try creating a token for git repository.
3. Pipeline error
I was facing this problem alot because of small typos and mistakes I made in editing my MKdos.yml file. MKDocs.yml file helps link your markdown to the the server for hosting but if there are any errors in the file then the pipline fails to load the “page” to be hosted. After global session , Julian had explained where to look and I finally figured out my problem. I recopied the .YML file and re-edited this one carefully and then I was able to launch my website.


Starting with my website
The website template that I had cloned was in HTML. Though I have little experience I am not that comfortable so I decided to use MKDocs and Clone student template developed by Julian.
I was also going to use Vscode which is a Intergrated Development Editor (IDE) as my editor,which I already had installed in my laptop.
Installing MKDocs
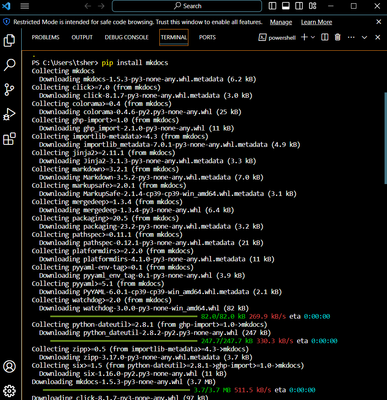
- First installed python as I wanted to use pip to install MkDocs. I installed Python from Microsoft store.
-
I opened a terminal in VScode and wrote the following codes
-
pip install mkdocs
Writing my first page
I took reference from MkDocs user guide to learn more about Markdown.
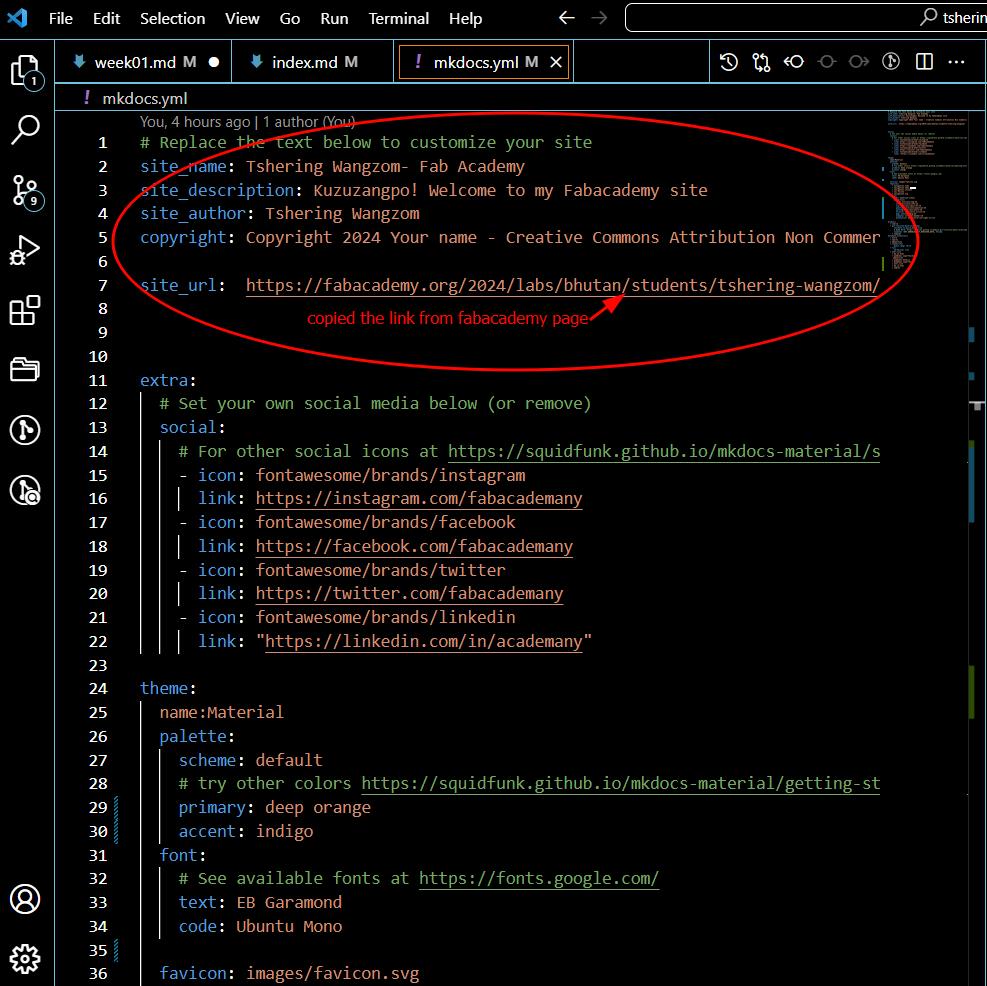
I opened the student template folder in VScode. I started with editing the mkdocs.yml file. I tried adding few extentions and edit the theme.
MKDocs does not have that feature.

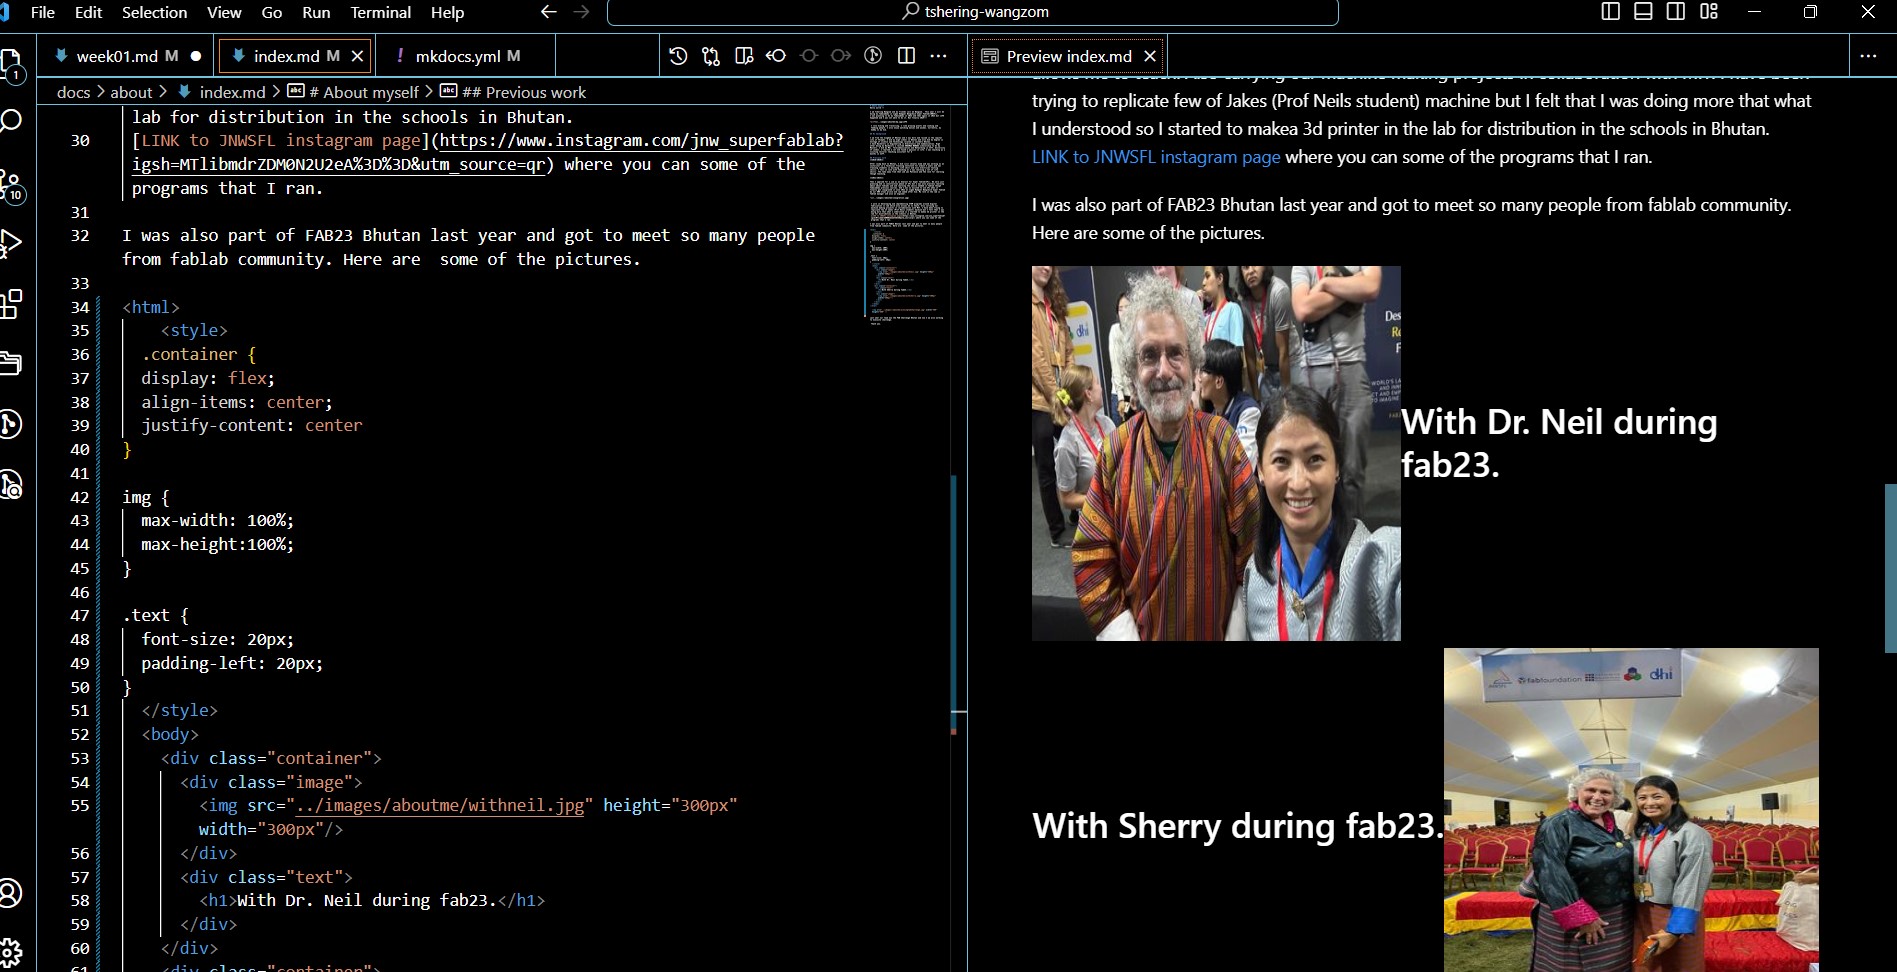
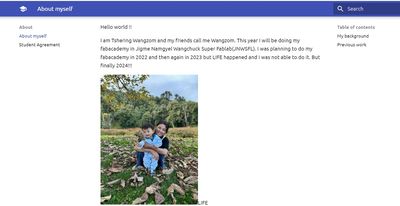
Then I started by writing the About me page. I used the cheat sheet for the markdown from this Link
I also used few HTML code for arranging the pictures in the page as
First git push
SUCCESS!!!
Other pages I referred:
VSCode and Git
You can also use VScode for git and for that you can download git extention:
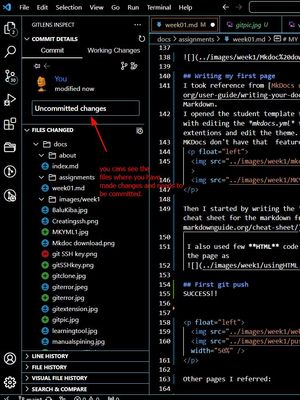
On the right side of the VSCode click extension-> Then search for Git extension-> and install the git extension pack as shown in the picture below.

Once to open you folder you have cloned, you will automatically be able to see the commit updates throught the GitLens Inspect. As mentioned above, I ma using ggitbash so I didnot really explore this feature but it is nice to see the changes you have made while writing. You can also see changes and files you have modified with color codes.

MY FINAL PROJECT IDEAS
I am still trying to figure out what to do for my final project. I have three ideas for now.
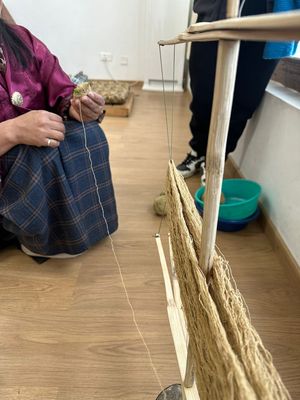
1. Yarn Spinner
This project is inspired by the the weavers of Royal Textile Academy who struggle manually spinning the yarn which takes a lot of time and in painful on their hand. So the process of spinning the yarn starts from making a ball out of a raw and freshly dyed yarn and then they again yarn many ball together to make it into an thick yarn. The machine a was thinking of will help spin indicidual yarn and then again spin several yarns into one yarn. But the yarn that is machine will spin will not be a ball which is necessary for the weavers. I was also thinking of puting a screen which will calculate the length of the yarn.


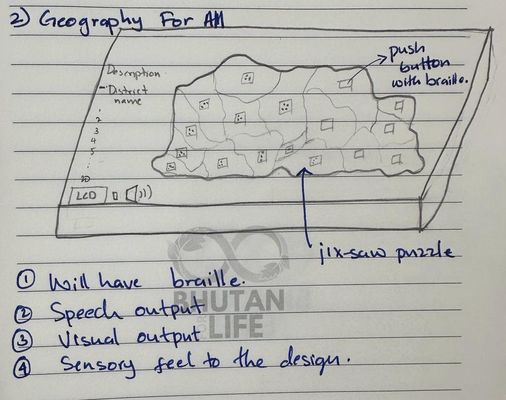
2. Bhutan Geography for all
This is being inspired by a project our team is carring out on developing Assistive Tech for people with special needs. But we have not developed any learning tool and it is almost impossible to find an AT for Bhutanese Context.
The tool I am thinking of making will be to teach visually impared students the geography of our country though sensory design and voice output. When the buttons are pushed, the description of the district and other information will be an output. and also this can be a jix-saw puzzle.
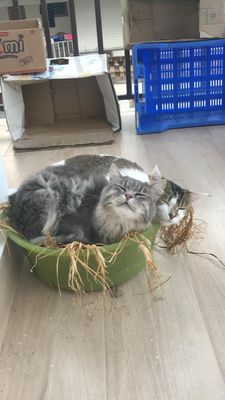
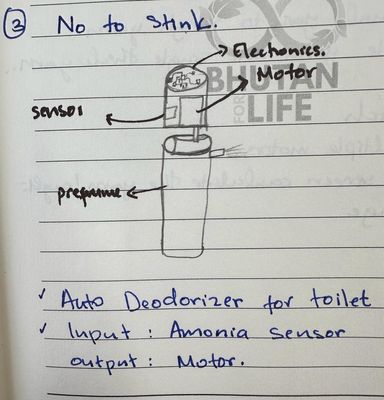
3. NO to stink
Inspired by my cats BALU and KIBA who has been trained to use the toilet but they dont know how to flush.
This machine wil automatically Spray the perfume when it detects the smells with the help of a motor that will get activated by the sensor.
Something more I can so with this is make it into a air purefire plus and spay perfume.