Computer-Controlled Cutting
 HELLO
HELLO
| Task | progress |
|---|---|
| Linked to the group assignment page. | done |
| Explained how you created your parametric design. | done |
| Documented how you made your press-fit construction kit. . | done |
| Documented how you made something with the vinyl cutter. | done |
| Included your original design files. | done | Included hero shots of your results. | done |
Laser Cutter machine(Tortec)
Group Assignment
I started this week carrying out laser cutting tests and learning about our laser cutter as our group assingnment. You can find the assignment in our lab link week3
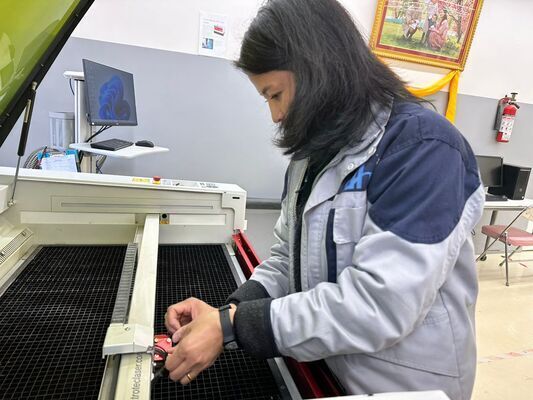
Our Practical class started with learning about the safty procedures with laser cutter. We have two laser cutter, Tortech speedy 400 flex and Tortec Speedy100 (I already knew how to use them) but we were still given a crash course and also we were taught how to clean the lens.
Tortec speedy 400 flex: CO2(80W) and Fiber(100W)
Having a fiber laser allows it to engrave of hard materials such metal and glass and also cut soft metals.
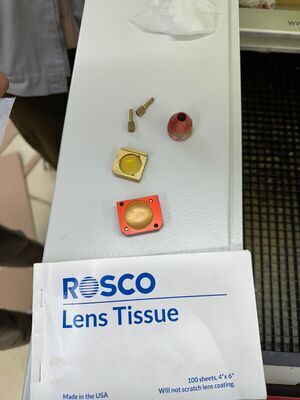
We removed the lens and used the lens tissue that came with the machine to clean the lens. It was quite dirty so we also used IPA to clean the lens and also the laser cutter. It is not necessary to clean the lens after every job but after doing a heavy work it is recommended as a dirty lens effects the focus of the lens.
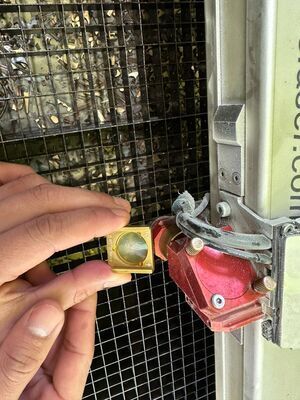
I place the lens back and tightned all the screws.
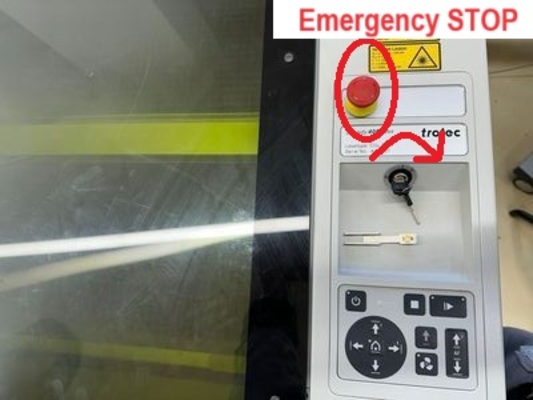
Next, we turned on the laser cutter(We used the Tortec flex400) by turning the key in direction shown below.
**DON’t be afriad to press the emergancy button”.
Wait for the Beeps
After you turn on the laser, we should wait for the laser for beep twice and dont open the LID, as it homes itself to its orginal position.
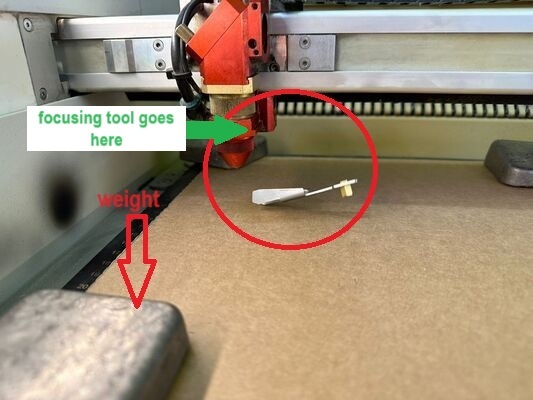
Next, place the job piece/material and make sure it is flat, as it can effect focus of the laser beam. Thats why we have weight on top of the cardboard. Be careful of the weight while moving the laser as it might hit the weight, thats why I prefer placing it on the corners.
After, we perpare the material, we do the focus the lens on the material by placing the Z prob at the side of the nozzelshown below. Slowly, we bring the bed up towards the nozzel by using pressing Z on the laser planel. Just when the prob touched the materils, the probe will fall and that will be our Set Z.
Thats all the setting you will have to do for the laser machine.
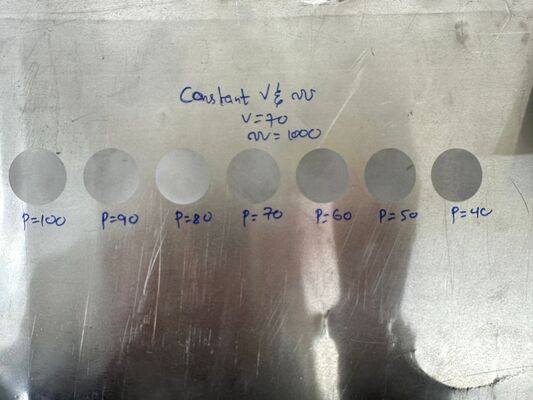
Now jumping to the software part: As shown in the group assignment, We performed several test to study the characteristics of the Speedy 400, like the speed, power, pulse rate and focus. For this, simple design was created in InkScape with differnt colors and different settings were made in Job Control of laser cutter.
Observation: Varying the power and speed of the laser beam grately effected the engraving. When the power high and speed low, the engraving will be very dark because there is more burning but even with high power and very high speed the engraving come out to be lighter. The max pulse the machine went for cardboards was 1000 pulse. We also tried engraving on aluminium and it was the pulse went to 20000 which was engraving fiber laser. For the same design and setting as the first scenario, there not much of a differance that can be seen.
We carried out the Kerf test, which must be done before the making our Parametric design for this weeks assingment. we tried the kerf test on 5mm cardboard and we found that the kerf was 0.2 and we need to make design with 4.8 clearance.
Laser cutter rules
- Never leave the laser cutter alone when in use.
- Always turn on the ventilation before using the machine
- Always get your material verified if it is a new material.
- Always keept fire blanket and fire extenguisher near the machine.
- Use fire blanket first before using the extuingusher for machine safety.
- Use safety Stop button for emergency interrupt of the power supply
-
Never forcfully use the machine with laser door open
-
Always clean the residue after work as it can catch on fire during the next job.
Parametric Design
I used Fusion360, to do my parametric design.
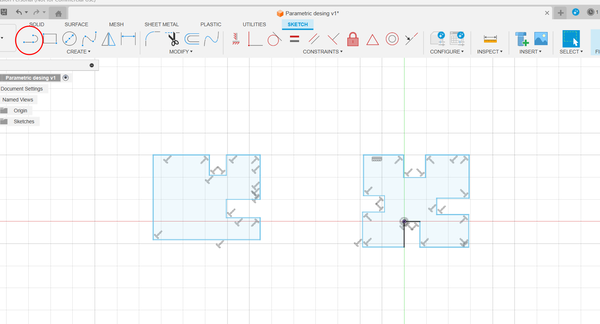
- I started by making a sketch using lines without giving any dimentions and it automatically gave perpenducular contrants.
-
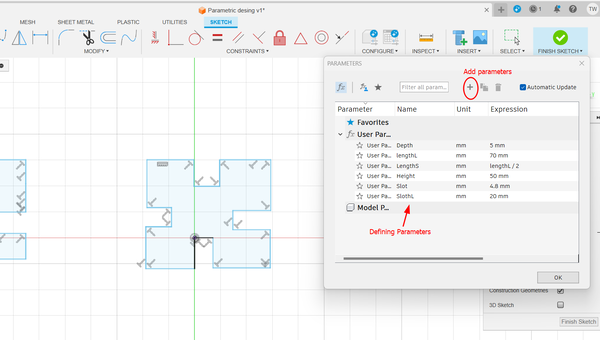
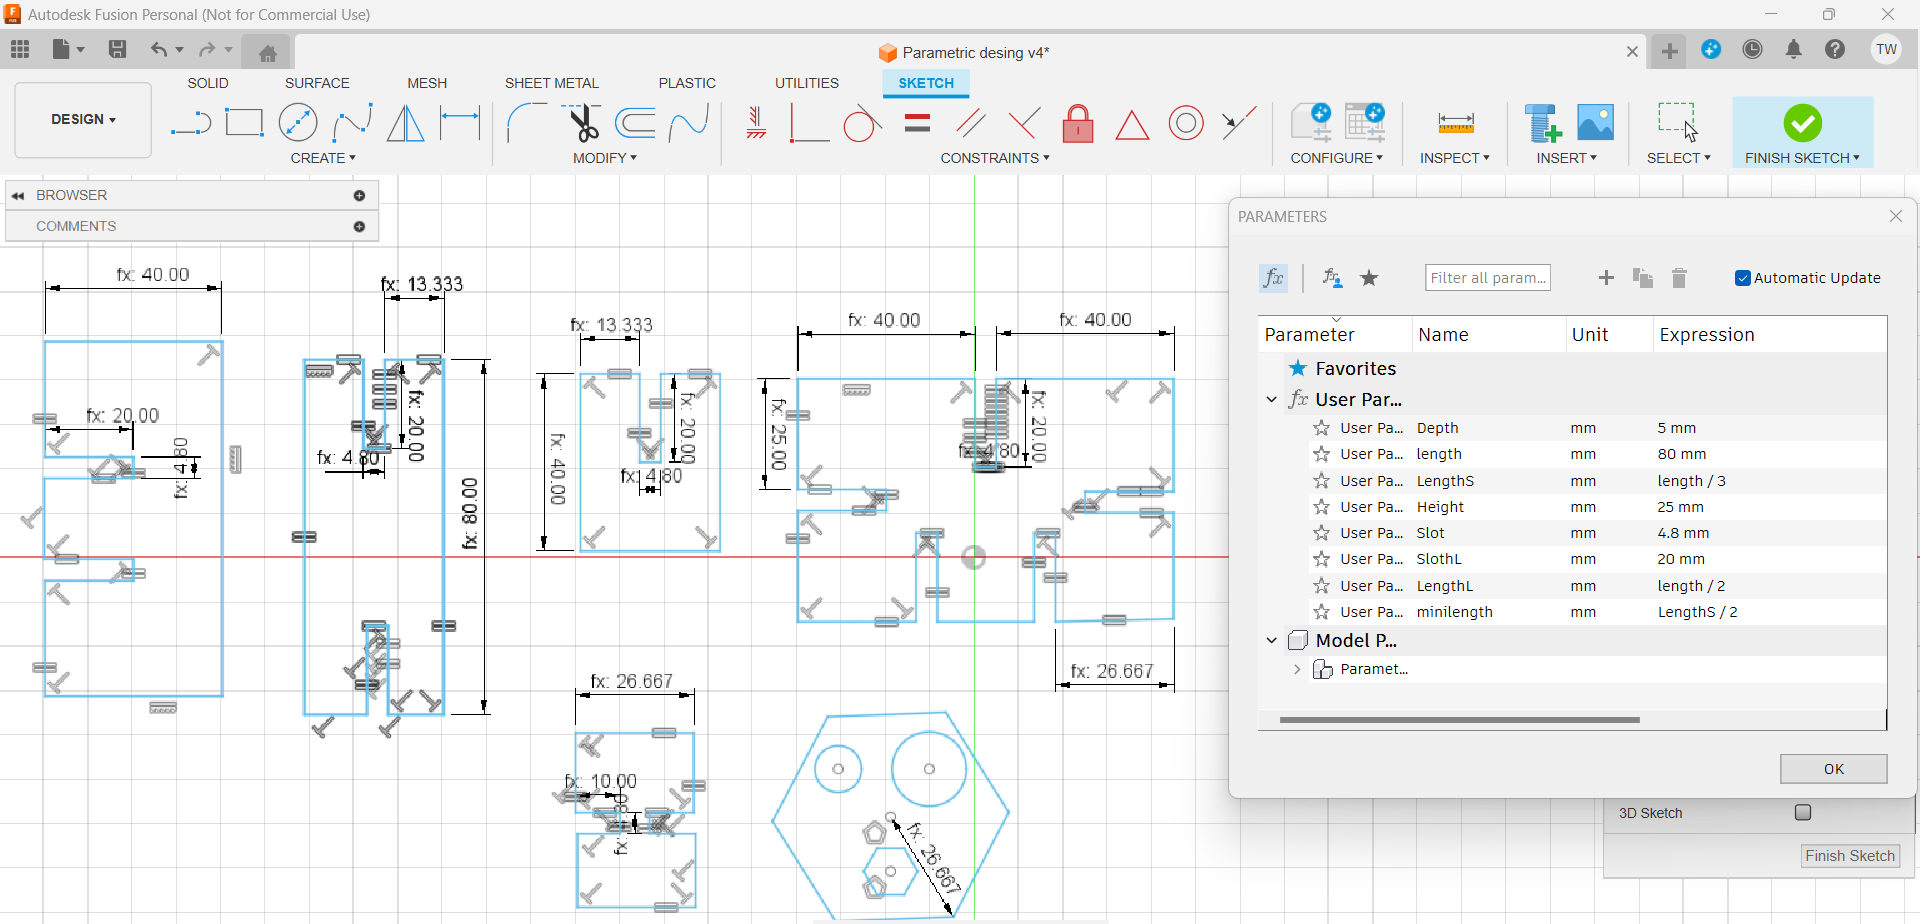
Under Modify, you can find parameters. I added few parameters I was thinking of using and you can see them in the picture below.
-
While considering the Kerf, I gave the slot 4.8mm which gives clearanceof .2mm.
-
I added around 6 parameter with length, depth,height, slot length, slot width. Few parameters are depended on each other like the lengths.
 - By pressing the d on the keyboards for dimentions, I started giving the dimentions that I had defined in parameters to few of the lines.
- After, I used Constrants equal to give contains.
- By pressing the d on the keyboards for dimentions, I started giving the dimentions that I had defined in parameters to few of the lines.
- After, I used Constrants equal to give contains.
Note
You need to be careful not to over constrant your design by giving only one constrant on single lines. I got a lot of over constaint error to learn my lesson
- I used the extrude option to give it a width of 5mm. And use the Move and Copy to replicate my design.
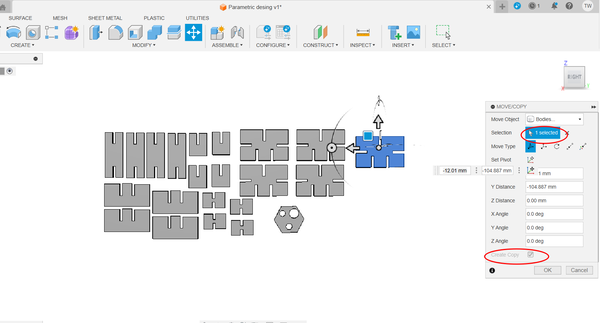
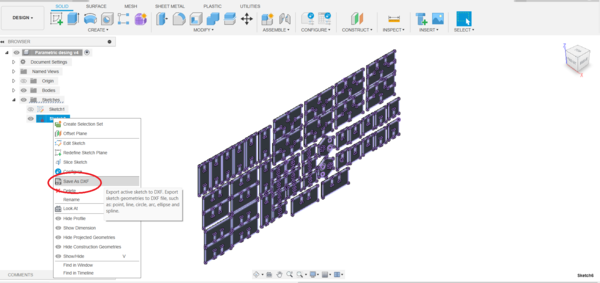
- Finally, I created a new stetch to project my new replicated designs.
- I saved the new sketch as .DXF file by right clicking on the sketch and selecting save as dxf.
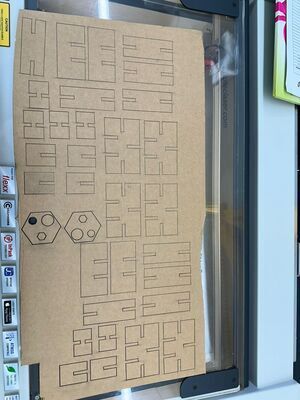
Laser cutting my Parametric kit
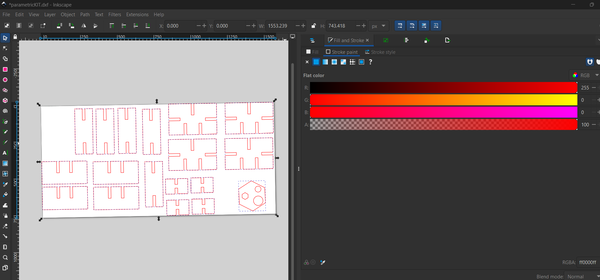
Firstly, prepared the laser cutter as explained earlier. I opened my dsign file .dxf in inkscape of the (Tortec speedy 100) computer by importing. - Made some changes to the file like the stroke style (I used o.o1mm stoke and red color).
Note: make sure to keep your stroke style always smaller than the hairline(not even hairline)
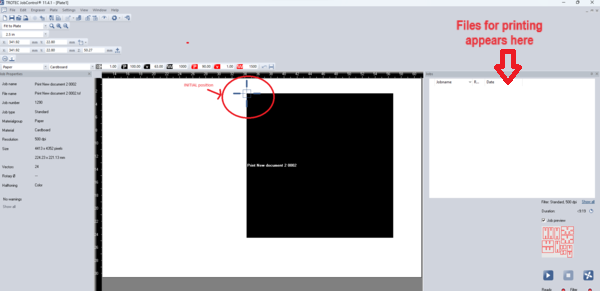
- Print your desing and select tortec speedy 100, make preference changes by selecting you material and give the print command. The desing gets send to the job controller which is the interface of laser cutter.
- Shown below is the laser cutters Job control interface. Once the laser is connected to the computer, the laser cutter current location is shown on the screen as shown in picture below and the file that you send to print appears on the right side.
- Drag and drop the file nearest to the laser tip.
-
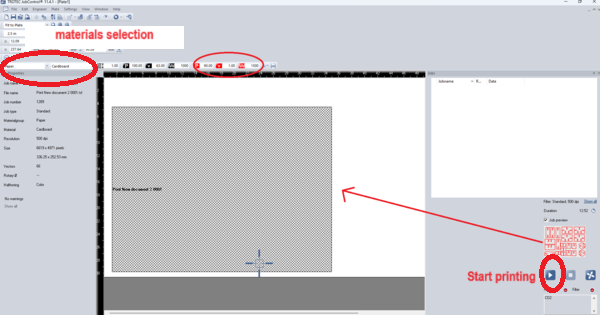
It is also necesarry to select the material (paper and Cardboard)and also adjust the power for cutting indicated below by red circle.
-
Here are the setting for my machine:
- P ~ 90
- V ~ 1
- Frewuency ~ 1800
-
Press the play button on the buttom of the controler.
Note
Once done cutting the laser position changes too so it is also important to note the lasers initial position, just incase you have run the laser cutter again in the same position.
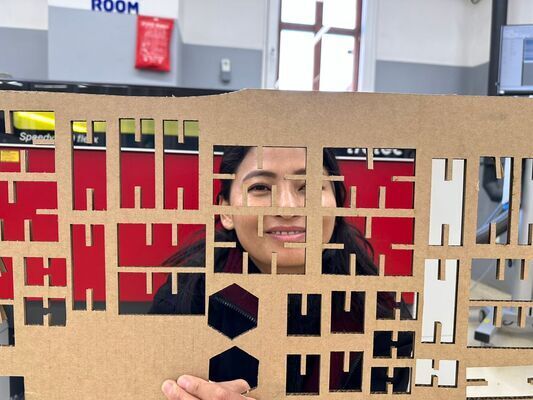
It was a perfect first time attempt and was perfectly fitting.
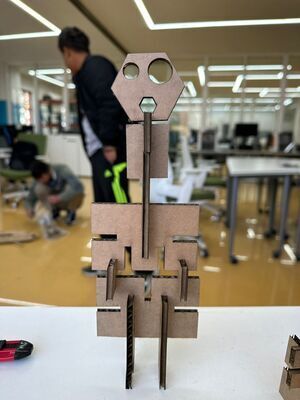
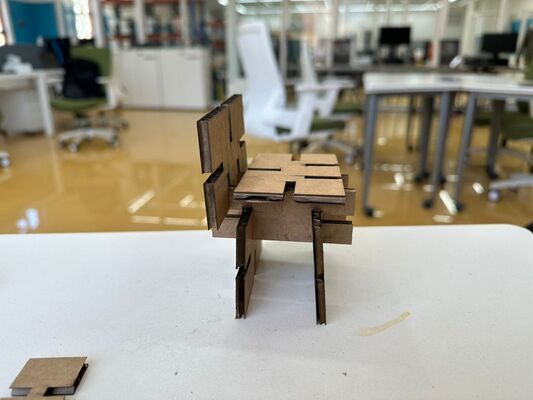
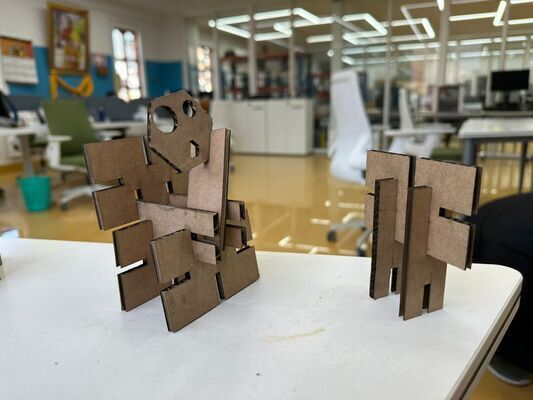
Parametric Kit assembly
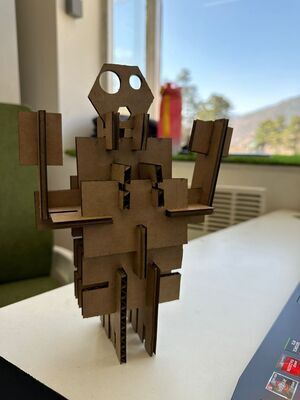
I wanted to make a robot structure, but I played around with the kit and was making some other weird stuff. lol.
Walley!!
Skinny Walley!!
Thats a chair.
I am not sure if you can see, but is a person WOW watching a TV haha!!!
Vinyl Cutting
Design File
I started by opening a new deocument in Inkscape and opened a .png file of our labs logo.
- Because the logo was a Raster file, I converted the Raster file into Vector file by doing tracing bit map.
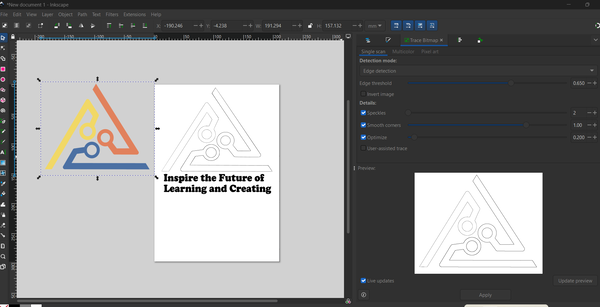
We only need the outlines of the file so doing an edge detection was perfect.
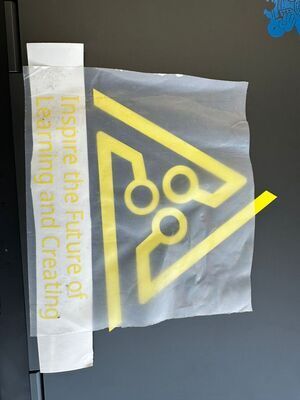
- I also wanted to add our labs vision here and I did that by writing text and then removing the fill.
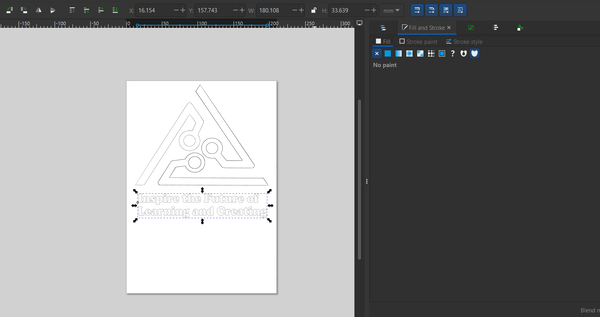
My image is ready to be vinyl cut.
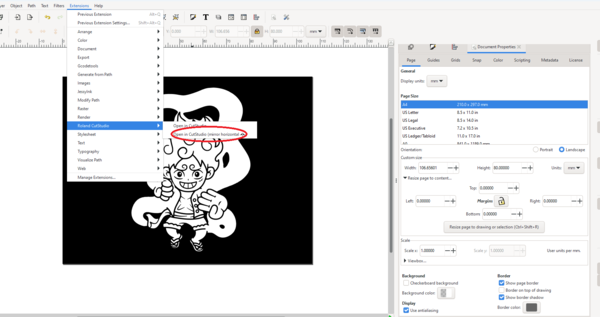
Our lab had Roland cut studio Vinyl cutter, so you download the extention for machine and install them in you inkscape. The extention appears in the inkscape as shown below.
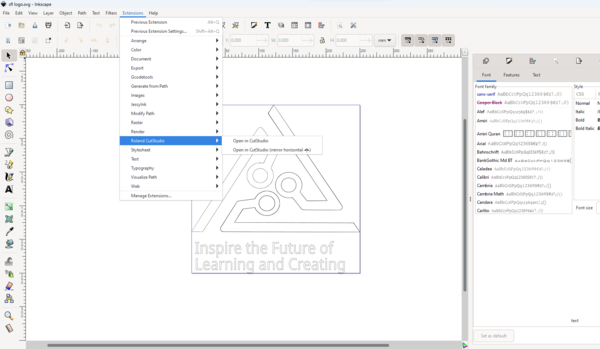
To cut a sticker, click on the extention and open in roland CutStudio.
Machine Setup
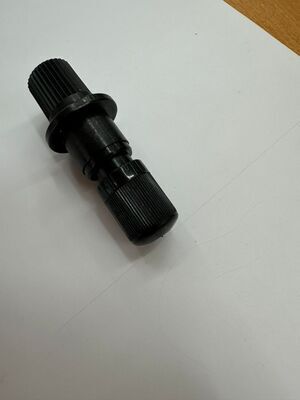
Blade
Now, lets set up the machine by checking the blade first. The length of the blade can be adjusted by turing the knob on the blade holder. Make sure only little of the blades tip is out as shown below. Good way to know is when you feel a scratch on you finger when you lightly run a finger over it(It wont cut you).
Different Types of Vinyl
In our lab we have two types of Vinyl, Adhesive/ sticker Vinyl and Heat Transfer vinyl(HTV) for clothes.
Inserting the Vinyl
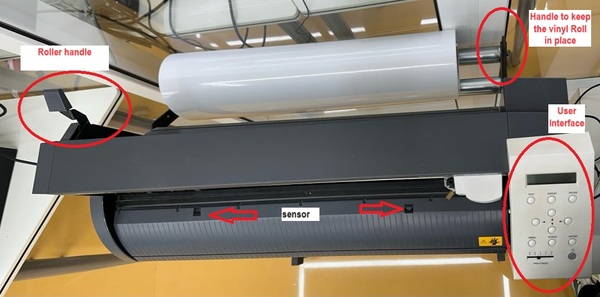
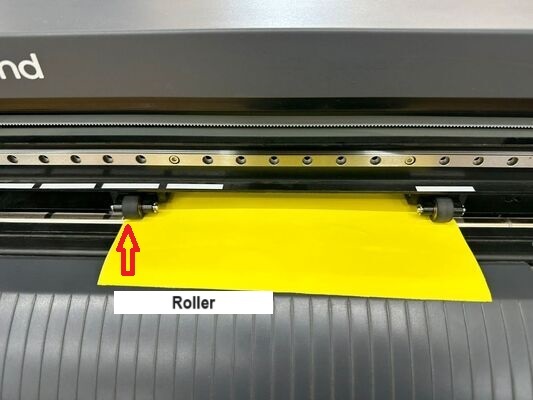
- Next, Make sure the 2 Rollers are locked first by using the Roller handle.
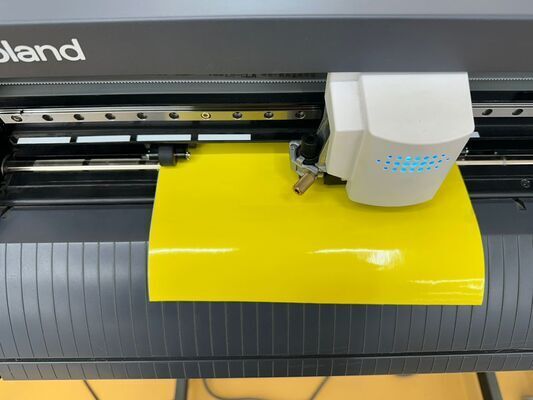
- Place your vinyl on the bed of the roland by slipping the vinyl through the gap from behind. I am using a left over vinyl Piece.
- Always make sure the Vinyls are between the two white line seen above the rollers and also covers one of the sensor. (This ensures that the machine detects the vinyl)
Go to the Interface to set up the work station.
- By pressing the menue button, you can select the type of materils you have, is it roll, Edge or piece.
-Select Piece by pressing enter as I am using a piece of vinyl paper.
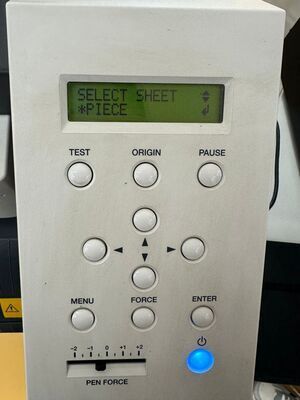
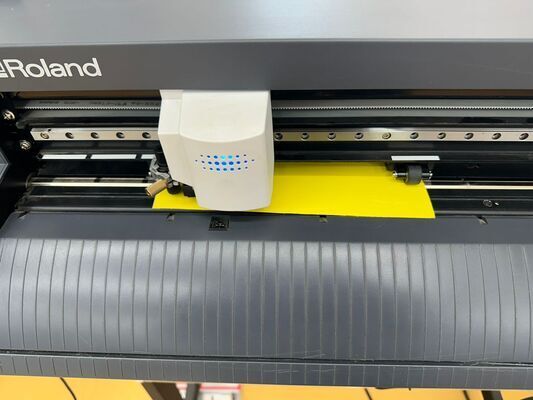
- Once you press enter, the cutter moves to the location of the vinyl and starts measuring the size of the material.
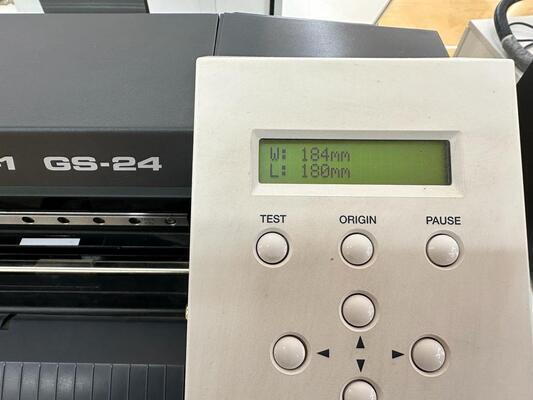
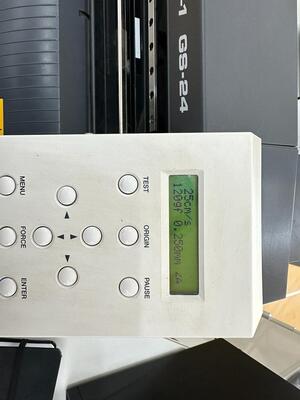
- Also, set up the force of the blade by selecting the force after pressing the menu button. Select the force by pressing the up and down arrow button. In my case I used 120gf.
Finally, the machine is ready to cut sticker that is open in Roland CutStudion.
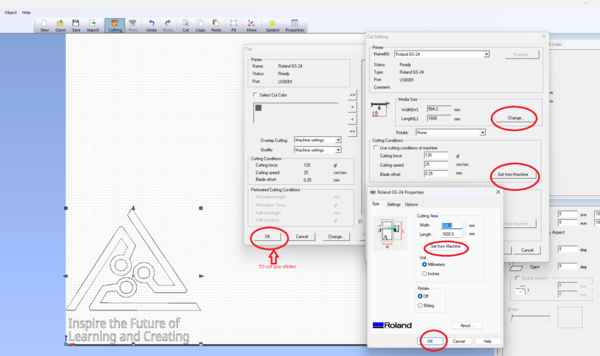
- As shown in the picture below, click on cutting preference on the CutStudio and get the parameter like size of the vinyl sticker and force from the machine.
Note
Don’t press OK after getting the parameter from the machine. Always adjust your sticker on the studio and make sure you don’t waste any material.
- Once you press OK, Roland starts cutting your sticker and it was done in less than a minute.
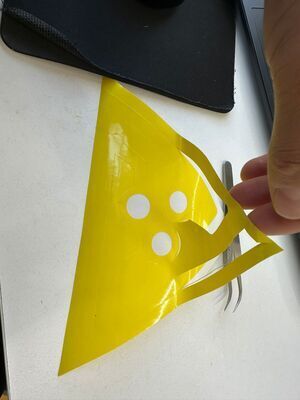
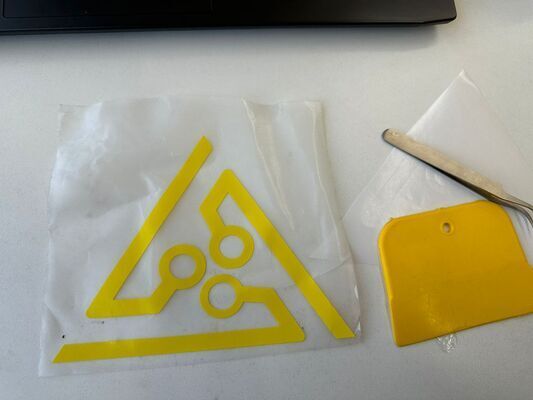
Weeding
I cut my sticker in samller size and seperated the letters from the logo, as it was difficut weed the letter. (If your machine force is set to right amount, the sticker easily comes off)
Used twizers to weed my stickers.
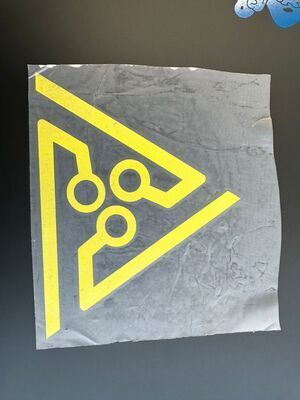
Transfered my sticker on a transfer tap and used a squizy to make sure it get perfectly transfered.
Reused the transfer tap for the letters. I took a lot of effort to weed the letters. I don’t know if there is any trick to get it out easily. Maybe it also depends on the font as my font was thin but thank got I didn’t choose any fancy fonts.

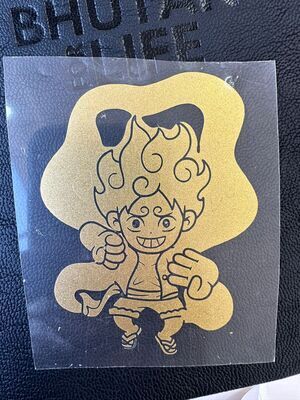
I love watching Animes and sangay had made this very cute sticker, I thought I would look good on a t-shirt.
- For t-shirt/ HTV stickers, you need to cut the sticker in Mirror and you do it though the Inkscape extention as shown below.
- You need to place you HTV sticker with soft part facing the blade. And following the same process as before I cut sticker for a t-shirt.