7. Computer controlled machining
For this week I decided I wanted to do some form of free standing shelf. I want on Etsy and searched SVG Shelf, after a while I found a shelf that was hanging and used zigzags in a cool way. The Etsy Project is here. I liked they way the shelfs looked and made them on my own. For group work I tested the toolpaths of a profile cut, and tested the diffrence between Outside, On, and Inside.
ZigZag Shelf
Files
Fusion Shelf file laser test cut Fusion Shelf Final Aspire and more
Sketch
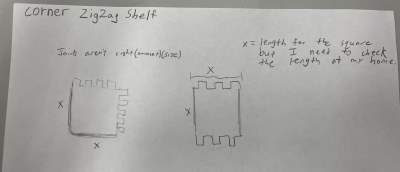
After finding the example image on Etsy I went and started a small sketch to get a feel for what each piece was going to look like. I realized that there were only going to be 2 different pieces so I quickly sketched those out. Here is what my sketch looked like:
Fusion 360
I decided to create my file in Fusion 360 because I can use the fusion parameters to rescale the image how I want. Here are the files I created in Fusion for this week:
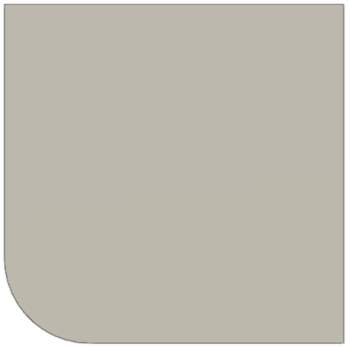
For creating the file I measured the corner of my room where I would put the shelf. 8in came out to be a good size to use. I then added tabs so that I could connect them.
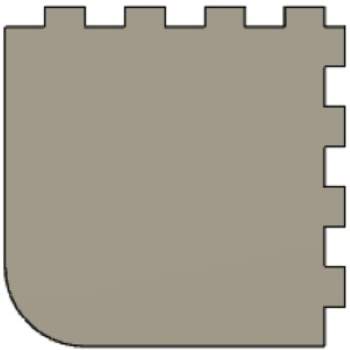
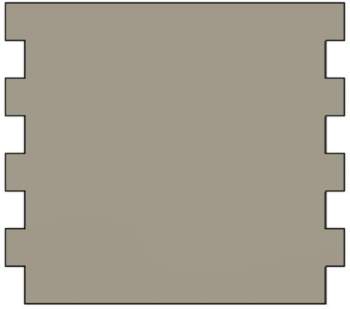
I then laser cut those Horizontal Piece and Vertical Piece using tabs, file.
The second and last edit I made was when Mr. Dubick showed us the Domino machines that can be used to insert dows into wood and I decide I’d use that machine instead of tabs to put my shelf together, this is the file where I changed that and I exported this file to Aspire, file.

Cardboard Test
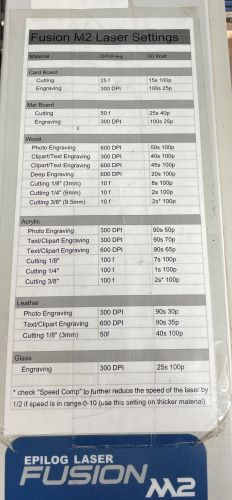
Before using the CNC machine Mr. Dubick wanted us test out design to make sure they work using the laser cutter. So I imported the file into Corel Draw after turning my Fusion 360 file into a drawing an exporting it as a pdf. Once it was in Corel Draw I hid every layer I was not going to cut and I cut two of each piece so I could test every pair of tabs then clicked print. Since I was using the small printer at Latin, I had to edit the settings through Corel Draw. Here you can see a piece of paper we added to the printer to show all of the settings you could need:
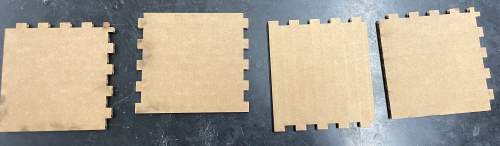
I used cardboard cut. The I sent the cut to the small Epilog. After it cut these were what my pieces looked like:
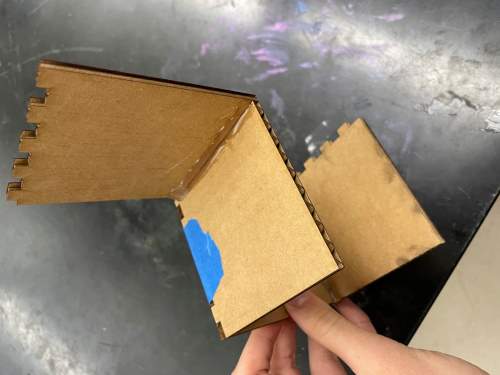
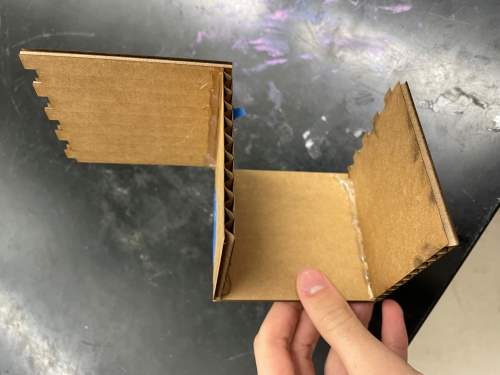
Using painters tape to help hold the pieces in place, I glued the tabs together so that they would stay connected. Here is what they looked like together:
Aspire
Once I was done testing with the laser cutter I moved my file into Aspire. To do that I exported my file as a dfx and opened it into Aspire. You might of noticed that some pieces have tabs to connect to eachother and others don’t and it looks like they won’t fit together but the nesting tool changed their orientation.
CAM
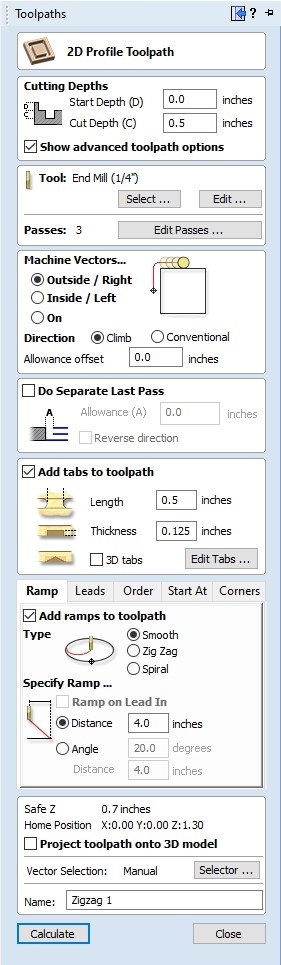
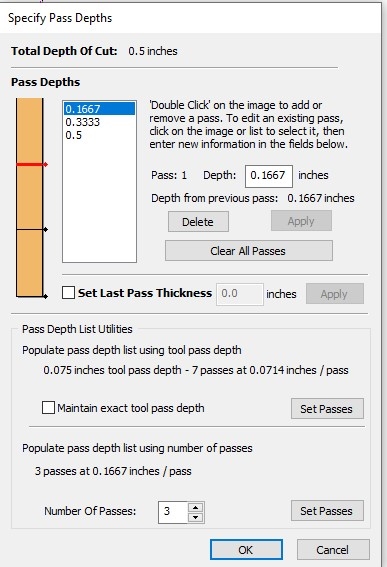
In this first photo you can see all the settings I selected for the cut, this is the CAM section. You can see I selected a .5in cut depth because I was using .5in wood. I then selected the toolpath to cut outside the lines of my cut so that I would get the dimentions I specified in my cut. I also selected .25in end mill bit. And you can see the amount of pases I used in the second image.
CNC Machining
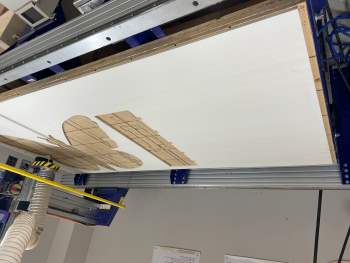
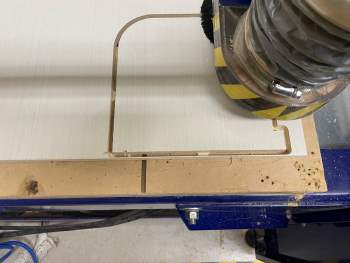
I used the Alpha Shopbot to cut my shelf. For my cut I used half inch birch plywood, Mr. Budzichowski helped me set up my piece of wood in the Shopbot bed using special nails and a nail gun. This is what the plywood looked like in the shopbot bed:
He decided that I should use a piece of wood that had already been cut on, but he thought it would be big enough for me. Since we changed the piece size we had to change the file size so make sure my pieces would fit, they did. But just in case, Mr. Budzichowski showed me a new tool in Aspire called Nesting. Nesting would put each vector as close as it could, you can change the distance between pieces. Then I was able to save the file of my toolpaths that I could upload to the Shopbot software. After that, using this workflow, given to by Mr. Dubick I was ready to cut.
This is an image of the first pass on the first vector it cut:
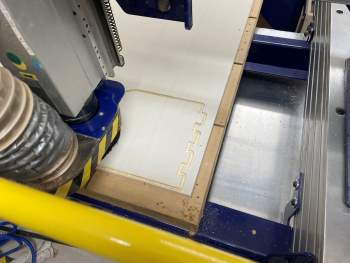
THis is an image of all pieces cut:
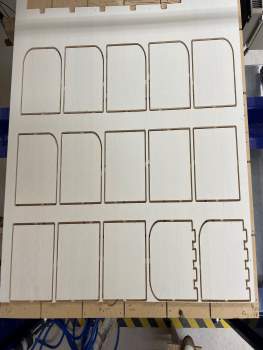
This is an image of the tabs that hold the pieces in place during the cut:
Post Processing
The main thing about post processing is I had to sand down all my pieces. But first I had to get them out of the Shopbot bed. To do that I used a hammer and chisel to break the tabs off. Once I was done with that it was time to sand.
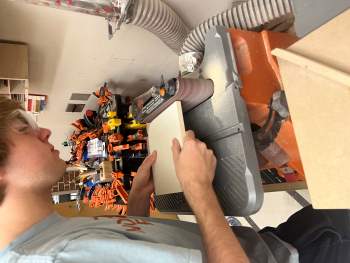
I started with using a belt sander to sand down the tabs I chiseled off. Here you can see me doing just that:
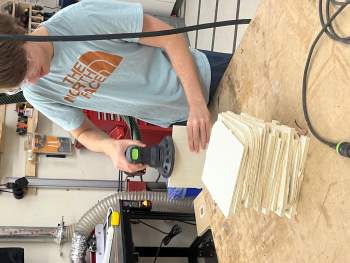
I next used 120 grit sandpaper to sand everywhere the cnc touched, so the sides. I went back and forth each side 3 times and the sanded all the corners because they had pieces sticking up and I didn’t want to get splinters. Heres a photo of me sanding:
Once I was done with sanding I was almost ready to put together my shelf, all that was left was to use the domino machine.
Festool Domino
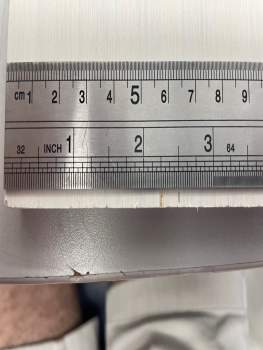
I had never used the Domino before so it was fun learning how to use it and using it for my project. Griffin taught me how to use the Domino and Mr. Dubick showed him how to use it.The way it works is it uses a bit, I used a quarter inch bit, and just moves side to side creating the perfect hole for a dow. You just push the Domino forward and it gets the cut done.
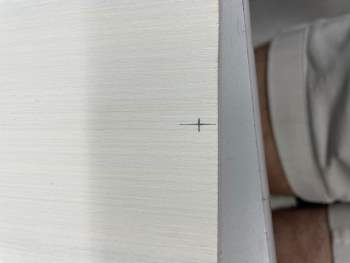
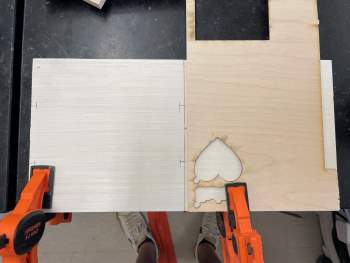
To help with lining the Domino up properly I marked all of my wood where I was going to cut. The first photo you can see that I marked in 2.5in on both sides of the wood to line everyting up, and in the second photo you can see where I made a plus sign so I could line the DOmino up properly for a vertical cut:
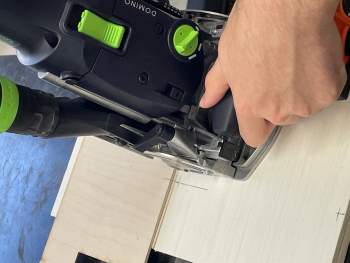
After that I created a jig to help me cut. The first jig I made was easy and it was for my horizontal cuts. For this jig all I had to do was put my piece of wood on top of a 8th inch piece of wood so that the Domino would cut in the middle of the piece and not through the top and once I lined my piece of wood up with the 8th inch I clammped them down so that they wouldn’t move. Here is a photo of that:
To make sure I cut in the right spot I lined up my pencil marks with the Domino, then cut:

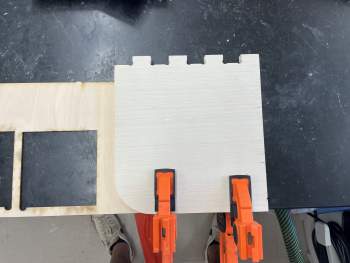
Once I was done cutting all of my horizontal pieces I moved to the vertical ones. I started by creating a jig for the veritcal pieces. To do this I lined up to of my pieces side by side, one piece I was cutting, the other was a spare I made to test with the Domino. I then put a 8th inch piece of wood on top of the spare piece to help line of the Domino, then I used the plus of the wood to measure 1cm between the plus and the 8th inch piece.
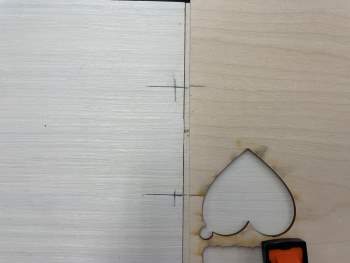
I then clamped down the 8th inch and spare piece with a few clamps and you can see the jig here:
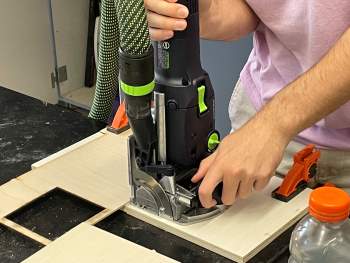
Once I did that I was ready to cut. Here you can see me line up my vertical cut:
And here you can see me cutting:
Domino Reflection
For the first time using it I didn’t think it was to hard to use it and it was helpful. Trying to cut horizontaly was pretty easy and I can see how that can be a very helpful tool for connecting to pieces of wood together. However without the vertical attachment, that Dr. Taylor told me about, it was a little unreliable cutting vertically. The set up for vertacally liked to move around enough to where ever other piece had a hole that was a little off. But besides that I enjoyed using this helpful machine.
Putting My Shelf Together
I started by putting the two tabbed pieces together. The first time I tried to put them together they didn’t fit, so I decided to sanded down the tabs so they would fit better. The next time I tried to put them together and used a rubber mallet to push them together and I was able to put them together.
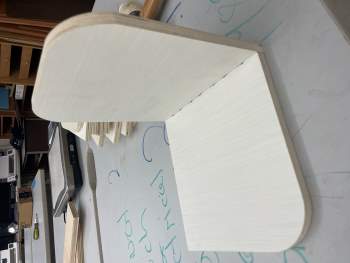
Then it was time to put the Domino pieces together. I thought this part would be hard but it wasn’t that bad, all I did was inserted the downs on half of the pieces then used a rubber mallet to force them together. Once I was done here is what my shelf looked like laying down:

What I Learned
This week I learned a lot. I learned how to take a Fusion 360 file and import it into Aspire. I learned the importance of dog-bone filets. I learned how deep each pass on the CNC can be based on the width of the Bit. I learned how to use the Belt Sander. And then I learned how to use the Festool Domino, and how to cut with it Horizontally and Vertically. I don’t think I will use the Domino in the future because (at least in this case) the tabs I used on my piece held together stronger than the Domino and I also noticed that other people that used the Domino experienced the dows don’t stay together too well.