Software PCB - English
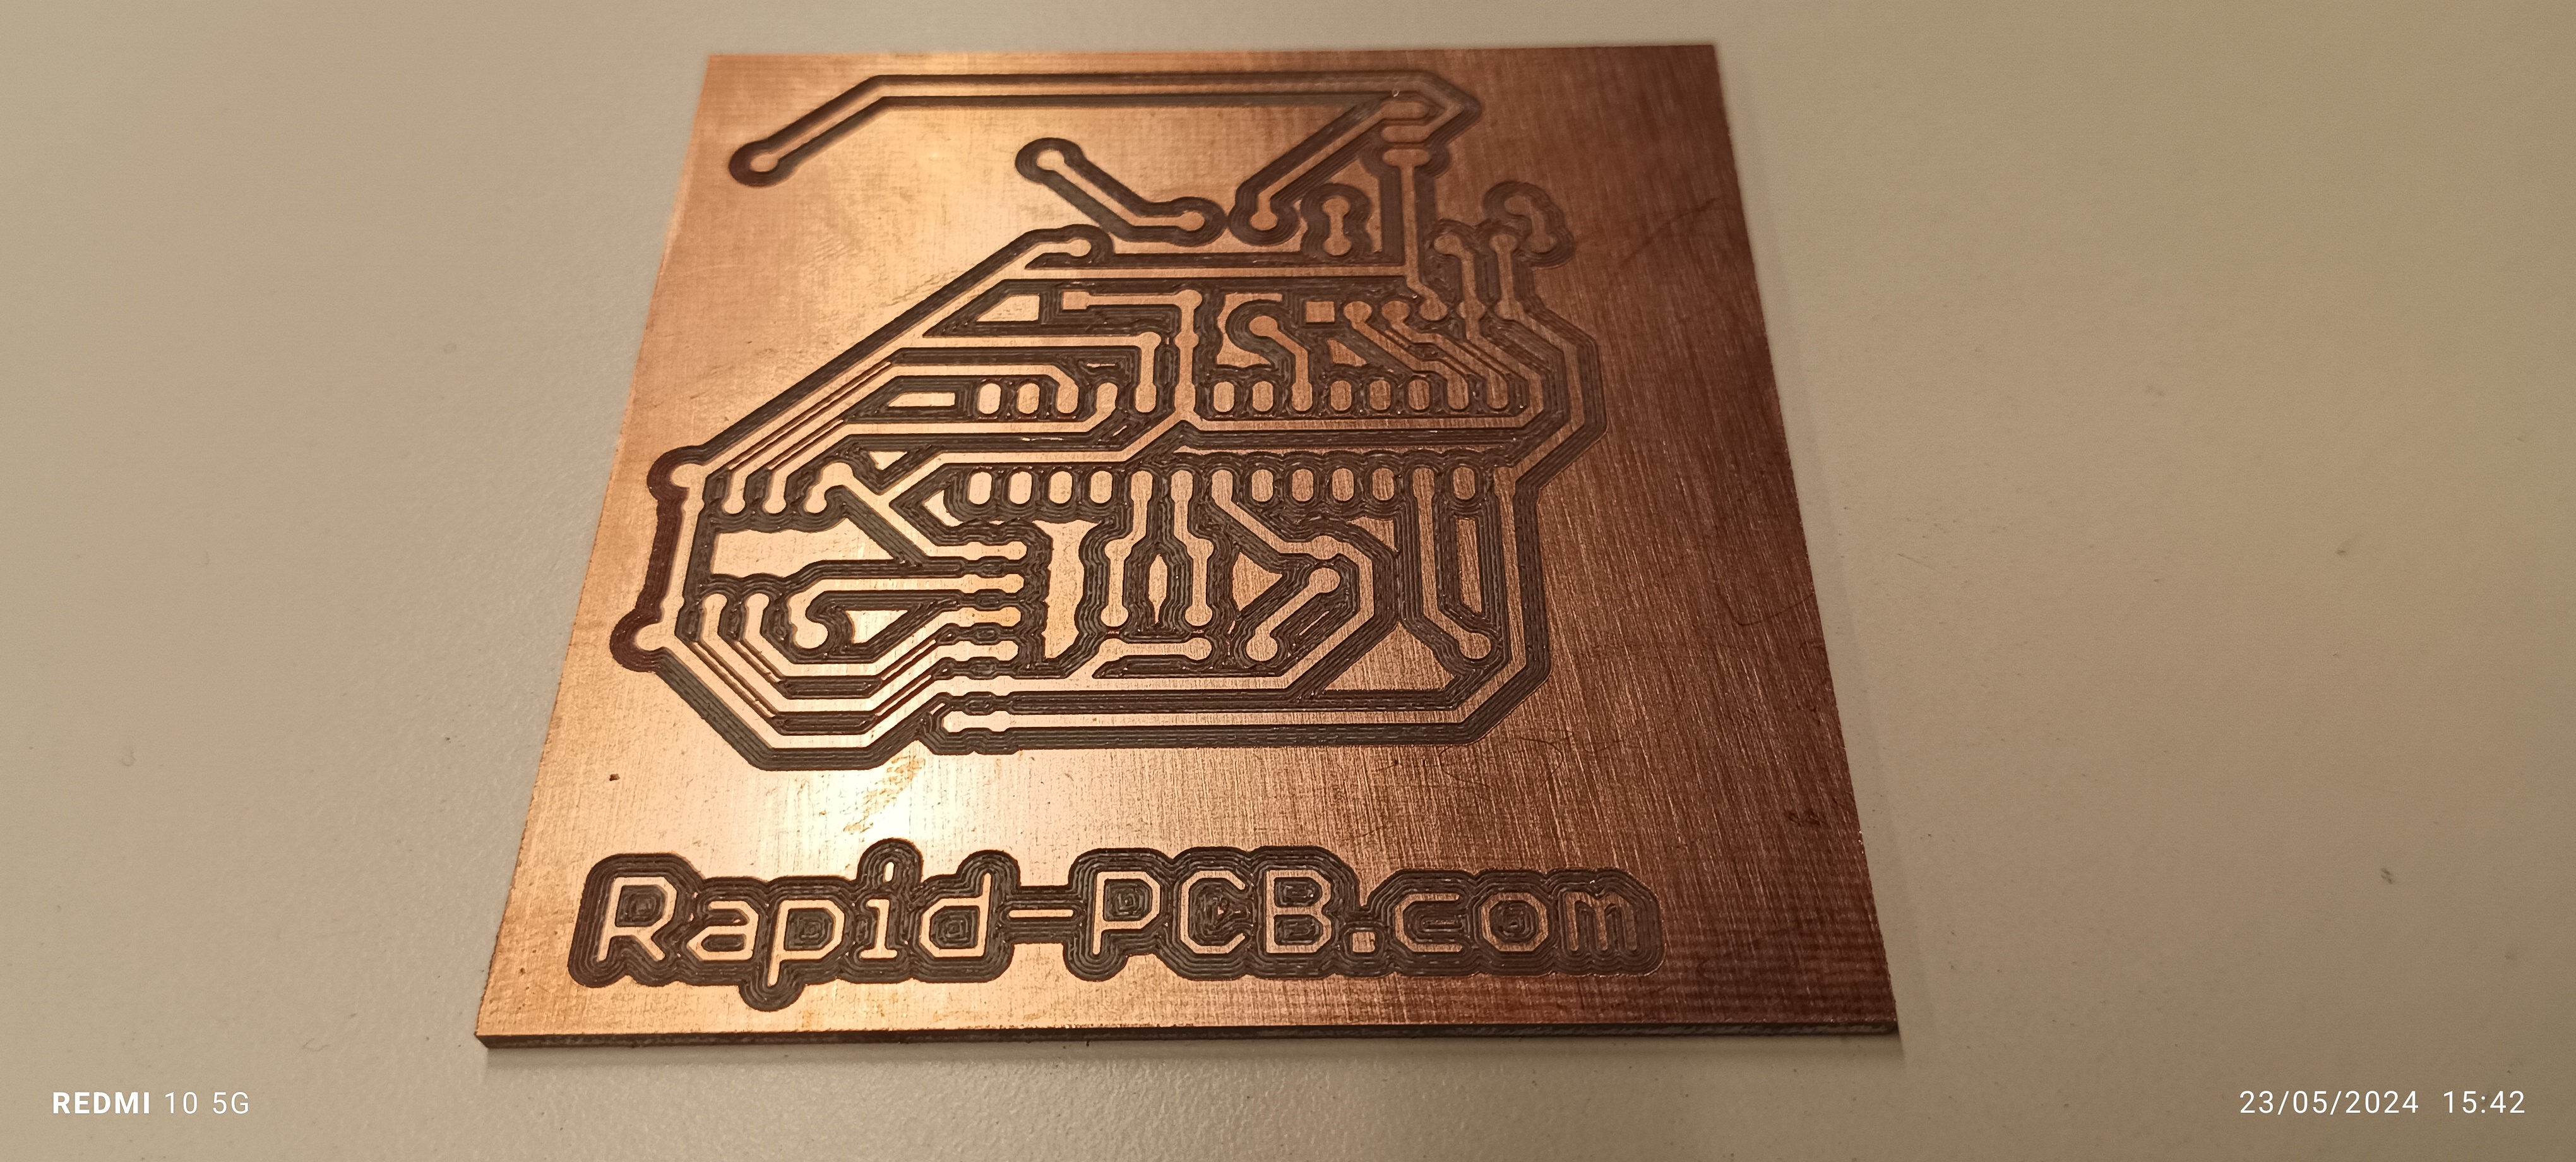
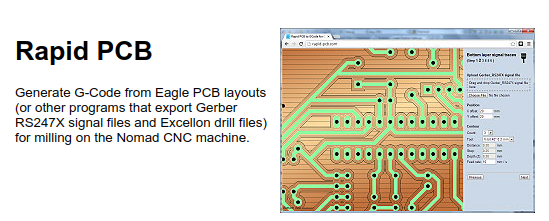
Rapid PCB
Testing the online software Rapid PCB for manufacturing PCBs for the CNC Wegstr
I’ll take the example provided
You can, of course, import your gerber files. In this software, you cannot import your custom cutting file. You can do this in the second program (see Carbide copper).
There are a number of steps that we will go into in more detail later:
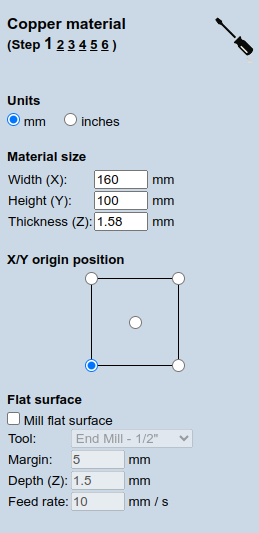


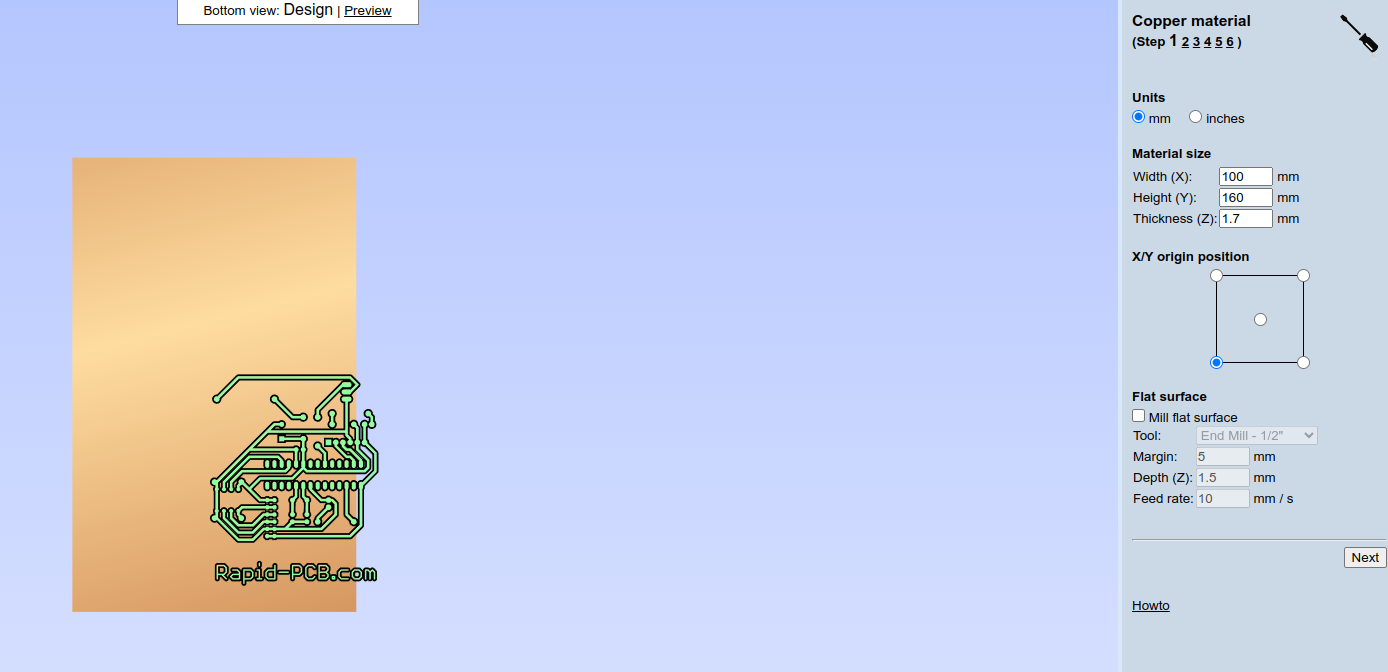
Step 1 : Material size
In Material size, we enter the dimensions height, width and thickness.
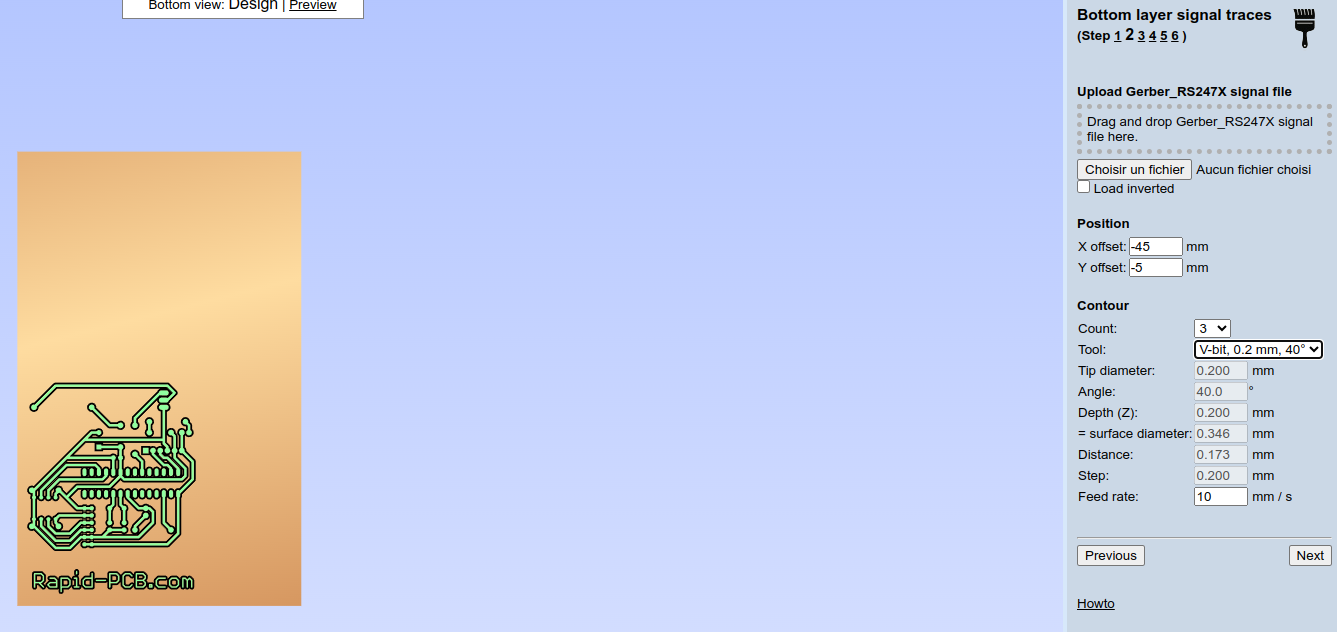
Step 2 : Bottom layer signal traces
Here you can import your gerber file and position it. Using the Wegstr, position your shots at a maximum of 0.0 bottom left. In this example, the position can also be encoded in negative.
This is also where you select your wick (you can also customise the bit).
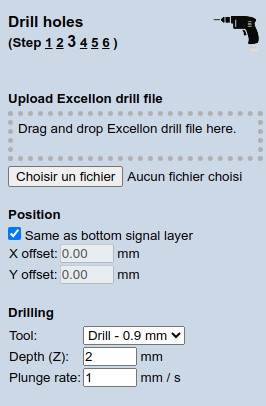
Step 3 : Drill holes
This step is necessary to make the holes for the components.
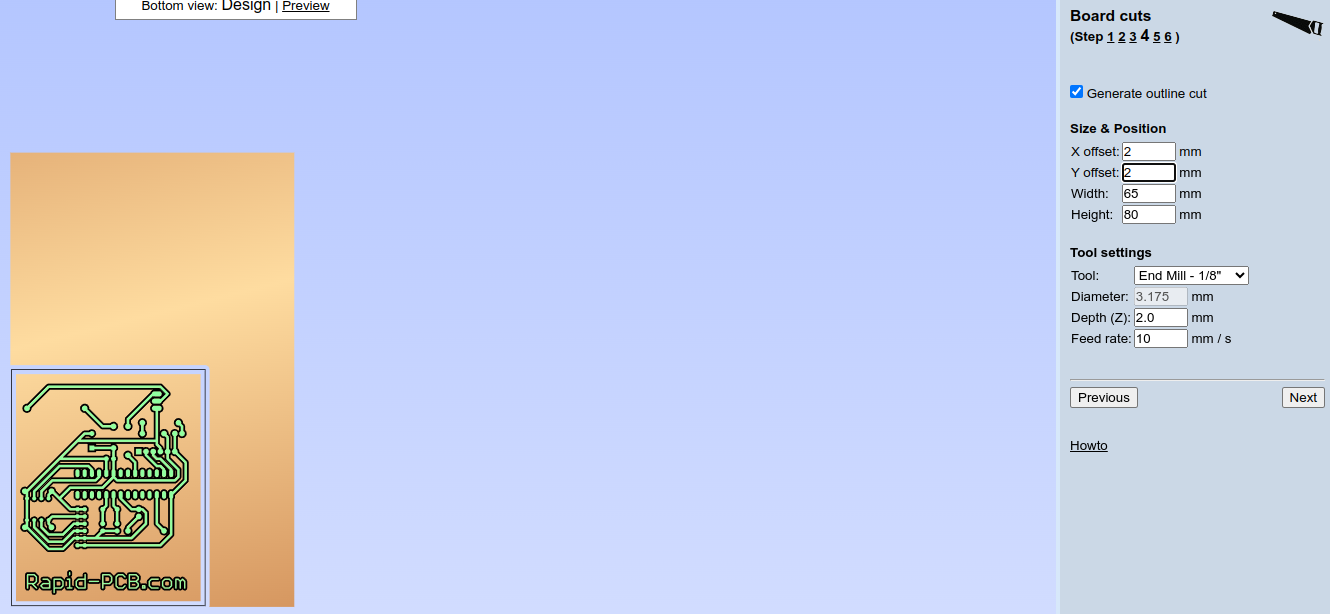
Step 4 : Board cuts
In this software, it has been mentioned that you cannot make custom cuts, but you can make a “rectangular” cut. You can therefore set the dimensions (Width, Height) and position (X offset, Y offset).
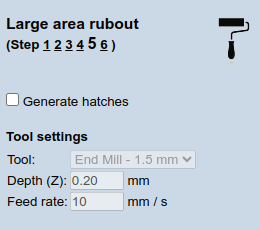
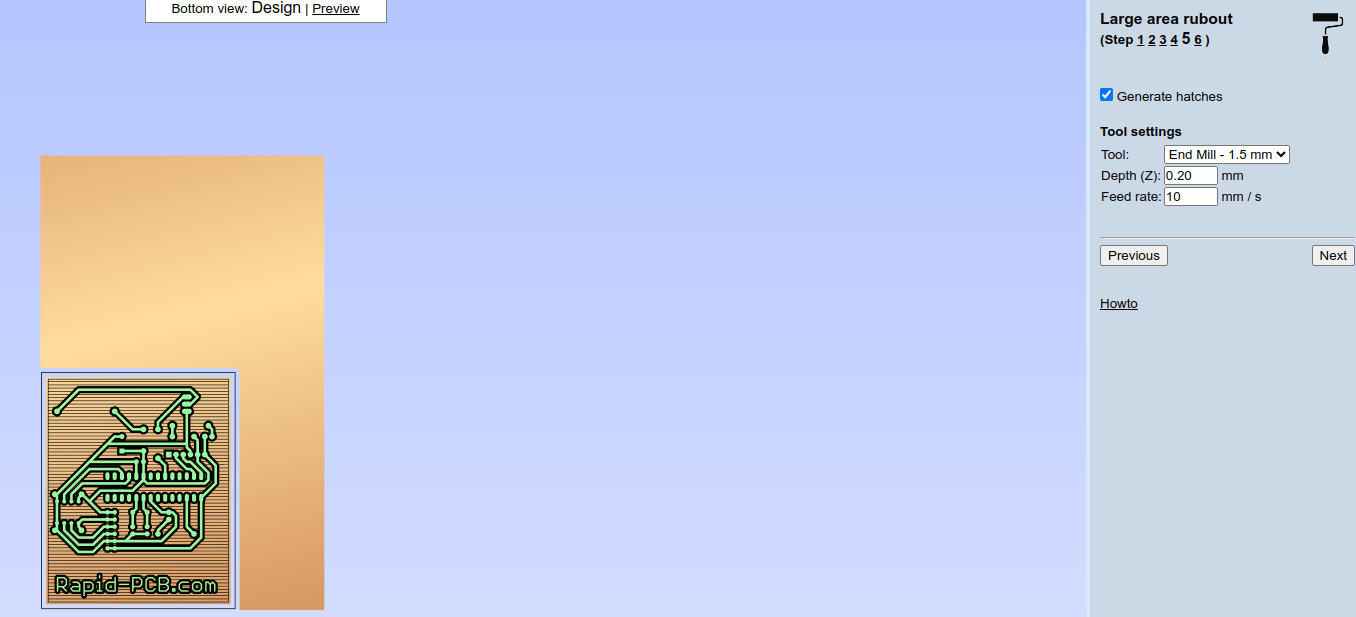
Step 5 : Large area rubout
This step is used to clean the pcb plate. It is not compulsory.
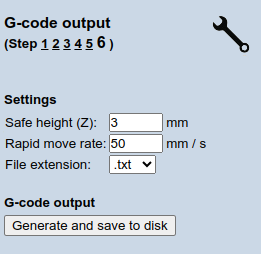
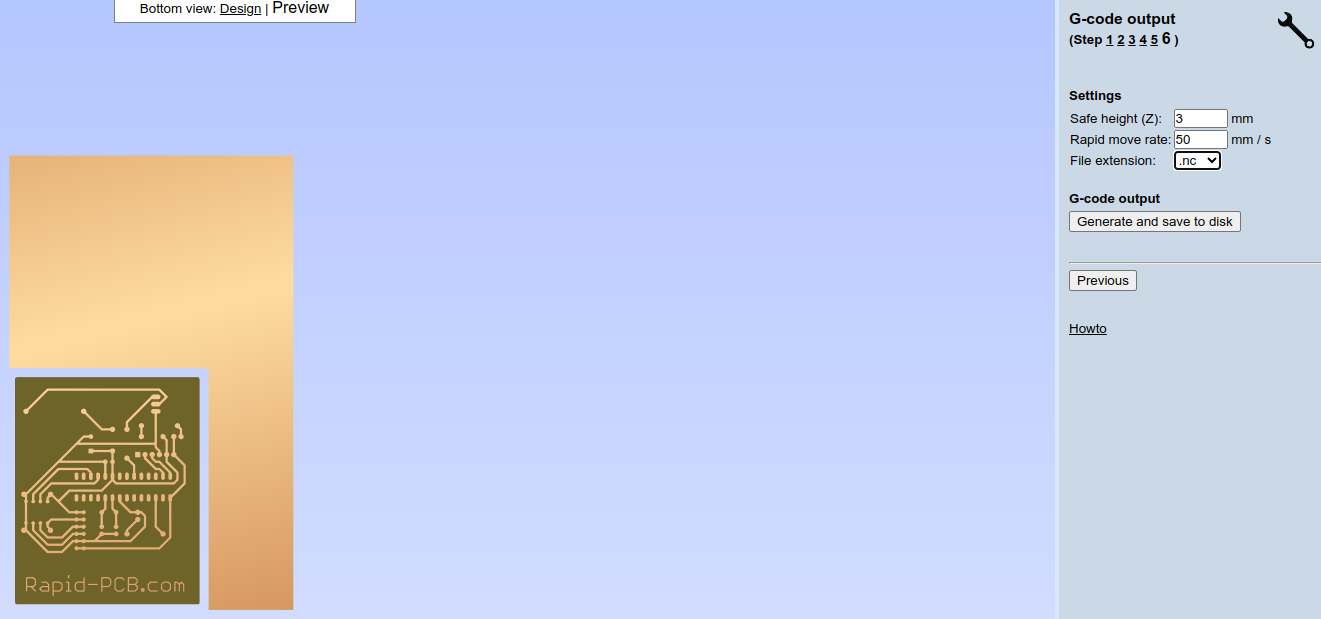
Step 6 : G-code output
The final step is to export the files for the machine.
The format used for our machine is the .nc extension.
You can save in :
- .txt
- .cnc
- .ncc
- .nc
- .plt
- .tap
Carbide Copper
Test of the online software Carbide copper for manufacturing PCBs for the CNC Wegstr
We use the test file once again.

Step 1 - Material Setup
In Material size, we enter the dimensions height(Y), width(X) and thickness(Z).

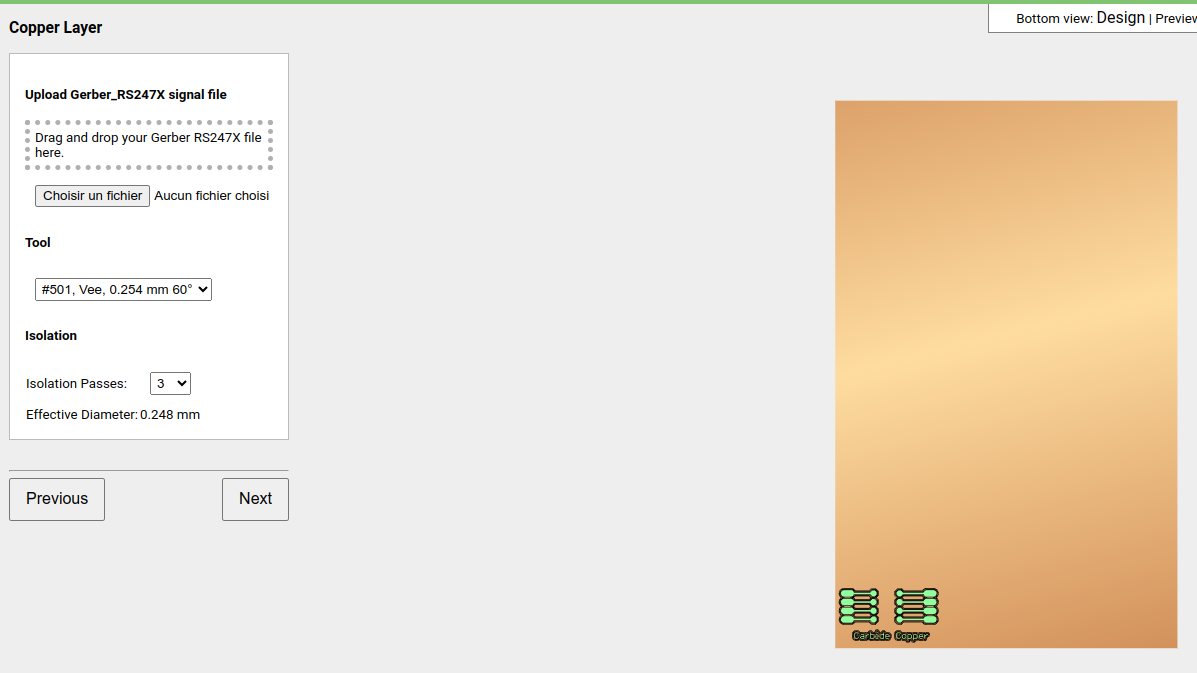
Step 2 - Copper Layer
Here you can import your gerber file and position it. Using the Wegstr, position your shots at a maximum of 0.0 bottom left. In this example, the position can also be encoded in negative.
This is also where you select your wick (you can also customise your wick).
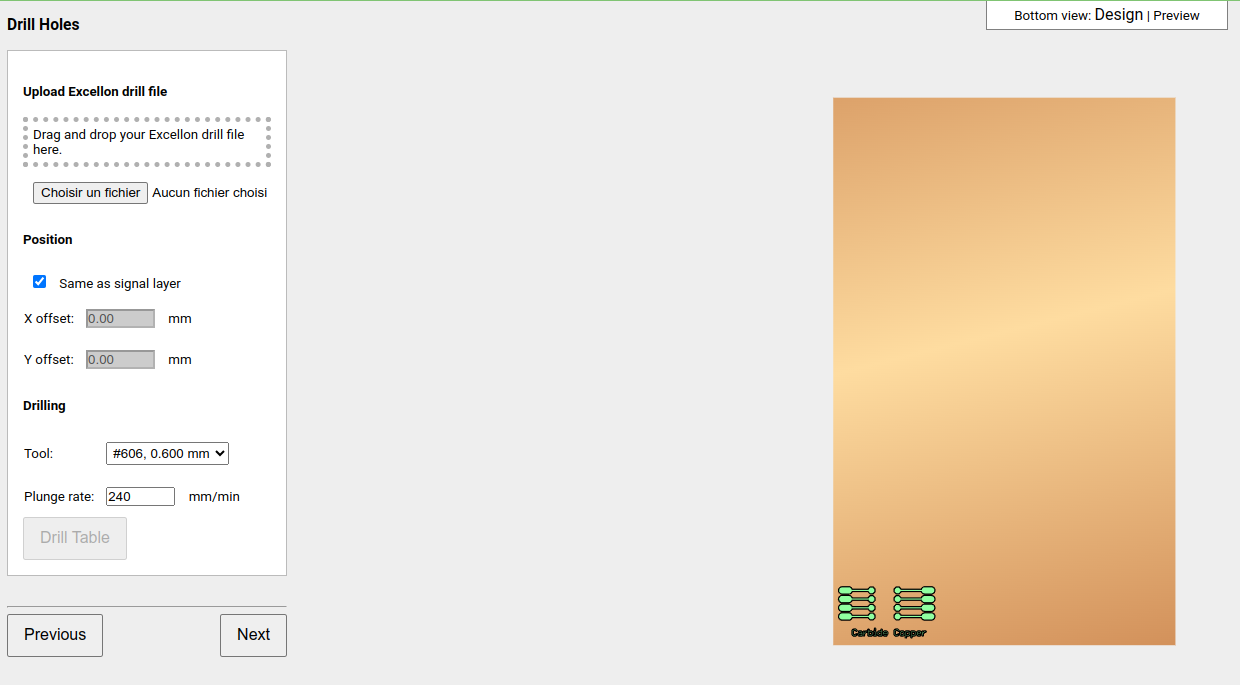
Step 3 - Drill Holes
This step is necessary to make the holes for the components.
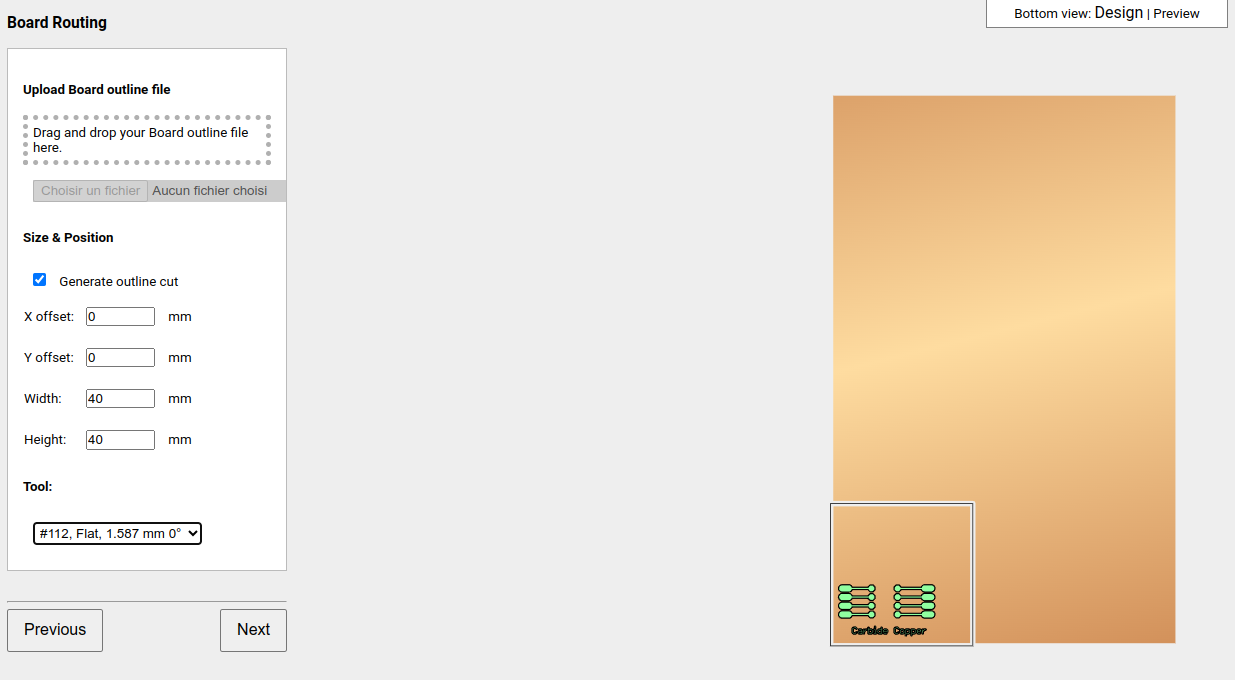
Step 4 - Board Routing
In this software, we can add our cutting file or generate an automatic rectangular cut. You can set the dimensions (Width, Height) and position (X offset, Y offset).
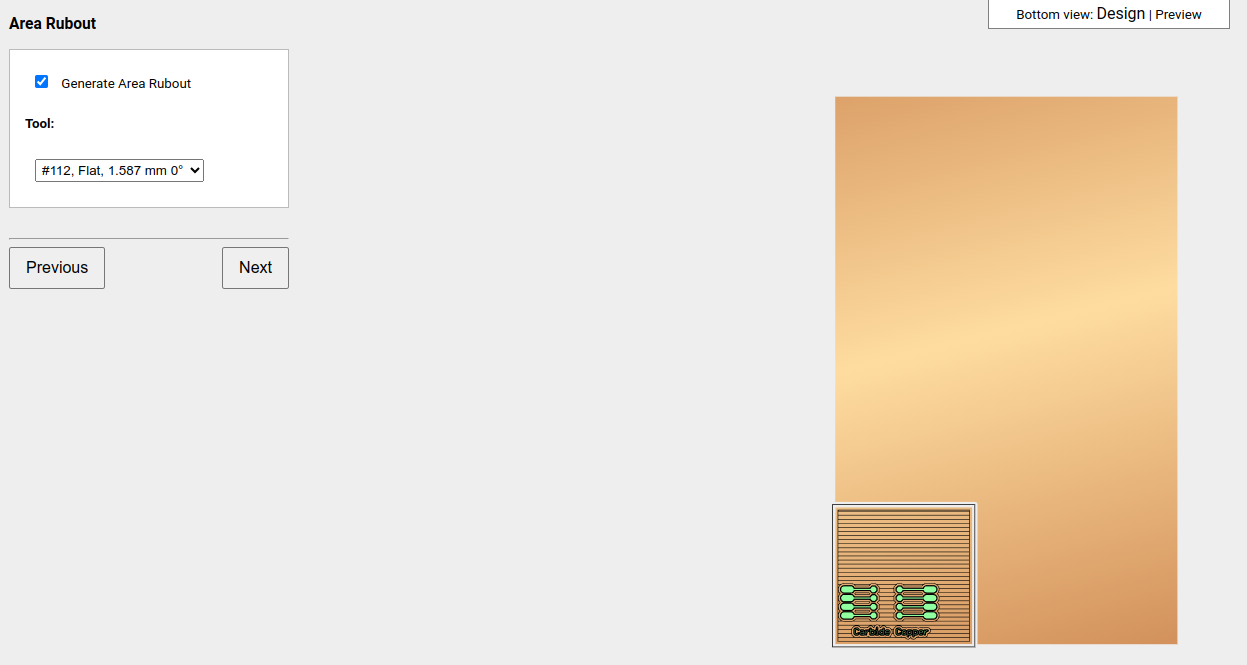
Step 5 - Area Rubout
This step is used to clean the pcb plate. It is not compulsory.
Step 6 - G-code Output
The final step is to export the files to the machine.
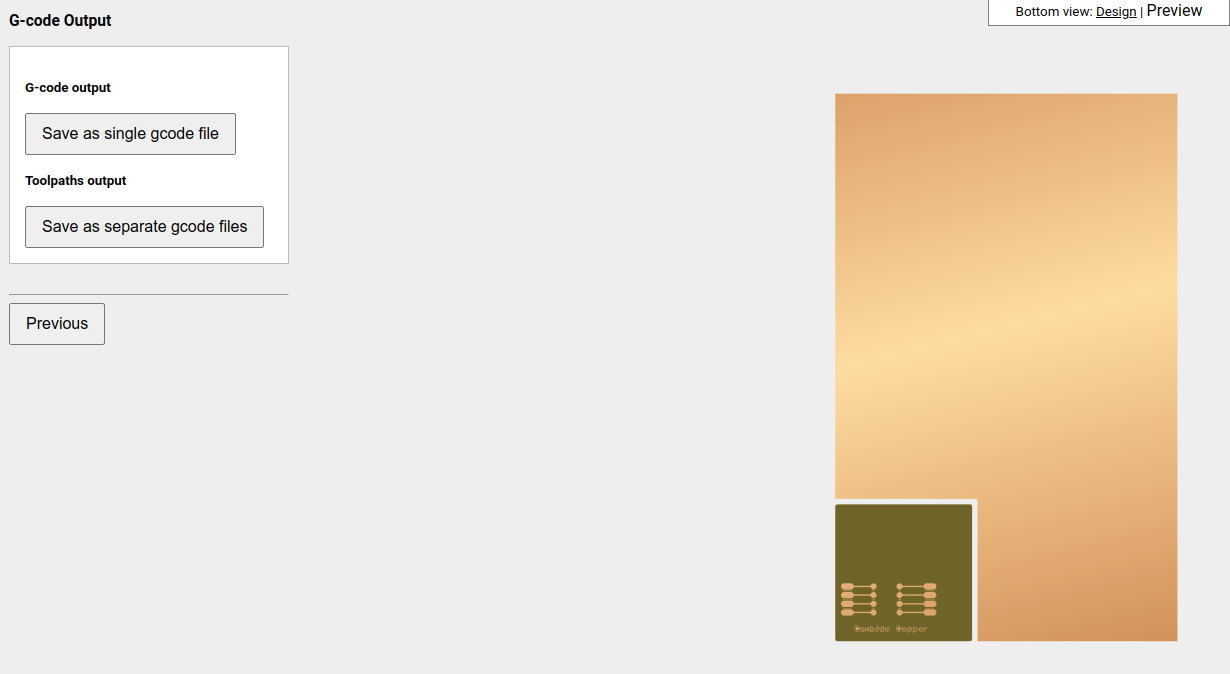
Use the “Save as separate gcode files” function
