3. Computer Aided Design
Objectives:
- UpdateTest and choose the software
- Update Model (raster, vector, 2D, 3D, render, animate, simulate, …) a possible final project
- UpdateCompress your images and videos
Testing
- image capture and processing software
- Vector software
- 3d software
- Render software
- Gnu/Linux
1- image capture and processing software
shutter
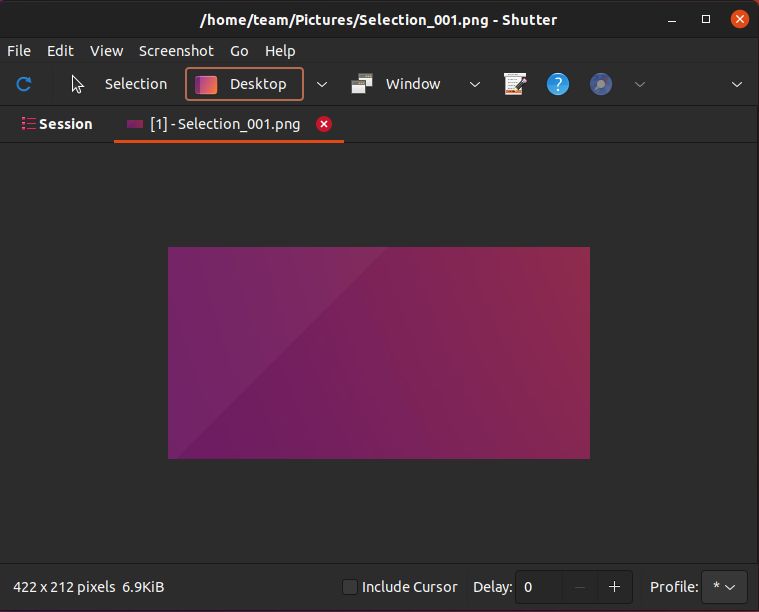
For my screenshots and possible modifications of them, I chose the “shutter” software.
It allows to take screenshots of the whole desktop, of a precise selection, of a menu, or of a tooltip.
link : https://shutter-project.org/

Install :
apt-get install shutter

Shutter is a feature-rich screenshot program for Linux based operating systems such as Ubuntu. You can take a screenshot of a specific area, window, your whole screen, or even of a website – apply different effects to it, draw on it to highlight points, and then upload to an image hosting site, all within one window. Shutter is free, open-source, and licensed under GPL v3.
You can :
-
Capture a Specific Area
This allows you to select an arbitrary region of your screen and capture only those parts you really need. The screen can be zoomed and the selection can be resized or moved.
-
Capture your Desktop
Shutter does not only capture all the contents of your desktop (or workspace) – it also supports Multi-monitor settings, e.g. capture the active monitor
-
Capture a Window
Simply use your mouse to select the window you want to capture. Shutter will highlight the currently select window in an attractive and useful way. It is even possible to simply select a window from a list and capture it right a way.
-
Capture a Menu or Tooltip
Capturing menus or tooltips is very easy with Shutter. You select one of the options and a (user-defined) countdown starts. During this time you can open the desired menu or let a specific tooltip come up. Shutter will recognize and capture it.
-
Capture a Website
Shutter uses gnome-web-photo to capture a website without opening a browser window
You can edit :
-
Add Text, Arrows, Rectangles, Ellipses…
The built-in editor allows you to add primitives (e.g. rectangles, lines etc.) , arrows or text to your screenshot. Every shape can be customized by changing the color, fonts and/or the line width.
-
Censor / Pixelize to Hide Private Data
Don’t want to show sensitive data like IP or e-Mail addresses? Shutter gives you two simple but effective tools to hide this data.
-
Auto-Increment Shape
When writing a step-by-step guide people often add incremental digits to the screenshots (usually via text). Shutter offers a specific auto-increment shape that can be added to the screenshot. It cannot be easier! - Crop
The built-in editor also includes a tool to crop your screenshot. Simply select a region with your mouse or enter the desired dimensions into the input fields.
You start the program, you select the capture type and it’s all (after, you can edit, rename, crop,…):
xnconvert
Warning
xnconvert is not open source software but freeware. The main advantage is that it does the work quickly and graphically.
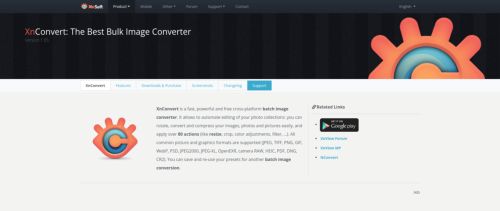
XnConvert is a fast, powerful and cross-platform batch image converter. It automates the massive editing of your photo collections, you can easily rotate, convert and compress your different photos and images, and apply more than 80 actions (like resizing, cropping, colour adjustments, filters, …). All common image and graphic formats are supported (JPEG, TIFF, PNG, GIF, WEBP, PSD, JPEG2000, OpenEXR, camera RAW, HEIC, PDF, DNG, CR2). You can save and reuse your predefined settings for another image conversion
link : https://www.xnview.com/fr/xnconvert/
install (after download) :
sudo dpkg -i xnconvert.deb
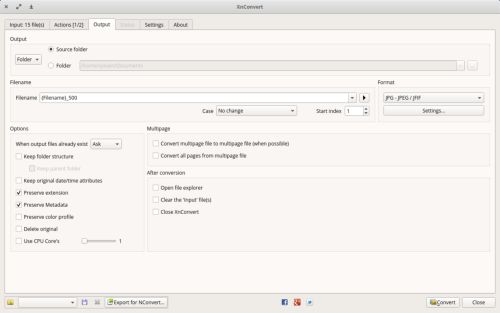
You put your pictures in the software
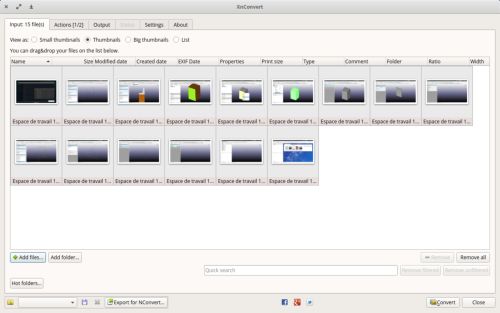
You select the option (resize,watermark, filter)
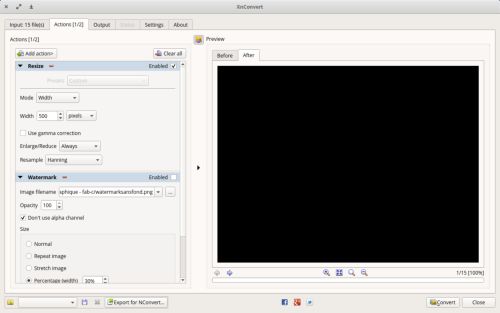
you choose the directory, the name and the output format
2- Vector software
Inkscape
Inkscape is free and open source software. It allows you to draw in vector mode. This mode is essential for working with the machines found in a fablab (laser cutter, vinyl cutter, etc.).
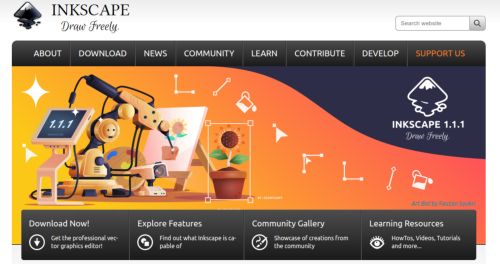
where to find it : https://inkscape.org/ always go to the official sites
link : https://inkscape.org/release/inkscape-1.1.2/
install : I take the .Appimage version. I make it executable in terminal
chmod +x inkscape.appimage
that’s it.
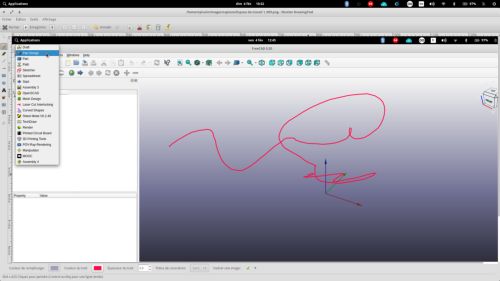
I double click to start the program
Here is an example of what you can do:
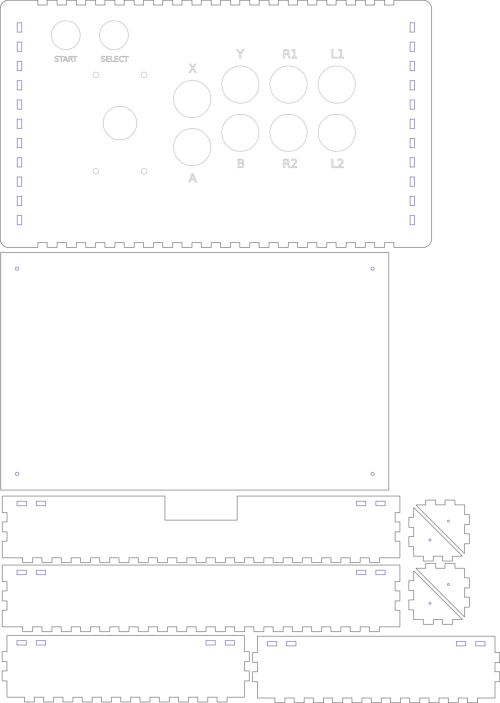
nodes and segment, path control handles (tangents).

With this point selected, let’s look at the icon marked with a red “2”. This is the “break path” icon. Click on it: where there was one point, there are now two, determining the ends of two paths, which are in fact only one, but broken. It’s hard to tell because the two dots are on top of each other. Move the “visible” one slightly to see the second one. To fix this “hole” in the plot, select the two points and click on the icon marked “1” (join nodes). At this point, just on one point, it’s not destructive… at least, it’s not too obvious.
Let’s move on to icons “3” and “4”, which work in much the same way, but which operate on a segment rather than a point. Select two nodes that follow each other and click on the “4” icon (delete a segment). The “gap” is larger: it is exactly the distance between the two selected points. To close this gap, select the two nodes and click the “3” icon: the continuity of the path has been repaired! That’s cool! However, the line is no longer harmonious because the recreated segment is a straight line… Not very pretty, but it is easy to fix.
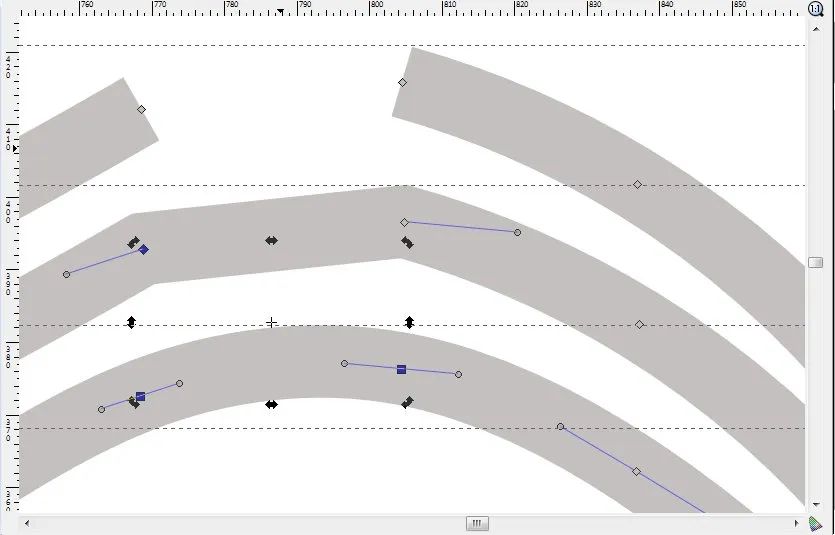
Let’s start from the break. Above, the first plot is what you had before you “repaired” (the second plot). You can see that the two points have only half-tangents, which is why there is a line segment between them. To get to the third step, look at the icons marked with a “9”. The first one is used to force a segment between two points to be straight, the second one forces it to take a rounded shape. Guess which one we need? Well, yes: the second one. Click on it. Surprise? Yes, a little bit: we just made a new tangent appear for each point to describe the segment we are working on. To finish, click on the “7” icon (make systemic).
Let’s take a look at these icons one by one:
- “5”: make hard. The two tangents of the point are made independent. This means that you can move one of the two handles without modifying the first. This will make it possible to have a marked angle at the place of this point.
- “6”: make it smooth. The two tangents are linked in terms of angle (they are aligned with the knot) but one can be longer than the other.
- “7”: to make systemic. As we have seen, we have a “true” tangent (in the mathematical sense of the term) at the level of the node.
- “8”: make it automatic. We leave it to Inkscape to calculate the best layout to have a nice curve.
3- 3D software
Tinkercad
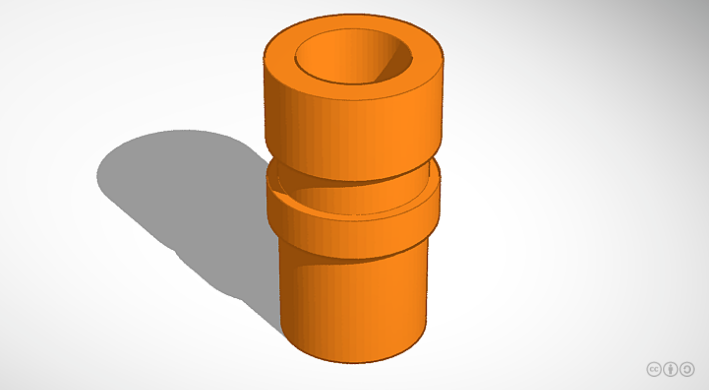
For quick designs that don’t necessarily require high precision, I use Tinkercad which is a free web service from Autodesk. Very fast and easy to use, you take an object, put it on the scene and then add or remove material. The only drawback is that it’s a web service so you need an internet connection.
link : https://www.tinkercad.com/
here is an example of a realization, a vacuum adapter for a mitre saw
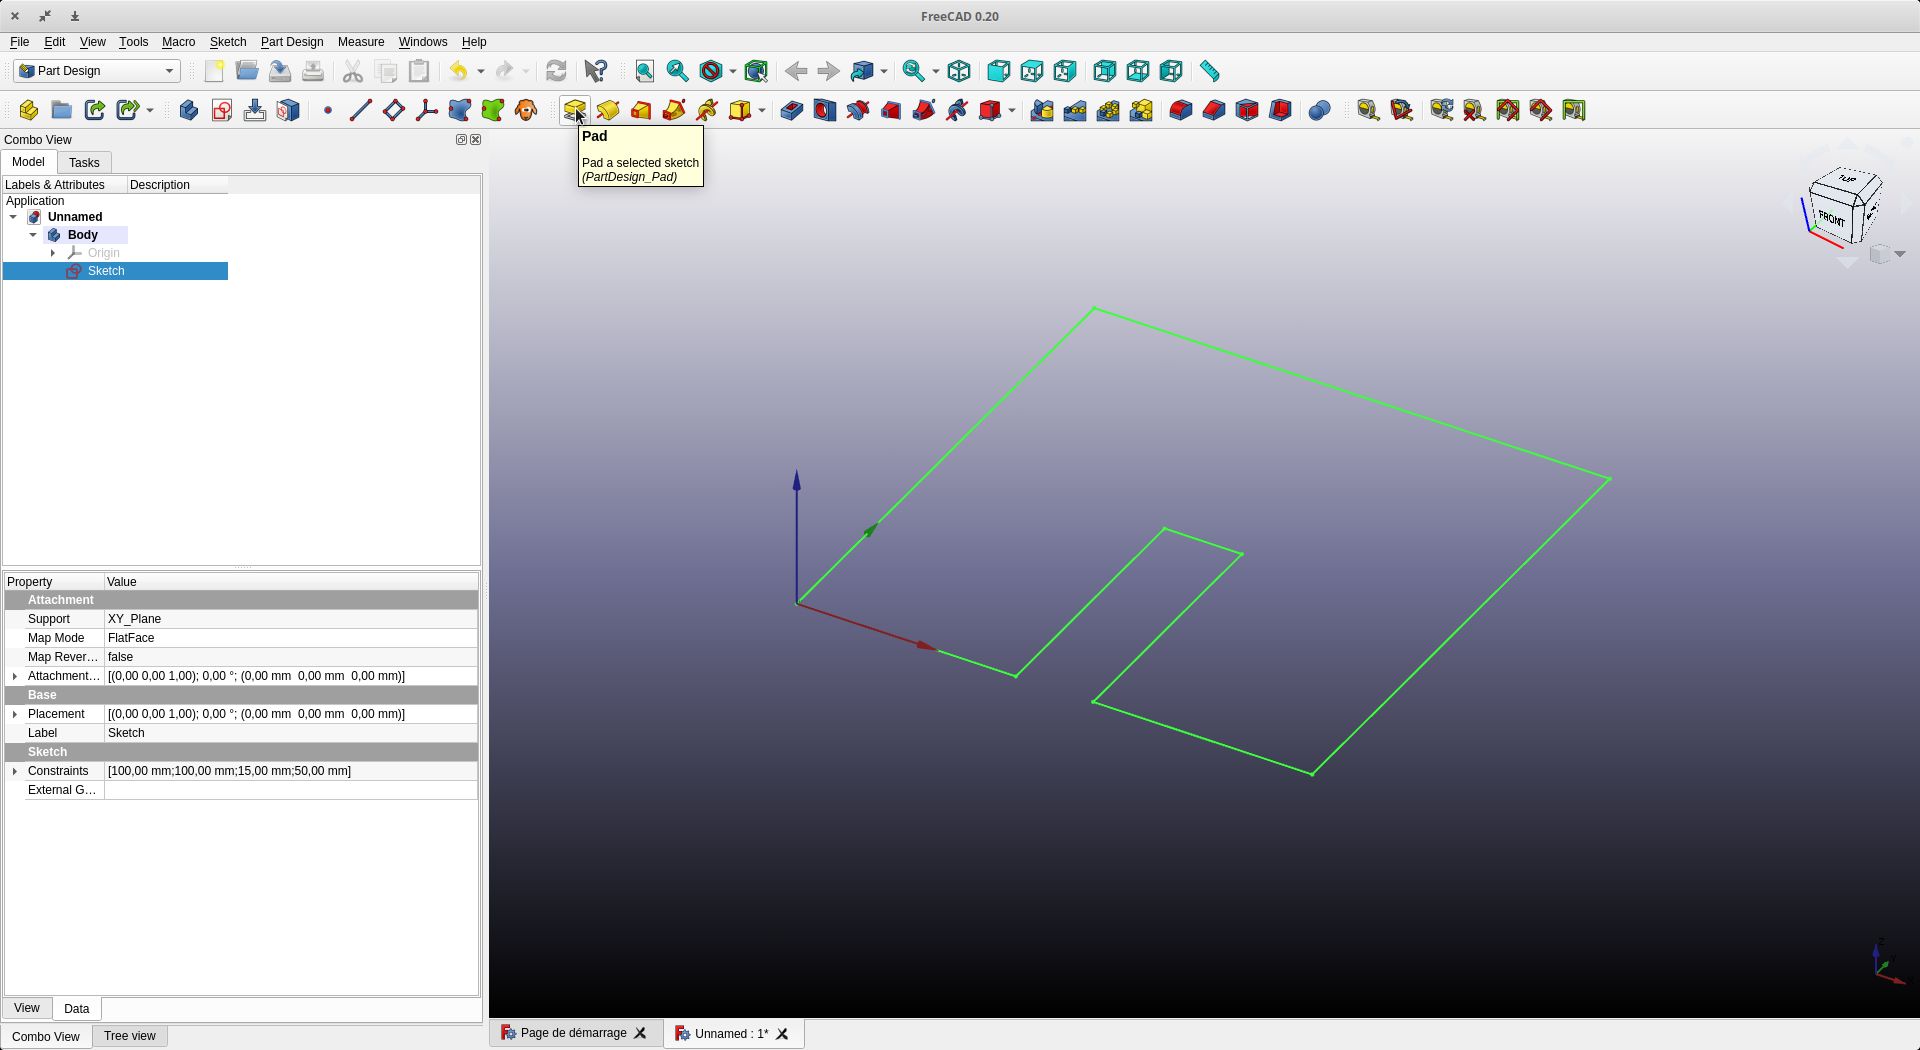
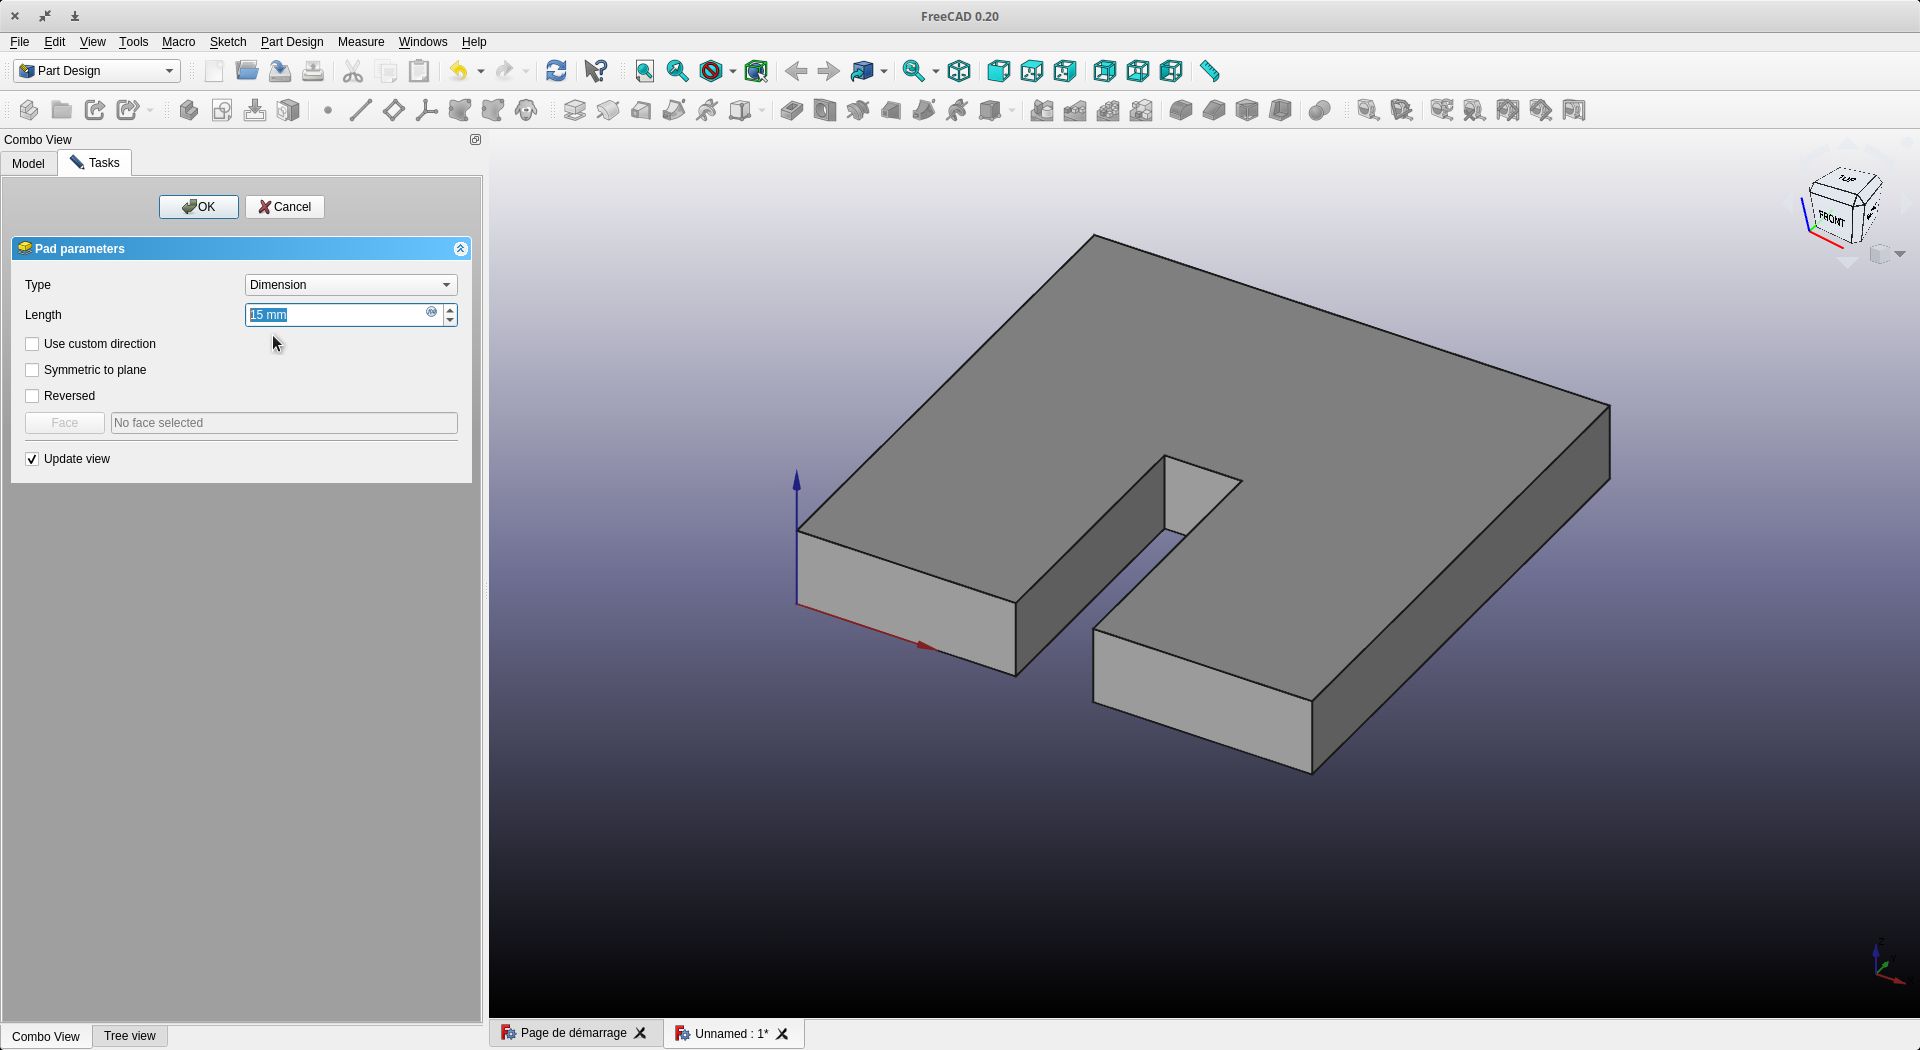
Freecad
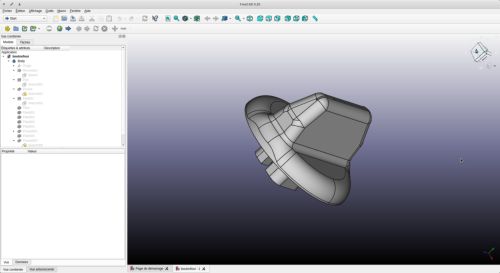
For parametric 3D design, Freecad is a very good free and open source software. It is a technical software, so it takes a while to get used to it at the beginning, but afterwards you get used to it quickly with the right reflexes.

link : https://www.freecadweb.org/downloads.php
install : I take the .Appimage version. I make it executable in terminal
chmod +x inkscape.appimage
that’s it.
I double click to start the program
Here is an example of how it was done. Here redesign of a broken oven knob
freecad can do fast rendering but it is not its main function (we will use Blender, the next software). Here are some examples of renders of my final project.
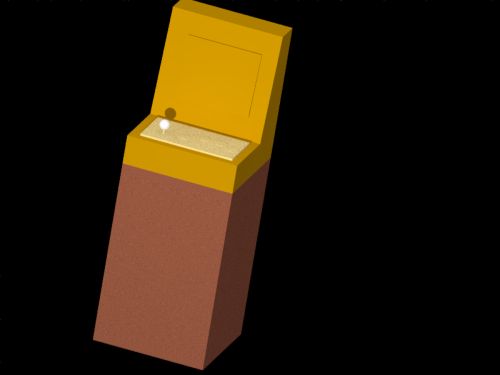
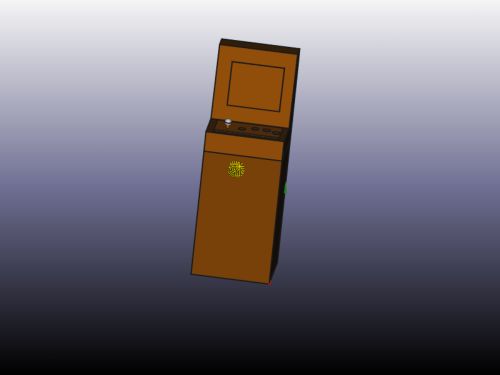
This is a little design with freecad :

4- Render
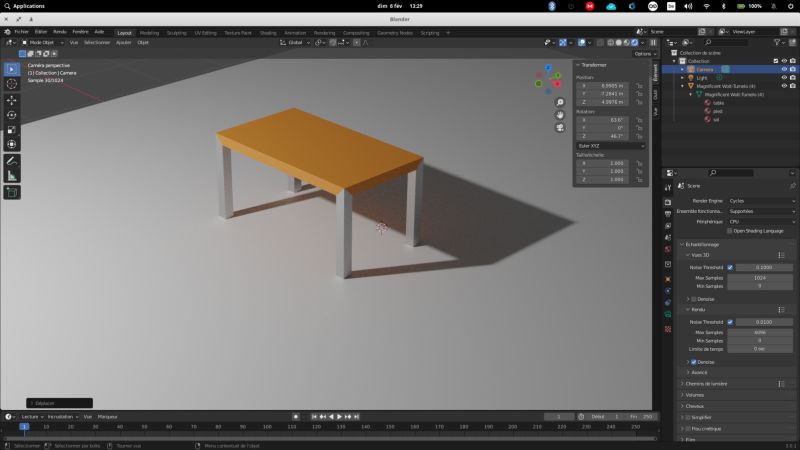
Blender
Blender is also free and open source software. This very powerful software allows you to create realistic 3D, but also animations, films, etc. We are going to use it only to make renderings (we will use only a few percent of the software)
There are several ways to learn this software. You can read books (the problem is that you see everything without concentrating on what you really want to do). There are also videos. I used this method. The problem is that there are tons of them on the net. I thank Quentin Bolsée for giving me the following link to learn quickly: https://www.youtube.com/c/BlenderGuruOfficial
For the installation, I decided to use a snap package. In a terminal :
sudo snap install blender --classic
By following the tutorials, I was able to find some keyboard and mouse shortcuts (this list is not exhaustive)
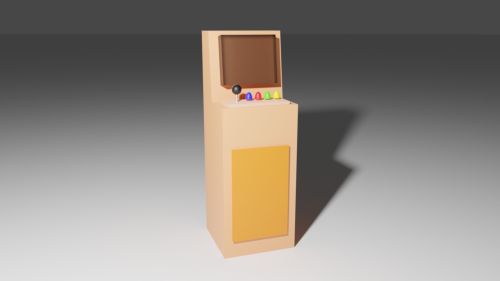
This is my little example for my final project
| shortcut | action |
|---|---|
| right-clic (esc) | cancels the last operation |
| G | Grab |
| R | Rotate |
| S | Scale |
| Z | Move Z axis |
| X | Move X axis |
| Y | Move Y axis |
| middle button mouse | orbital movement |
| shift + middle button mouse | movement in the plane |
| . | Zoom on selected object |
| On Keyboard French (3/2 - at left touch “1”) | explanation of the numeric keypad shortcuts |
| shift + a | add object |
| x | delete selected object |
| F3 | search bar |
| easter egg - smoke on object (F3 - search smoke) | |
| Tab | switch Object Mode / Edit Mode |
| o | proportionnal edition |
| Alt + z | Xray Mode |
| Shift + D | Duplicate |
| P | Separate |
| F12 | Render |
short tutorial
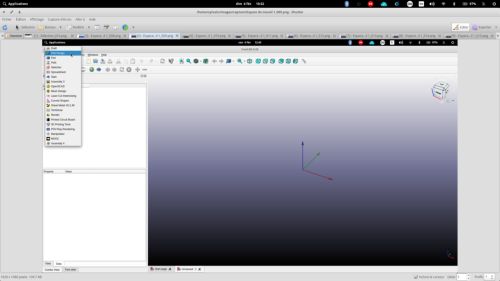
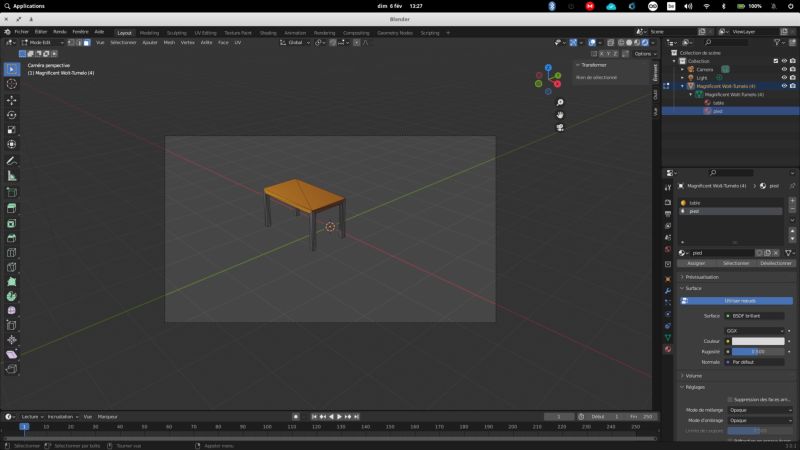
We start blender. We arrive on this plane
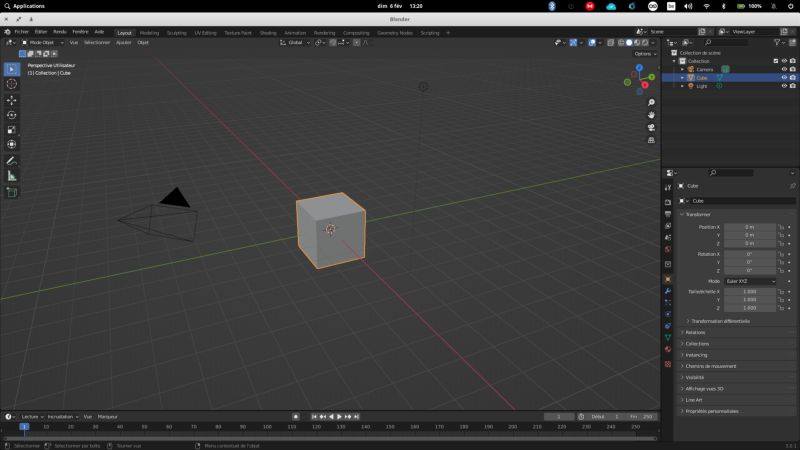
The cube is removed. To do this, select it and press the Delete key on the keyboard (or press x and validate).
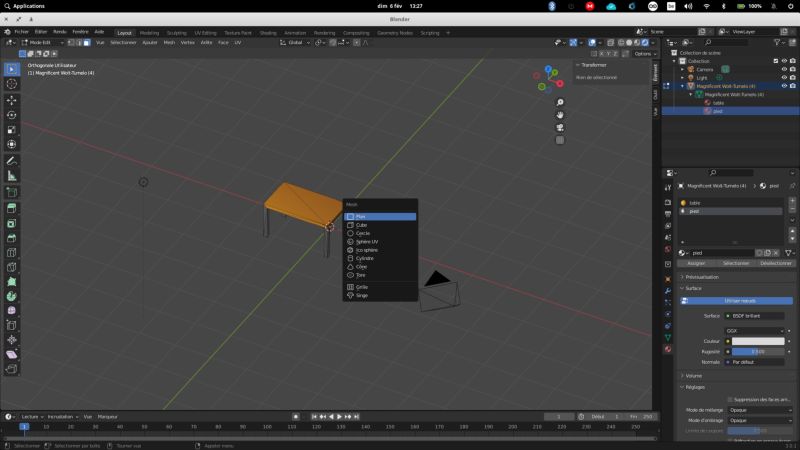
We import the stl file of our choice
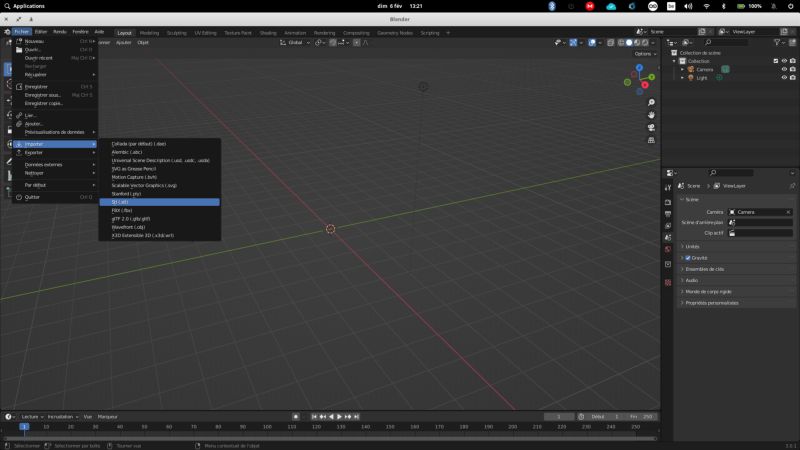
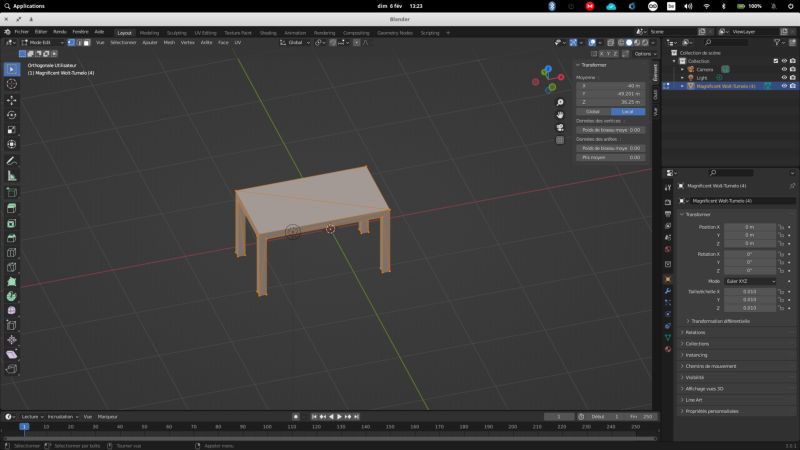
When importing our file, Blender assigned dimensions in metres. This is not a problem, but I prefer to resize it to avoid playing with the camera and the light later.
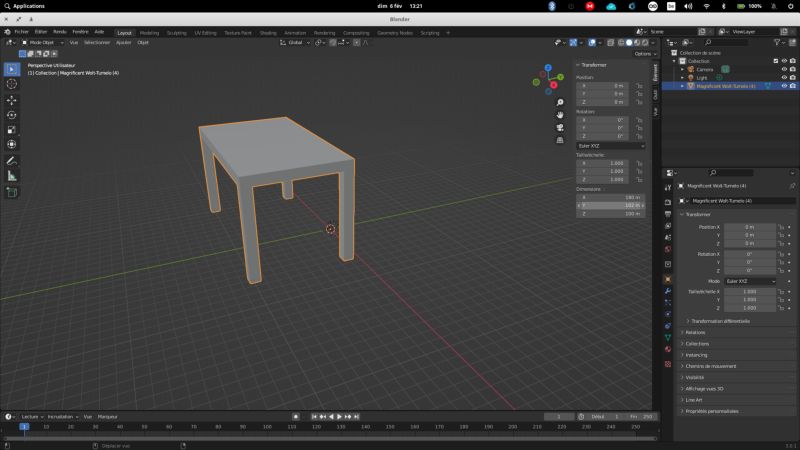
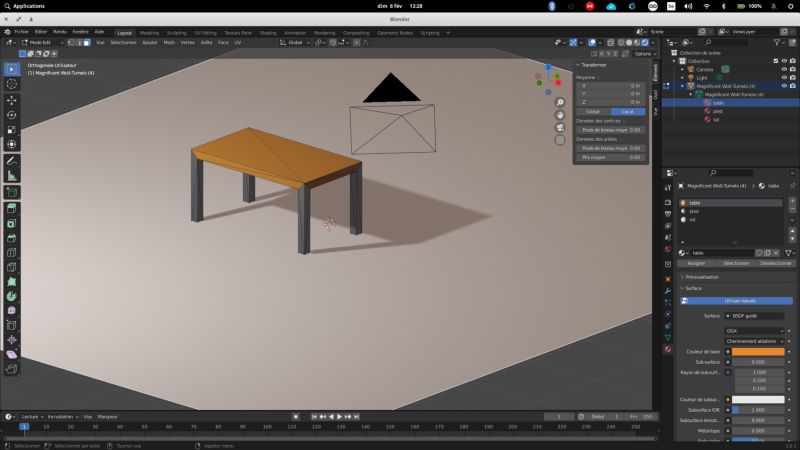
After resizing we see that our object is in the camera’s view
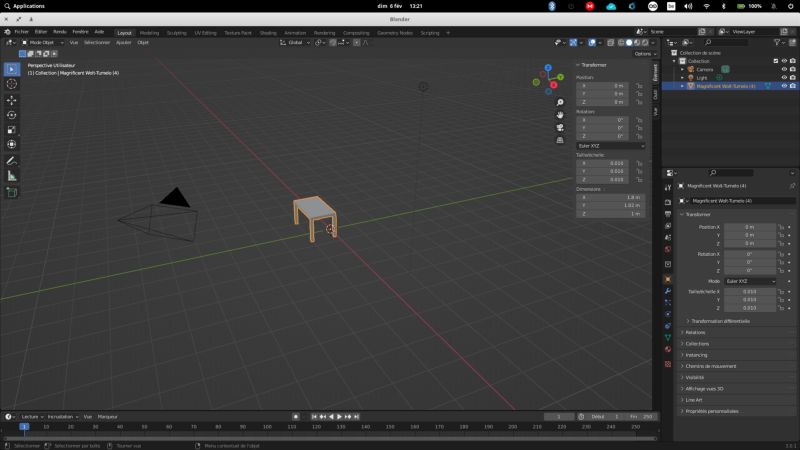
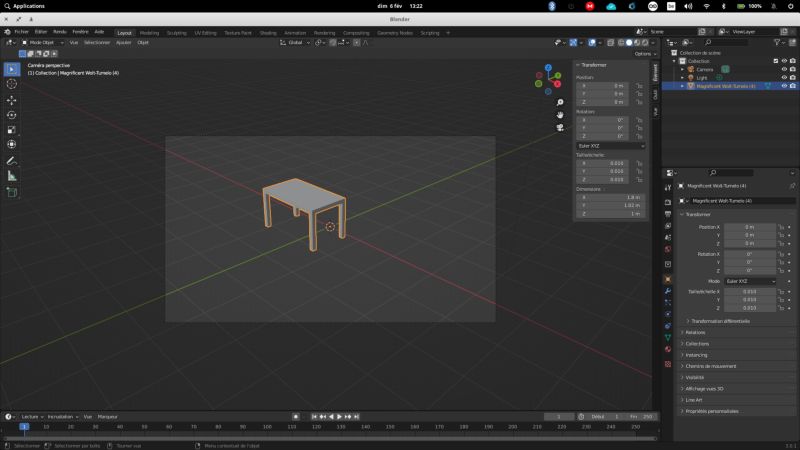
This can be seen by pressing the 0 key on the numeric keypad
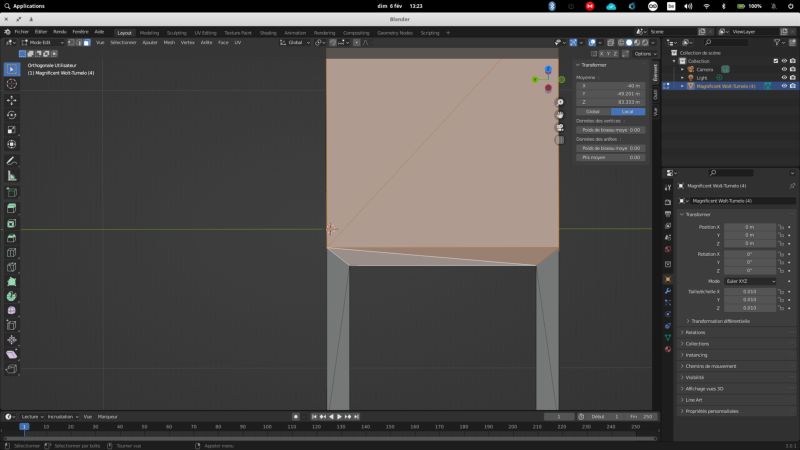
To change the colours, we will switch to edit mode (by pressing the tab key) - Make sure you are in face mode so you can select the faces you want
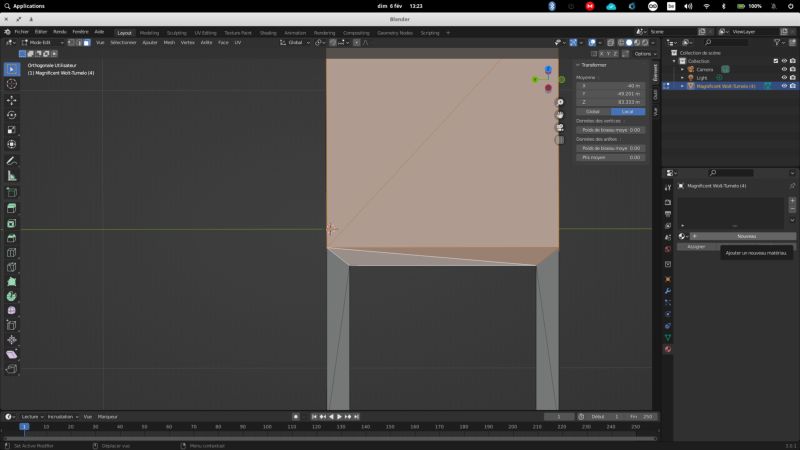
We can add a new material. This can be a colour or a material effect (like wood for example)
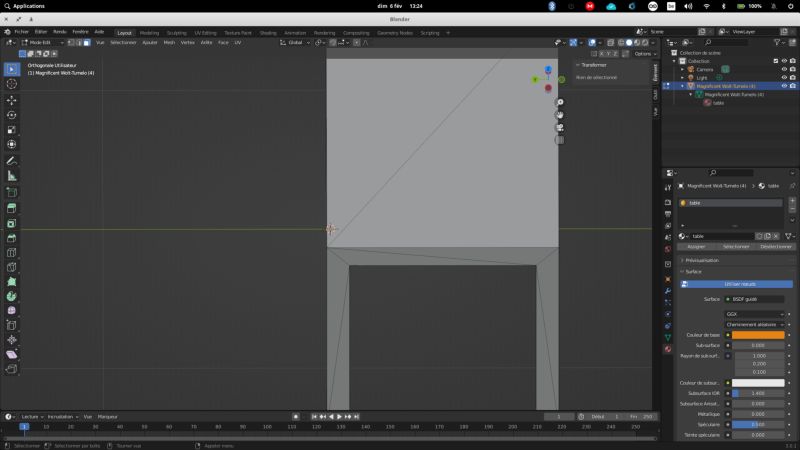
For each change of colour or material, you click on the faces and assign the desired colour

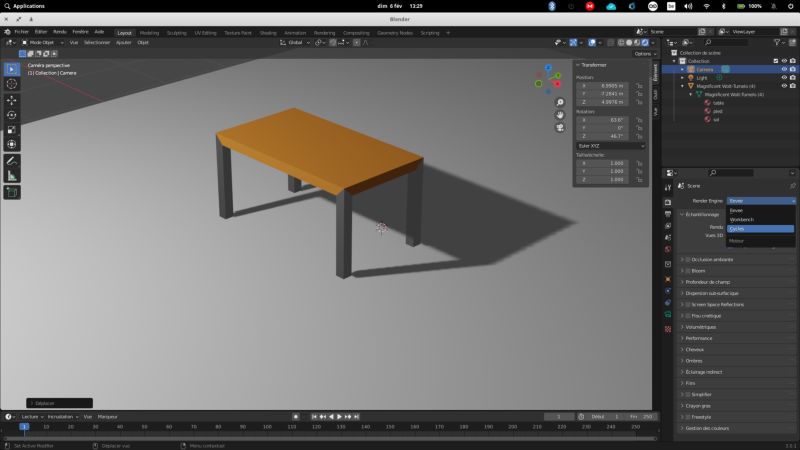
Point of view of the camera for the rendering
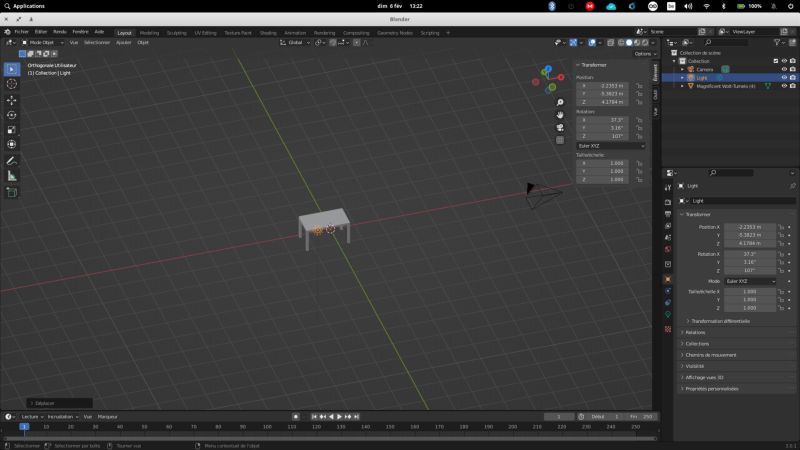
Add a plan with color

For a better result, change the motor from evee to cycles. With the latter you will have a more realistic rendering, especially for the shadows.
To see the changes in real time (if possible with your computer), click on the rendering view option - It takes longer but it’s worth it
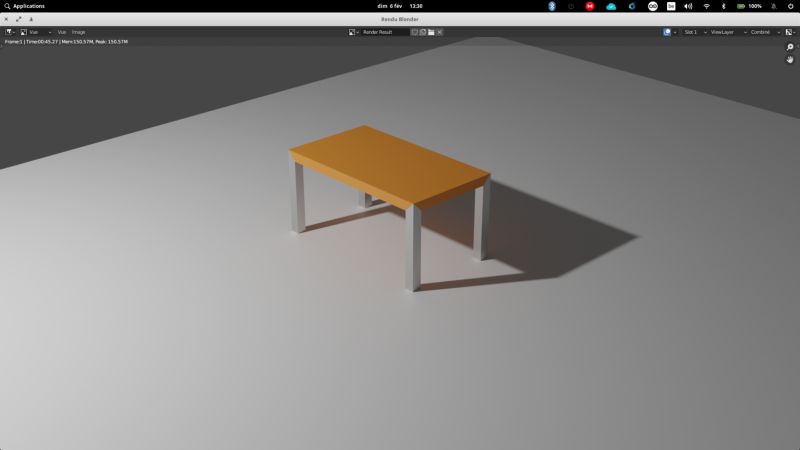
Start the rendering with F12. This takes time
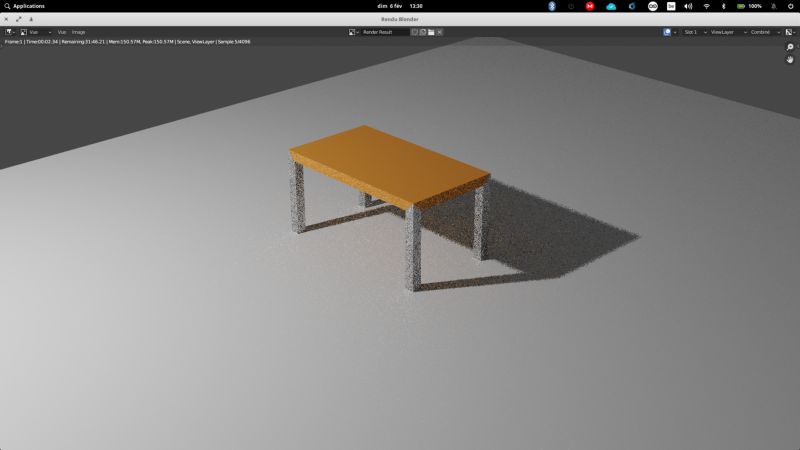
You can save the finished rendering image
5- GNU/Linux
Under linux, there are several ways to install/use software. When I can I try to use .Appimages as much as possible.
The Appimage package format allows software to be distributed in a portable way on any Linux distribution.
The aim is to be able to deploy applications simply, with high compatibility, without altering the system.
The second solution is to use applications in sandboxes. There are 2 main families: .flatpak and .snap
The snap format aims to allow the installation of new versions of software in Linux systems, while providing developers with ease of distribution, reliability and security.
The flatpak software is a utility (integrated into graphical libraries, or usable from the command line) for package management, software deployment, and application isolation (sandboxing).
It provides an environment isolated from the rest of the system (sandbox), where the user can run applications safely:
- there is less risk to stability (existing packages are not modified by the installation of applications)
- there are no dependency conflicts (on the other hand, it takes up more space than repository packages);
- the risk for security is lower: applications in Flatpak format require the user’s permission to access the user’s hardware (webcam, USB keys, etc.) and files.