5. Electronics production
Objectives :
Group assignment :
- characterize the design rules for your in-house PCB production process
- extra credit: send a PCB out to a board house
Individual assignment :
- make an in-circuit programmer that includes a microcontroller:
- mill and stuff the PCB
- test it to verify that it works
- extra credit: customize the design
- extra credit : try other PCB processes
Group assignment
Link to group work : Link
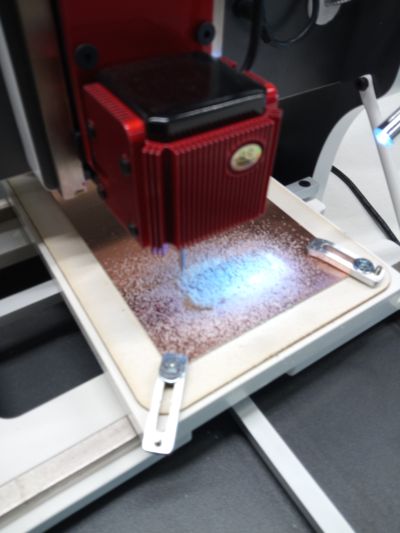
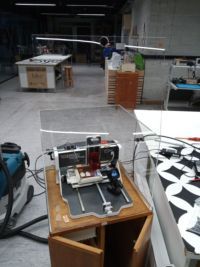
We had to test the brand new machine acquired for the fabacademy. Test of the machine and then test of the PCB creation.
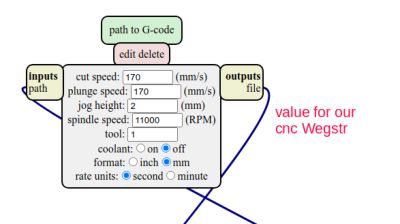
The CNC Wegstr
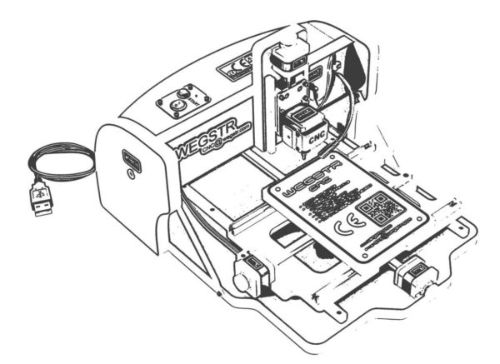
This the link fo website : https://wegstr.com
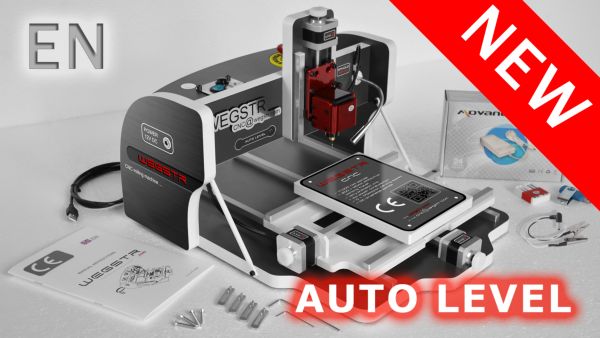
Here are the technical information of the machine
width - 380 mm
length - 460 mm
height - 290 mm
working area - 140 x 200 mm
spindle revolution - 11 000 rpm
maximal height under the spindle - 40 mm
maximal traverse speed :
    axis X – 170 mm/min
    axis Y – 170 mm/min
    axis Z – 170 mm/min
diameter of the spindle hole (for tool holding) - 3.175 mm
For information, the control software of the machine works under WIndows | MAC OS | Gnu/Linux. its name is : Wegstr CNC
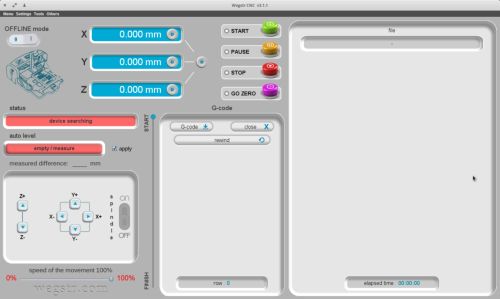
For self-levelling, the probing points can be set via the option provided in the software. You take the cut file for the probing and let the machine do it.
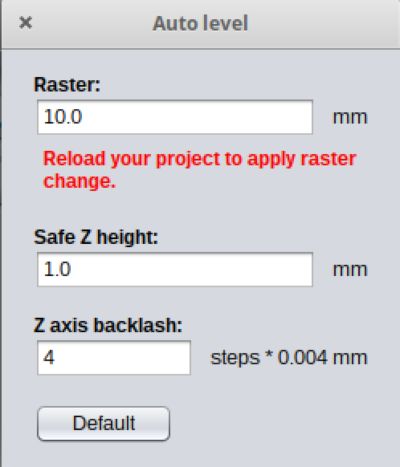
demonstration of auto-leveling
Practice CNC
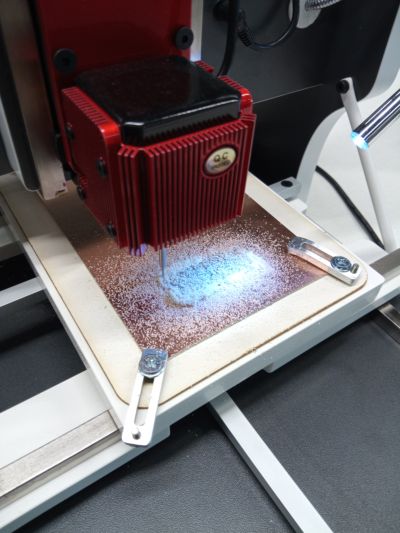
We’re off to test the beast.
this is a test provided by our instructor to check the operation of the machine.
Exercice for group
for the purpose of the exercise, 3 drills (cnc cutter) are used
- V-mill (circuit)
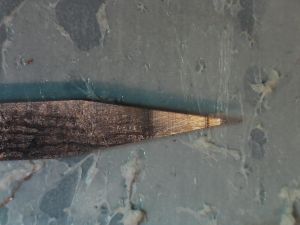
- 0.6mm (clean-up)
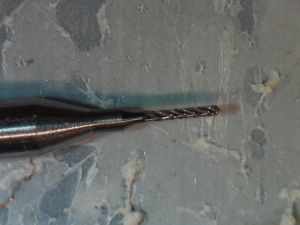
- 1mm (cut)
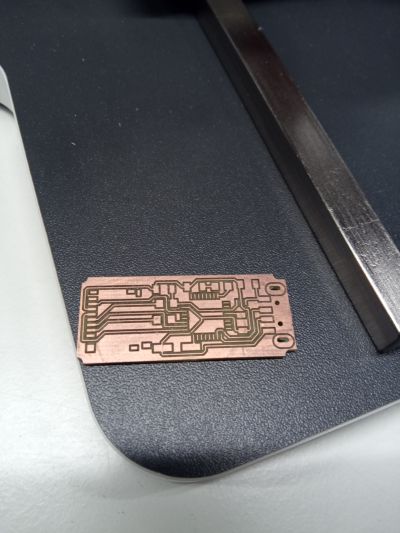
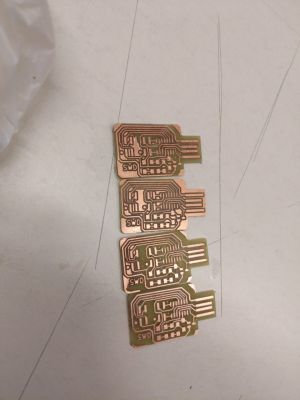
We then carried out the requested group exercise with the following files:

Preparation of files
Preparation of engraving files, cleaning and cutting via mods
programs / open server program / Gcode / mill 2D PCB png
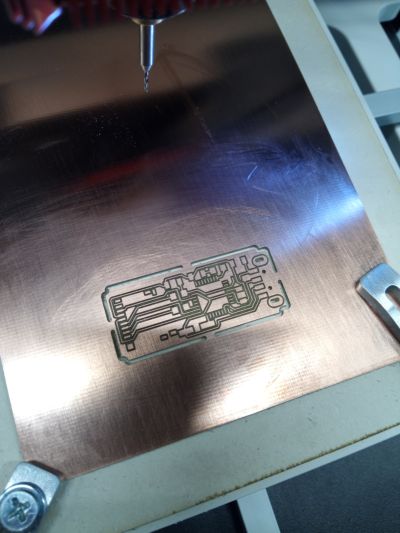
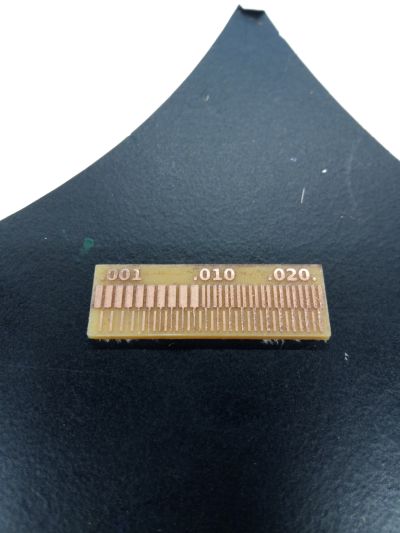
result after calculation
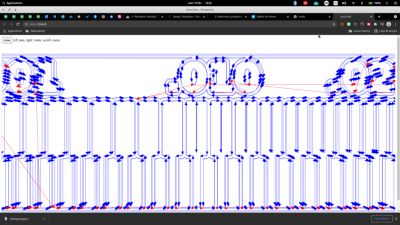

First Result, not satisfied with the result
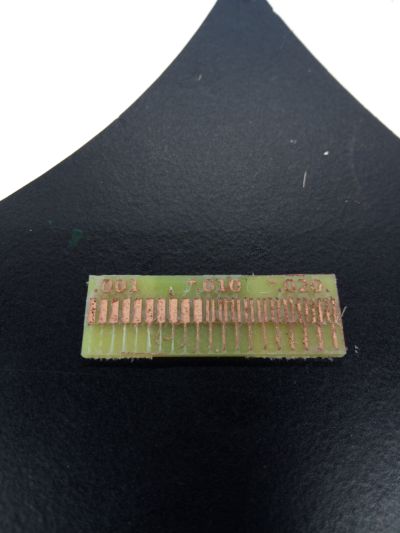
It’s better
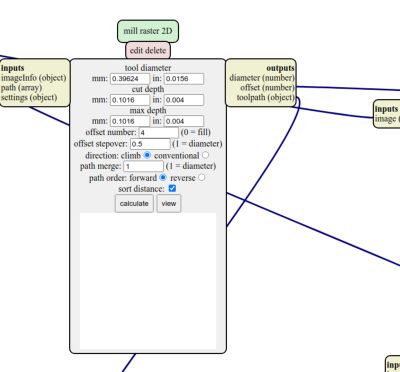
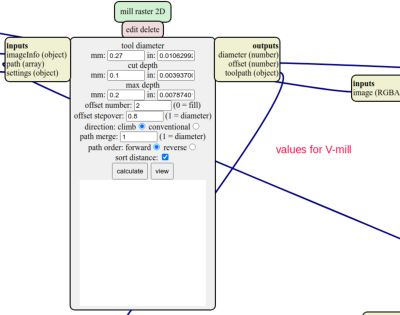
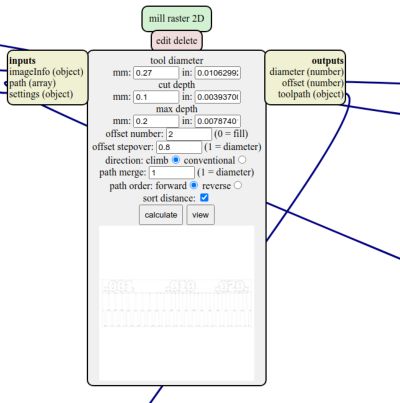
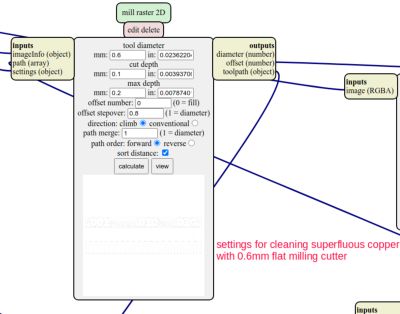
Different values for engraving, cleaning and cutting
Circuit (engrave)
- V-bit
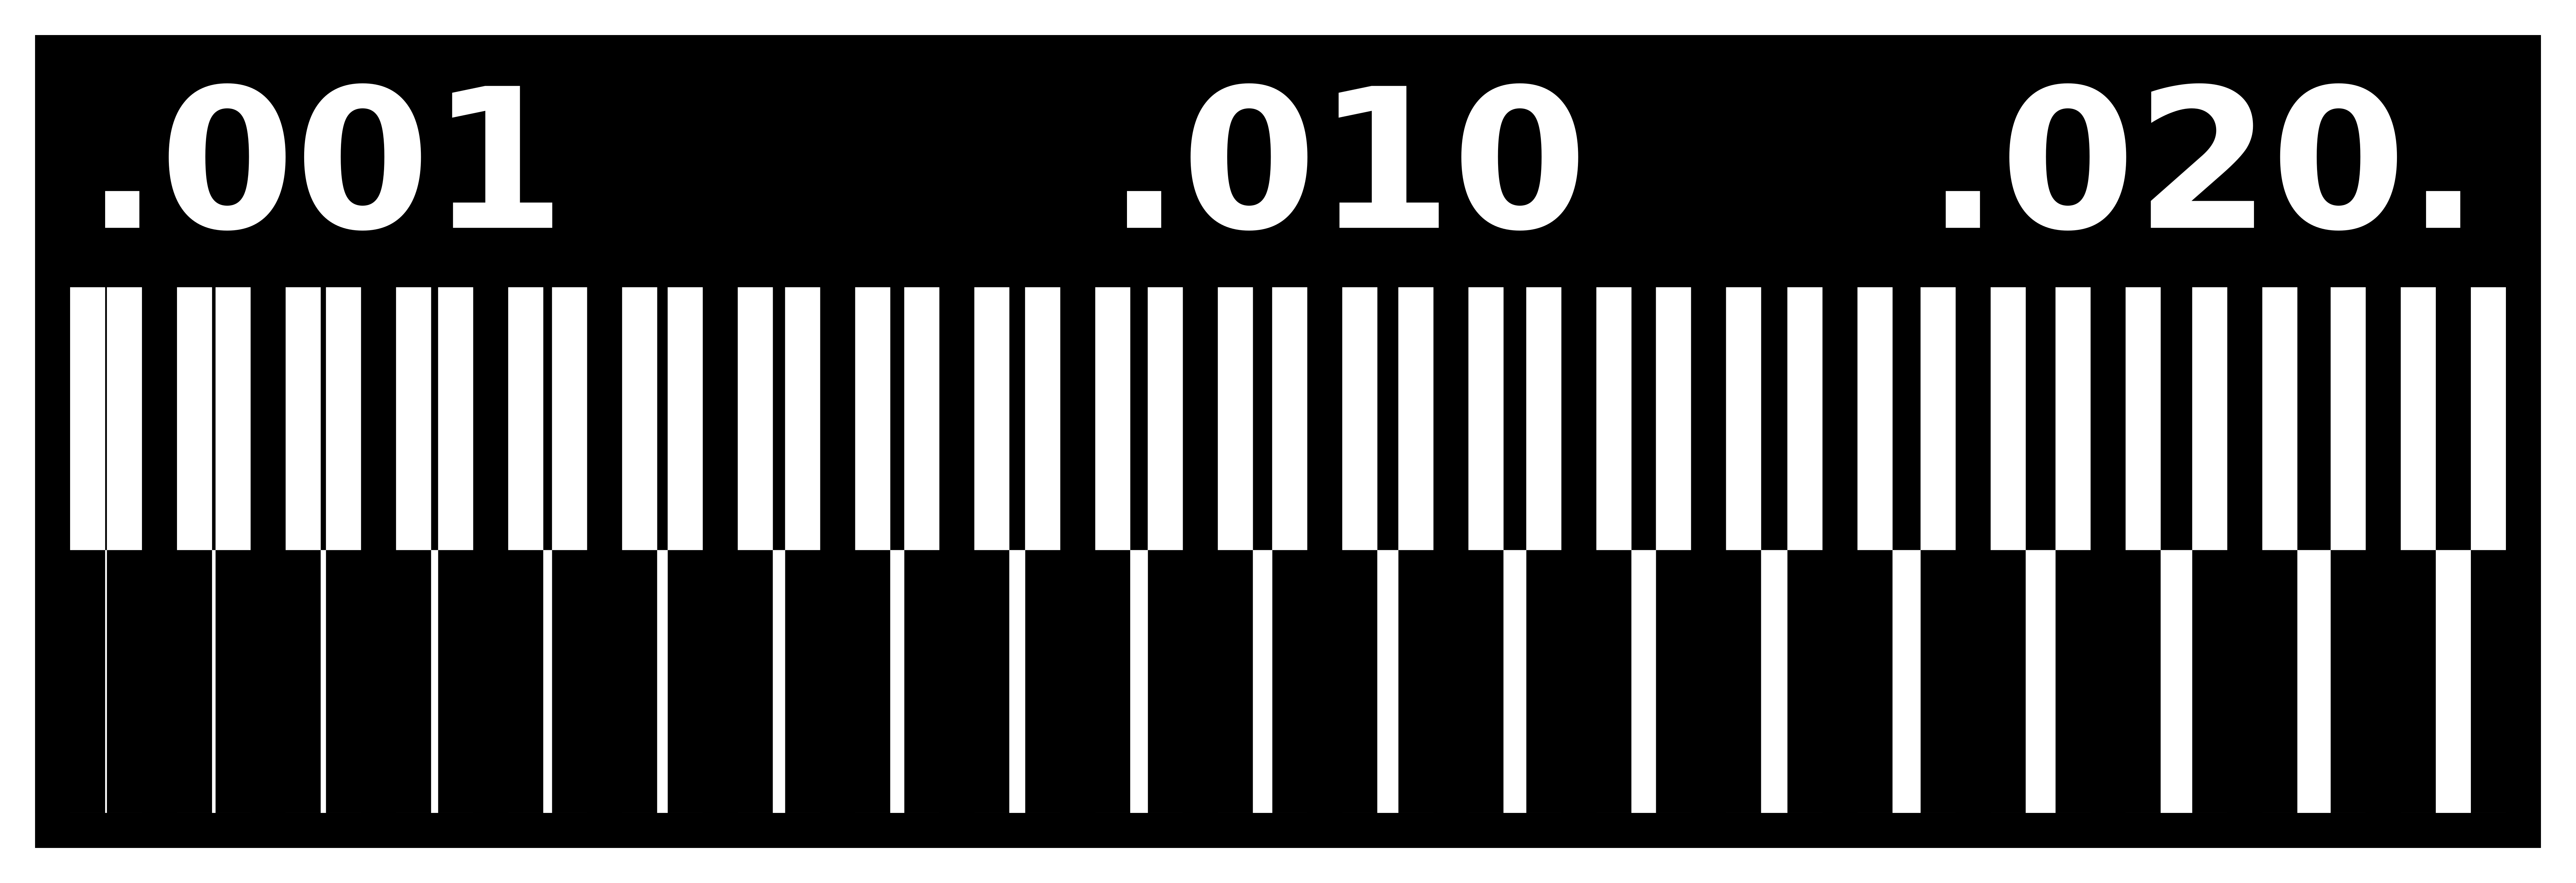
- tool diam : 0.27
- cut depht : 0.1
- max depht : 0.2
- offset : 2
- step over 0.8
Copper cleaning
- tool 0.6mm
- tool diam : 0.6
- cut depht : 0.1
- mac depht : 0.2
- offset : 0 (fill)
- offset step over 1(0)
Cut
- die 1mm
- tool diam : 1mm
- cut depht : 1mm
- mac depht: 1.62 (copper plate measure)
- offset : 1
Speed milling
- speed 175
- rpm 11000
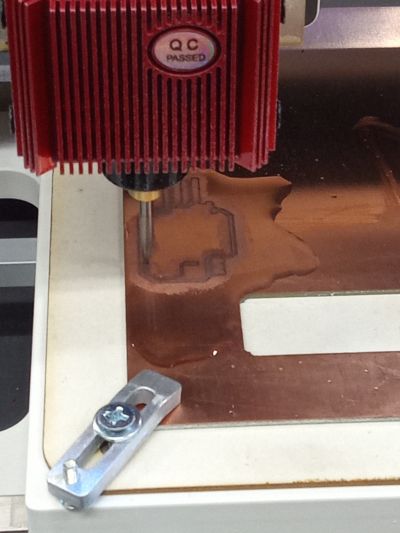
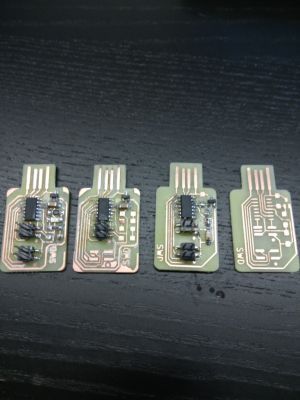
Individual assignment
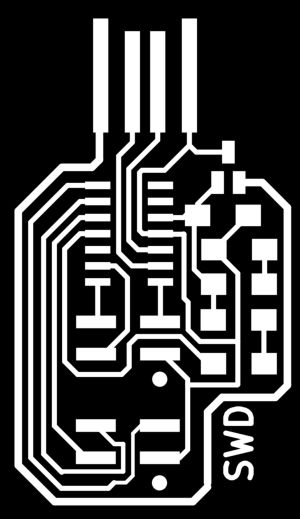
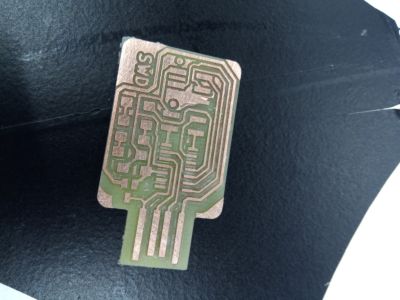
For our individual work, we had to make the printed circuit of the SWD D11C
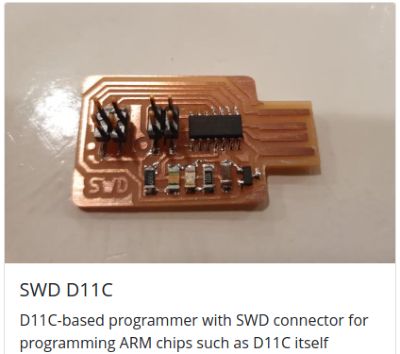
These are the two files we need to process.

Step 1 : set up with mods
Step 2 : run CNC
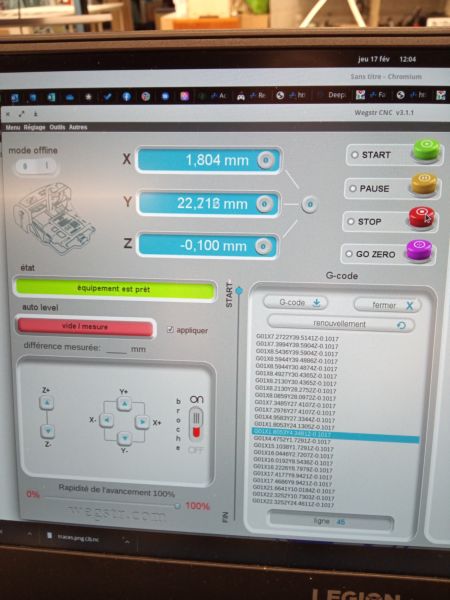
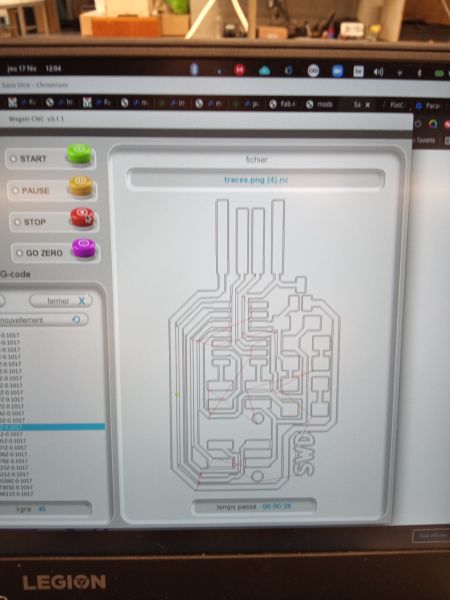
Take the .nc file, generated by mods to open it in webgstr (with the “Gcode” option).
Then check the position of the tool with X,Y and Z.
When all this is done, put the tool that will be used for the job.
There are still the functions, START, PAUSE and STOP.
Warning
Attention STOP, stops the work and therefore, if you click on START, the work starts again from the beginning, while PAUSE, START will restart where it is.
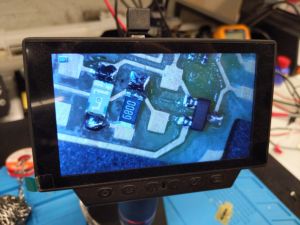
Result :
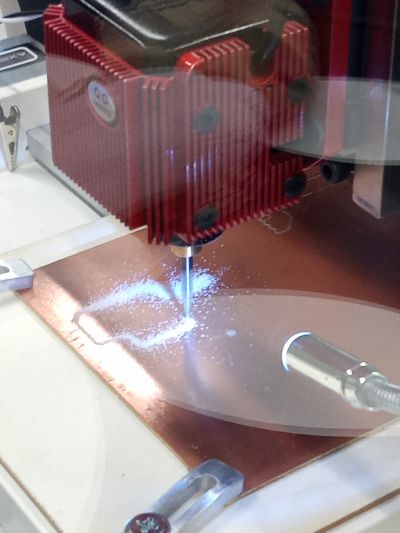
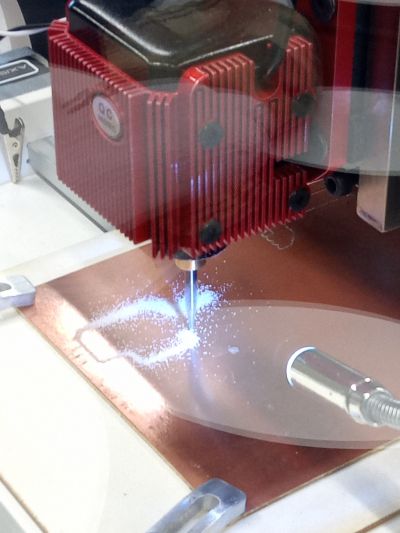
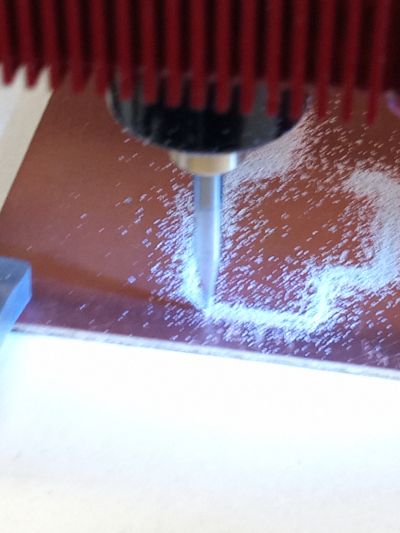
Mineral oil is used to avoid material splashing from the milling machine
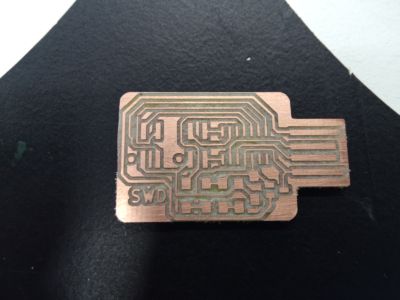
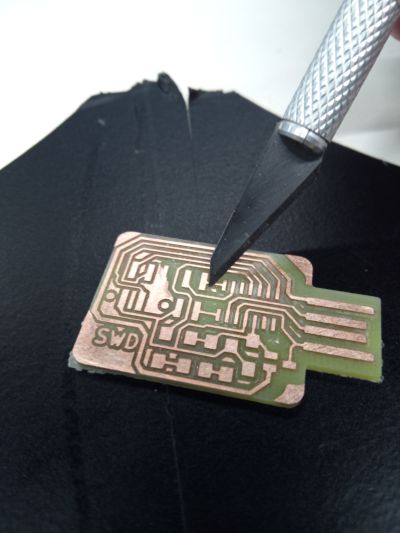
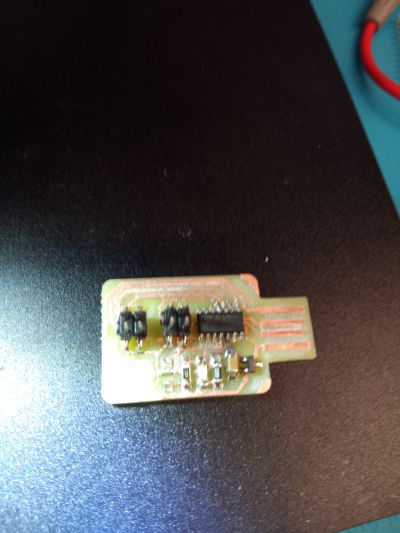
Step 3 : cleanup via cutter
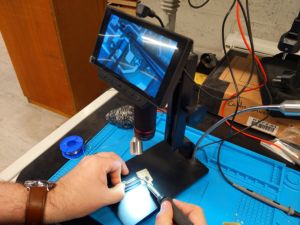
Step 4 : welding
with microscope, its more easy
Step 5 : programming
Flashing firmware
This board must be flashed with the free dap binary from Alex Taradov, which can be downloaded here .
For flashing, edbg can be used with the following command, in the terminal:
edbg -ebpv -t samd11 -f free_dap_d11c_mini.bin
Normally, after successful flashing, your board should show up as a USB device named “CMSIS-DAP”.
Problem : with our instructor, we had a problem. The programming works (no error message), but then no way to be detected by the PC. Our instructor thinks that there is a technical problem with the main component. We will meet again next week to fix the problem.
correction We found a difference in the SAMD11C14 . There was a letter difference at the end. There was an M. With the correct version, there were no more problems, the programming went smoothly.
Bonus
transformation of an old piece of furniture to dedicate it to the CNC PCB

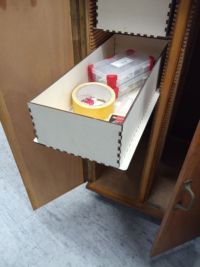
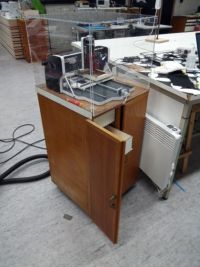
Plexiglas protection :
files :
- drawer : drawer.svg
- plexiglass protection : plexiglasprotection.vsg
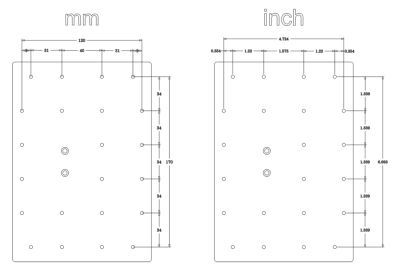
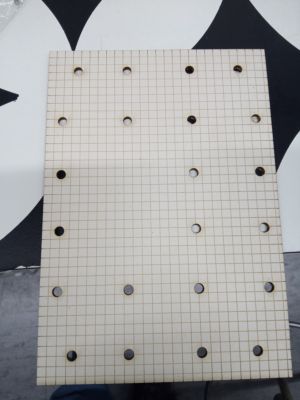
As i had the cnc datasheet, i redrew in freecad the martyr and i took the opportunity to create a grid to align the sheets more easily for pcb
files :