Project Management
Assignments:
1- work through a git tutorial
2- build a personal site in the class archive describing you and your final project
Pre - Fab Academy
First I started by downloading Git Bash which is a version control software in the Shell environment I had a pretty simple experience with shell before, the only thing command I know was “ipconfig” which was used to get connectivity info in the CMD.
Anyways I knew previously about GitHub but I had no idea that people actually Git bash to upload files in their repositories. I used GitHub to before to download things but never considered that it can be used to document progress.
I learned some of the basic bash commands such as
ls : List all folders in current directory
cd: Change directory
cd ../ : Go 1 directory level up
cd ~ : Go to the main directory
mkdir: Make a directory
GitHub Setup After creating a GitHub account, it is important to connect your machine/computer to your GitHub account, by using these two commands on the bash:
First connecting the Username

Connecting the Email

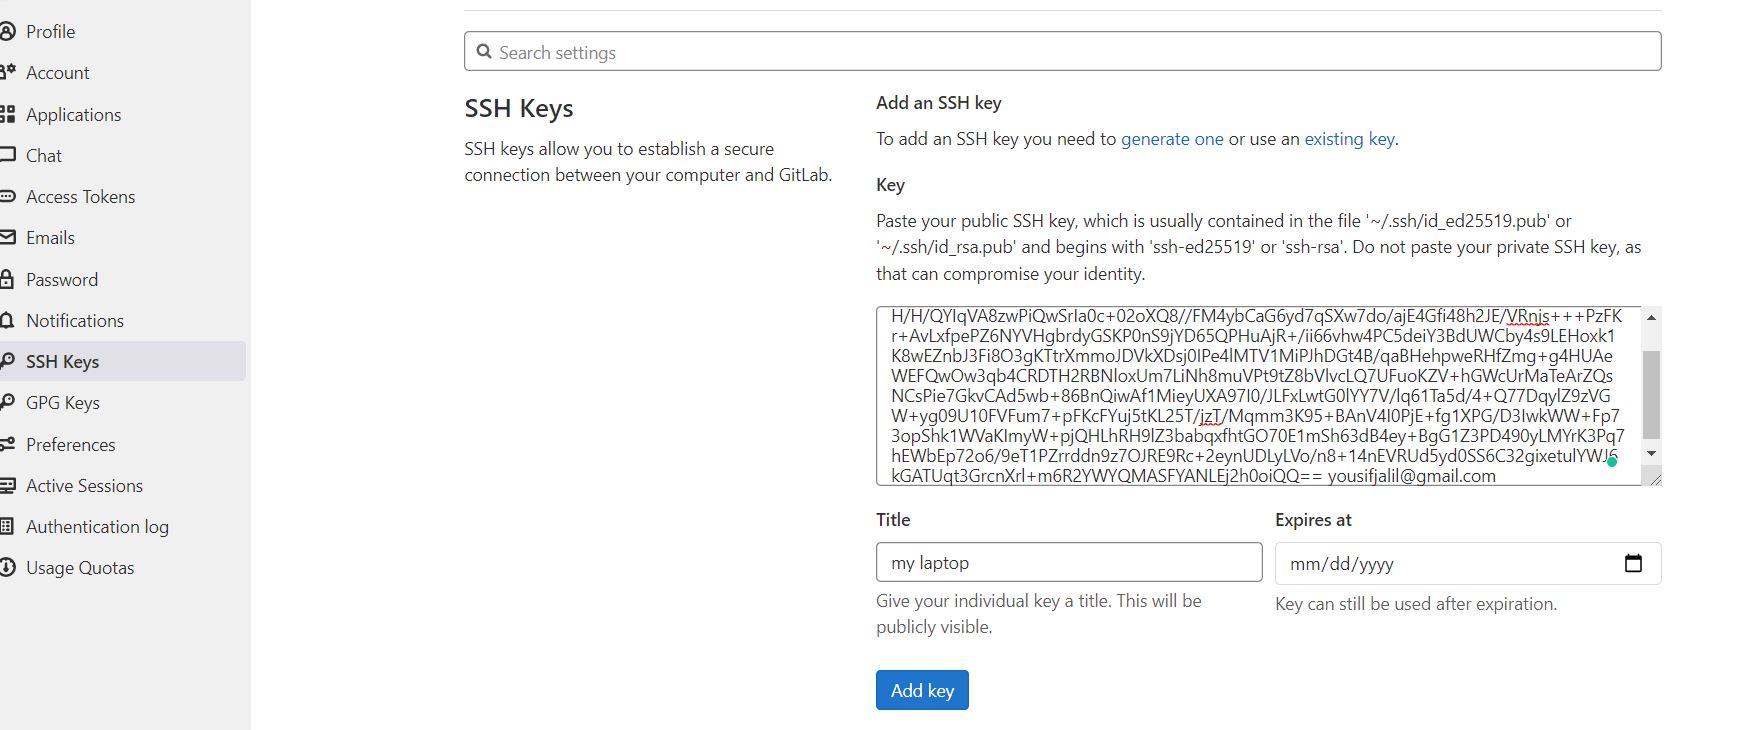
After connecting to your GitHub account, it’s time to add a secure way to keep updating your files without putting your username and password each time, and that can be done by using ssh key.
- To get the ssh key:
1. go to your GitHub account and navigate to your created “yournamewebsite”
2. Click on the green code button
3. Copy the ssh code

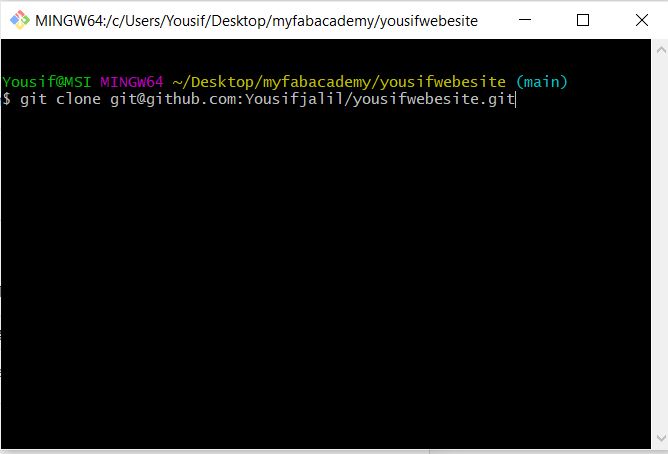
Then you have to open GitHub in the folder that you want your project to be in and use the command: git clone “ssh address of the project”
After that I learned about the commands that we are going to use constantly to add files to my GitHub
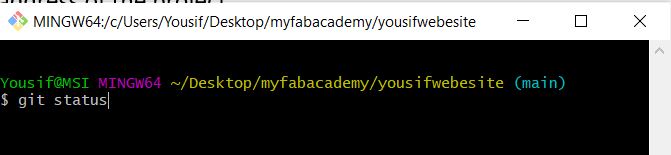
1. “git Status”: to see the condition of our directory
2. “git add .” : to add files

3. “git commit -m “message that shows on uploaded file”

Notice that the messages that you write on the commit command are displayed in GitHub when uploaded, also so that you know or have a description of the files that are uploaded.

Finally, the last command which is pushing the files to your GitHub repository: “git push”

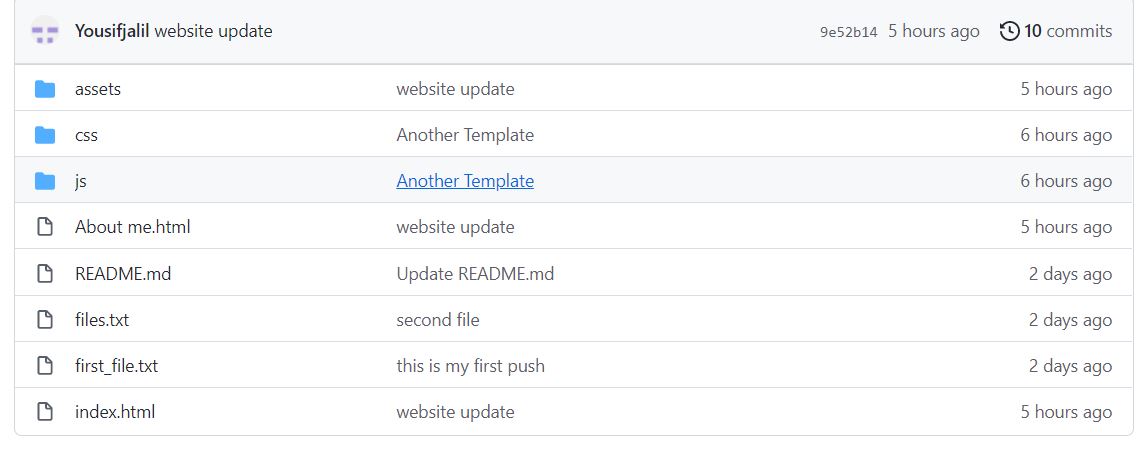
Then the Next step was making a website and documenting all the stuff in it. Me myself I am not a programming expert or have any experience in HTML, so I used readymade templates from StartBootstrap.com then all I had to do was to tweak the template a little bit to my pages and pictures etc. We were recommended Engineer Hashim to use the Brackets software which is a text editor that has a good feature which is live updates that allows you to preview your updates live.

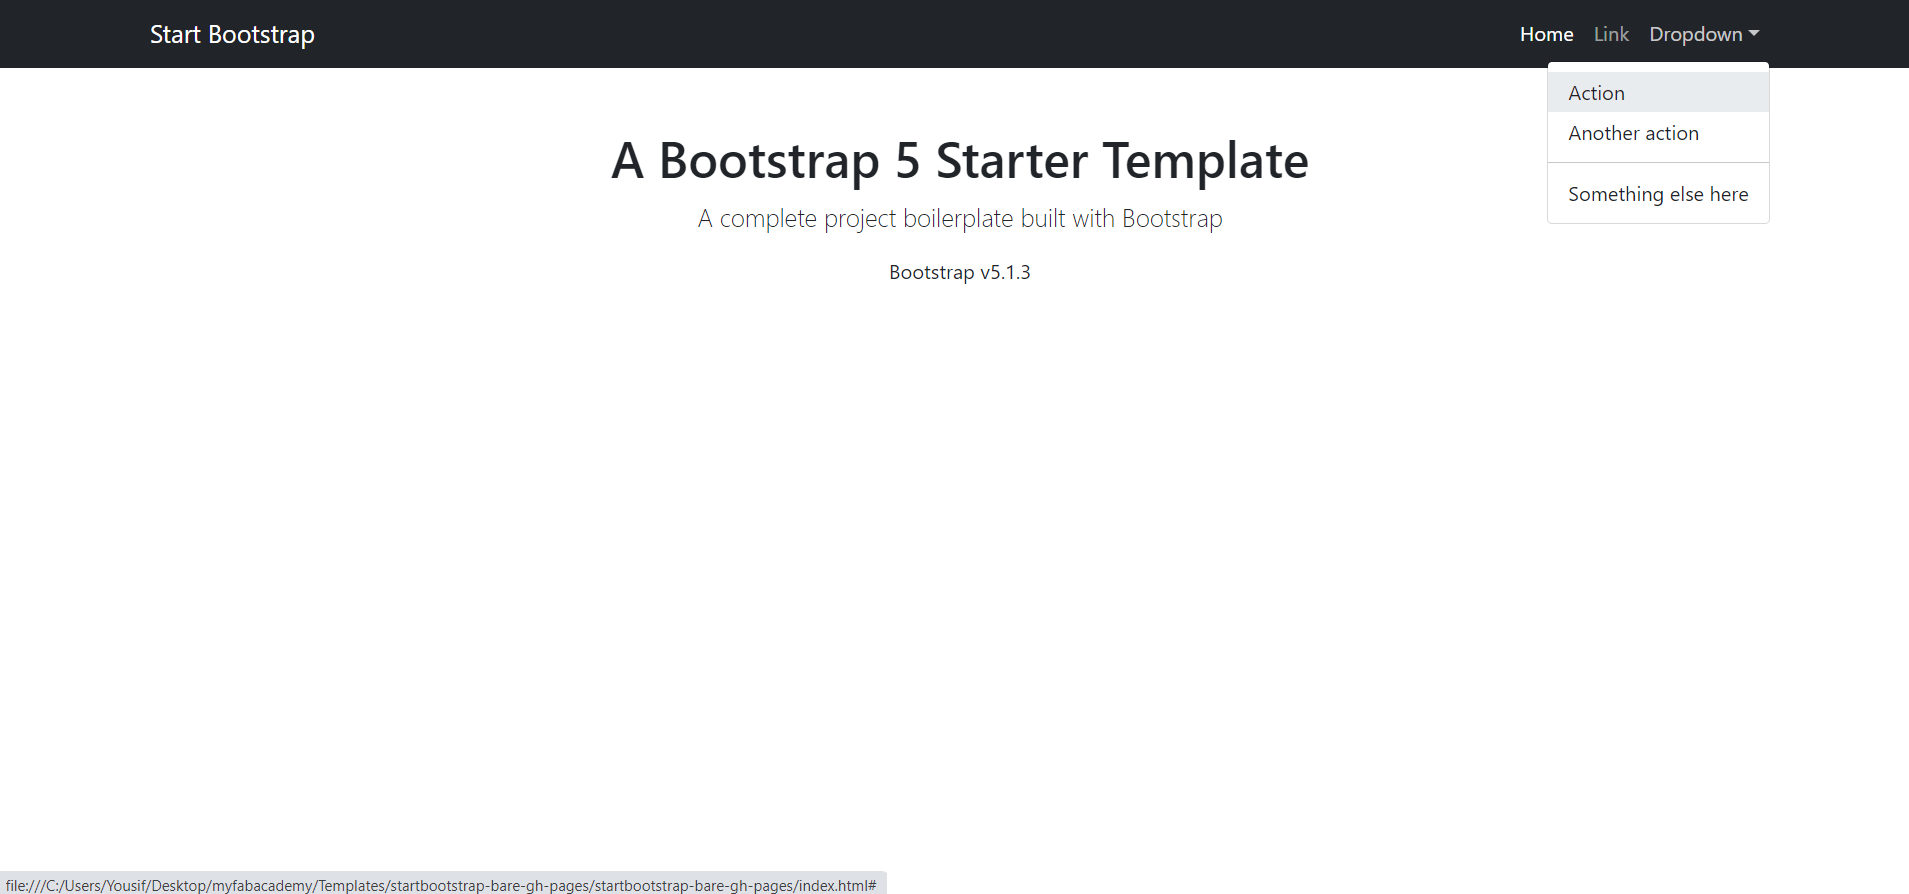
The Template that I used is from StartBootstrap.com is called Bare I found it simple enough to edit as I wanted
After I installed the Brackets software and downloaded the template, I copied all the files from the template to my website’s folder “yousifwebsite”
1. template folder
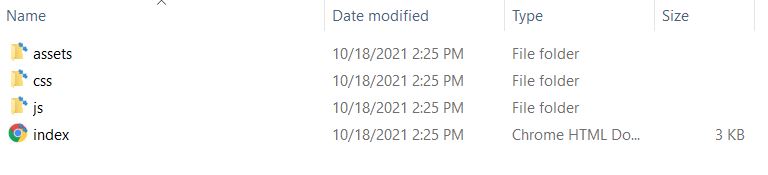
2. Website Folder
Then I Started editing the website in Brackets by adding more pages and information
How webiste template looks before editing
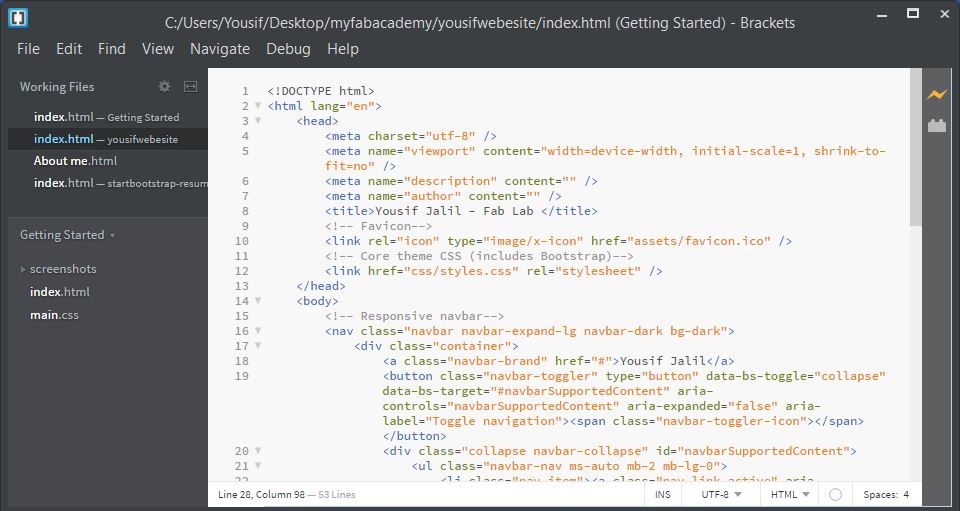
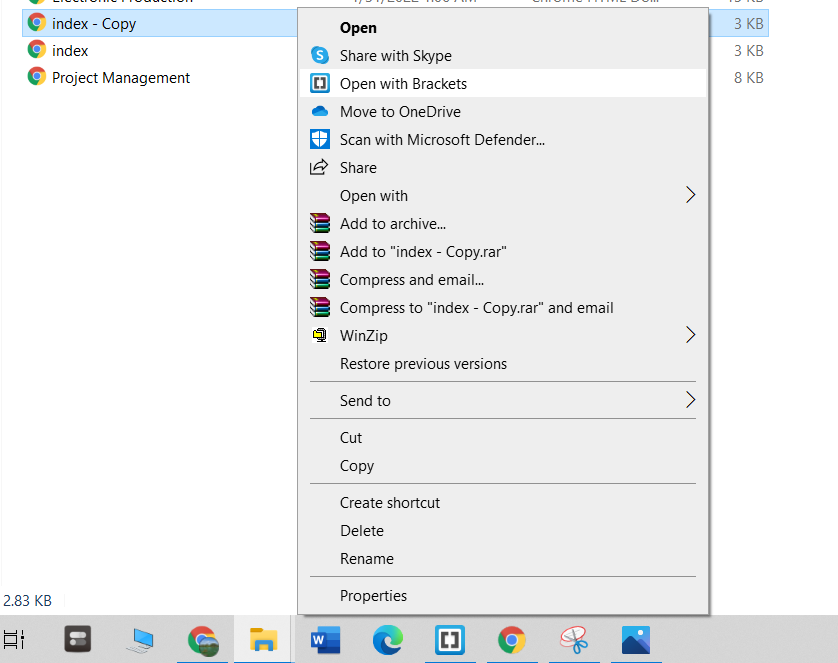
how i did it is to copy the index file from the template and paste it, now i have another copy of my index free to edit then i open index copy in brackets and start editing and adding content.
This is making your website using html, now there is another way of doing it using a simpler approach using Markdown markup language, so what I did was learn about the markdown language in markdowntutorial and it turned out to be even more simple than HTML, so every text you write you can see it immediately on the browser so it’s simpler. To install Markdown you have to check your version which is the depart installed on your computer so you can do that by going into get bash and typing “pip --version”

So this python 3.8 for my computer, if it’s outdated it’s better to update it or updated to the newest version of python and that can be done by typing “pip install --upgrade pip”

After updated python is installed it’s to install mkdocs, by typing “pip install mkdocs”

Then, install the material for mkdocs by using “pip install mkdocs-material”

After that go to your downloaded mkdocs web-template provided and open git bash and type in the terminal “mkdocs serve”
Scroll down until you see a http:// link
Copy the address onto your browser and hit enter
And here is your mkdocs web template, you can modify your template by using ATOM a a text editor that can be used with Markdown language seamlessly
FAB Academy
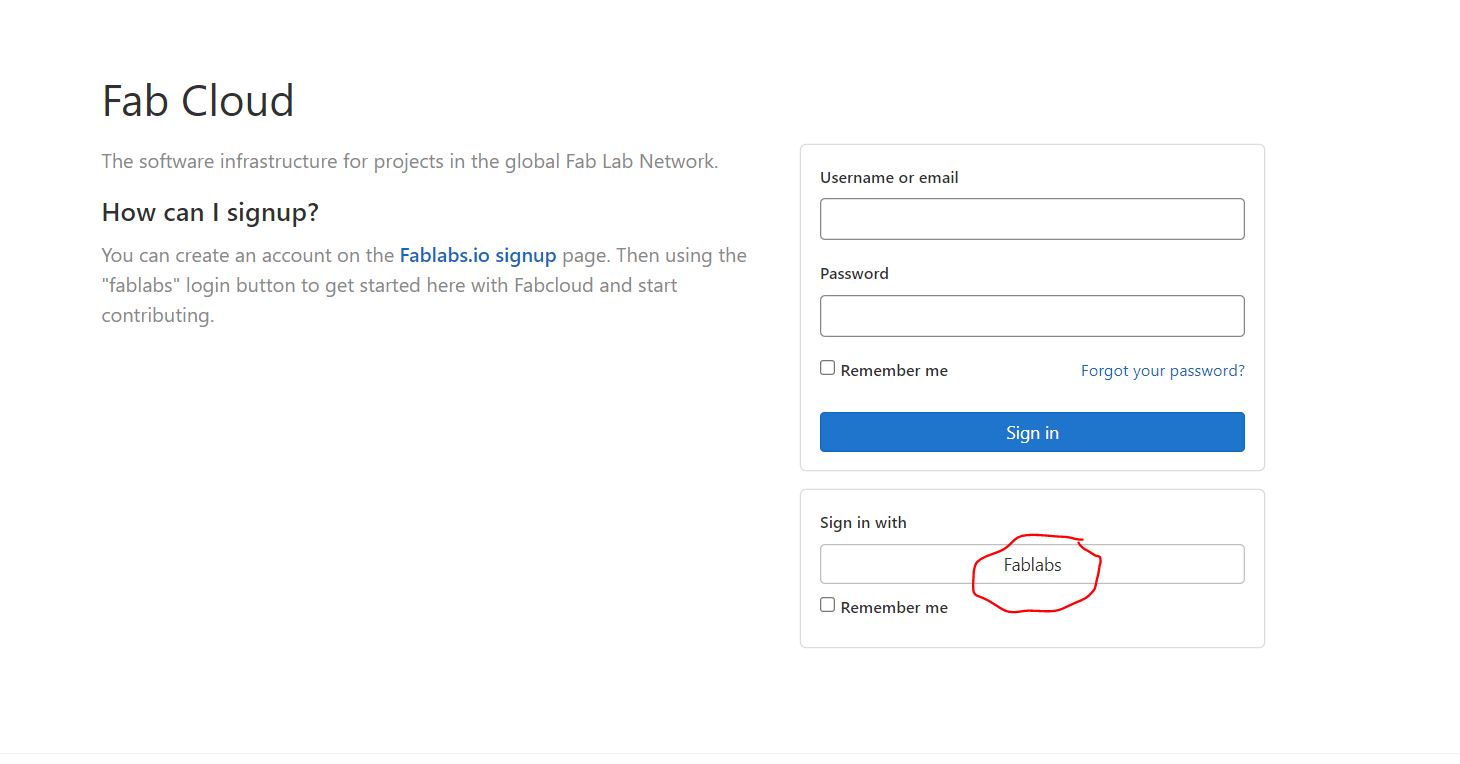
GitLab setup
Now we have to connect to GitLab, so you have to get your GitLab account that was sent to your email and Login using your email account and the password provided
After connecting to get lab it’s important to connect your computer to the GitLab account by connecting your username and your email like GitHub previously


After you get access to git lab go to your file and you will see your web template so after you login you should activate your SSH key since I have done the step in GitHub all I have you have to do is copy the same SSH key into GitLab

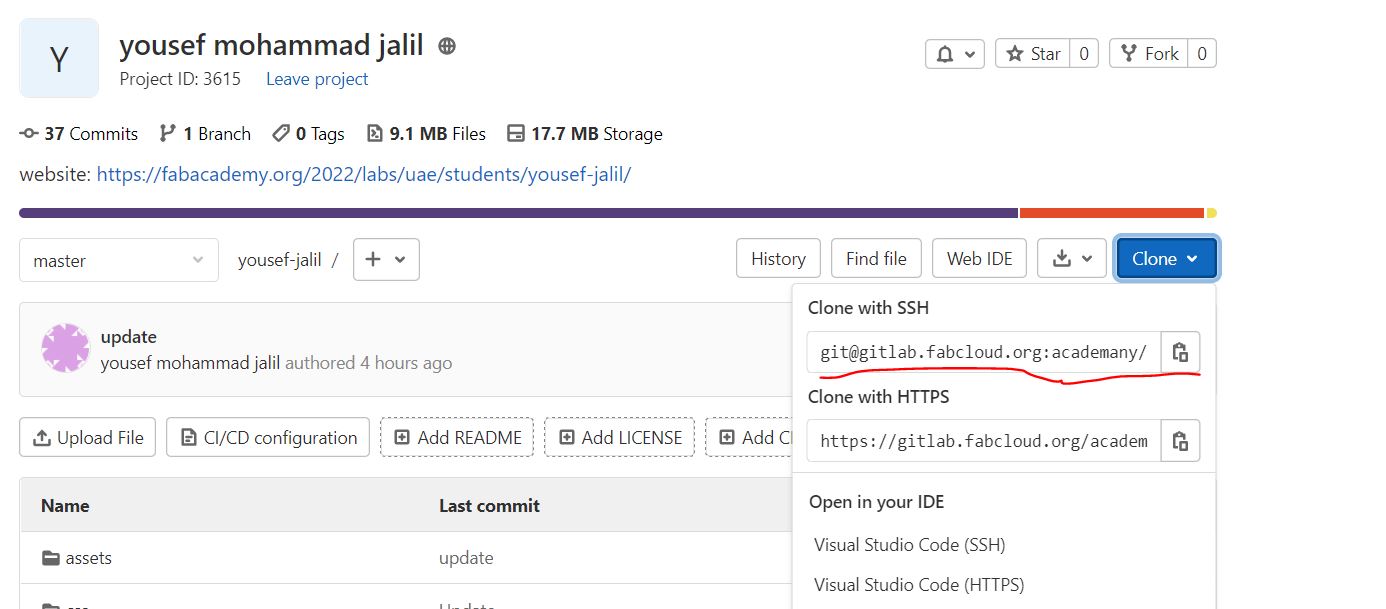
After you’re done setting the SSH key it’s time to clone the web tablet into your computer by typing git clone “SSH address of the file”

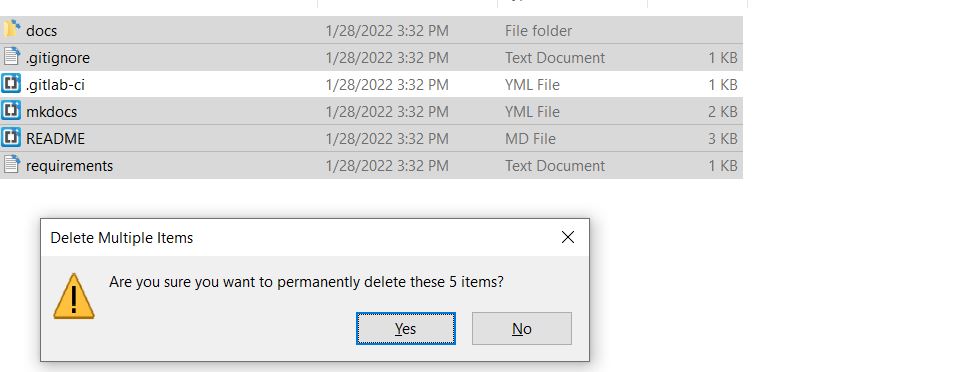
Now the files are cloned to my chosen directory. The files contain Markdown web template by default
note that I will not be using markdown I will be using HTML, so the markdown files need to be deleted but not all of them. So, navigate to your cloned directory and delete the following files.
(Note that you don’t a .git files because this is not my main directory, I am only using these files as example so do not delete your .git file)
After that copy your html files to your main directory.

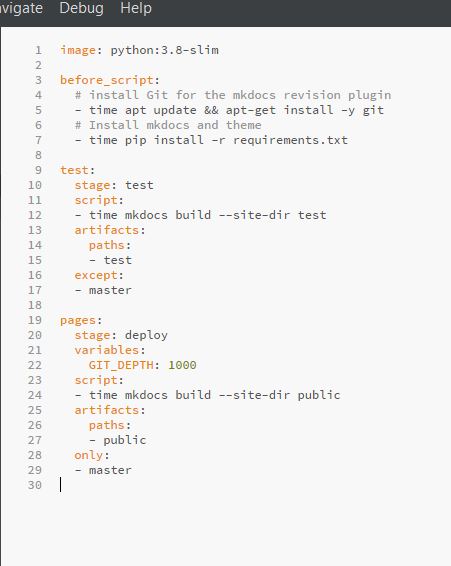
Here is my Original .gitlab-ci file
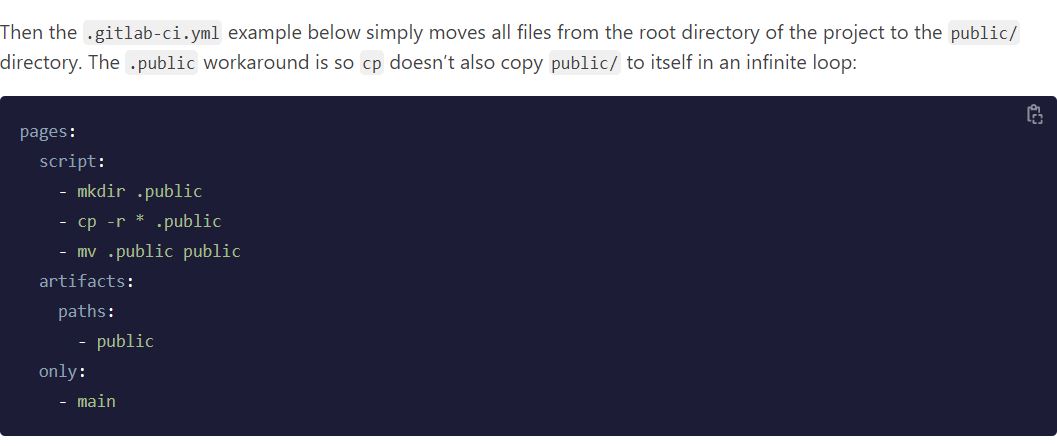
Note there is modification needs to be done to your .gitlab-ci file if you want to use your own html (like me) Instead of provided template. So if you want to use HTML you have to remove the current script at .gitlab-ci file with another script since it was optimized markdown. So Eng.Hashim Provided me with the link so i copied the script and pasted it in my .gitlab-ci file
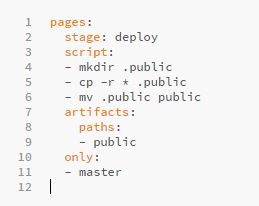
but then i encountered an issue where my site wan't being loaded and there was no "Check" symbol" appearing on my GitLab page. So Eng.Hashim suggested another script from Sara Alhadrami’s gitlab-ci file. So I opened it copied the script to my .gitlab-ci
Finally all is left is push the files to GitLab by using the same commands on GitHub 1. “git add .” : to add files
2. “git commit -m “message that shows on uploaded file”
3. pushing the files to your GitHub repository: “git push””
....
