Individual Assignment:
1- Design a mold around the stock and tooling that you'll be using,
mill it (rough cut + three-axis finish cut), and use it to cast parts.
Extra credit: use more then two mold parts.
Group assignment:
2- Review the safety data sheets for each of your molding and casting materials, then make and compare test casts with each of them.
Link
1- Design a mold around the stock and tooling that you'll be using,
mill it (rough cut + three-axis finish cut), and use it to cast parts.
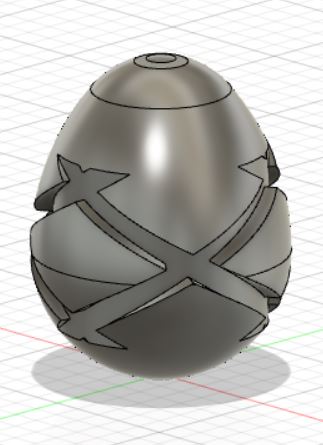
At the begining i didn't know i was goinig to make, i was looking online on design ideas until i found designs of eggs that are embossed or have some kind of art with them, like these

Then i watched this short video on how to make an egg on Fusion 360
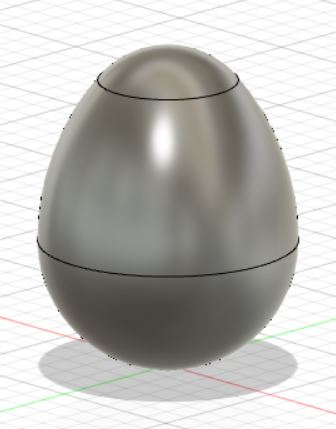
Next i needed to add somekind of art or embossing to the egg, so this video was a good reference, and this is the result i got.
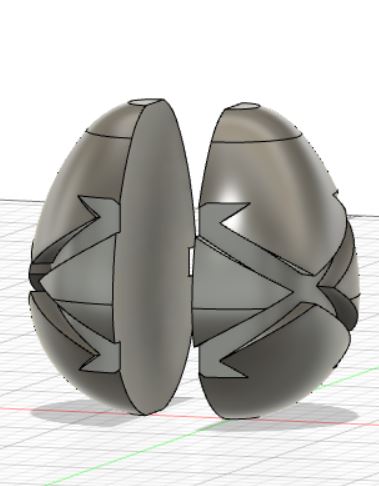
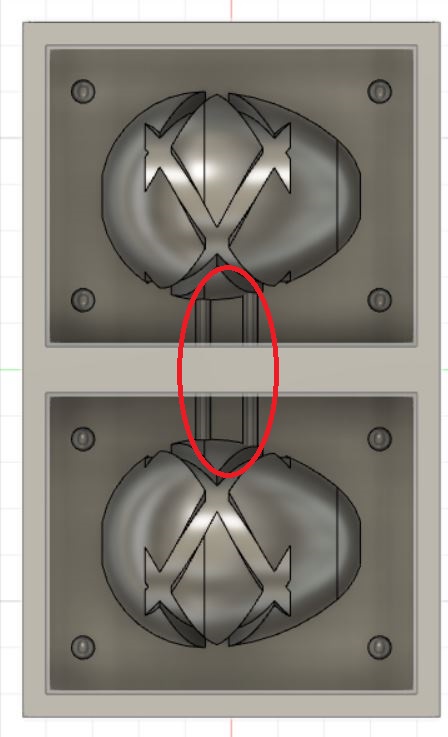
after that i had to split the model into two pieces and design it around the stock(Machinable wax)
to design the stock first i had to get the dimensions of the stock
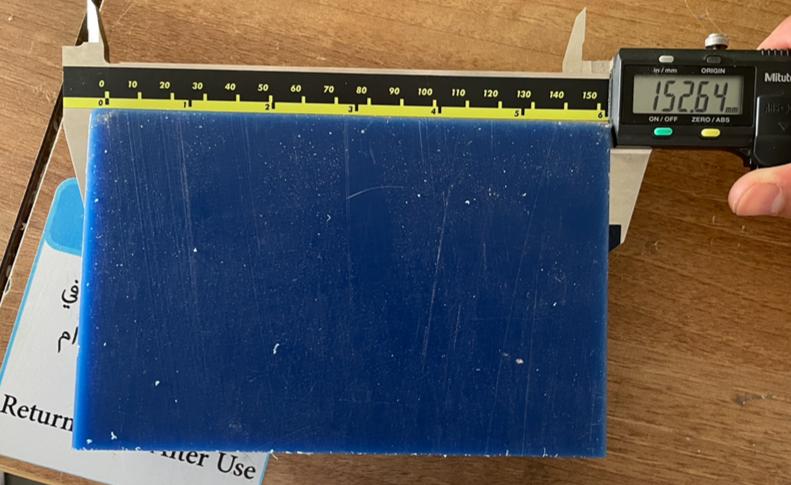
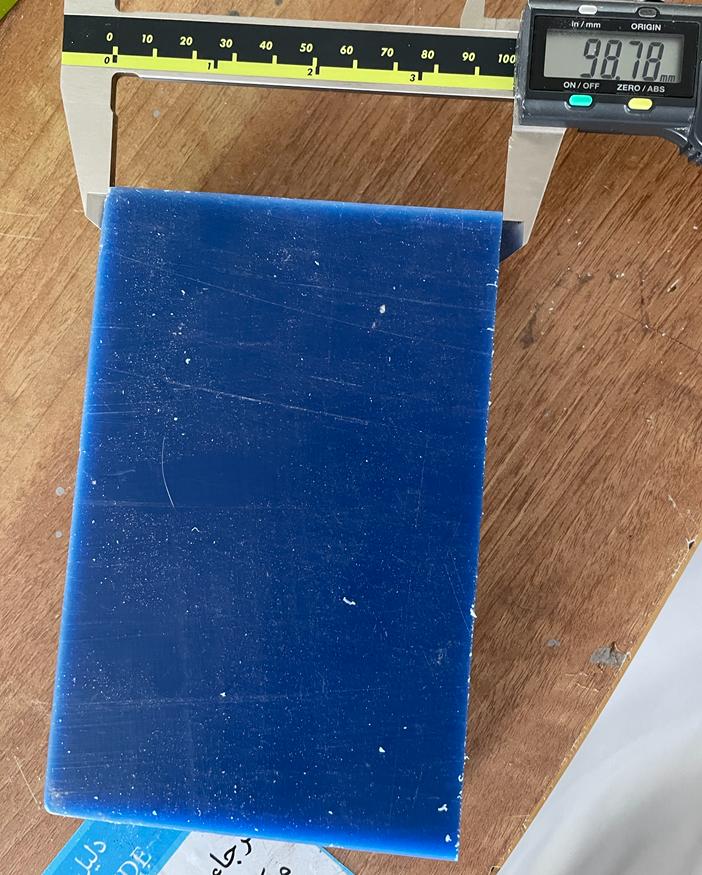
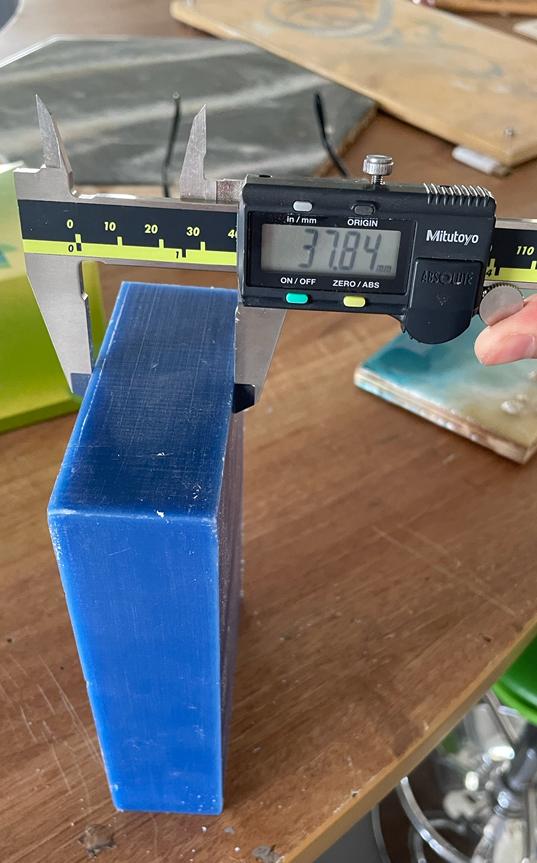
Then added it to fusion according to its dimensions.
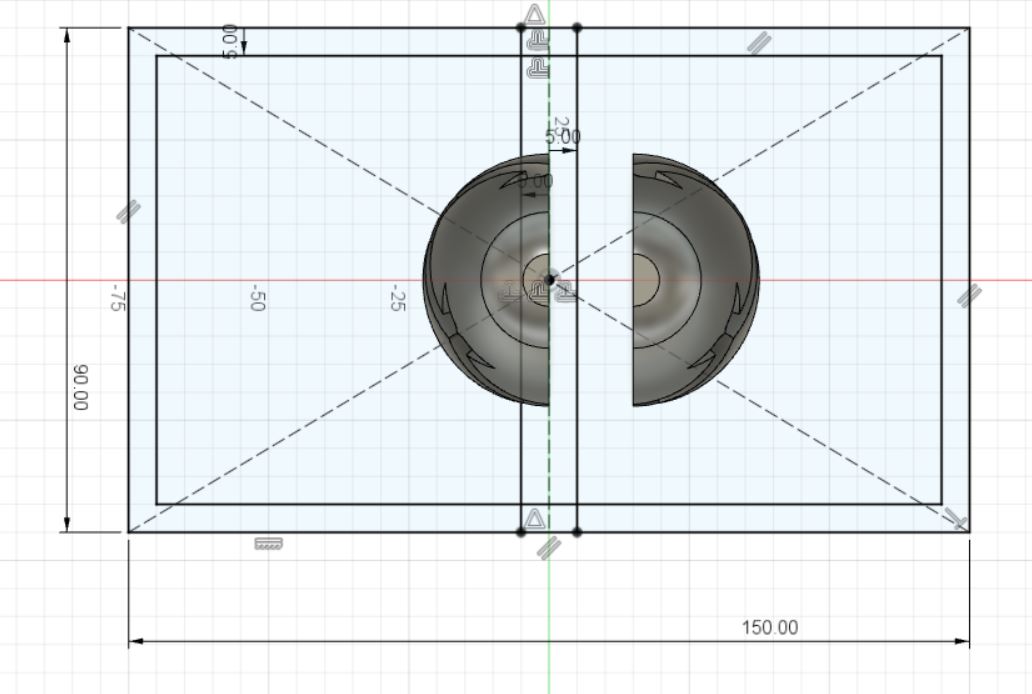
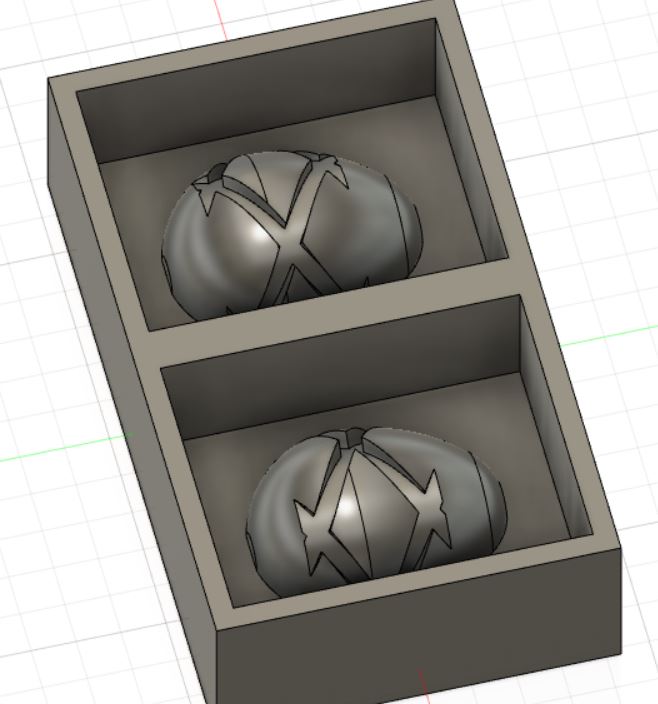
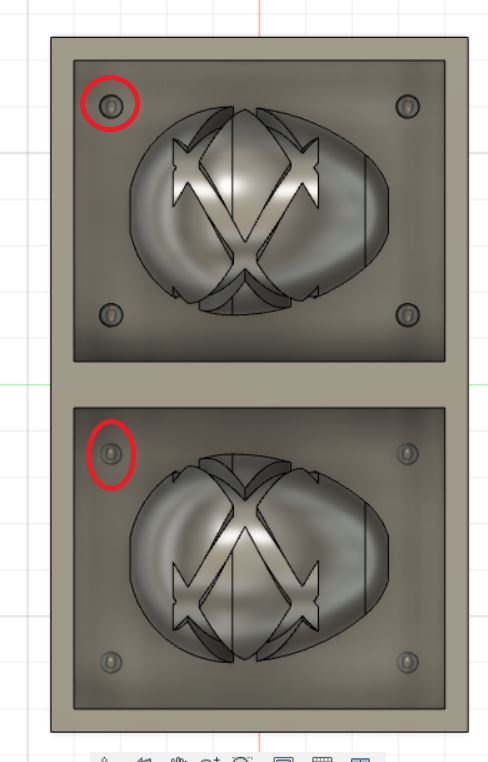
Next i added the spheres around the corners to help with alignment of the mold when it comes to casting
After that i added the half cylinders or pouring holes for the material for casting.
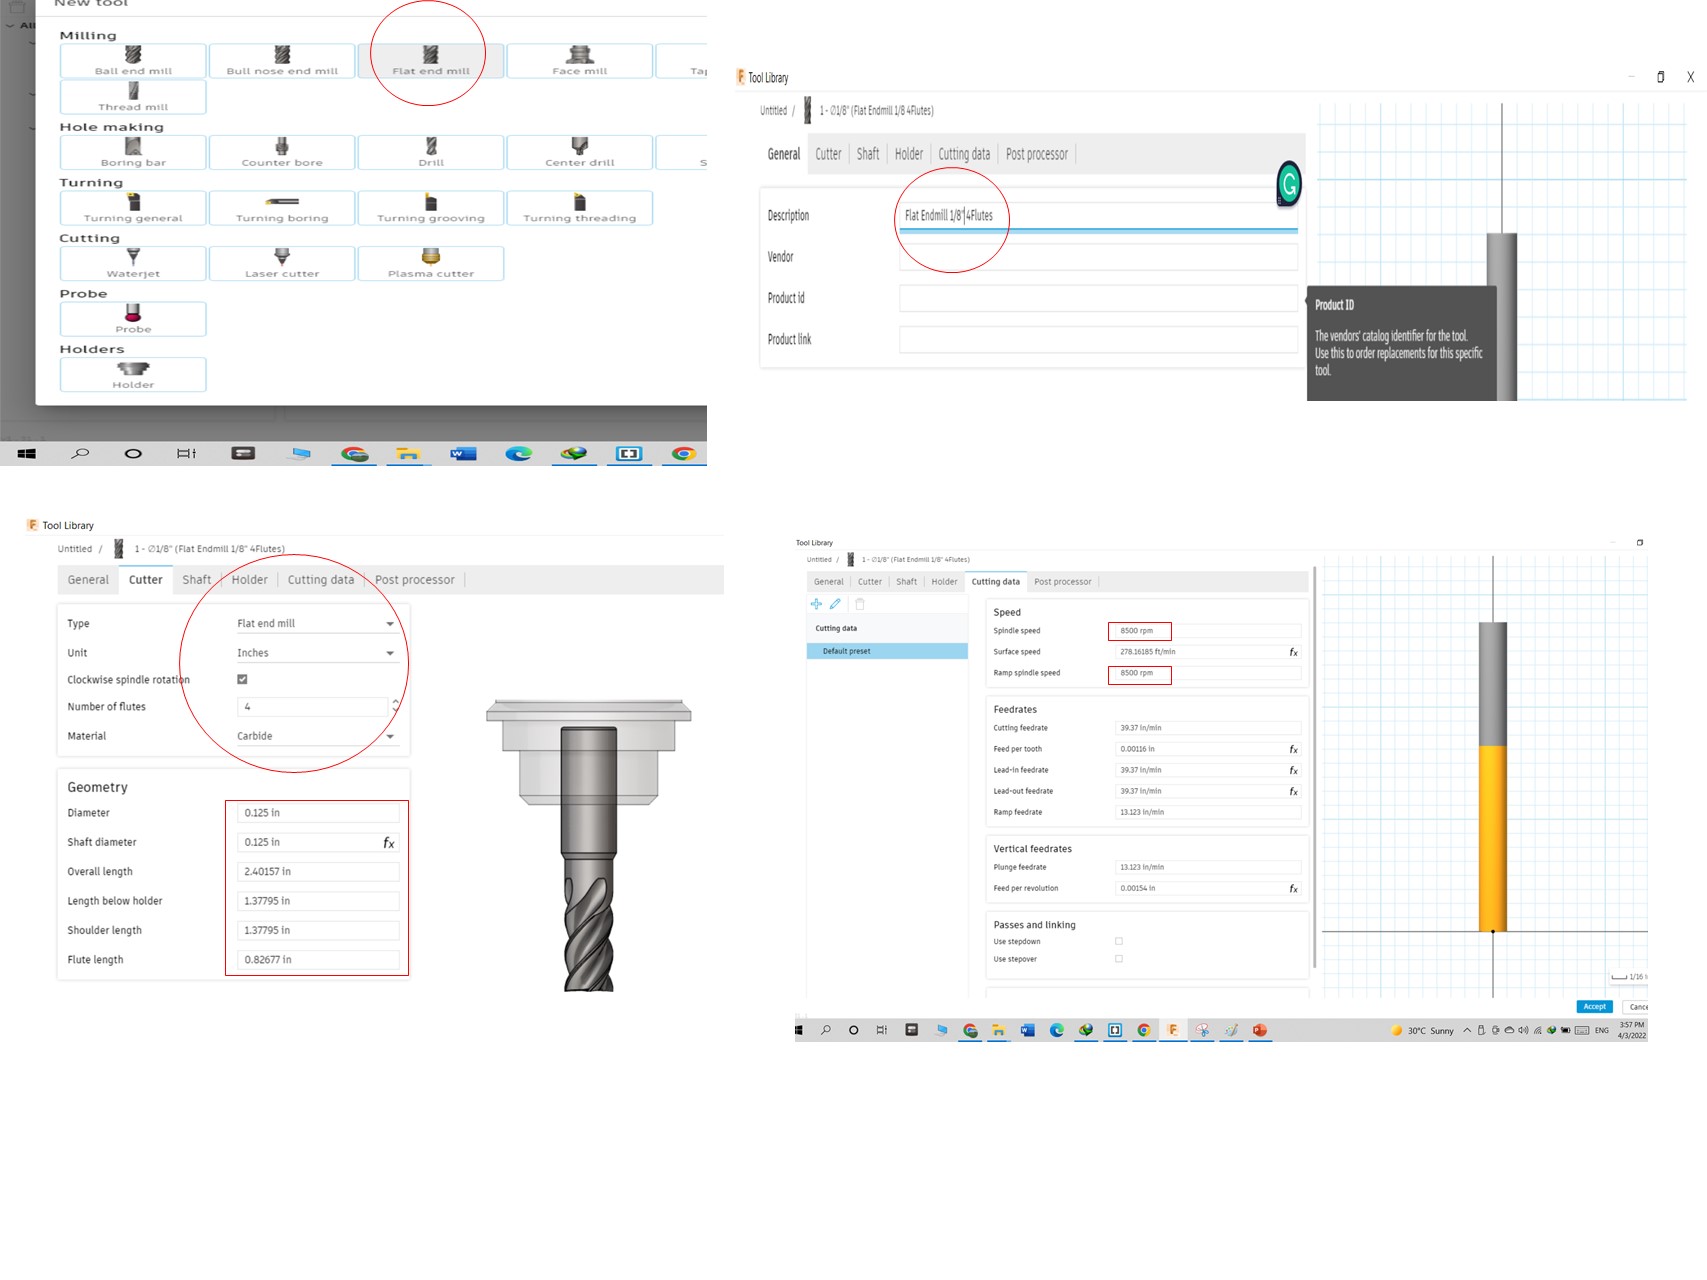
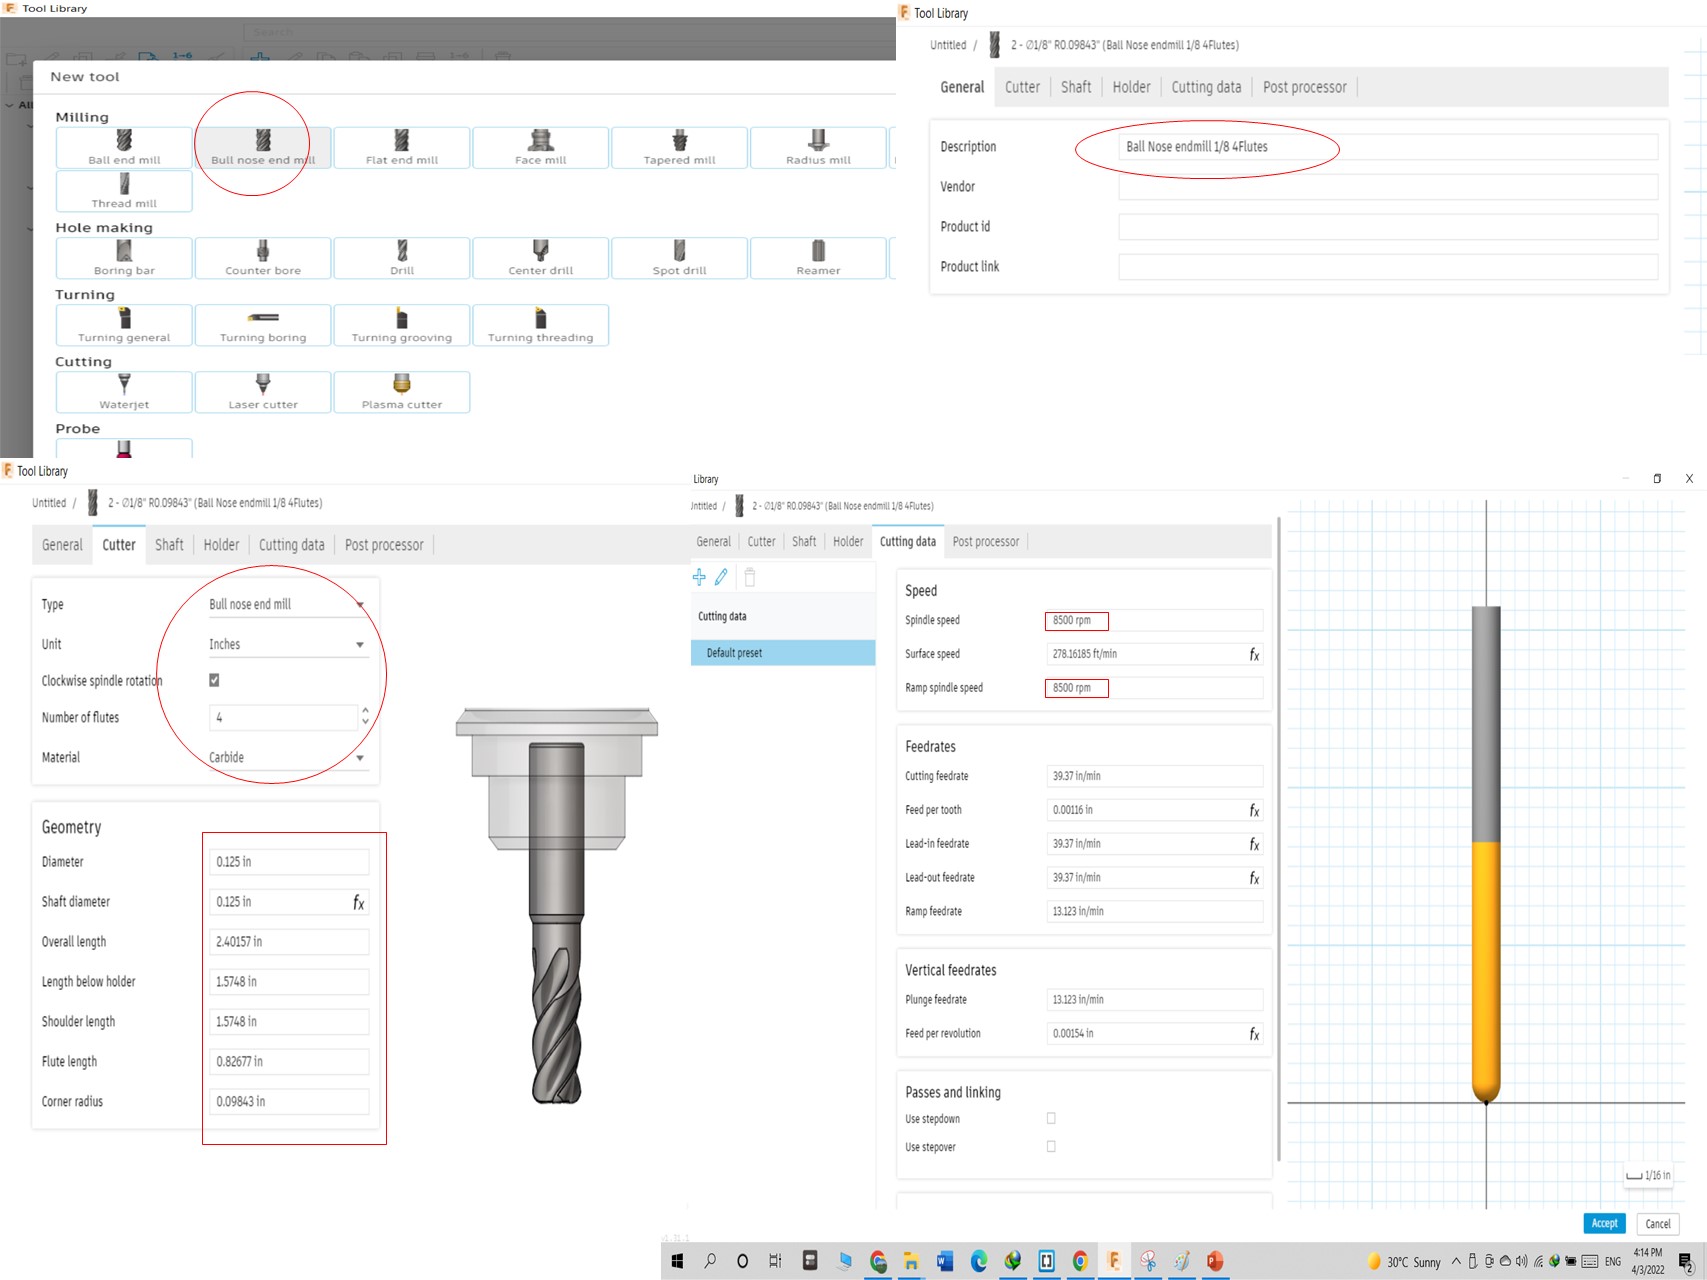
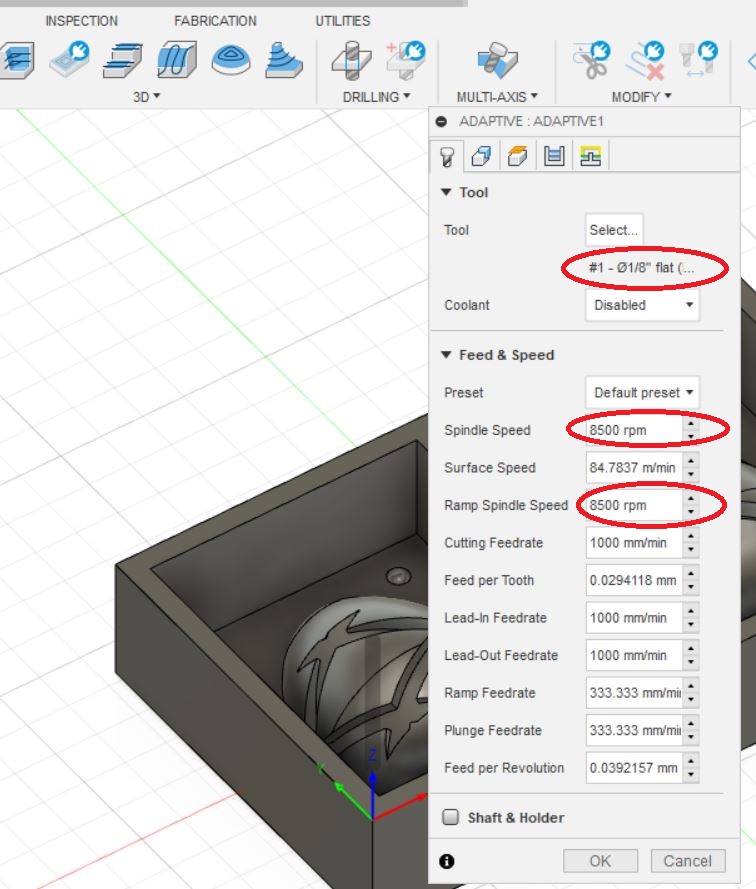
Now it's time to set-up the stock for machining by going to manufacturing workspace in fusion 360, then we start by adding the endmills that we're using which are 1/8" flat end mill and the 1/8" ball nose end mill. we go to tools tab add the end mills.

Flat Endmill
Ball Nose Endmill
After adding the endmills, the next step is to go and add the milling process to the model, since we want to end up with 3d surface finish, we use the 3d tab, i am going to follow to milling operations, 1 is the adaptive which is to remove most of the wax material, 2 is the parallel which crucial to achieve good looking surfaces on the mold.
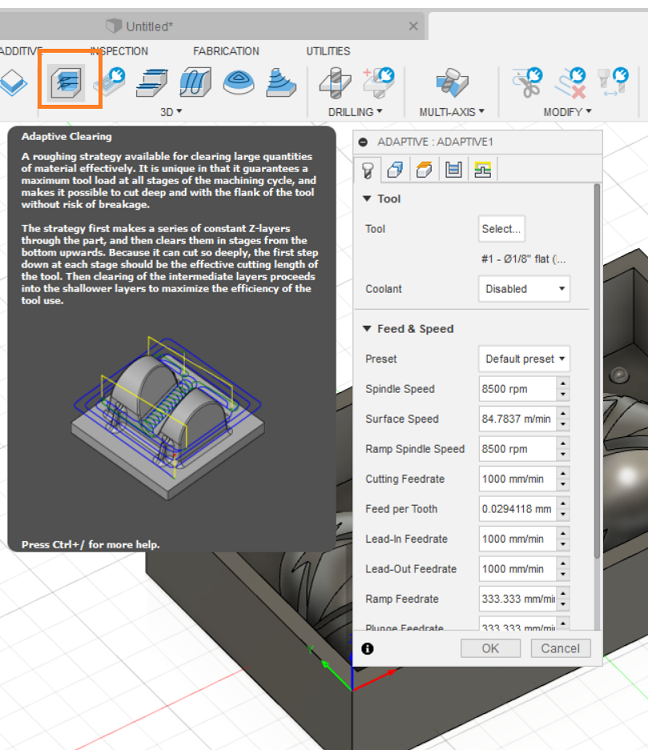
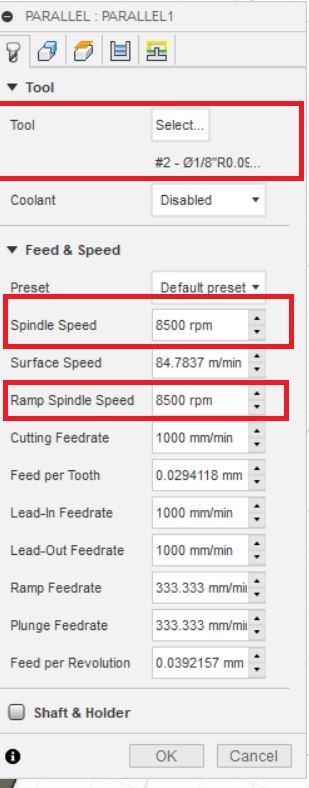
Make sure that the flat end mill tool is selected for the Adaptive clearing, also it's important to check that the speeds match as to what they were set to before.
Select the geometries of your surface.
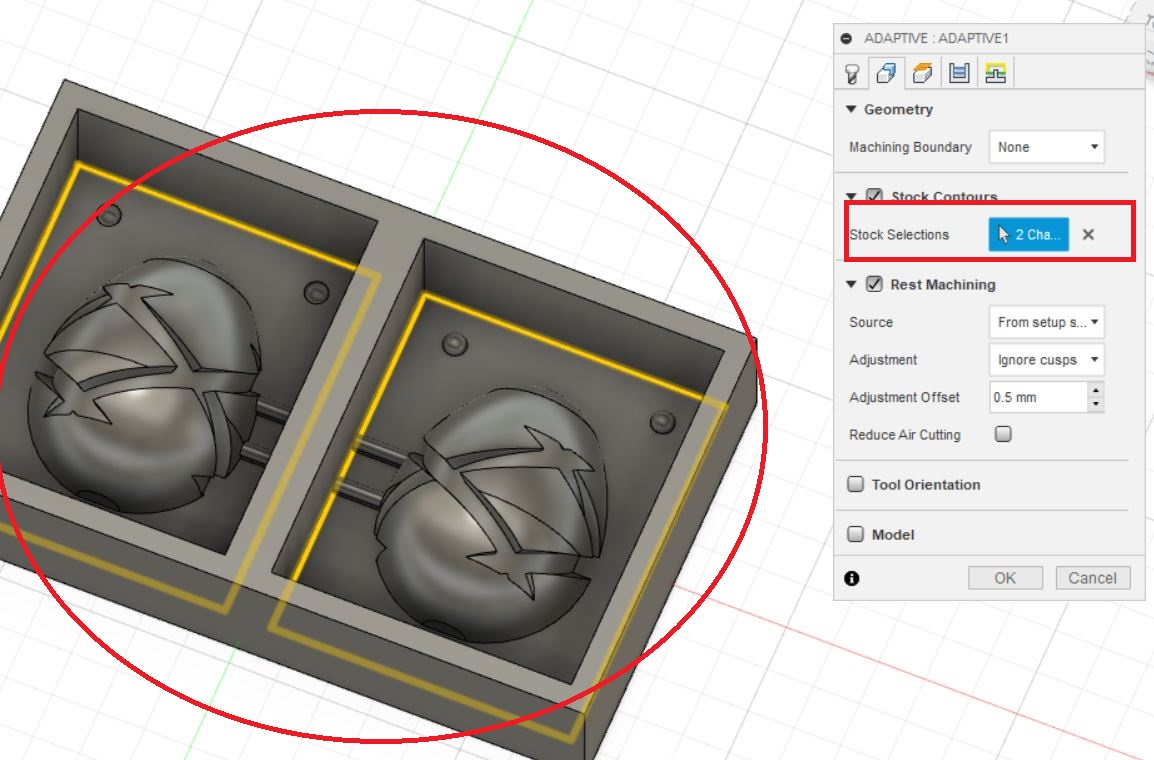
Its important to check for the maximum roughing stepover to be less than 3mm, having it more than that could result in damaging the toolhead.

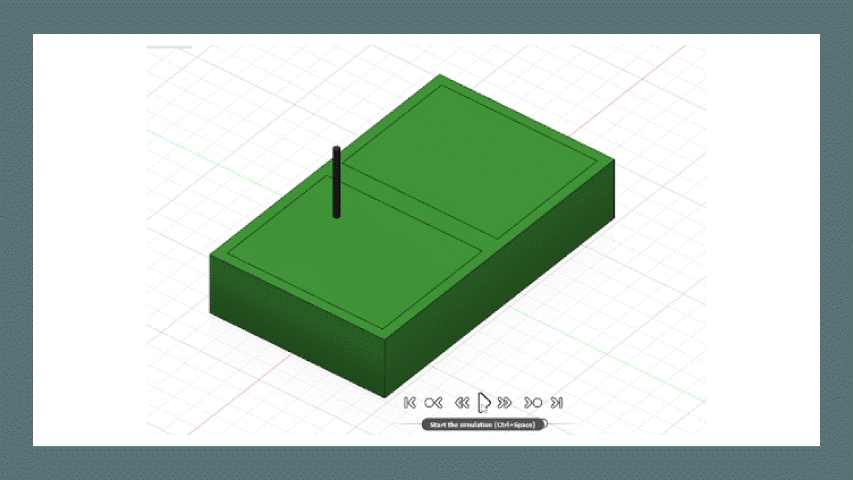
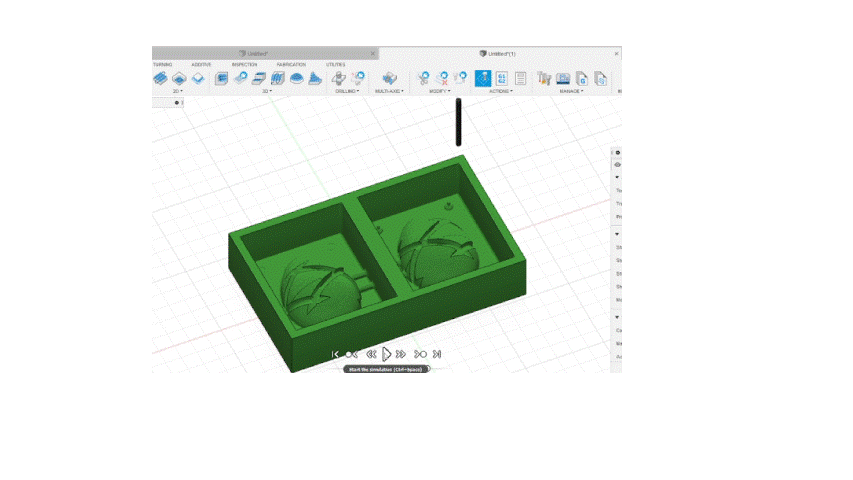
Here is a Video of the Adaptive simulation.
Next is the Parallel Milling the one that is needed to achieve a good looking finish on the mold.
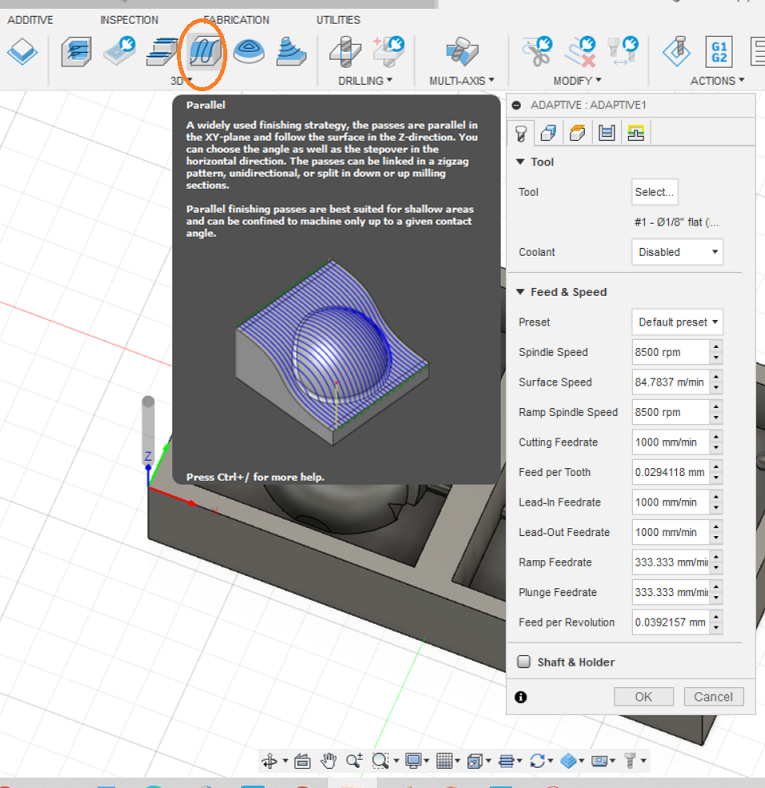
Here also make sure that the ball nose tool is selected for the parallel clearing, its important to check that the speeds match as to what they were set to before in tools set-up.
Select the geometries that you wish to have a surface finish.
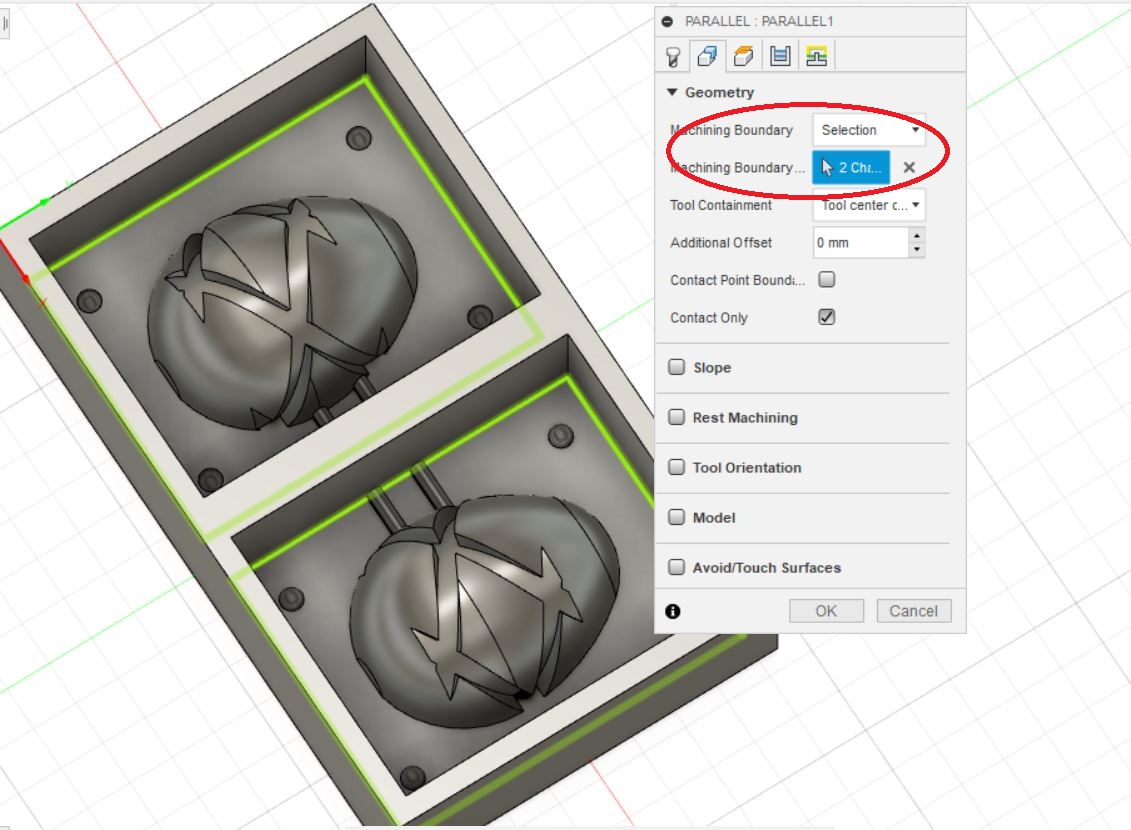
It's important to select your stepover value, i used value of 0.2mm as i knew using a smaller value like 0.1mm would result in a even more better surface finish, but it would take even more time for the machine to mill.
br>

Here is a Video of the Parallel simulation.
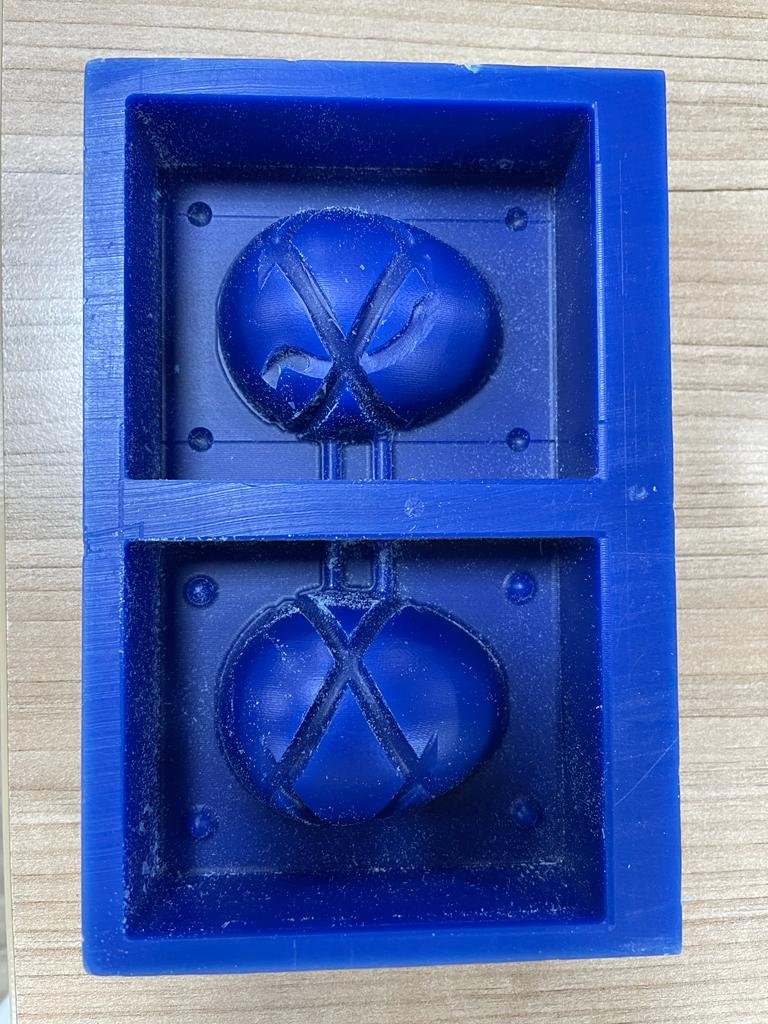
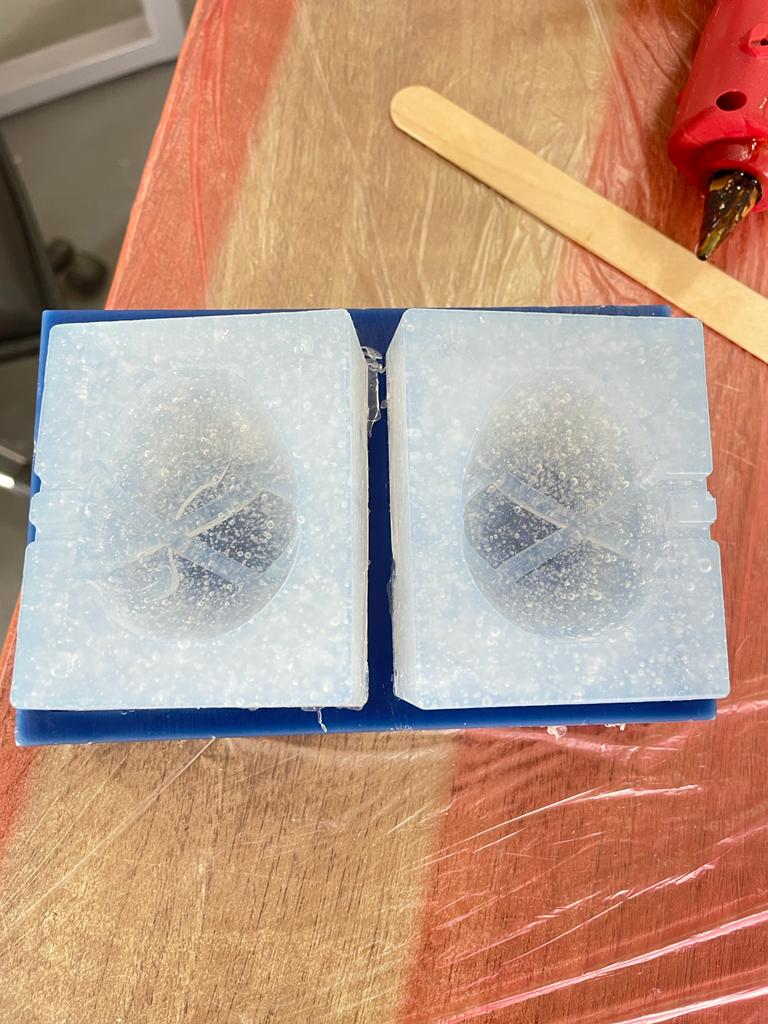
The Wax Mold
Pouring the Mold
For the Molding material i used Sorta-clear 37 Silicon Mold rubber
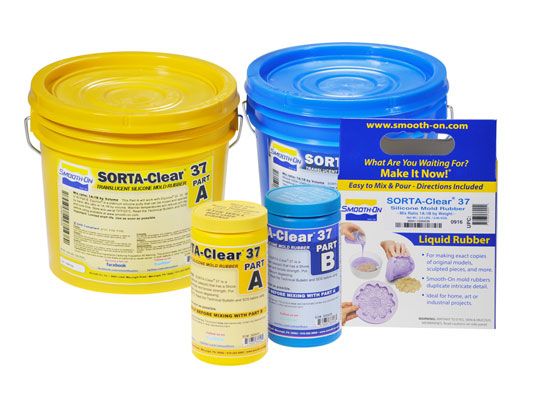
Read the Safety Instructions
Its important to read the Datasheet of any material before using it. use in a properly ventilated area (“room size” ventilation). Wear safety glasses, long sleeves and rubber gloves to minimize contamination risk. Wear vinyl gloves only. Latex gloves will inhibit the cure of the rubber.www.smooth-on.com
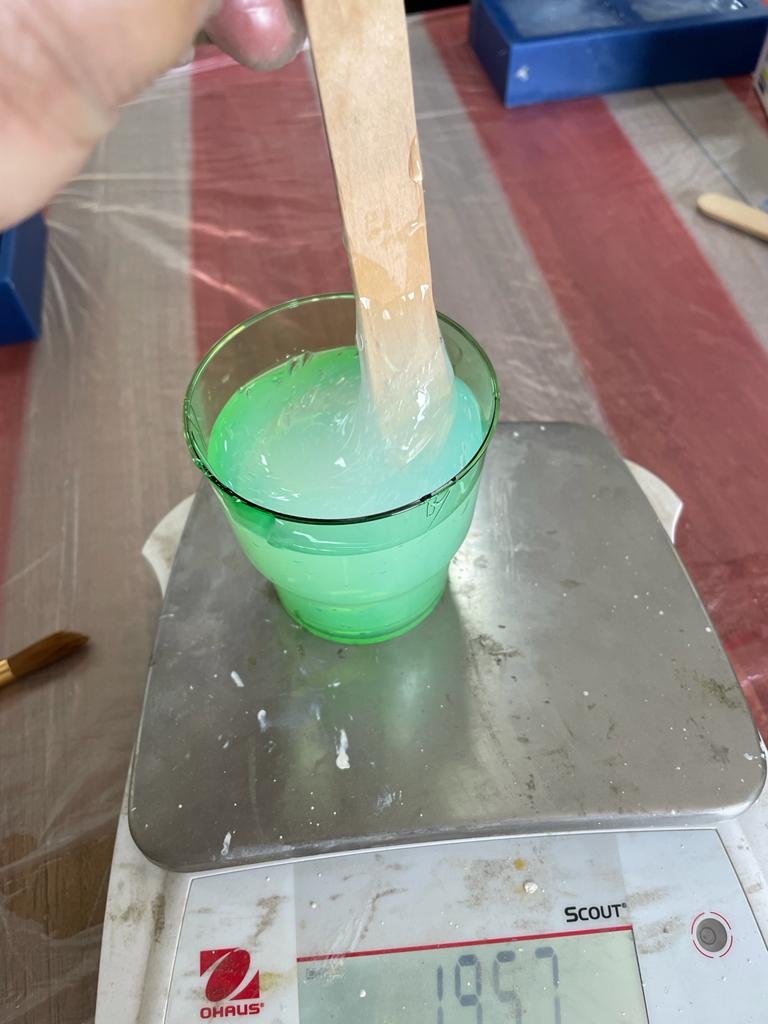
After setting the mold, now its time to put the mold material by measuring how much of the molded material we need, and that is done by filling one part of the mold with water and then measuring it, by pouring the water in a cup or by weight.
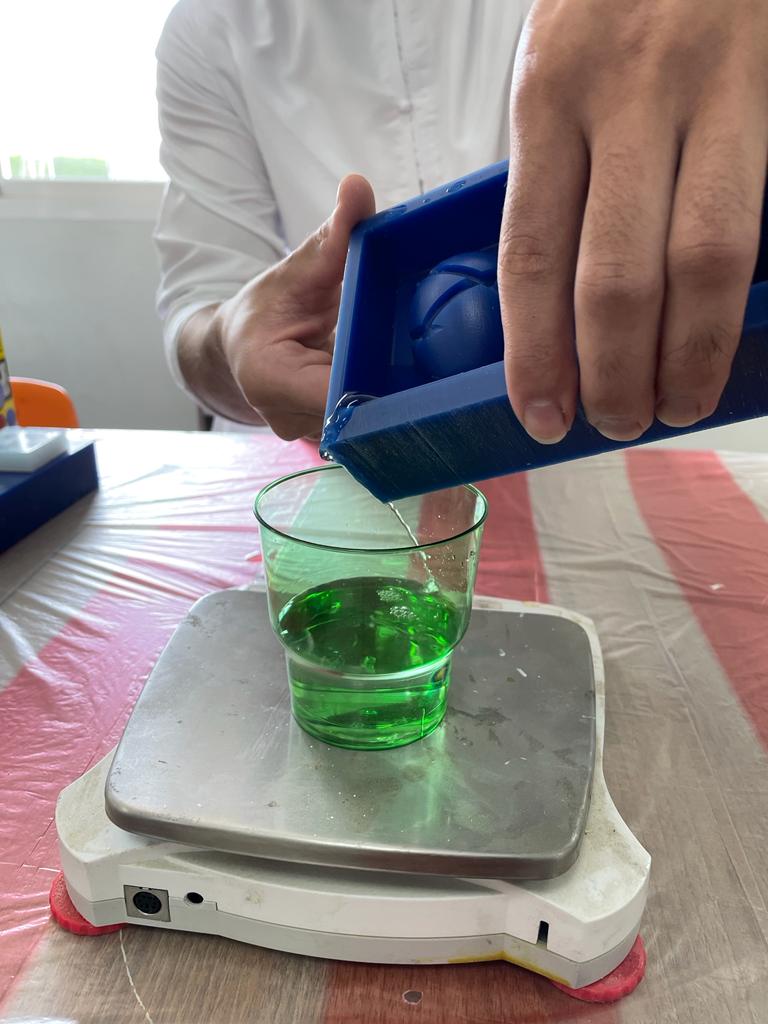
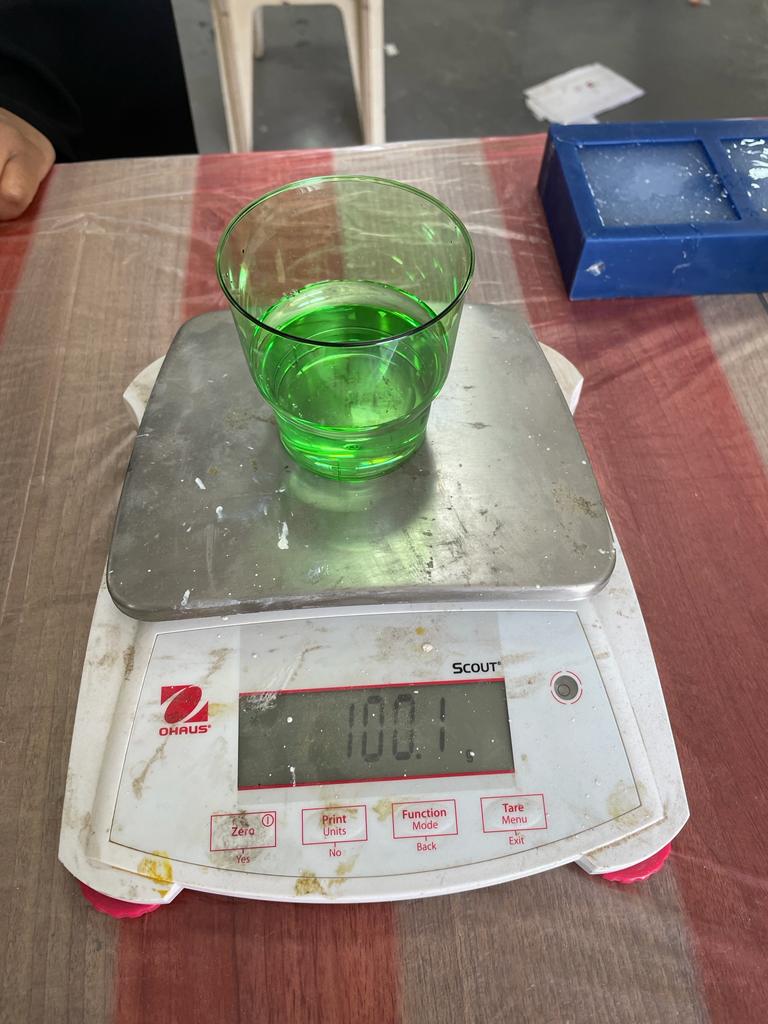
After that pouring the silicone, the two parts into the cup according to the same weight X 2 because we have two symmetric molds

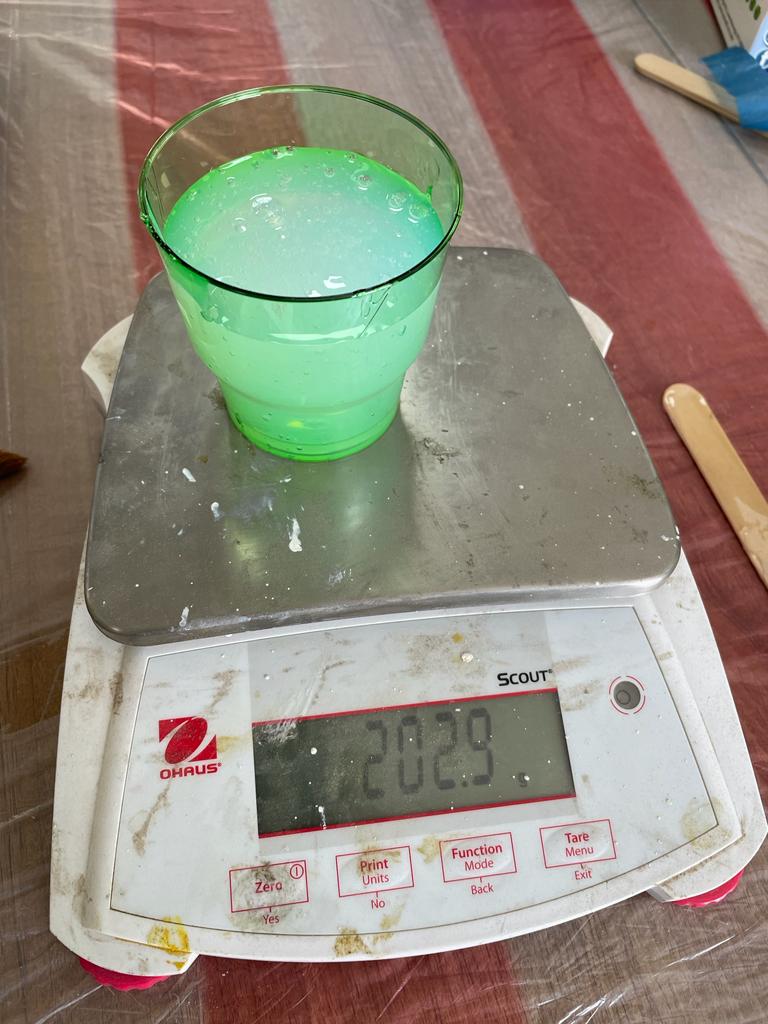
After Pouring we have to make sure that we have a uniform mixture by mixing all around and to make sure that the bottoms are scraped
After mixing, apply the silicone to the mold by making sure that you don't pour too much at the begining, start by pouring small batches covering the hard areas first, areas that have sharp edges and where details are needed. apply in a way that the viscosity of the mold will fall in upon the sharp edges(let the gravity do its thing).
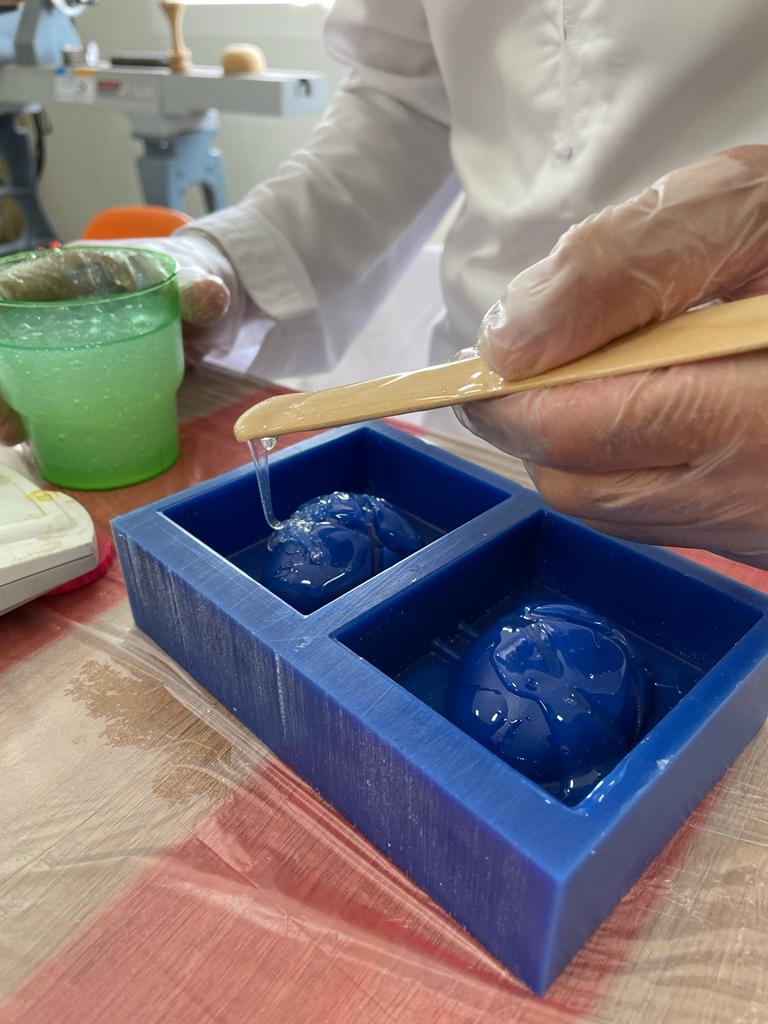
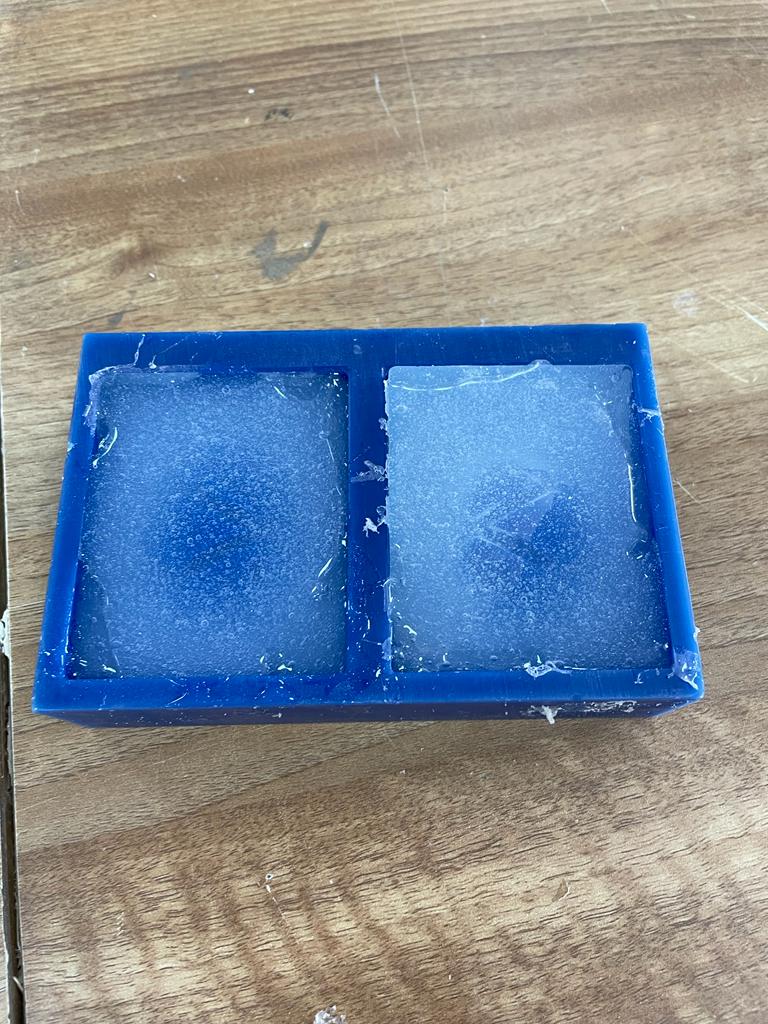
After pouring all the silicone, follow the manufacturer instructions on the waiting time for the silicone to cure and then demold it.
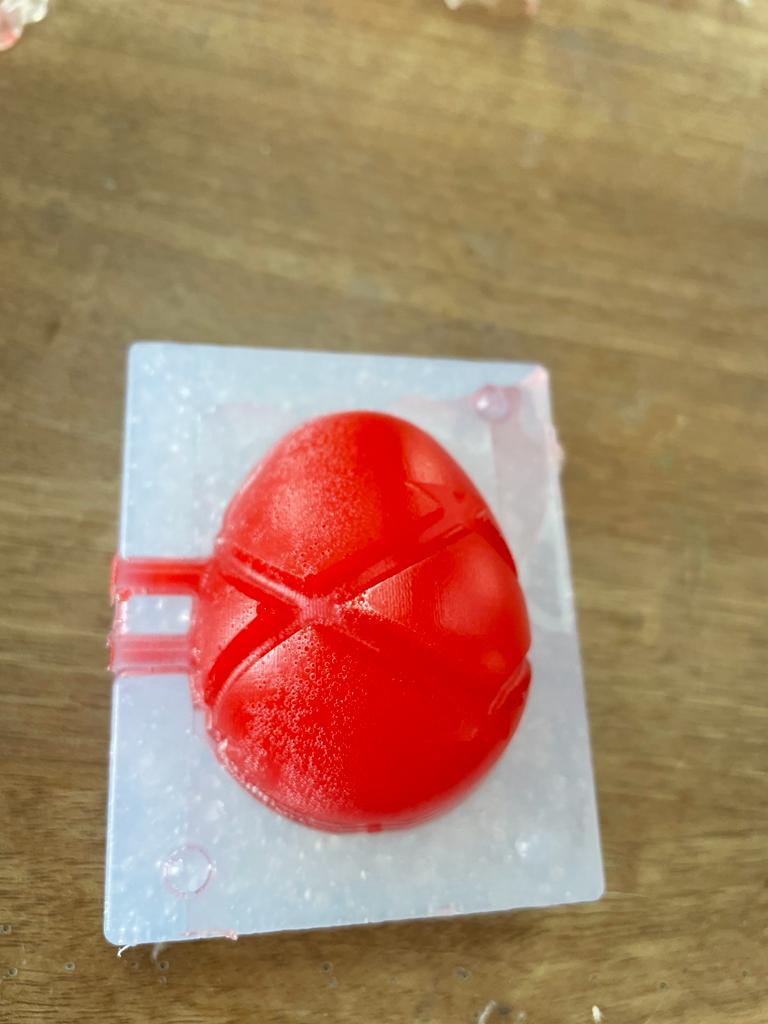
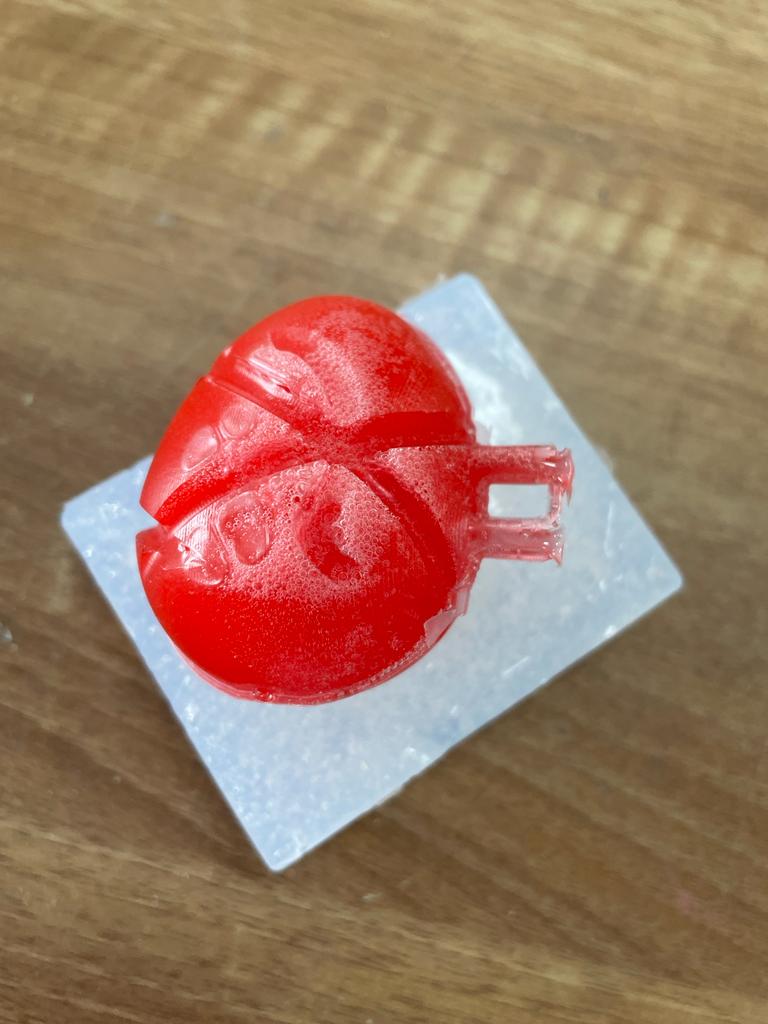
After the mold is ready, Its time cast it, I went with Resin from ART Resin

The Resin was easy and comfortable to use, 1:1 mixing ratio, non toxic, its really good material for casting.
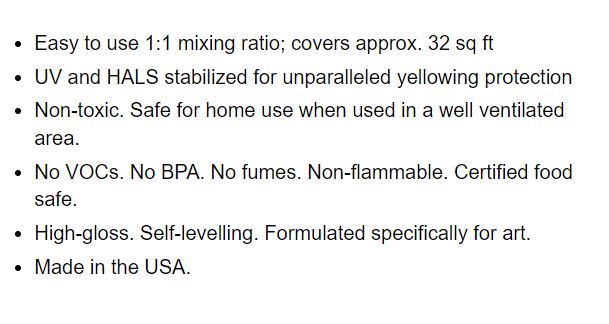
I decided to add red pigment to resin to give my shape a more artistic look. before pouring its important to make sure that the silicone mold is sealed from all edges except the pouring holes, this is to ensure that no resin will be leaking. sealing can either done through tape or glue gun.
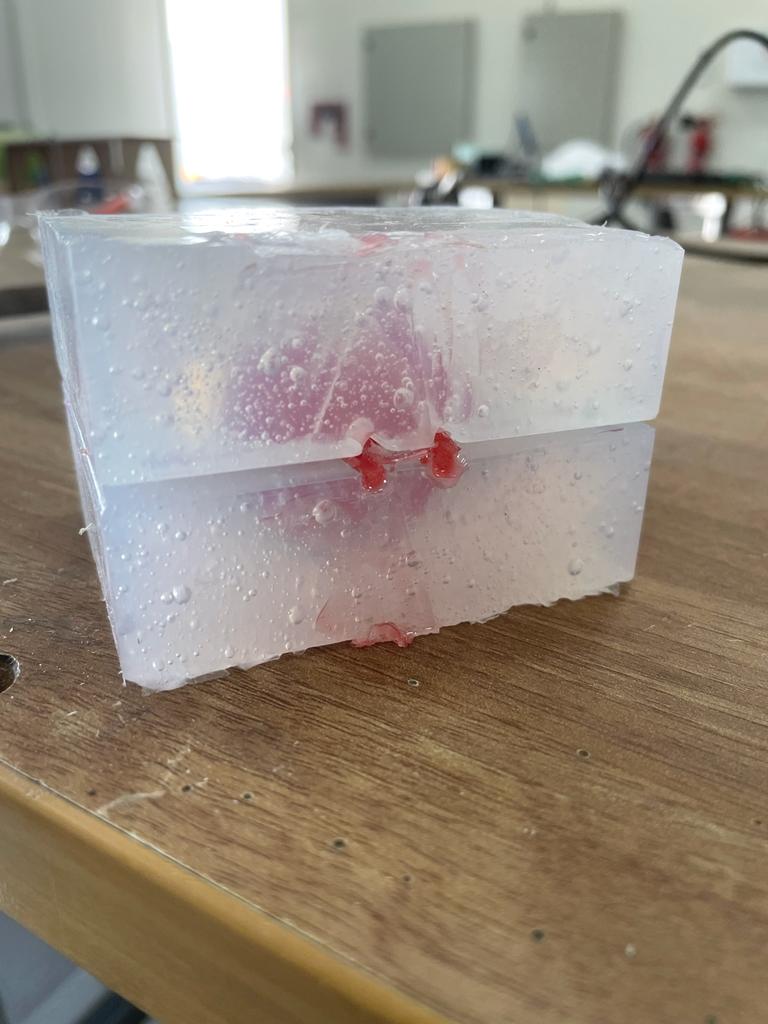
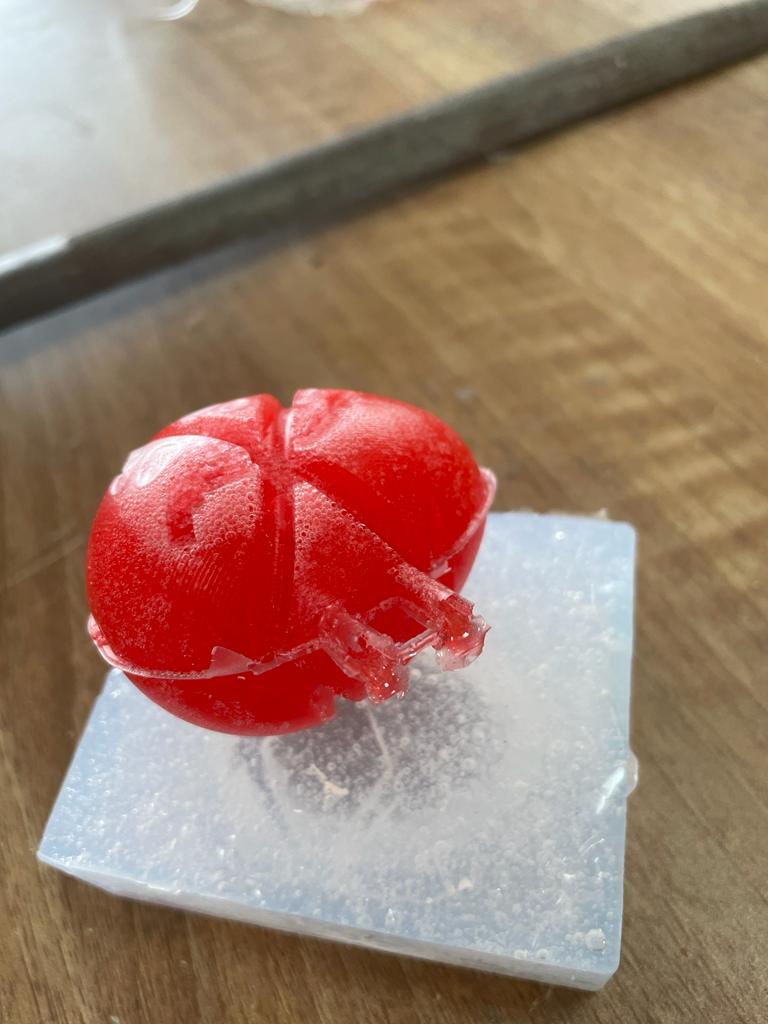
Failure
Unfortunately the result was a failure, this was due to a lot bubles were in the resin. next time its better to insure slower pours and also make the mold even more tight seal.