6. 3D Scanning and Printing
This week we learned about 3D design, printing and scan. 3D printing is the key part can turn design and scan of different models into real objects. Although it still takes time to print models, especially large models and object
Group Work
I did group work with Nicholas
3D printing
TOFO add slicer part
Idea
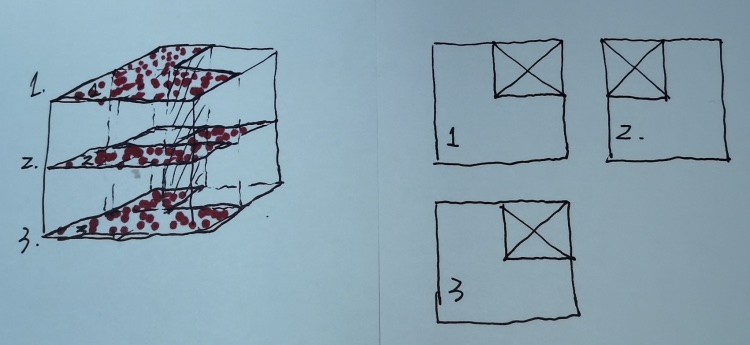
Last month in our class,we teach kids to draw a maze with p5js. In picture below lines are generated by code and small circles are generated manually to simulating the process of walk out of the maze.
Picture by Raiching, grade 8


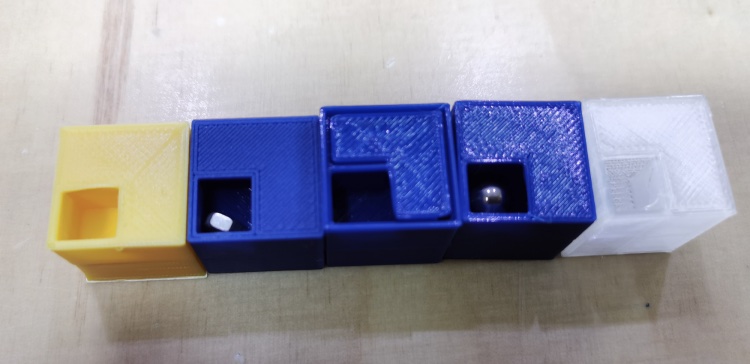
My idea in this week is to create a 3D maze. It is a cube, and inside is empty but with straight walls, the small ball can only follow spceific path that it can go through one side to another side.
Model Design
I use Fusion360 to design my model. I also want to try the paramtric design. If this 222 cube works I will try 333 and 444 and more complicated cubes.
Sketch
Create a sketch and make a rectangle. Also make a perpendicular line from the center point to one boder.
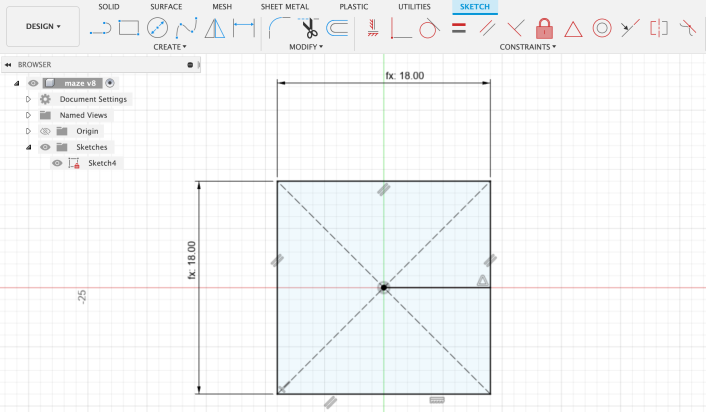
Also use params and apply them to lines.

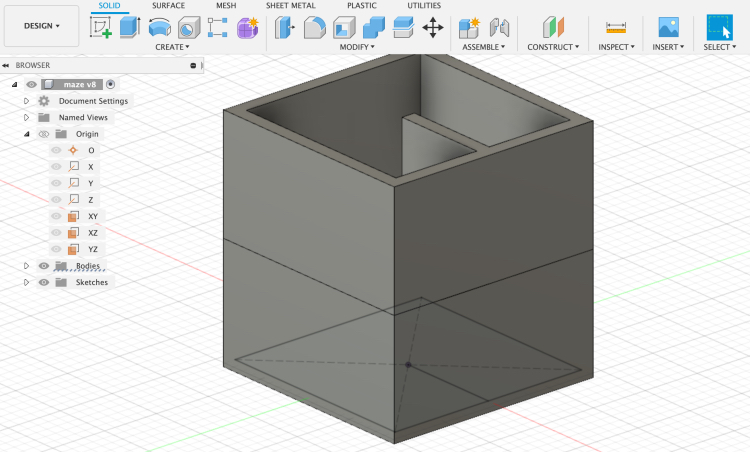
Extrude
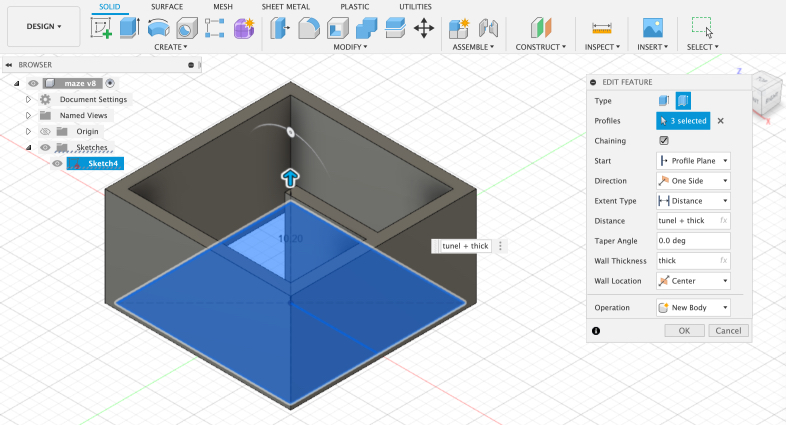
Extrude the sketch to make it an solid. Some params to mark here: Type: thin extrude Profiles: select the rectangle and short line Direction: one side Distance: the height of extrudation. Important, I made a mistake here, explain later. Wall Localtion: center. Important, if not center the shape will not be symmetry.
After extrude, duplicate the orgin and move the new one up.
Mistake
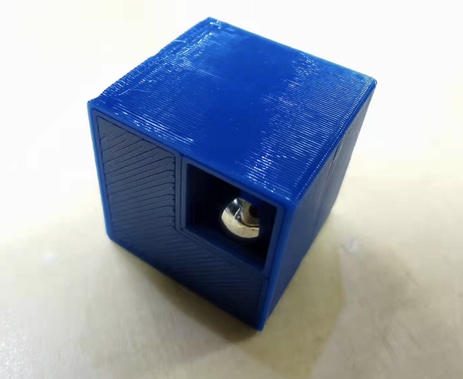
I made a mistake when calcuating the extrude distance, missing the thick instead of using tunel + thick.
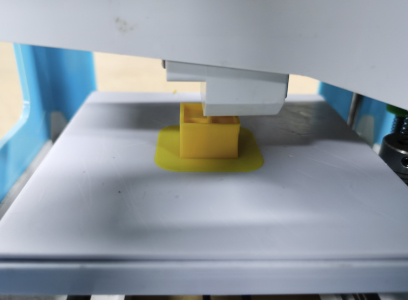
The ball to walk through mazure is 7mm. So my fisrt printing came out seems good but the ball can not go inside.
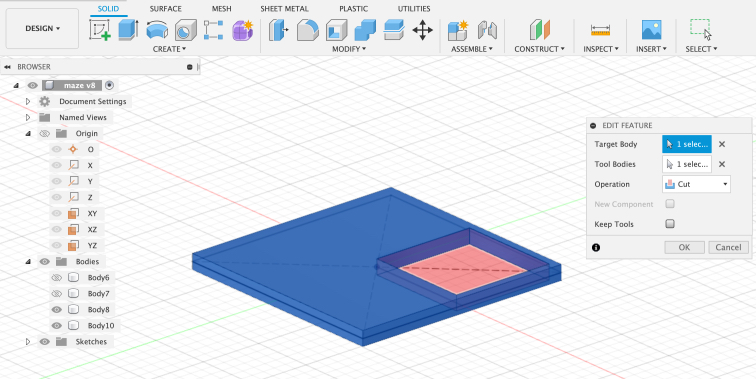
Layers
Now is to make the 3 layers, each one hase a hole to let the ball go through. Actually they are the same, so just make one piece and dupicated it. Start with the original skecth. Extrude it but with type of normal extrude. Then make a solid box with the same height of extrudation result. With these two solids, use the MODIFY-Combine function, select cut to make the hole.
Finally make two copies of the solid and move(rotate) them to the position.
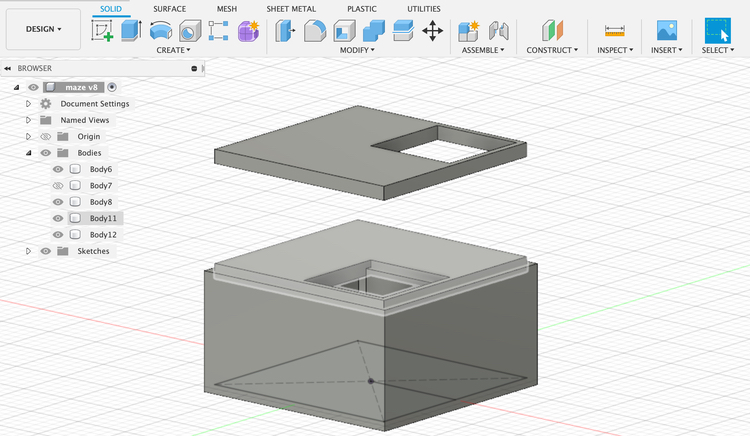
Combine all solids
The final step is to combine all the solids together.
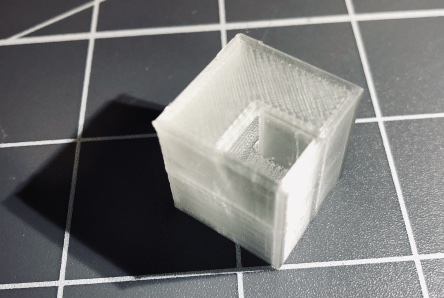
Mistake
I forget this step when I print the third model. It came out like this, different solids are not well combined to each other. And the bridge inside is alse a mess.
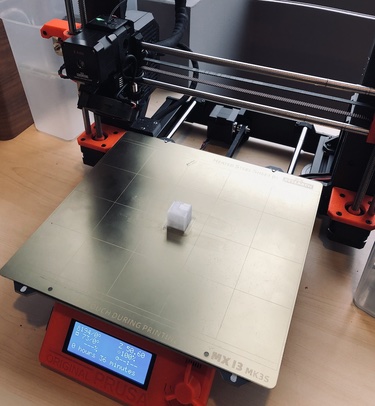
Print
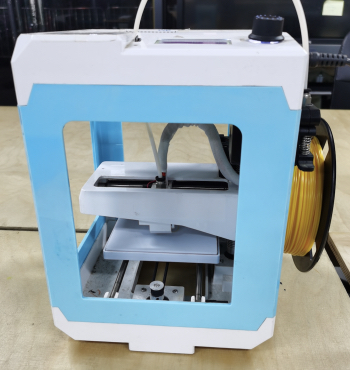
Cute Blue Printer iUp3D
Sorry for not known the brand yet.
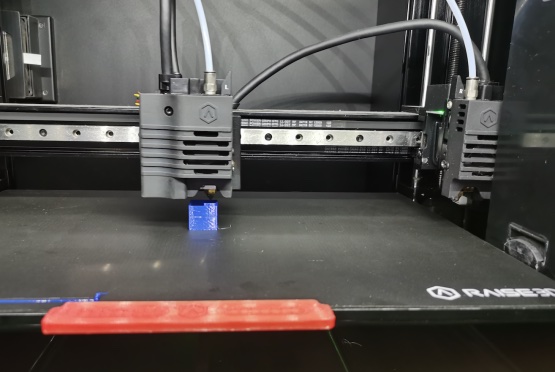
Rasie3D
Prusha
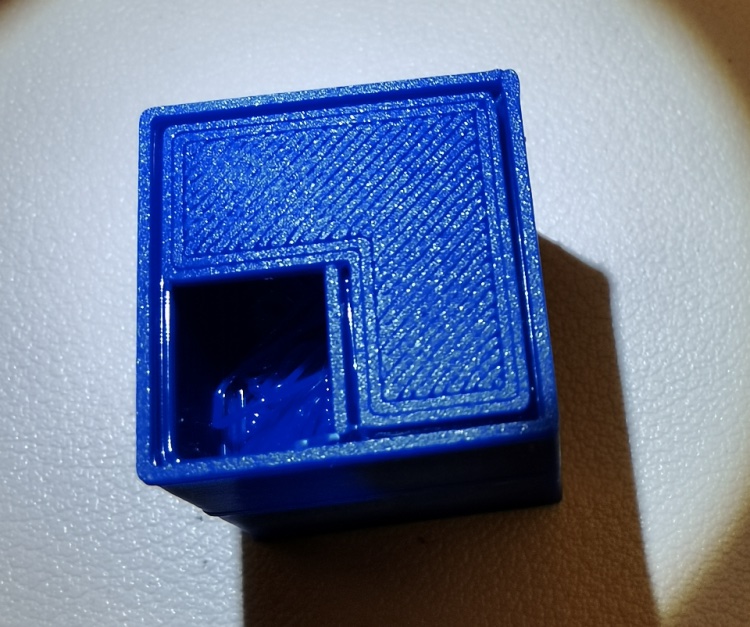
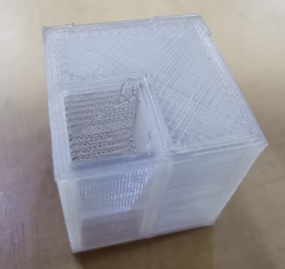
From outside look, the cube looks fine. But inside is there are some hair and because currently I did not find any tool can clean those hair inside it, so if I put the ball in it would stuck.
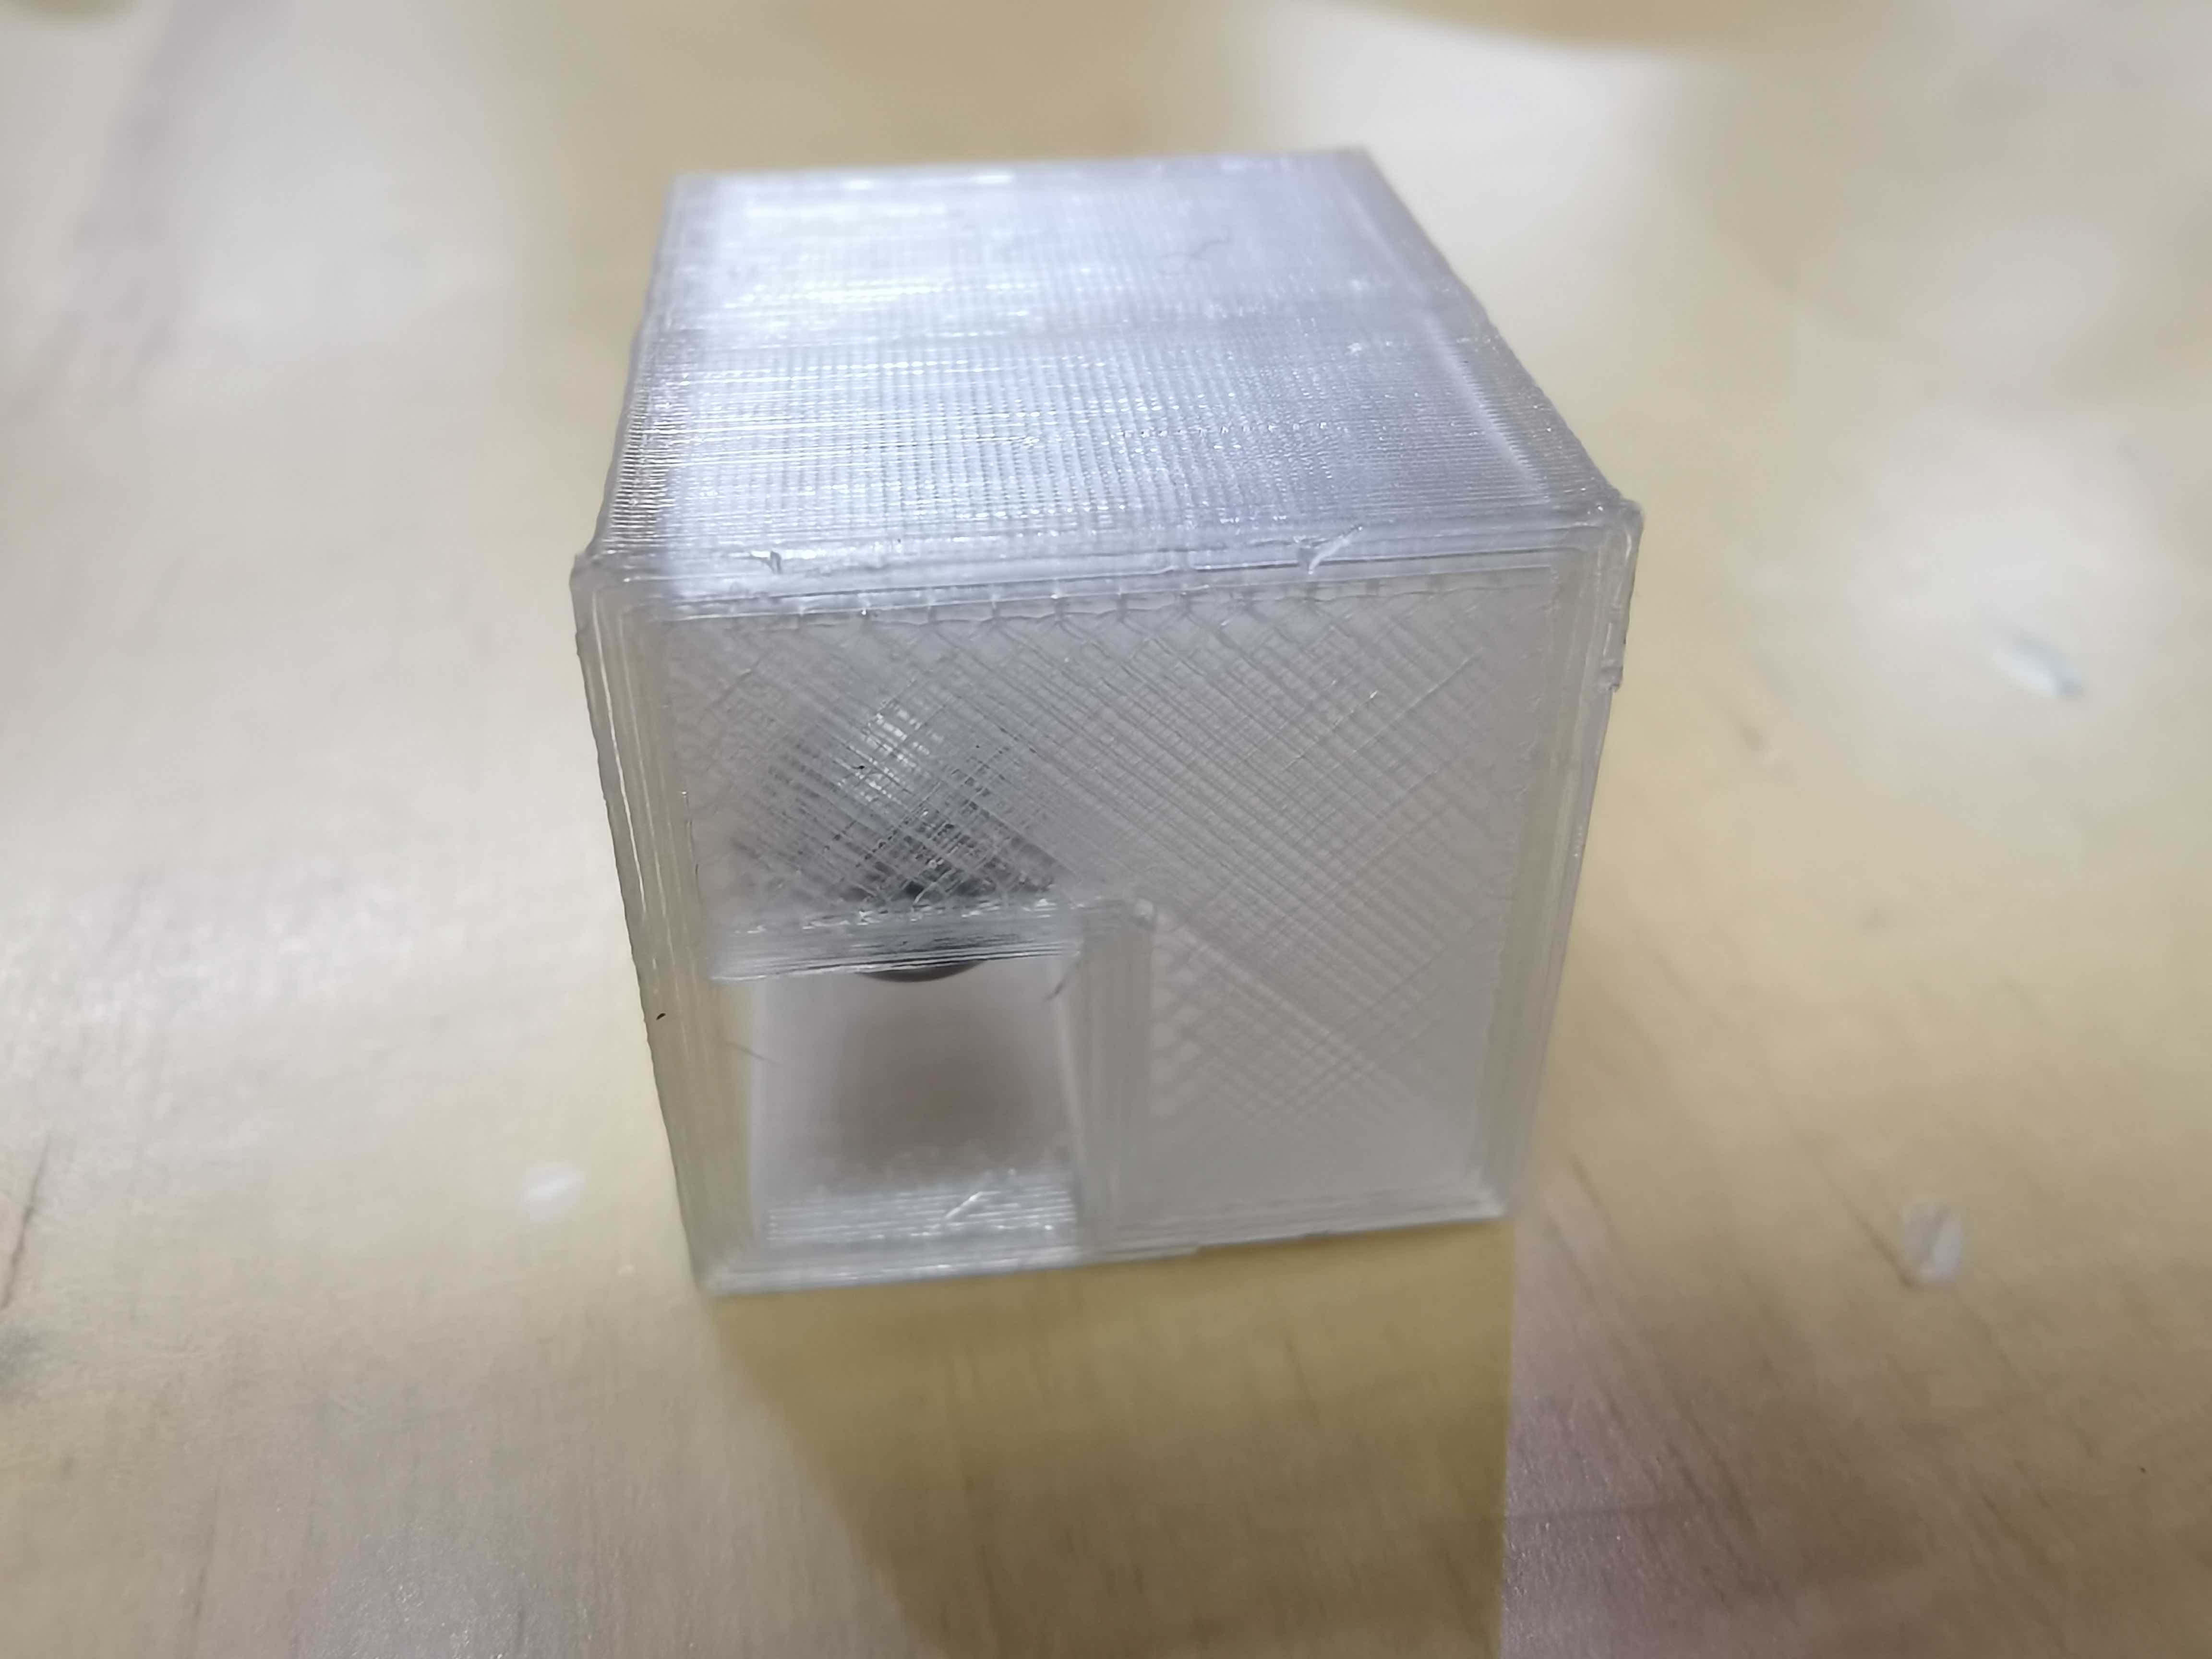
Final Shoot
The most successful one is the fourth object. Size is perfect and the inside bride part is OK.
TODO 标记1234
Troubleshooting
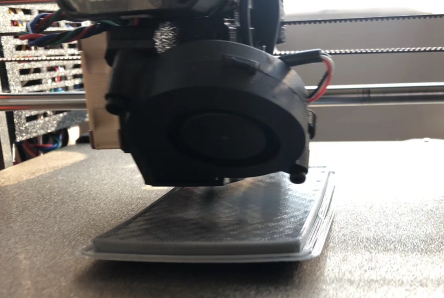
Bent
This machine is beside a window, this happened when nobody is supervising it. I just passed by the machine and saw the first layers has left base. Just after I took the first picture, the material become totally sepreate from the base.
Saverio told us it was because the temperature drops too fast. Filament from the outter side become solid faster than those from innder side.
Machine: Pursha

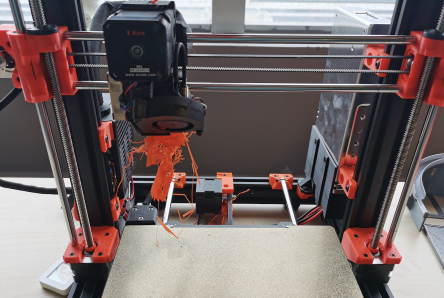
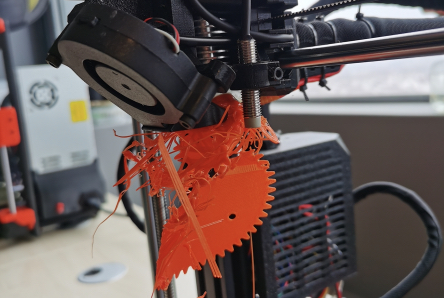
Stick together
This one is another printer failure from other machine when I was just printing my object using the transparent PLA filament. Still not know how this happens.
Machine: Pursha
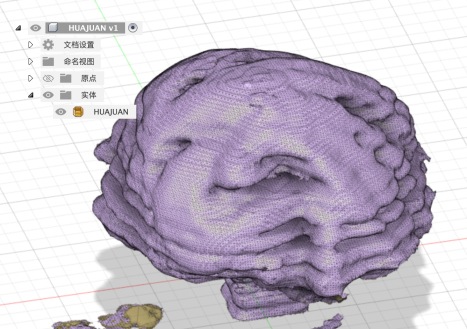
3D scan
I used 3D sense to scan the object. The object is called flower foll(花卷, Chinese bread).
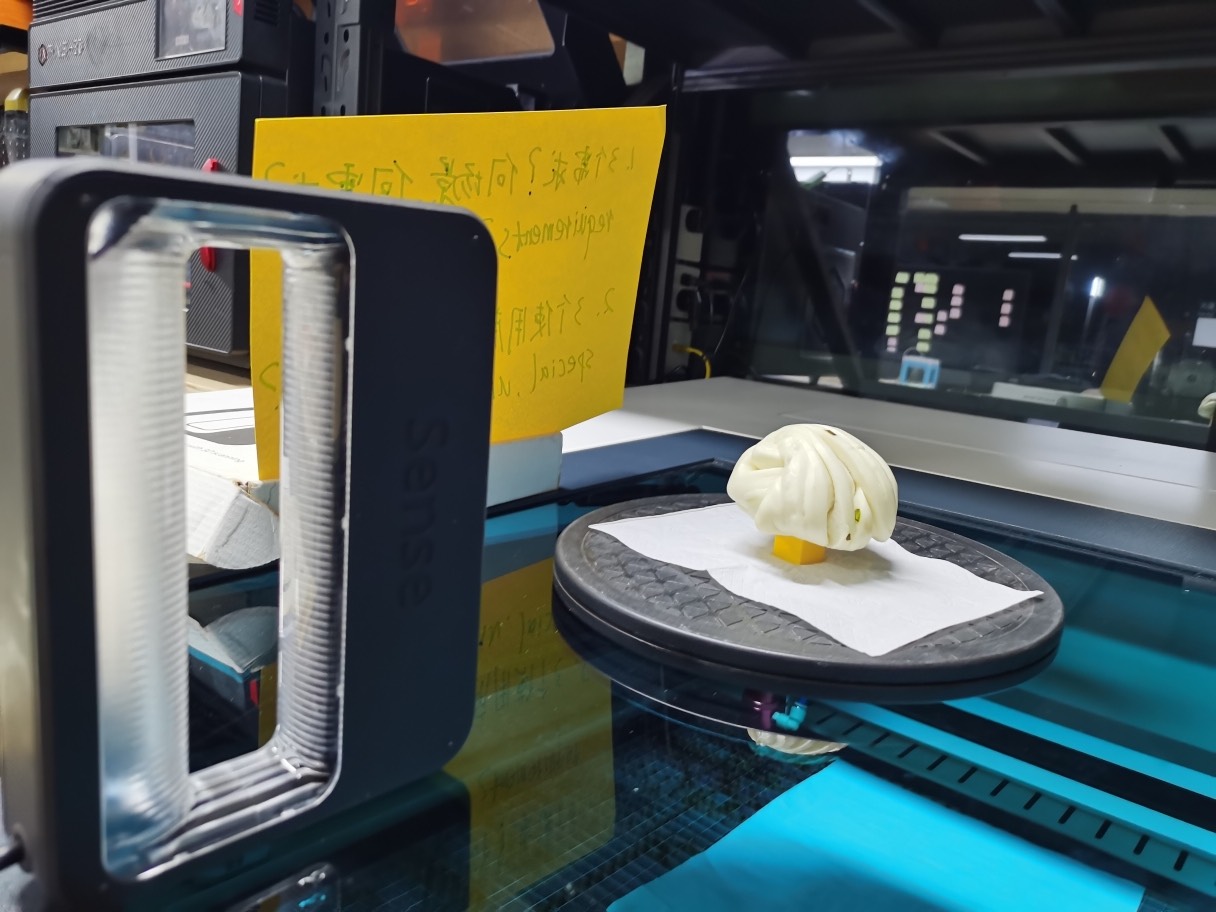
I tried to hold the scanner by hand and go around the object. But I could not finish the whold process of 360 degree even once. The program always come like this:
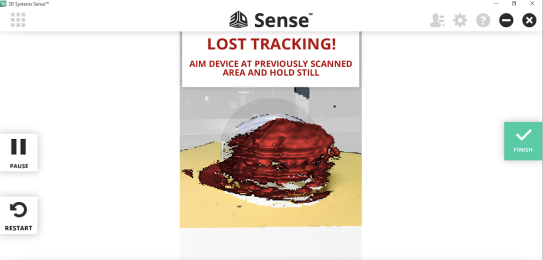
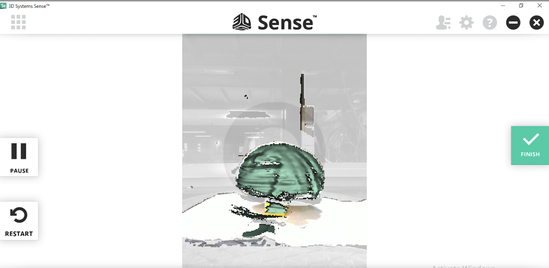
After using the stage, putting the bread in center, I rotate the stage like 5 degree a time. Although the LOST TRACKING would still pop up, with a little and very gently adjustment I finished the scan.
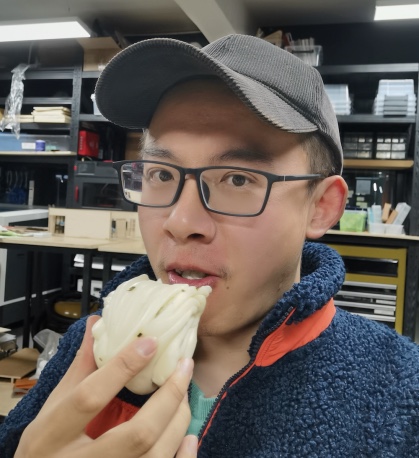
With all the efforts finally it is time to it!
I am still working on modifying the model in fusion360.
Qusetion
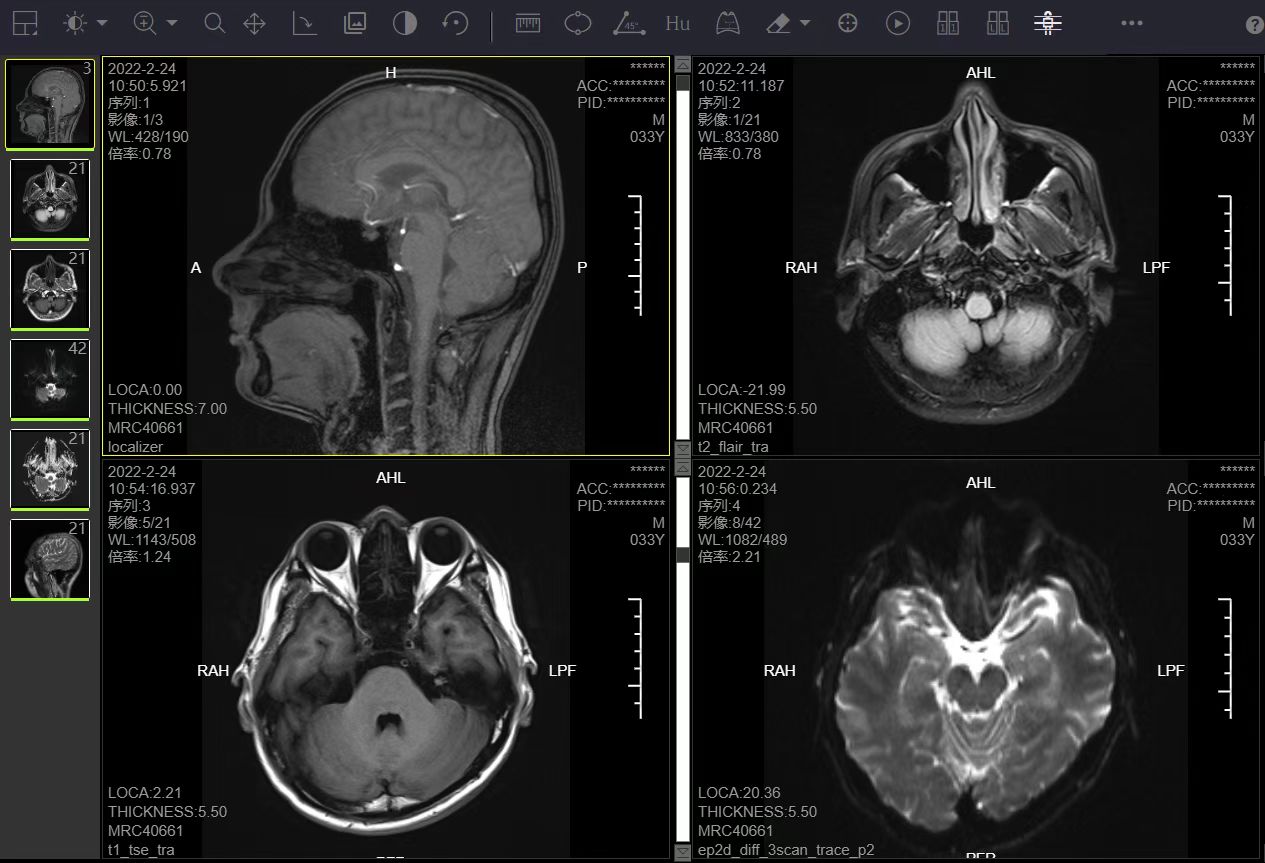
Anyone knows how to transfer CAT scan picutres into a 3D model?
I did a CAT scan this week and I think it is very possible that some software can transfer it into a 3D model.