5. 3D Scanning and Printing
This week I scaned myself, modified it and printed it, and I also designed and printed something that can only made by 3D print easily.
Let’s have a review?
Links & Files
- Print troubleshoot - Ultimaker: A 3D print troubleshooting guide, host by ultimaker, shared by Saverio, thanks!
- Print troubleshoot - Prusa: A 3D print troubleshooting guide, host by prusa, I used before
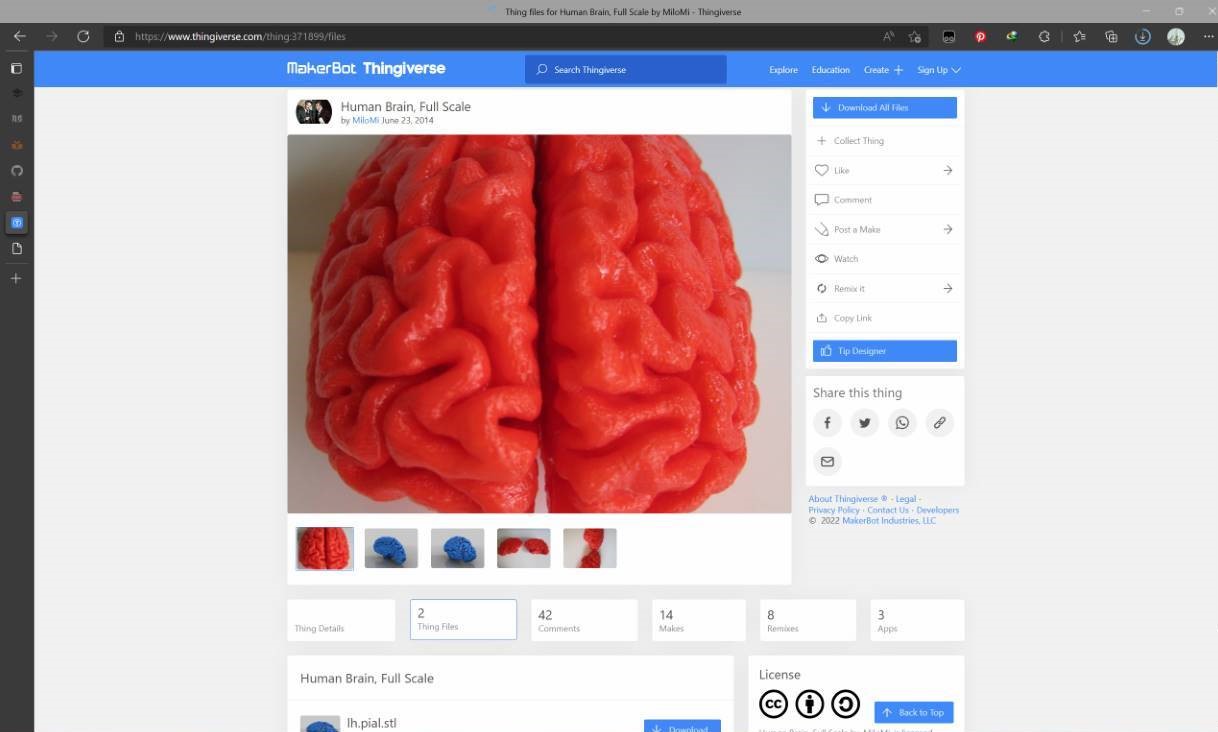
- Human Brains: the brain model in Thingiverse Files this week
- All_In_One_3D_printer_test_micro (shared by Saverio): STL, Thanks!
- Nesting ring: The ring in a ring in a ring ... model I made. STL
3D printer
I am familiar with 3D printing since I teach students how to modeling and how to printing. So I’m mostly documenting what we do, but not the details of each machine and each setting, and I will focus on the something new for me.
Test design rules (G.A.)
(Group Assignment with @Tobin)
Before printing, you must know the design rules of your printer, and make sure your 3D models is under the specifical design rules. So the first thing is, to test the printers.
Saverio share a 3D print troubleshooting guide to us, thanks!
And I also have another troubleshooting guide host by prusa to share which I often used before
Test file
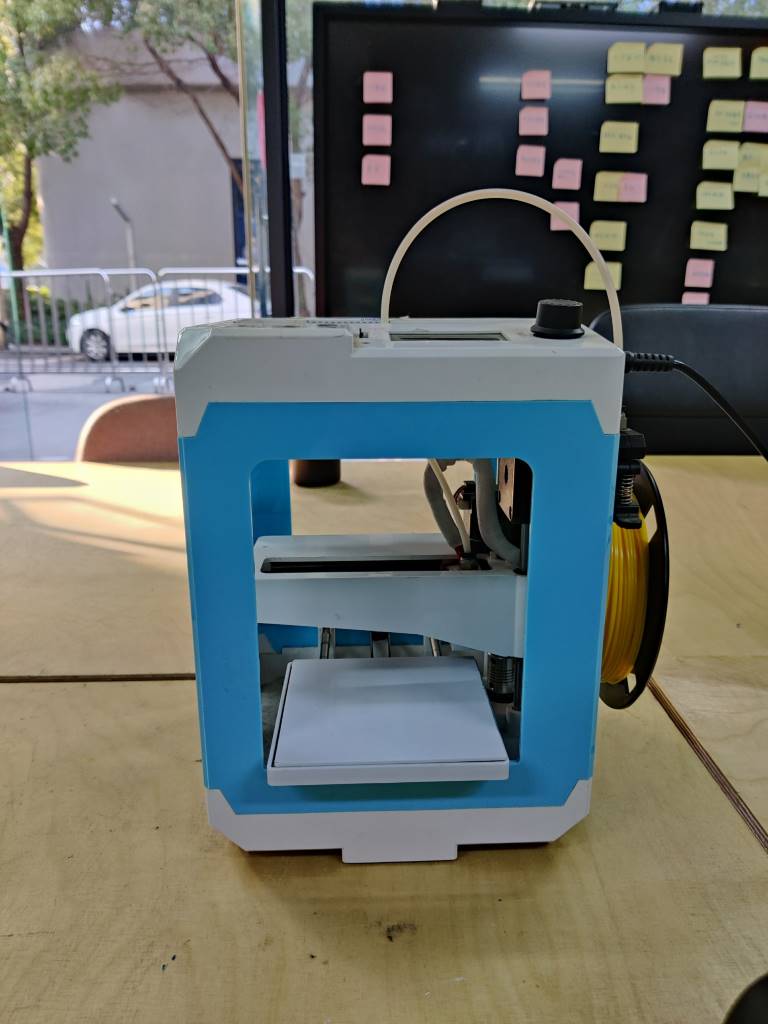
We will test this no brand printer.
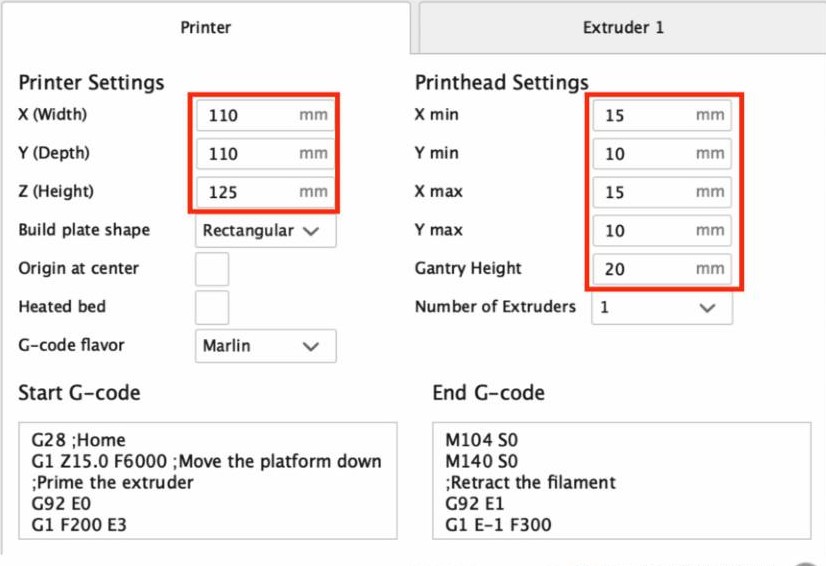
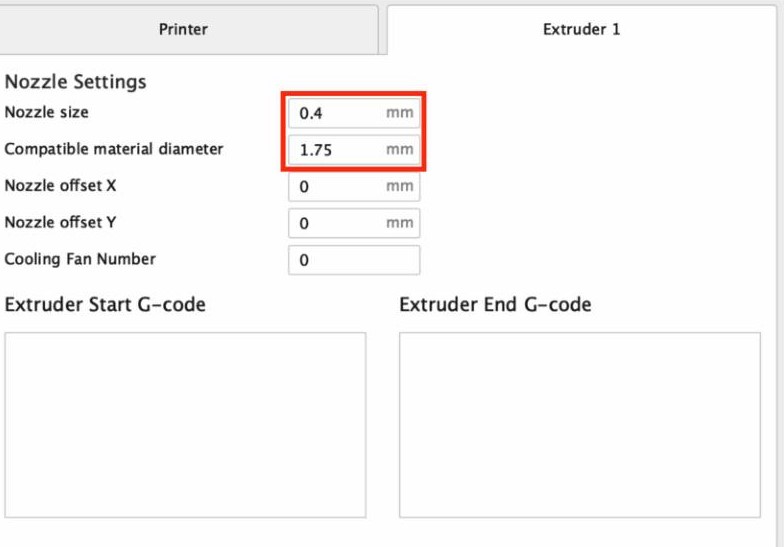
Before slicing, set parameter like this. (We use Cura)
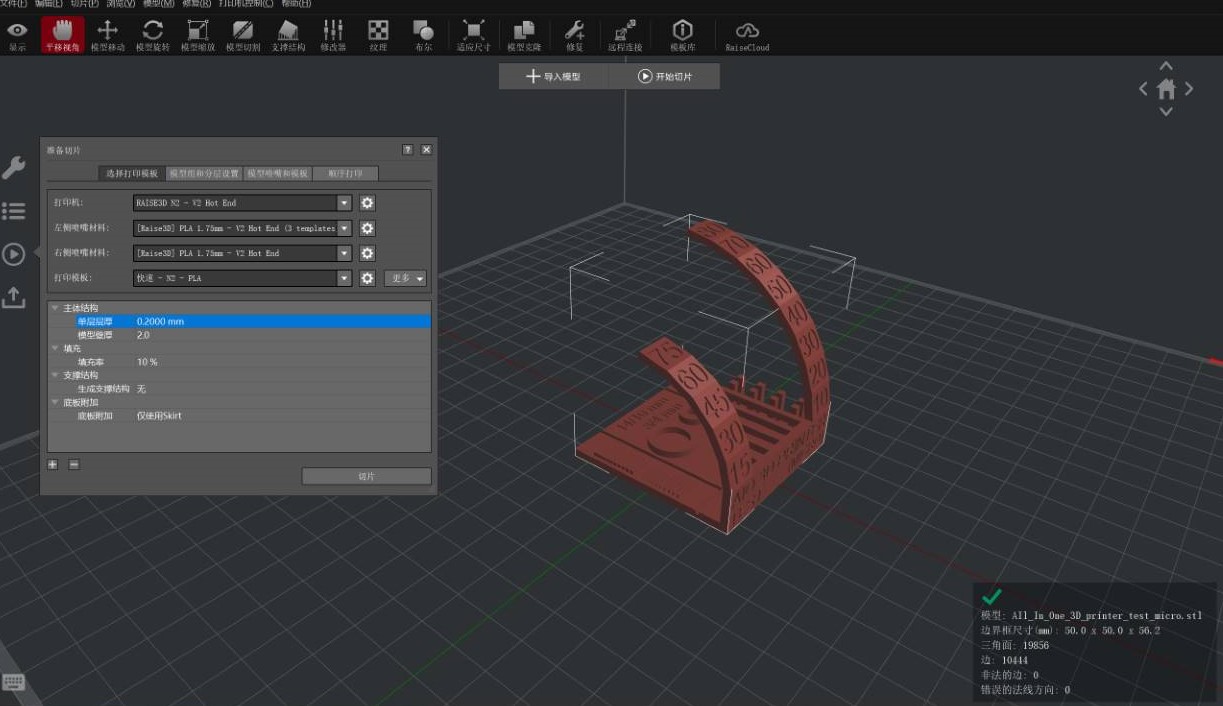
And then, import test file (from Saverio, thanks!) in cura
before printing, we need a little bit glue on the bed for printing first layer, because this printer doesn’t have hot bed.

Slice, with layer height 2mm, temperature 200℃ (PLA).
Printing looks good.
Finished
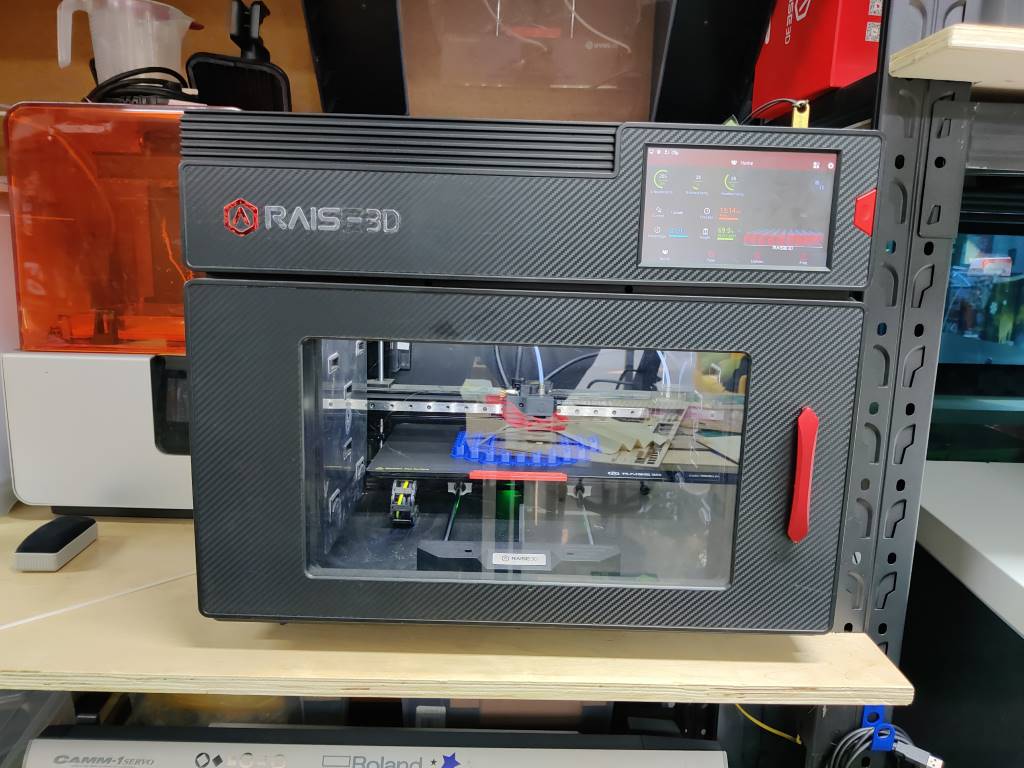
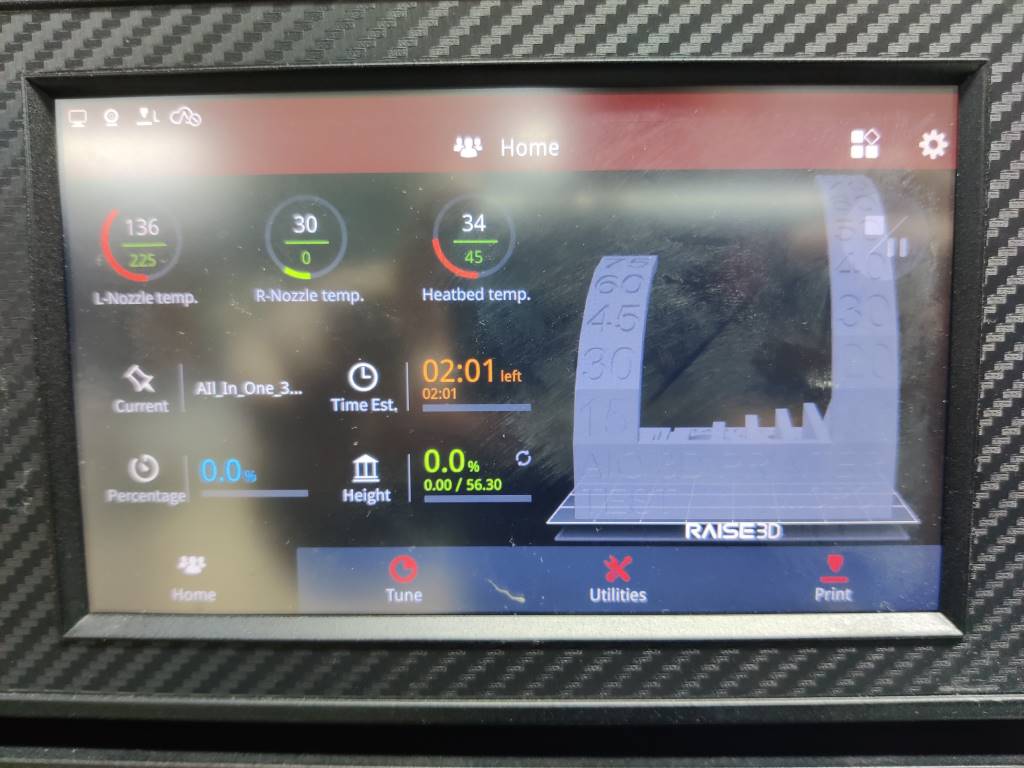
At the same time, we also printed this test file with Raise 3D E2
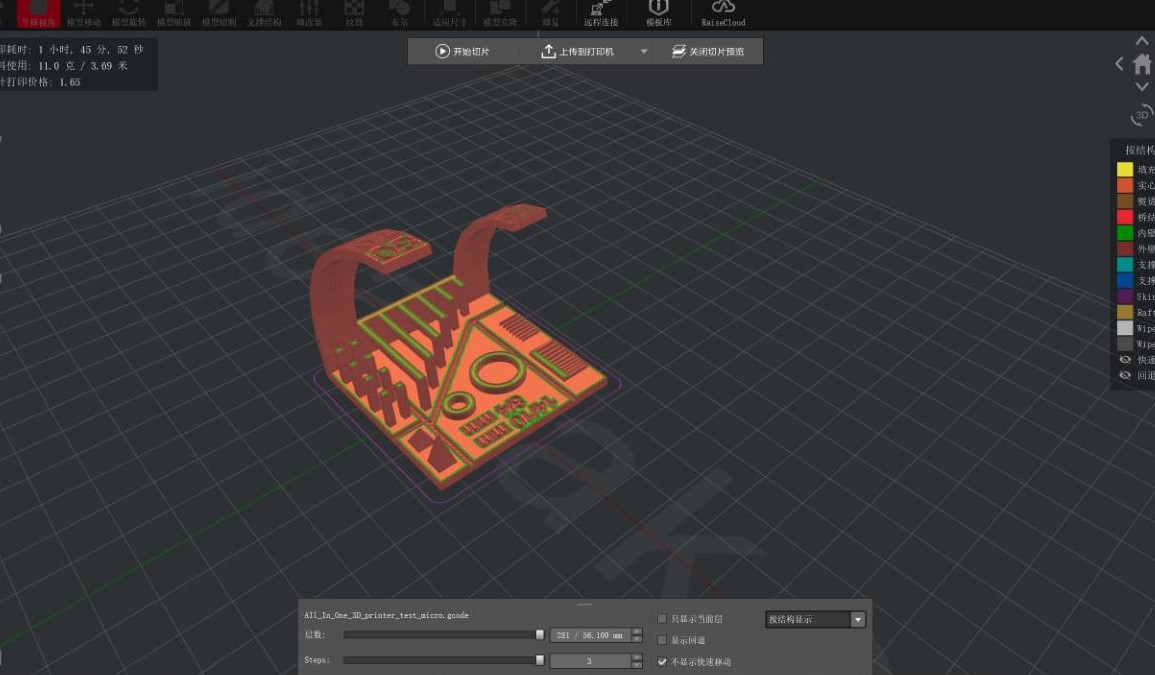
Import file
and slice with almost same setting
This printer have Wifi port to communicate, so we can sent file through wifi, and even view camera inside it via my Computer
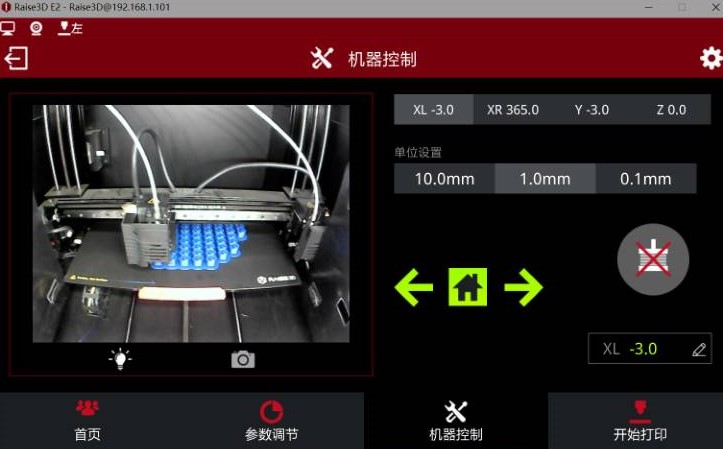
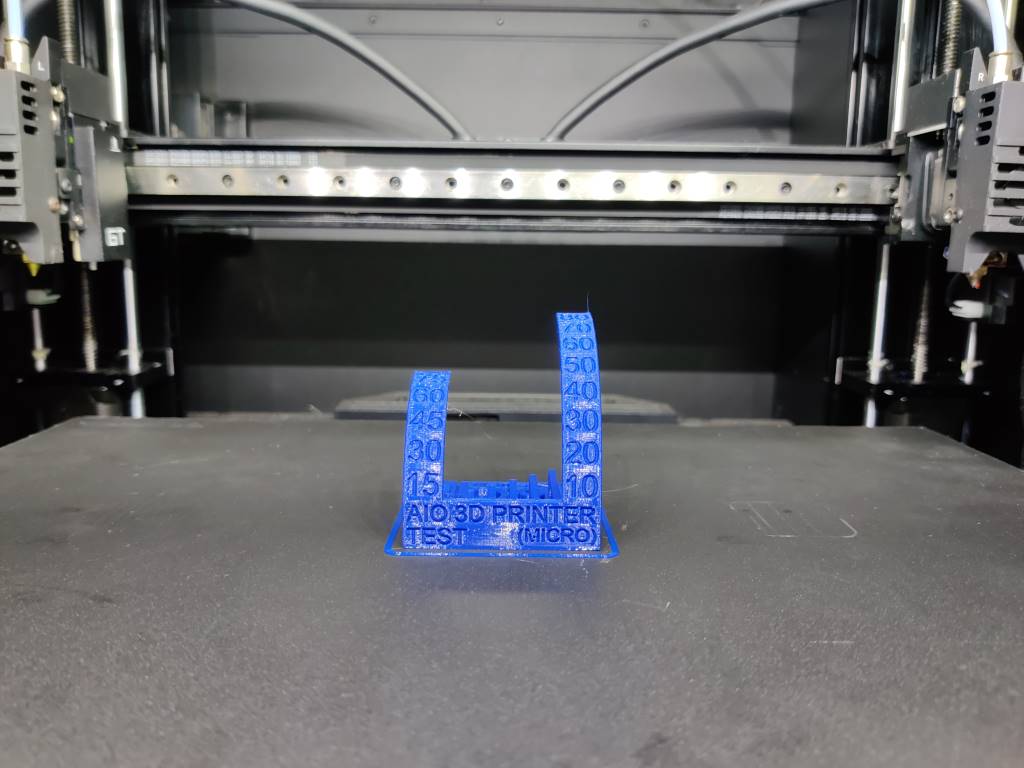
Start printing
Finish!
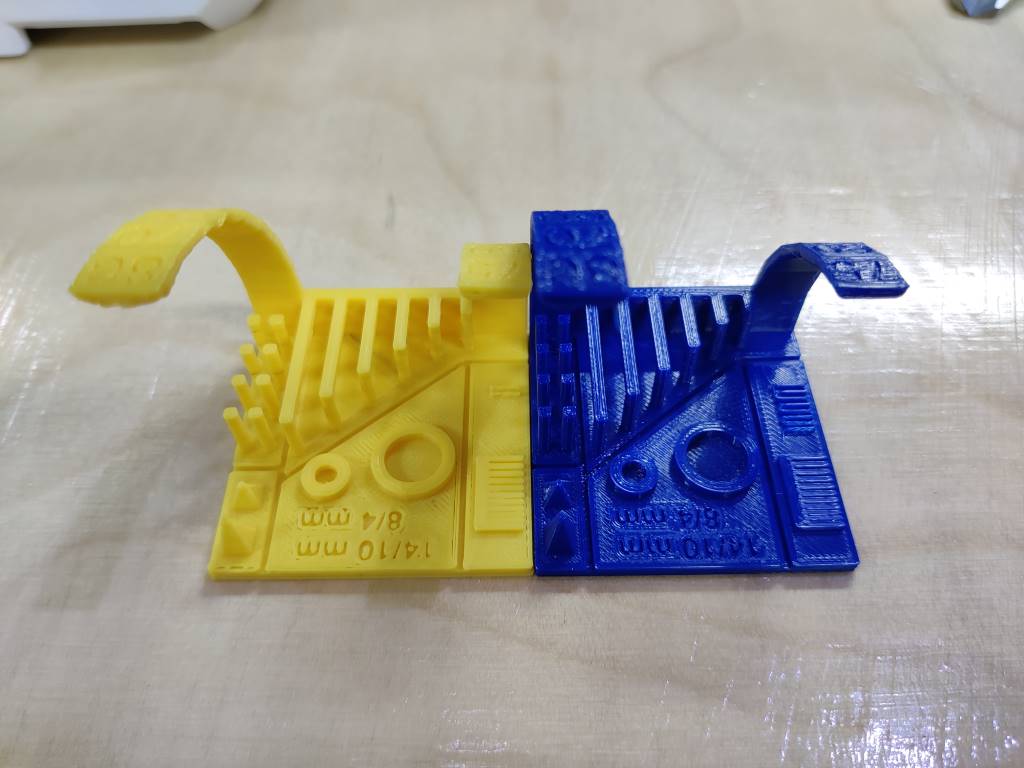
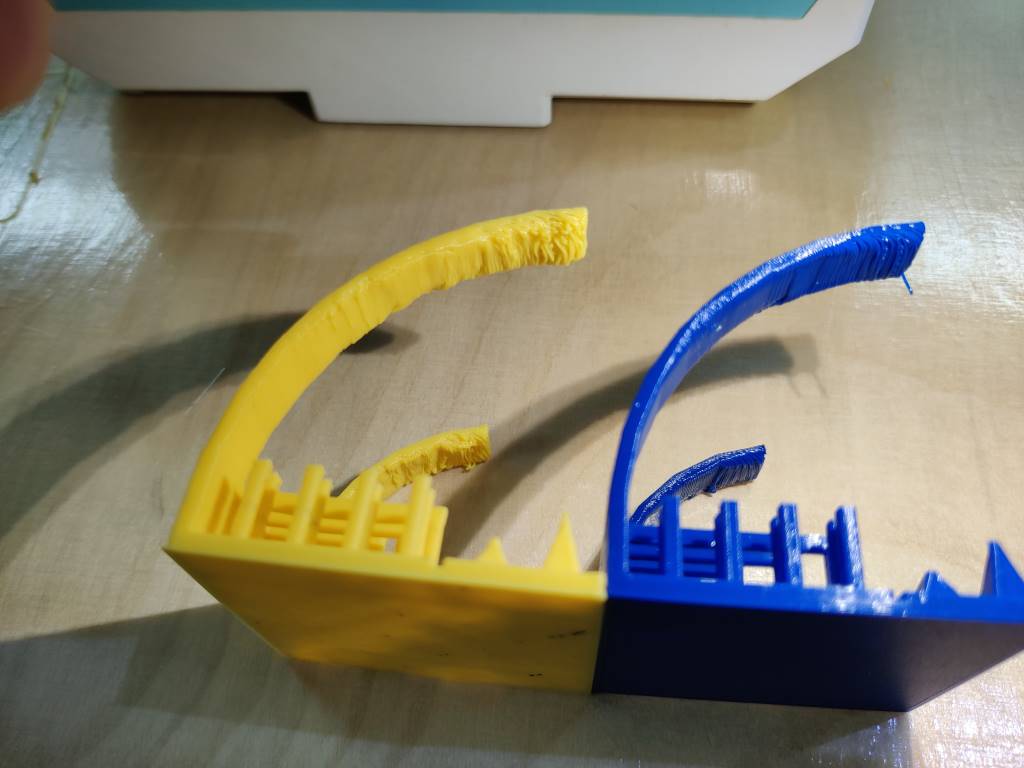
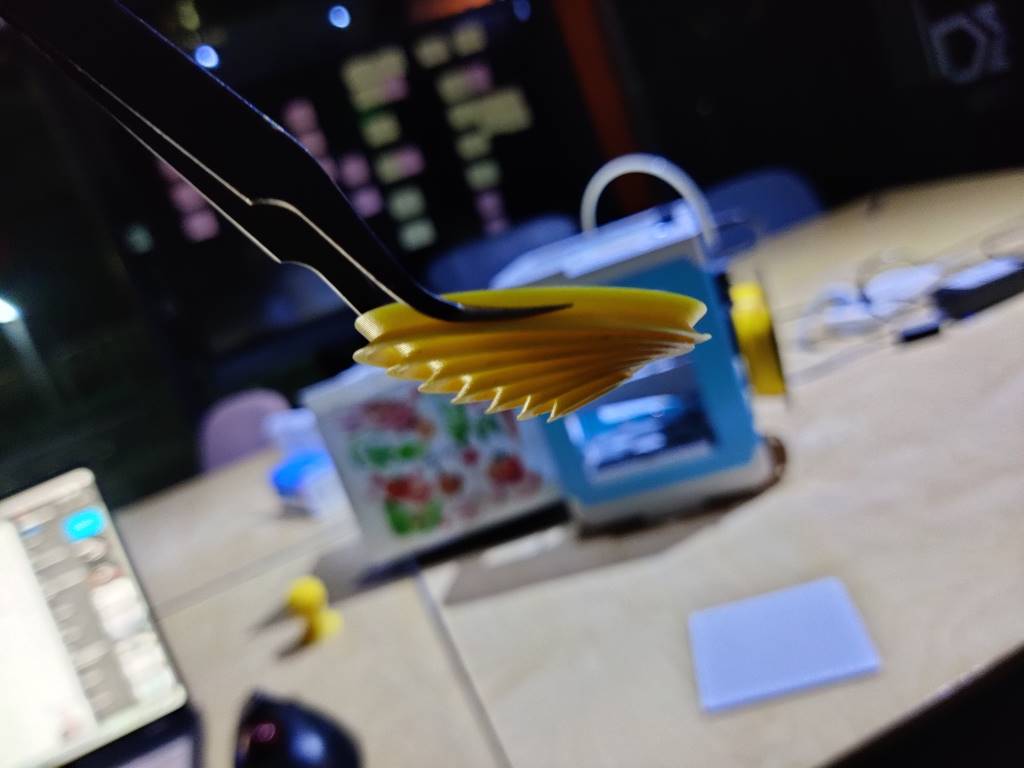
Put them togeter, we can find the differences between this two printer. The yellow one printed by that cute printer has less details and the lower no support angle. And a worth mentioning thing is the left one is little bit smaller than right one, when we measure them via caliper we find it
The rules
Rules for Design
- The shape should be closed.
- Always check every wall is more than 0.4mm
- 45 degree rule of support, otherwise the product surface doesn’t infill well and its surface is also not so good. For our Raise3D, 60 is ok~
- The layer high can be range from 0.1 mm to 0.3 mm, 0.3 mm is faster but rougher and the connection between layers isn’t strong, which makes the product fragile. 0.2 mm layer thickness is suggested normally.
The parameters for the printer
- Temperature: 205 degree.
- Bottom Thickness: 0.8 mm.
- Infill: 20% infilling product is strong enough and it doesn’t cost too much time.
- Nozzle size is Diameter 0.4 mm.
- The materials I use is PLA (Polyactic Acid) , the size is Diameter 1.75 mm
- Please notes the temperature varies in 5 degree.
3D modeling
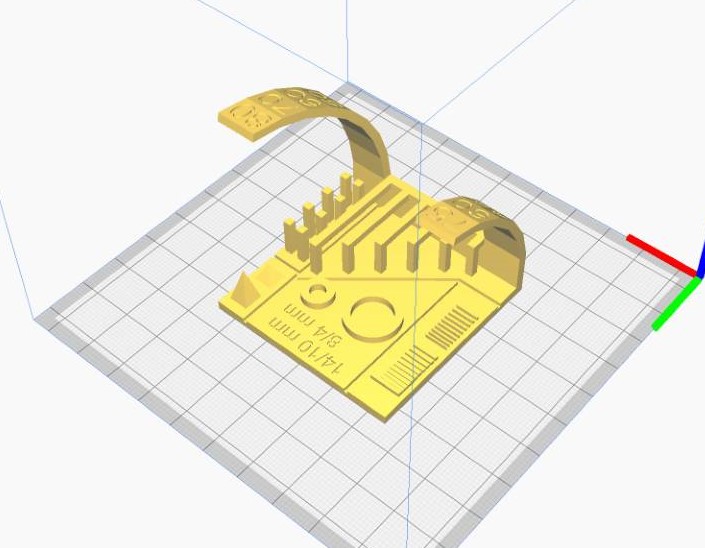
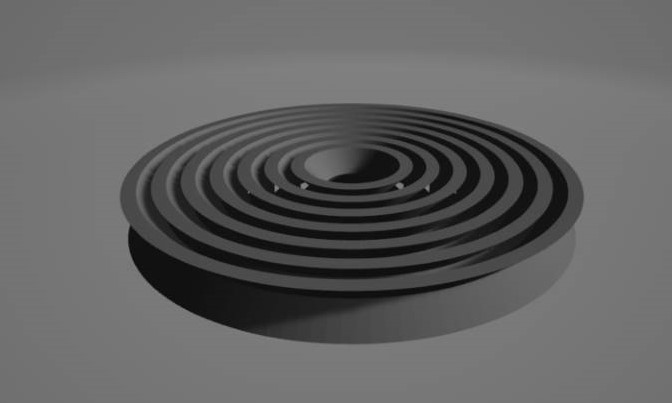
This model I want to make is called a ring in a ring in a ring in a ring …
 I will use Rhino to make it.
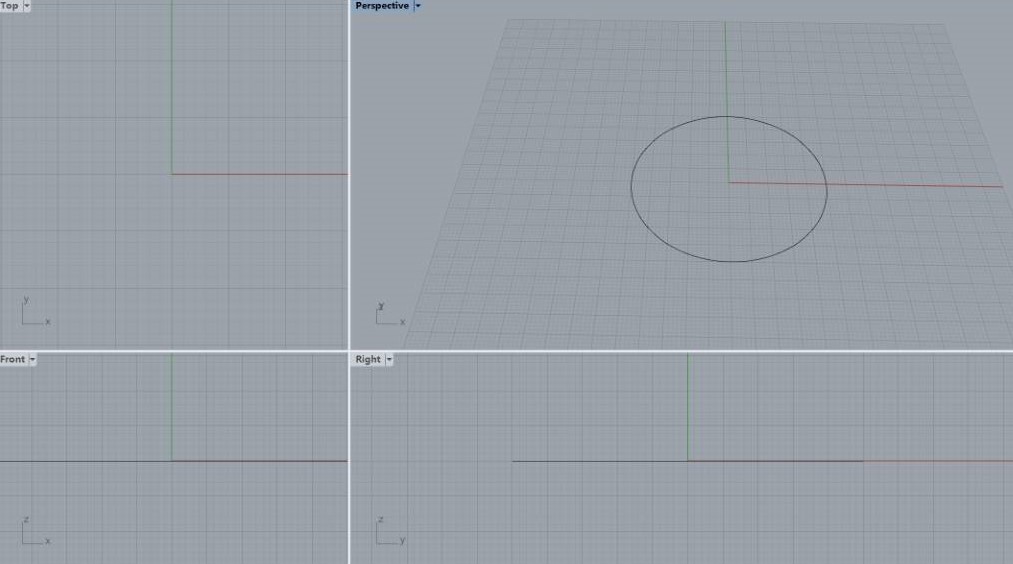
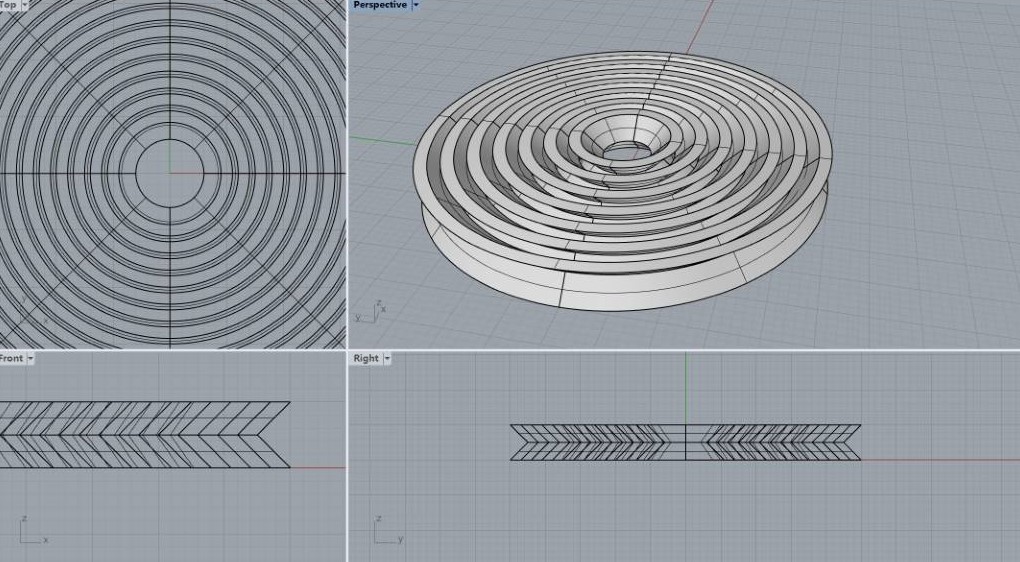
First, draw a circle.
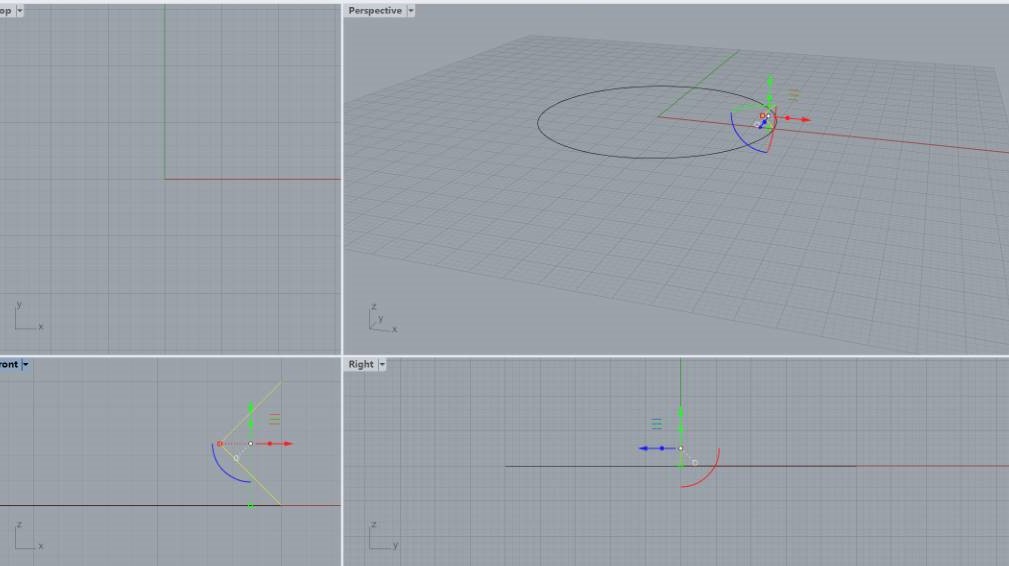
 and then, draw a 90 degrees angle in the XoZ plane. (45 degree of the XoY plane)
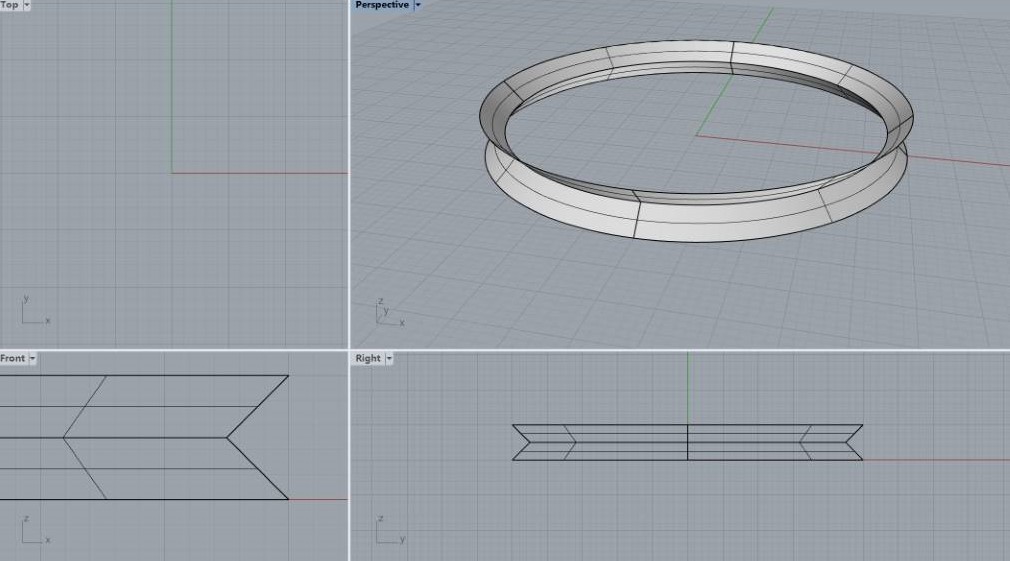
 Try to
 sweep this 90 angle, looks good.
 So
So offset more circle and copy more angle. (the gap between them is 1.5mm, enough gap to make sure they would not connect to each other when pringting)

sweep them.
 Add a
Add a cap for each surface, and use booleandifference tool to make sodid like this
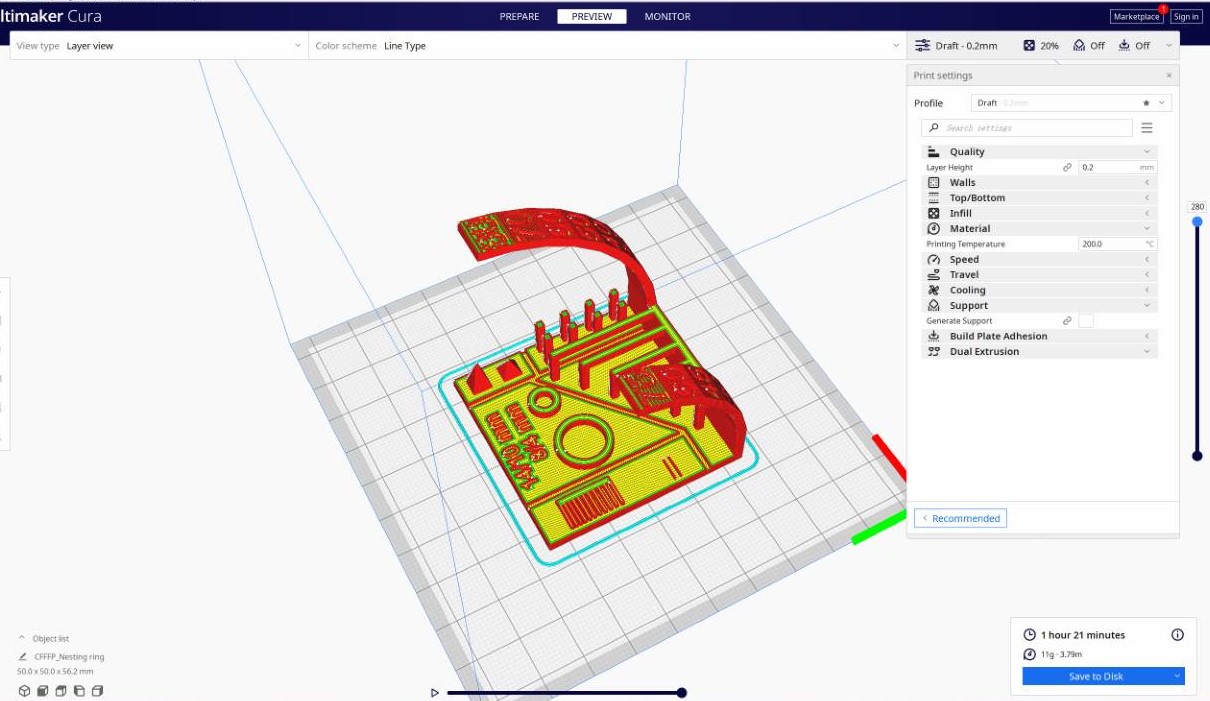
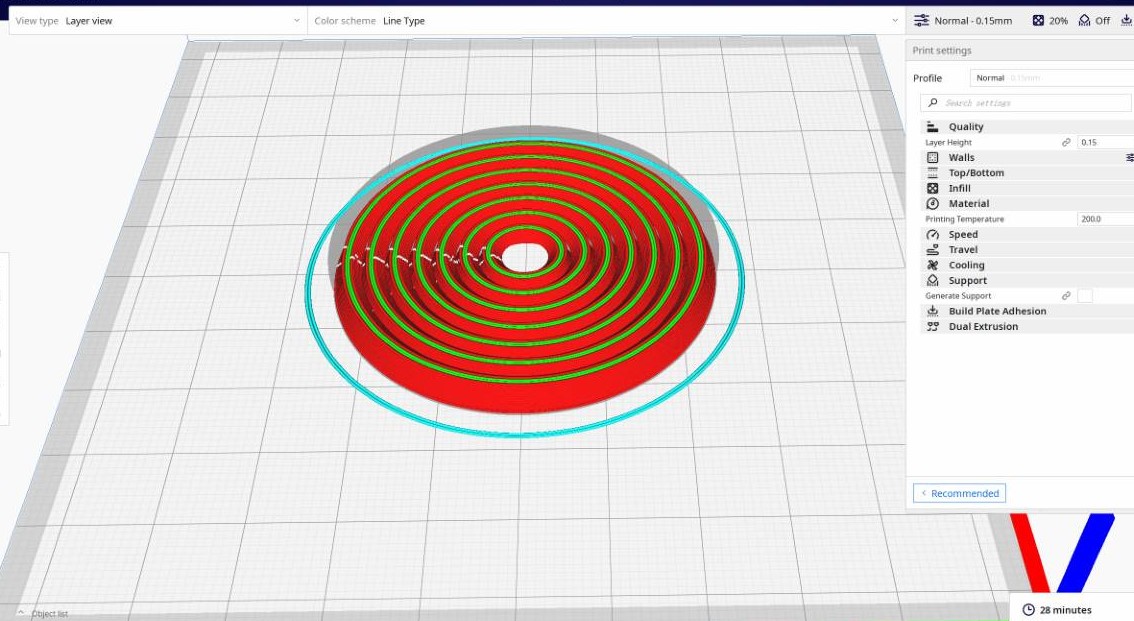
 Improt to cura and slice. Looks good
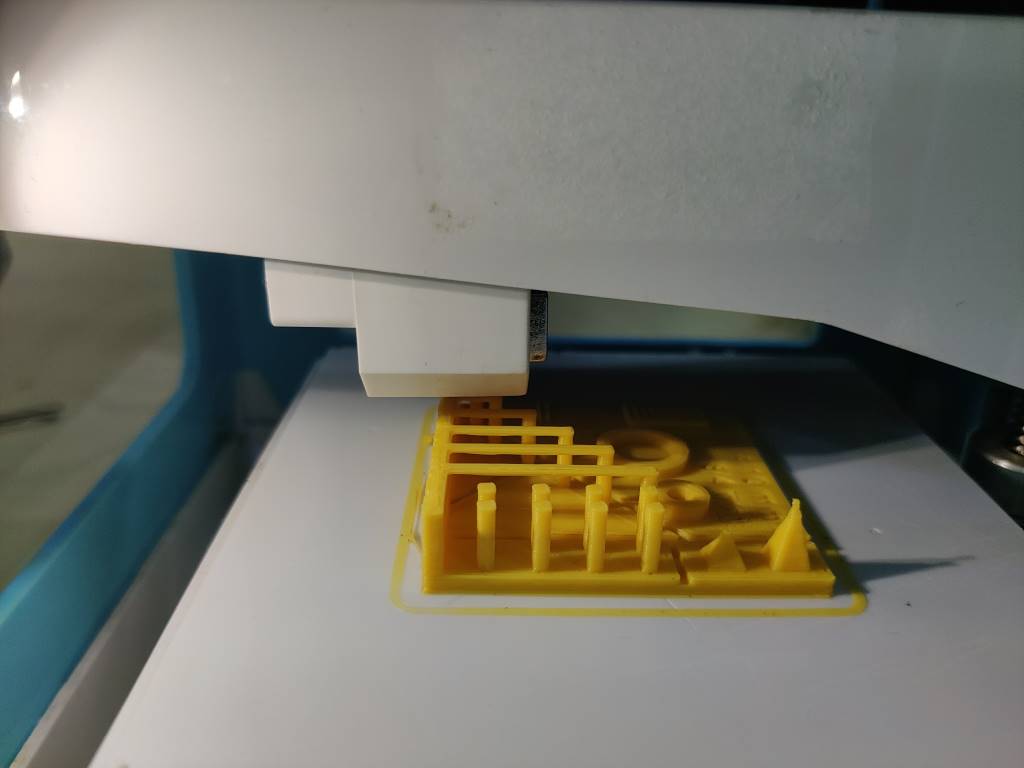
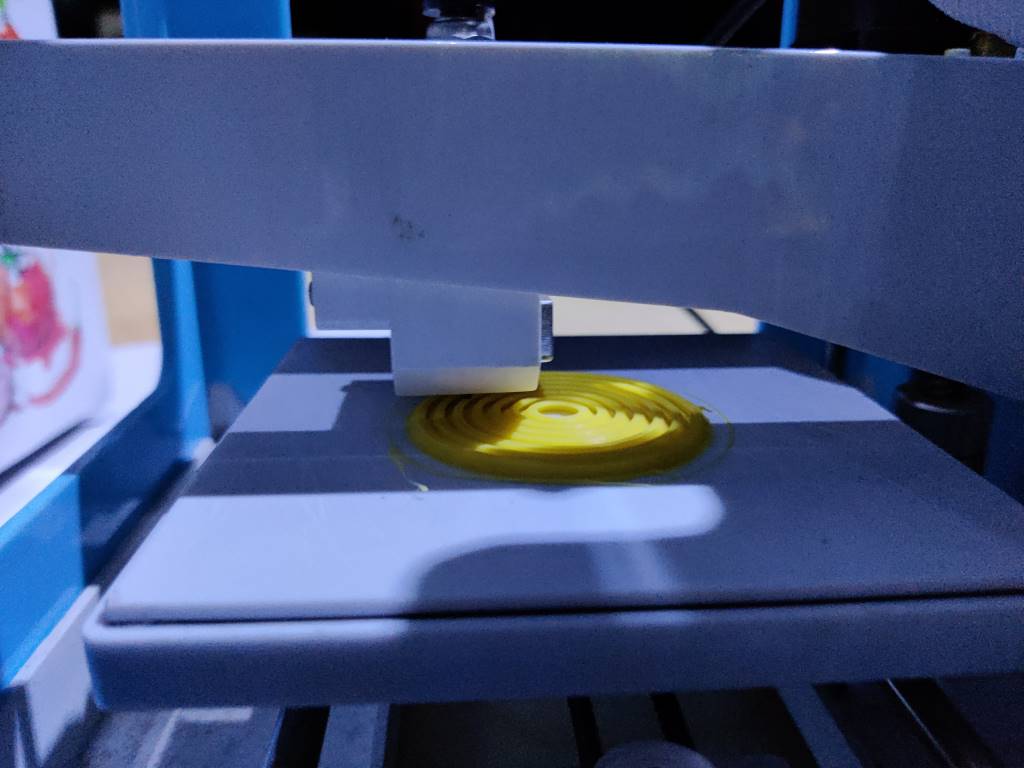
 and printing…
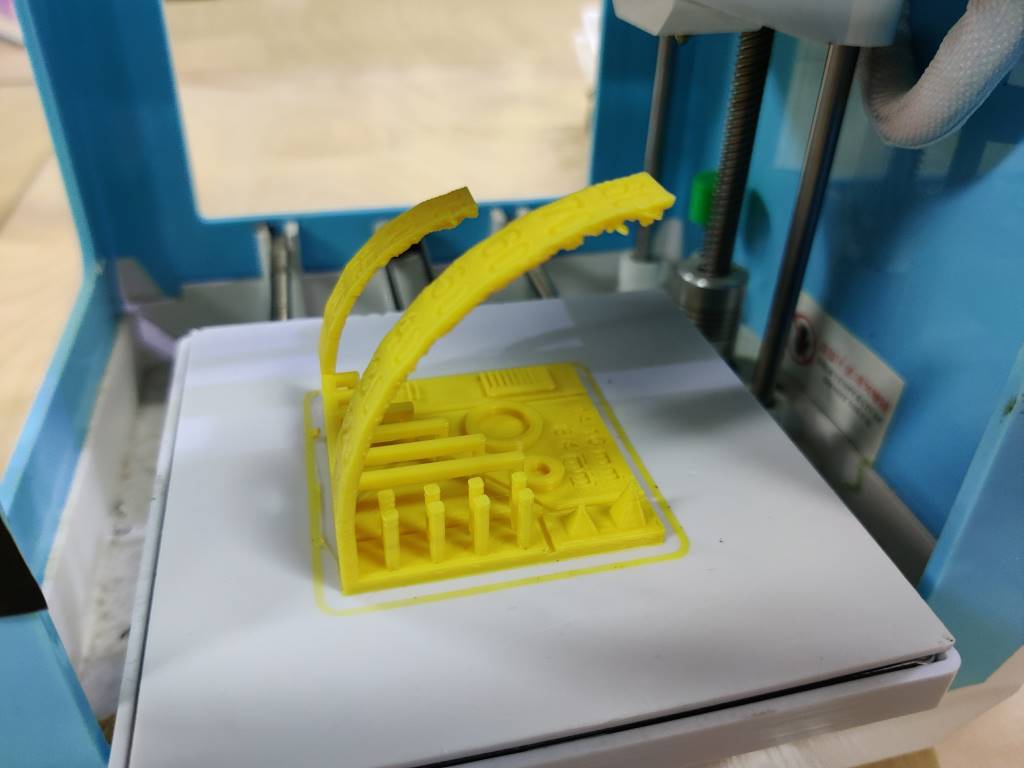
 finish!
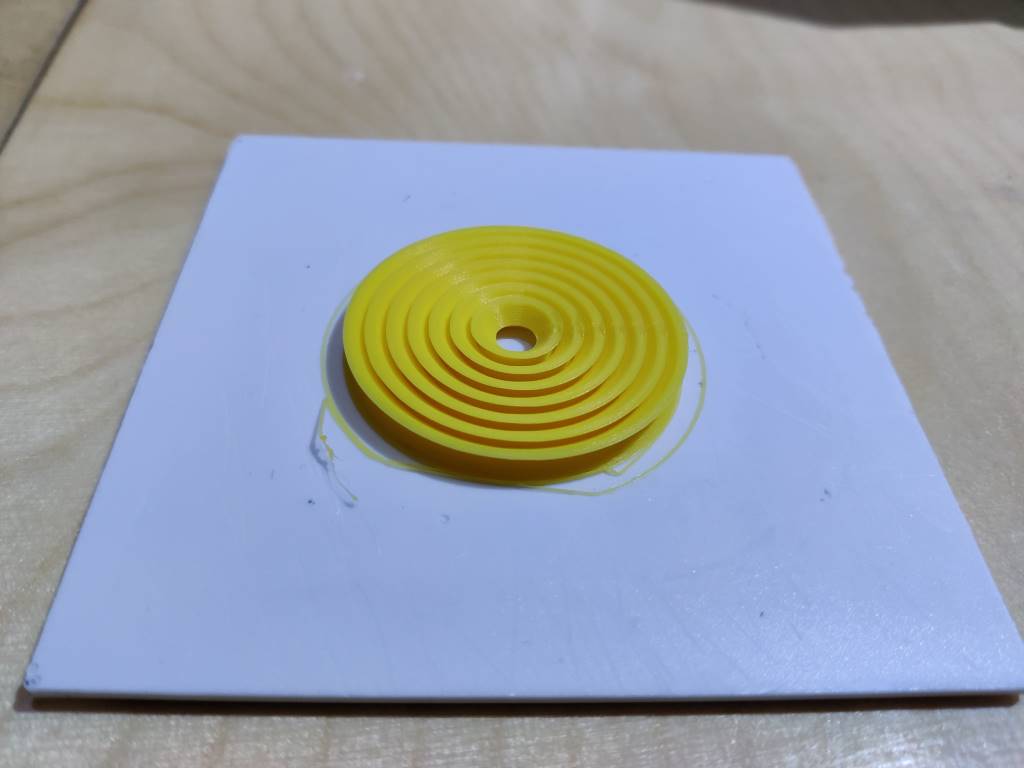 try to move it, very smooth!
 and also, the gap makes it easy to bend like this
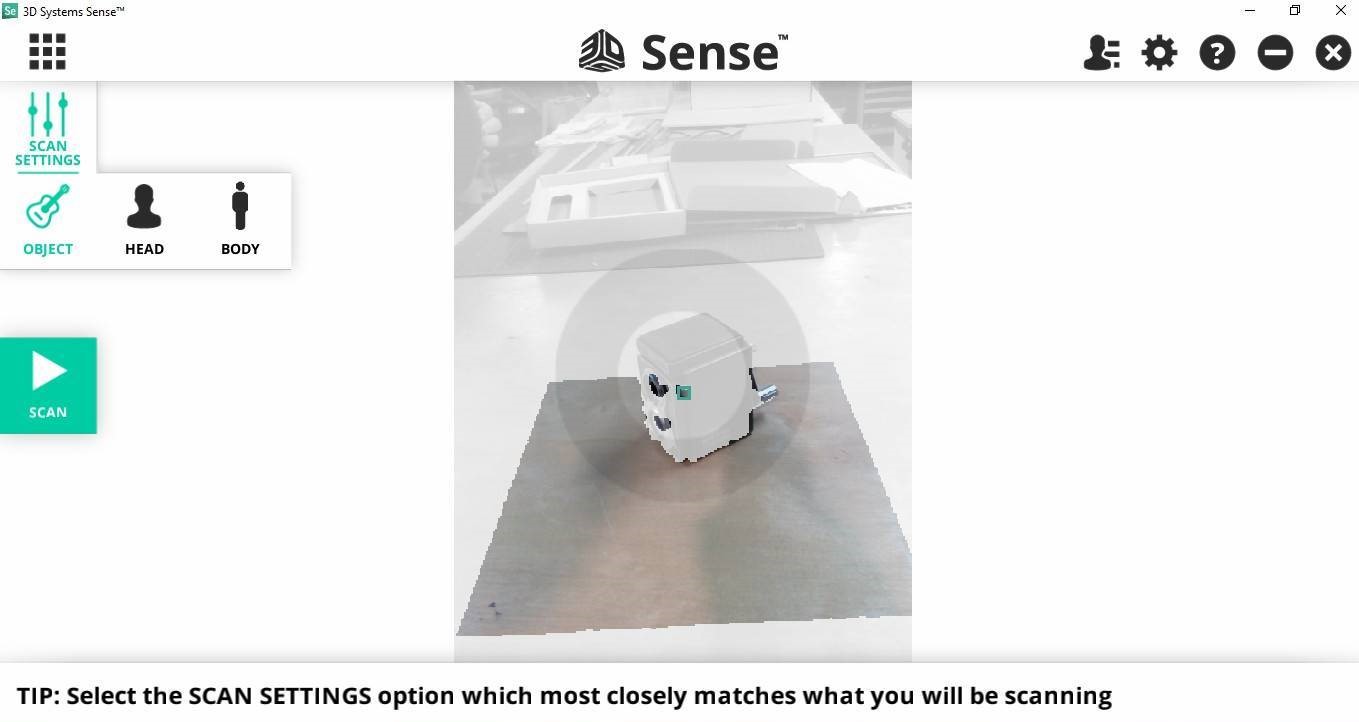
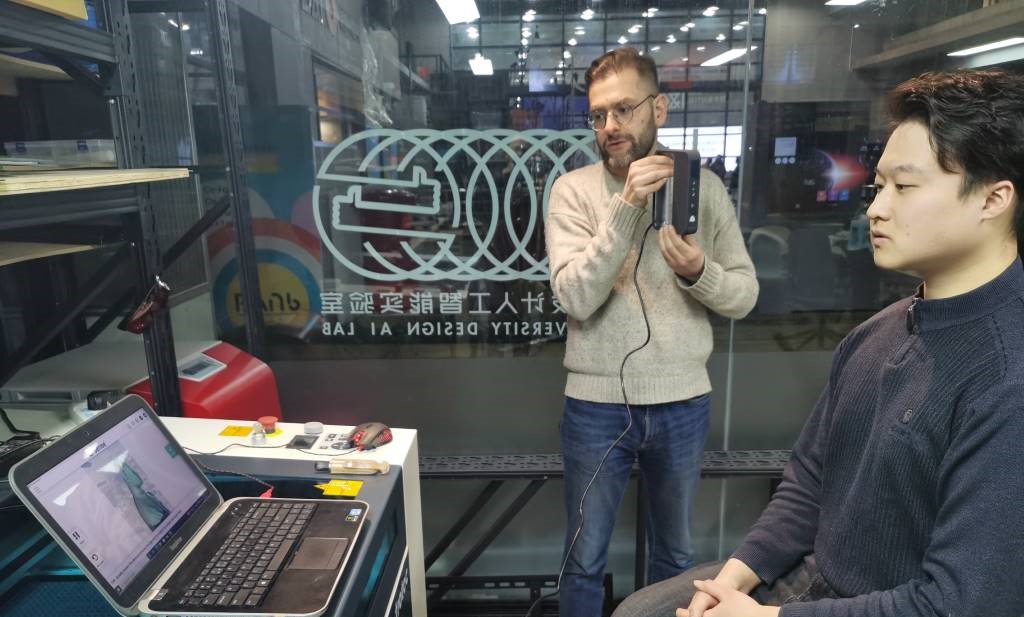
3D scanning
brain The scanner we use is Sense2 3D,
I have tried to install the software UnitySense but I failed in my laptop didn’t recognize the scanner, maybe that is win11 issue I guess.
So we turn to use it on a win10 computer, it works well.
To Scan better
- Scan in the evening or in a dark room, because the infrared from sun will affect the result.
- If you scan yourself, it is better to find a friend to help you, because if you moved when scaning, the unexpected problem will appear in your model.
- Don’t wear glasses because the distance between the infrared point maybe bigger than the frame of your glasses and it hardly trace the glasses.
- Scan slow , especially for the hair as the black hair is easily to lose the trace.
Try to scan sth.
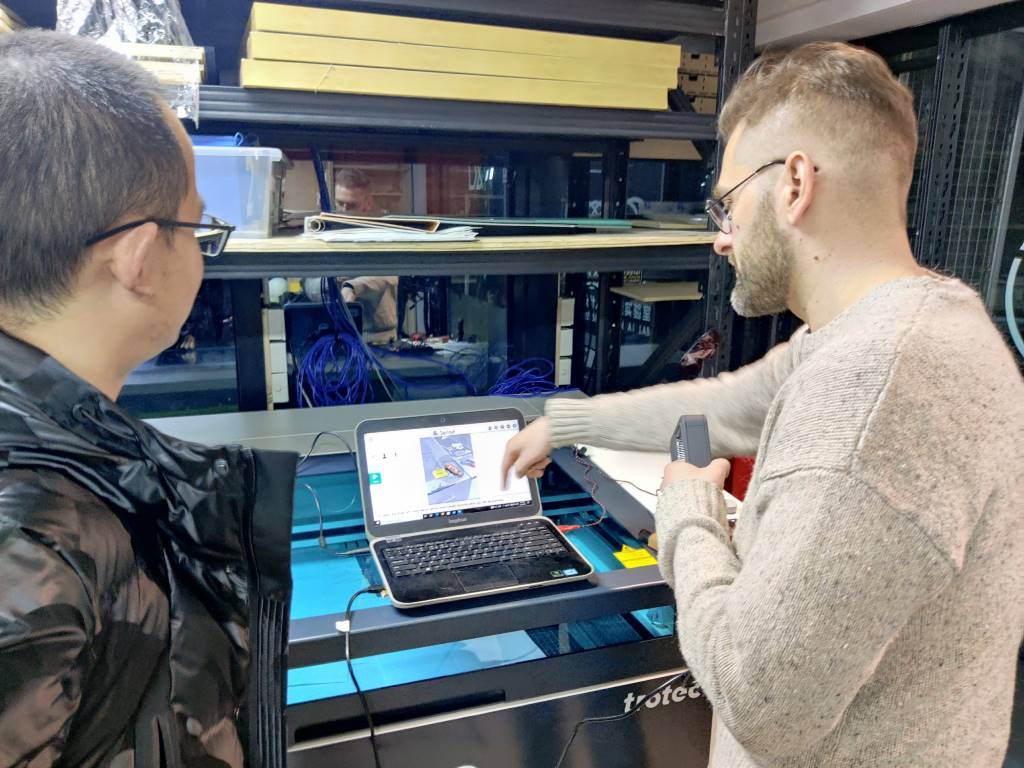
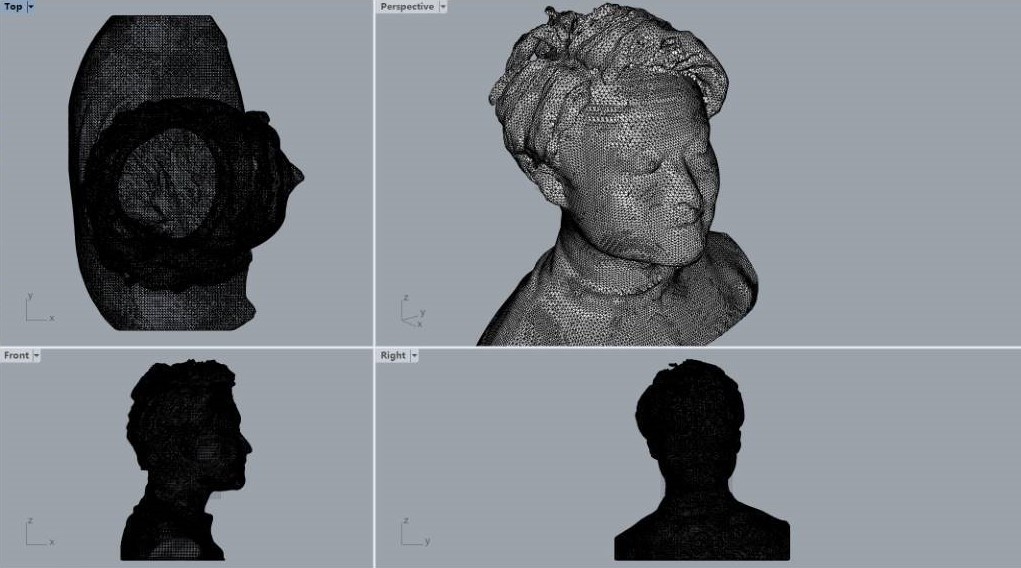
After that, Saverio start to scan me
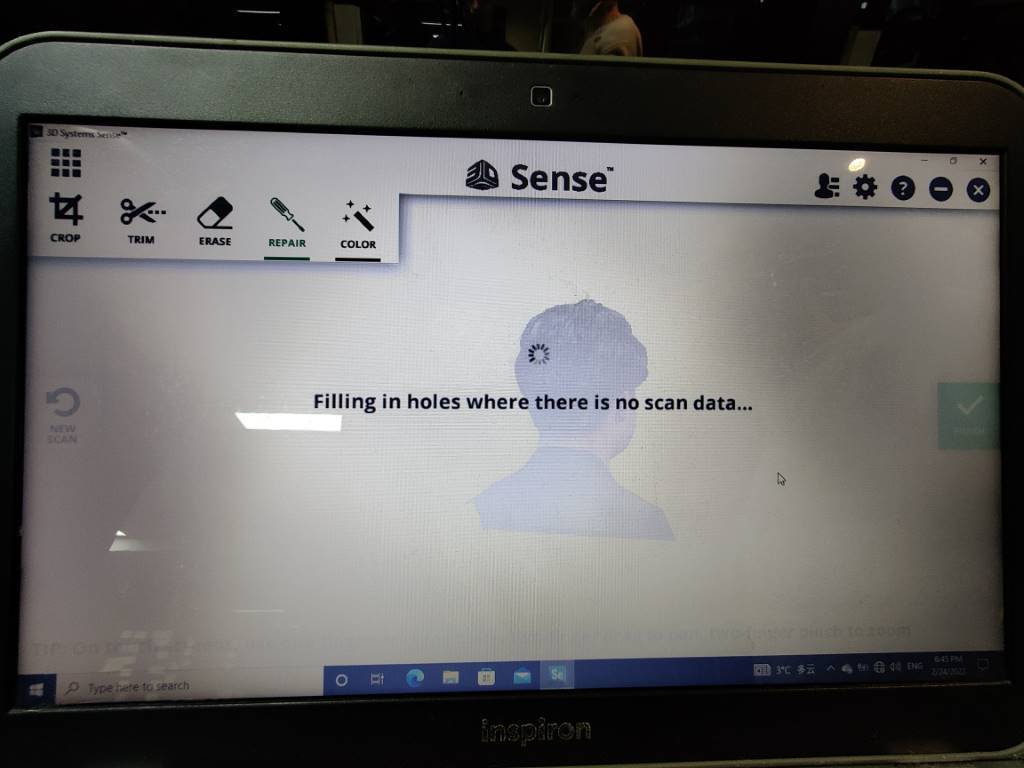
fix the hole on my head and hair and face and… and export
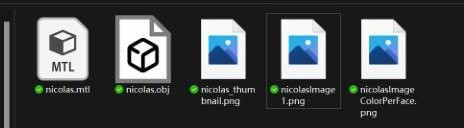
I get these five files.
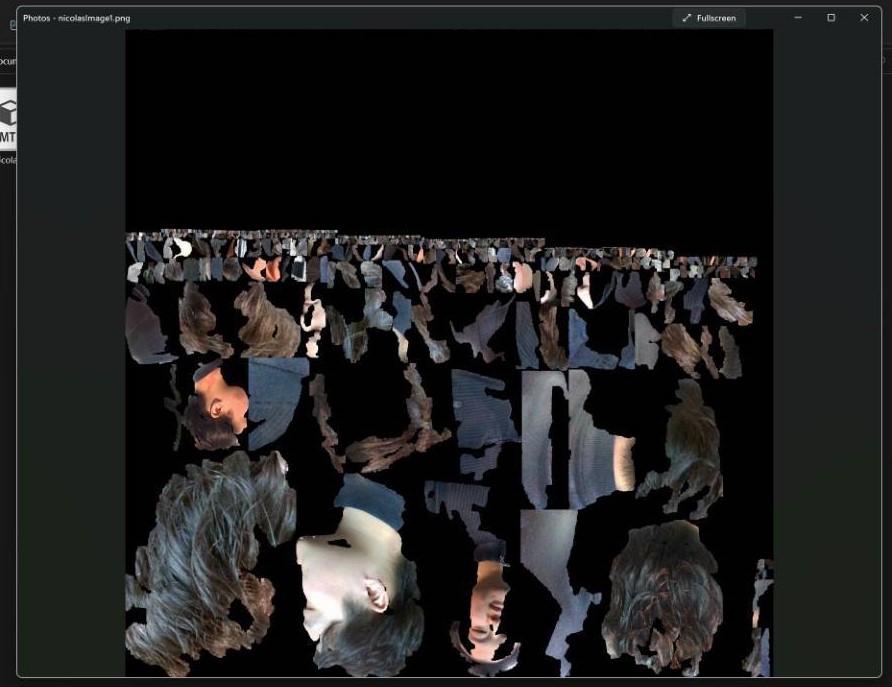
The most funny thing is that I find the texture file of me, in pieces.
Maybe I can print them and stick to my model hahahah
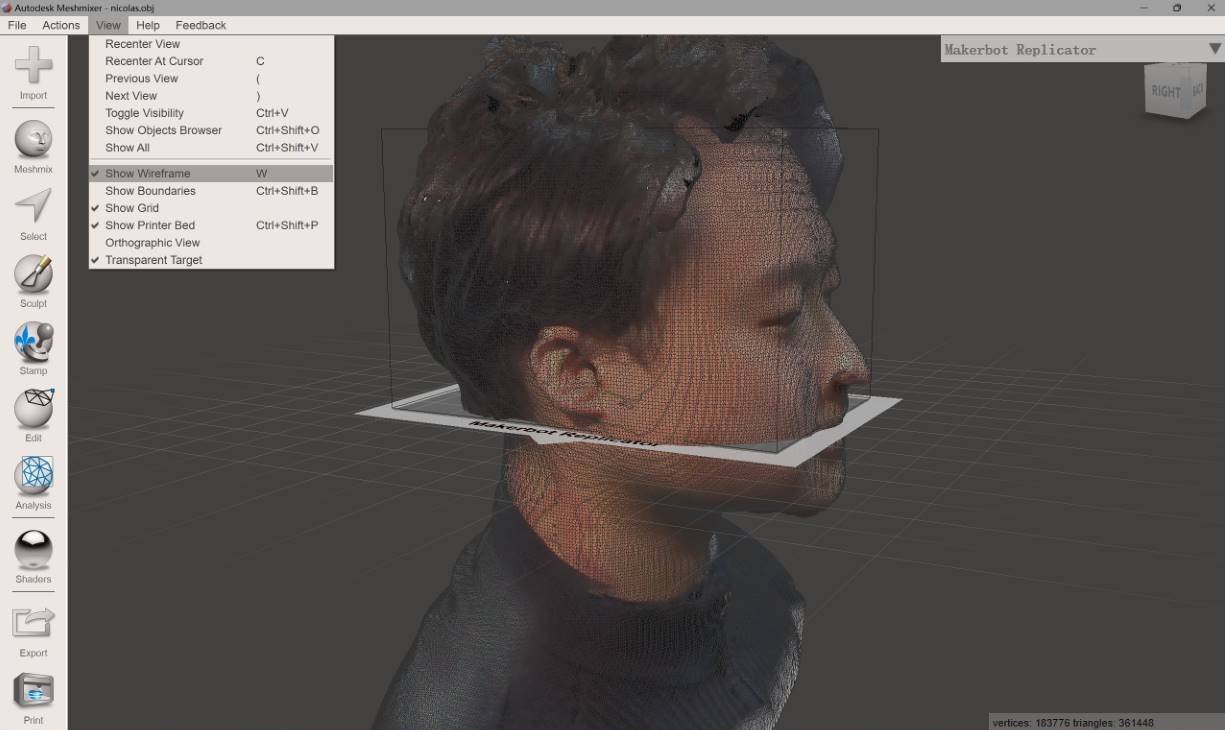
Import to the meshmixer to do more detail.
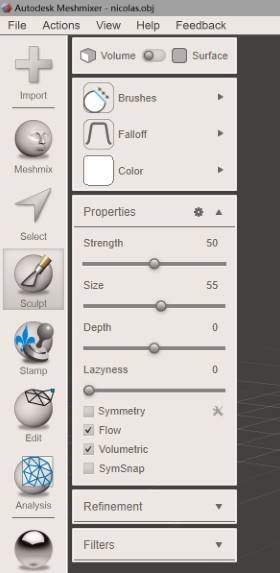
Show Wireframe and use Sculpt tools to make model easy to print, follow the rules.
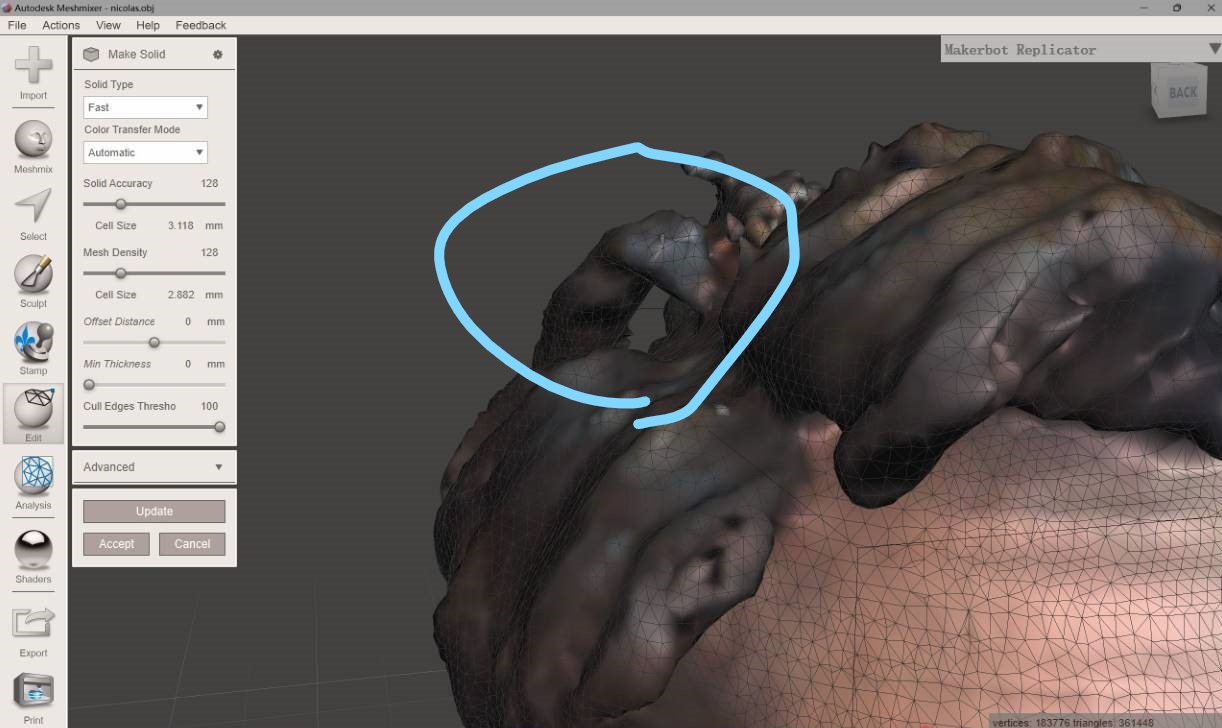
Make solid tool to make a printable model.
Make sure if there is something hard to print. To fix detail like this, you can use Sculpt to push it down, or put sth to cover it, like I do.
I download a brain from thingiverse
Import my model in Rhino
And also import the brain, and put it in the (maybe) right place
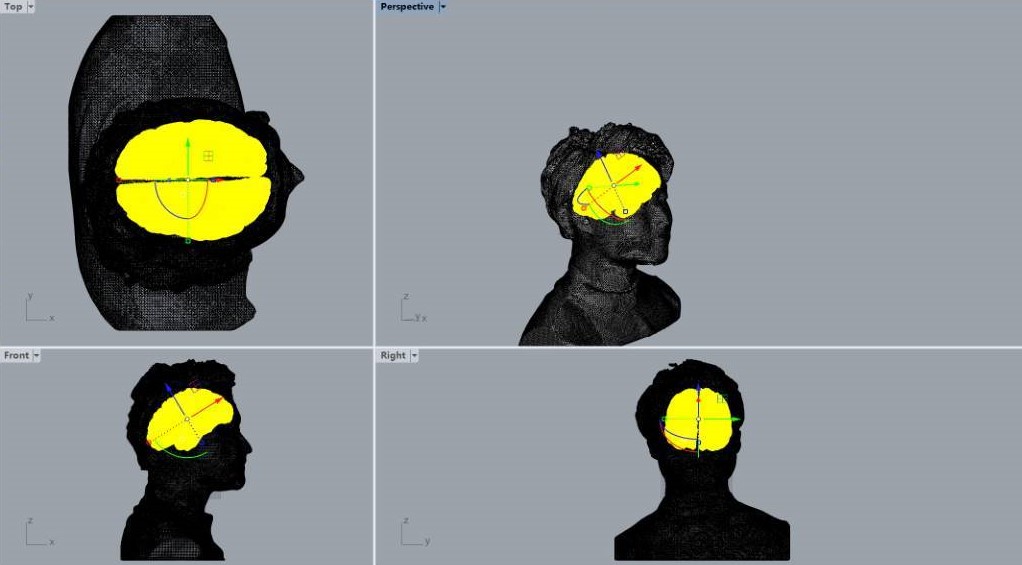
SCALE IT! Cover the hair
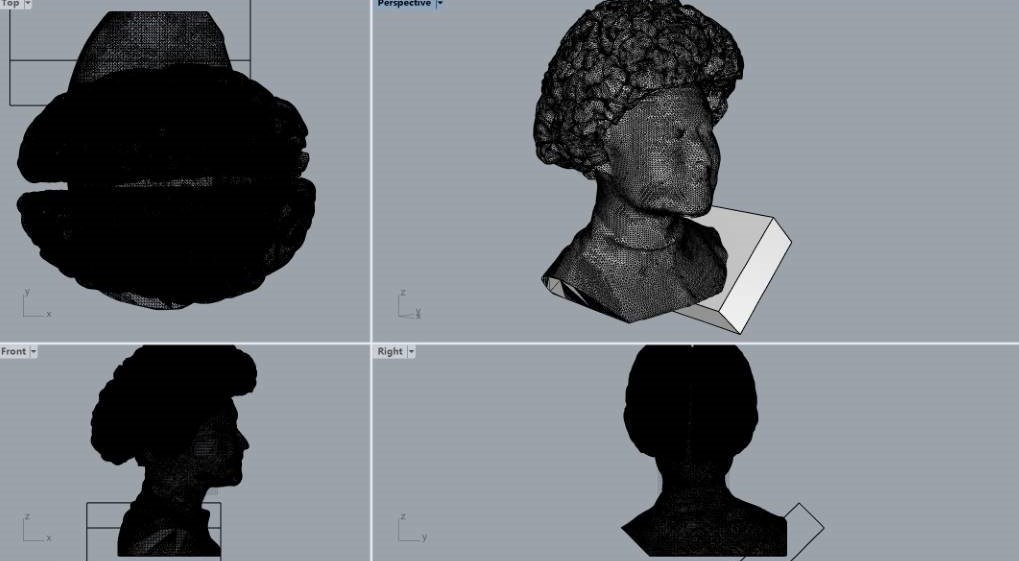
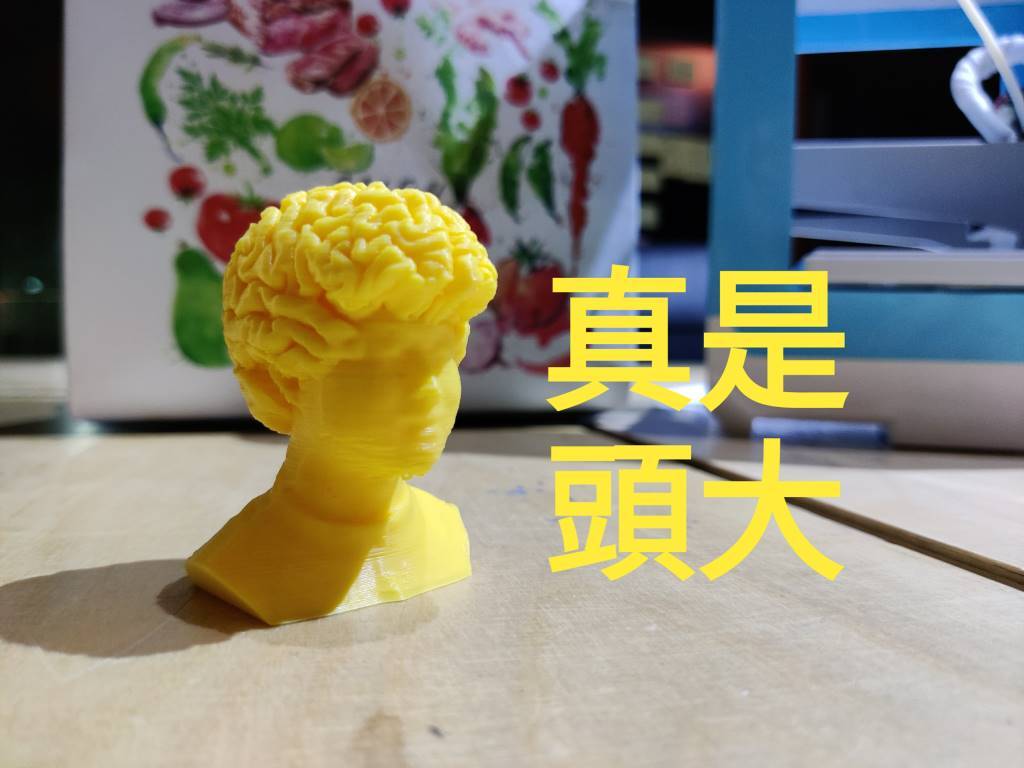
export and import, and slice, looks nice
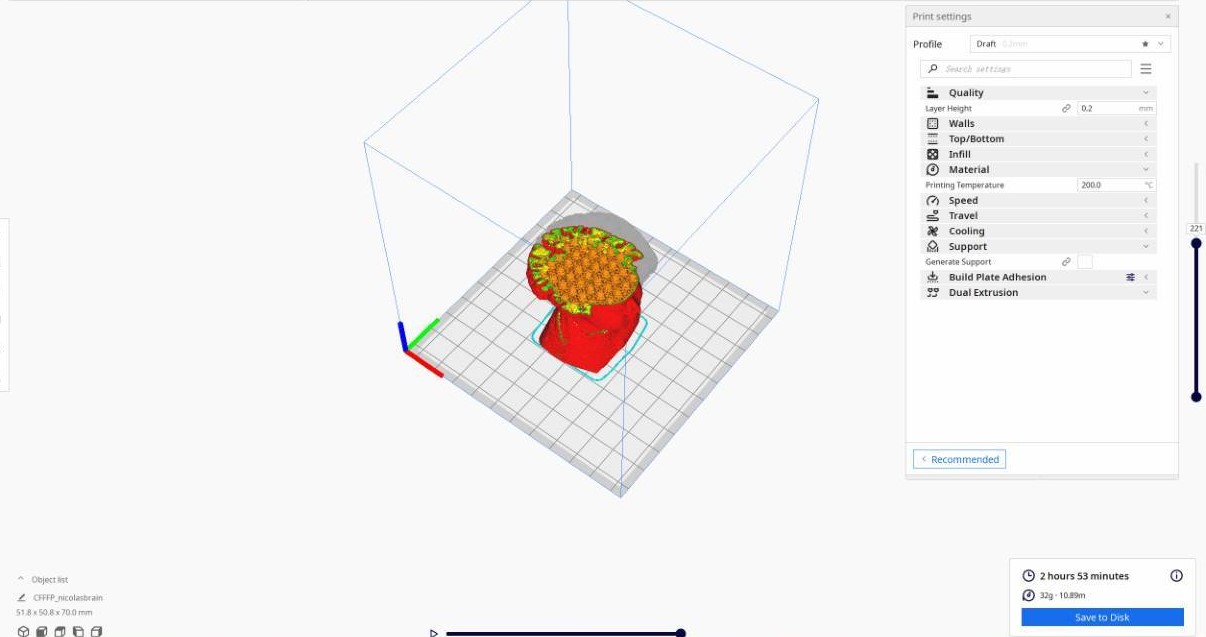
So I get my model with a big brain