1b. Project management
In this week, I build my first website, and find some nice tool to simplify my workflow~
- I use emacs org-mode to take nokes before, so it takes me a few time to learn to use Atom and Markdown to write something
- vaibhav-saxena’s site I like the web he made! That’s so cool!
Terminal & Environment
Some of the tools we will use works better in Linux than Windows. So I choose to use linux to build my website.
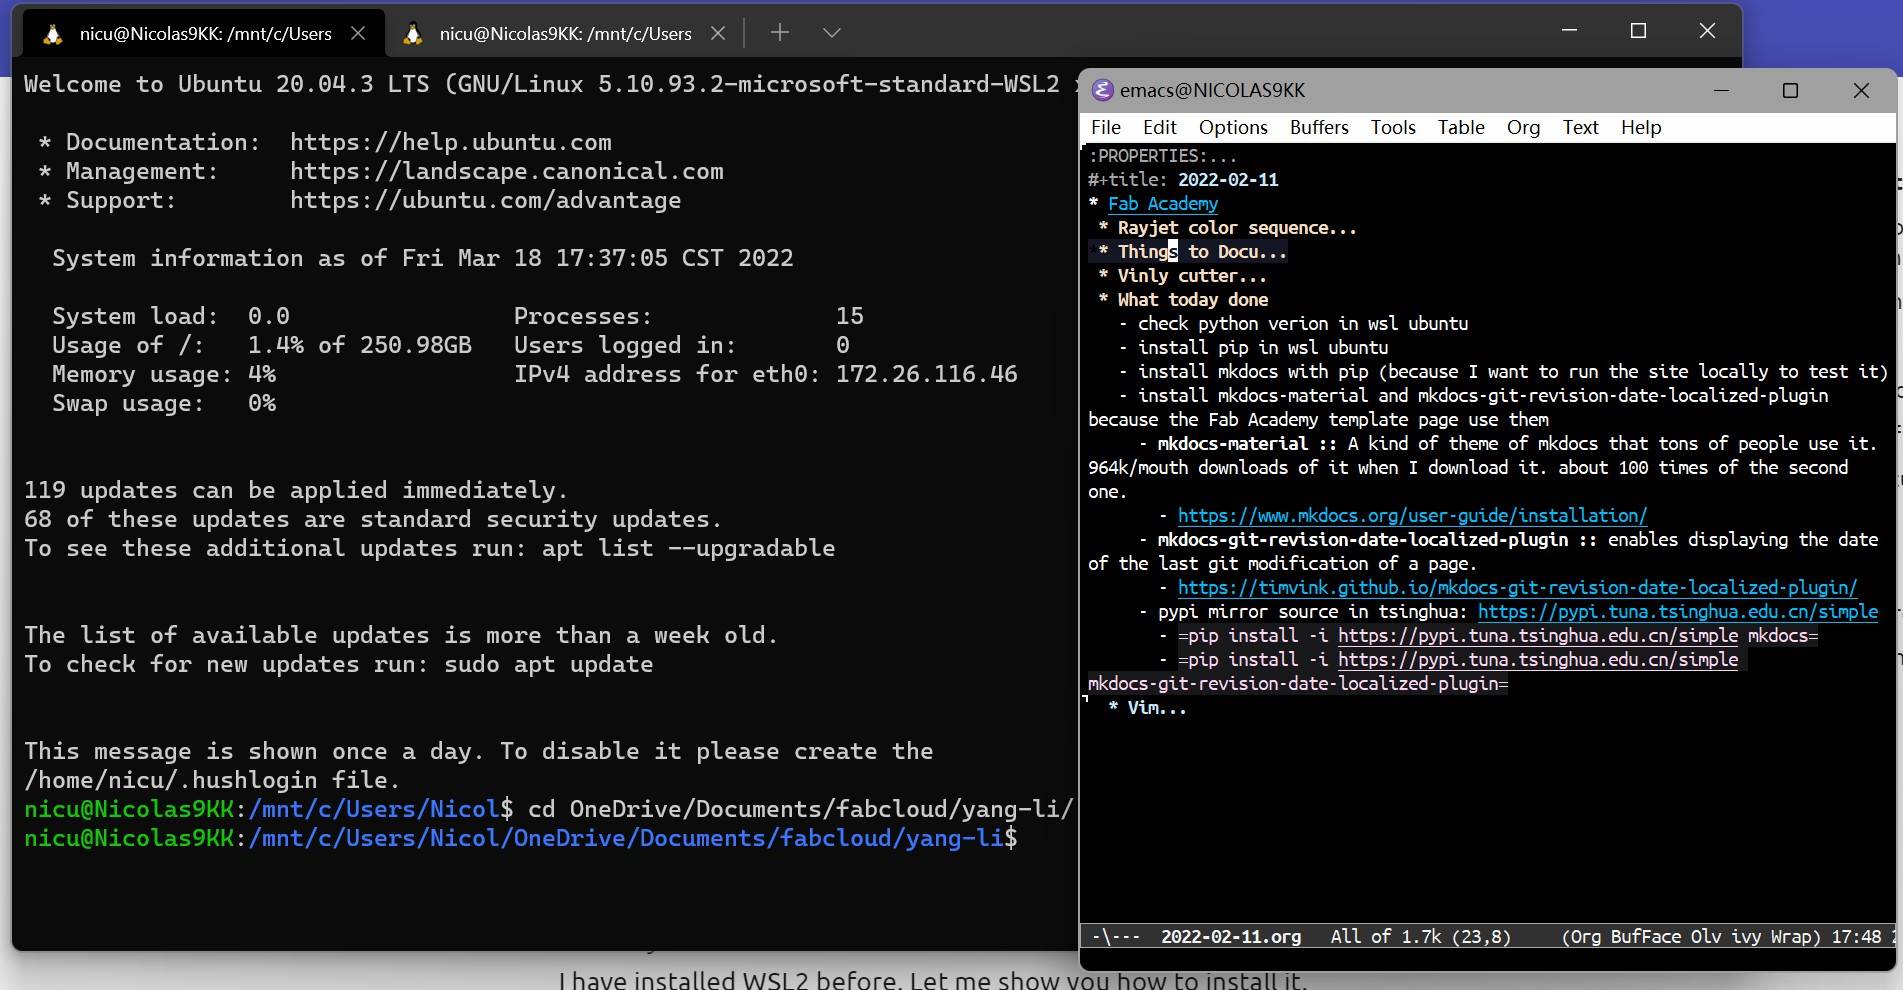
I have installed WSL2 before. Let me show you how to install it.
- Search WSL or linux in windows Store.
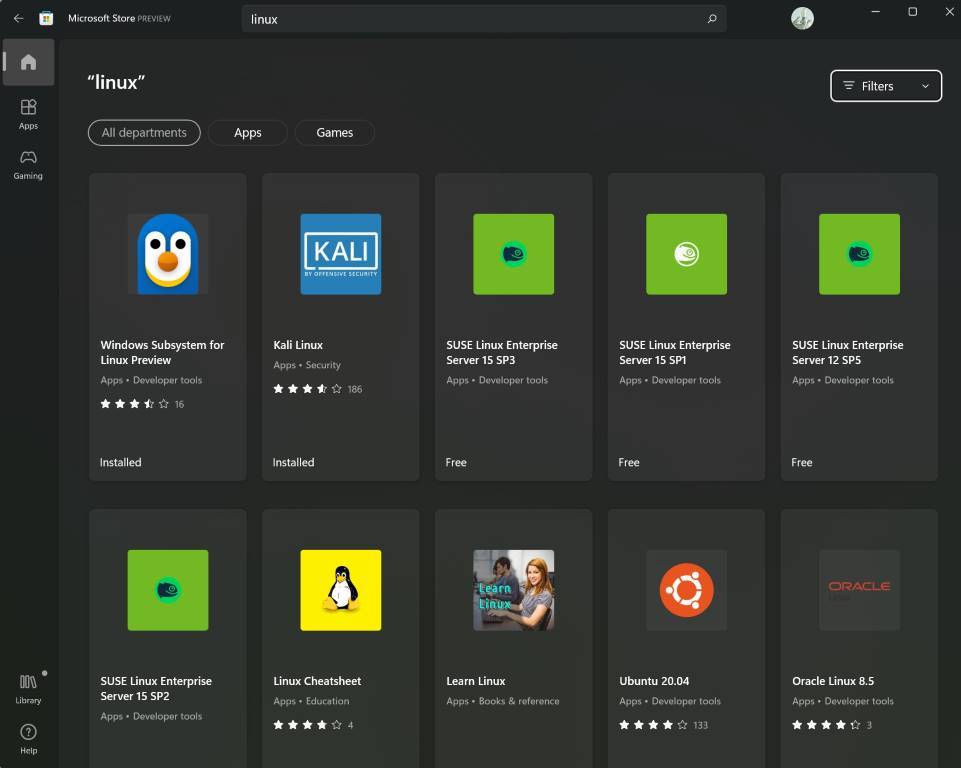
- I will installed Ubuntu.
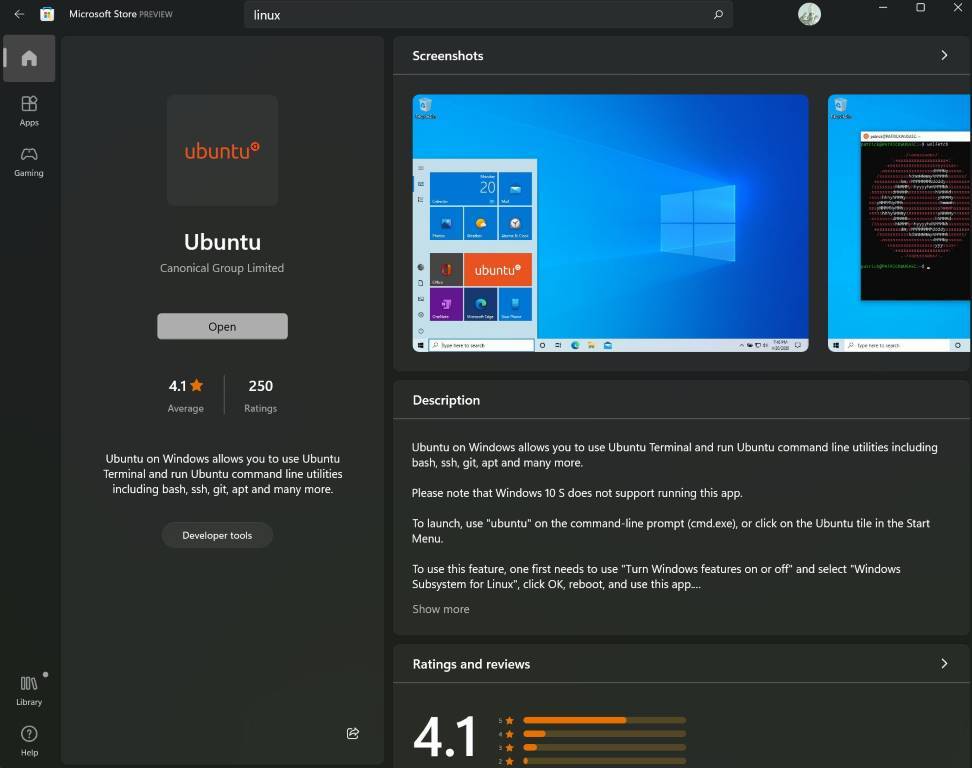
- Launch it.
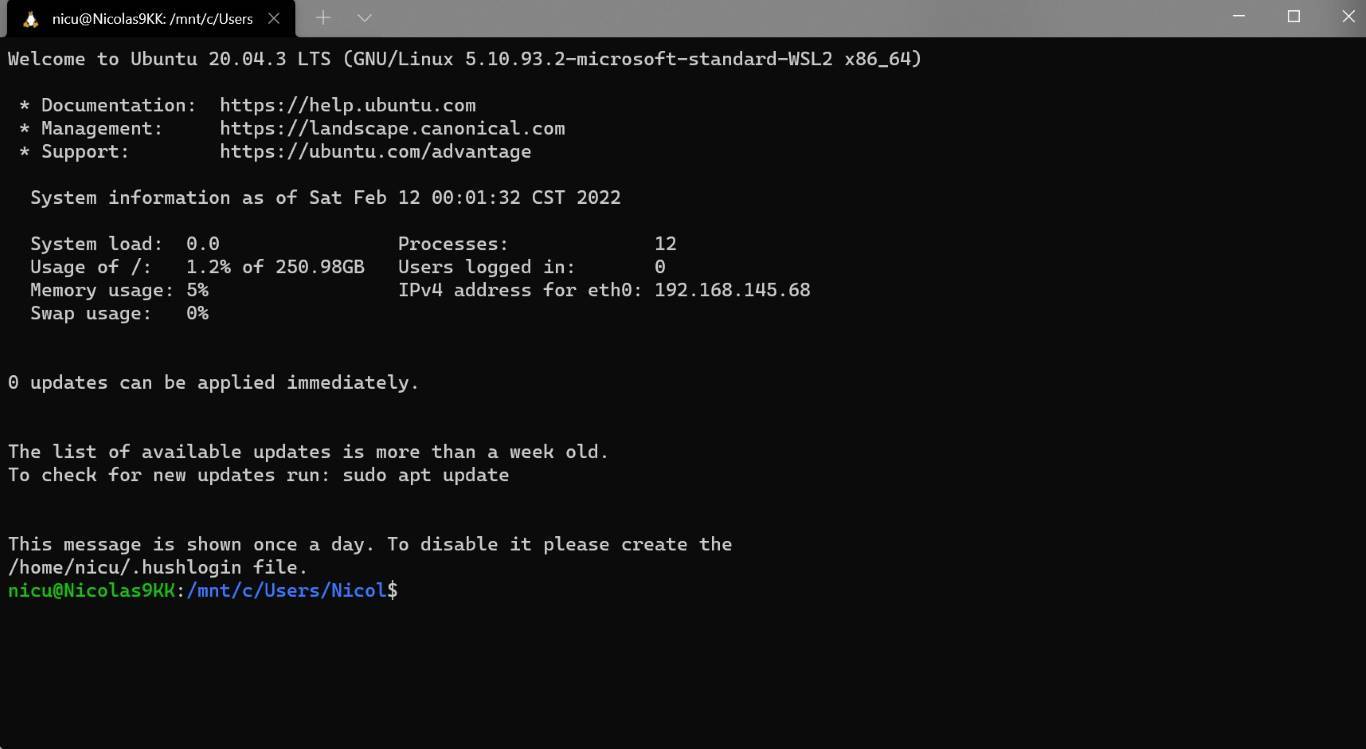
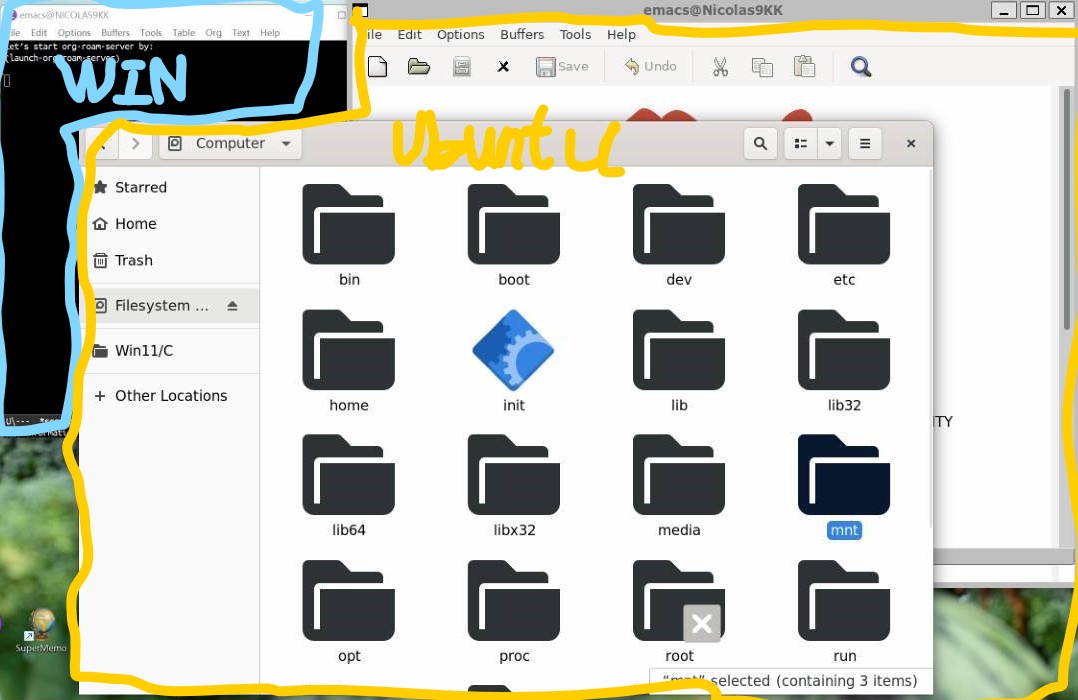
BTW, WSL works good, in the picture below you can see that I can run linux application in windows directly!
- Before start, don’t forget to update the package library (with sudo, admin right)

- Let’s check if my ubuntu have python, because mkdocs need it.
It seems I have python3

- Check and install pip, because I need it to install mkdocs.
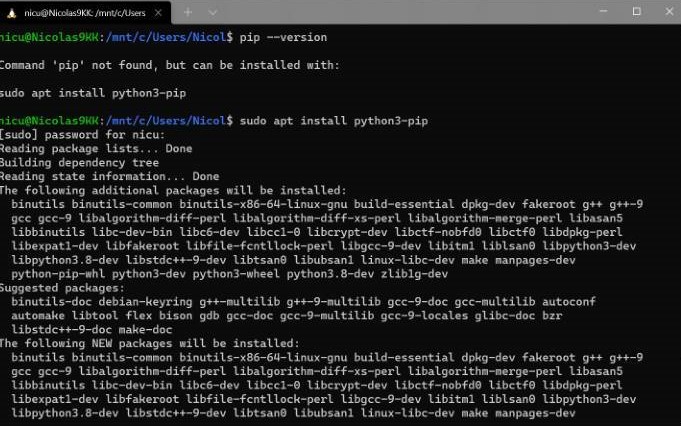
- Then, check them all.

Mkdocs
Install mkdocs with pip (because I want to run the site locally to test it).
It is better to follow the mkdocs official guide
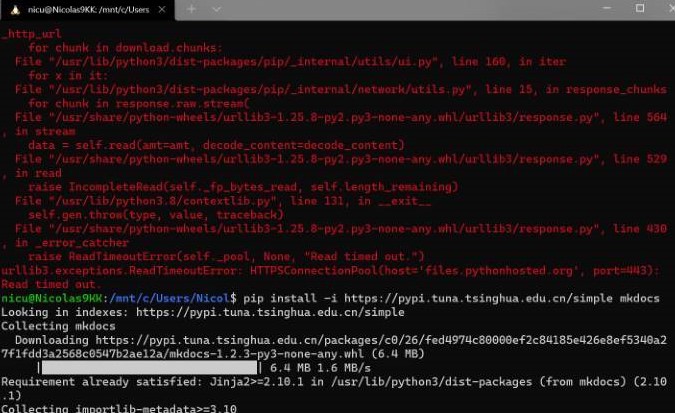
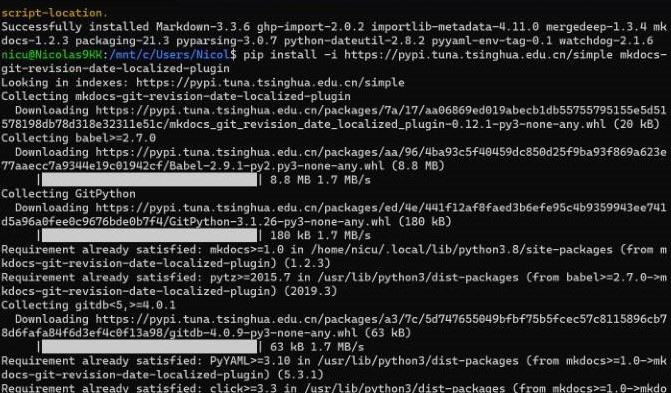
- To install the mkdocs, I met network problem as below. Someone point it is because the offical library is hard to connect in China, so I need download it from mirror link like tsinghua mirror source.
pip install -i https://pypi.tuna.tsinghua.edu.cn/simple mkdocs
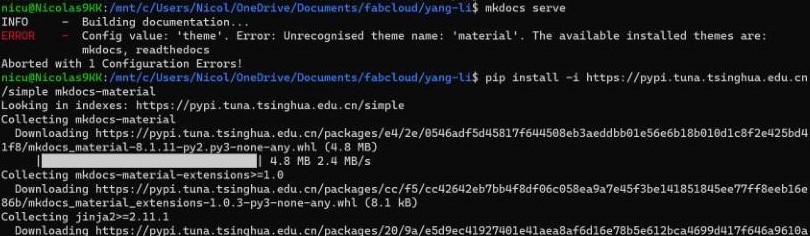
- I also need to install the
mkdocs-materialbecause our sample site use it.
This is a kind of theme of mkdocs that tons of people use it. 964k/mouth downloads of it when I download it. about 100 times of the second one.
pip install -i https://pypi.tuna.tsinghua.edu.cn/simple mkdocs-material
- The
mkdocs-git-revision-date-localized-pluginis also needed. it enables displaying the date of the last git modification of a page. Our sample site use it.
Learn more about it, you can go to this plugin github pagepip install -i https://pypi.tuna.tsinghua.edu.cn/simple mkdocs-git-revision-date-localized-plugin
Git & fabcloud
We will use git to complete our version control workflow. Before use it, I have to make some configuration
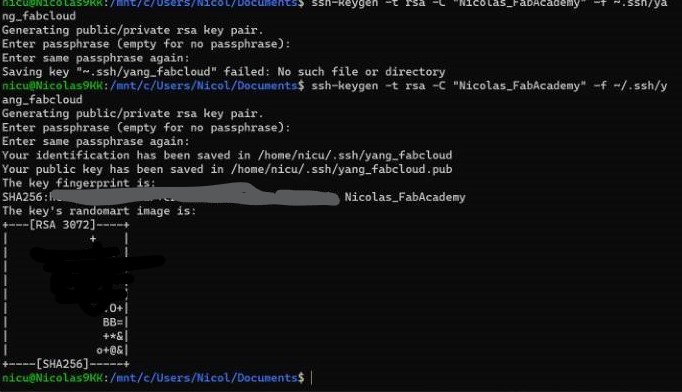
- generate a new .ssh key
- login in to fabcloud with
Fablabsbutton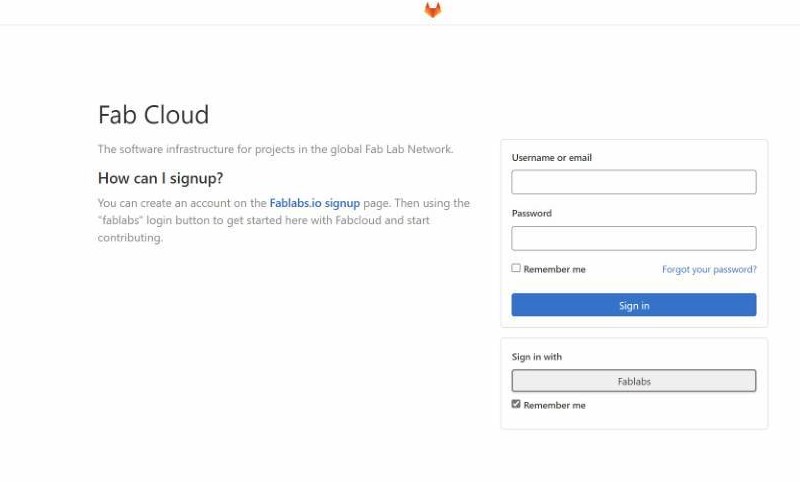
- use
cat yang_fabcloud.pub, and then copy all the public key.
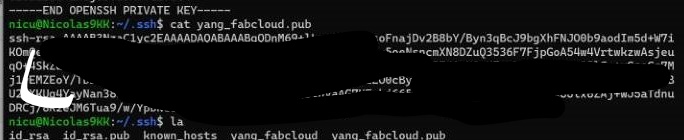
- go to the SSH Keys setting of your account, add a new key with the public key just copied.
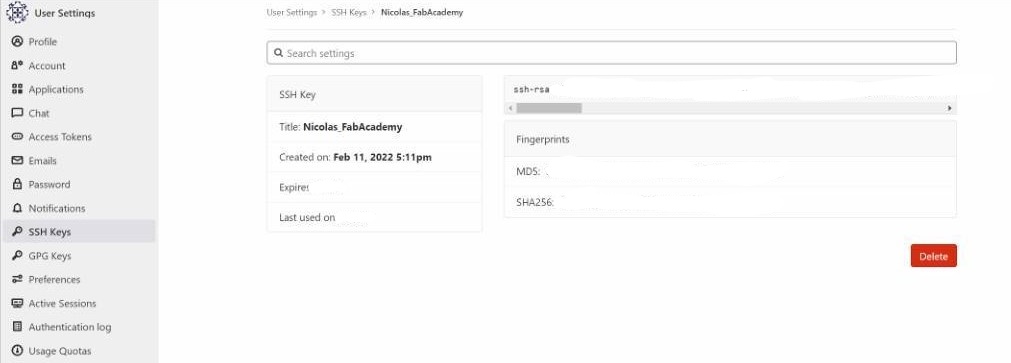
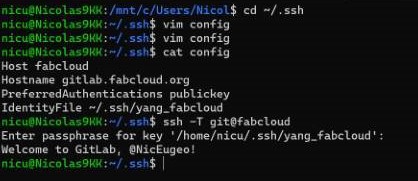
- Because I have had a key setting with my personal github account. so in this step, I have to make a config file, in order to tell the program that when I work with fabcloud, use key
yang_fabcloudto communicate.
- Okay, now I clone my page repositories to the
Onedrive/Document/fabcloudfolder.
BTW, the/mnt/cmeans the C disk in the Windows is mount on the linux, so I can also check the local folder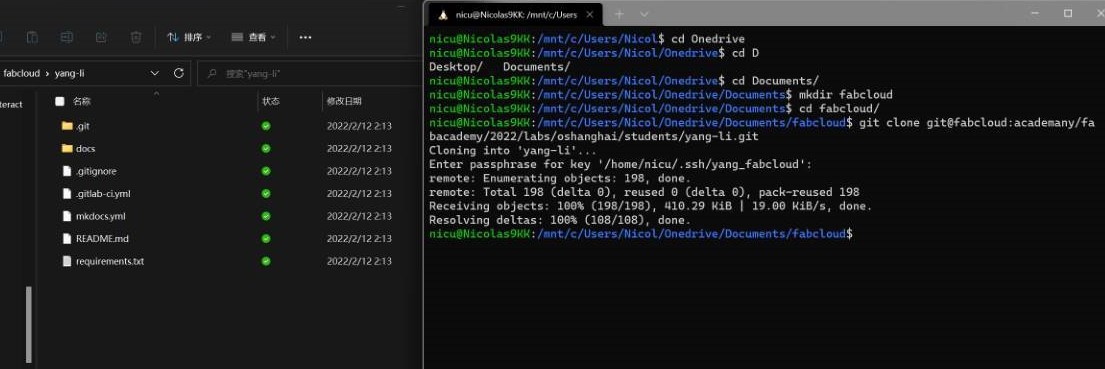
Edit my site
I used to use
emacsto write my own bullet journal, note something important, and generate a nice network UI with packages to make my journal workflow convenient.
It’s a really powerful tool but hard to learn ya;)

This time I switch to Atom to write my pages, and maybe build a nice knowledge network with emacs in the future.
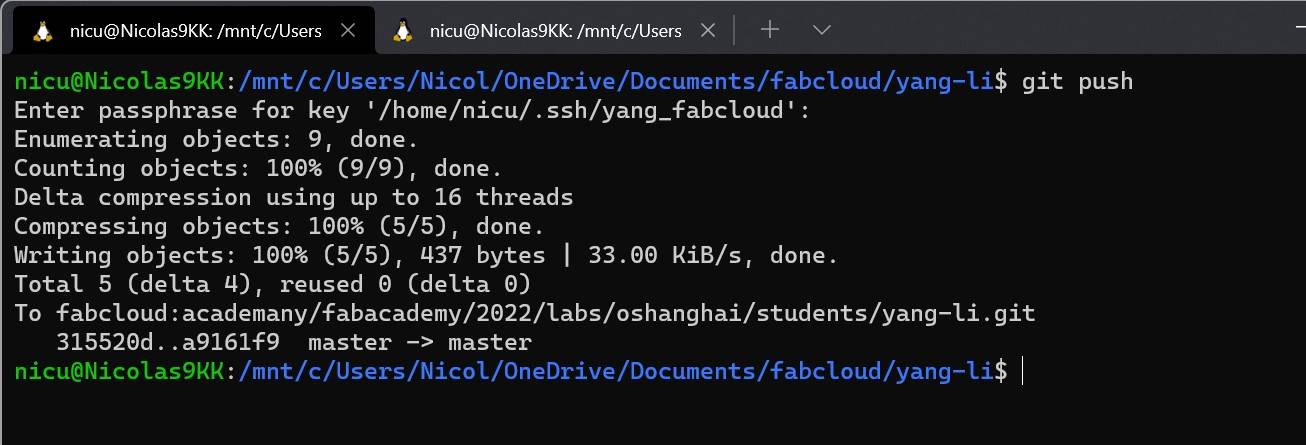
After edit the weekly assignment pages, click Stage All button in the Atom or enter git add -A to mark all the modified files in the git workflow.

Then write something and click Commit to master or enter git commit -m 'something'

Enter git push and enter the password of ssh.
BTW, I didn’t try to config my fabcloud gitlab account in Atom so far, so I don’t use Atom to push.
Speak of the git tutorial, I watched his videos when I was a beginner. Nice tutorial, but Chinese only. (Thanks!)
Picture workflows
screen capture
In windows11, it is easy to capture the whole screen with Win+PrtSc, and the screenshots will be stored in Picture\screenshots\.
In addtion, I can also use Win+Shift+S to capture a part of my screen.
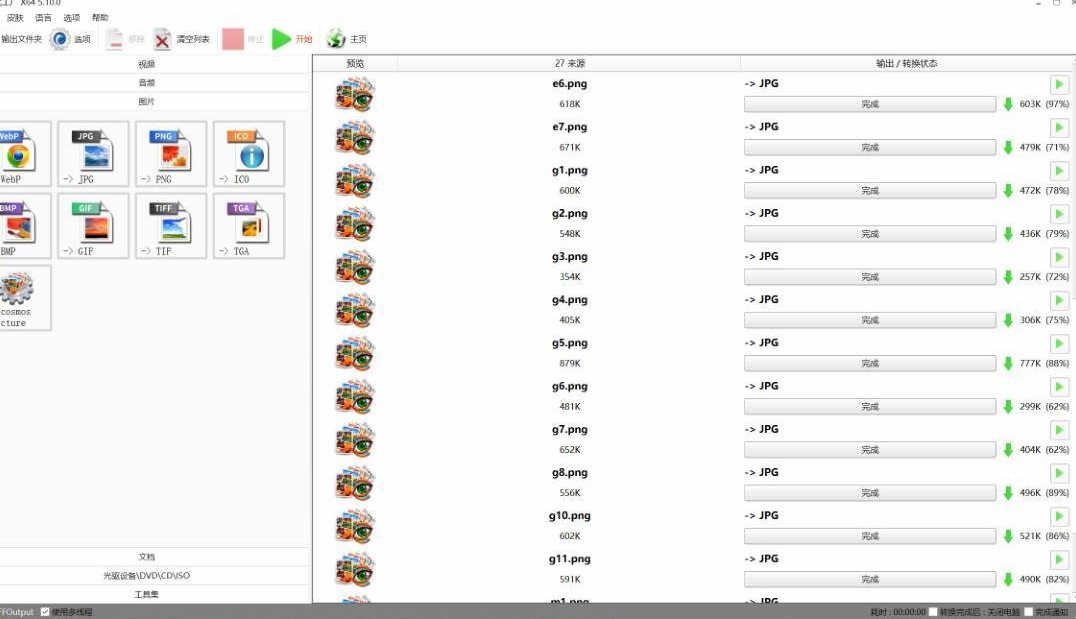
png 2 jpg
I use FormatFactory to convert pngs to jpgs. it’s convenient and easy to use
PowerToys
This is a powerful tool that Microsoft make, which use original Windows API to do some nice function. In my workflow, I use picture compress and power rename tools.
You can download it
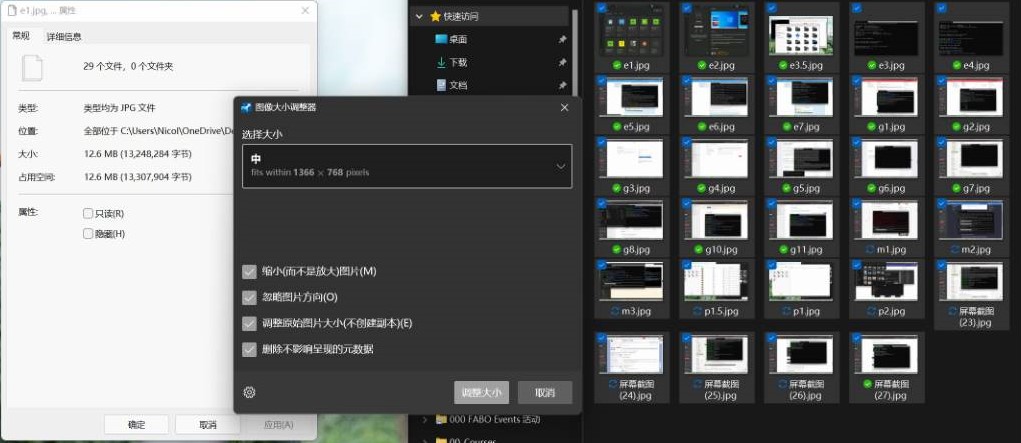
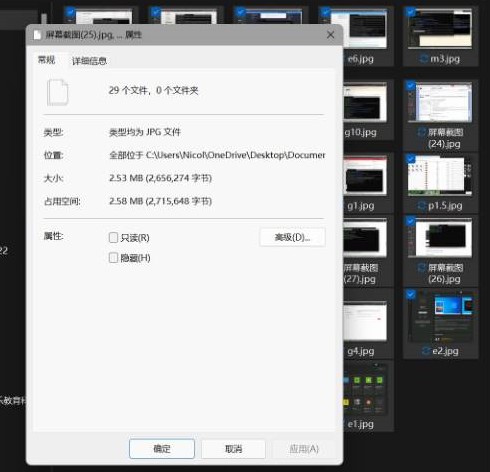
pic compressing
Select the pics I want to compress and right click. Then choose the adjust the image size.
Set as you need, and then run.
Very convenient!
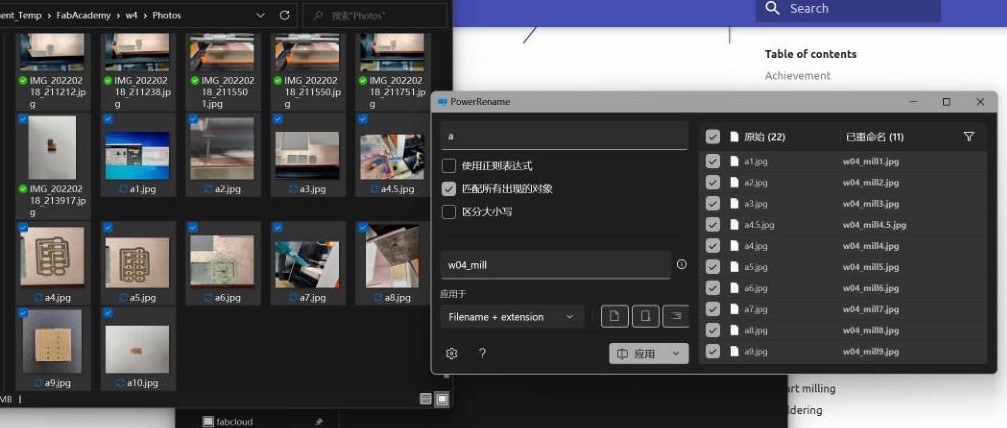
file rename
I use the powerrename tool in PowerToys.
Select the files, then right click and choose powerrename.
In my case, I replace the a in my files’ name with w04_mill.