15. Interface and application programming
Task: Interface and Application Programming
- Group assignment:(Page Link is Here)
- Compare as many tool options as possible.
- Individual assignment
Creating mobile applications is my biggest dream. For learning that skill, I had spend a lot of time to study python, java script, Anaconda, and some data science tools. But because of lack of guidance I couldn’t make any application other than just study that languages.
What is GUI?
The graphical user interface (GUI) is a form of user interface that allows users to interact with electronic devices through graphical icons and audio indicator such as primary notation, instead of text-based UIs, typed command labels or text navigation. ref: wikipedia.
My plans in Week
- Understand about the communication between the board and user interface.
- Create a GUI using python for controlling stepper motor.
python
I had tried to learn python during the Covid-19 lockdown time. But now I don’t have any idea about that. However I could understand about python code clearly when I read tutorials of python. I tried to learn to use Tkinter and pyserial libraries.
Tkinter: is the most commonly used library for developing GUI (Graphical User Interface) in Python.
I followed this tutorial to learn Tkinter(Link here)
Pyserial: is a library that provides support for serial connections (“RS-232”) over a variety of different devices: old-style serial ports, Bluetooth dongles, infra-red ports, and so on.
I followed this tutorial to learn pyserial (Link here)
Steps I followed are given below.
Adding pyserial
- Install pyserial using given command in terminal
python -m pip install pyserial
- Basic code for adding pyserial library and sending data using serial port is given below.
import serial
ser = serial.Serial('COM14', 9600)  # open serial port
ser.write(b'200')     # write a string
ser.close()             # close port
Using Tkinter
- Install Tkinter using the given command in terminal
pip install tk
- Basic code for adding a slider and a button for printng the value is given below.
from tkinter import *

def print_value():
    print (slider.get())

master = Tk()
slider = Scale(master, from_=0, to=100, orient=HORIZONTAL)
slider.pack()
Button(master, text='Show', command=print_value).pack()

mainloop()
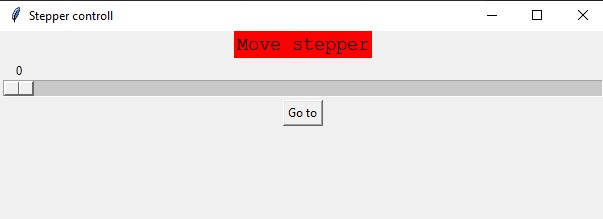
I wrote a code for sending slider values through serial when click on a button.
from tkinter import *
import serial

serialArduino = serial.Serial('COM31', 9600)

def sending():
    serialArduino.write(str(w.get()).encode())

master = Tk()
master.title('Stepper controll')

l = Label(master, text = "Move stepper", bg='Red')
l.config(font =("Courier", 14))
l.pack()

w= Scale(master, from_=0, to= 500, length=600, orient= HORIZONTAL)
w.pack()
Button(master, text='Go to',command=sending).pack()
mainloop()
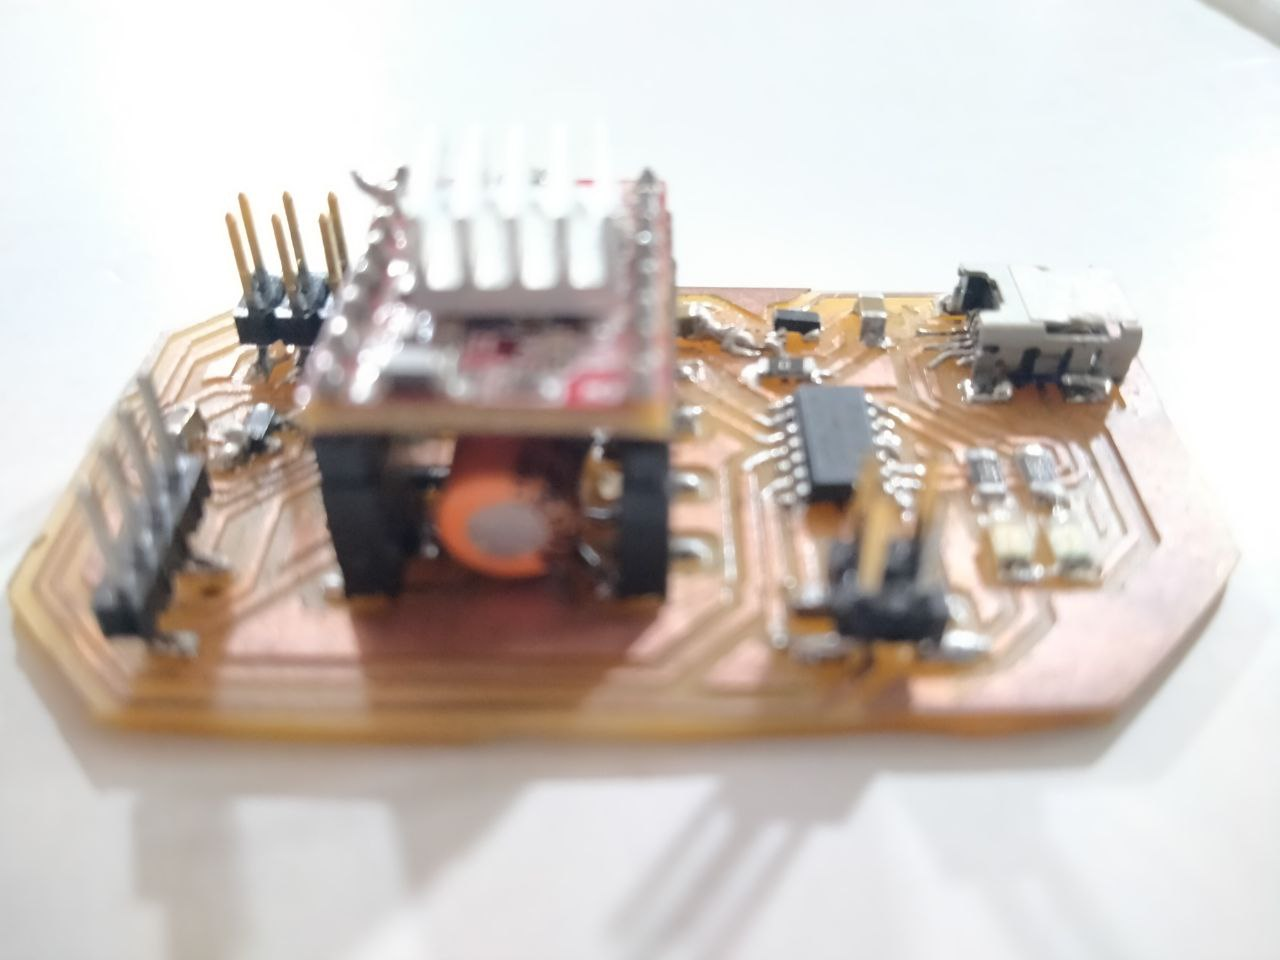
Board for this week
In the last week(communication and networking) I made a board for controlling stepper motor with a driver. This week also I used the same board.
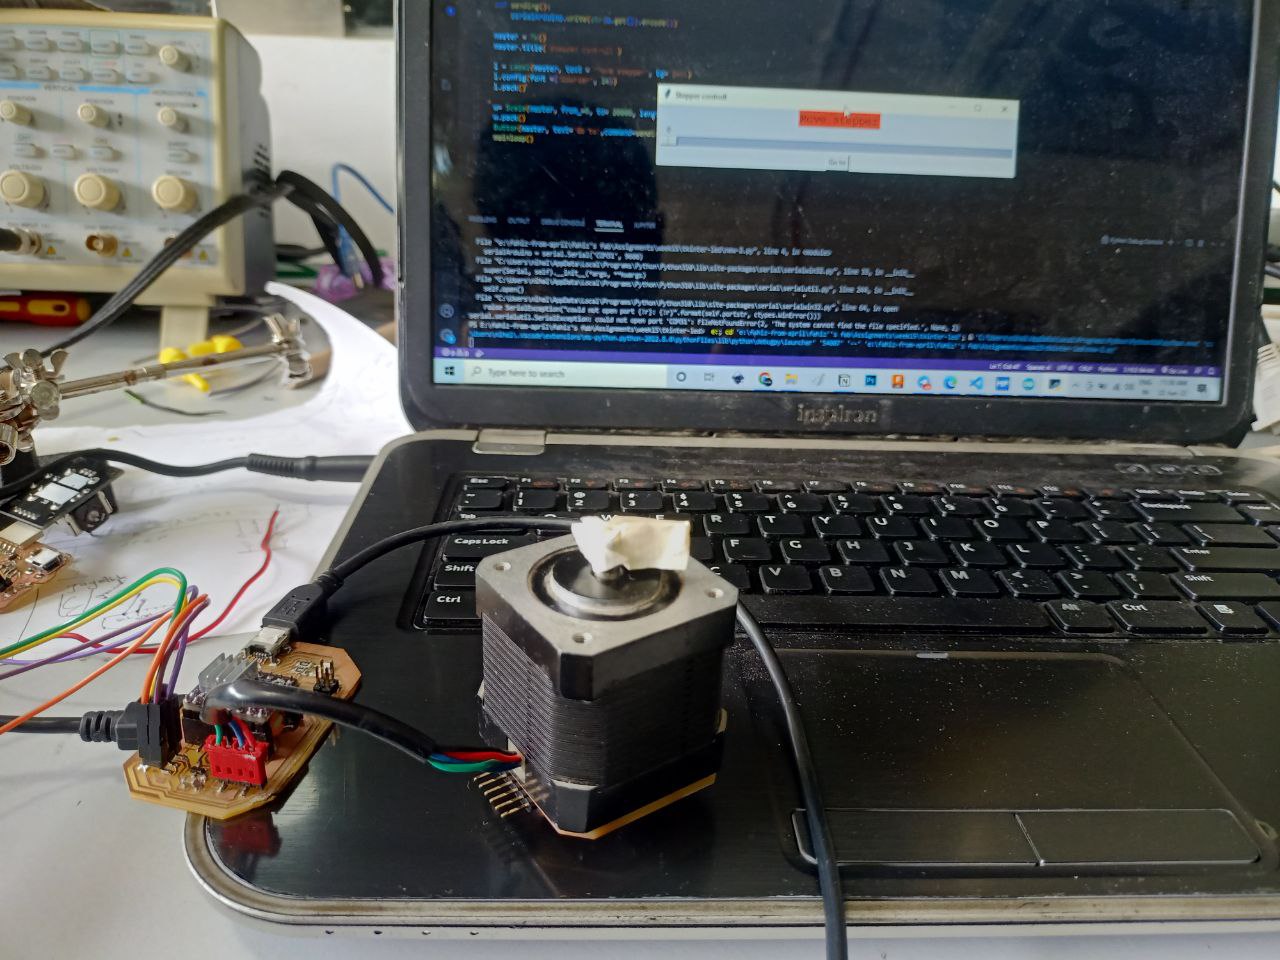
Circuit connection

Write code in Arduino
- I tried to write a code for moving the stepper motor to a specific step when send a number in serial monitor,
- After that I edited that code for returning to the zero position by changing direction and calculating the step difference.
- For conforming the proper data sending I had added code for returning some texts in specific intervals. I faced a bug in the time of anticlockwise rotation of the stepper. After removing all serial outputs, problem of rotation solved.
Arduino Code
#define X_DIR_PIN          9
#define X_STEP_PIN         8

long int X_now = 0;
int stepDelay = 1000;

void setup() {
  SerialUSB.begin(9600);

  pinMode(X_STEP_PIN,   OUTPUT);
  pinMode(X_DIR_PIN,    OUTPUT);

}

void loop() {
  //test();
  serial();

}

void serial() {
  while (SerialUSB.available() !=  0)
  {
    String data = SerialUSB.readString();
    long int x = data.toInt();
    move_addr(x);
  }
}

void move_addr(long int go_to) {
  long int step_error = go_to - X_now;

  if (step_error > 0) {
    step_error = abs(step_error);
    digitalWrite(X_DIR_PIN, HIGH);

    for (long int i = 0; i < step_error; i++) {
      digitalWrite(X_STEP_PIN, HIGH);
      delayMicroseconds(stepDelay);
      digitalWrite(X_STEP_PIN, LOW);
      delayMicroseconds(stepDelay);
    }
    X_now += step_error;
  }
  else if (step_error < 0) {
    step_error = abs(step_error);

    digitalWrite(X_DIR_PIN, LOW);
    for (long int i = 0; i < step_error; i++) {
      //digitalWrite(X_DIR_PIN, LOW);
      digitalWrite(X_STEP_PIN, HIGH);
      delayMicroseconds(stepDelay);
      digitalWrite(X_STEP_PIN, LOW);
      delayMicroseconds(stepDelay);
    }
    X_now -= step_error;
  }
}
Finally it worked!!
Then I fixed my board on our machine week project Nishchal and moved the X-axis
Bill of materials
| Part | Value | Device | Package | Description | AVAILABILITY | CATEGORY | DESCRIPTION | MANUFACTURER | MF | MP | MPN | OPERATING_TEMP | PACKAGE | PART_STATUS | PRICE | PURCHASE-URL | ROHS_COMPLIANT | SERIES | SUB-CATEGORY | THERMALLOSS | TYPE | VOLTAGE_RATING |
| C1 | 100 mF | C-POL-US_RADIAL-11MM-DIA | CAPPRD508W65D1000H1100B | Capacitor Polarised - ANSI | Capacitor | |||||||||||||||||
| C2 | 10 mF | CAP_UNPOLARIZEDFAB | C1206FAB | |||||||||||||||||||
| C3 | 10 mF | CAP_UNPOLARIZEDFAB | C1206FAB | |||||||||||||||||||
| C4 | 10 mF | CAP_UNPOLARIZEDFAB | C1206FAB | |||||||||||||||||||
| IC1 | VR_REGULATOR-SOT23SOT23 | SOT23 | ||||||||||||||||||||
| IC2 | VR_REGULATOR-SOT23SOT23 | SOT23 | ||||||||||||||||||||
| JP1 | CONN_03X2-PINHEAD-SMD | 2X03SMD | PIN HEADER | |||||||||||||||||||
| R1 | 499 ohm | R1206FAB | R1206FAB | Resistor (US Symbol) | ||||||||||||||||||
| R2 | 499 ohm | R1206FAB | R1206FAB | Resistor (US Symbol) | ||||||||||||||||||
| R3 | 0 ohm | R1206FAB | R1206FAB | Resistor (US Symbol) | ||||||||||||||||||
| U$1 | CONN_USB_MINIB | CONN_USB_MINIB | USB_MINIB | |||||||||||||||||||
| U$2 | LEDFAB1206 | LEDFAB1206 | LED1206FAB | LED | ||||||||||||||||||
| U$3 | CONN_02X2-PINHEAD-SMD | CONN_02X2-PINHEAD-SMD | 2X02SMD | |||||||||||||||||||
| U$5 | CONN_01X12_PRGRMR | CONN_01X12_PRGRMR | 1X12(2_ROW) | |||||||||||||||||||
| U$6 | LEDFAB1206 | LEDFAB1206 | LED1206FAB | LED | ||||||||||||||||||
| U$7 | CONN_01X12_PRGRMR | CONN_01X12_PRGRMR | 1X12(2_ROW) | |||||||||||||||||||
| U1 | UC_ATSAMD11C14A-SSUT | UC_ATSAMD11C14A-SSUT | SOIC127P600X160-14N | MCU 32-Bit SAM D11 ARM Cortex M0+ RISC 16KB Flash 1.8V/2.5V/3.3V 14-Pin SOIC T/R Check prices | In Stock | ARM® Cortex®-M0+ SAM D11C Microcontroller IC 32-Bit 48MHz 16KB (16K x 8) FLASH 14-SOIC | Microchip | ATSAMD11C14A-SSUT | SOIC-14 Microchip | None | https://pricing.snapeda.com/search/part/ATSAMD11C14A-SSUT/?ref=eda |