3. Computer Aided design
Task: Computer-Aided Design
- Model (raster, vector, 2D, 3D, render, animate, simulate, …) a possible final project, compress your images and videos, and post it on your class page
I am very excited to explore a number of computer-aided designing softwares.
My Goals:
- Learn 2D designing softwares
- Gimp
- Photopea
- Inkscape
- Learn 3D designing softwares.
- TinkerCad
- Fusion 360
- Freecad
2D AIDED DESIGN¶¶
I have some previous experience with some 2D softwares like Photoshop and CorelDraw.
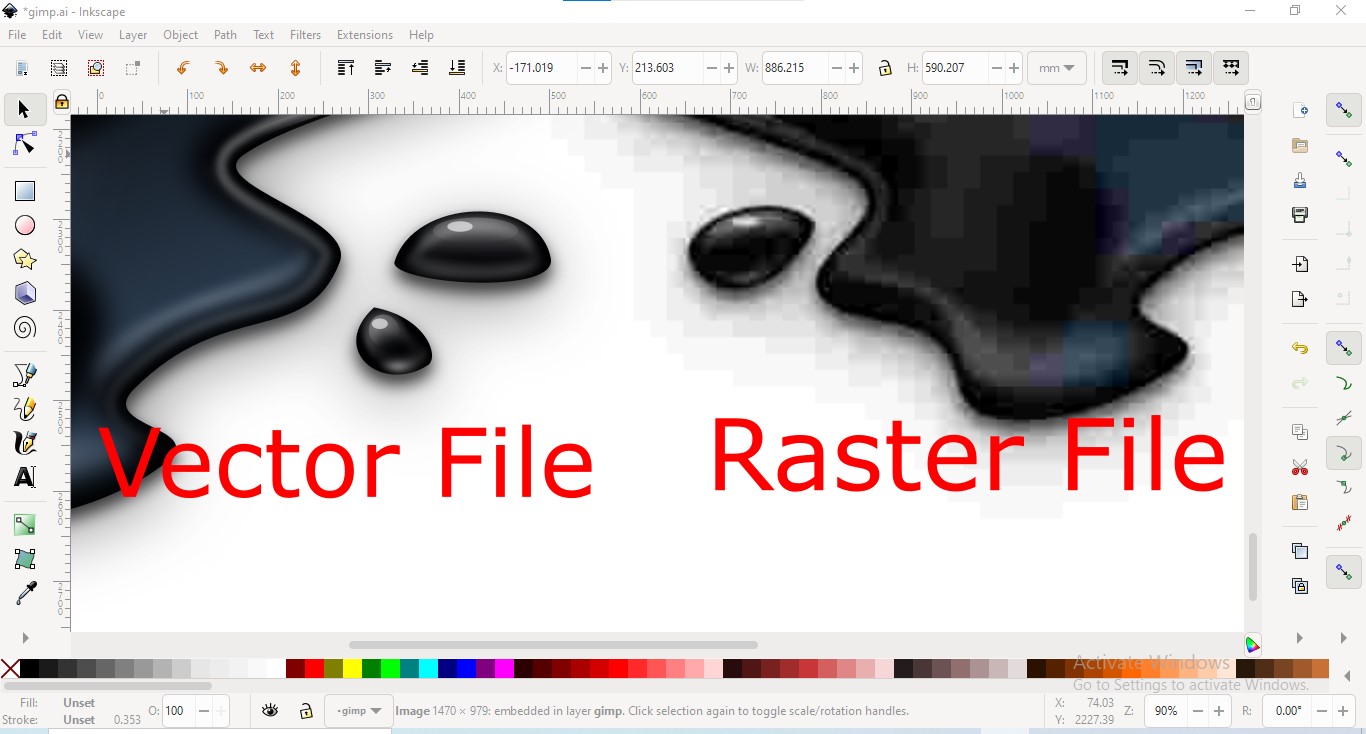
Vector vs raster¶¶
These are the 2 types of images.
Raster images are made up of very small pixels.
Whereas vector images are composed of paths using different mathematical formulas.
I opened a raster and a vector image of a photo in vector image editing software.

Then zoom each image. some boxes appeared in the raster image. But the vector image was very sharp at that time also.
Gimp¶¶
Gimp is an open-source(free download) raster file editing software.
Other than a little amount of knowledge from school, I have no expertise with the Gimp. So I take some time to understand the different tools.
Then I edited the Gimp logo by replacing the brush in the fox’s mouth with a glass with a straw.

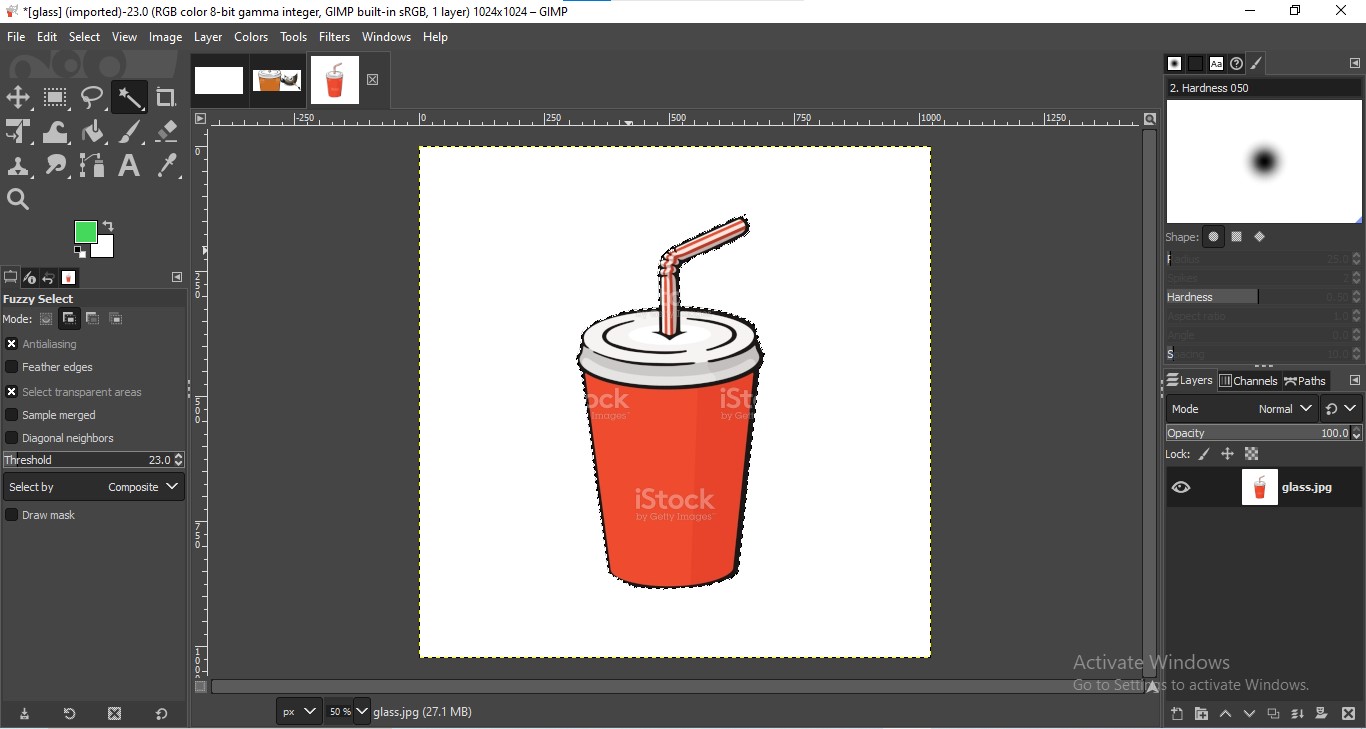
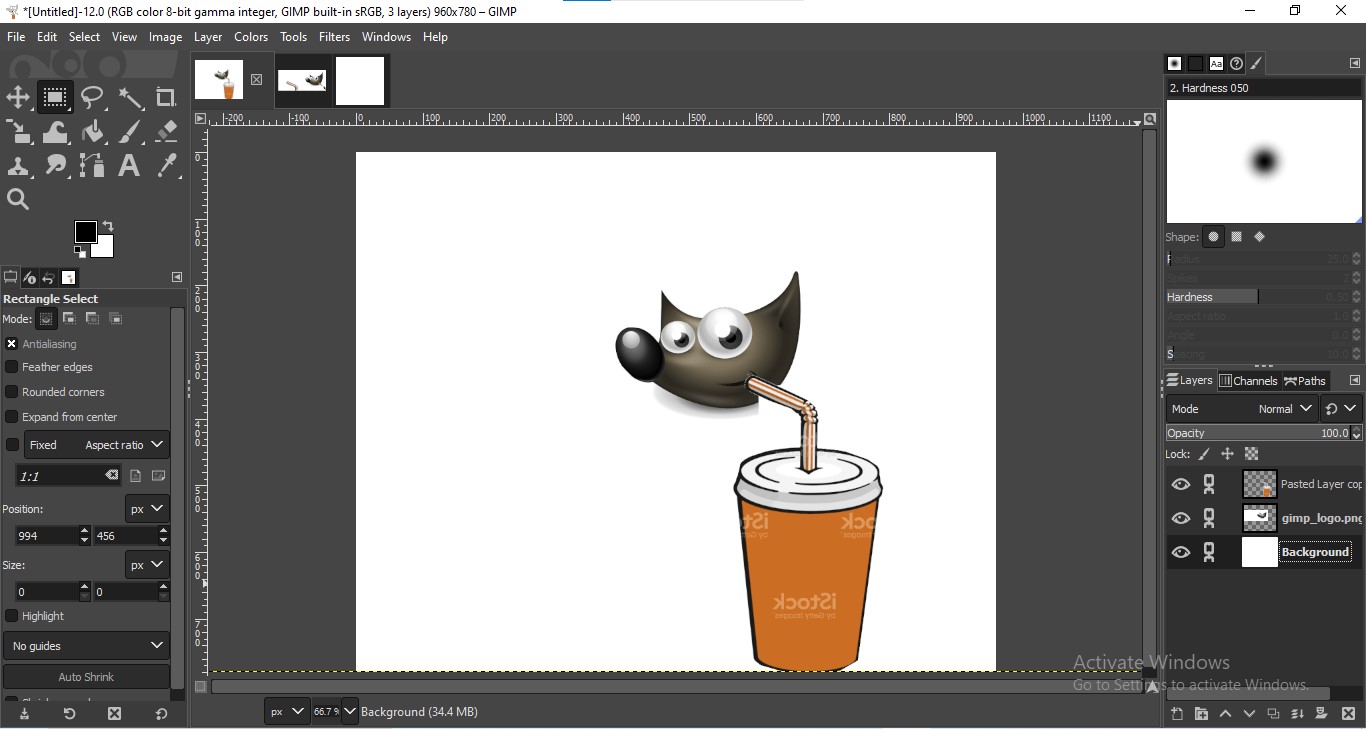
I utilized a variety of tools, including the selection tool, the crop tool, the eraser, and layers for this editing.
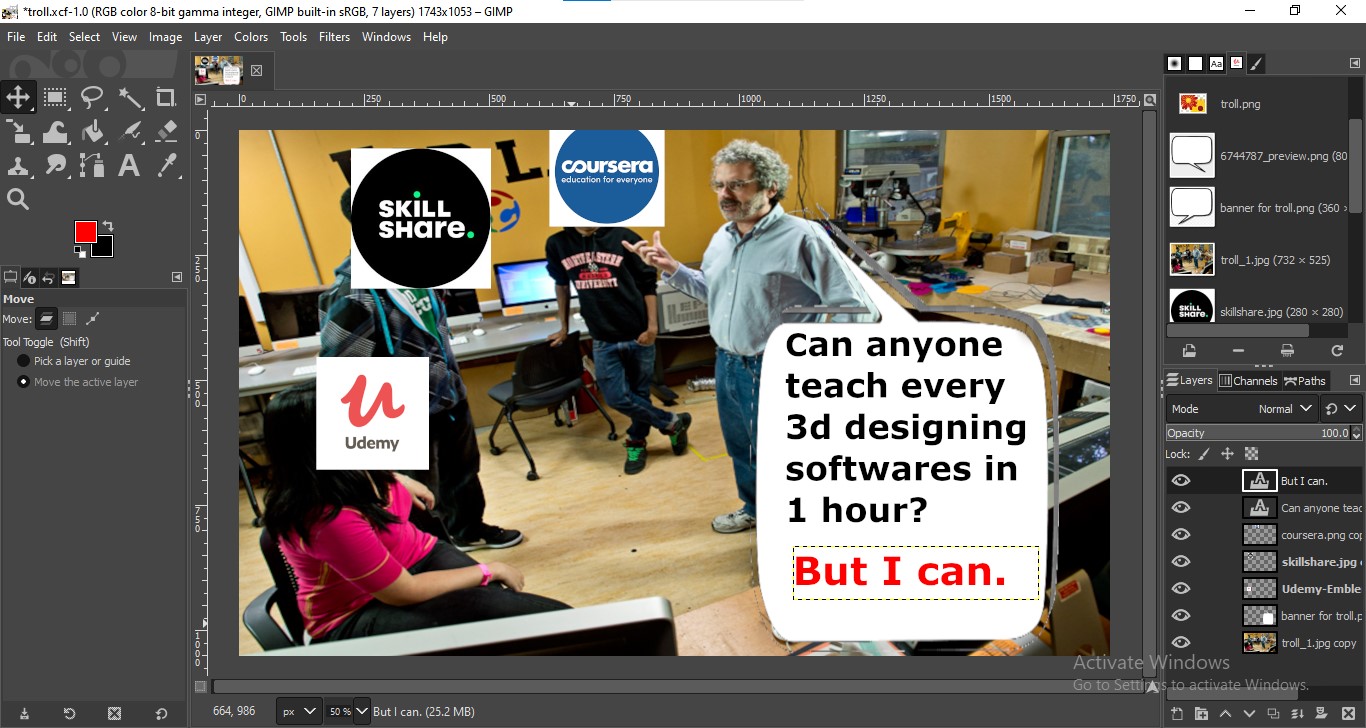
After that, I created a funny troll image using images from the internet.
The below video helped me to understand the tools of gimp very quickly
https://www.youtube.com/watch?v=2EPIUyFJ4ag
Photopea¶¶
Photopea is an amazing online tool for editing raster-based image that is almost same as Photoshop.
I have experience with photoshop, so editing in Photopea was little easy for me.
So I tried to combine two images and change the background.
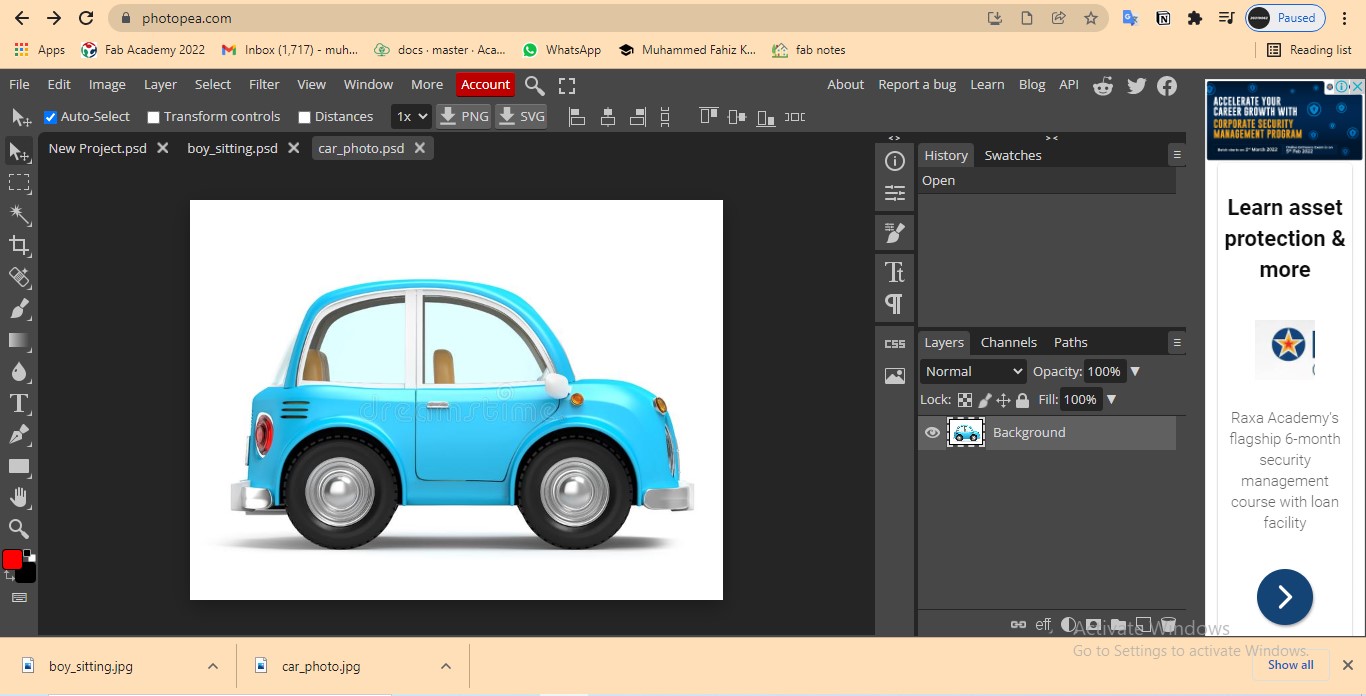
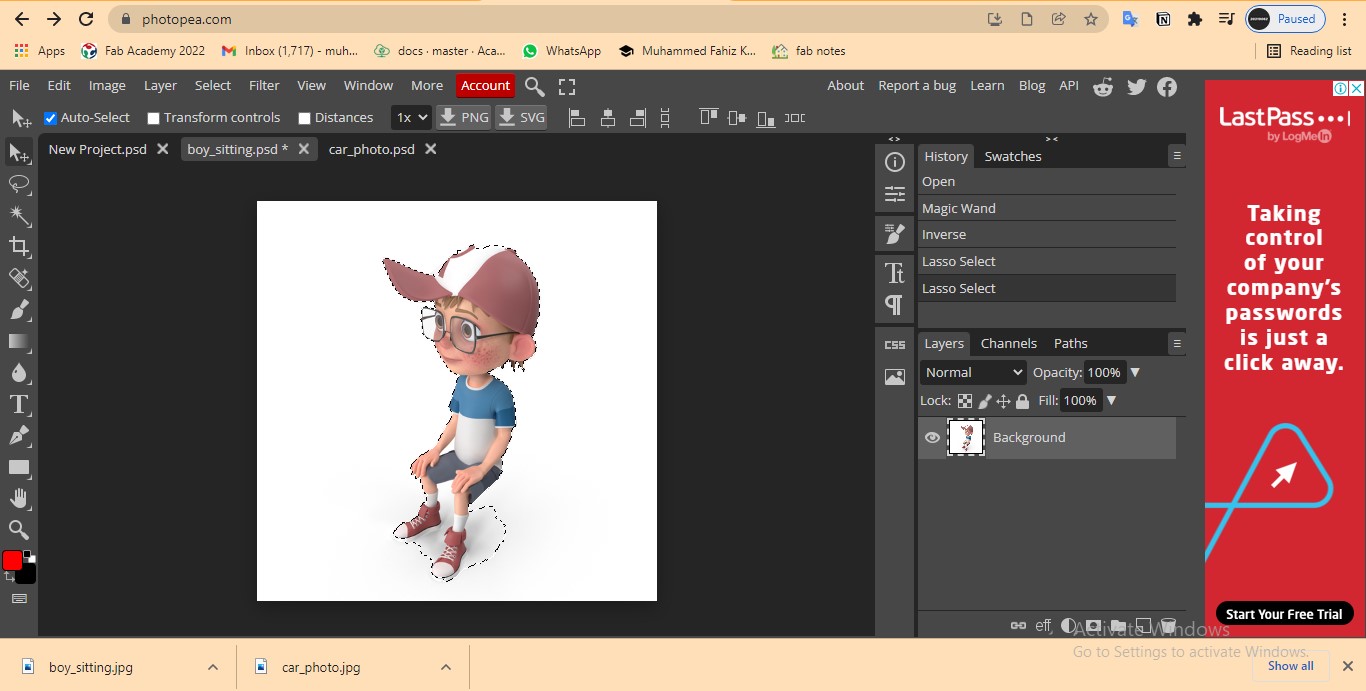
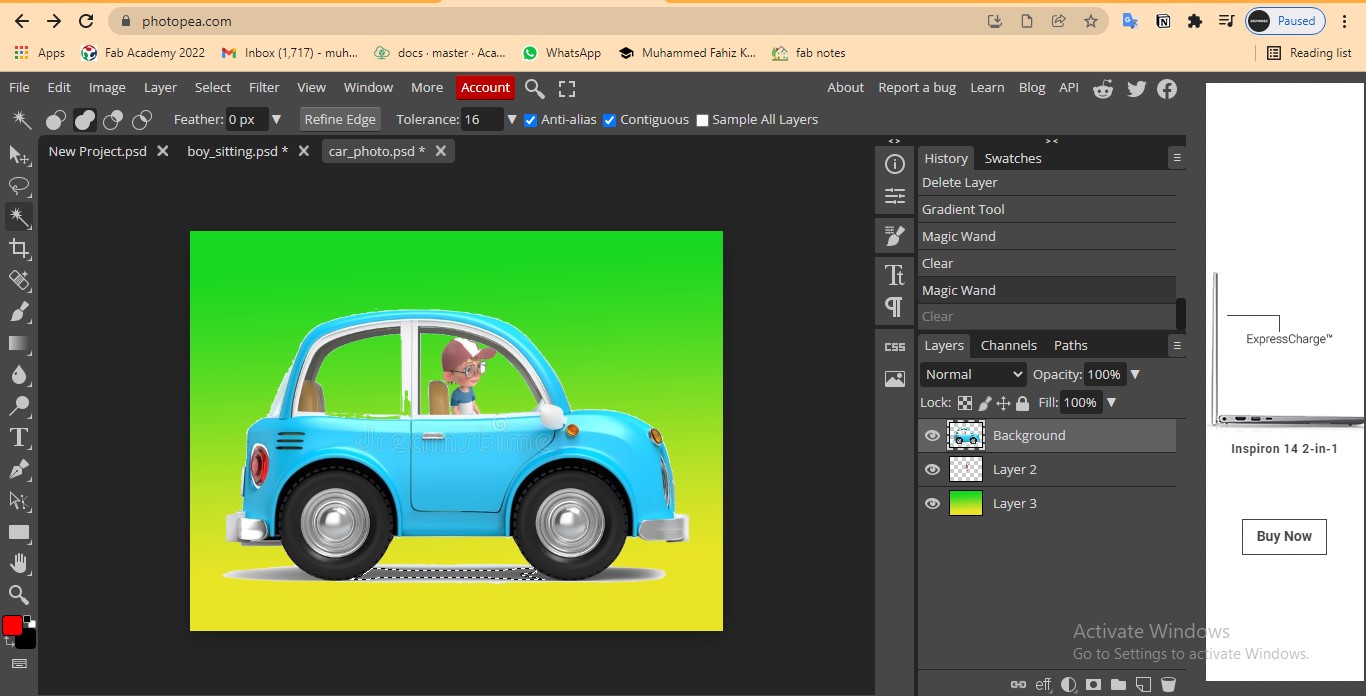
steps I used:
- Using the magic wand tool, I removed the background of the boy’s image.
- I also used the same tool to remove the background and window of the car.
- By arranging the layer and using the transform and move tools, I moved the image of the boy into the driver’s seat.
- After that, I changed the background by using the gradient tool.
Inkscape¶¶
Inkscape is a vector graphics software, which will support vector and raster files. It is an open-source software.
Because of my previous experience with Corel Draw, using Inkscape was easy for me.
I noticed that the names of some tools are different in each software. The following video helped me to understand an overview about Inkscape very quickly.
I tried to make the Fab academy logo using Inkscape.
All steps I have done are shown in the figure below.
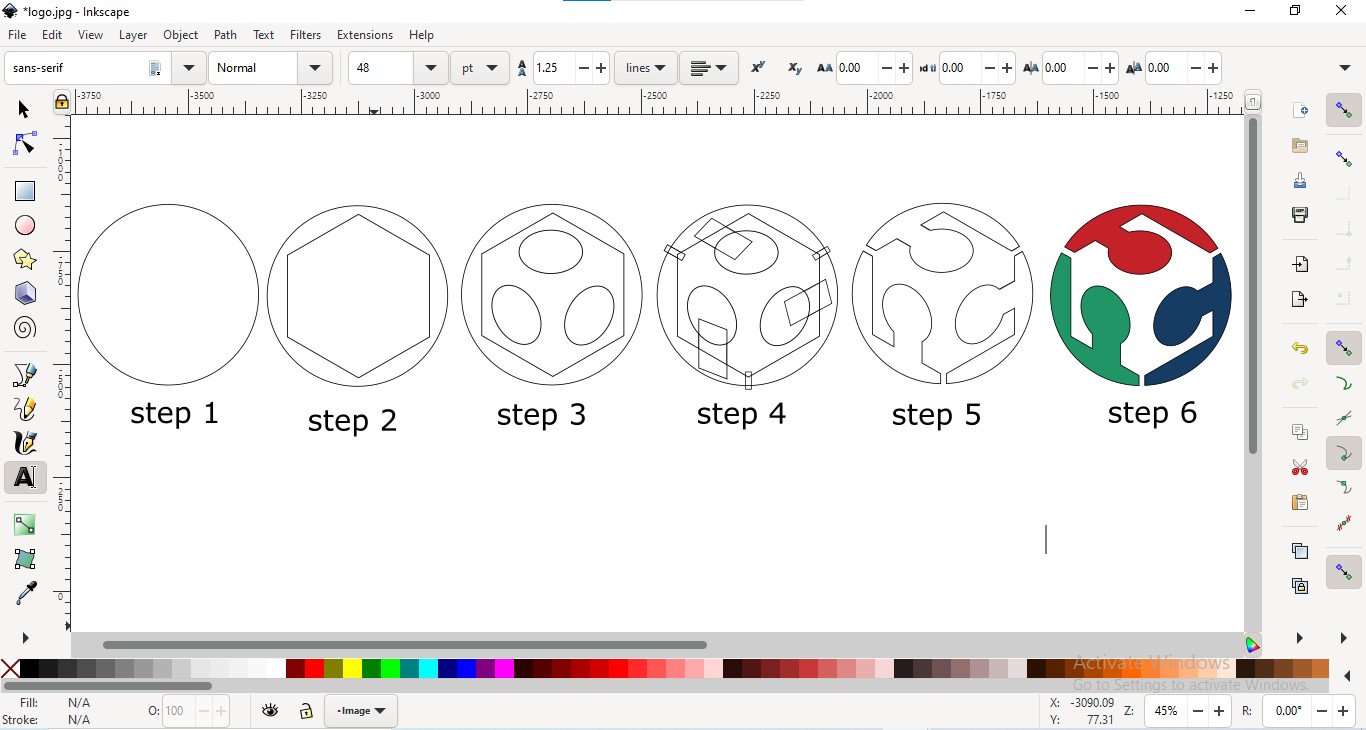
The steps describe below:
- Draw a circle
- Draw a hexagon and transform it and rotate.
- create some ellipses.
- Draw parallelograms and rectangles
- Using the different tools in the path option, such as union, difference, combine, etc. I made the different shapes in the logo.
- Then fill color in different parts using the ‘pick colors from image’ tool
3D Modeling¶¶
3D modeling was my dream in school days. Due to the lack of a PC, I couldn’t explore anything. After my Higher secondary, My father offered me a PC for me and I download AutoCAD, but my computer hadn’t enough RAM or Graphics card. So it was very slow. However, I began to practice 3D designing in AutoCAD.
Now I realize that AutoCAD’s primary purpose was 2D design.
TinkerCAD¶¶
TinkerCad is a very simple 3D designing website and it is beginners friendly. We cannot create complex designs in TinkeraCAD, but if we are an absolute beginner in 3D modeling, It is the best option.
At first, I watched a 10 minutes tutorial about TinkerCAD, it is given below
Then I created some basic designs, and then I made a small hut with a well nearby.
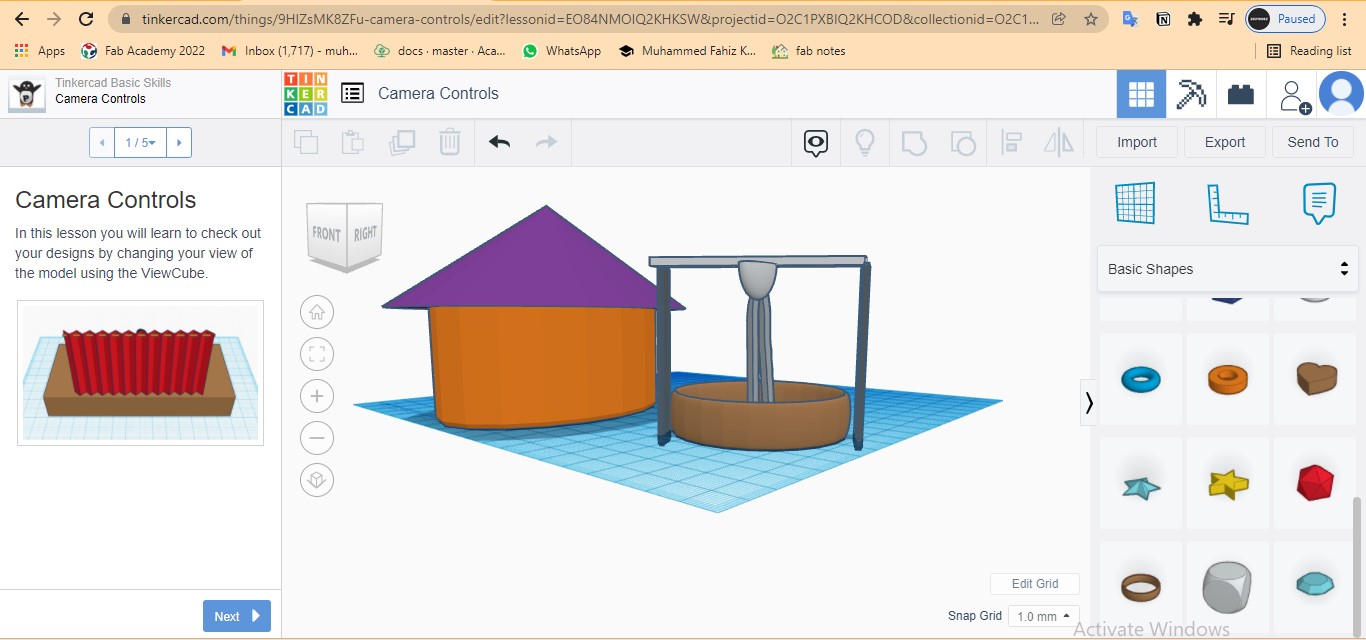
For that design, I used various tools such as ‘group’ and ‘mirror’.
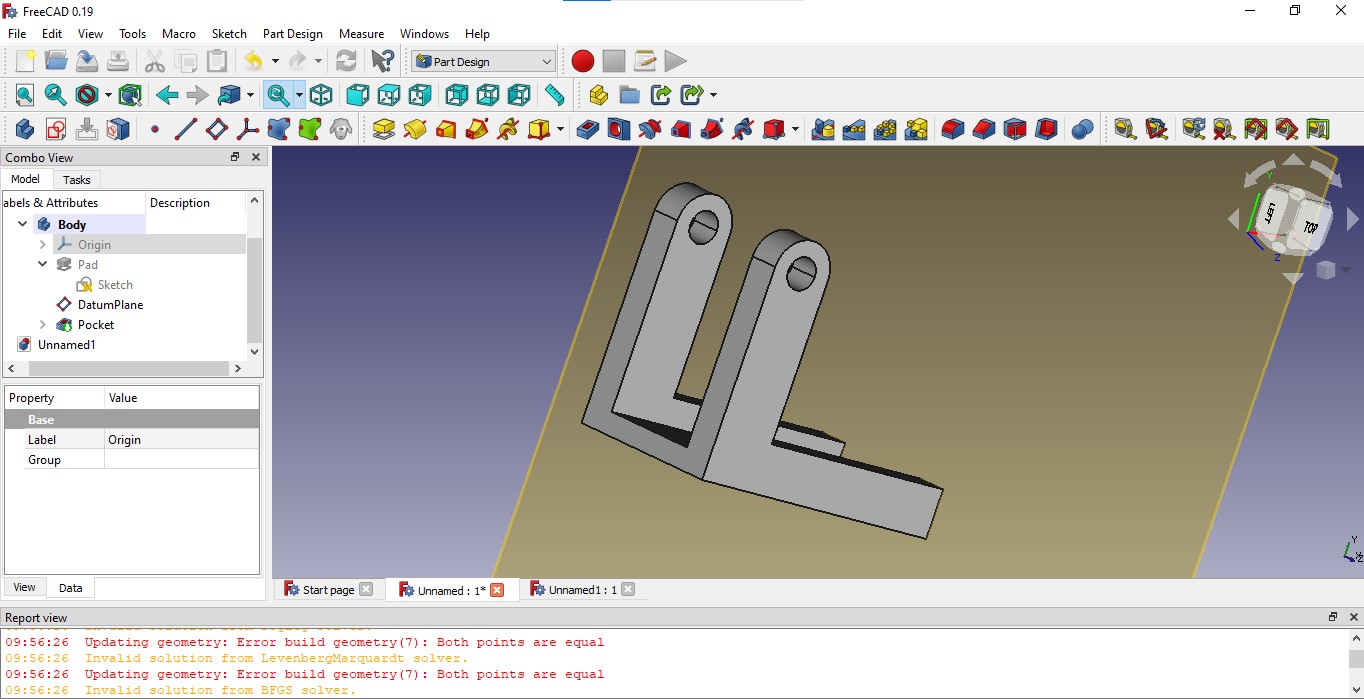
FreeCAD
FreeCAD is an open-source parametric 3D designing software. I watch some videos and tried to design some basic models. I used different tools like constrains, pan, pocket, etc.
Sketchup for web
SketchUp is used primarily for building designs, architectural design, interiors, etc.
Pros of Sketchup online
- It is an online tool
- It is very useful for interior and building design.
- Sketchup provides a lot of premade components for designing
- Very good for architectural and furniture rendering
Cons of Sketchup online
- Internet is necessary for Sketchup online.
- It consumes a large amount of data
- Not good for mechanical designs.
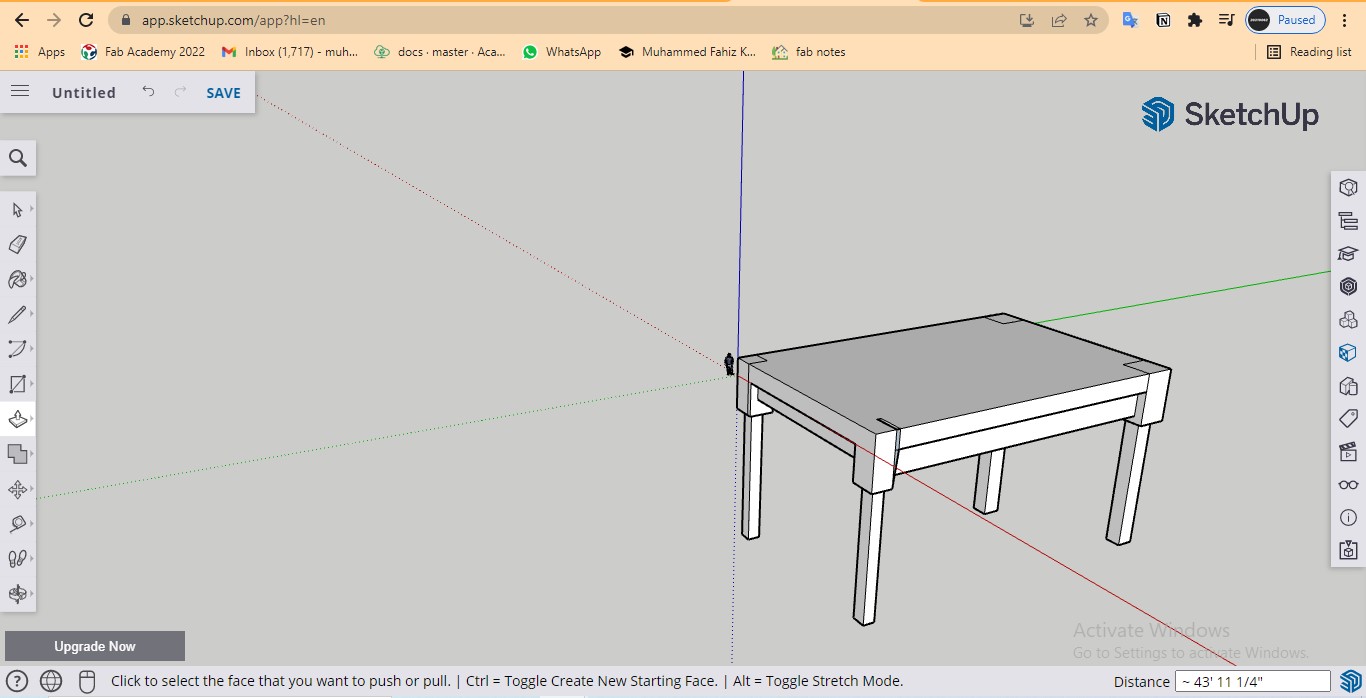
I watched a shorter tutorial video about Sketchup and that covers almost every option(link here).
Then I tried to design a table. But I couldn’t draw it correctly. The legs of my table became bent.
And I felt a little difficult to select different planes and objects.
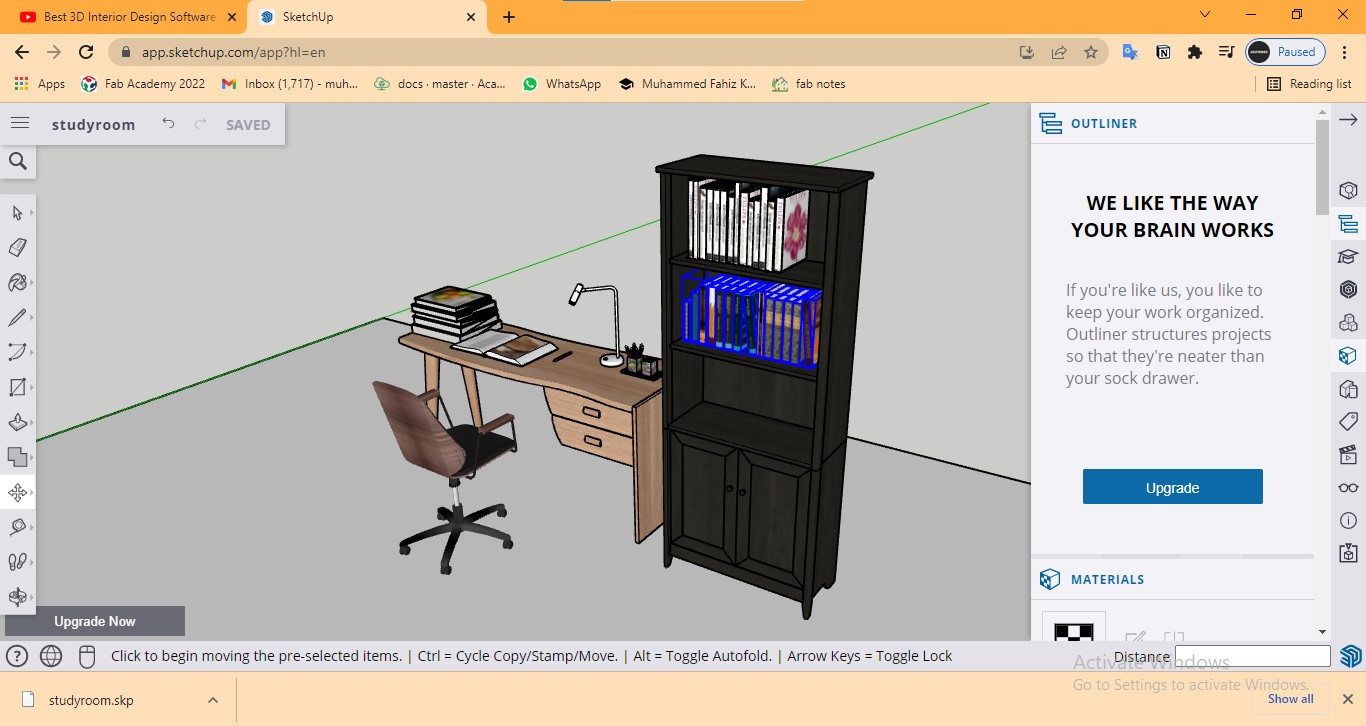
After that, I designed a study table using different premade components from the 3D warehouse.
Fusion 360
It is an absolutely new experience to me.
I do not have any idea about learning Fusion 360.
After downloading fusion, our mentor Gogin Francis explained to us about basics of Fusion 360. He covers about the user interface in very detail. it helped me to make an overview of the software.
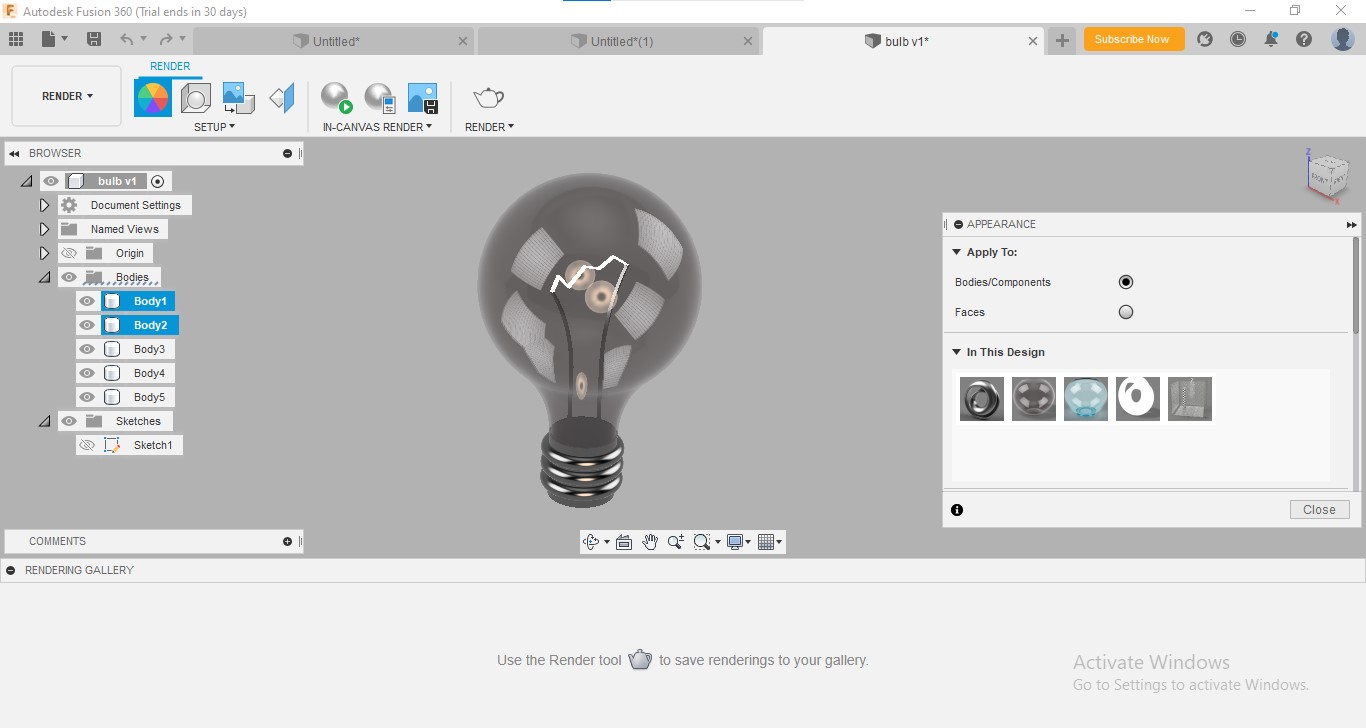
Then he showed me how to create an electric bulb in Fusion360.
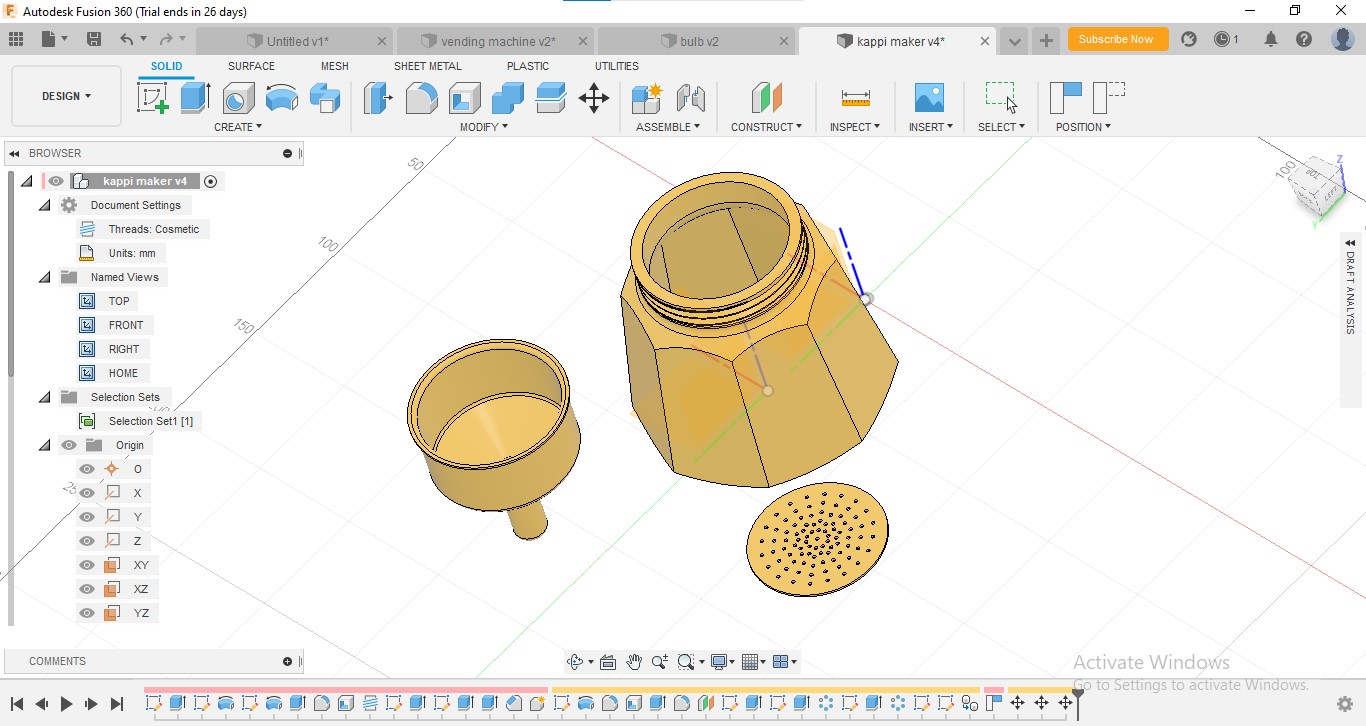
After that, I watched a YouTube video of designing a coffee mocha pod.
It was an amazing tutorial and he taught me how to design in Fusion 360.
I will recommend this video to beginners in Fusion 360.
I started drawing as he told in the video.
After creating 3 different parts of the mocha pod, I couldn’t edit the first part.
The reason was I didn’t select the tree including the first part.
Although I completely watch the video, I didn’t complete the drawing.
I tried some simple structures those are given below.
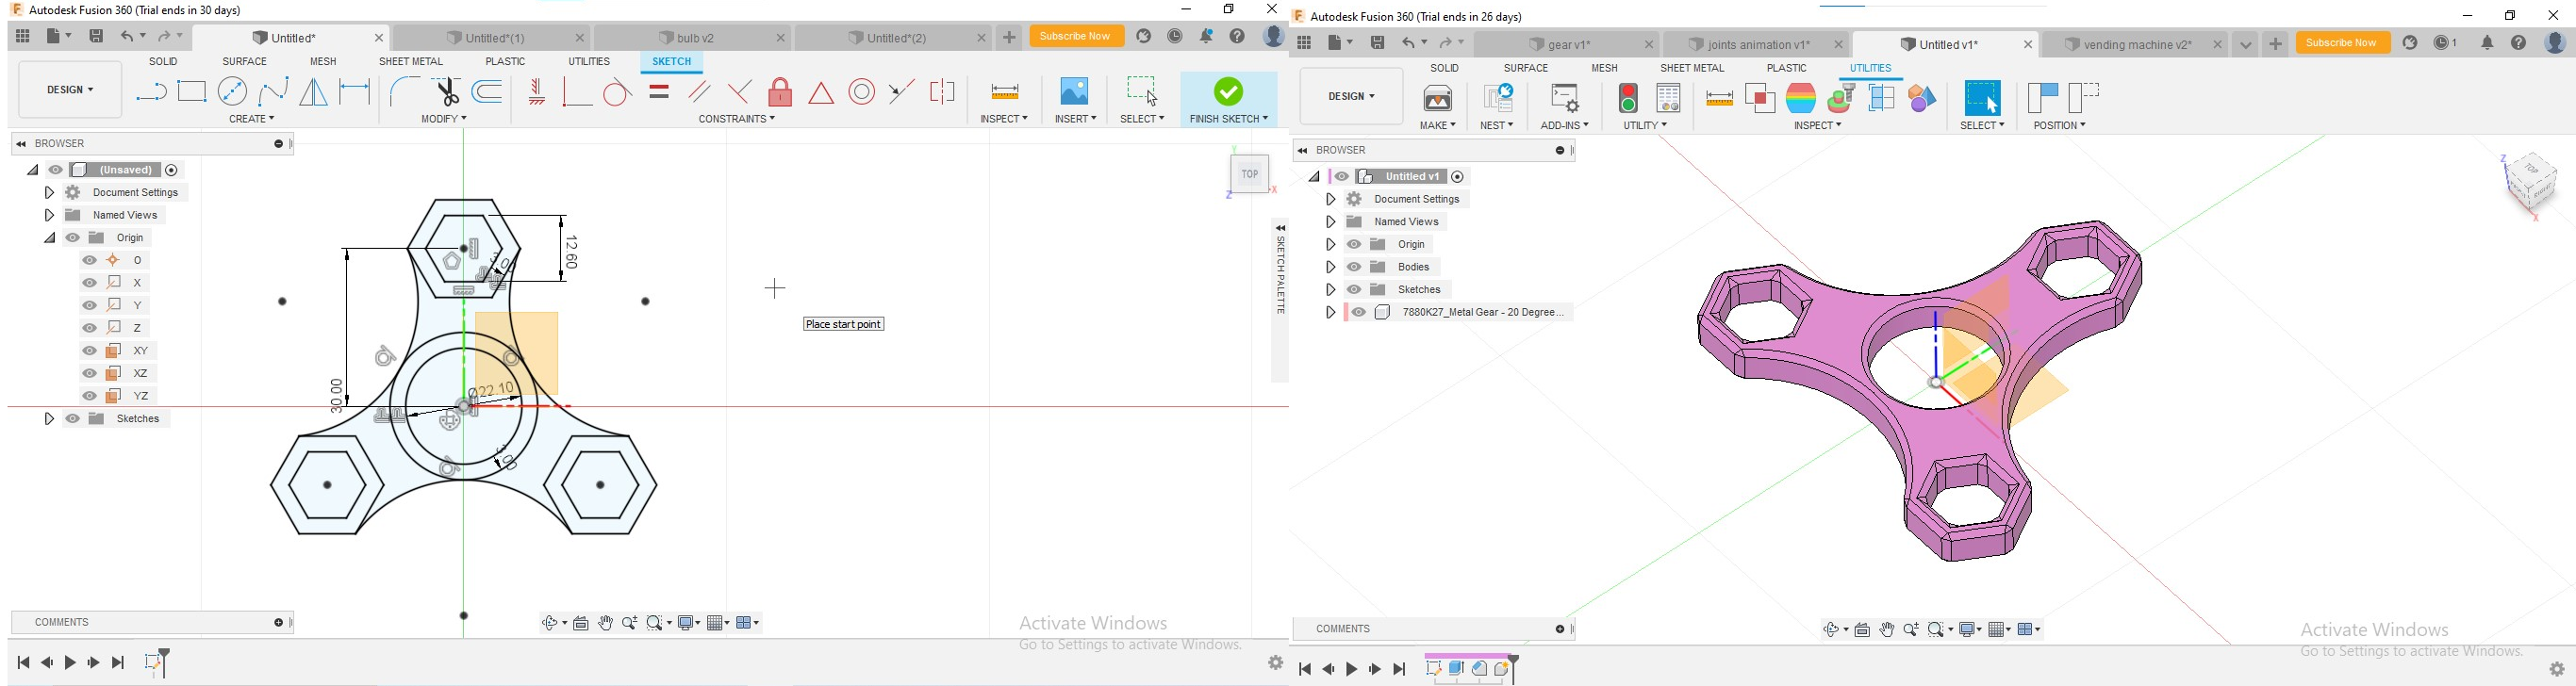
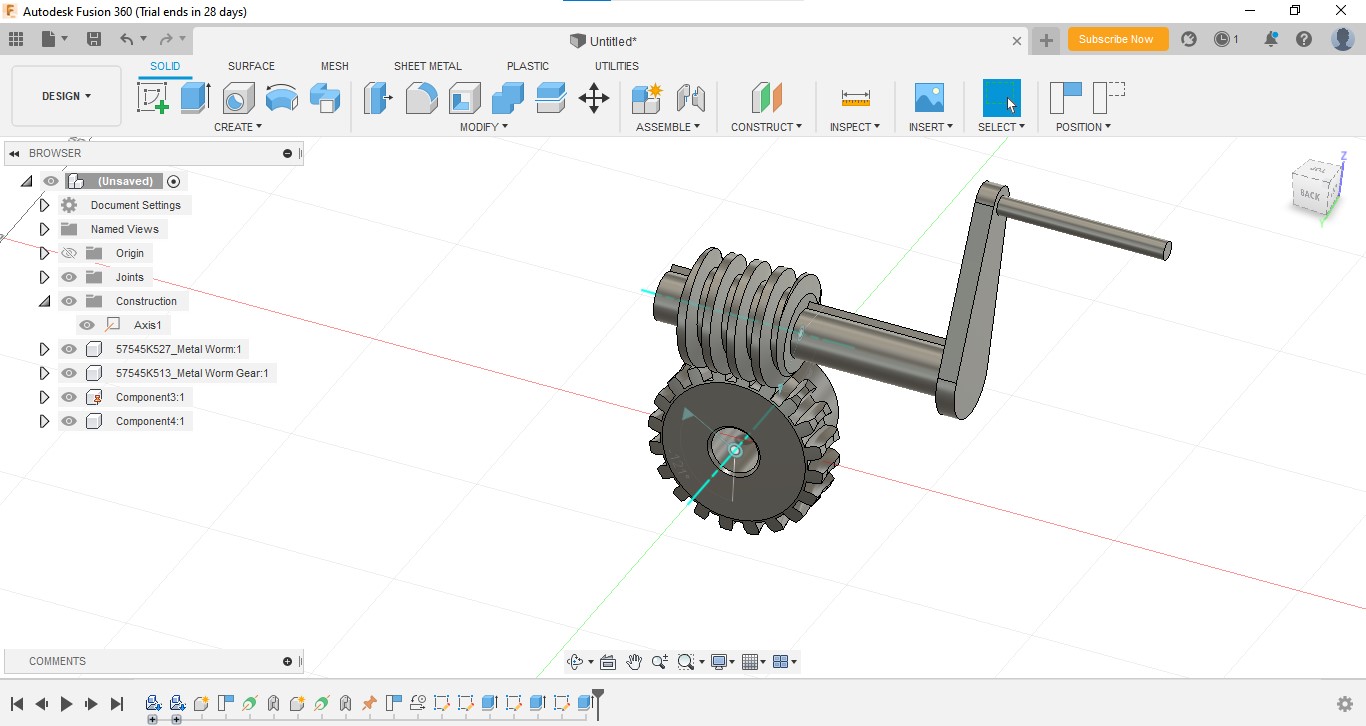
Then I watched some videos about mechanical modeling which includes gears and other parts.
I tried to draw some moving mechanical designs. I was very curious about those designs I created.
Design for Final project
I designed a 3D model of my final project ‘Masala powder dispenser machine’. I used Fusion 360 and I rendered the design.
Download design files from here → Download